
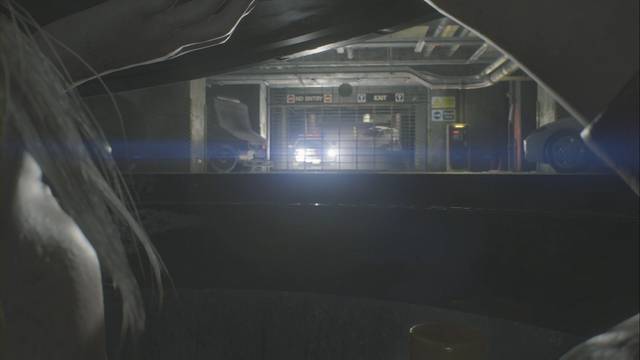
After your attempt to find a way out does not go quite as planned, you will need to find another way to leave the Parking Garage. To do so, you need a key card.
If you are playing as Claire: Go through the door to the northeast and follow the tunnel. On the table, you will find the Raccoon Monthly, June Issue file, while the Police Station B1 Map is on the wall beside it. There is nothing else you can do here for now, so turn around and return to the Parking Garage.
If you are playing as Leon: This time, leave through the door leading east. Do not head south, as there is a Licker there (when playing as Claire), and your ammunition supplies may be running low. Instead, head east and enter the Firing Range.
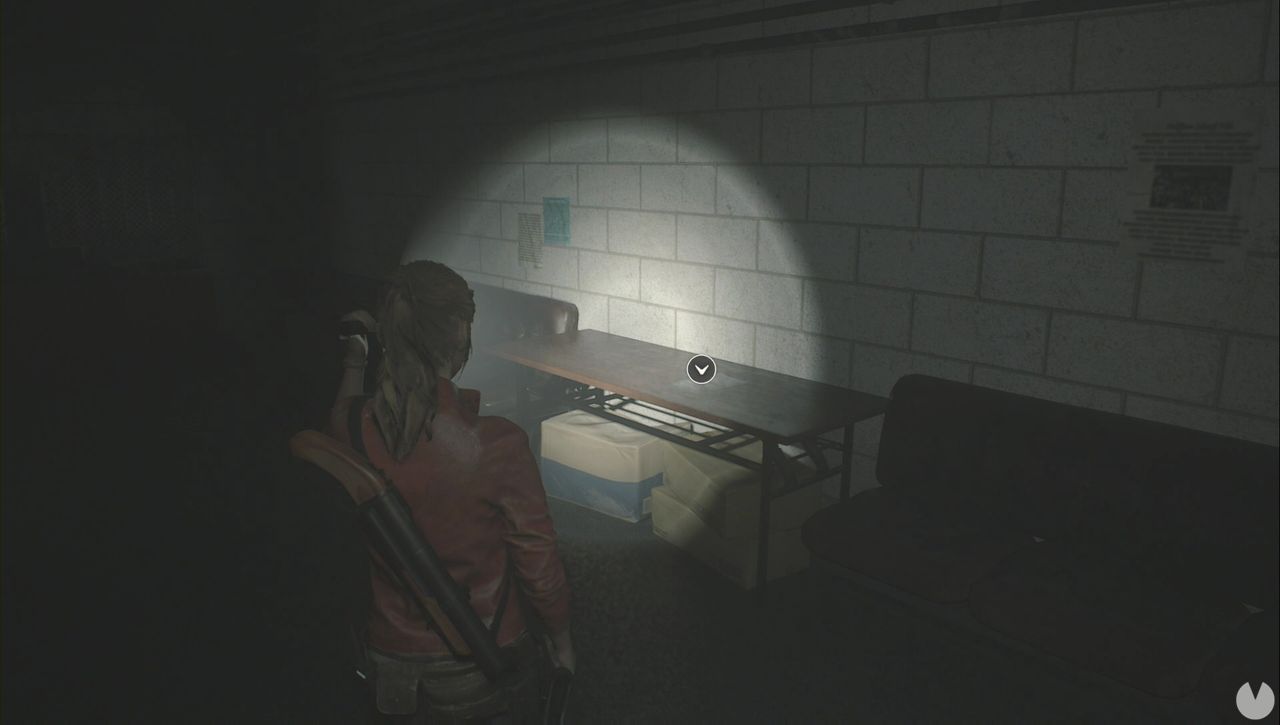
On the table, you will find a Tin Storage Box and the Equipment Disposal Notice file. Open your inventory, examine the box, and turn it over to open it and obtain the Car Key. The A Message from Mr. Raccoon file is on the counter.
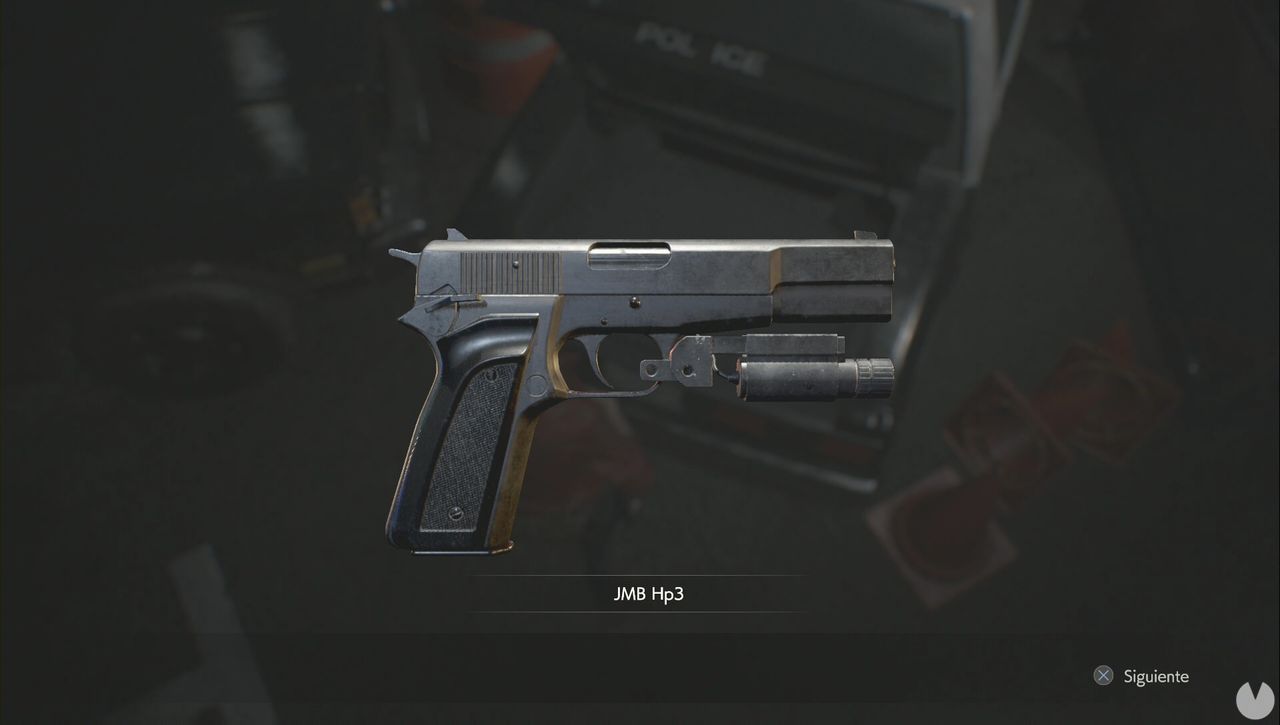
You can then go through the door at the back to enter the firing range itself. In one corner, beside the body leaning against the wall, you will find Flame Rounds/Shotgun Shells. Now return to the Parking Garage, examine the key, and press the button on the back. The lights on a police car will flash and its trunk will open, allowing you to obtain the JMB Hp3 handgun / Gun Stock (Matilda).
Unfortunately, you now need to head south through the hallway toward the Kennel, which is where the Licker went if you are playing as Claire. Remember to walk rather than run. Once you enter, the problem is that there are two Lickers, even though you can only see one.
If you are playing as Leon, there will only be three Zombie Dogs in the Kennel. Leave through the southeastern door and continue from Return to the Police Station.
Stay calm, keep close to the wall on your right, and move forward very slowly while collecting the High-Grade Gunpowder (White). Now move to the left and, once again, remain calm: the Licker will hear you when you get close, but it will not see you. Walk out of the room, and when you return, it will have moved to the far wall.
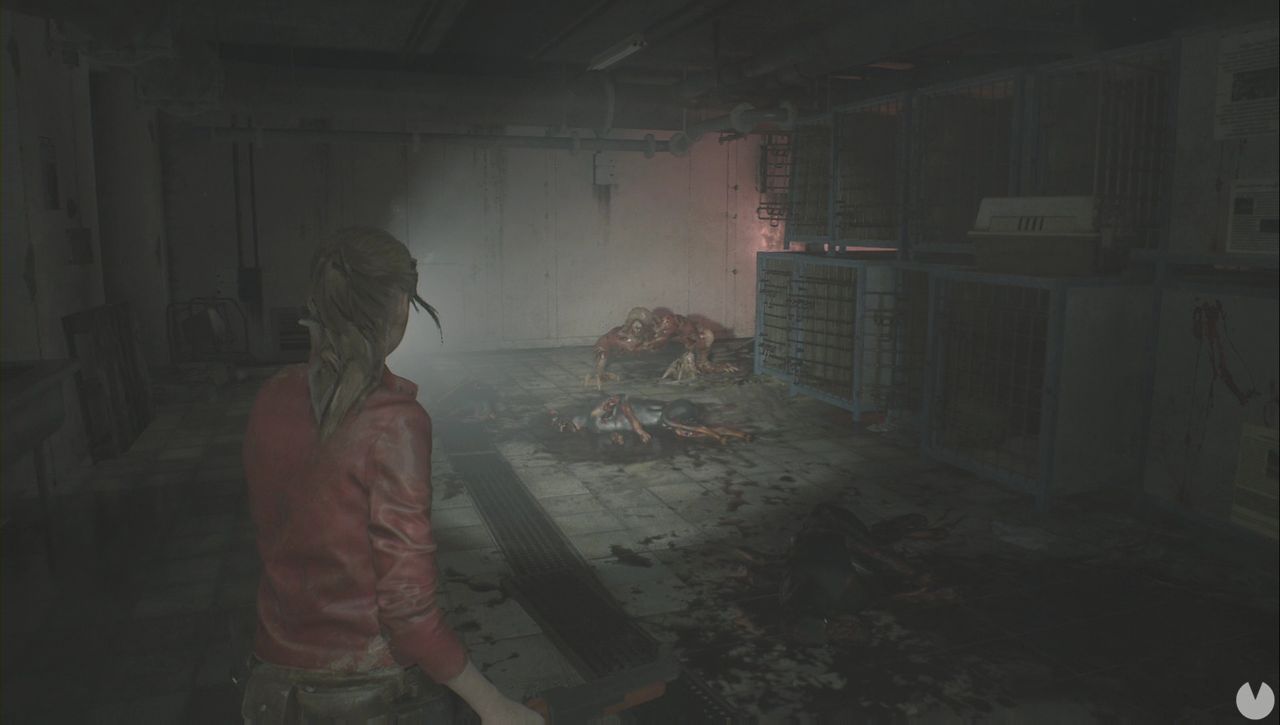
Here comes the tricky part: you need to lure the Licker toward you, move close to the door through which you entered, shoot it, and then flee to the Parking Garage. The creatures cannot reach you there, so both of them will return to their original positions. If you are playing as Claire and have the Grenade Launcher, you may be able to kill one of them outright.
Once you reach the Parking Garage, the monsters will return to their positions. You simply need to repeat the process: enter the room, carefully shoot one of them in the head, flee, and repeat. Obviously, if you do not have a powerful weapon with which to kill them, this will unfortunately take quite a while. Once the way is clear, leave through the southeastern door.
Enter the Morgue. As soon as you do, you will see the Autopsy Record No. 53477 file on your left. Before doing anything else, open the refrigerated compartment farthest to the right from the entrance—the one in the southeastern corner—to collect a Flash Grenade. Now go to the other end of the room and open the second compartment from the left. The corpse is holding the Diamond Key in its right hand.
Now run! Leave the room, cross the Kennel, and head to the Firing Range. A Licker will attack you along the way if you are playing as Claire, but since you came prepared, you can shove a Flash Grenade into its mouth. Once inside the Firing Range, use your new key to open the locked door and obtain a Roll Film.
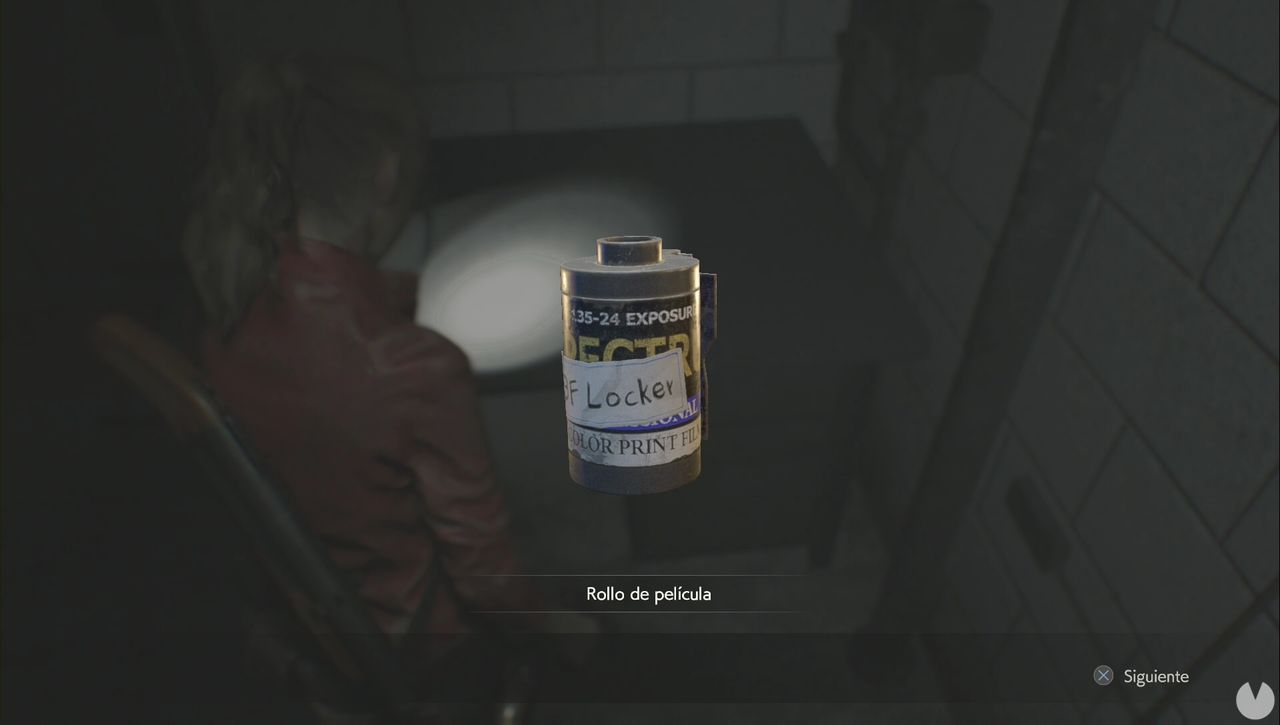
If you are playing as Claire: Return to the Parking Garage and leave through the northeastern door, the one leading to the elevator, so that you can unlock the door there as well. Inside a locker, you will find the Shoulder Stock (GM 79), which improves the Grenade Launcher. There is some High-Grade Gunpowder (White) in one corner and a lever in the middle of the room that activates the elevator you are about to use. Continue from Police Station 2F.
If you are playing as Leon: Leave through the southwestern door of the Parking Garage. In the room on the left, you will find Handgun Ammo and the Police Station B1 Map. Now continue to the end of the Jail to trigger a cutscene.
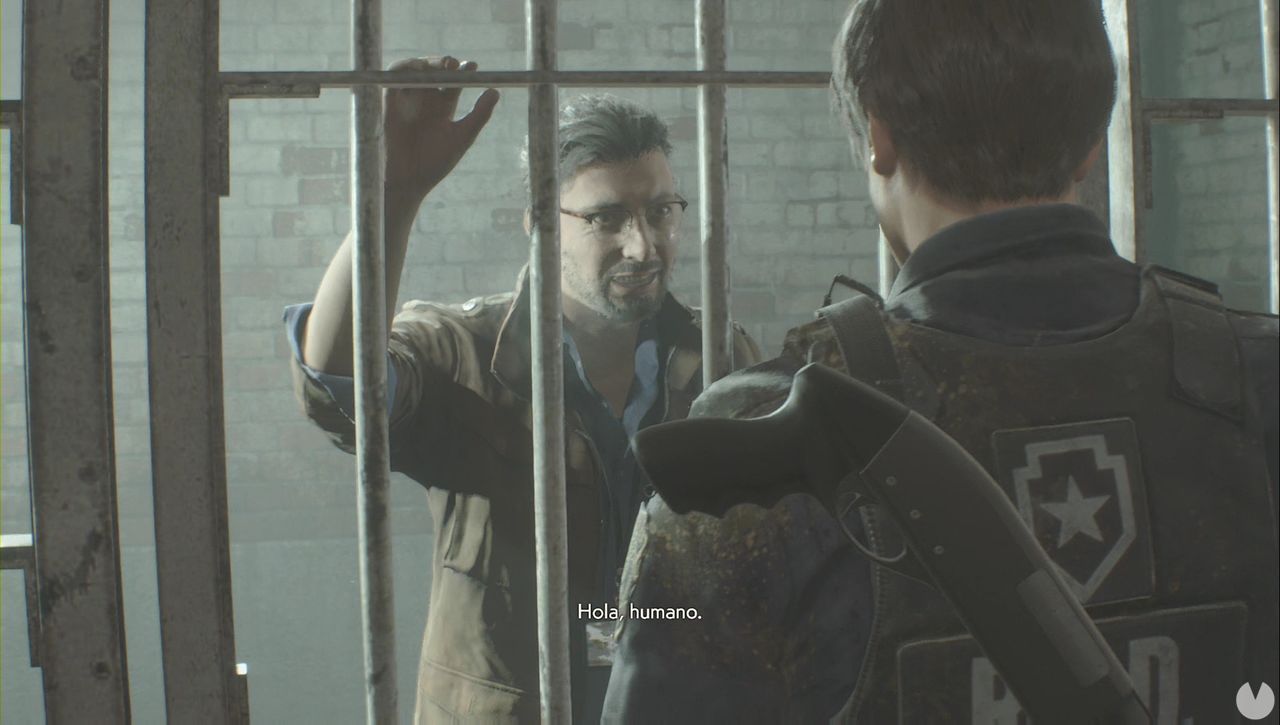
Afterward, collect the Square Crank and the Memo: Jail Power Panel file from the table beside his cell. You now need to return to the Kennel, cross over to the hallway outside the Morgue, and use the crank to raise the shutter. Enter the Generator Room to collect some Gunpowder.
Inside an orange box opposite the Gunpowder, you will find the first Boxed Electronic Part. Examine it to open the box and obtain the first of the Electronic Parts you need. Now go to the back of the room, where you will find a power panel puzzle that you must solve to restore the electricity. Simply flip switches 3 and 4 so that they turn green.
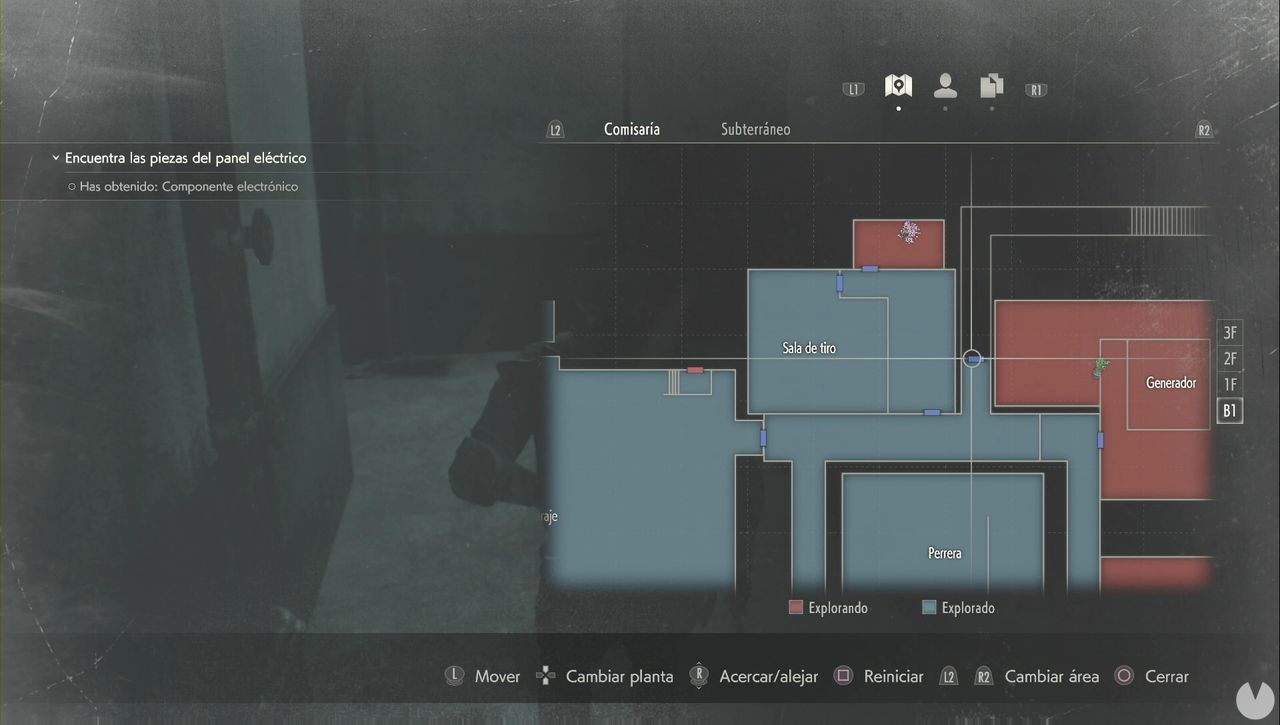
After activating it, you will encounter a Zombie Dog. Retrace your steps and leave through the northern door to return to the Police Station and search for the other Power Panel Part.
Cross the balcony, collecting the Green Herb along the way, until you reach the Chief’s Office. Collect the Copy of Emails to Chief Irons file from the desk, the Taxidermy Log from the central table, and the Submachine Gun Ammo.
Now go through the southern door into the Private Collection Room. You will find some High-Grade Gunpowder (White) on the first shelf. At the back of the room, you will find the Repair Shop Letter and, beside the owl, a relief that you must examine and turn over to obtain the Heart Key.
If you examine the gate in the room, you will see the key card behind it. The problem is that the gate is locked, but if you have read the file, you already know where you need to go to find the Power Panel Parts.
