

The Demon on the Mount is the eighteenth chapter of the story in Onimusha: Way of the Sword. It begins at the end of Okuni's Kabuki Dance, after clearing the Rifts on the sandbar. As usual, throughout this spoiler-free walkthrough we'll help you complete every story chapter 100%, making sure you don't miss anything along the way and providing tips for the more difficult situations.
We're about to begin the last major exploration of Kyoto. We now have access to the entire map and, although not absolutely every mission and collectible is available yet, we're going to take a thorough tour of all these newly opened areas. Remember that we'll explore and collect Treasures and Oni Glyphs first, then move on to Lion Dogs, missions and everything else. We'll start from the northern side of the sandbar, where the previous mission ended. Some material chests may also have appeared around the market stalls, so feel free to take a look.
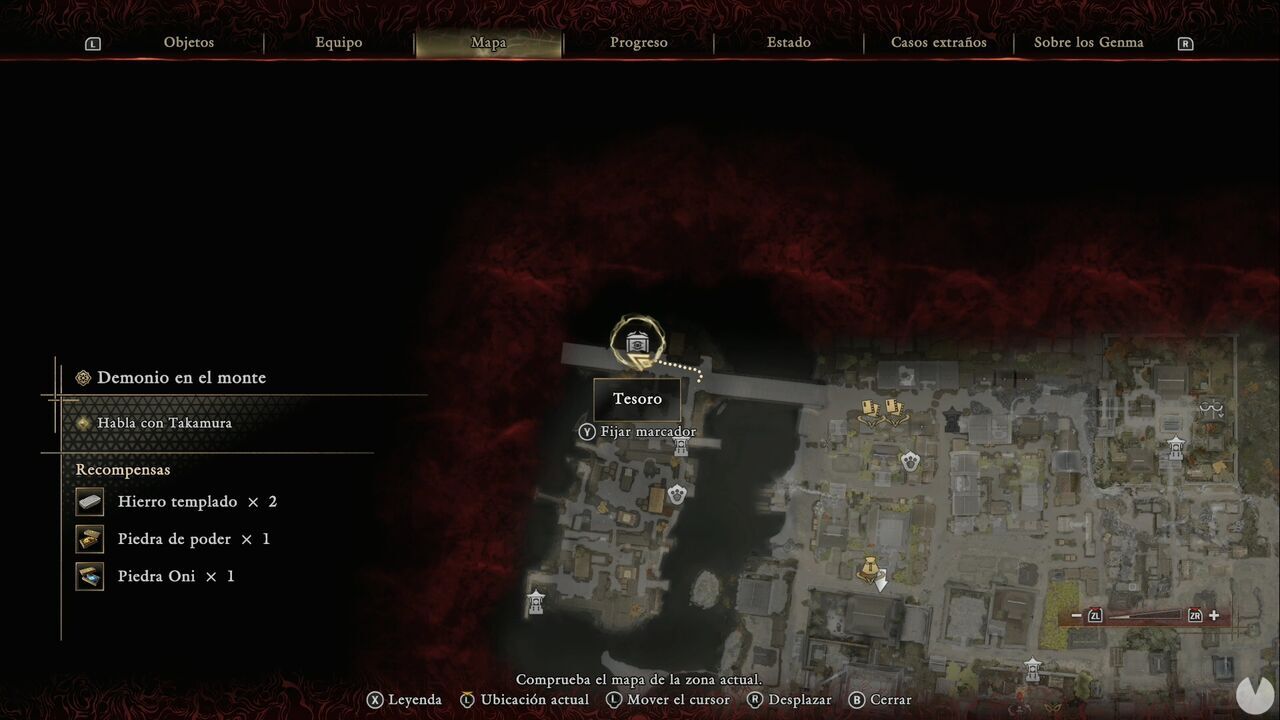
Start by heading to the northwestern part of the sandbar. At the top of the watchtower, you'll find the next Treasure. It contains a Power Stone.
Now cross the bridge to the east and head south as soon as you can. You'll soon spot a small dock with enemies and a ladder that lets you reach the rooftop. There you'll find a wall-running section, so use it to cross.
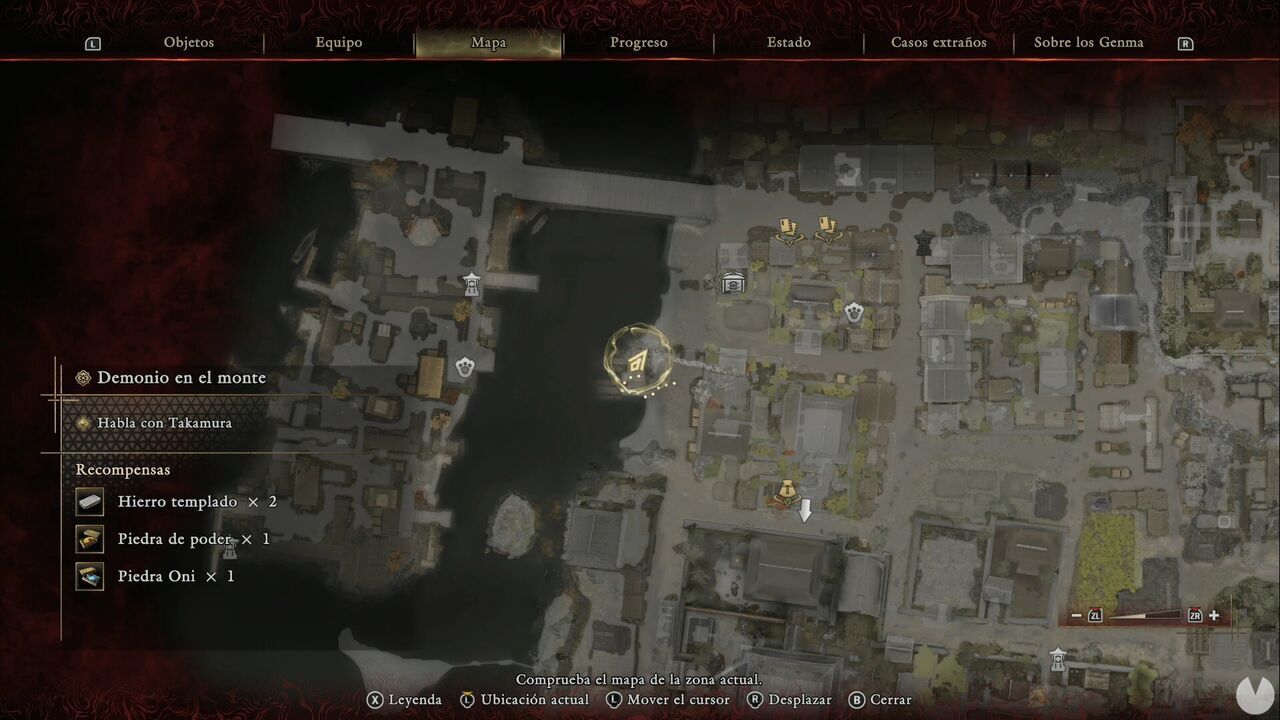
This takes you into an enclosed courtyard with several enemies. Inside the building you can pass through is a chest containing Cotton Cloth x2. Take the eastern exit until you reach the courtyard of the adjacent building. Defeat all the enemies and open the chest containing Iron in the northwestern corner of the courtyard.
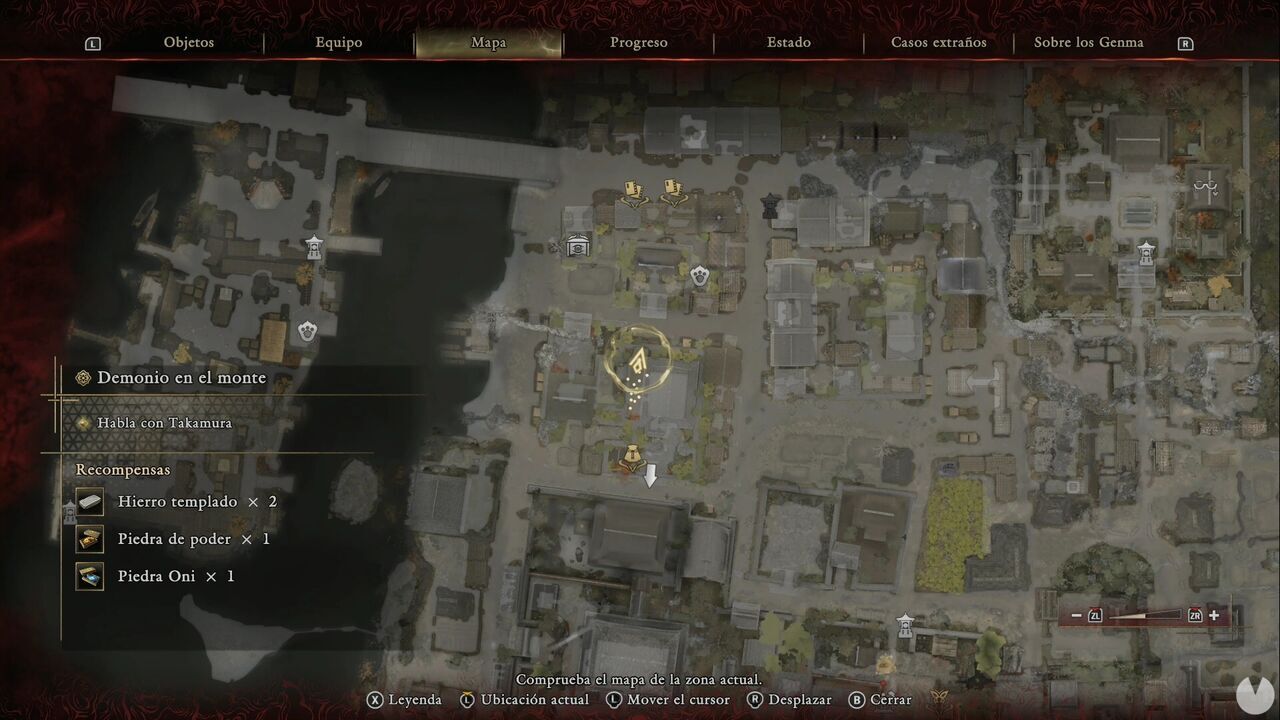
Now take the southern exit from the building and you'll find another Treasure in the courtyard. It contains a Skeleton Hozuki.
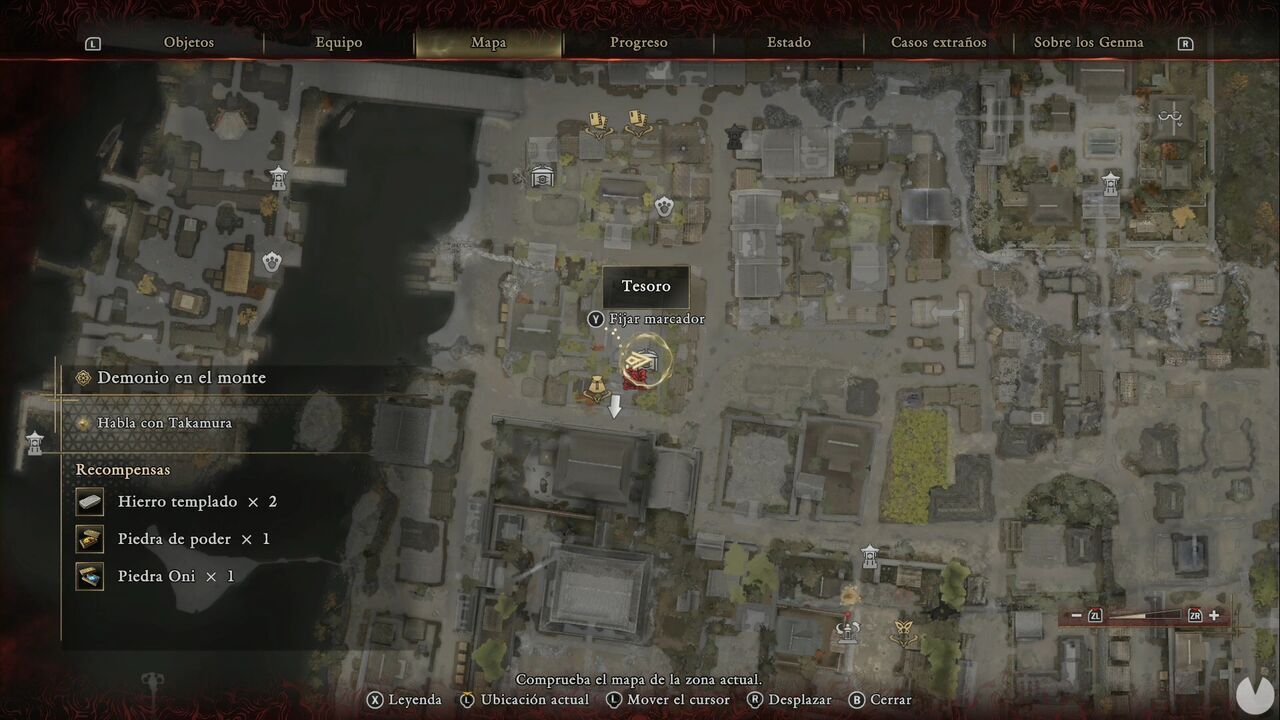
Next, destroy the Malice Barrier and activate Oni Glyph #21 to reveal Treasure #54. You'll obtain the Oni Cloth (Resistance). While you're here, open the shortcut just in case, then return to the eastern end of the bridge.
Follow the row of buildings along the northern side until you can enter one with a ladder. Climb it to reach the upper floor, where you'll find another Treasure containing Fine Silk Cloth.
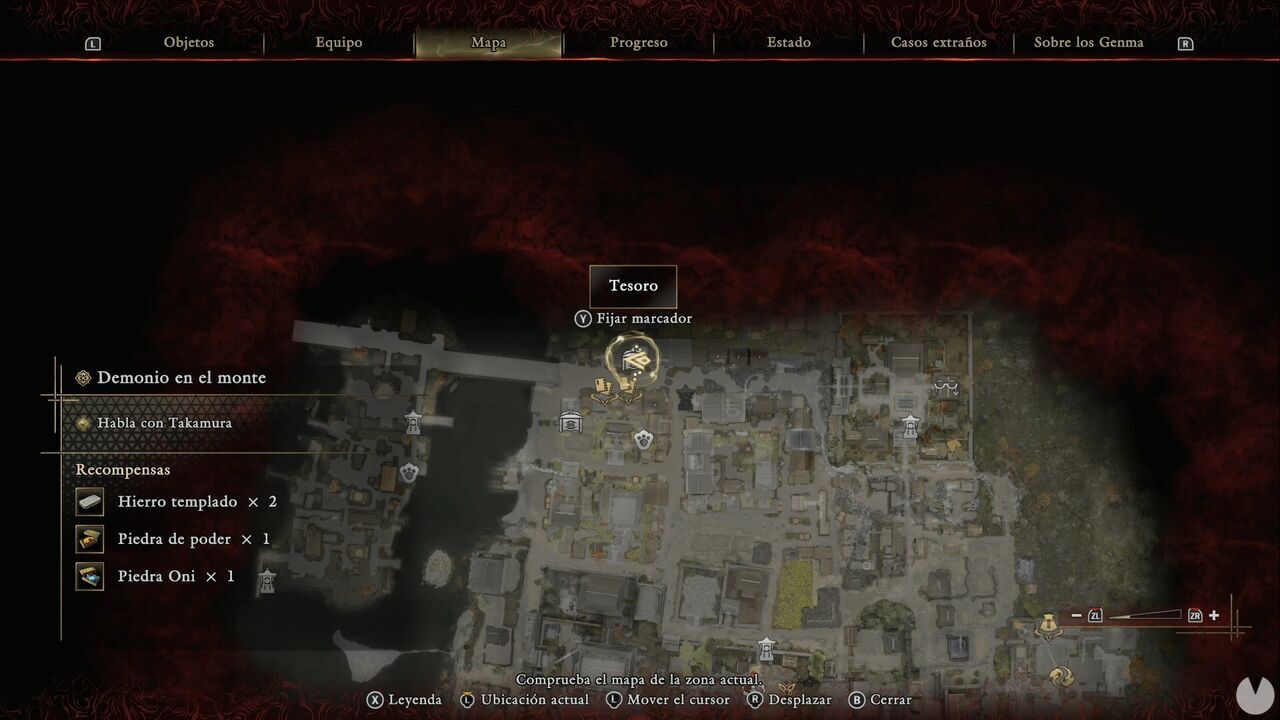
Continue east until you reach the Shijo Street Spirit Mirror. There's a Malice Barrier right beside it, so you can't continue farther northeast from here yet.
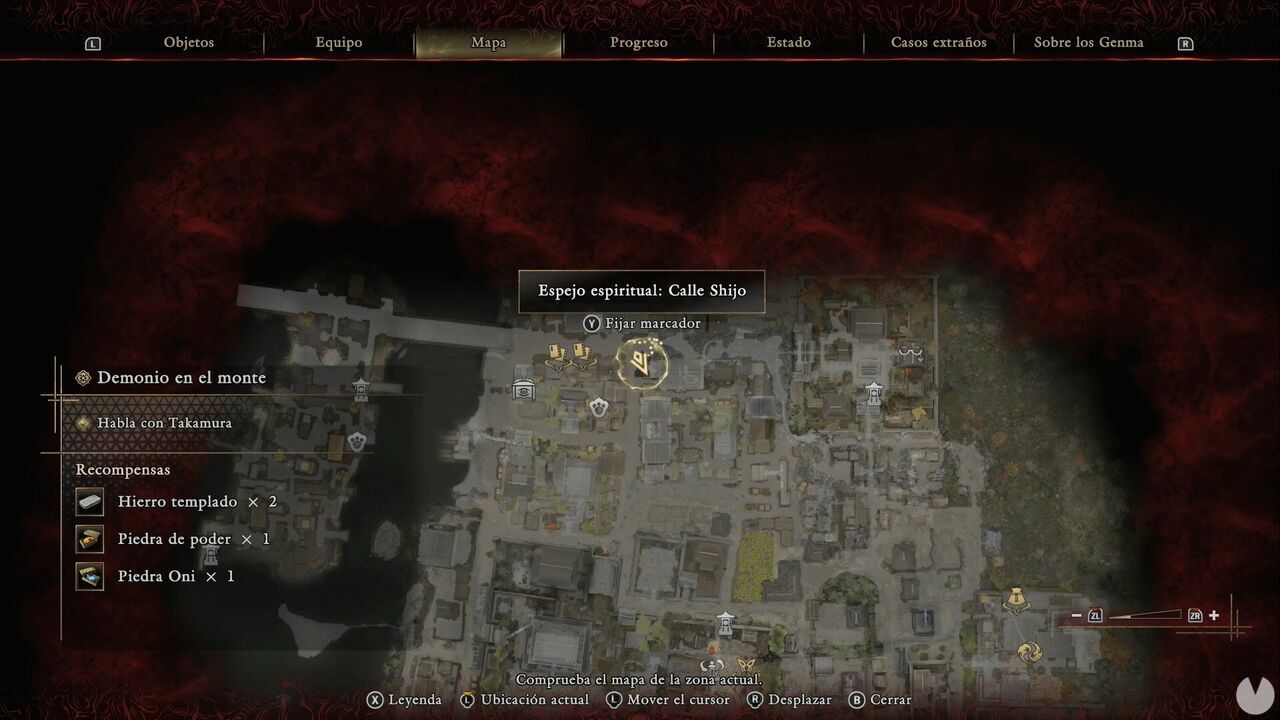
Now we need to check the southern side of the houses along the northern street and start clearing this entire sector. Inside the first house southeast of the bridge is another Treasure. It contains an Oni Stone.
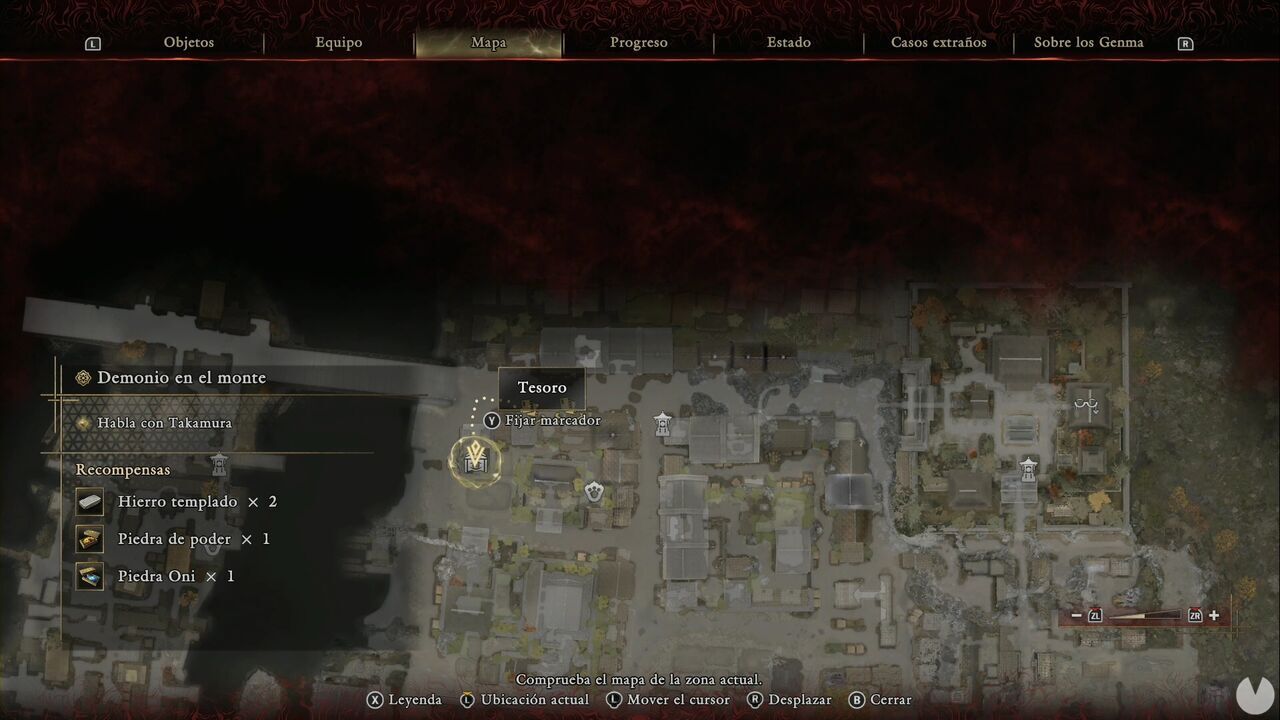
Since you already know how little we enjoy wasting time — especially yours — we'll save you the trouble of searching every house from the street. Go around the Treasure building from the west and head east, following the southern side of the row of buildings on the northern street. You'll soon encounter a group of enemies and a chest containing Iron and Tempered Iron.
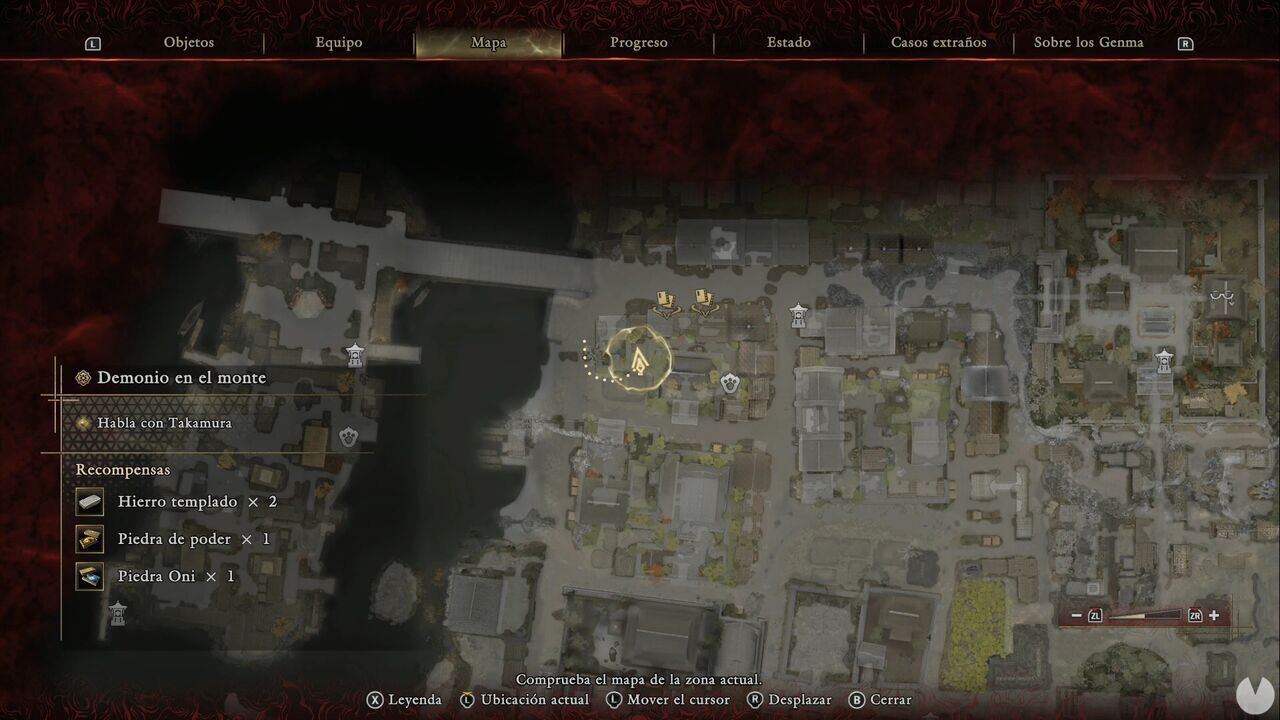
Continue directly east from the chest through an alley. You can crawl beneath some straw bales, go around the wall and climb a ladder into an enclosed courtyard. Inside the building is another Treasure. It contains Tamahagane.
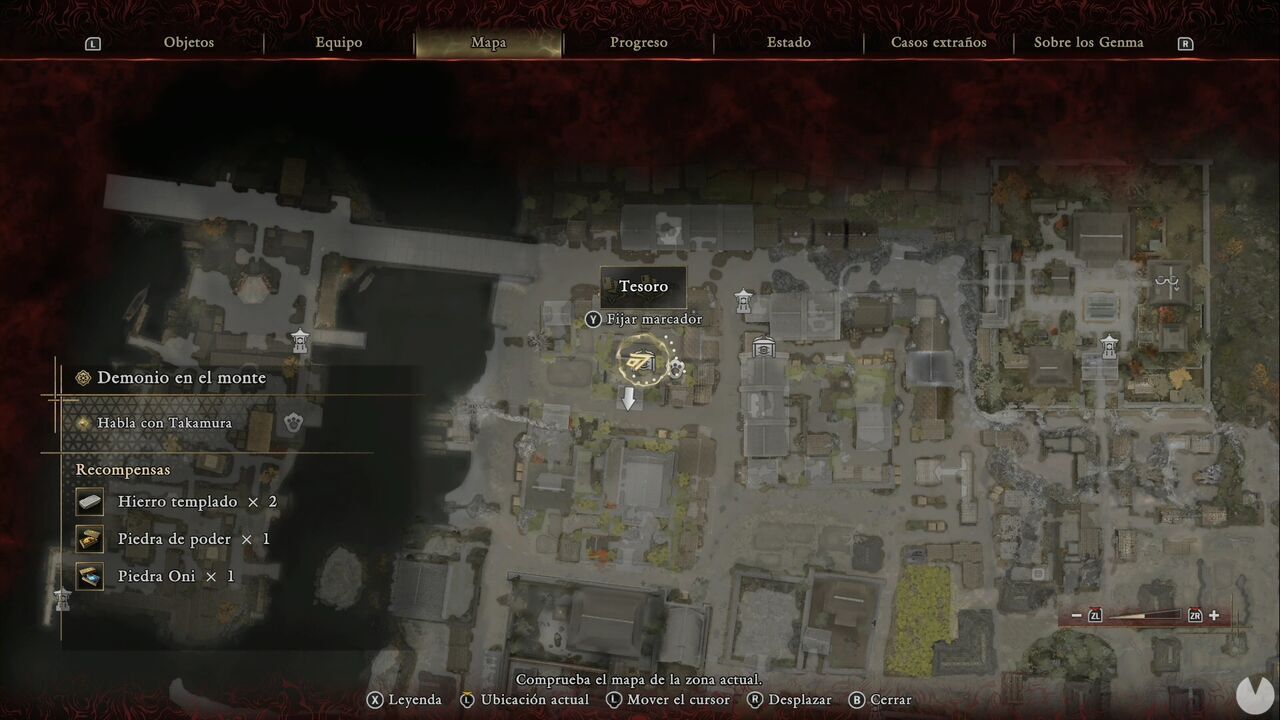
Open the courtyard gate. We're now going to start moving south from the Spirit Mirror we activated a few minutes ago. Begin by entering the houses on the eastern side of the street until you find a chest containing Leather.
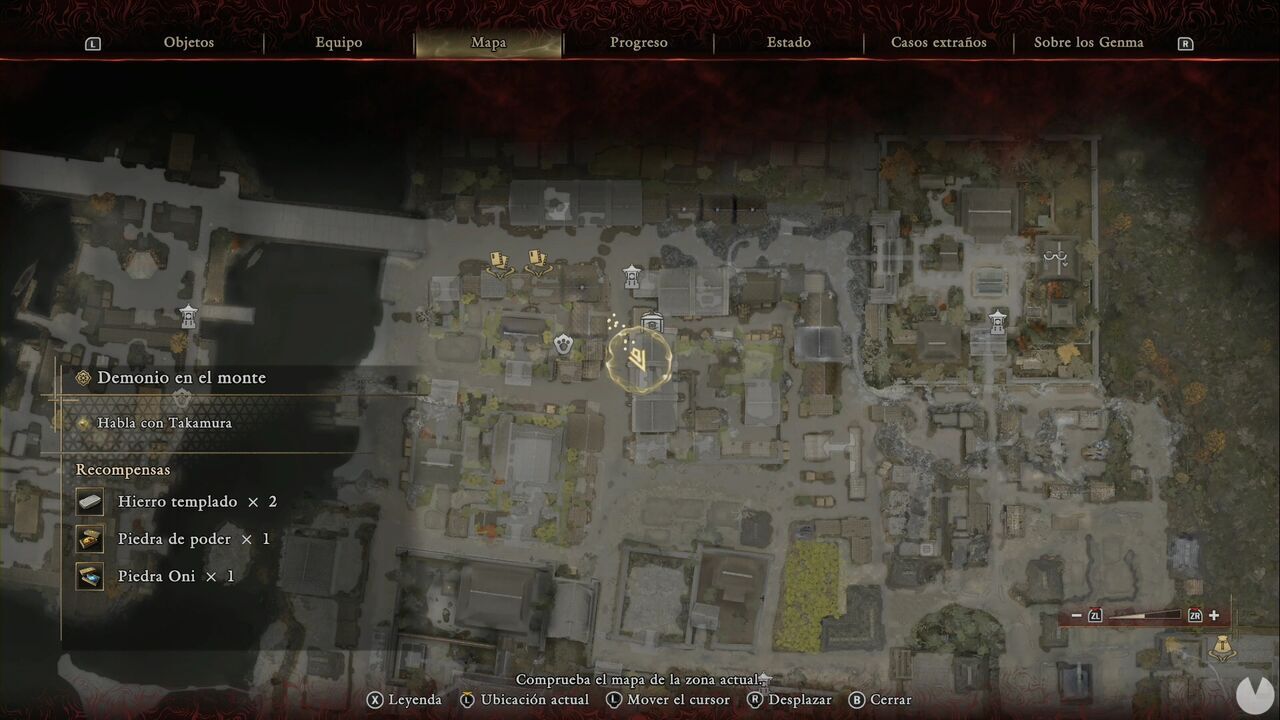
Inside the next house to the south, you'll find a chest containing Hempen Cloth. There's also a ladder leading to the upper floor, where you'll find a couple of enemies and another chest containing Cotton Cloth and more Hempen Cloth.
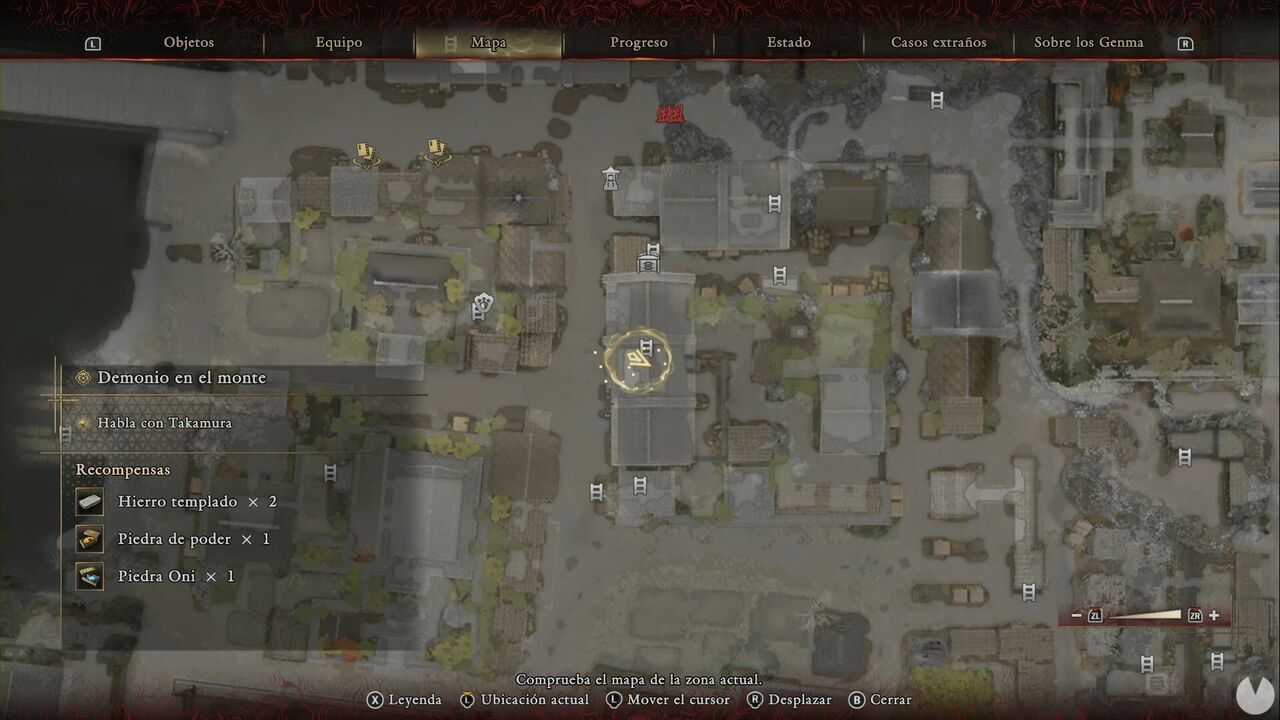
Continue south and turn east to find a cart with a chest. It contains Iron and Cotton Cloth.
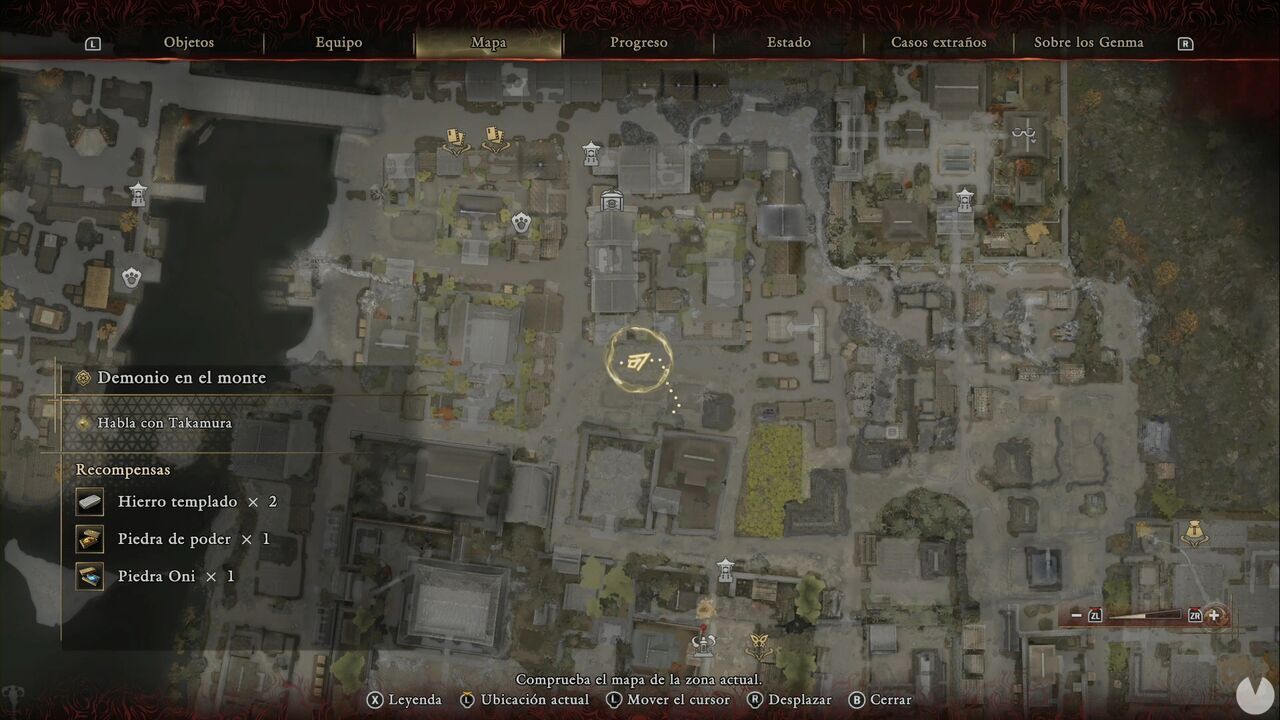
Directly to the southeast, behind a small building, there's another chest containing more Iron.
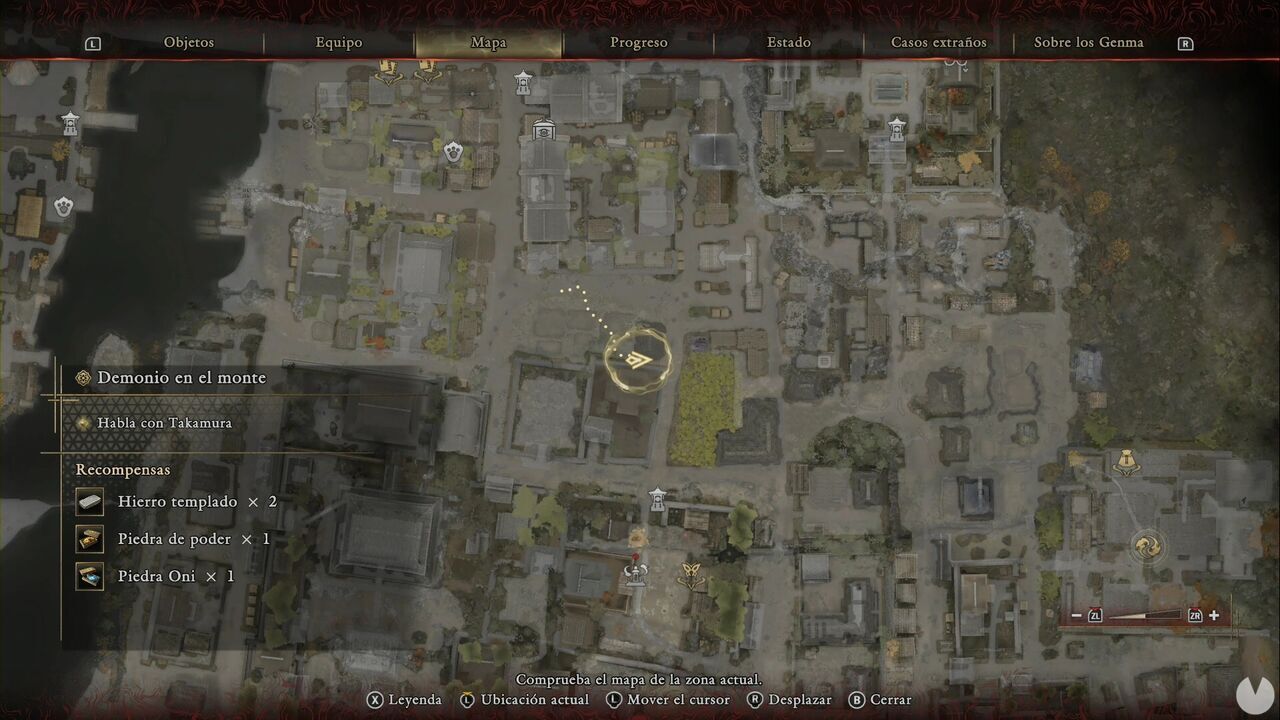
Head northeast toward a market area and find a chest containing Iron and Tempered Iron at one of the stalls.
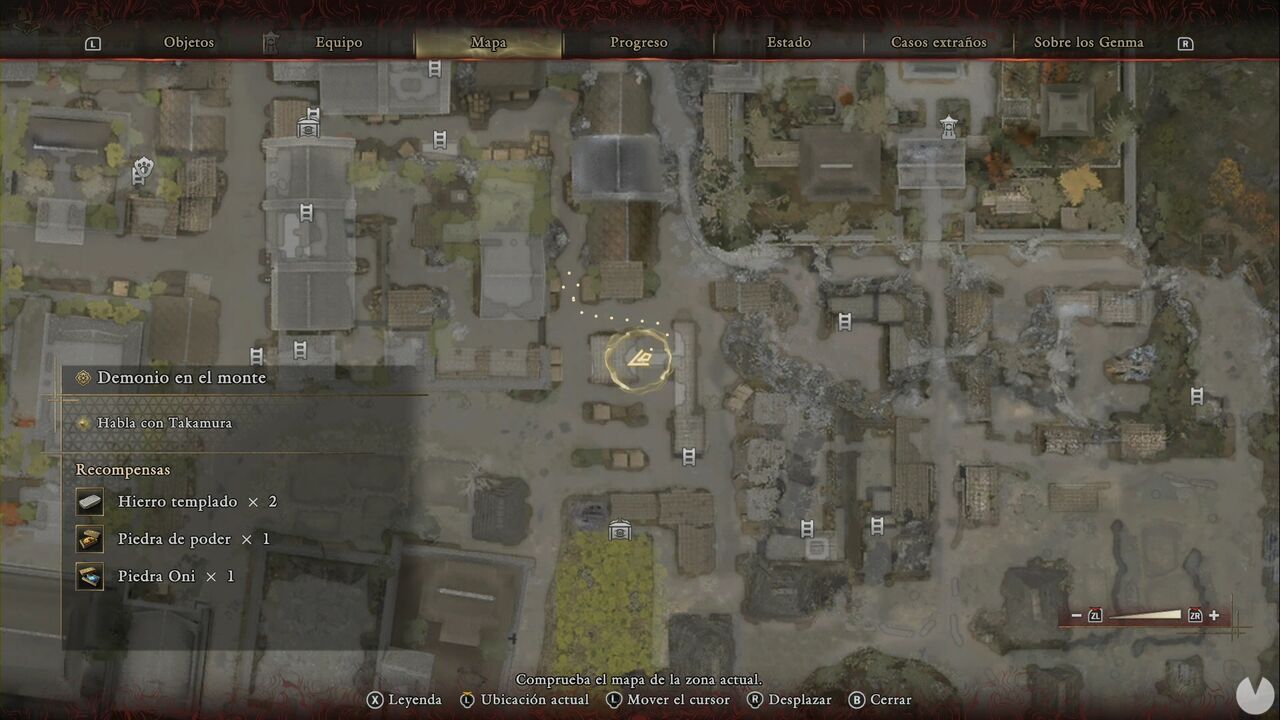
Look around and you'll find another chest at the neighboring stall containing a Whetstone. Continue north-northeast until you reach a blocked path. You'll find another chest containing Tempered Iron.
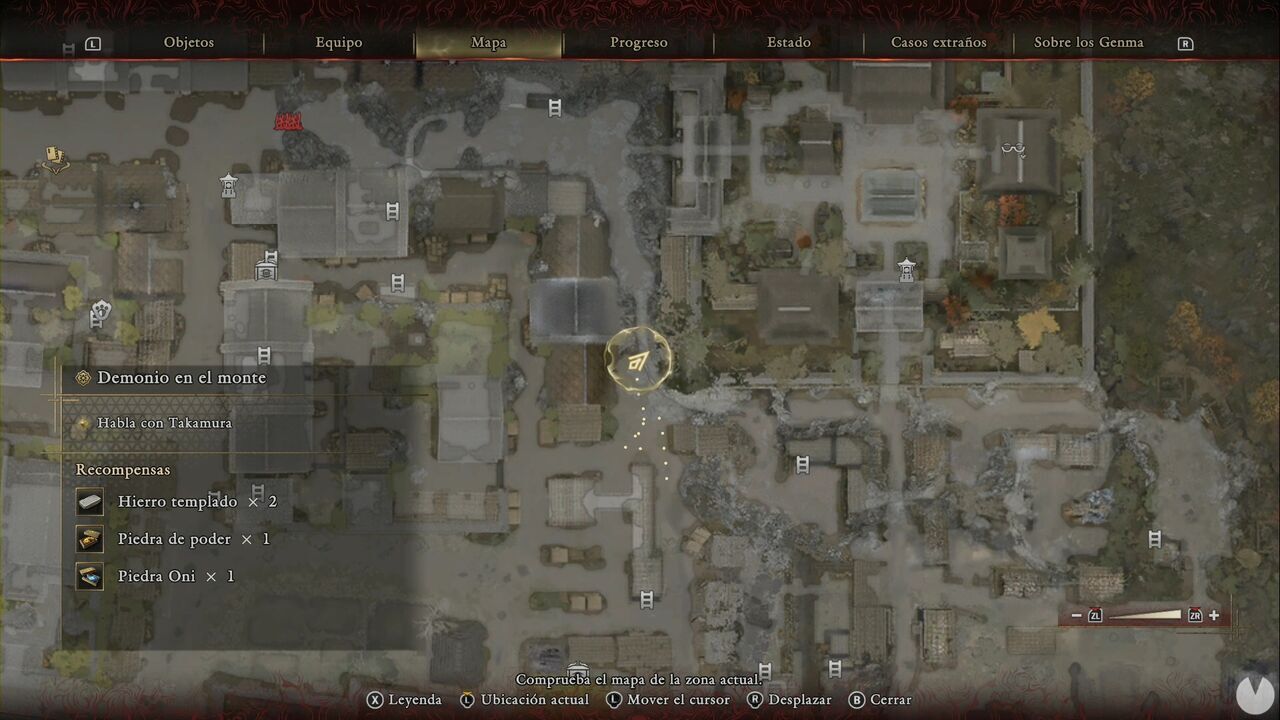
Continue along the street to the northwest, the one with several ladder icons on the map. Right beside the first ladder along your route, you'll find another chest containing more Tempered Iron.
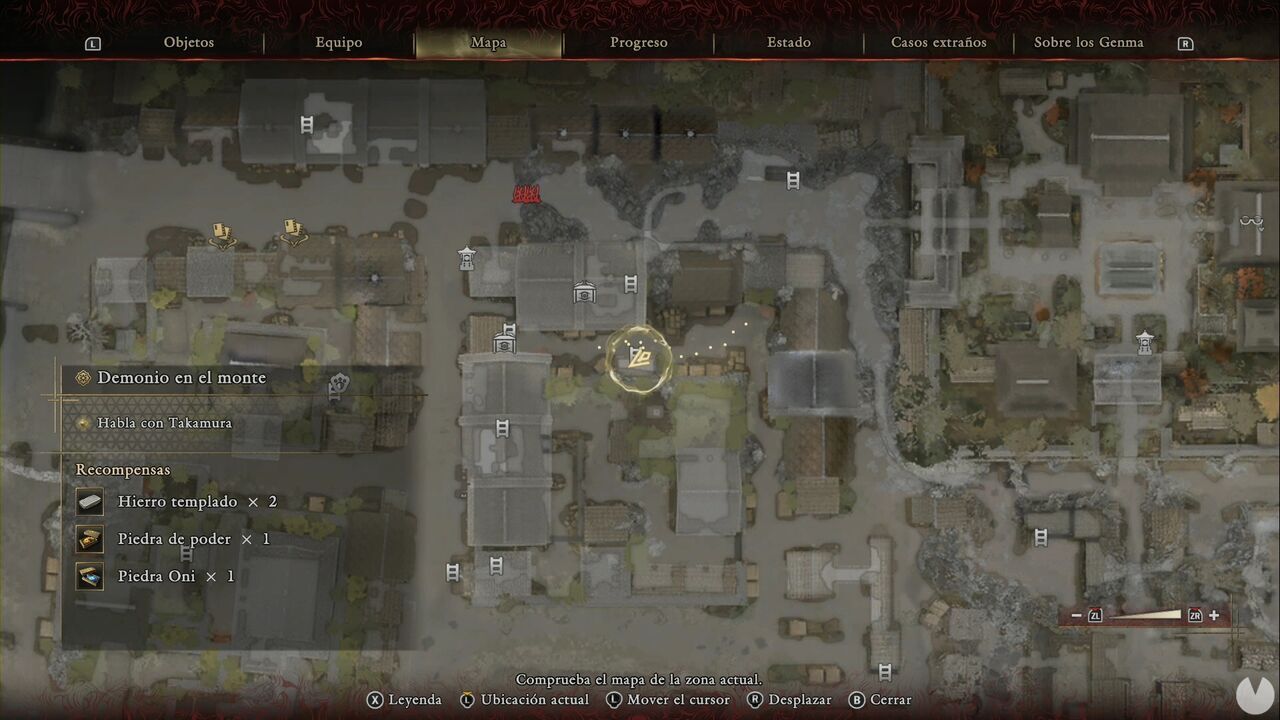
Continue to the end of the street to find Treasure #58. It contains Tamahagane.
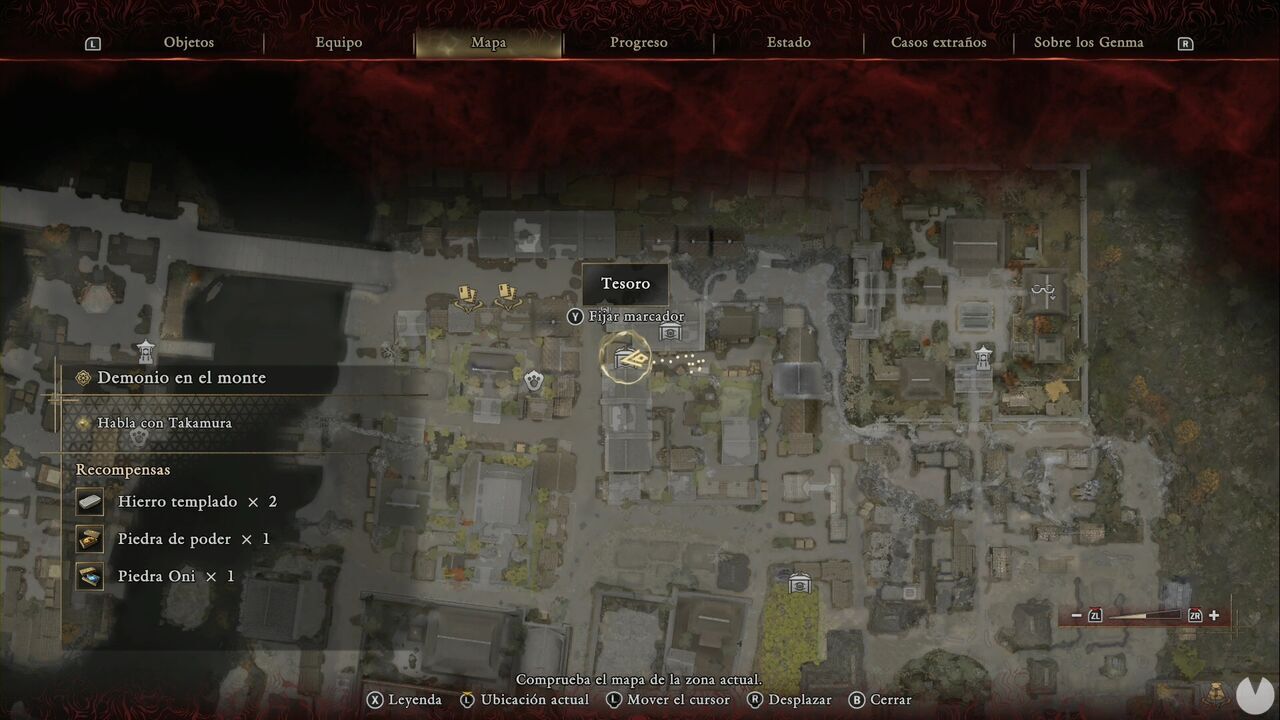
The compound to the north isn't accessible yet. Backtrack and head south through the market, weaving through an alley north of the area marked in green above Yorimasa's Altar. There you'll find another Treasure. It contains a Power Stone.
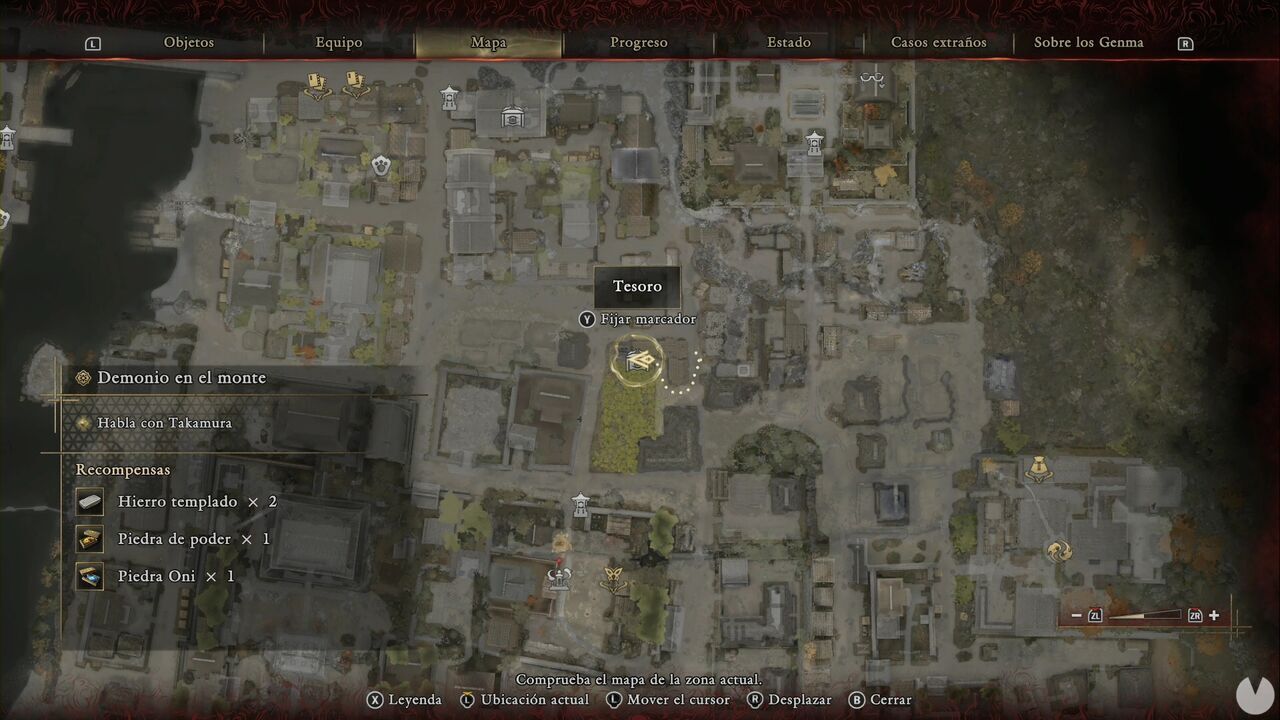
Now head toward the ladder icons east-northeast of this green area, south of the shrine where Lady Murasaki is located. Approach from the south and climb the first ladder, then turn left to reach the next Treasure. It contains Oni Stone x2.
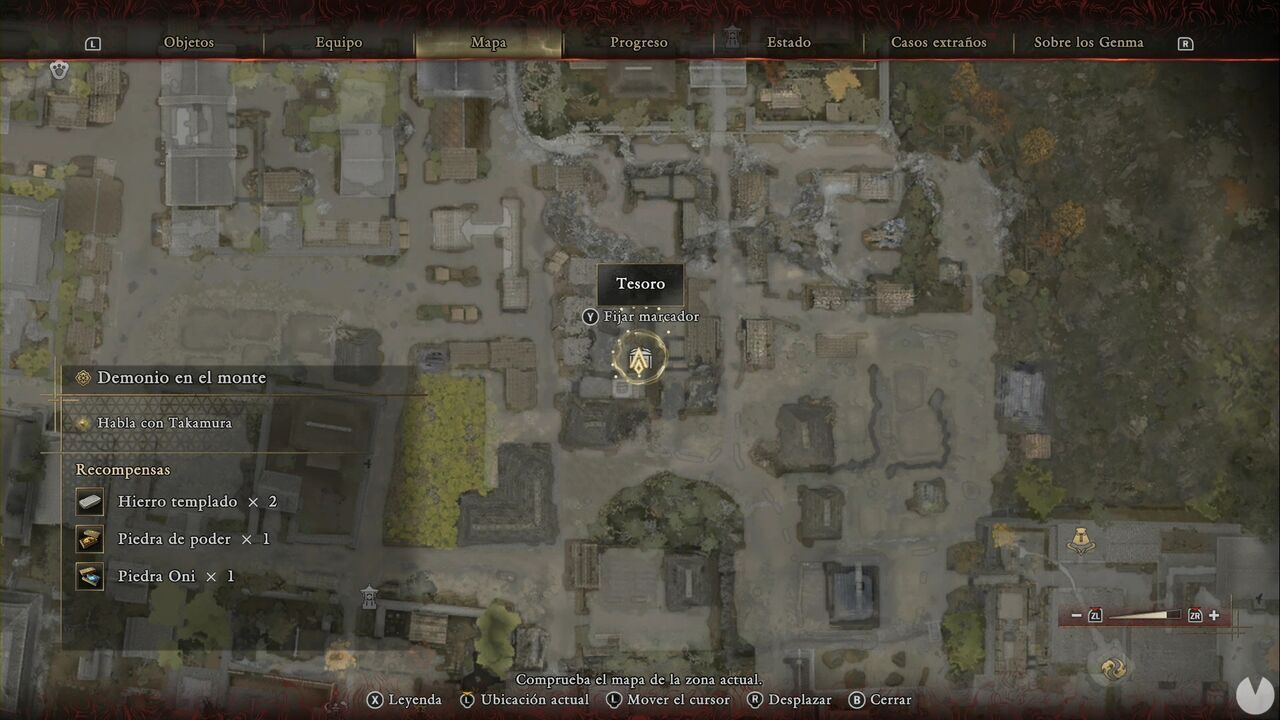
If you repeat the route, there's a chest just north of the Treasure containing Iron and Hempen Cloth. The Yasaka Shrine area is currently "sealed off," so you can't head in that direction yet. Make your way to the area southeast of Yasaka Shrine, where you'll find Treasure #61, which contains Fine Silk Cloth.
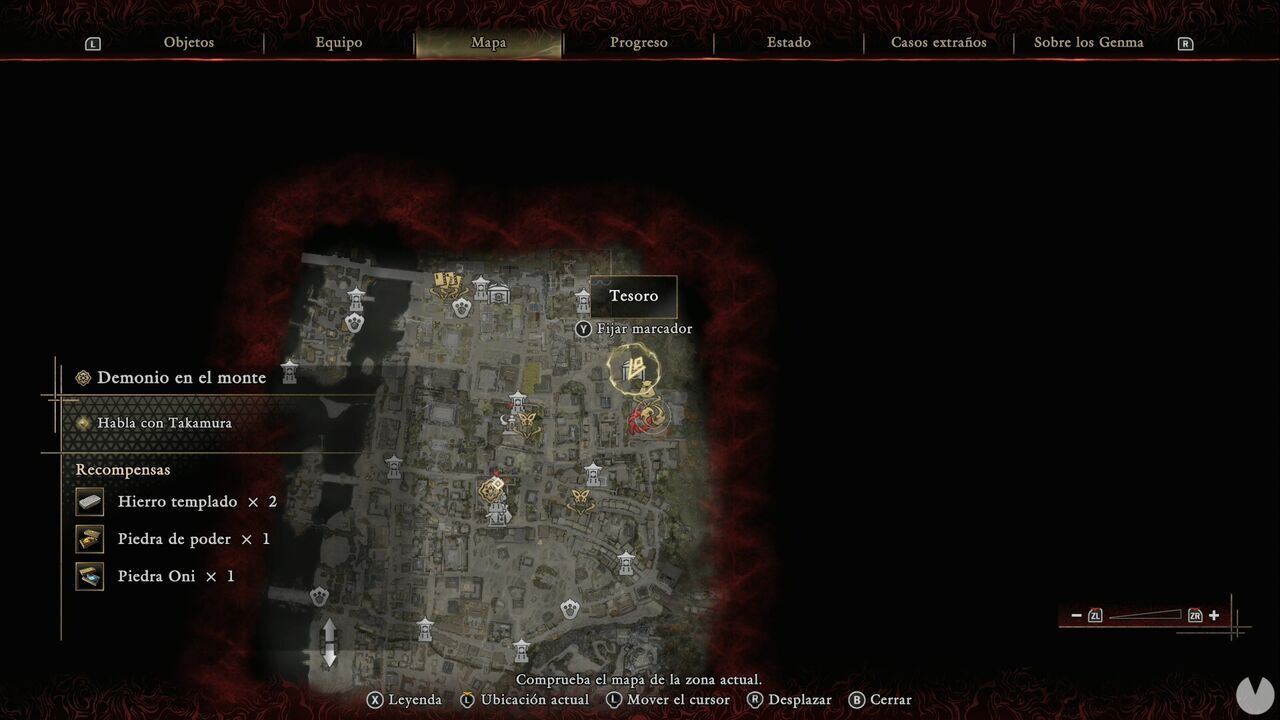
Note: this residential area before the Treasure is the only place where we found inconsistencies with material chests on our first visit. Unlike other areas, where the chests and their contents were always fixed, there appear to be two or three material chests scattered among these houses, with Iron, Tempered Iron, Leather and Hempen Cloth among the possible items. Since we can't give you more precise information, we'd rather not make any stronger claims about them.
Continue south and head east toward the Oni Gate and Hozuki Pouch icons when you reach them. There'll be a barrier. If you climb the ladder onto the scaffolding where the enemies are shooting from, you'll find a chest containing Iron.
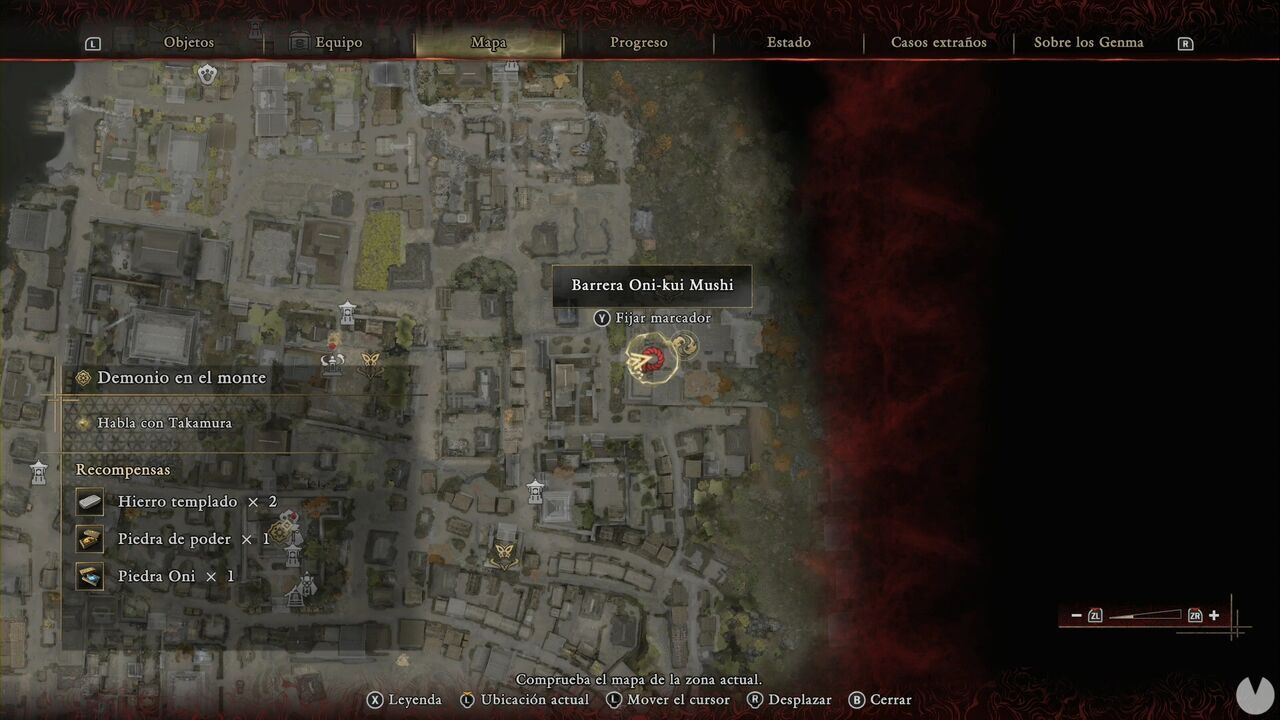
Unlike the other barriers, there's only one Weaver here. Go beneath the wooden scaffolding to the left of the gate you entered through, climb the ladder and you can drop down beside it. Now enter the compound and head to the southern section, where you'll find a Byakue that you should eliminate. Then go through the door it emerged from, climb a ladder and drop into the southeastern courtyard to deal with more enemies.
Once they're gone, you'll find a new Treasure in the northeastern part of the courtyard. It contains a Skeleton Hozuki.
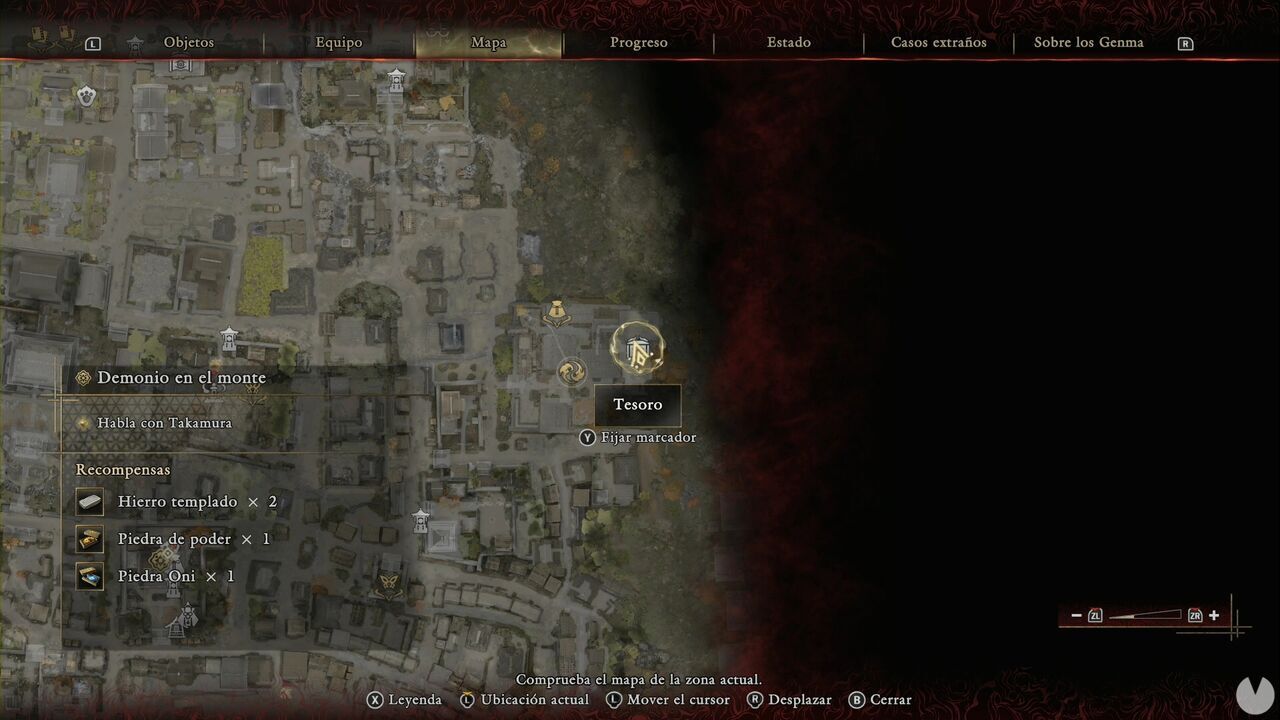
Head to the northwestern side of the courtyard to find a crawlspace leading into the central section. Head south and you'll reach a chest you may have spotted from the other side of the temple. It contains Leather x2.
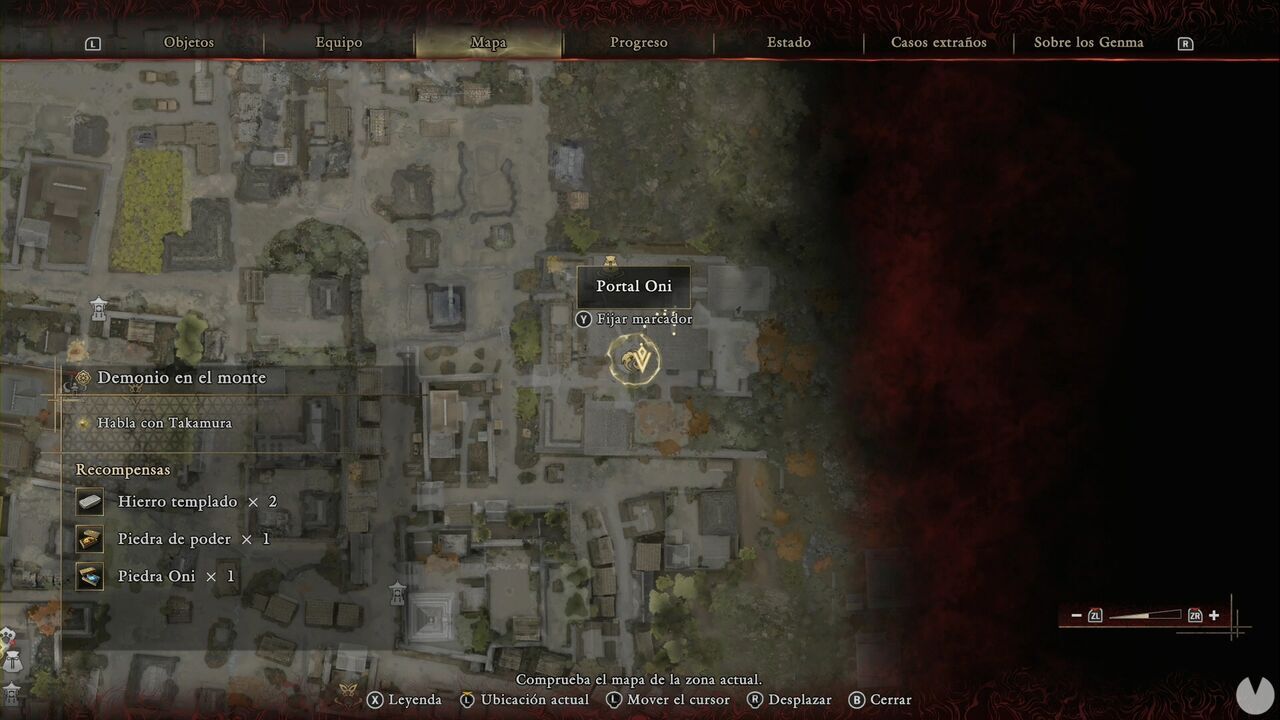
Now head to the northwestern corner, enter the building and find Oni Glyph #22. Activating it reveals a Treasure containing the Oni Cloth (Awakening).
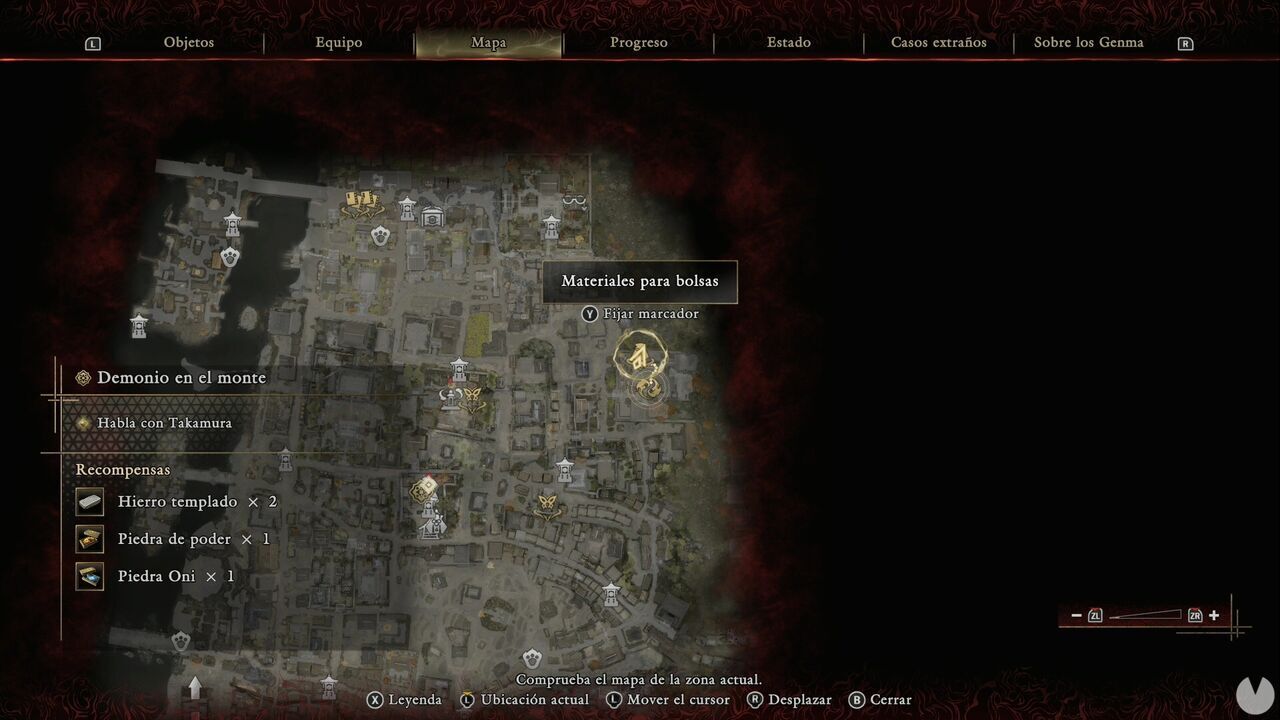
Now open the door leading to the northwestern corner, where you'll find a well. Drop down to find a chest containing Tempered Iron. Continue to the end of the well and activate the Oni Glyph that opens Oni Gate #3.
We've finished the general exploration, so now let's move on to the more specific content:
Go and speak with Takamura at Rokudo-chinnoji Temple to advance the mission.
Before continuing, there are just two small things left to do. First, find Kyoto Lion Dog #16 in the rear courtyard of Rokudo-chinnoji Temple. Second, speak with Okuni to craft new Hozuki Pouches using the cloths we collected earlier in the mission. You'll only be able to make the Hozuki Pouch: Resistance for now; the second one can't be crafted yet. Enhance your equipment and abilities, visit the Practice Ground if you want to test anything new, then use a Spirit Mirror to travel to Mount Oe Entrance.
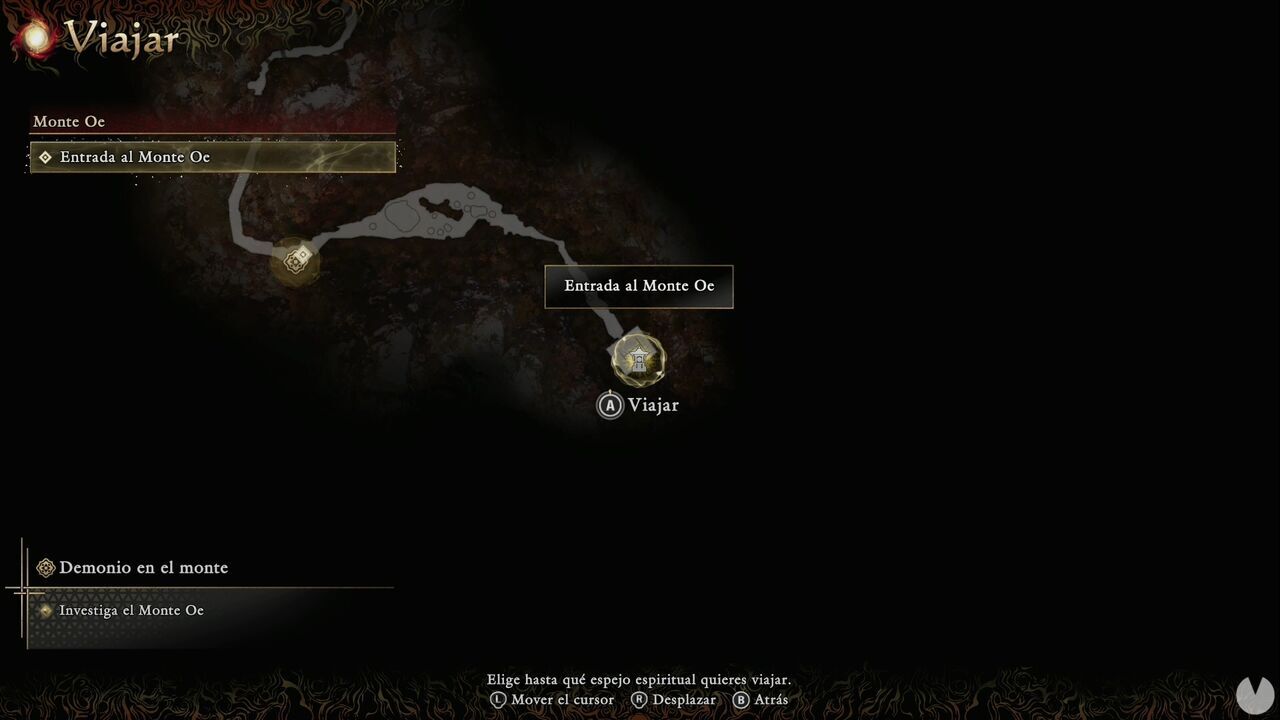
Follow the trail until a cutscene begins.
Follow the trail. There isn't much to say for a while. Simply continue along the only available route until you reach the Ruins Area I Spirit Mirror.
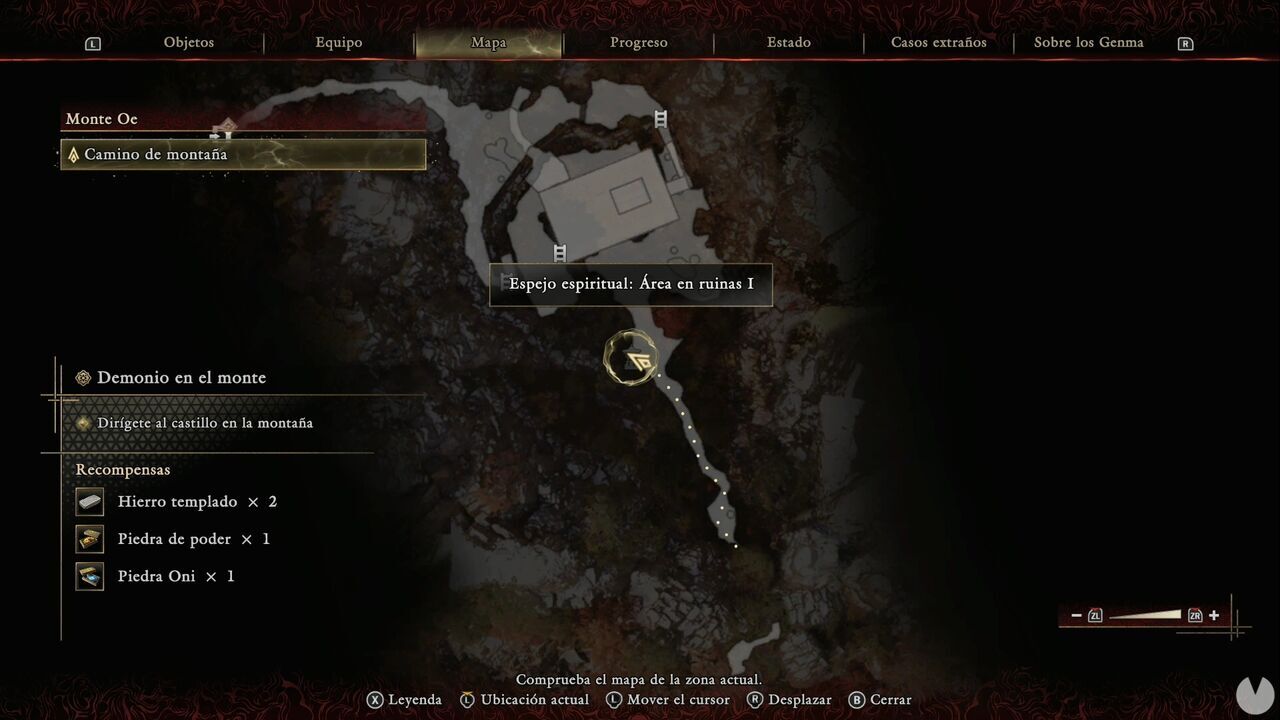
Open the gate to properly begin exploring the area. Start by going around the courtyard toward the northeast. At the end of the accessible path, you'll find a chest containing Iron.
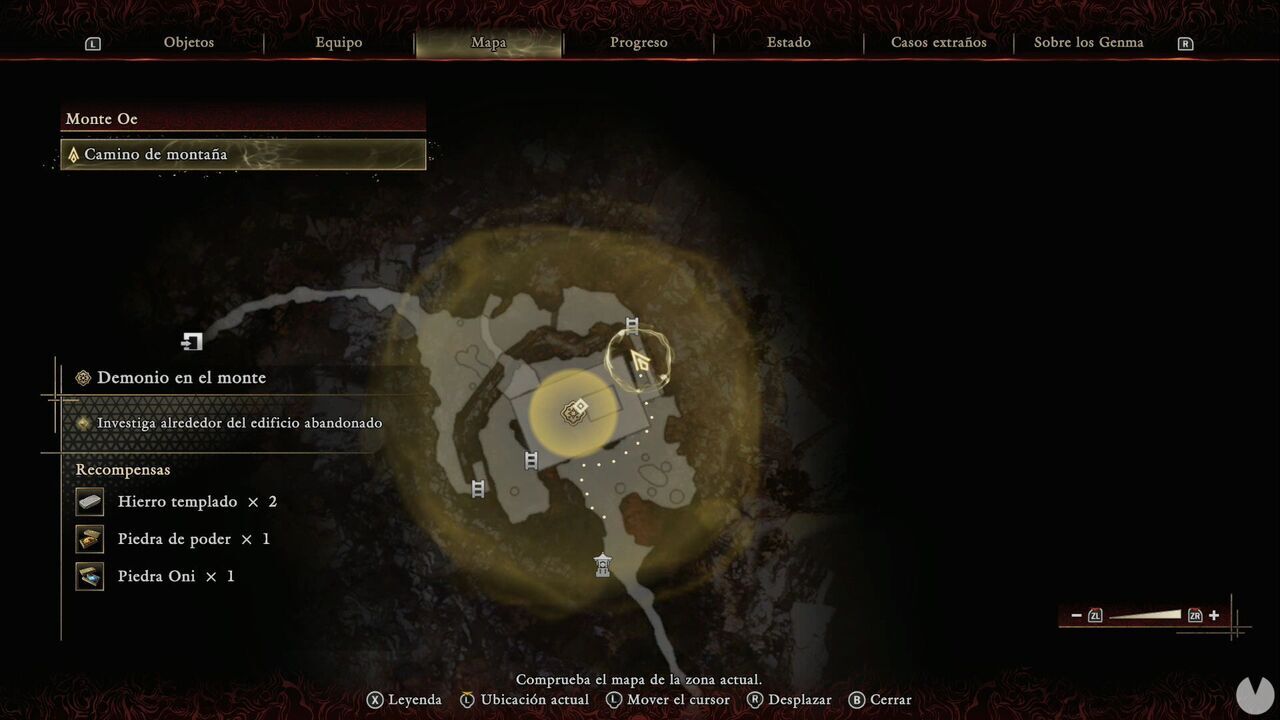
Open the building's door and go up to the upper floor, where you'll face a group of new enemies. Defeat them, open the door and climb the ladder. Don't worry about the locked door on the ground floor; you'll open it from the other side later. Continue until you encounter more Genma and a barrier maintained by two Weavers. You'll find the first one by following the southwestern route. Simply climb down the ladder, wall run across, destroy the Malice Barrier and cross the cave to reach the creature.
Now, from the cave, move onto the roof of the ruined building and climb down the southwestern ladder into the western courtyard.
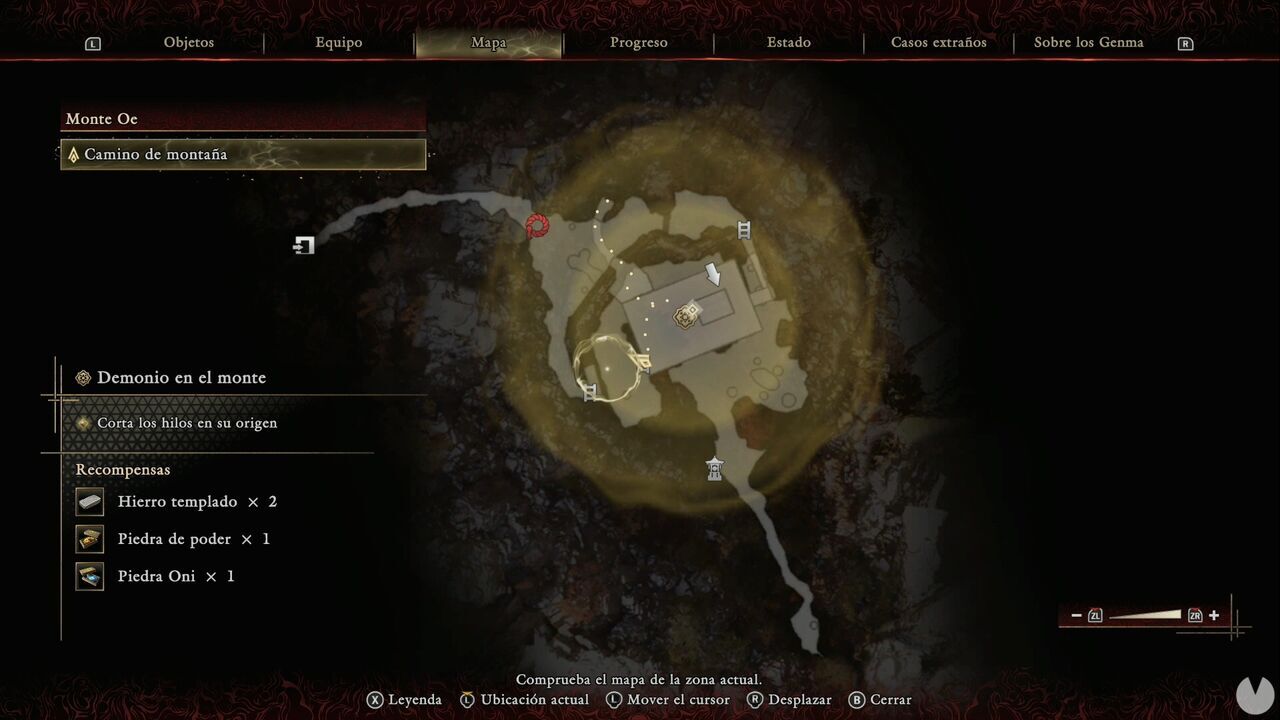
You'll find the other creature hanging beneath the platform you used to enter the cave. Now try to leave through the northern courtyard and a Byakue will appear. Defeat it, and make sure you open the chest containing Cotton Cloth beside the ground-floor door. Then head back upstairs and pass through the now-cleared barrier.
The tunnel takes you into the Valley, where you'll pass the Cave Area Spirit Mirror.
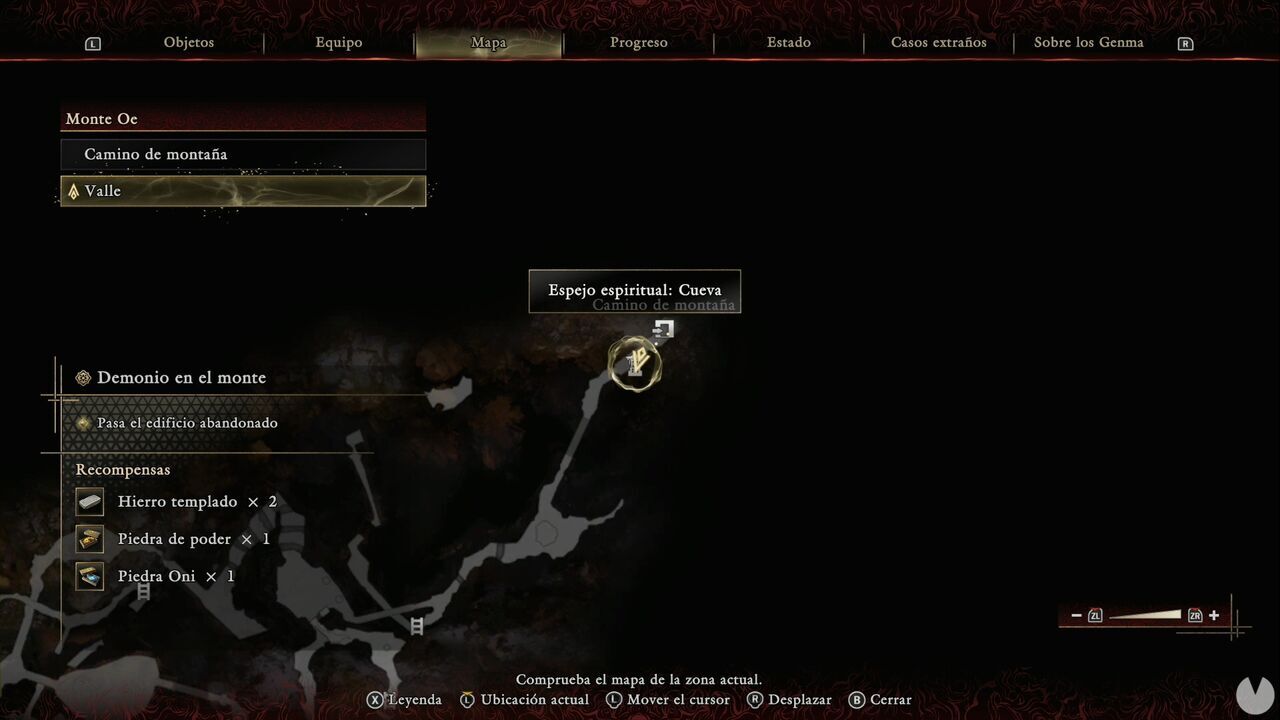
Now shoot the mechanism holding up the bridge and follow the only available route until you reach an intersection with a ladder to the south. Head that way. This route takes you to an area west of the Spirit Mirror where you started, and you'll find a new Oni Glyph there.
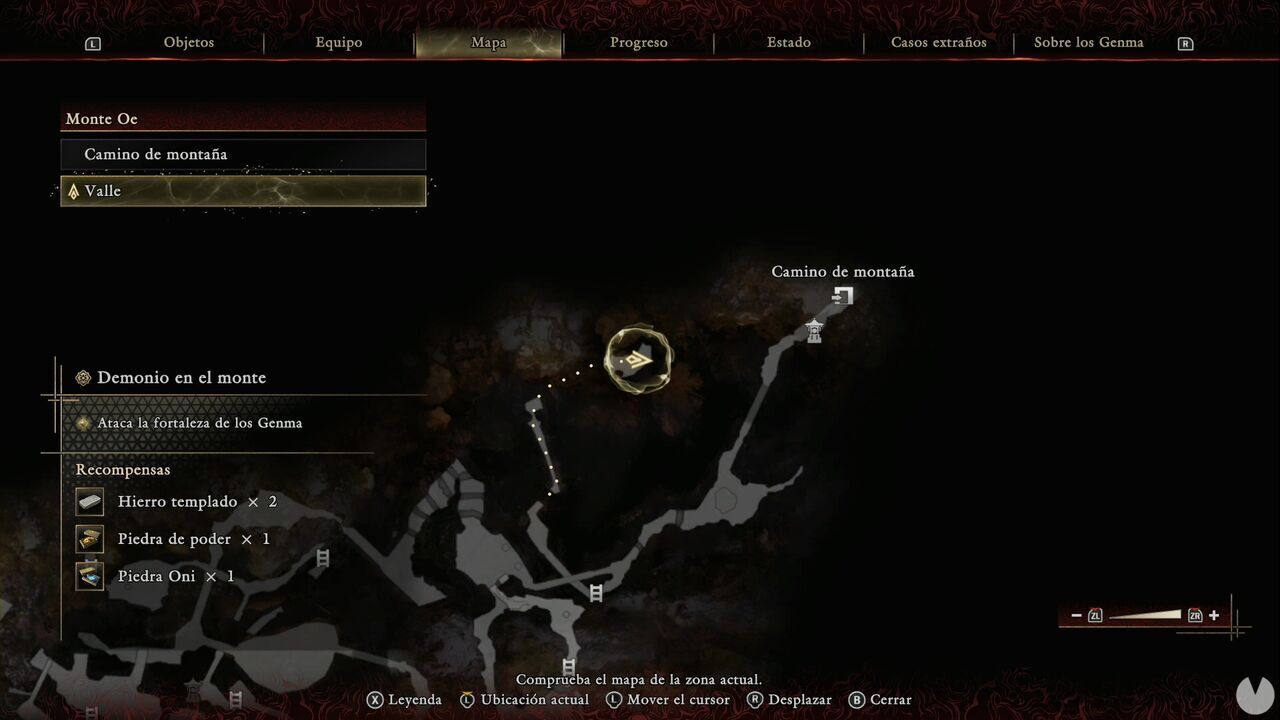
Activating it reveals a Treasure chest containing the Genma Note: Oboro Garasu. Return the way you came and, before climbing the ladder, look up and shoot another bridge mechanism above the ladder at the intersection. This lowers the bridge and allows you to continue.
The only available route leads to scaffolding above a locked gate, where you'll be able to see some explosives behind it. Shoot them to blast the gate open and continue.
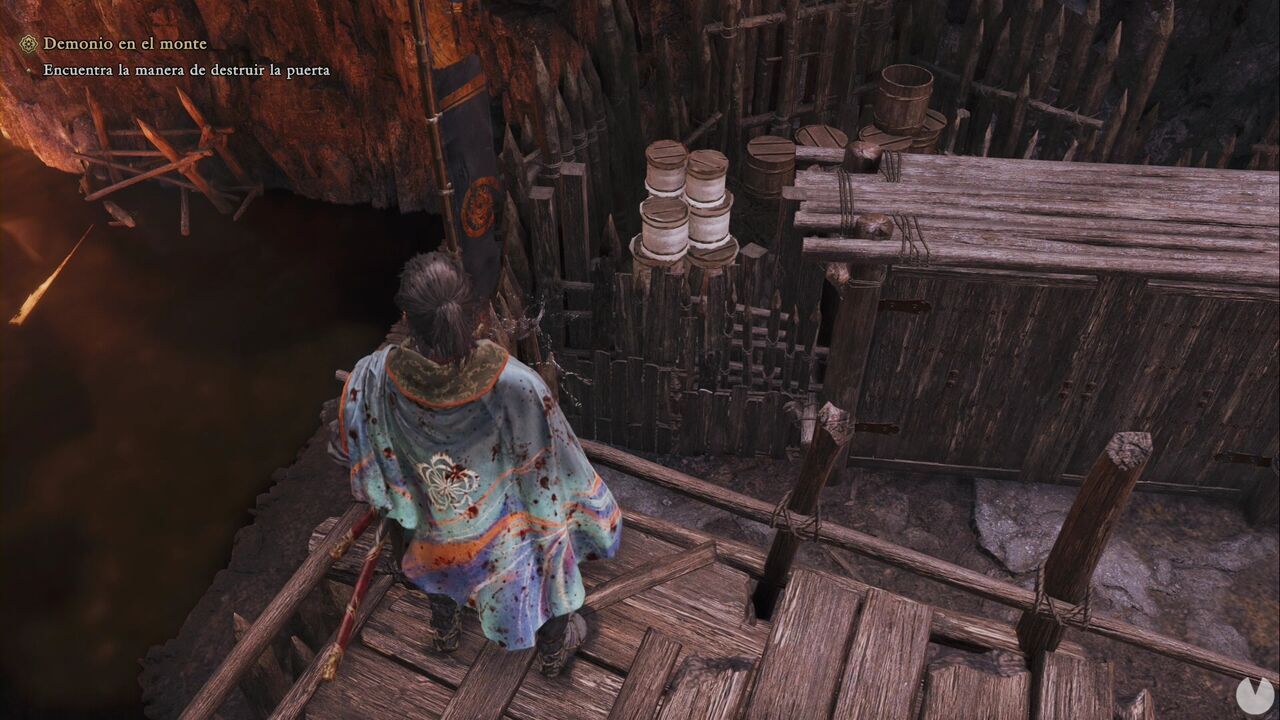
When you reach the lake below, make sure you shoot the bridge mechanism on the opposite shore, where you can see some Genma dancing. Then follow the only available route again until another intersection. Head west-southwest to find another Oni Glyph, which reveals another Treasure. It contains the Genma Note: Hirehime.
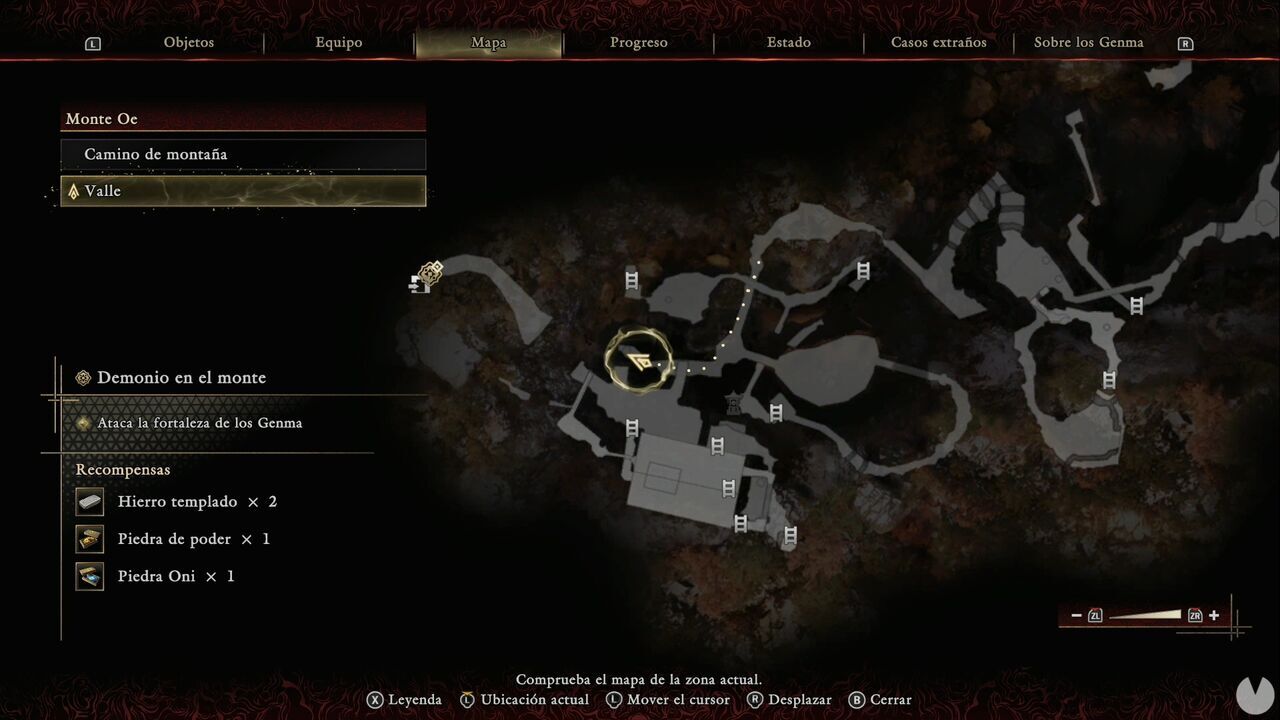
Now cross the island with the dancing Genma and continue east through the cave. You'll soon reach the Ruins Area II Spirit Mirror. Wall run along the side of the crate and you'll reach a lever that moves the hanging crates. Use it, but don't continue yet. Instead, backtrack and jump back toward the crate you just used, heading in the direction you came from, and you'll drop to a lower level.
Follow the only available route to reach another Treasure containing a Power Stone.
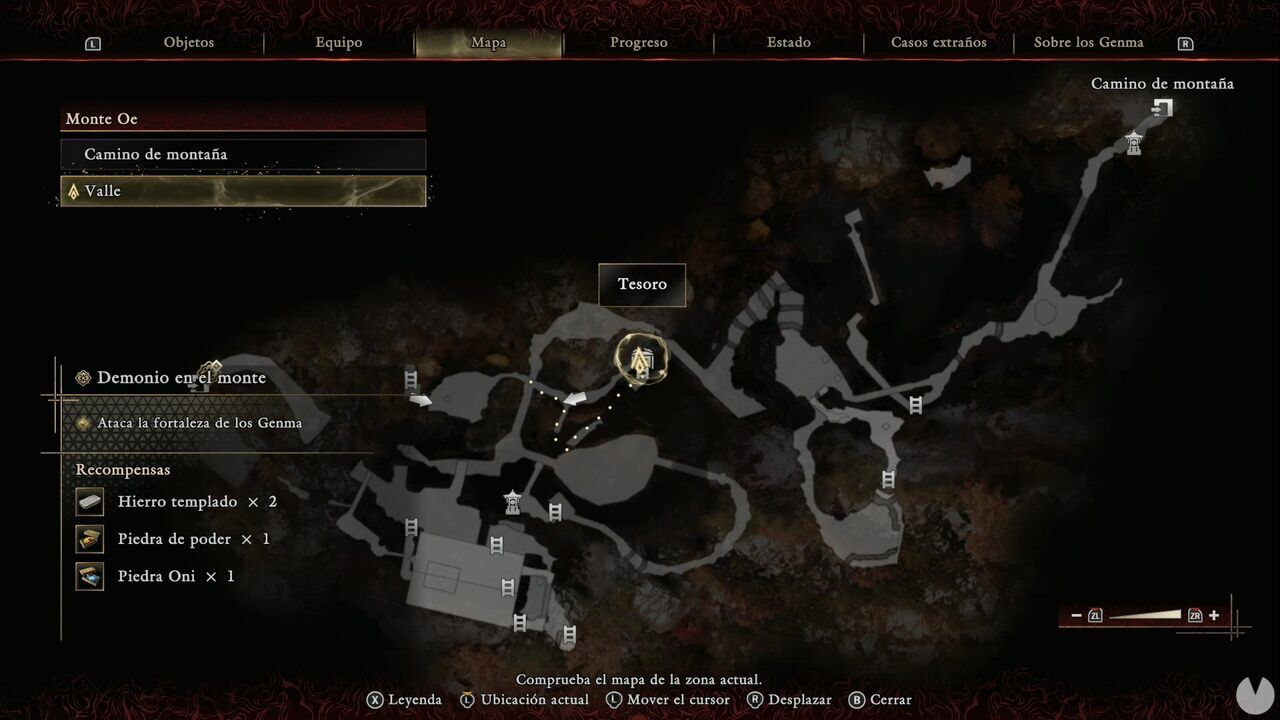
Open the door and return to the area where you used the lever, this time crossing the crates toward the south. Defeat the enemies and head to the west-northwestern side of the platform to find a chest containing Iron.
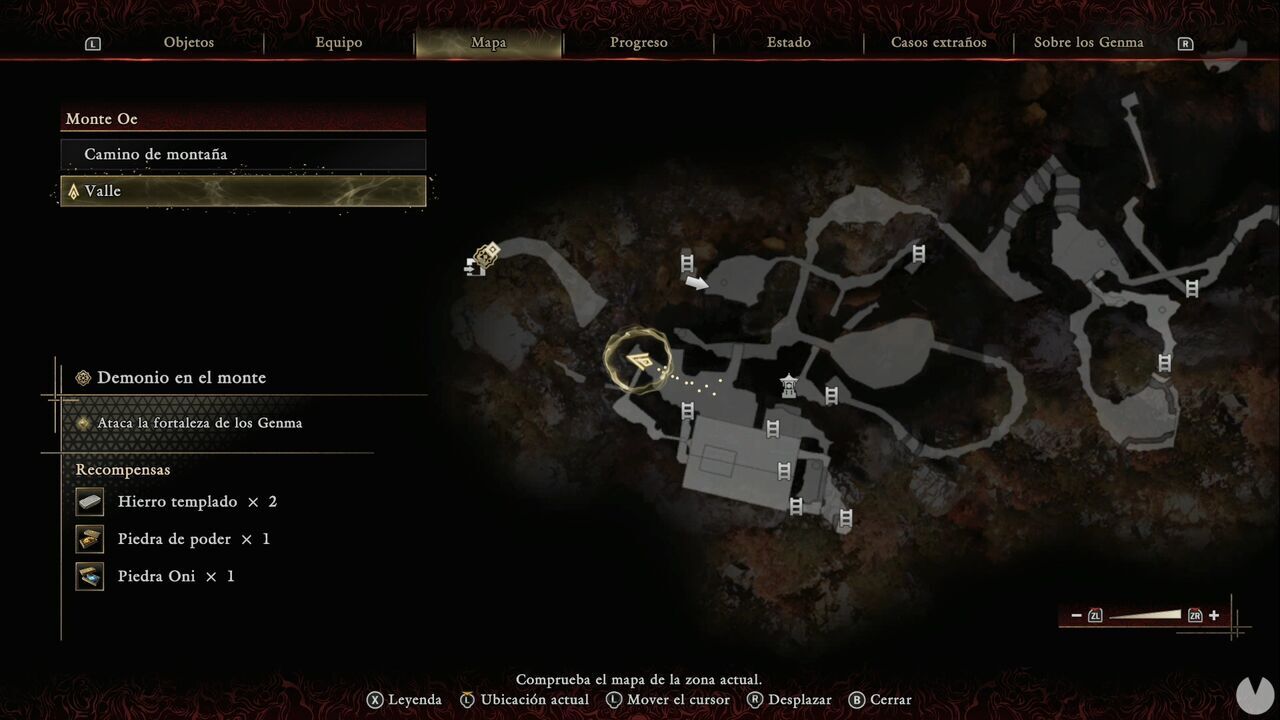
Climb the ladder to the south to enter the upper floor of the building, which can be a little confusing. Head down the slope, defeat the Genma and open a door leading to another courtyard north-northeast of the building. In the east-southeastern corner of the courtyard, there's a ladder leading up to scaffolding from which you can shoot the bridge mechanism. Now return to the upper floor of the building and take the exit beside the ladder. The ladder itself only leads to an attic with a few minor consumables. Cross the bridge.
The only available route takes you to the locked door beside the lever controlling the hanging crates. Use it again and backtrack up the stairs you just descended. The game itself will show you the route. When you drop down from the crate, notice that you can wall run along its side, but don't do it yet.
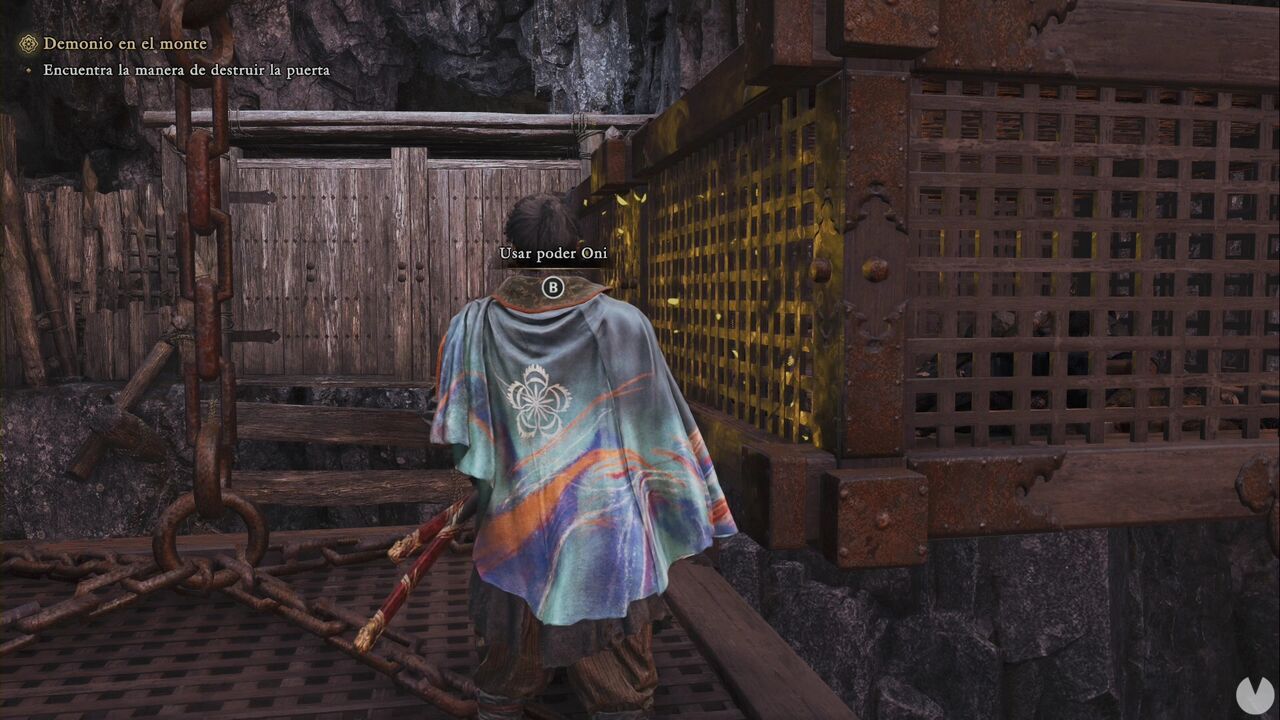
First, head to the end of the scaffolding at the back on the right, where you can shoot the explosives behind the gate. Now wall run across and pass through the destroyed gate. You'll soon reach the Castle Courtyard and its first Spirit Mirror, Castle Entrance.
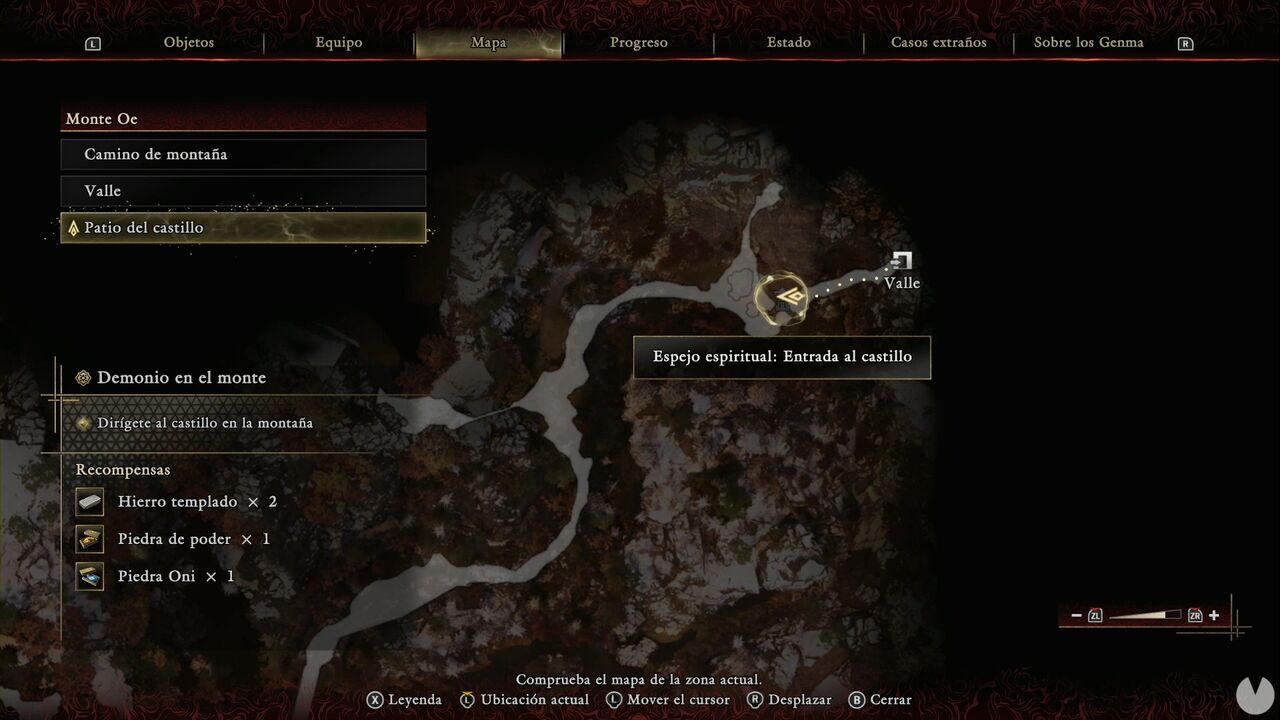
After taking the elevator down, follow the trail and enter the cave on the western branch. Inside you'll find another Treasure, this time containing The Flashing Void, a new Oni Armament.
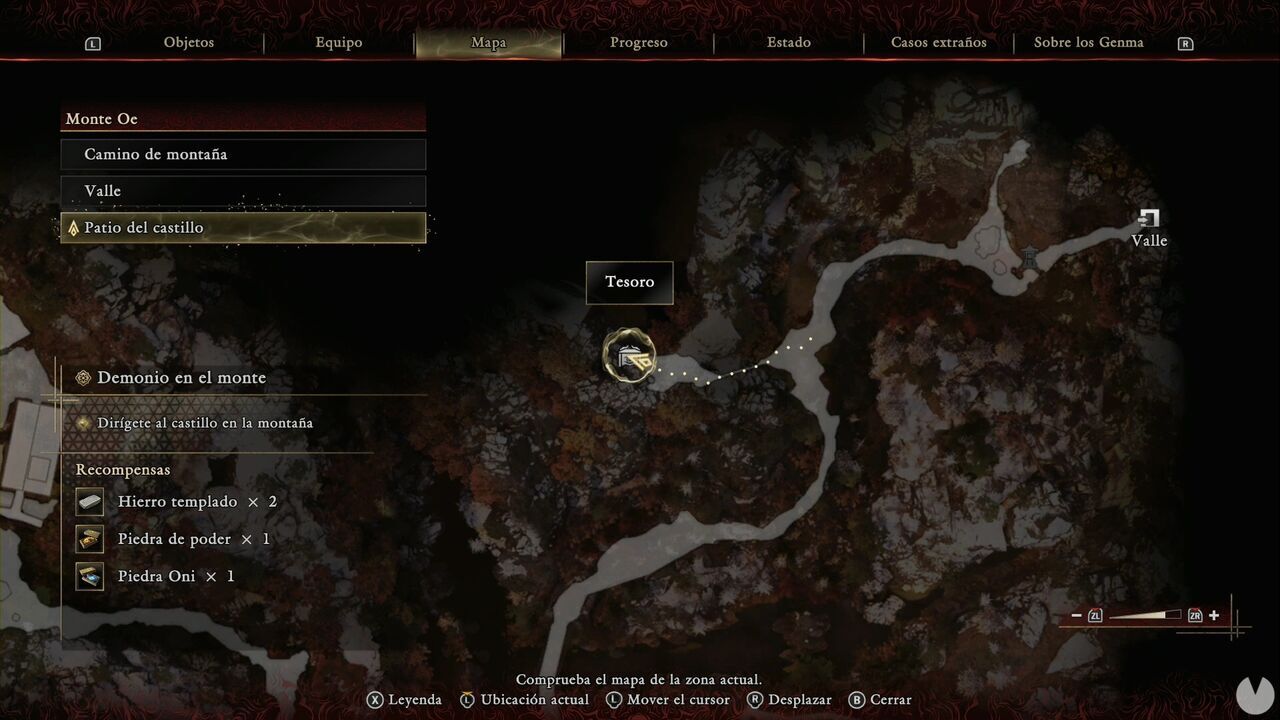
Return to the trail and continue toward the castle gate.
Follow the path west until you reach the Mountain Trail Spirit Mirror. Head north at the intersection until a cutscene begins. Save the man, then continue north.
Continue along the only available route until you reach another barrier. Head down to the left toward the scaffolding where the archers were shooting at you, then continue until you reach a Malice Barrier directly east of the Weaver barrier. Destroy it to open a shortcut.
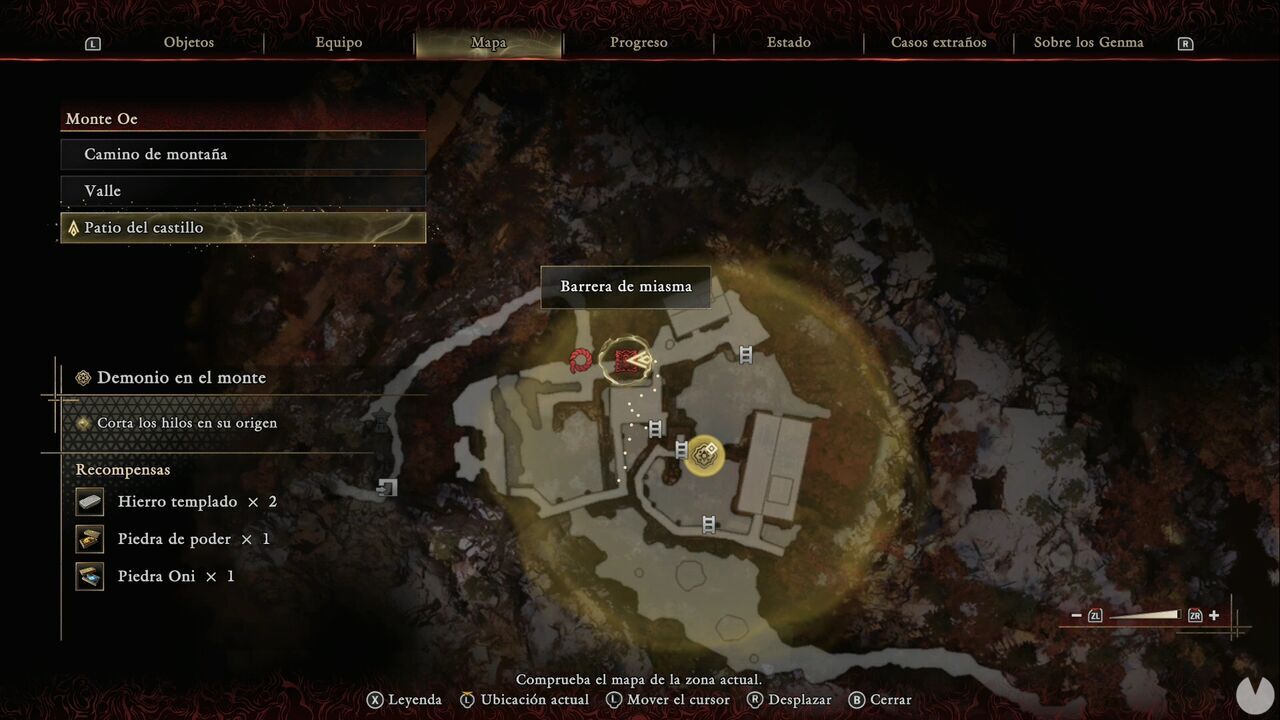
Now continue east, climb down a ladder and open a gate to the south, which leads to a kind of pit where several Genma attack from the scaffolding. Climb the southern ladder and, from the scaffolding, head northeast to enter the building. Go inside and, before squeezing through the obstacles, look north. You'll see a mechanism you can shoot to open the door leading to a Treasure containing Tamahagane.
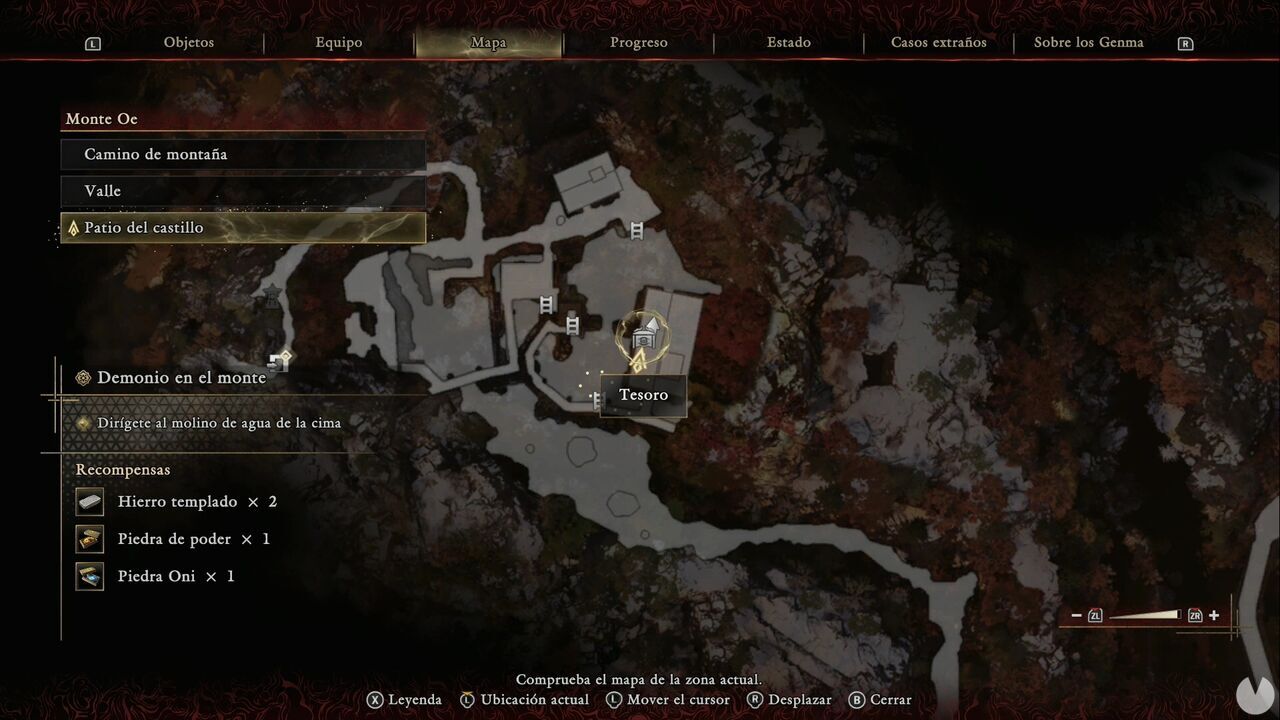
Leave the room and go around the floor until you can drop down through the southeastern corner. Defeat more enemies and open the gate to reach the Weaver. In the southeastern corner of the Weaver's room, there's a hole in the wall that takes you outside to the eastern side of the building.
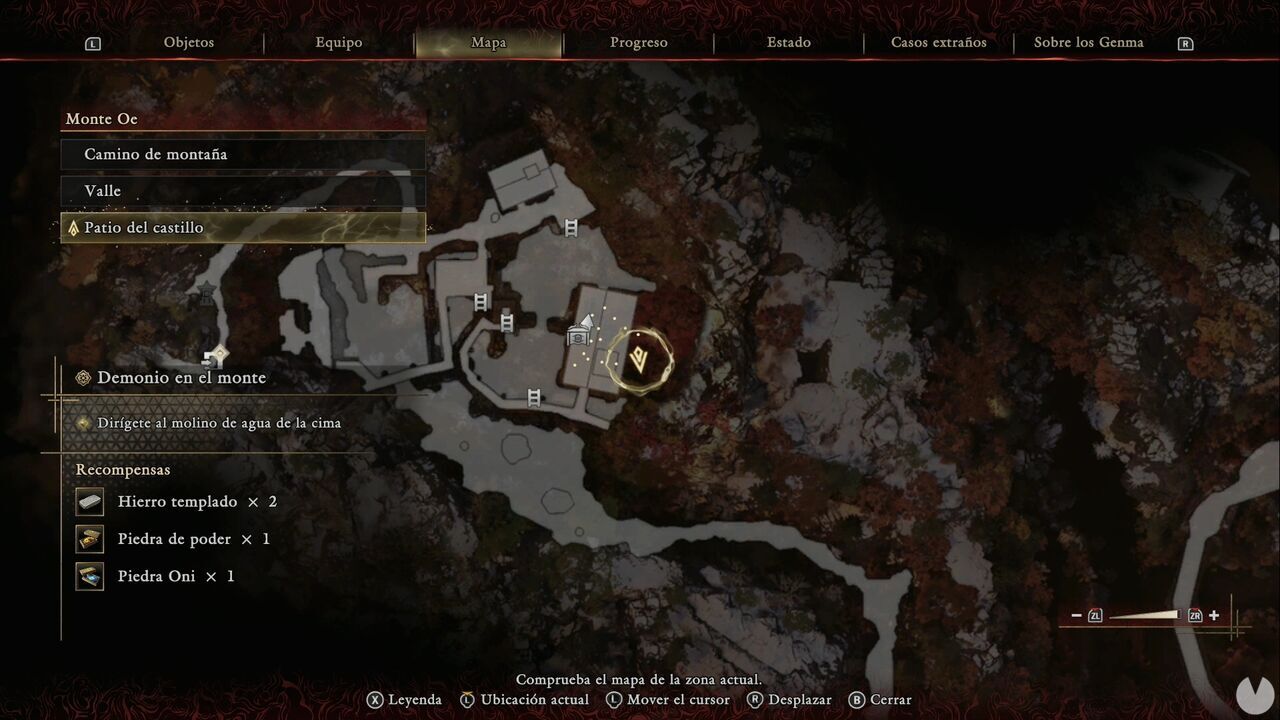
In the alley, you'll find a chest containing Tempered Iron. You can now return to the barrier and continue, after sealing a mandatory Rift in the pit. At the end of the tunnel you'll find the Cave I Spirit Mirror. Which does indeed suggest that... there's still quite a way to go if this is only the first cave.
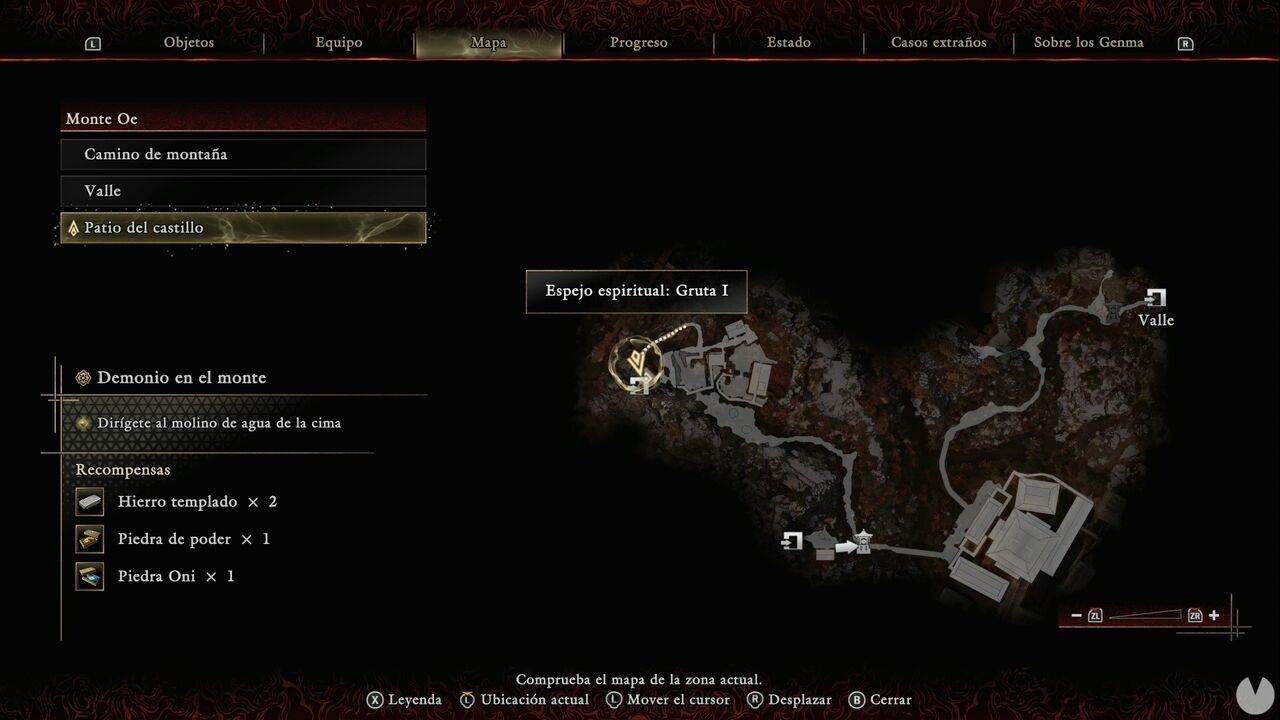
Head down the slope and smash the logs with Oni Strength. After the cutscene, run close to the eastern edge of the slope, use the walls to leap over the logs as they approach and jump onto the platform to the east as soon as possible to find another Treasure containing an Oni Stone.
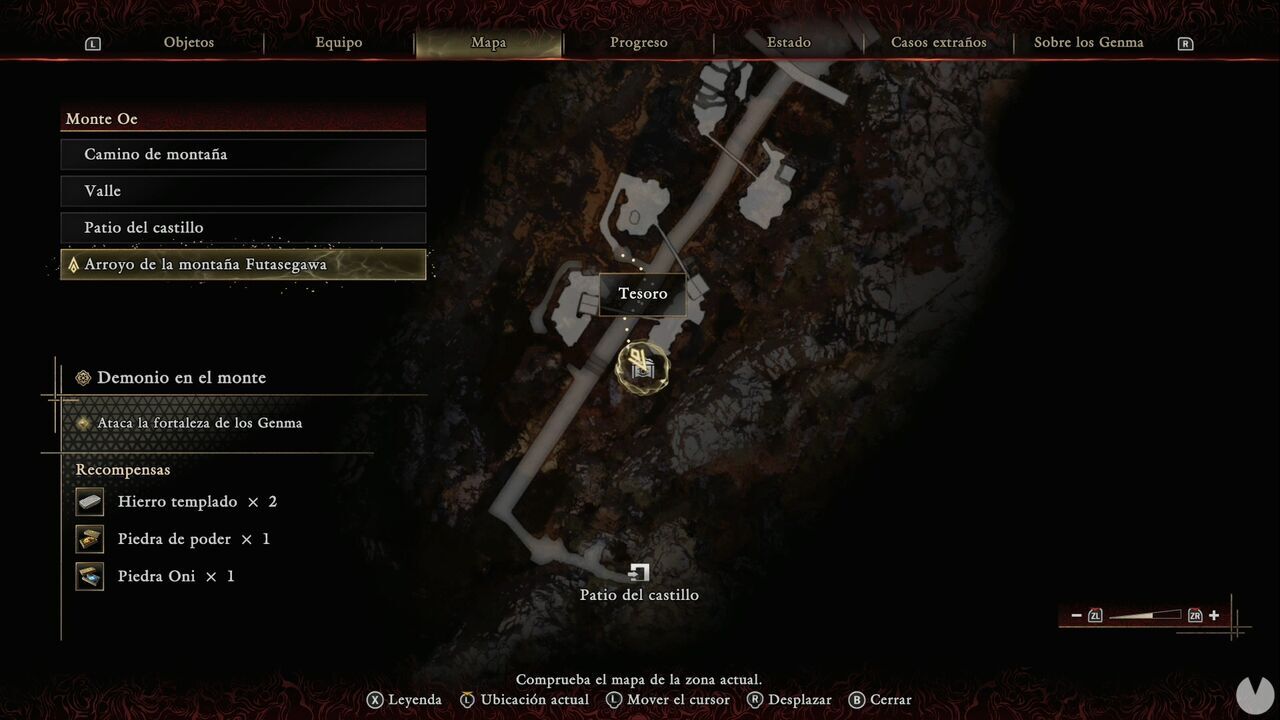
From this platform, you can wall run to the western side and climb the ladder. Follow the only available route, smashing through any logs blocking your path and defeating enemies as you cross the bridges. Eventually, a ladder along the western side takes you to the eastern area, where you can push some logs and smash through the gate. Cross into the courtyard and enter the building to the northeast to find a chest containing Leather.
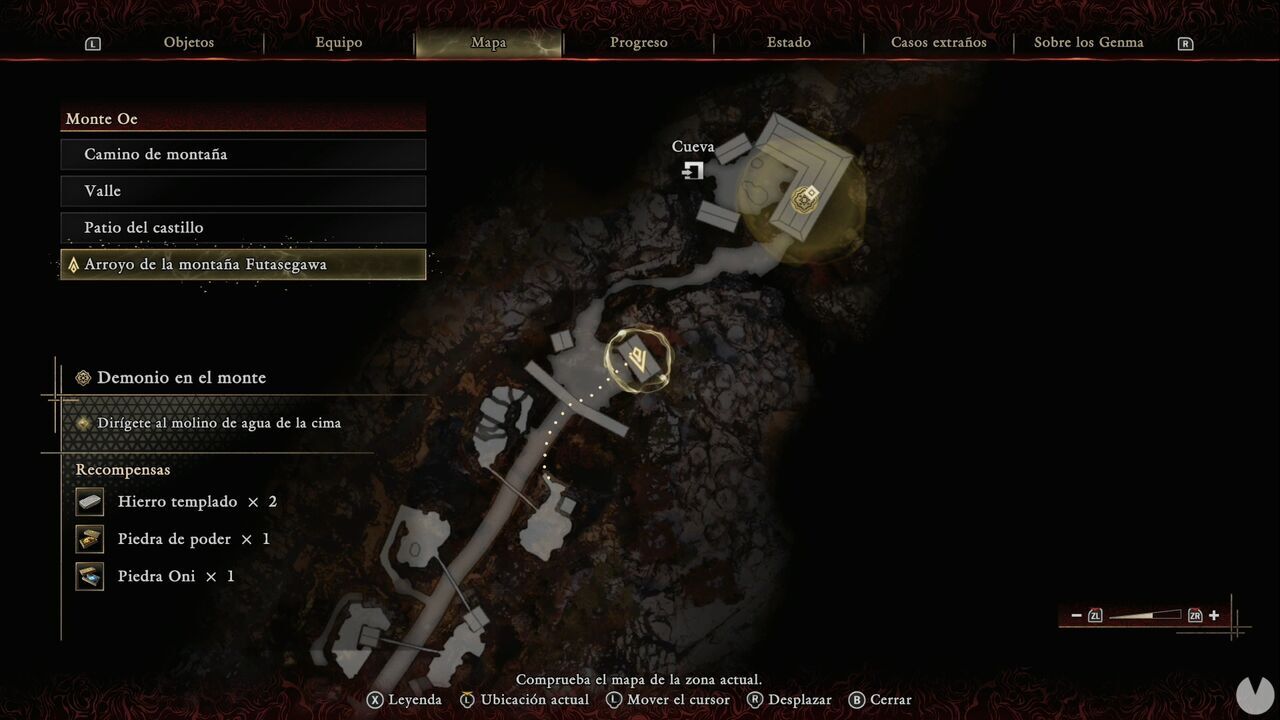
Continue to the house at the northern end, absorb the Dark Mass and keep going. After leaving the house, you'll see an elevator that takes you down into the caves.
As soon as you reach the caves, you'll find the Cave II Spirit Mirror. Continue and, when possible, head up the slope to the southwest. One of the tunnels contains a wall-running section that lets you reach the elevated area to the northeast. As soon as you land in the corridor, look for a crawlspace leading southeast.
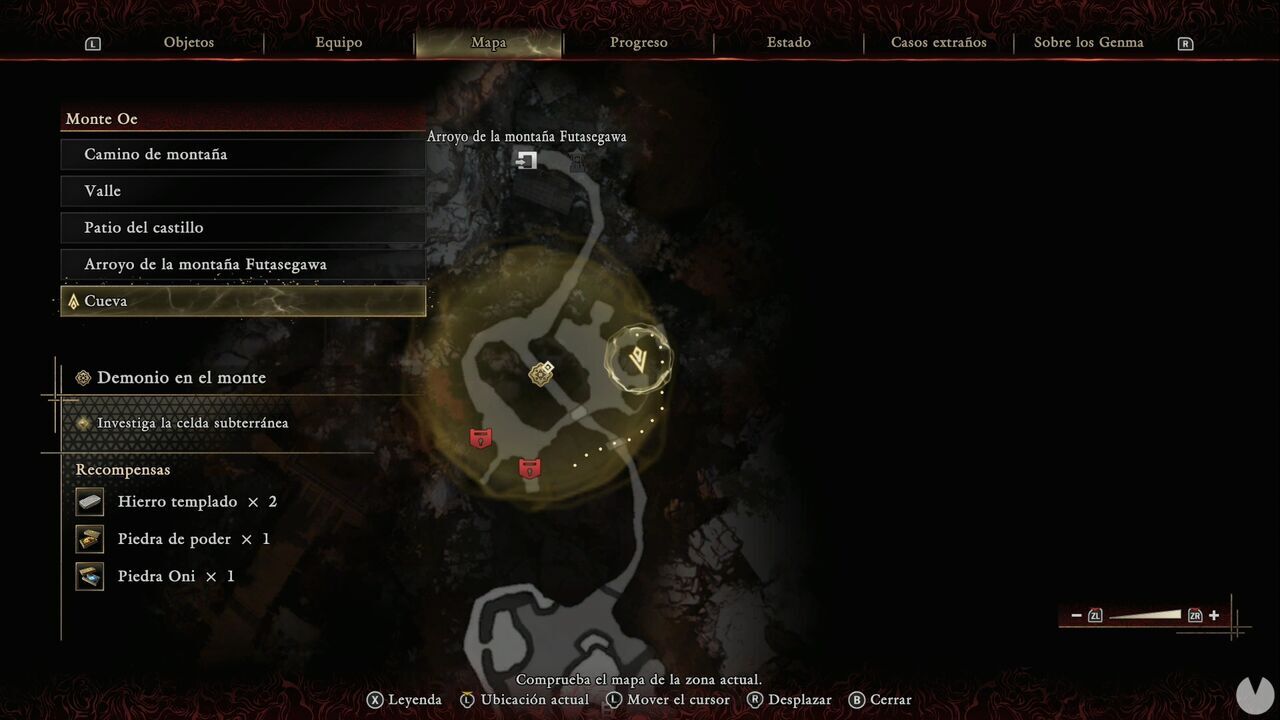
The tunnel leads into a cell with another hole in the wall, which takes you to a Malice Barrier. Destroy it and defeat the Genma to receive the Dungeon Key from the survivor. Don't forget to return to the southwesternmost cell and open the gate containing a chest with Tempered Iron and Cotton Cloth.
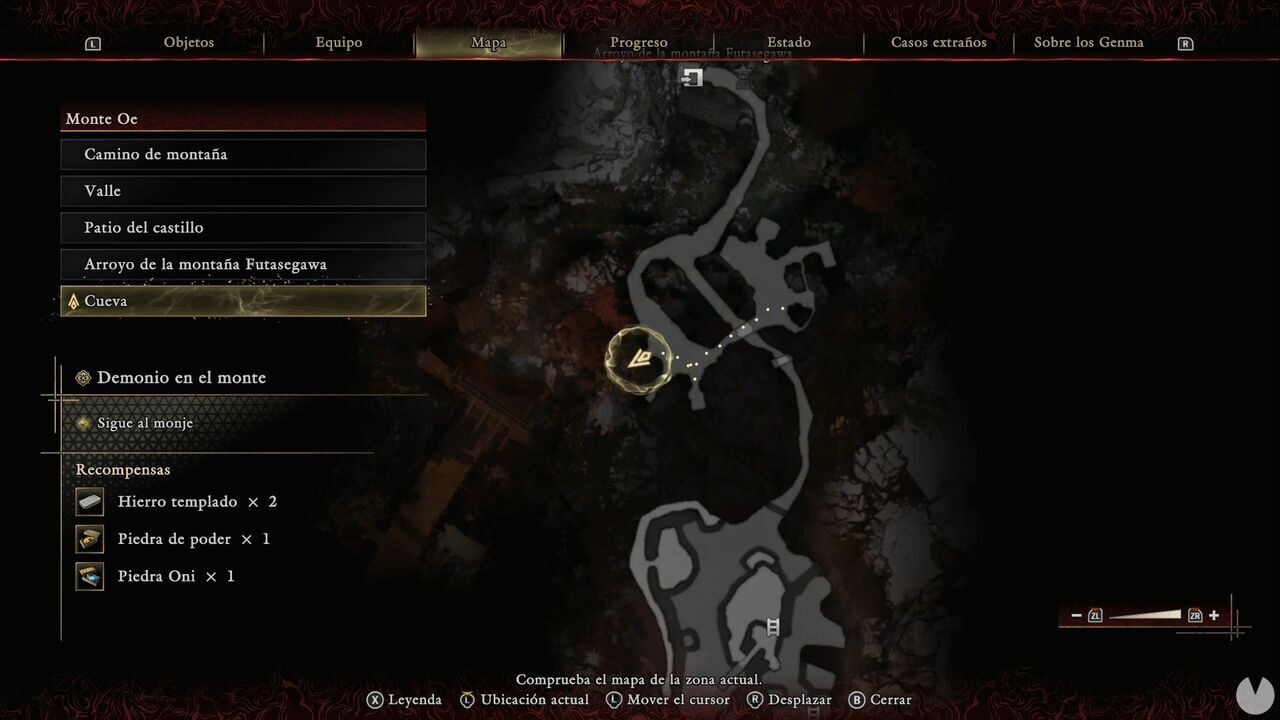
Continue through the tunnel to the southeast until you reach an area filled with Malice, then head south until you reach a barrier. Use Oni Vision to follow the Weavers' threads. You'll find the first one by heading north from the southeastern part of the corrupted area. Look northeast from the position shown below to find it.
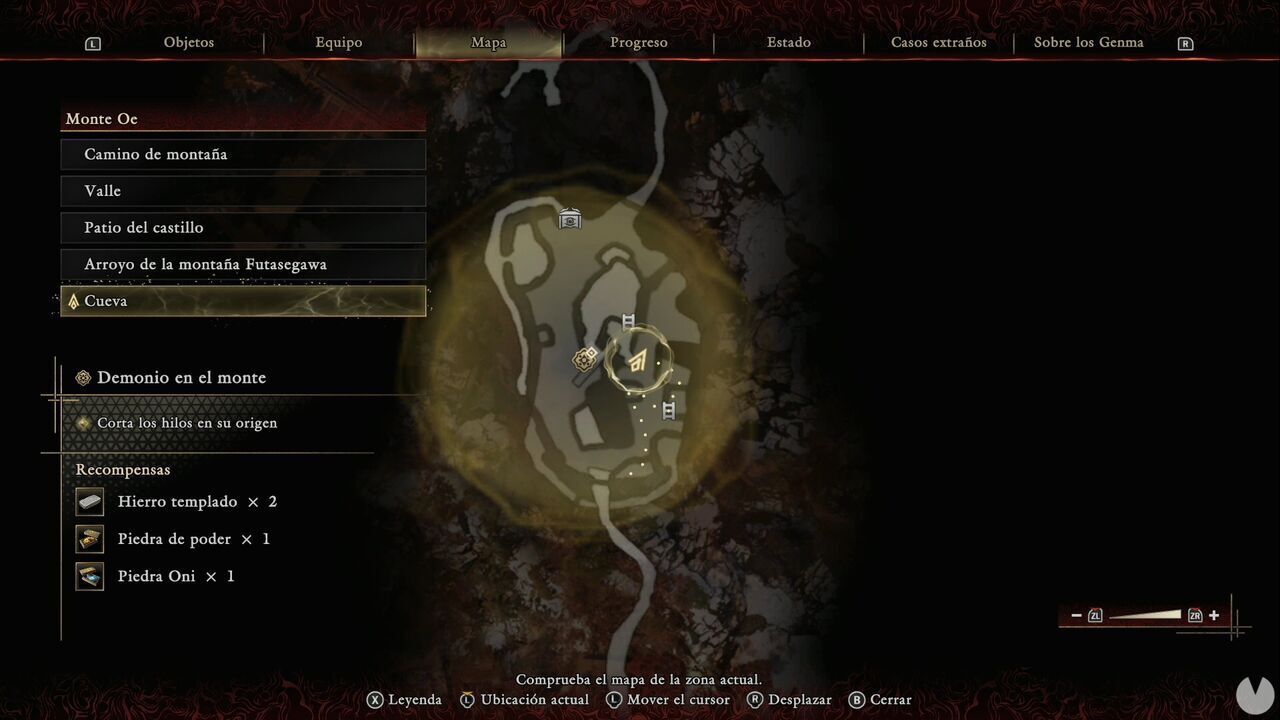
As soon as you destroy it, part of the blockage will disappear. You can then use a lever to move some crates and wall run across them along a new route. Continue wall running and enter the opening on the left when possible, then climb up to reach the second Weaver. Now backtrack through the corridor to the very end, where you'll emerge onto a small elevated platform in the northern area containing the next Treasure chest. It contains an Oni Stone.
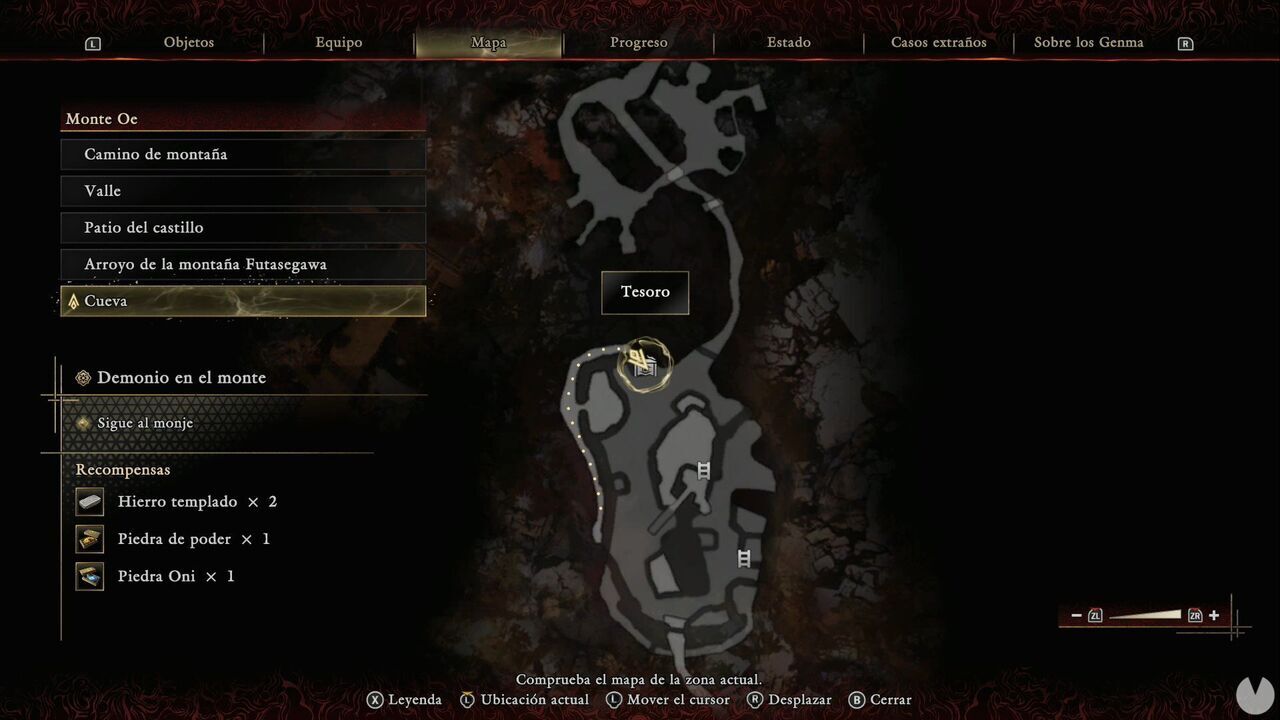
Return to the lever and move it again so you can leave through the corridor that was blocked by the barrier. In the circular room to the south, there's a Rift with two waves of regular enemies followed by a Dohatsu-ten in the third. Continue south until you reach the Storehouse Spirit Mirror. Beside it, you'll find the eighth Treasure chest, which contains a Power Stone.
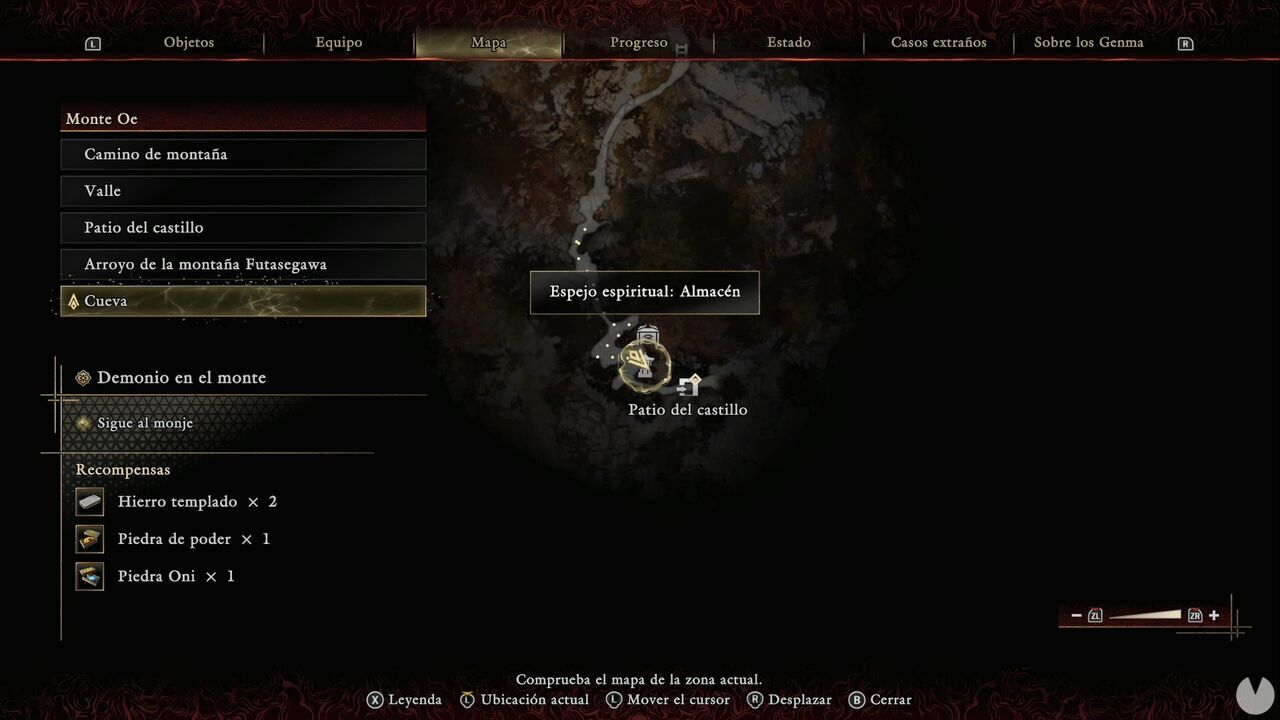
Open the door beside the Spirit Mirror to emerge in the southwestern part of the Castle Courtyard. A cutscene will begin as you leave. Once it's over, you'll face a genuine Oni superstar: Shuten Doji.
After the cutscenes, you'll move on to A Haunted Distraction.
