
Okuni's Kabuki Dance is the seventeenth chapter of the story in Onimusha: Way of the Sword. It begins at the end of To Live is to Suffer, after defeating Ganryu. As usual, throughout this spoiler-free walkthrough we'll help you complete every story chapter 100%, making sure you don't miss anything along the way and providing tips for the more difficult situations.
There are a couple of new side activities you can complete before continuing. Once you're done, don't forget to check your enhancements and abilities:
Once you've completed the optional content above, return to Rokudo-chinnoji Temple and speak with Okuni.
The objective marker points you toward a small sandbar south of the northwestern island, one of the few areas of Kyoto we haven't been able to explore yet. The map itself will show you the route from the riverbed, using a series of floating platforms. Approach Okuni when you arrive; she'll be waiting on the northern shore of the sandbar. Once the cutscene ends, you'll be on the northwestern island.
New area, which naturally means more exploration as we advance. After taking just a few steps, you'll find the Sandbar - Entrance Spirit Mirror.
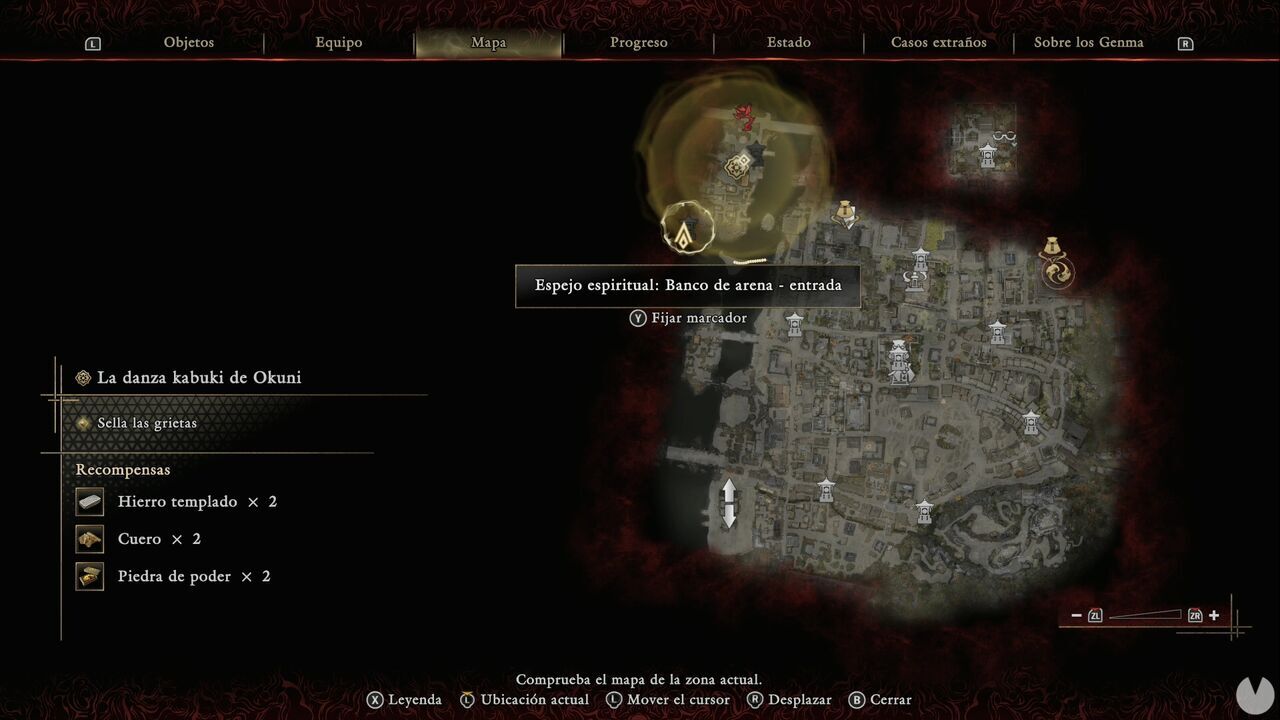
Follow the only available route and feel free to ignore the enemies for now, since we'll be coming back through here shortly. The street will lead you to a ladder with the area's Malice-emitting plant above it. Destroy the plant, deal with the enemies and destroy the Malice Barrier to reach the central alley. Continue north and turn east as soon as possible to trigger a rather nasty cutscene. Defeat the new type of Genma and wall run to reach the small island to the east. From there, you can wall run again toward the northwest, putting you on the other side of the Malice Barriers in the center of the sandbar.
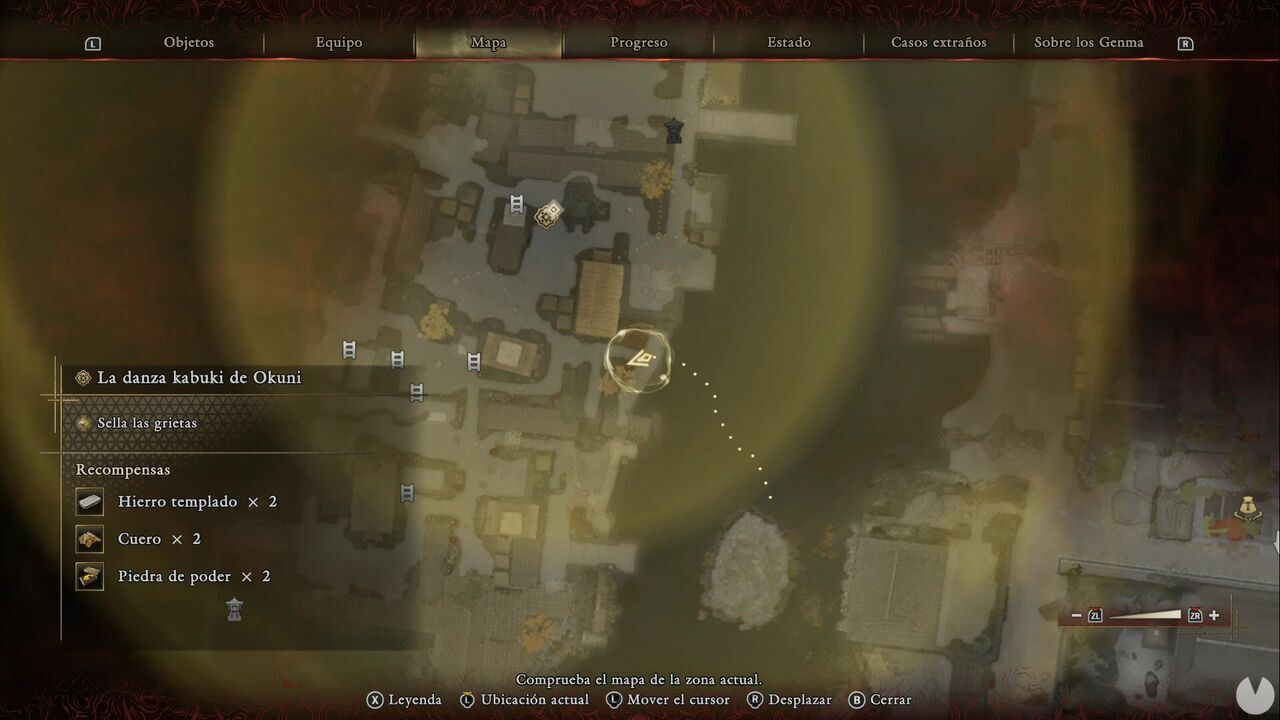
You'll soon reach another Malice-filled area with several enemies. Use the cart and plank to your advantage while fighting them and, most importantly, take out the archer on the northeastern rooftop. You need to climb the ladder on the watchtower to continue, and the archer can shoot you while you're climbing. Once you're at the top, jump toward the Malice-emitting plant and destroy it. As soon as you drop back down, you'll see a wall-running section directly ahead.
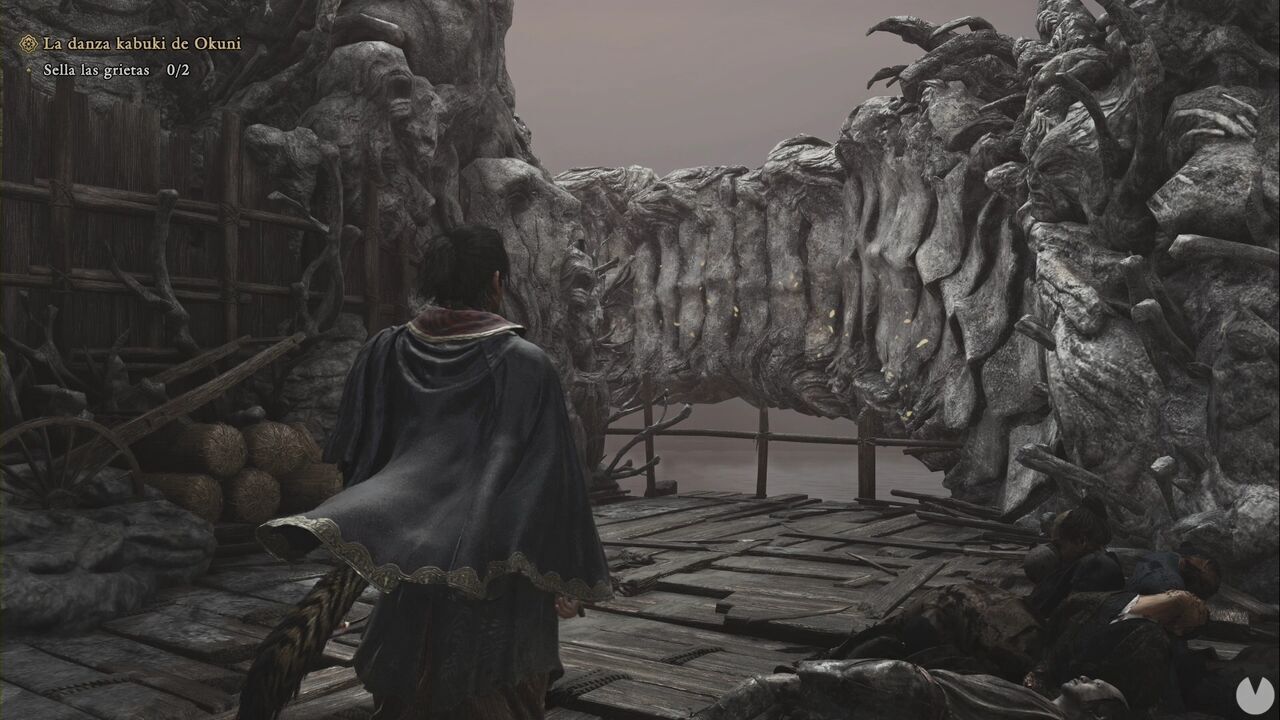
This wall will take you to a chest containing Iron.
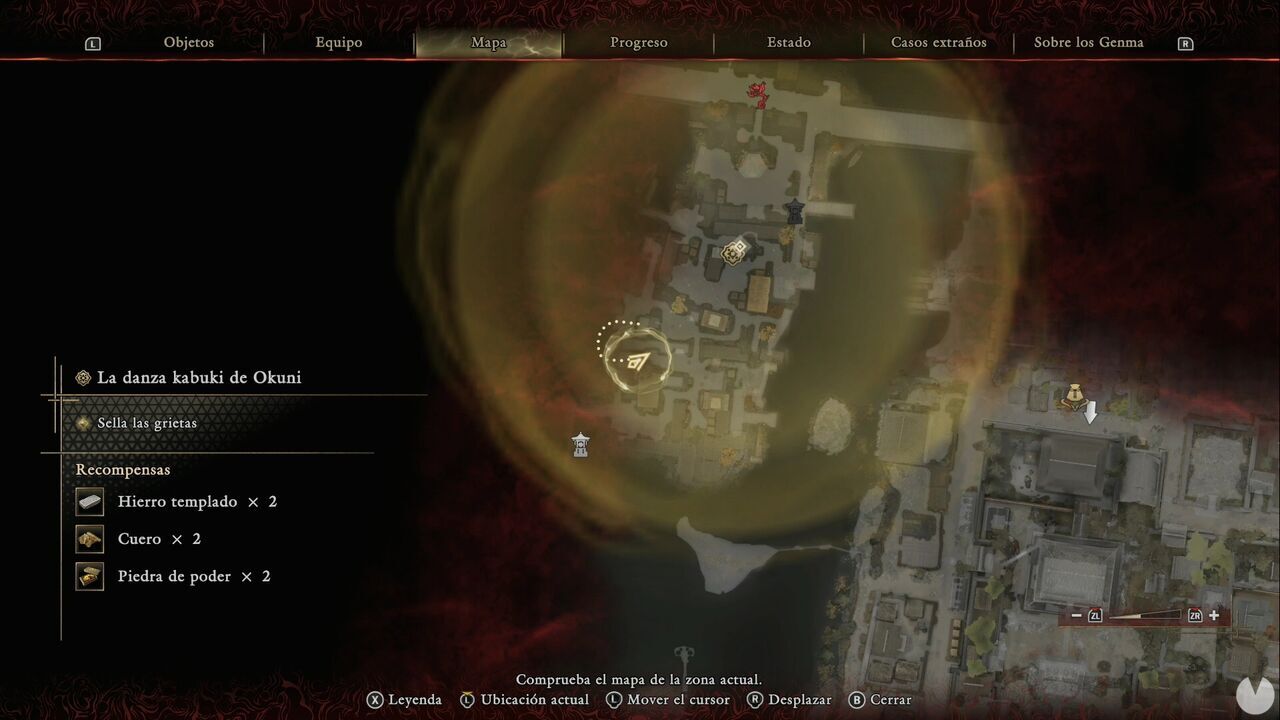
Continue north along the dock until you reach a barrier. One of the Weavers maintaining it is near the chest you just opened, while the other is on top of the watchtower you jumped from a moment ago. Pass through the barrier, cross another wall-running section, defeat the Genma and continue east until you reach another area covered in Malice. If you're quick enough, you can reach the Malice-emitting plant to the northeast while the Genma from the first Rift are spawning. You need to defeat them before sealing it. Be careful, because the second wave includes a Byakue.
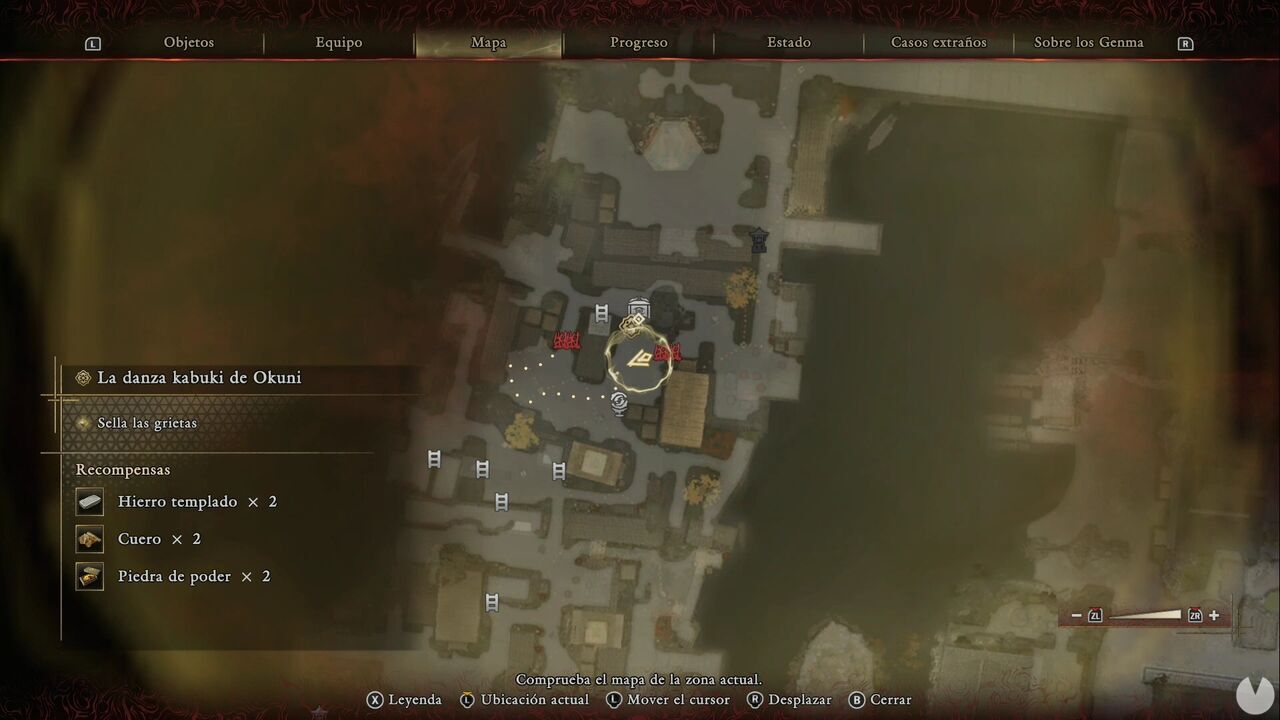
Once you've passed through the Malice Barrier, turn west to reach the Treasure you probably noticed during the fight. It contains Fine Silk Cloth.
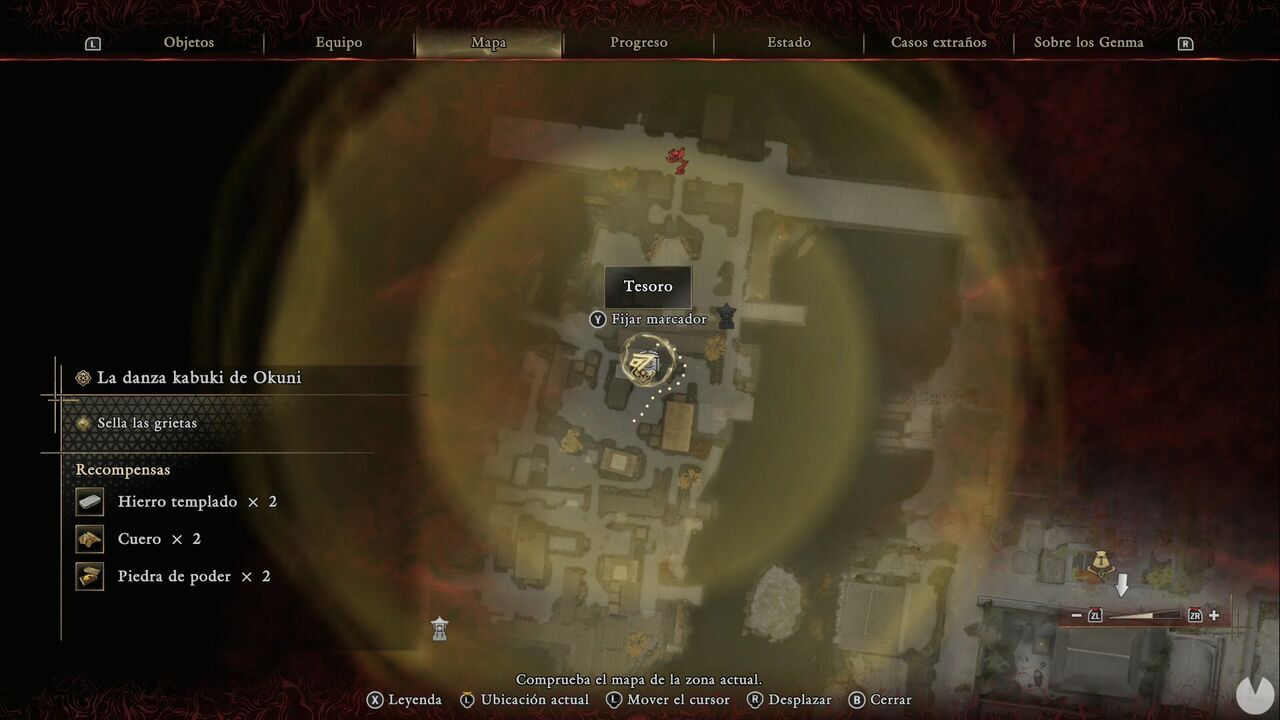
Continue east using another wall-running section. Shortly after landing, you'll find the Sandbar - Near Stage Spirit Mirror.
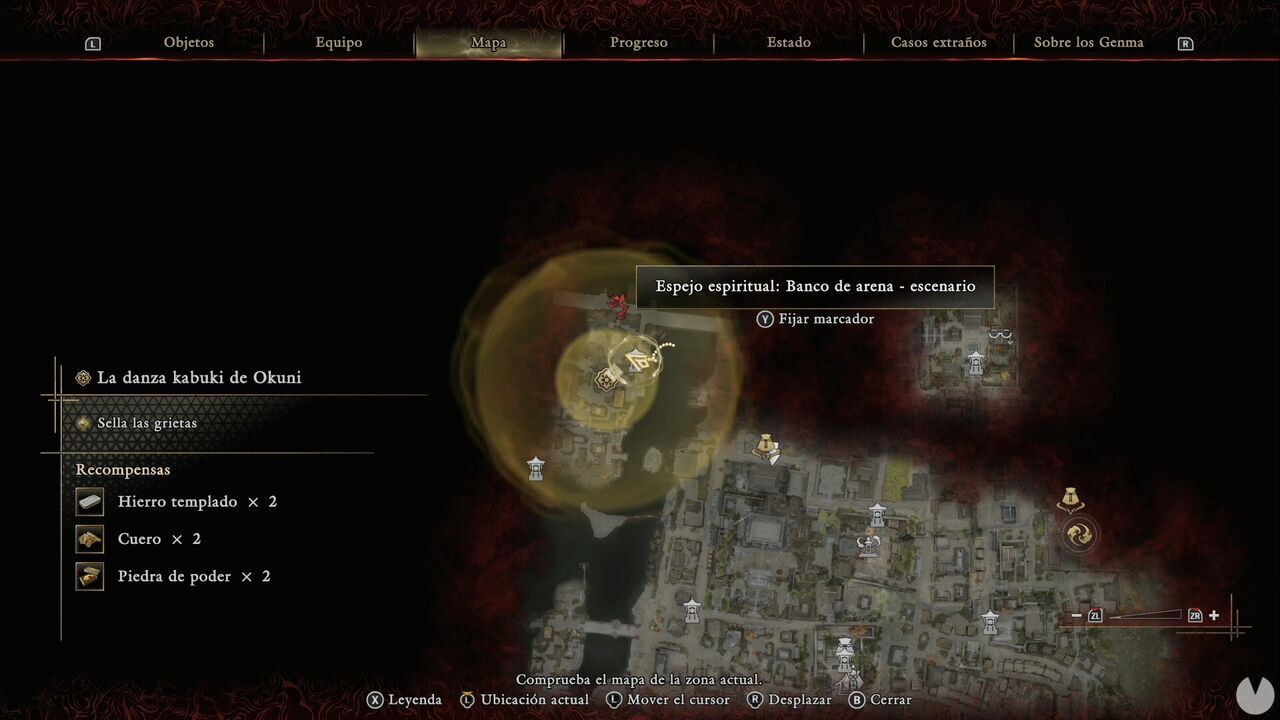
As soon as you continue forward, the second Rift will appear. The first wave consists of regular Genma, while the second includes a Dohatsu-ten. Once you've sealed the Rift, head north and then all the way west to find another Treasure. It contains Tamahagane.
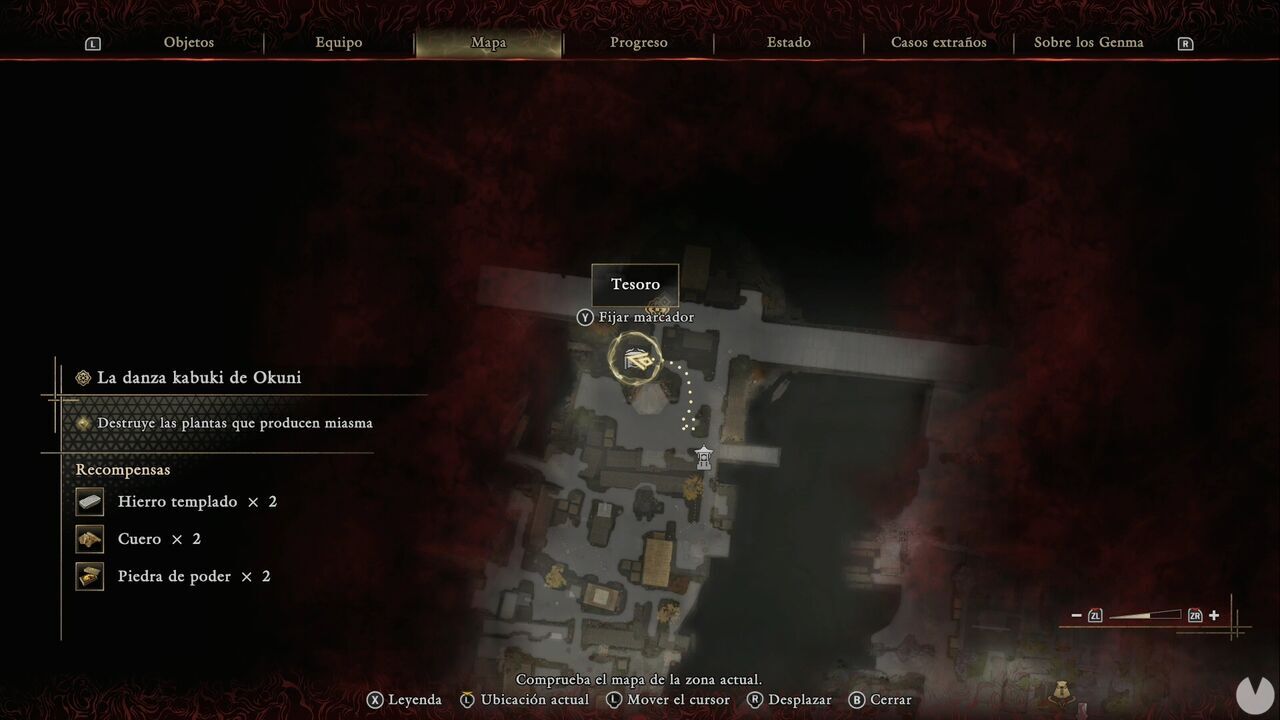
Now continue north and destroy the final Malice-emitting plant to push the Malice back from Kyoto. We'll leave the full exploration of this new area for the next mission. For now, simply head toward the stage. After the cutscene, go to the objective marker at the bridge to the northeast to begin The Demon on the Mount.
