
The Stage is Set at Kiyomizu is the second chapter of the story in Onimusha: Way of the Sword. It begins at the end of The Ruckus at Rendaino, when you're sent to talk to Okuni. As usual, throughout this spoiler-free walkthrough we'll help you complete every story chapter 100%, making sure you don't miss anything along the way and providing tips for the more difficult situations.
For now, you don't have any freedom to explore, so simply examine the Spirit Mirror. Select Travel > Kiyomizu-dera Temple > The Approach to continue the mission.
Before anything else, here's a map of the area, since for the time being you'll only be able to check it at Spirit Mirrors.
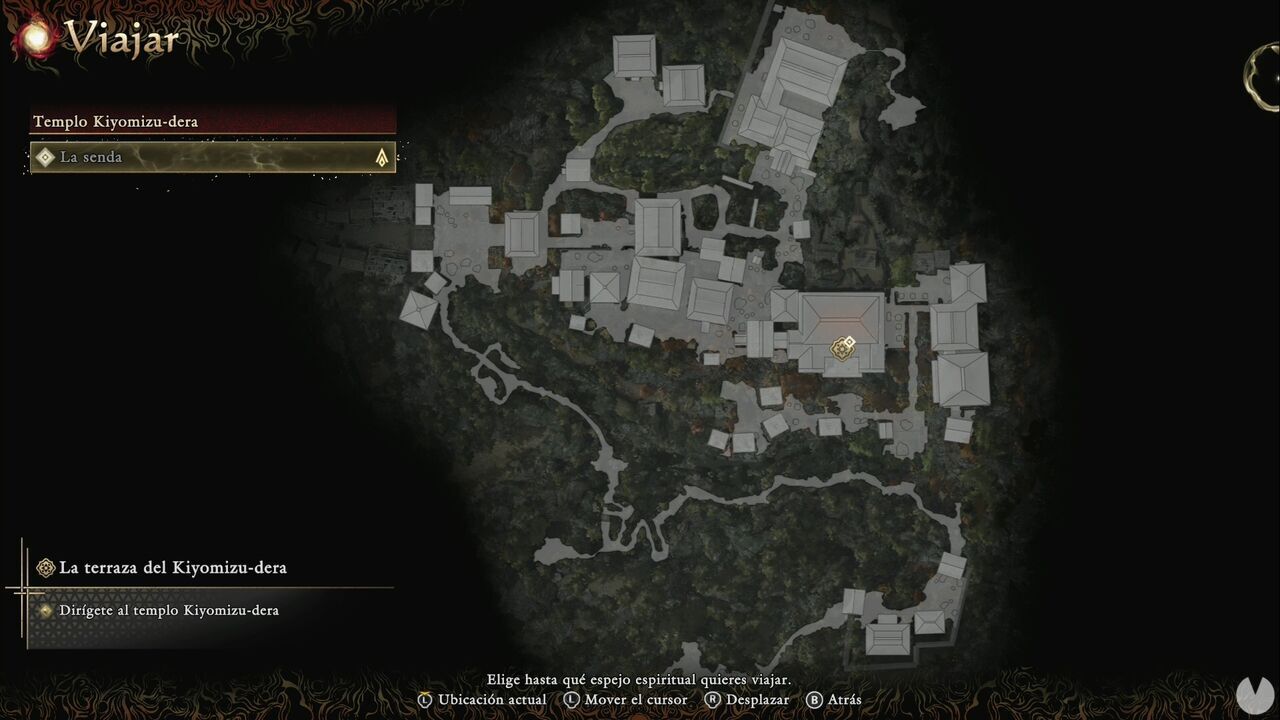
As you can see, the route is fairly linear. Follow the only available path and defeat the Genma when they appear. Once you've eliminated the Genma in front of the gate, you'll be able to open it and meet the survivors. Follow the main path and you'll find a box containing a Mild Restorative, the chest you probably noticed glowing while the gatekeeper was talking. Continue to the end of the path and you'll see a man enter through the door you need to use to leave this area.
Once you exit, you'll finally gain access to the map, as well as the items, equipment and progression menus. Continue west for a while, defeating Genma along the way.
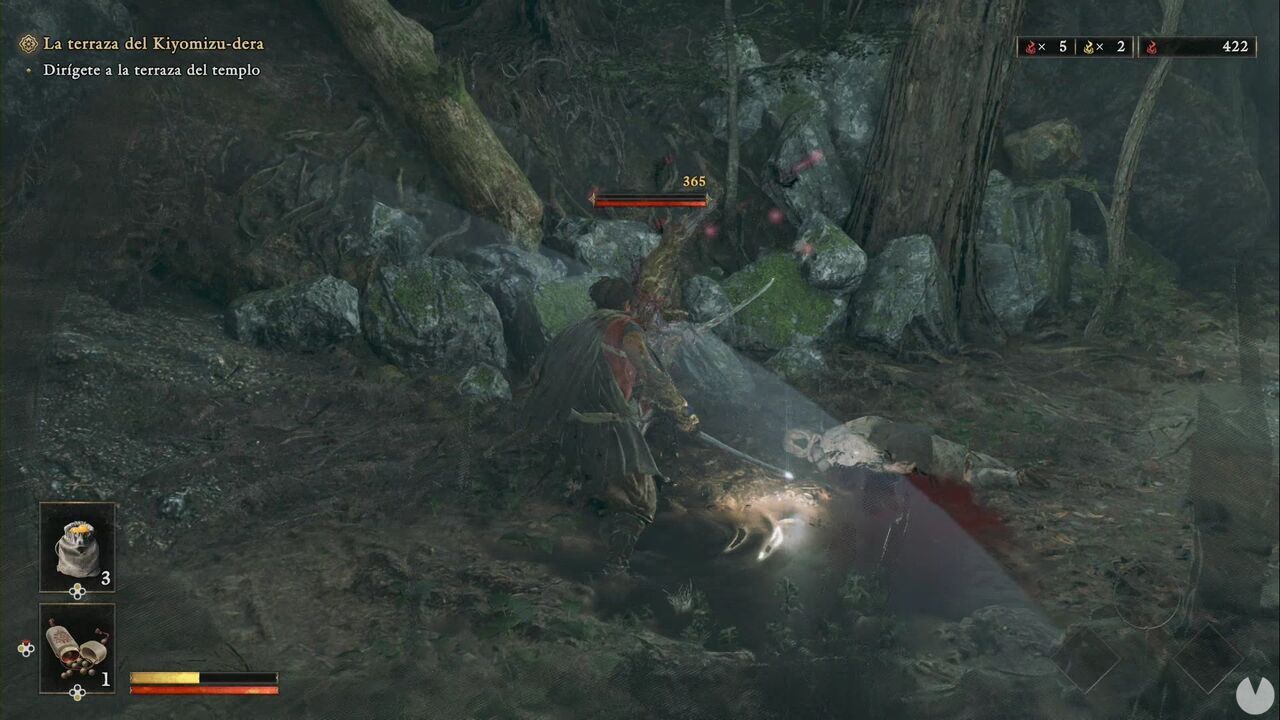
Watch out for Genma archers. If a red danger indicator appears on the screen, it's showing you the direction an incoming arrow is coming from. You can guard to avoid taking damage, but you'll need to reach the archer and kill it, since you don't have a ranged weapon yet. Once you reach the junction before heading northwest and uphill, don't forget to pick up a Lesser Defense Talisman. Note that this is a consumable item, not a piece of equipment.
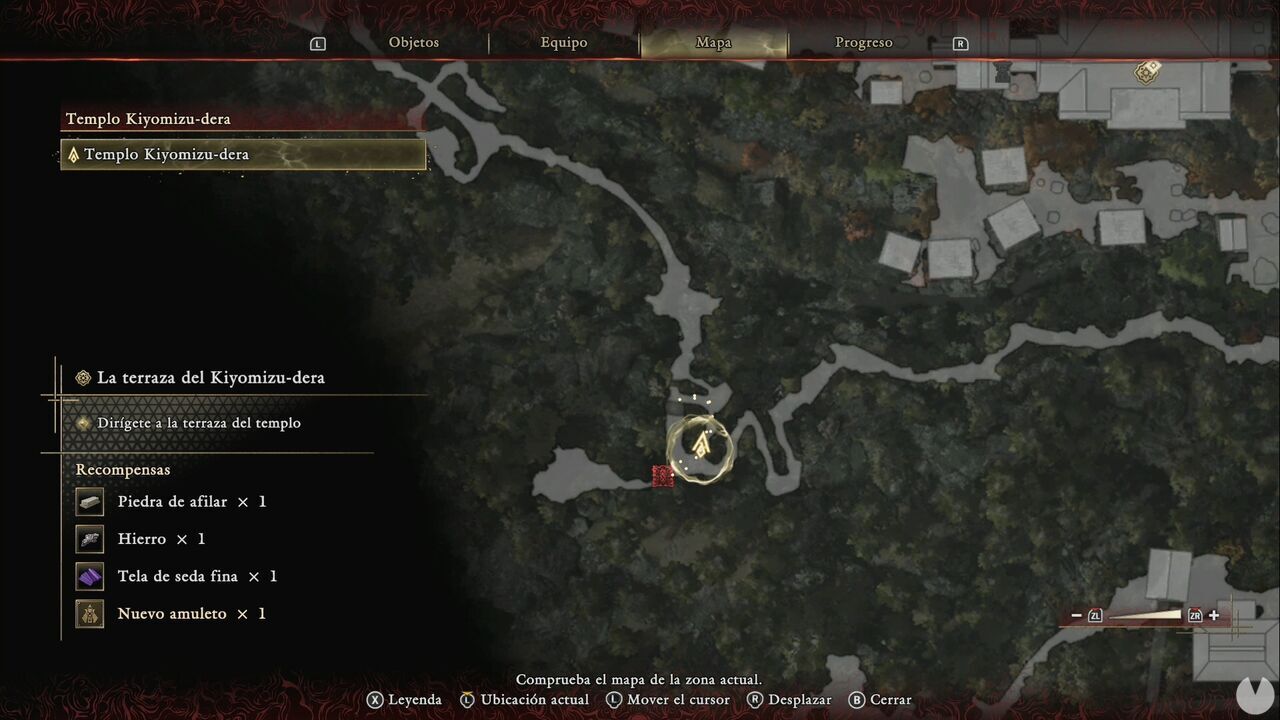
In the riverbed just ahead, you'll find several Hozuki plants. Any Hozuki that won't fit in your pouch will be sent to storage for later refills, so pick them all up. Continue a little farther until you reach an area with four archers. On the raised section where the archers on the right are positioned, on the northern side, you'll find a chest containing a Whetstone.
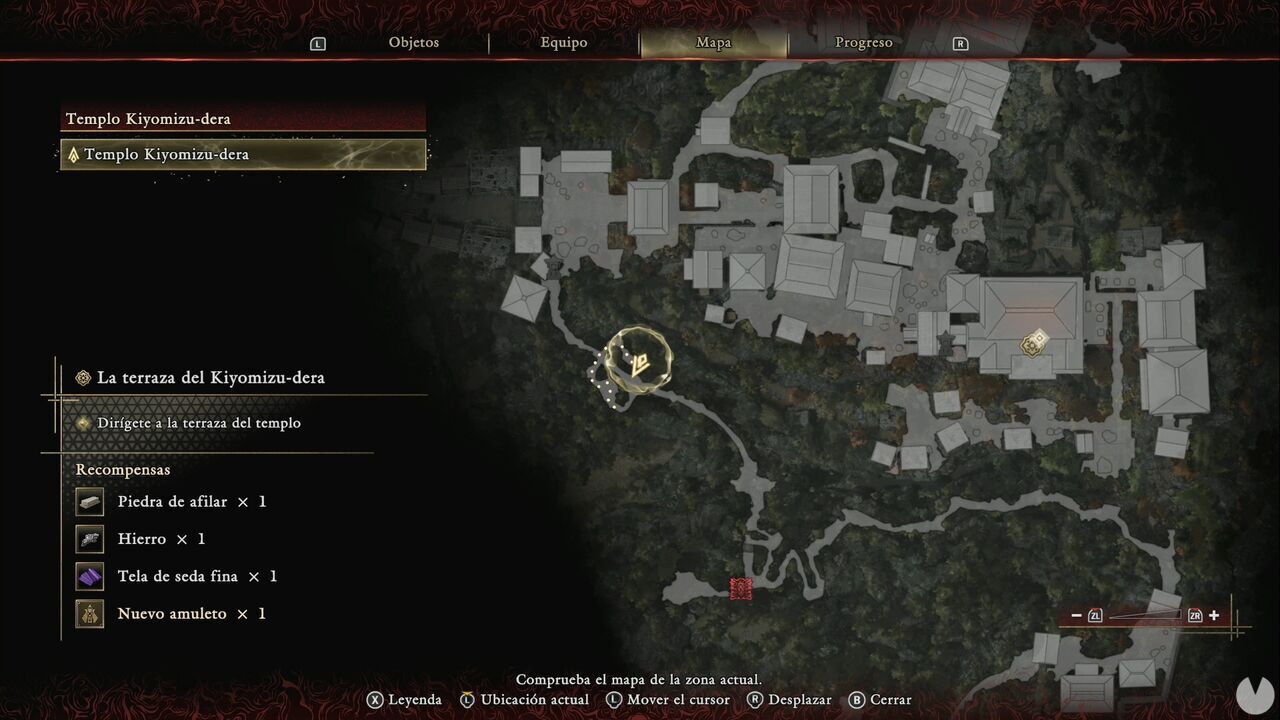
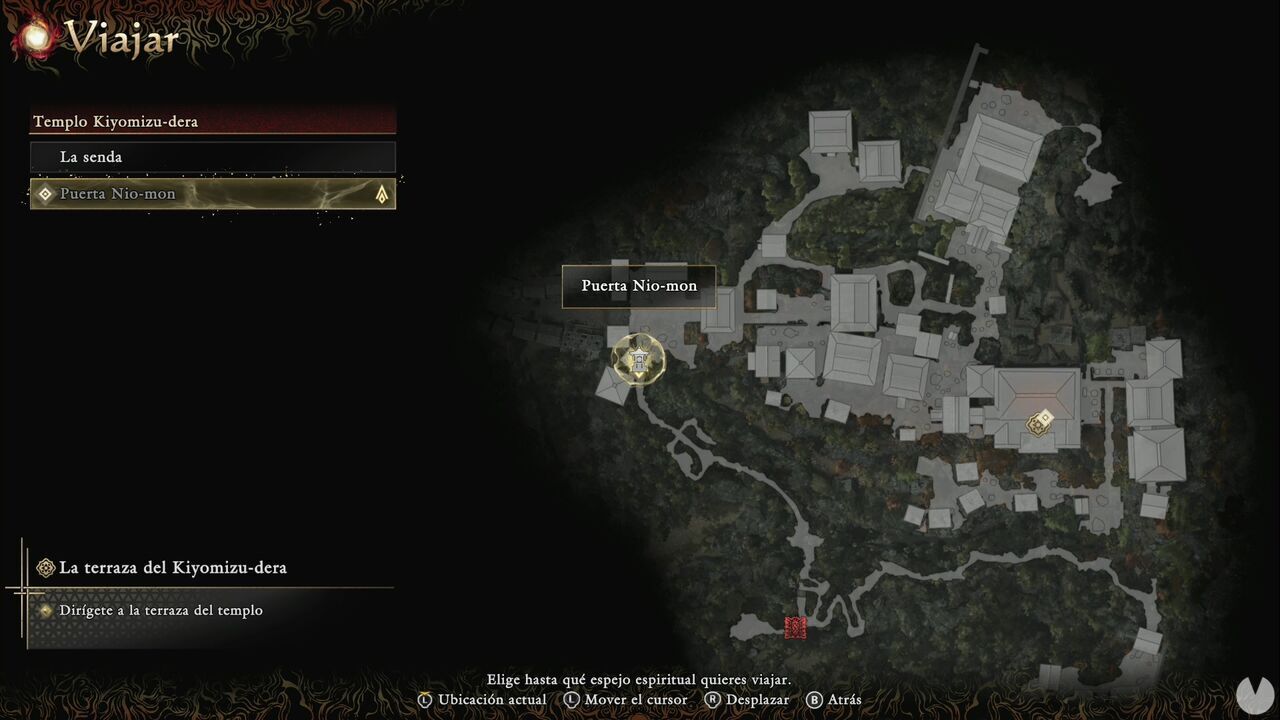
Continue onward and activate the Nio-mon Gate Spirit Mirror to unlock a new fast-travel point, and refill your Hozuki if you've used any.
Continue a little farther to trigger a cutscene. Once you climb the stairs, the game will teach you how to use Oni Vision to locate the creature weaving the threads that block your path. Kill the Weaver to remove the barrier. Immediately afterwards, look to the right to find some Millet and another Mild Restorative.
Continue through the barrier you just removed. The objective will revert to the main one, but we're keeping this section separate because this mechanic will come up again. The paths to the north are blocked, so head south-southeast to continue and trigger another combat tutorial.
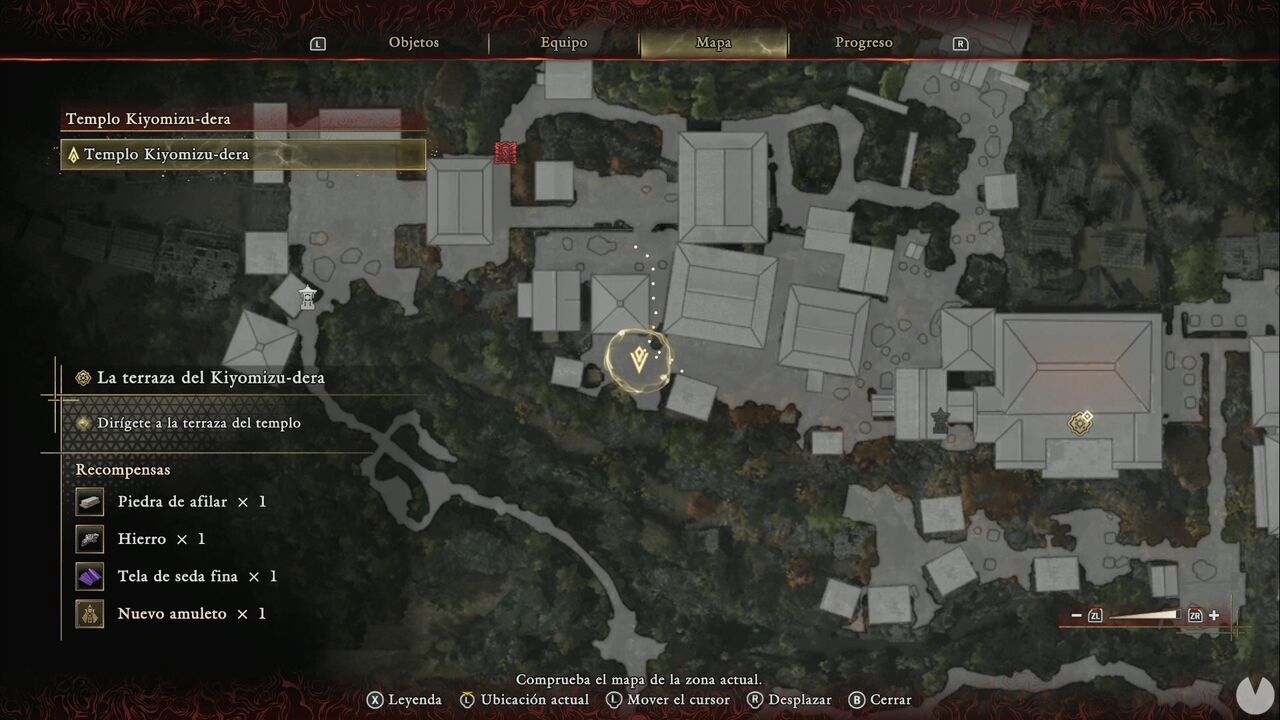
You can slowly walk into the building on the north side of this temple street to sneak up behind a Genma, assassinate it and collect a Mild Restorative. There's another one in the southwestern corner of the street. Afterwards, continue east. In a corner on the southeastern side of the street, you'll find a Watermelon.
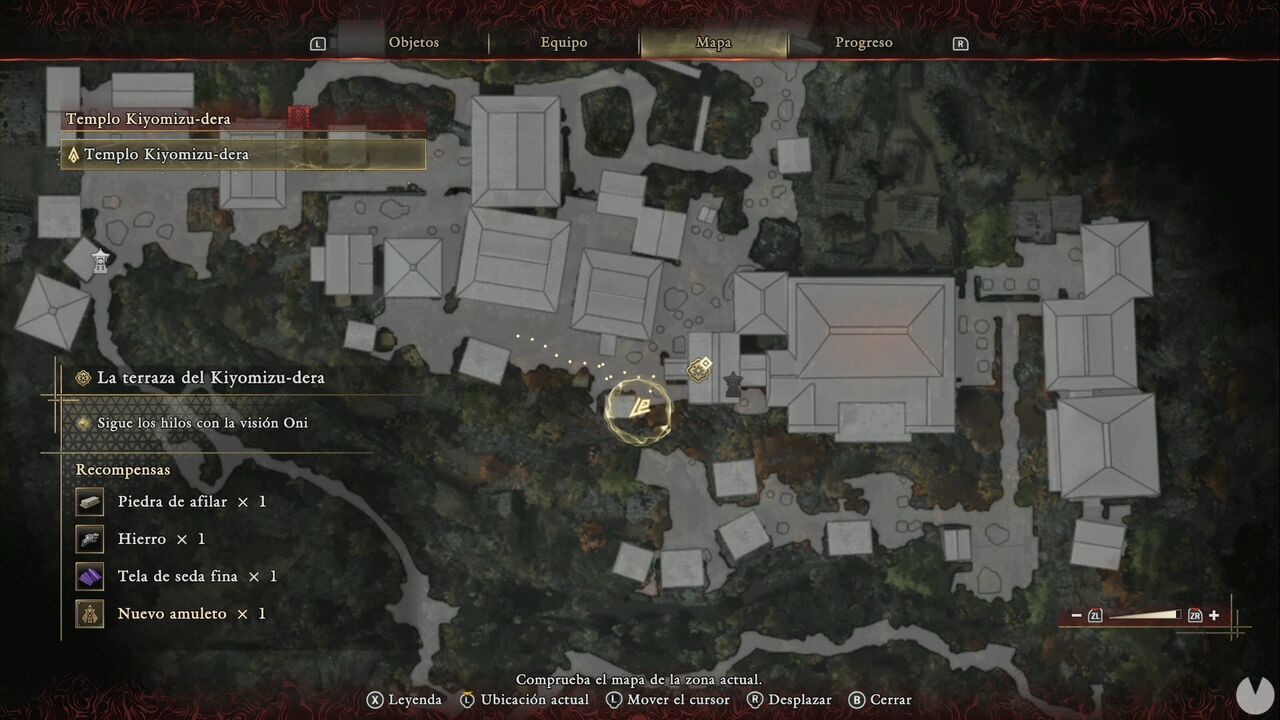
You'll come across another barrier that requires Oni Vision to locate its threads and the Weavers creating them. The first is behind the building just before the barrier, inside a small room. The game will prompt you to use Oni Vision again to reveal the creature.
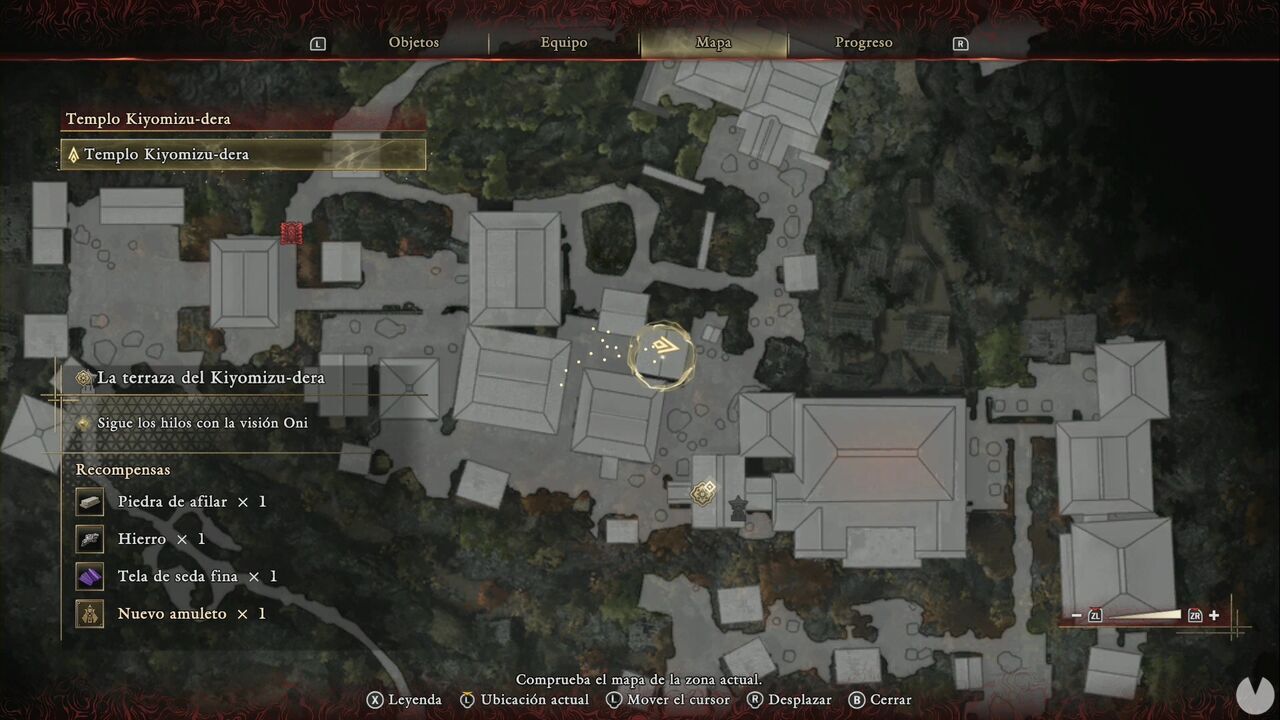
Inside the building immediately to the south, which you can enter from the street with the blocked gate, you'll also find another Lesser Defense Talisman. Now head north from the barrier. You can ignore the western side path, as it leads to a door that can't be opened from this side. Continue north and collect the Hozuki before entering the building; there are plants on both sides of the entrance. Walk in slowly to assassinate an unaware Genma.
Now cut through the panels on the left side of the corridor — or open the door like a civilized human being — to find some Unrefined Sake on the floor.
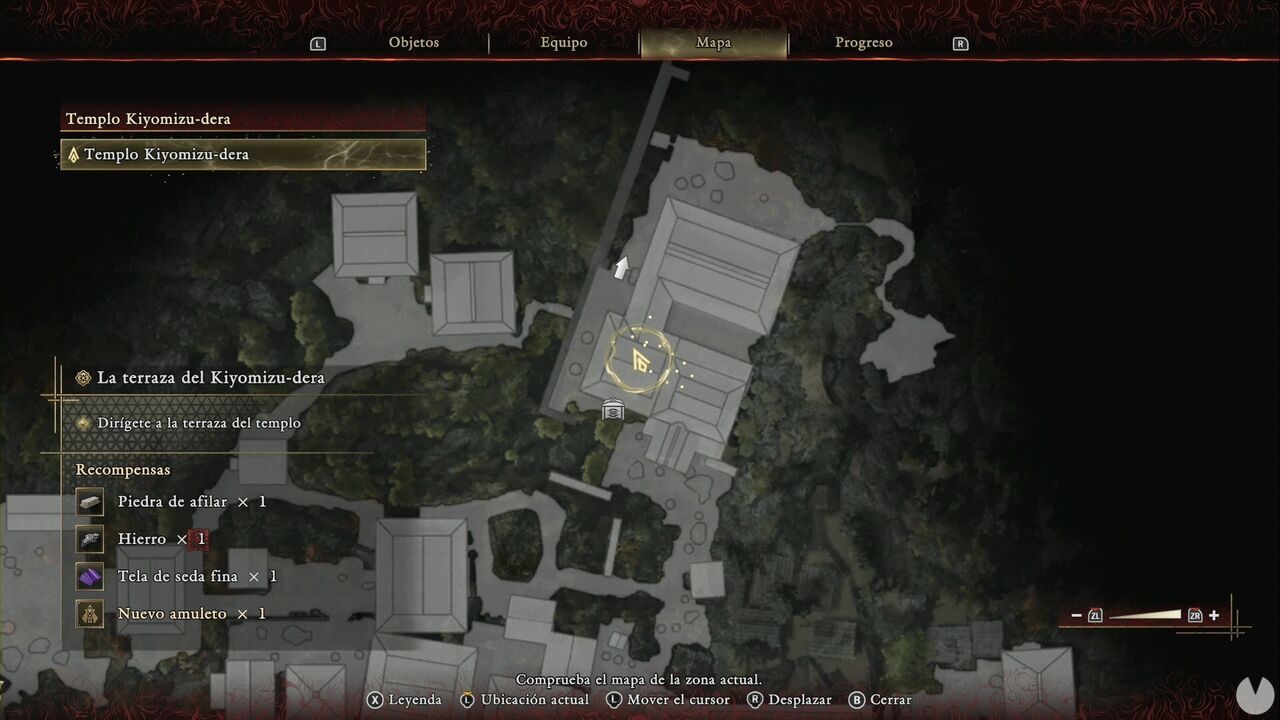
In the room on the right side of the corridor, you'll find a Minor Miracle Cure, an item used to cure the Burn status. An ominous sign, wouldn't you say? Continue to the end of the hallway and look to the left for another panel. Inside that room is another Genma and a Lesser Soul Crystal, which you can use to obtain more red souls. They'll become useful very soon.
A little farther ahead, the game will teach you that you can break locks to open doors. Do so and you'll emerge into a courtyard packed with enemies. Defeat them all.
Once the area is clear, start by heading to the northwestern corner of the courtyard. There's a closed door hiding another Lesser Soul Crystal, along with some Hozuki plants outside. If you head down toward the southwestern section of the rear courtyard, you'll find a blocked door as well as several pots you can break, where you should find more Unrefined Sake.
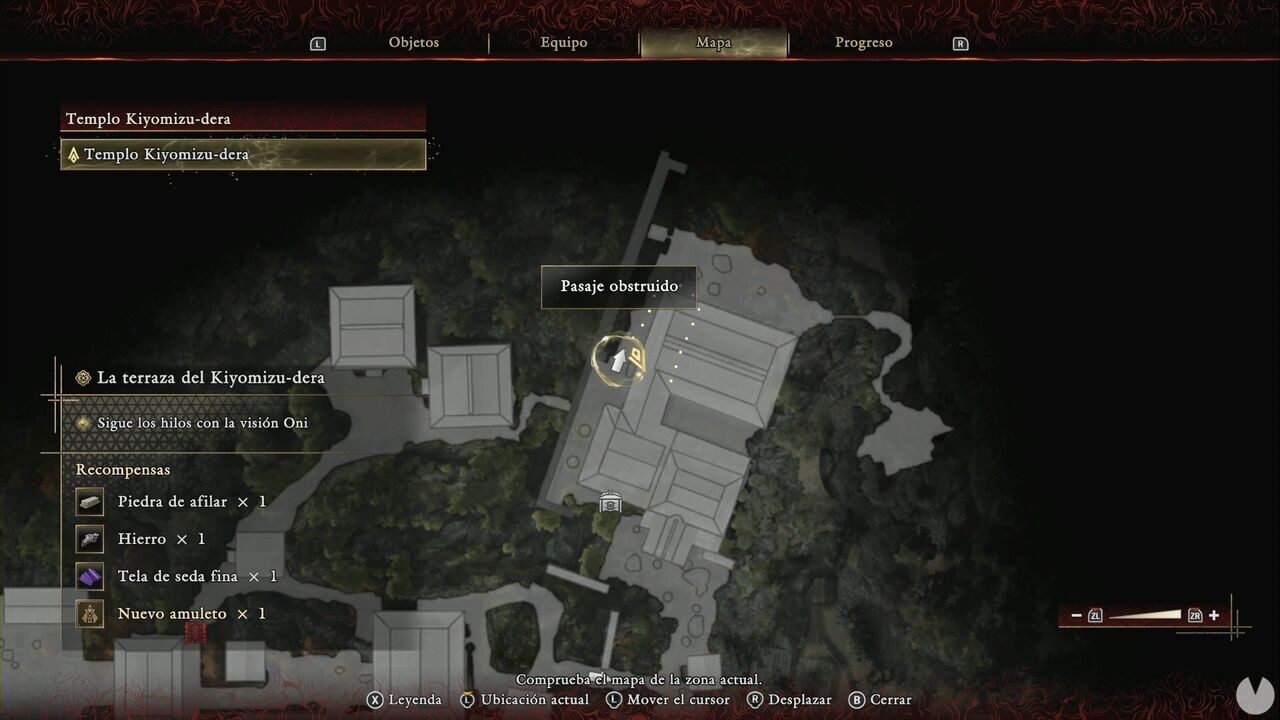
After that, head northeast to the isolated area clearly visible on the map, where you'll obviously find the second Weaver. Once you kill the creature, you'll see your first Treasure chest drop from the threads. It contains The Two Celestials, your first Oni Armament. Essentially, Oni Armaments allow you to unleash powerful special attacks once the Oni Power Gauge in the lower-right corner of the screen has been filled.
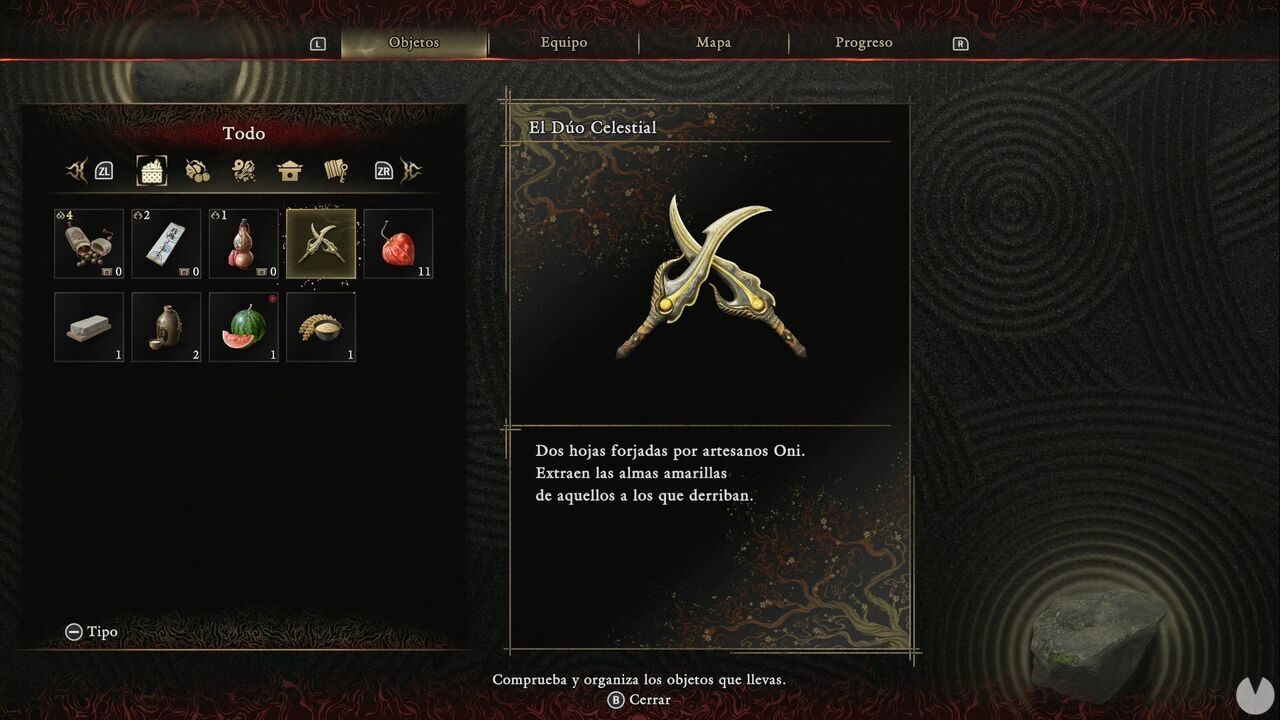
Backtrack the way you came and you'll trigger a cutscene introducing a new type of Genma that's somewhat stronger than the basic enemies you've fought so far. Naturally, this encounter serves as the tutorial for Oni Armament attacks. Continue back the way you came toward the door marked by the objective. The path will be blocked, so you'll need to open the gate along the western side path and take a detour.
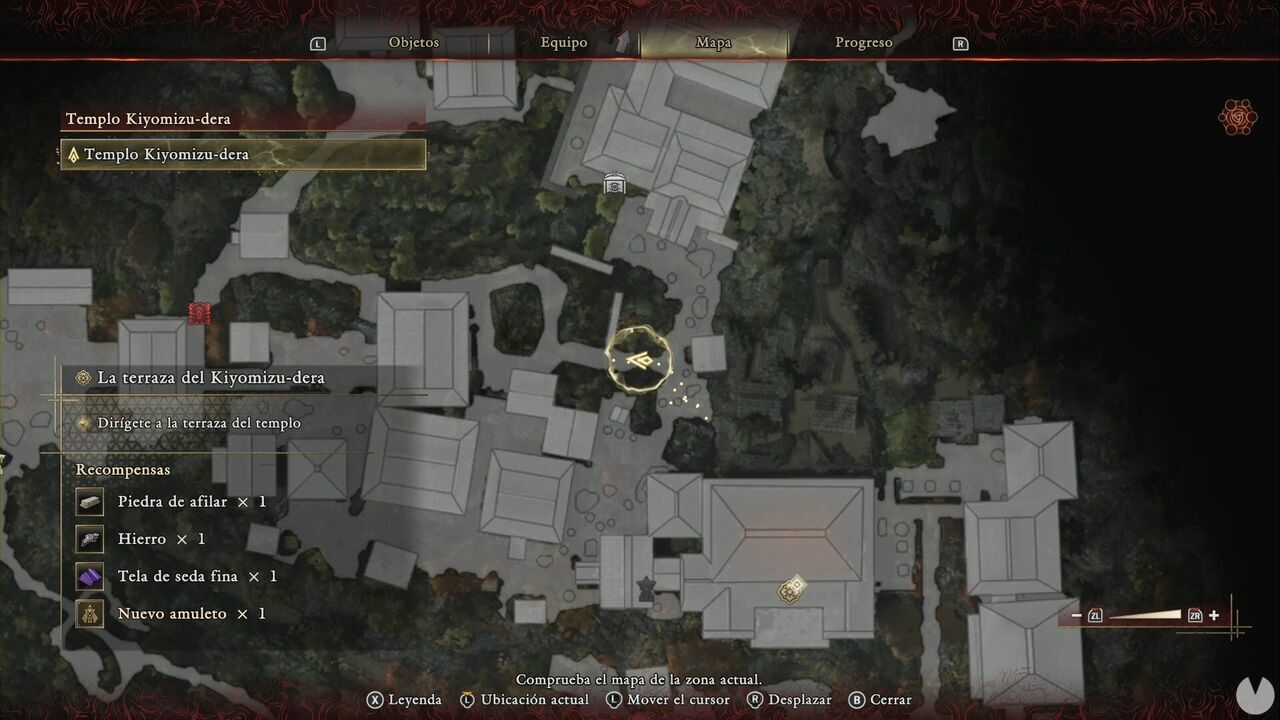
After passing through, you can find a Lesser Might Talisman along the northern side path. From there, look west toward the northwestern section of the path and you'll see another glowing item. It's a piece of Hempen Cloth, a material you'll need to enhance your equipment.
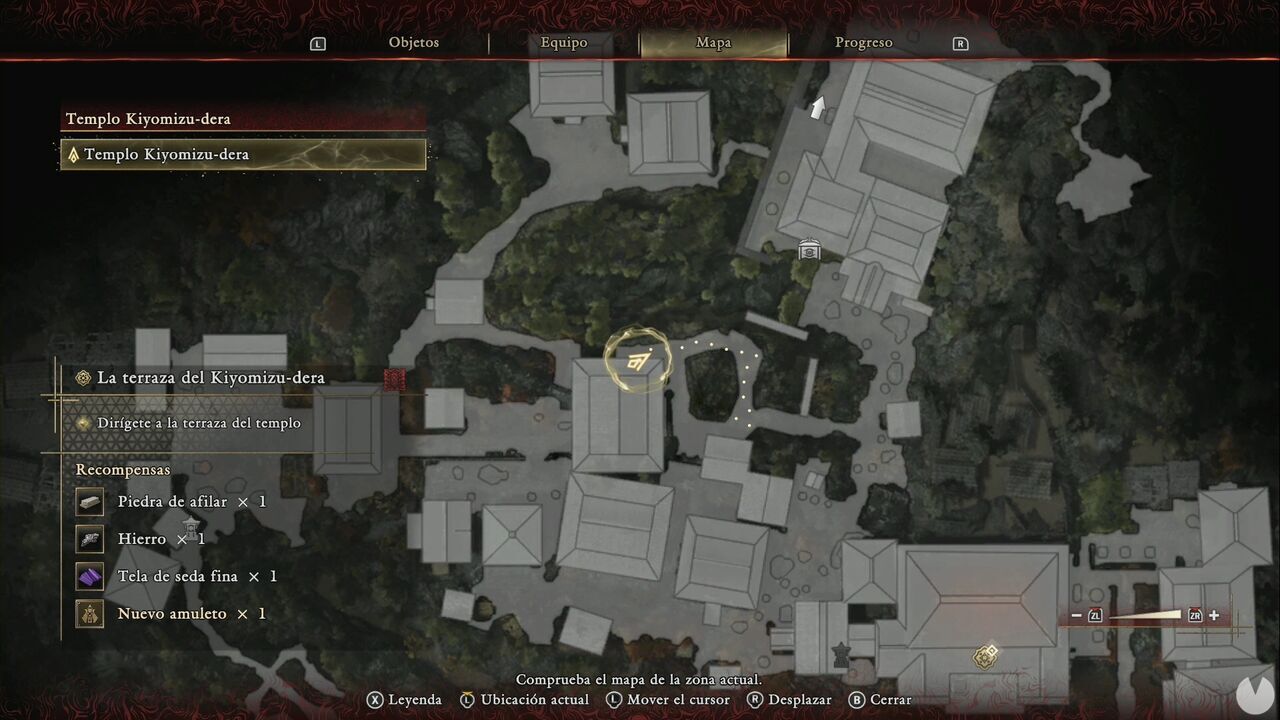
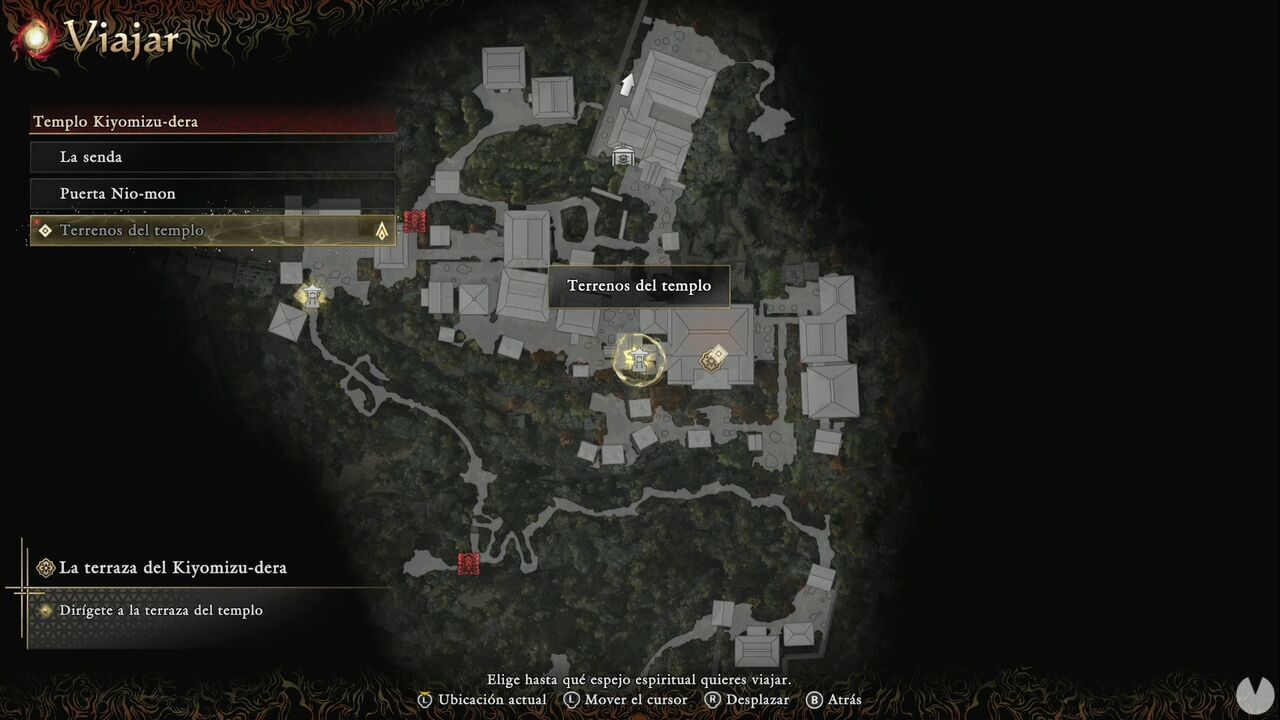
Now open the southwestern gate to return to the street where the barrier was. As soon as you pass through, activate the Temple Grounds Spirit Mirror before continuing.
Continue forward to trigger a cutscene. Once it ends, you'll have to face Sasaki Ganryu, whose smile suggests he may either become a relentless stalker or simply a slightly unhinged fan.
After the fight, don't use any healing items if you're injured. Instead, return to the Spirit Mirror and interact with it to restore your health. Now leave the stage through the northeastern side. In the north-northeastern section of the path, you'll find more Unrefined Sake.
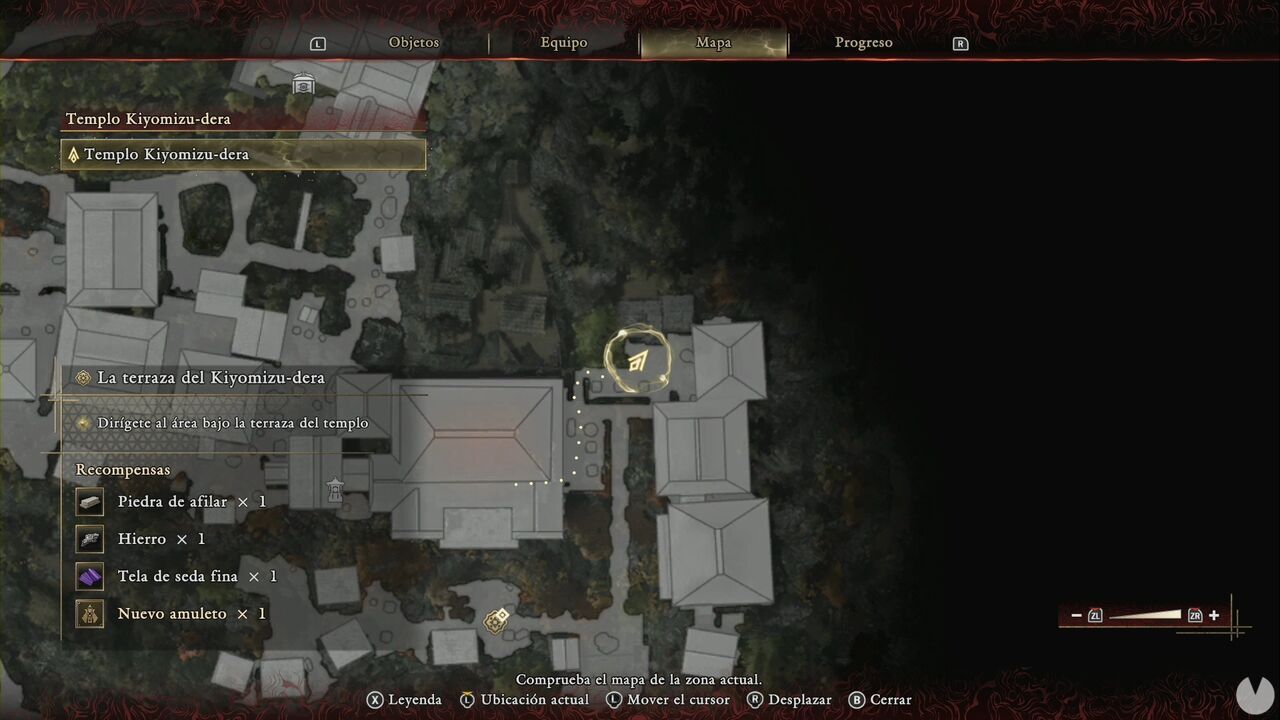
Continue to the northeastern corner of this area to find a small altar and a box containing another Whetstone.
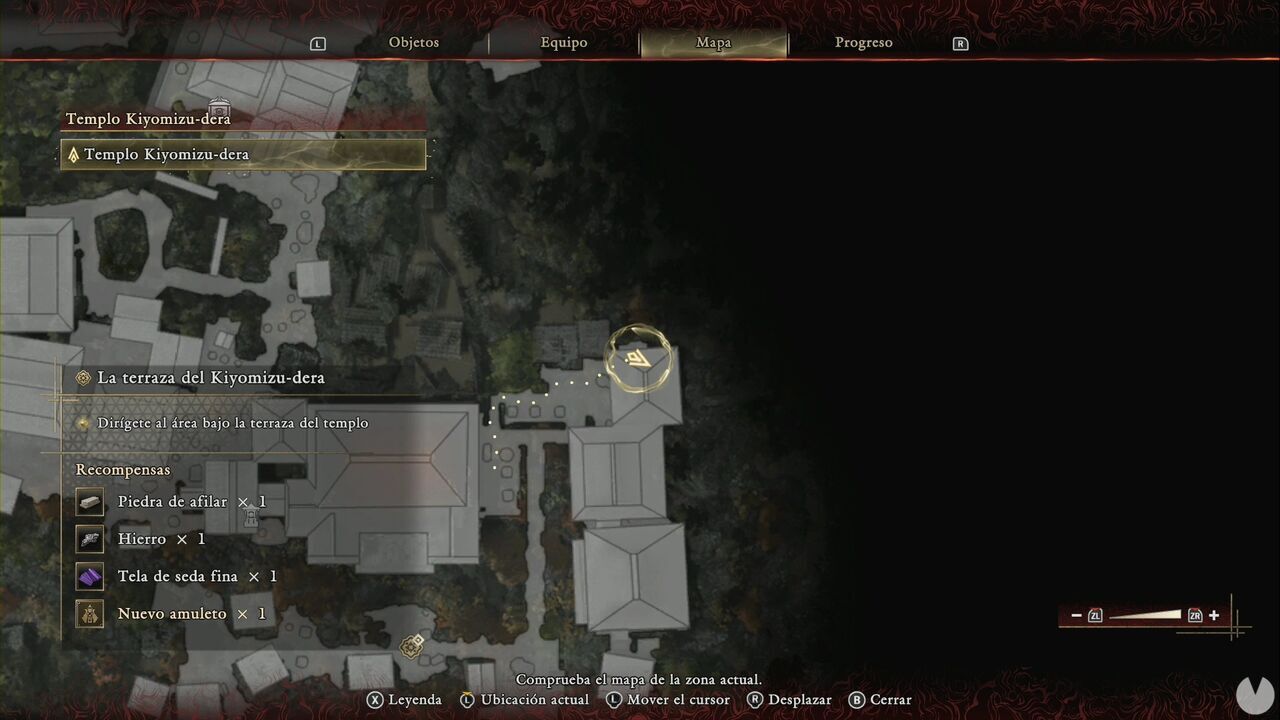
Continue down the eastern side of the area until you find several pots in an alley between two buildings. One of them contains another Unrefined Sake.
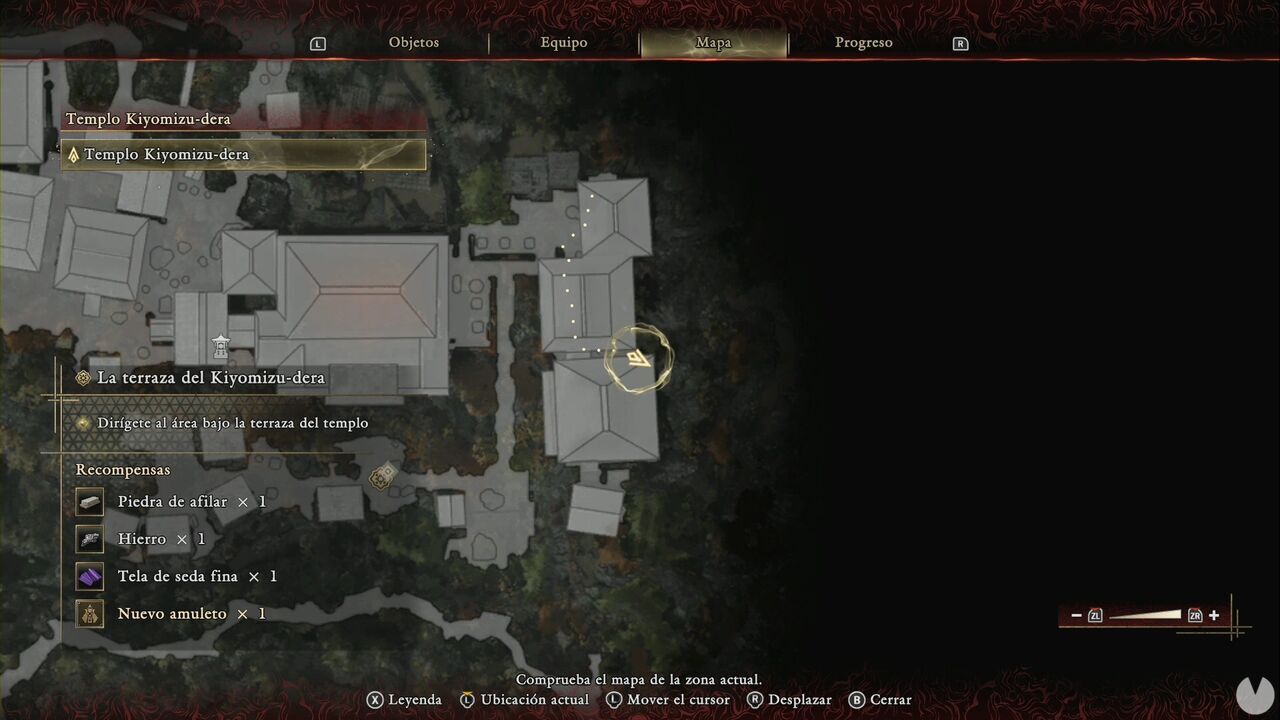
Continue southeast through the buildings. In the southeastern corner, you'll find a small shelter containing a chest with some Hempen Cloth.
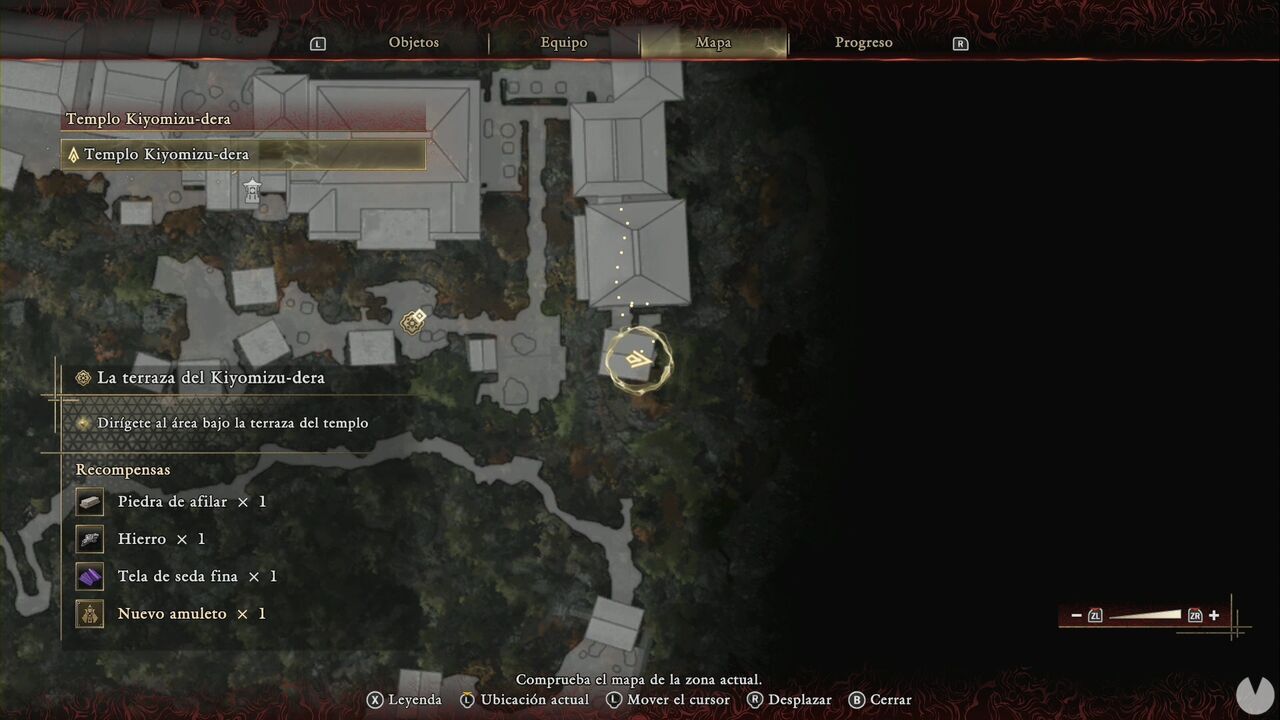
You can now head down the stairs toward the objective marker. Another cutscene will trigger as you approach a new dark mass. Once it ends, don't interact with the glyph yet. Instead, head west. In the westernmost section, between the burning houses, you'll find a Lesser Soul Crystal to the south and a Watermelon to the north. Now return to the objective marker and use Oni Vision to interact with your first Oni Glyph. Use the "eye" to travel somewhere else.
Exactly what the objective says: make your way through this rather sinister cave. There's nothing particularly interesting until you reach the building, where you'll find the Hall Spirit Mirror right beside it.

If you enter through the opening to the left of the building's door, you'll find a Lesser Defense Talisman. There's a locked door on the right side, but you can't do anything with it yet. Continue along the only available path and you'll find another Treasure.
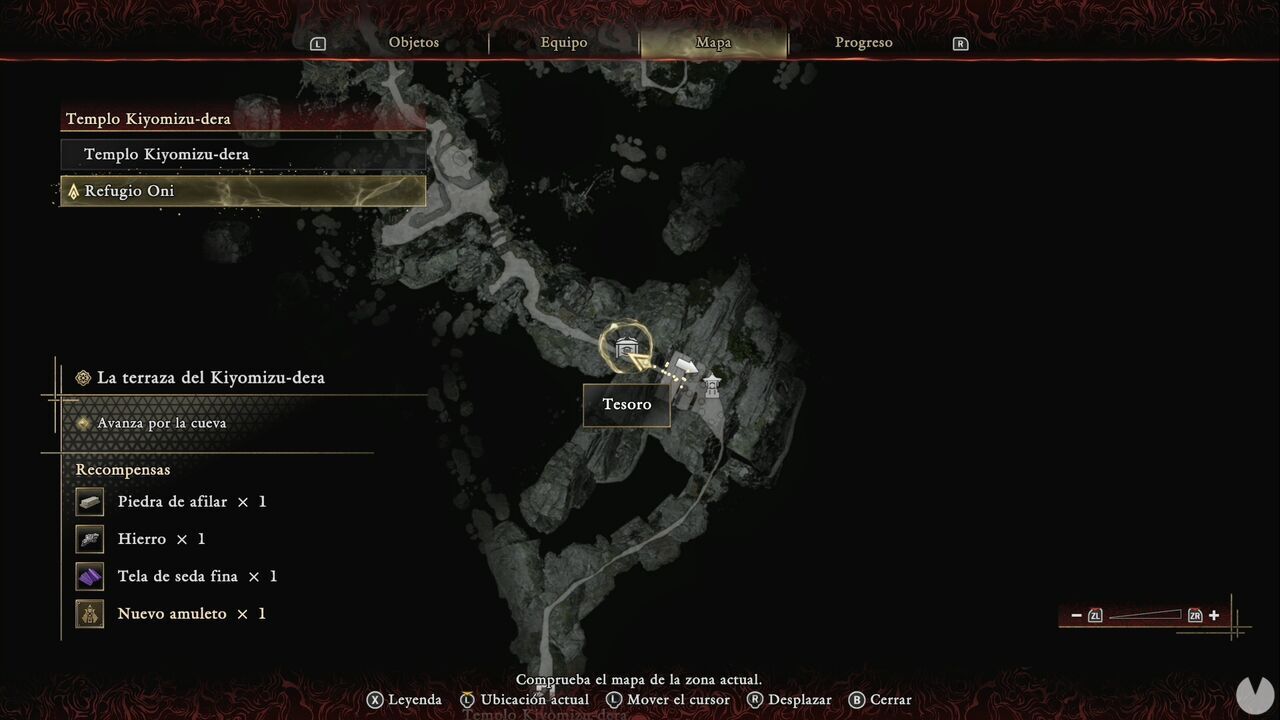
Inside you'll find the Oni Bow. This wonderful weapon has unlimited arrows and doesn't consume Oni Power like the other Oni Armaments. It's also useful for all sorts of things outside combat. Don't believe us? Turn around and look through the broken slats in the wall opposite the locked door you passed a moment ago.
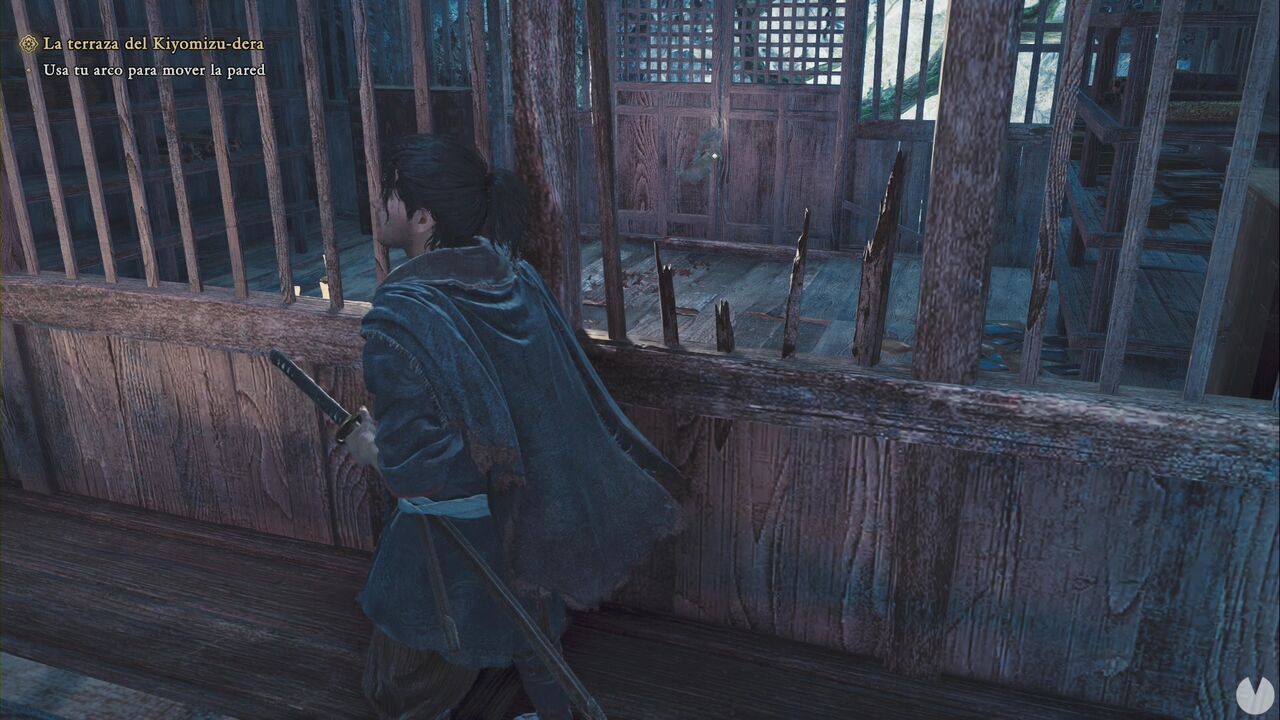
From here, you can shoot an arrow at the lock on the door, allowing you to open it. Inside is a box containing some Cotton Cloth.
Back on the main path, look at the mechanism at the end of the tunnel. Simply shoot the circular target when it glows red to open the way forward.
Once again, the objective tells you everything you need to know for a while. At the first side path on the left, you'll find a Lesser Soul Crystal. There's another one in the raised area occupied by Genma archers a little farther ahead. Remember that you can now shoot them from a distance. Shortly afterwards, you'll find another Mild Restorative and another mechanism like the previous one. Shoot the red target to open the path.
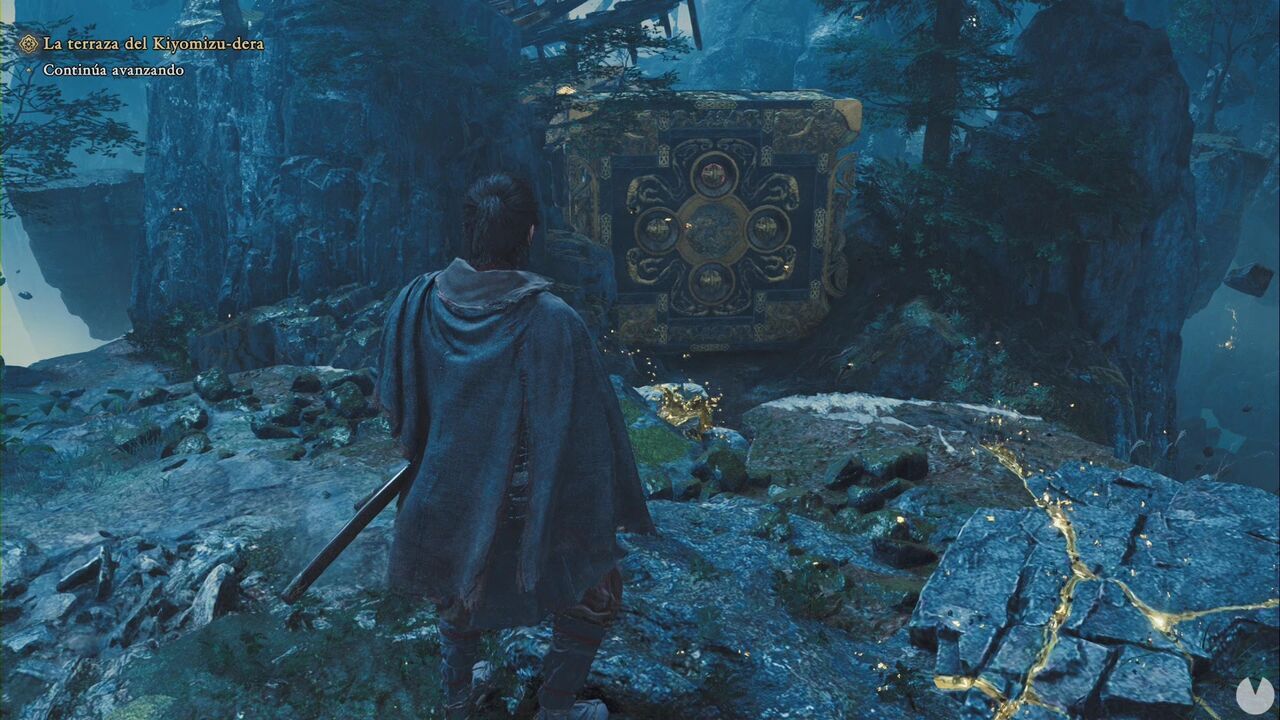
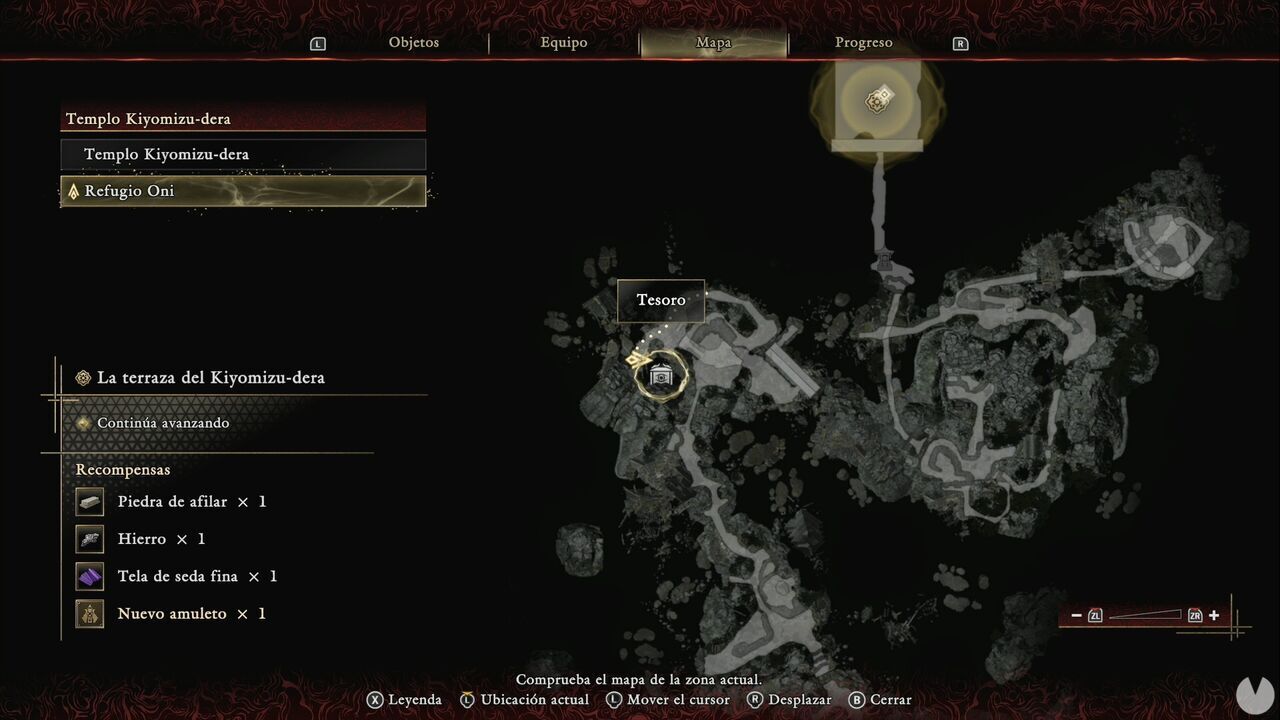
Continue forward, defeat the Genma with the floating core and make sure to use them in the pit shortly afterwards. They're extremely useful because they'll allow you to neutralize the archers in one go. Once the area is clear, climb up the rocky path and follow the only route available. You'll spot a chest that you can't reach directly. Instead, head northwest of the chest, to the right as you approach it, at the position shown below.
From here, you'll see that the floor in front of the chest is controlled by an Oni Bow mechanism. Activate it like the others by shooting the circular target when it glows red.
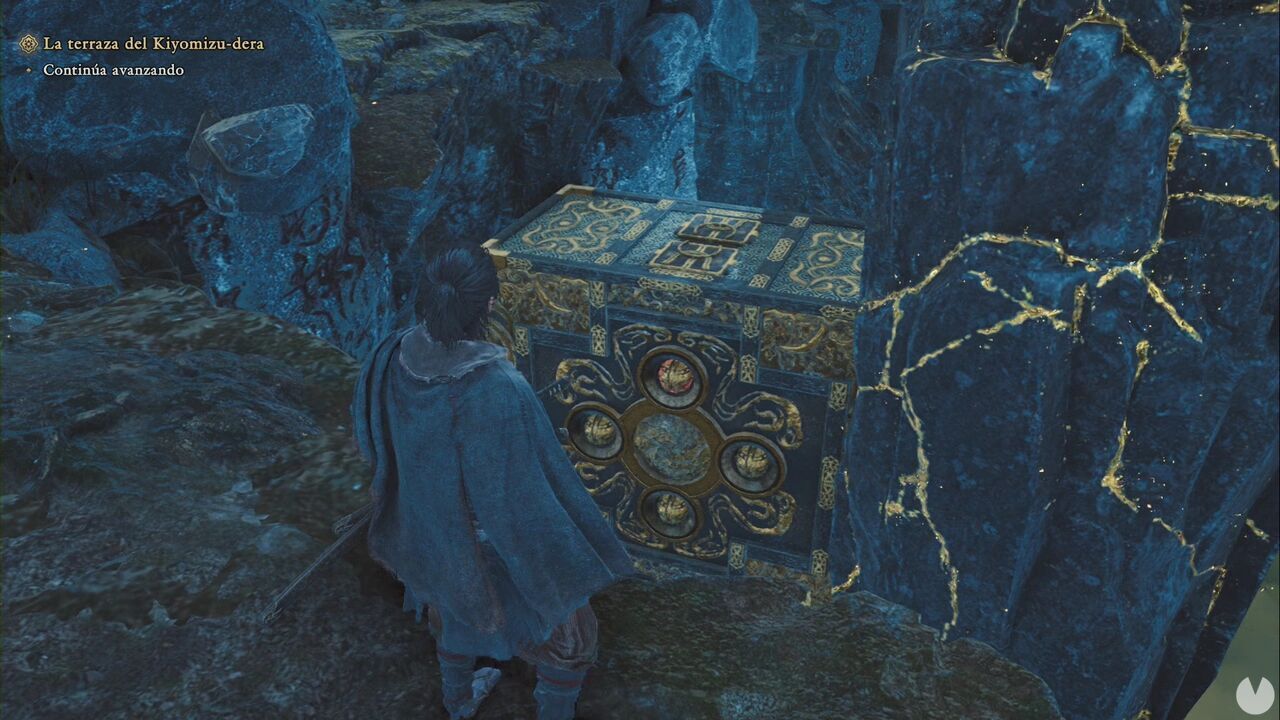
You can now reach the chest, which contains a Power Stone. From the chest, continue east and enter the ruined building. Use Oni Vision to locate another Oni Glyph. Activating it will create another path allowing you to continue east.
Watch out for the rocks being thrown at you, and at the junction, take the path on the right and head downward. It won't be long before you reach a wall you can shimmy along to cross the chasm toward the southeast.
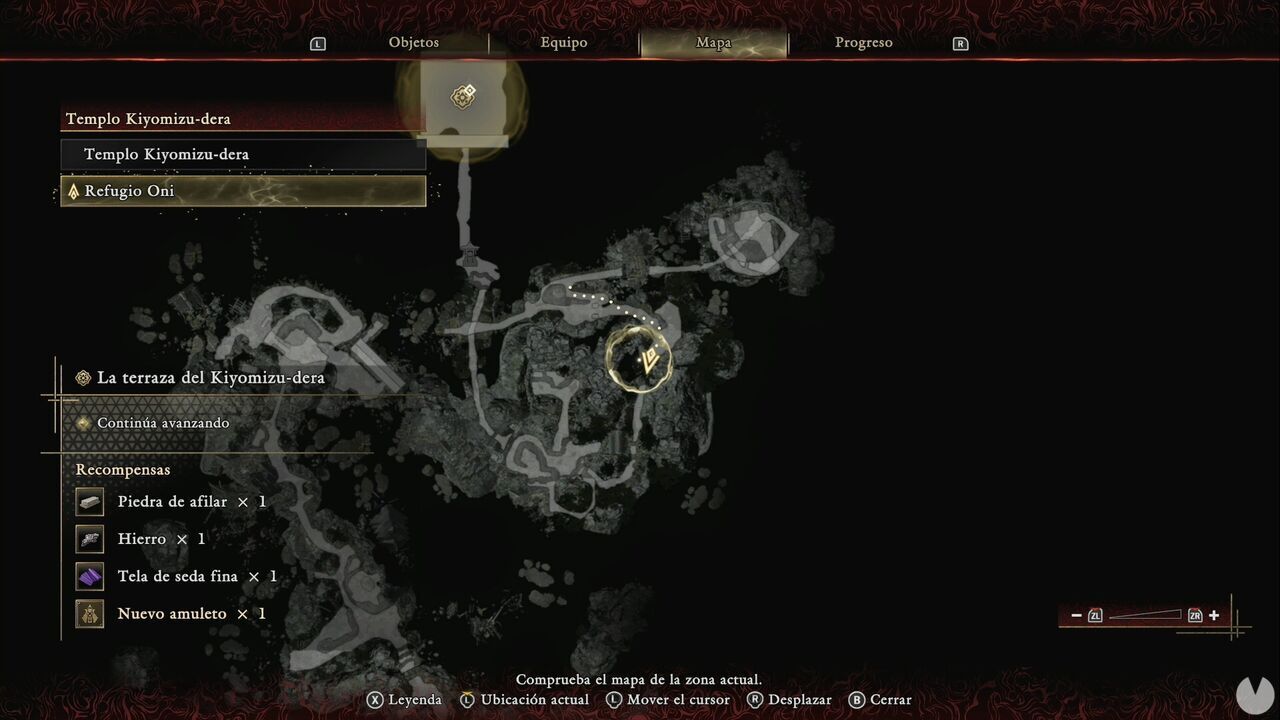
Follow the only available path and activate another mechanism with the Oni Bow. Immediately afterwards, the Gauntlet will begin to glow. Climb the ladder after passing beneath the block and you'll soon find another Oni Glyph. Activating it creates a set of ruins that form a bridge, allowing you to reach the top of a rocky ledge. From there, you can shoot the target on the block to lower it and continue onward.
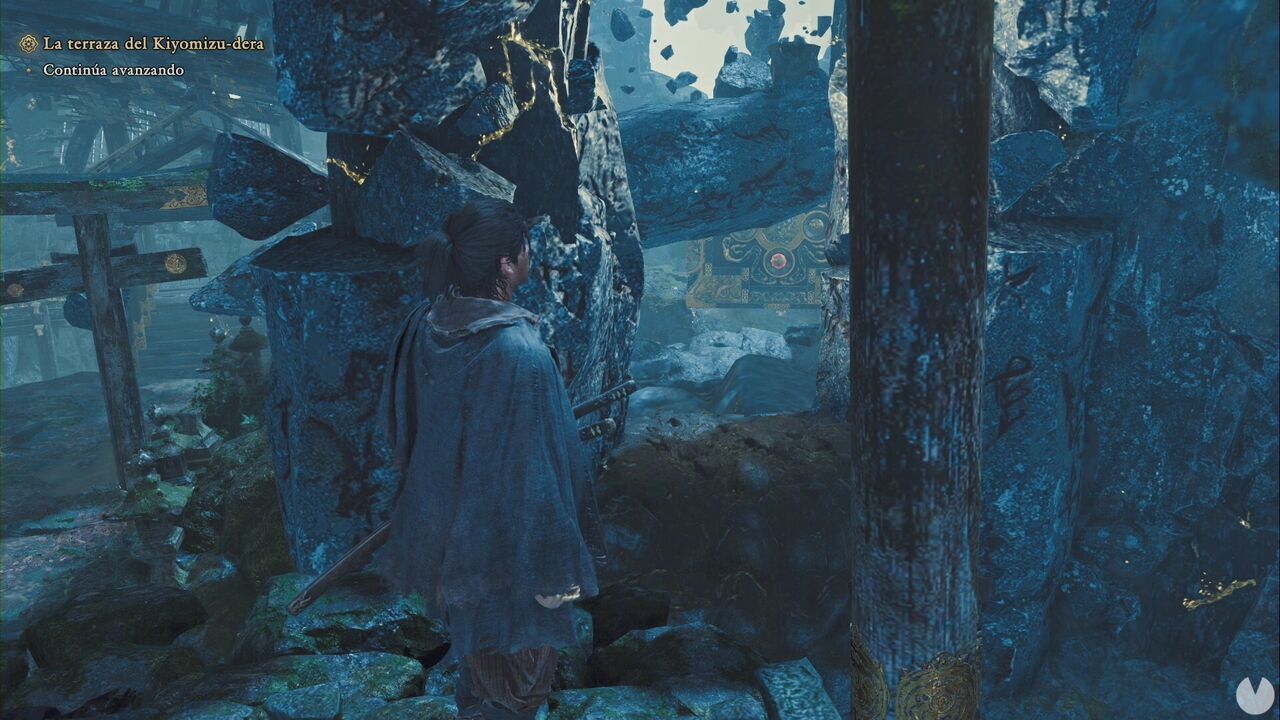
Cross back over the ruins created by the glyph, turn right and walk across the top of the block. When you reach the end of the river, you'll find the Shrine Grounds Spirit Mirror.
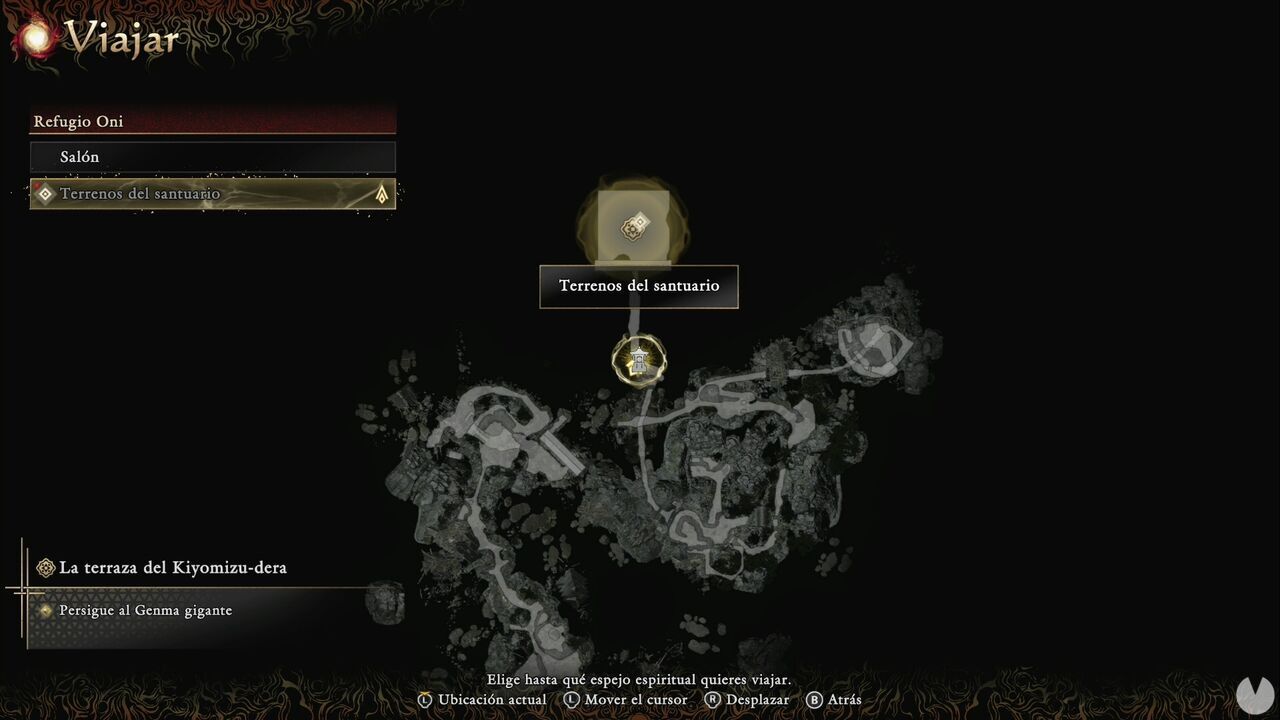
It shouldn't take much imagination to realize that a boss is waiting for you at the top of the stairs. You'll have to face Daidara, Slavering Glutton.
After the fight, you'll return to Rokudo-chinnoji Temple and Kyoto, Corrupted will begin.
