
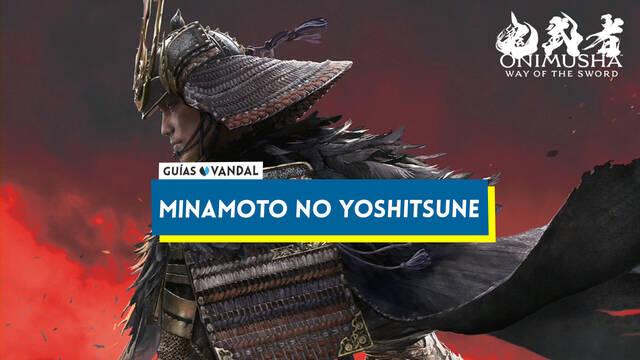
Throughout the story of Onimusha: Way of the Sword, you'll face a good number of bosses that must be defeated in order to progress. In this section of our guide, we'll give you some tips for taking on Minamoto no Yoshitsune. You'll face him at the end of the game during The Way of the Sword.
Yoshitsune has three health bars instead of the two used by most bosses. To begin with, we recommend that you make the first phase last as long as possible until you've learned his attack patterns. This is essential preparation for the second phase... otherwise, he's going to kill you more times than you'd care to count. We also strongly recommend playing defensively. Don't get greedy trying to deal extra damage or you'll regret it, at least until you've had enough practice.
At close range, his combos often continue even after a successful Parry, so keep guarding until the entire sequence has ended before attacking. If you see him walking toward you with the sword resting across his shoulders, he's about to perform an almost instantaneous attack. Be ready to block it, as it deals considerably more damage than a regular strike. Naturally, he also has a grab attack. It's fairly quick, although the timing for dodging it seems a little more forgiving than with some other bosses.
One move you absolutely need to learn is his jumping kick, which he uses at close range when he wants to create some distance. Learning how to dodge this attack is extremely important before you reach his second health bar. It's fast, but he generally uses it after finishing a combo and attempting to disengage.
As for his Unavoidable Attacks, he has two. The first begins when he raises his sword diagonally: he'll perform two diagonal slashes followed by a horizontal one. It's generally easier to evade these strikes than to try to block them, and you'll only be able to Parry them if you're close enough.
The second Unavoidable Attack is far more dangerous. It's extremely fast and consists of a circular slash. The problem is that if it connects, Yoshitsune follows it with a grab that deals additional damage, steals your souls and pushes him into his empowered second state. He can reach this state after landing only a few attacks or by connecting with the Unavoidable Attack described above. His moveset won't change much at first, but he'll deal considerably more damage.
Once you completely deplete his first health bar, things become much more difficult. He'll begin with an attack where he slams into the ground that must be dodged rather than blocked. Immediately afterwards, whether you avoided the first hit or not, he'll leap again and create a powerful explosion that you also need to dodge. It's worth noting that if you've built up a Reflex Combo and activate it, you can interrupt the second attack.
While on the ground, he uses roughly the same sword combos as in the first phase, but he also gains several punching attacks. These come in two forms. For one, he'll pull his left arm back before throwing the punch; if you dodge it, he won't continue the combo. If it connects, however, he can follow up with another two hits, so be careful. His second punch is a sweeping strike, slightly faster but still fairly easy to dodge. Watch out for his grab, as he'll feint before it connects, which can easily catch you the first few times.
The most important attack for creating an opening is his airborne sword assault. You'll see him gather momentum in mid-air with his sword held in front of him before delivering two slashes, always followed by the jumping kick. This is why learning that kick during the first phase is so important: this sequence gives you one of your best opportunities to damage his Stamina Gauge. Block the two sword strikes and dodge the kick to build your Reflex Gauge and set up a Reflex Combo.
As the fight progresses, he'll also start firing arrows. At first he'll launch a simple fan-shaped volley, but later he'll fire three tracking volleys in succession. You can Deflect the arrows back at him to deal damage.
Once you reach the third health bar, Yoshitsune can only be damaged while you're in Oni Awakening. He'll continue using largely the same attacks, and you can refill the Awakening Gauge with the souls generated by an Issen, which makes this phase somewhat more manageable. The real danger comes when you see him begin absorbing souls. Once he's finished charging, he'll unleash his ultimate attack. You can avoid it, but if you use Onimusha Onslaught while in Oni Awakening, you'll not only stop the attack but trigger a special animation that deals significantly more damage than usual. If you've managed to reach the third health bar, you don't have much left to worry about. Curiously enough, this is probably the easiest phase of an otherwise extremely long duel.
