
A Strength in Refuge is the seventh chapter of the story in Onimusha: Way of the Sword. It begins at the end of The Curse of Kiyomizu-zaka Slope, after destroying all the Malice-emitting plants. As usual, throughout this spoiler-free walkthrough we'll help you complete every story chapter 100%, making sure you don't miss anything along the way and providing tips for the more difficult situations.
As you can probably tell from the map that opened up after clearing the Malice from Eastern Kyoto, we're going to tackle a huge amount of optional content at this point. If you just want to continue the story, you can skip directly to Speak with Takamura below. We don't recommend doing that, though, as there are plenty of useful things to find and a huge number of materials to collect.
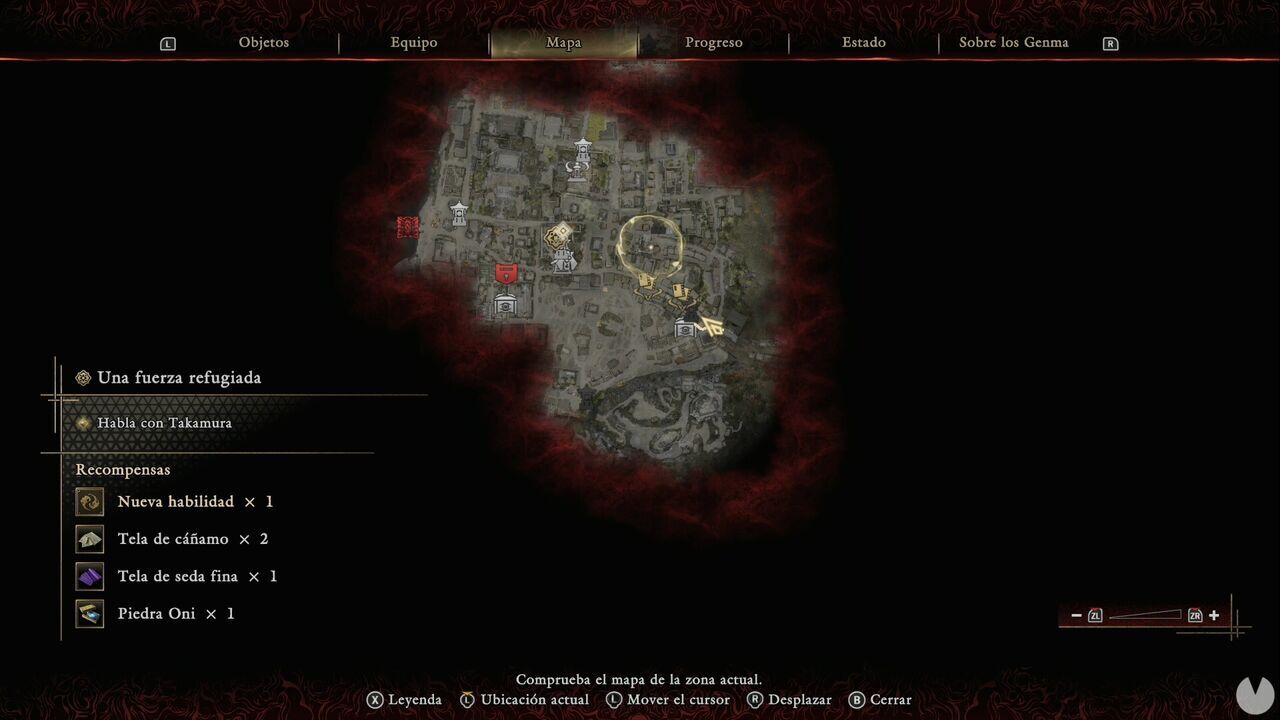
First, collect the Treasure in the nearby alley. It contains Fine Silk Cloth.
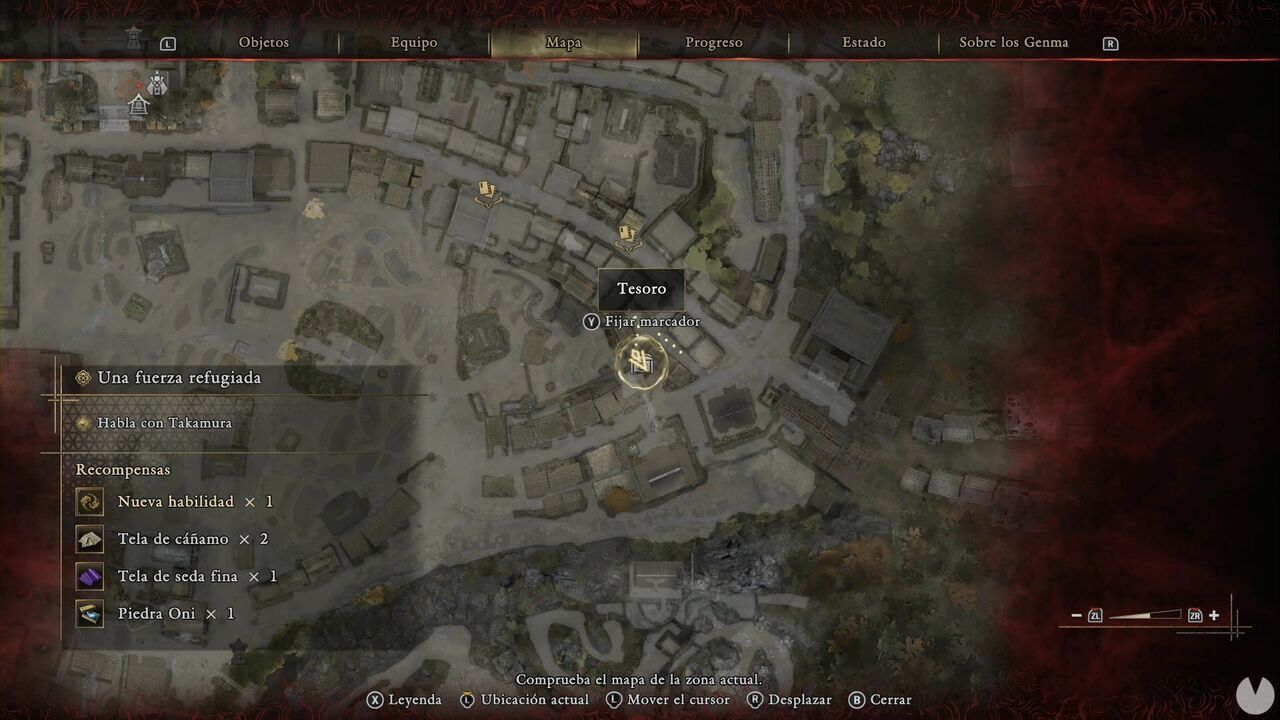
From there, head east. Behind one of the houses, you'll find a chest containing Cotton Cloth.
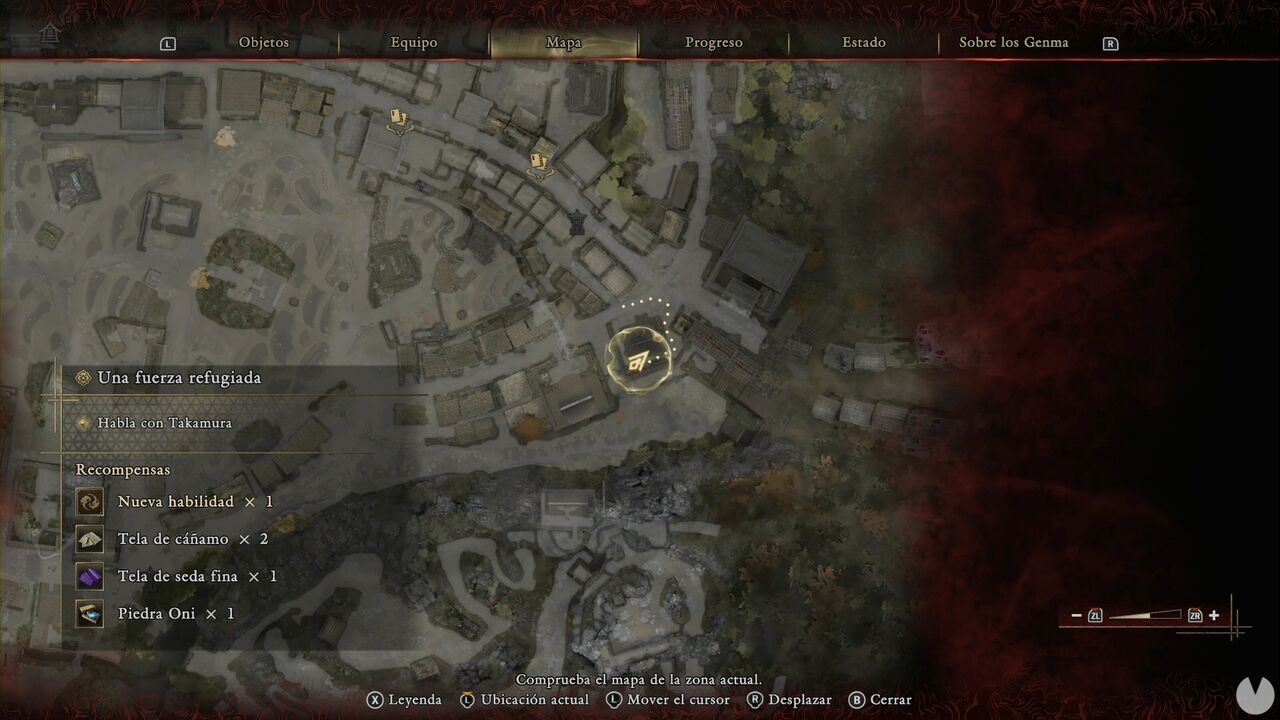
To speed things up, we're only going to point out the important locations we're looking for using a series of images. North-northeast of the previous chest, inside an alley, there's another chest containing Tempered Iron.
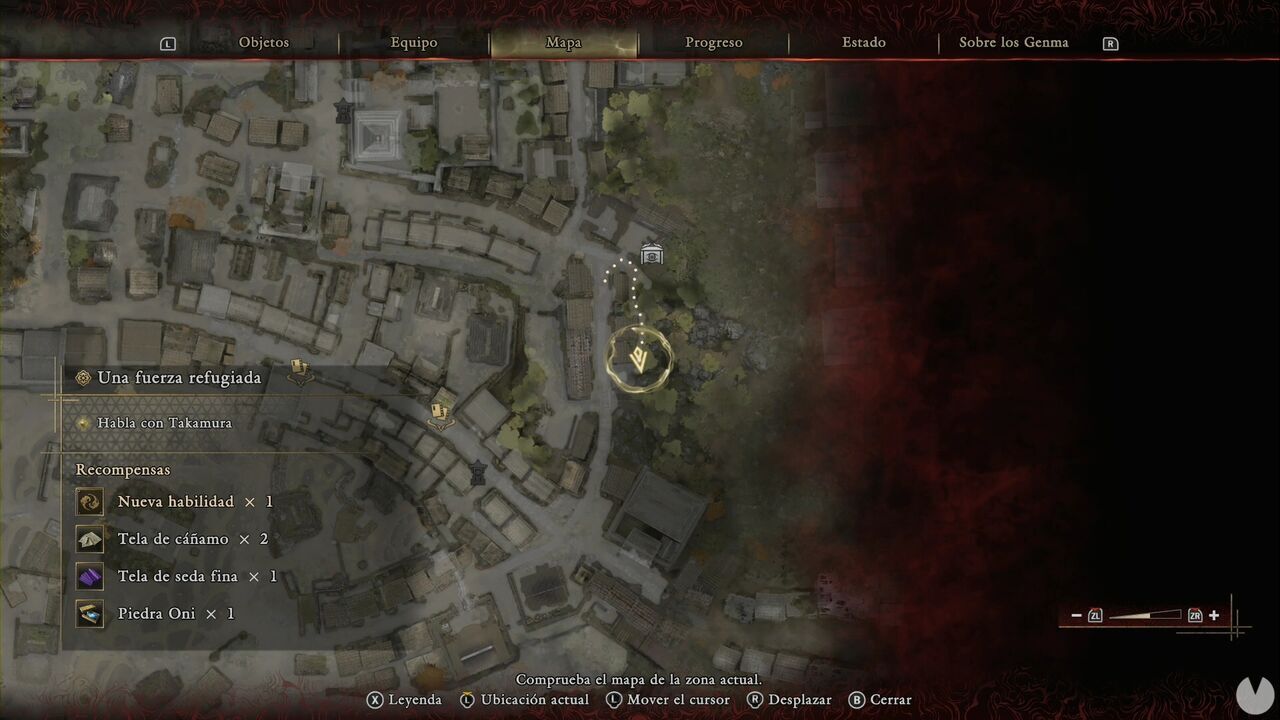
Directly north is another Eastern Kyoto Treasure. It contains Tamahagane.
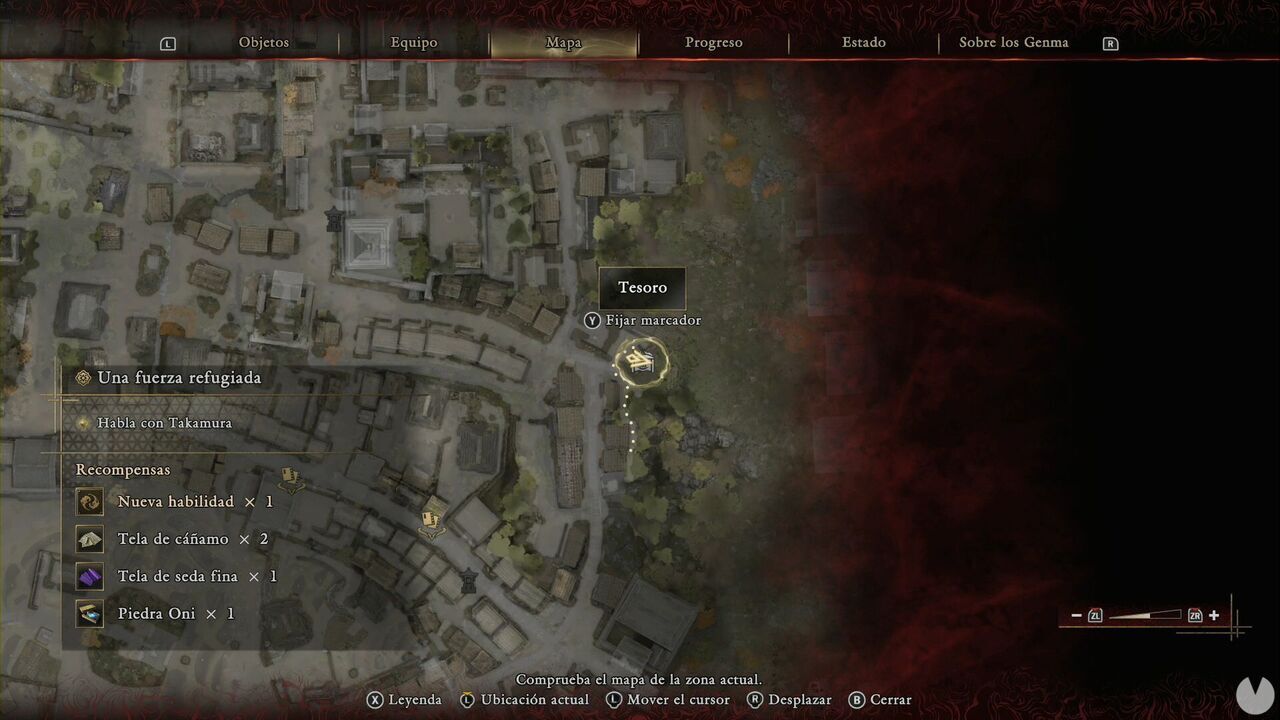
From there, you'll find another chest containing Leather in a courtyard to the southwest.
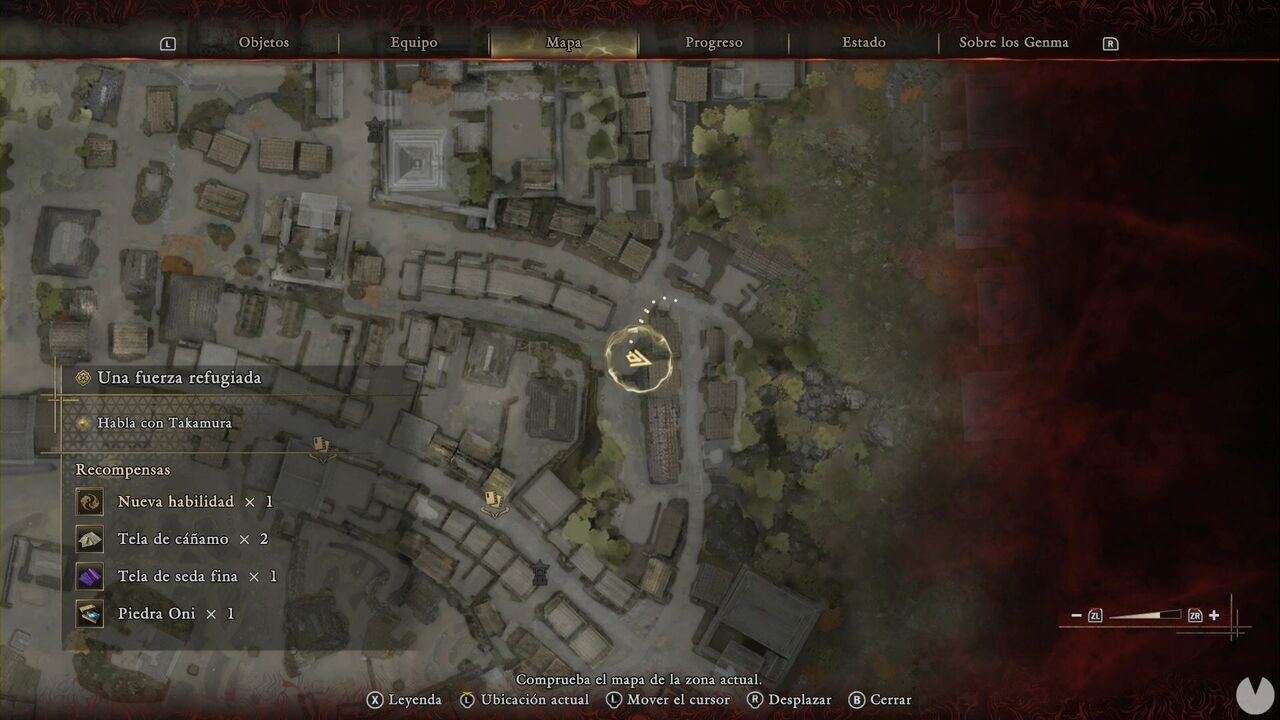
On the rooftops to the west — there are ladders you can use to climb up — you'll find another chest containing more Leather.
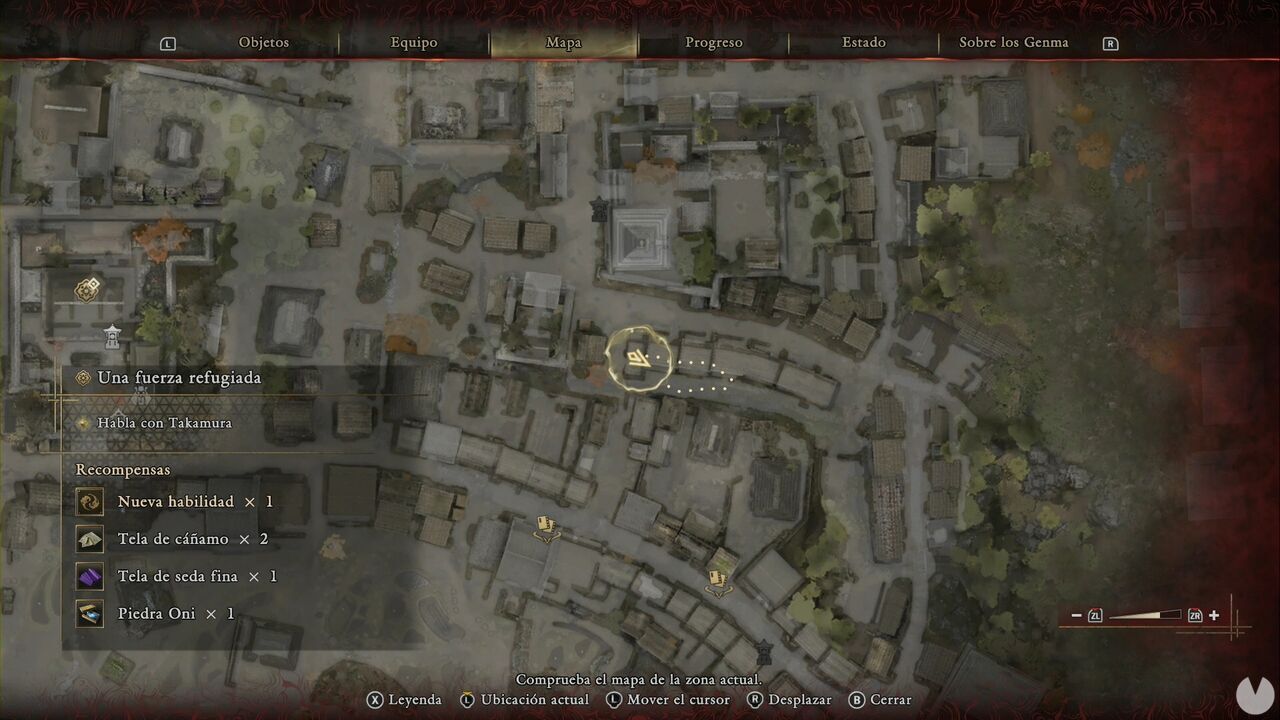
Head slightly south and go around the house near the area where you fought the boss earlier, using the eastern side. There's a small alley leading behind the house, where you'll find a new Oni Glyph.
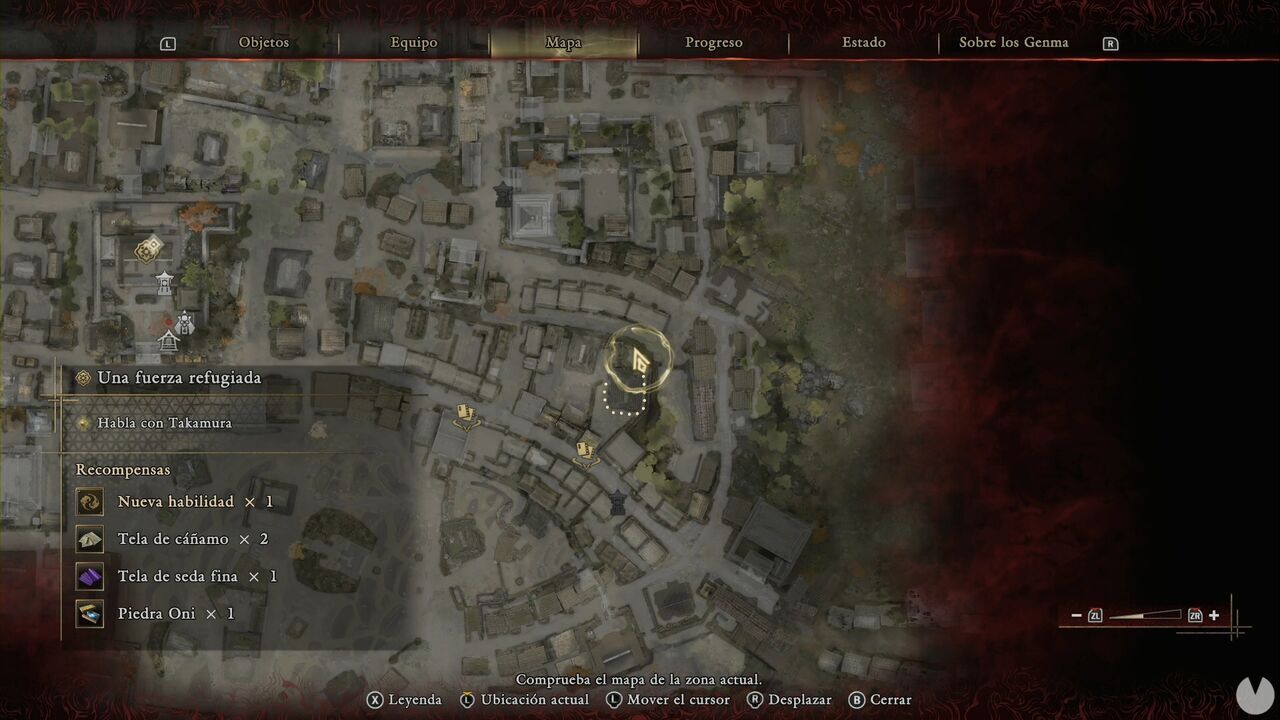
Activating it will reveal a new Treasure chest containing a Sun-Dried Hozuki. You'll find another Oni Glyph to the southeast, on a rooftop.
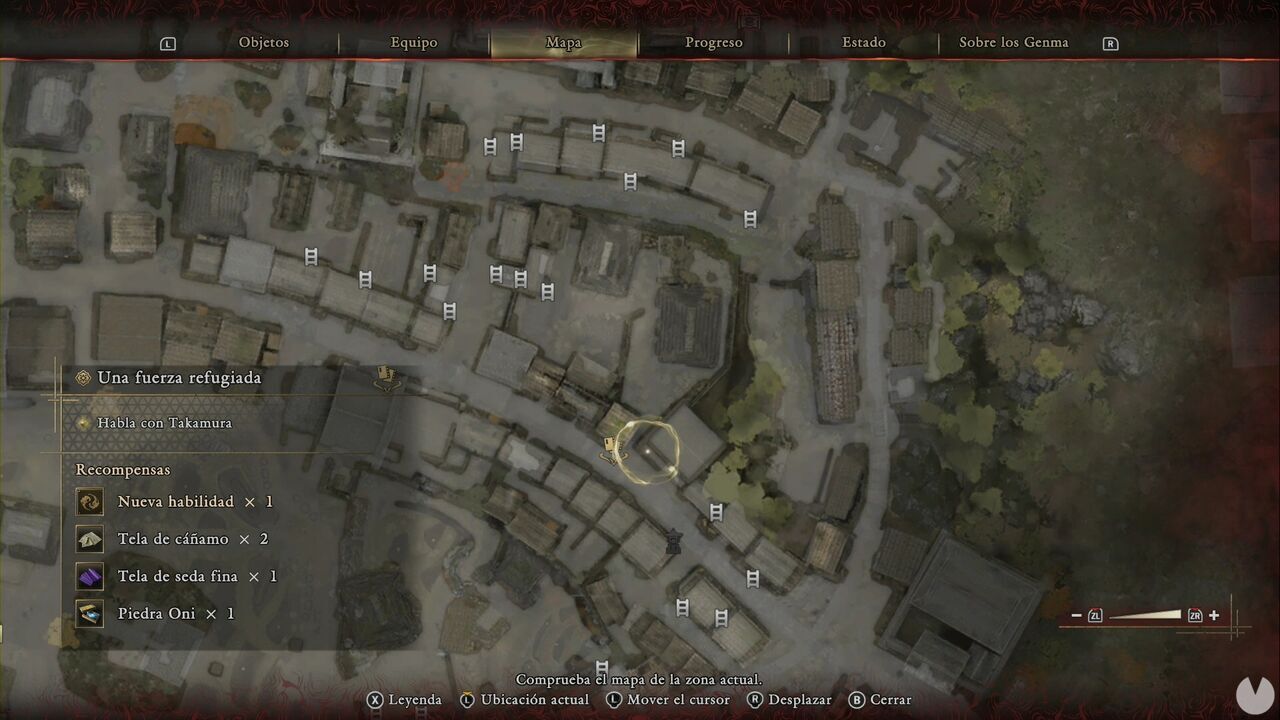
To reach it, climb onto the roof of the southeasternmost house in the row using the ladder on its facade. From there, head west-northwest to find the Glyph. Activating it will reveal a new Treasure chest containing the Genma Note: Byakue.
Along the streets to the northeast, you'll find another house with a chest containing Cotton Cloth.
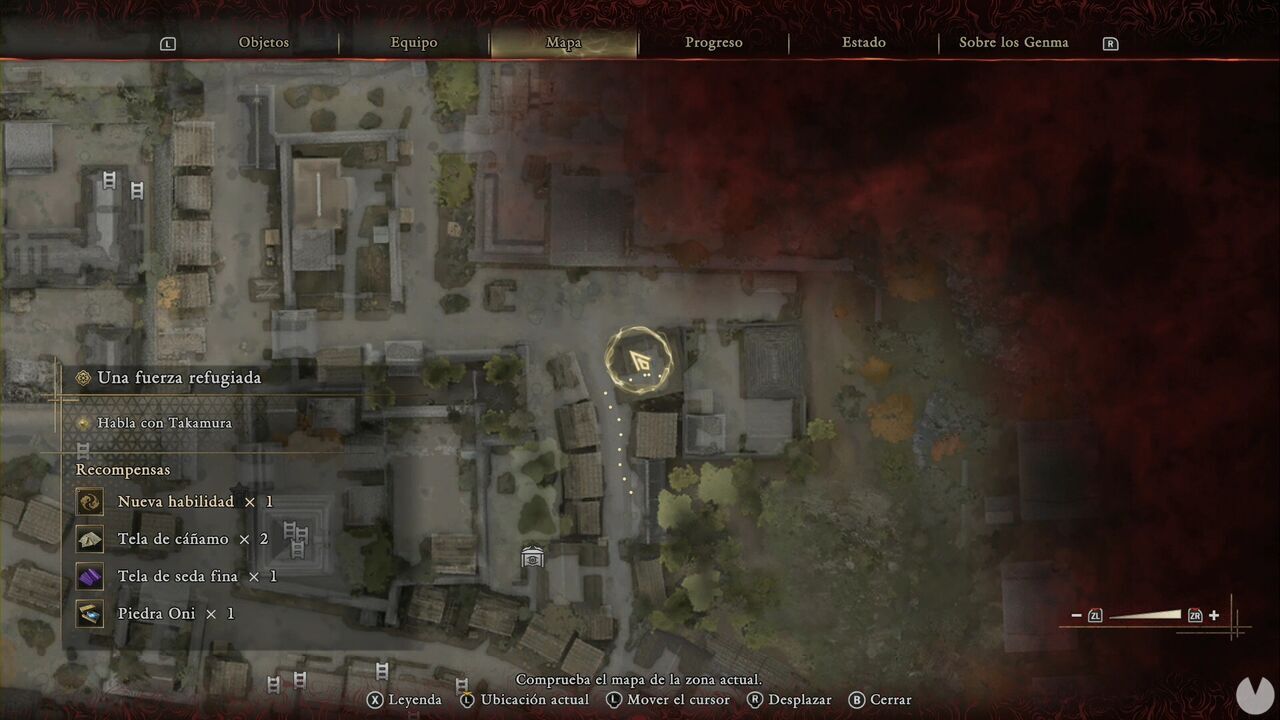
From there, head down along the western side of the row of houses to the west to reach the next Kyoto Treasure, which contains a Power Stone. Just before it, you'll also find a chest containing Iron and Cotton Cloth.
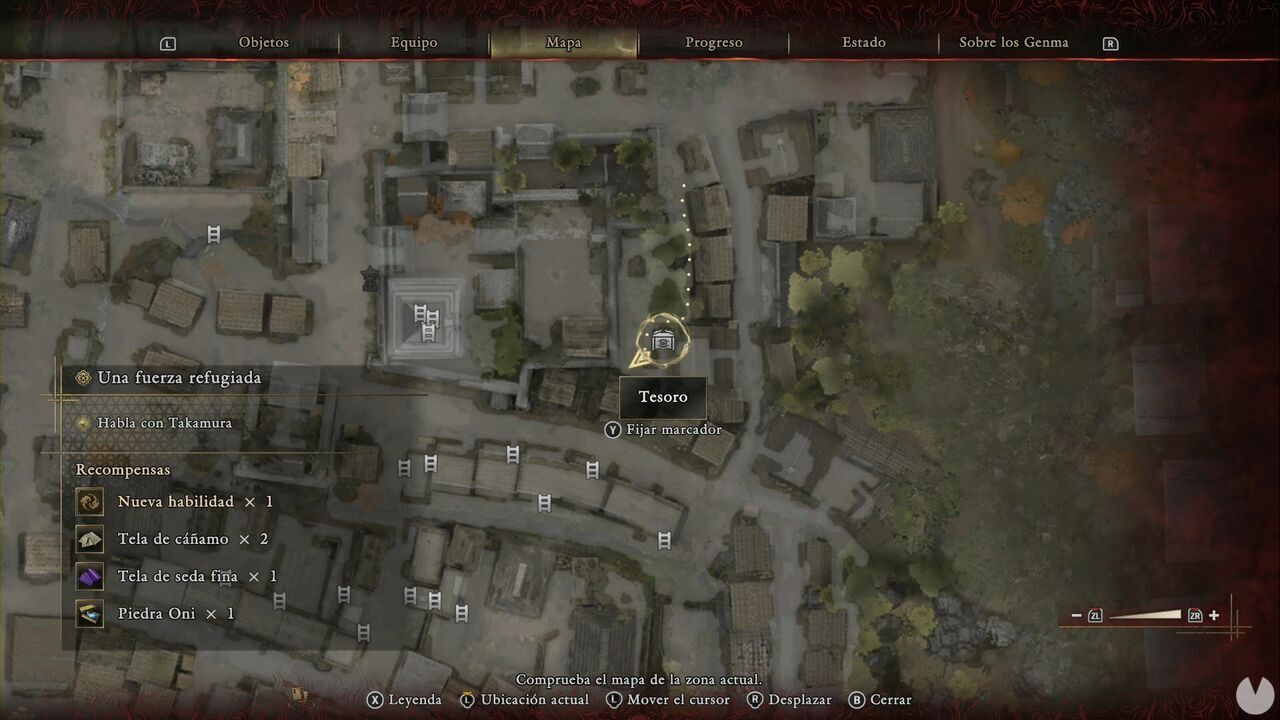
There's another chest northeast of the previous ones, at the intersection. It contains more Iron.
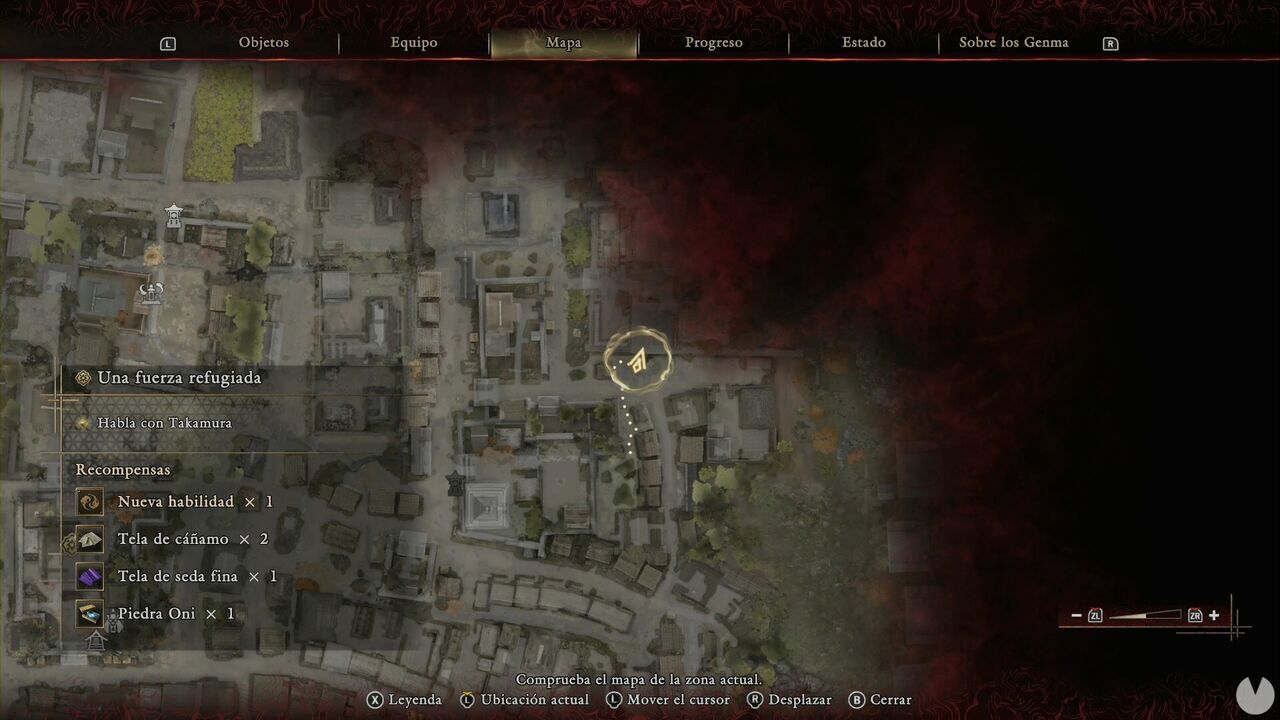
Continue along the street to the north to find another chest. It contains Hempen Cloth.
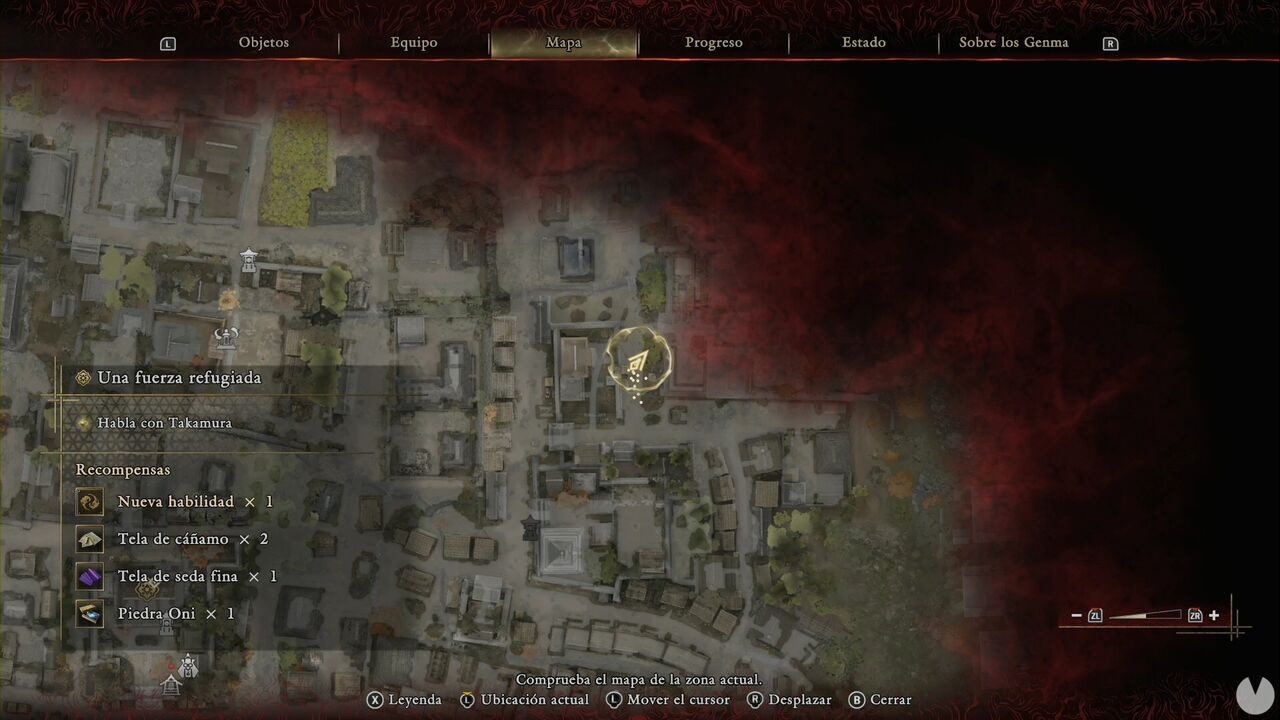
The next chest is southwest of the previous one, along another street. It contains Tempered Iron and Leather.
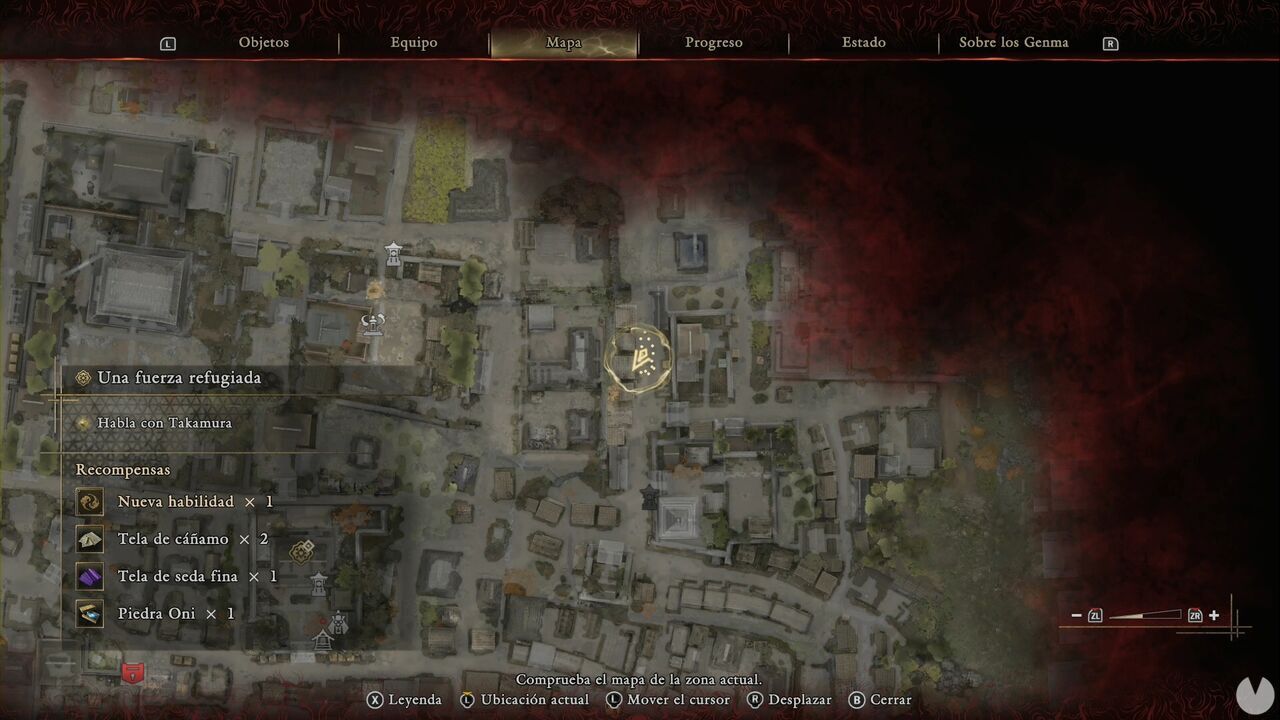
Continue south along the street and activate the Yasaka Pagoda Spirit Mirror.
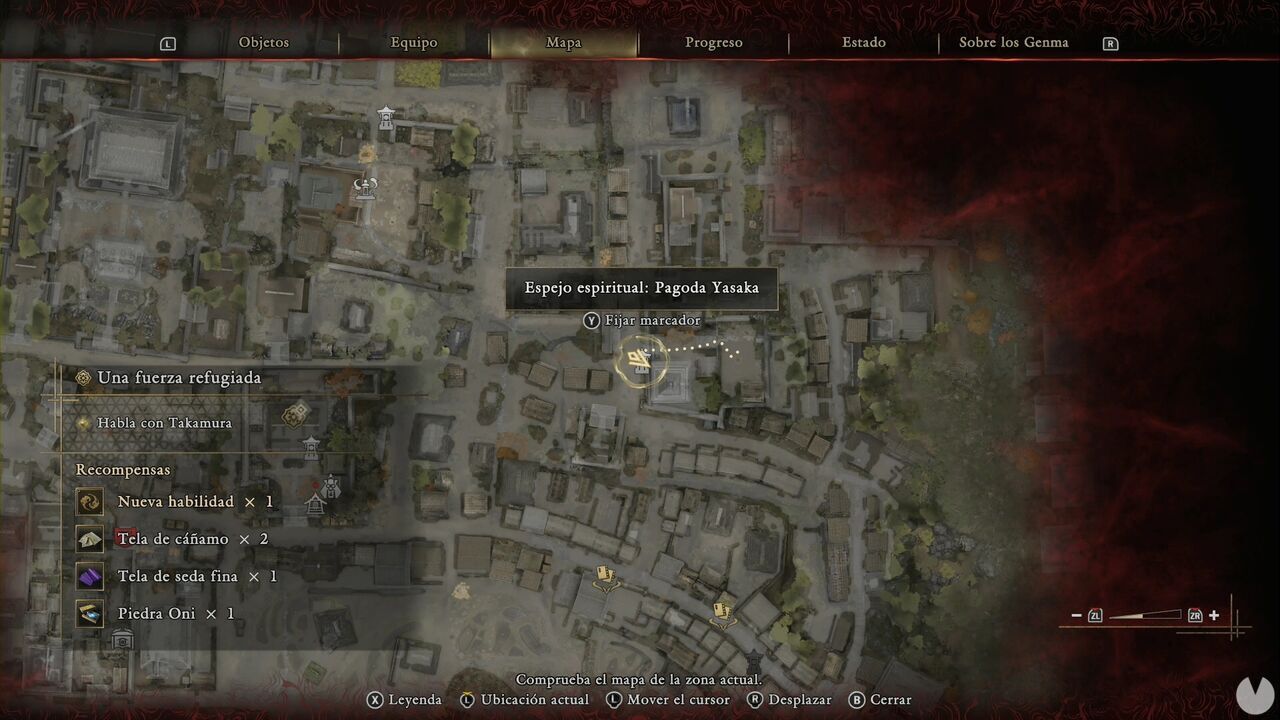
Directly to the west, you'll find another chest, this time containing a Whetstone.
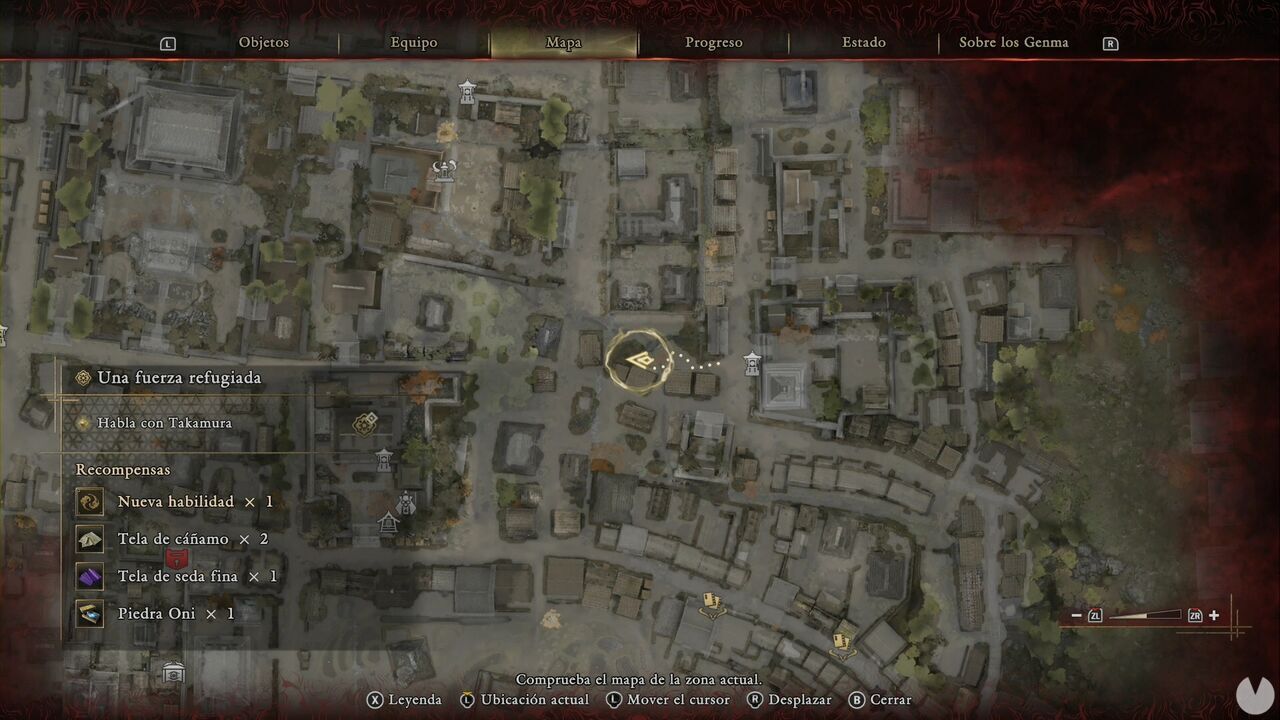
To the east of the chest and south of the pagoda, you'll find another Treasure. It contains Fine Silk Cloth.
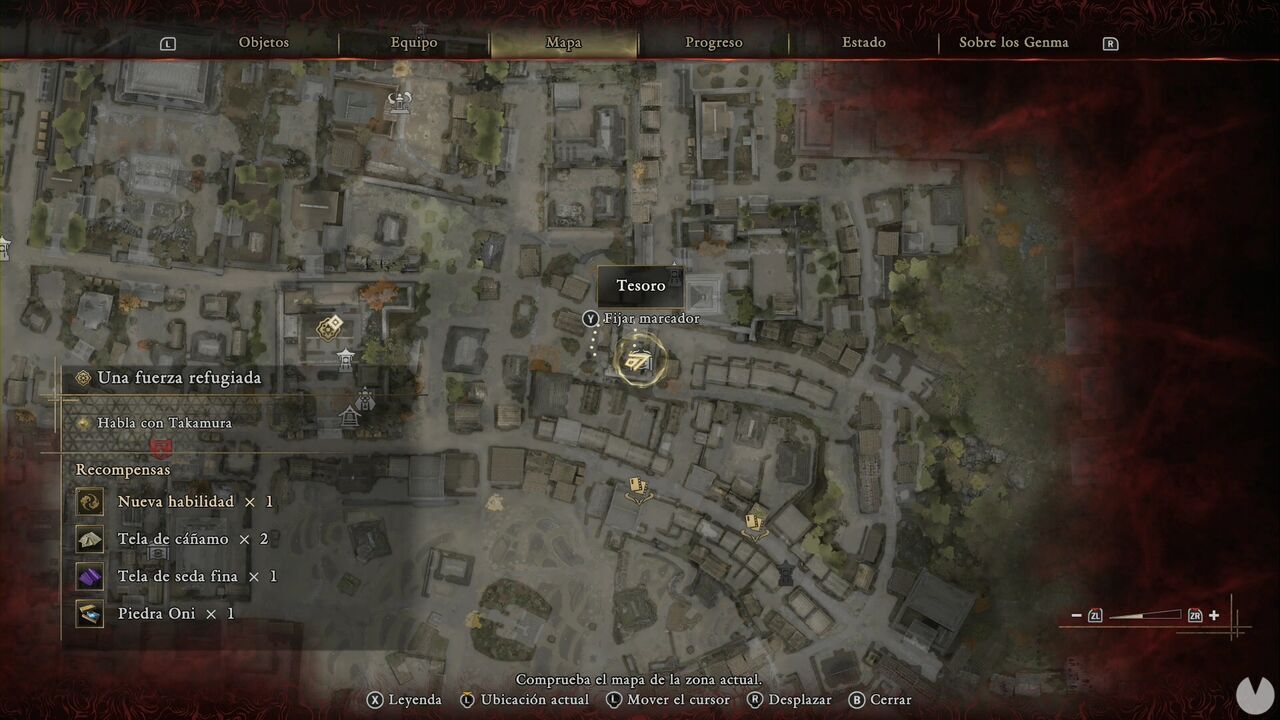
With that, we'll consider the northeastern area cleared, at least for now. Next up are the southern and southeastern areas, which were also inaccessible until now. We'll leave the side missions until the end.
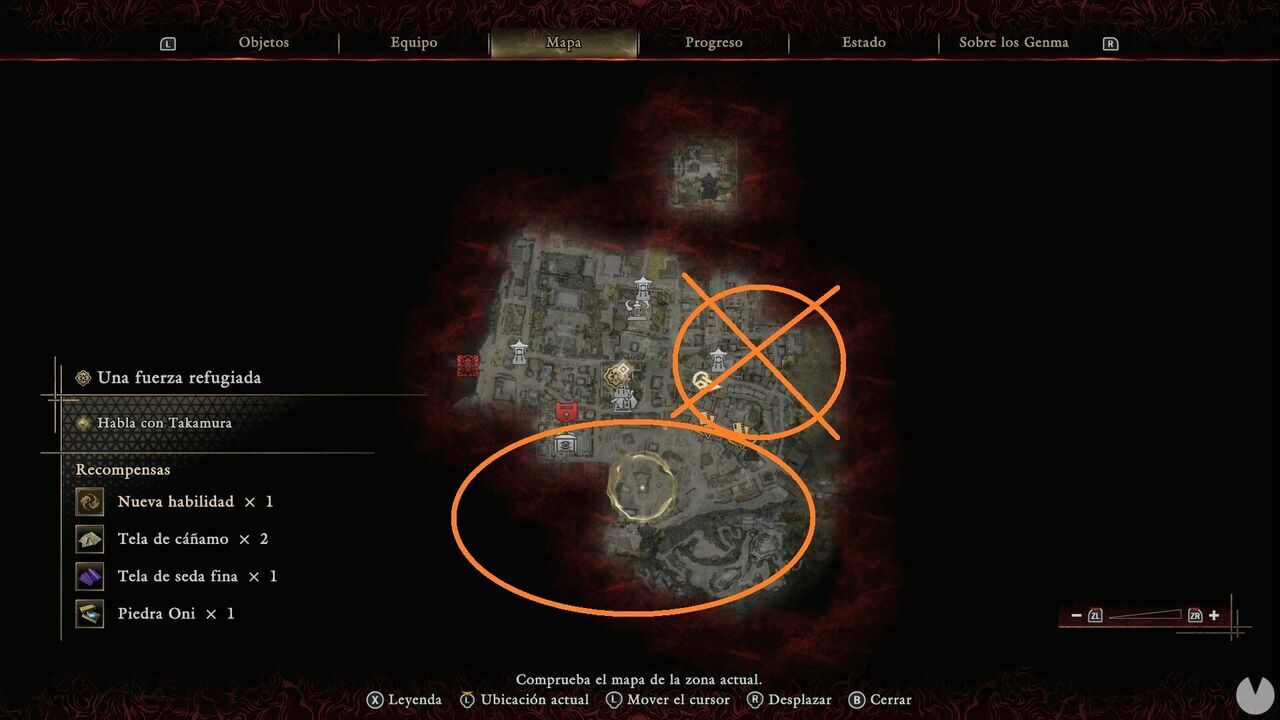
Start by heading southeast from the easternmost intersection in the area we've already explored, southeast of the side-mission markers. At that first intersection, before heading farther southeast, activate the Kiyomizu-zaka Slope Spirit Mirror.
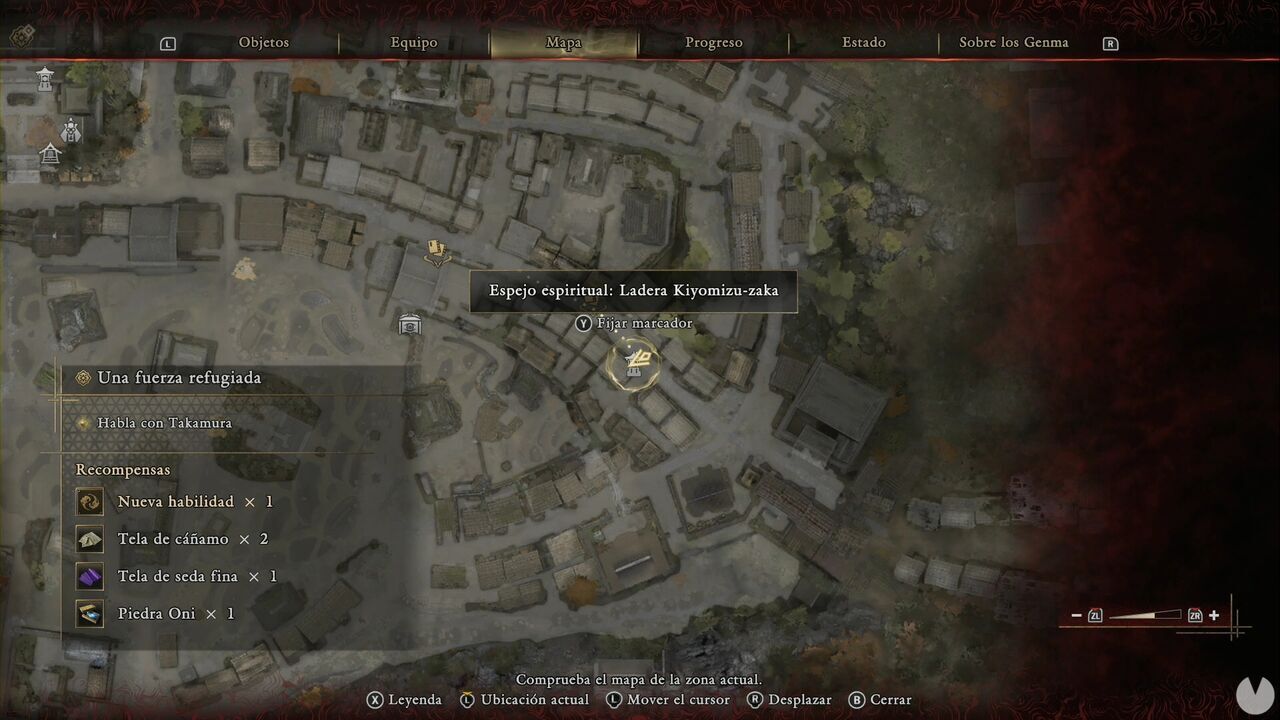
Now head south at the intersection and south-southeast at the next one. You'll pass behind the buildings. Go down a staircase and then climb a few steps to the north to reach a small courtyard containing another Kyoto Treasure. It contains an Oni Stone.
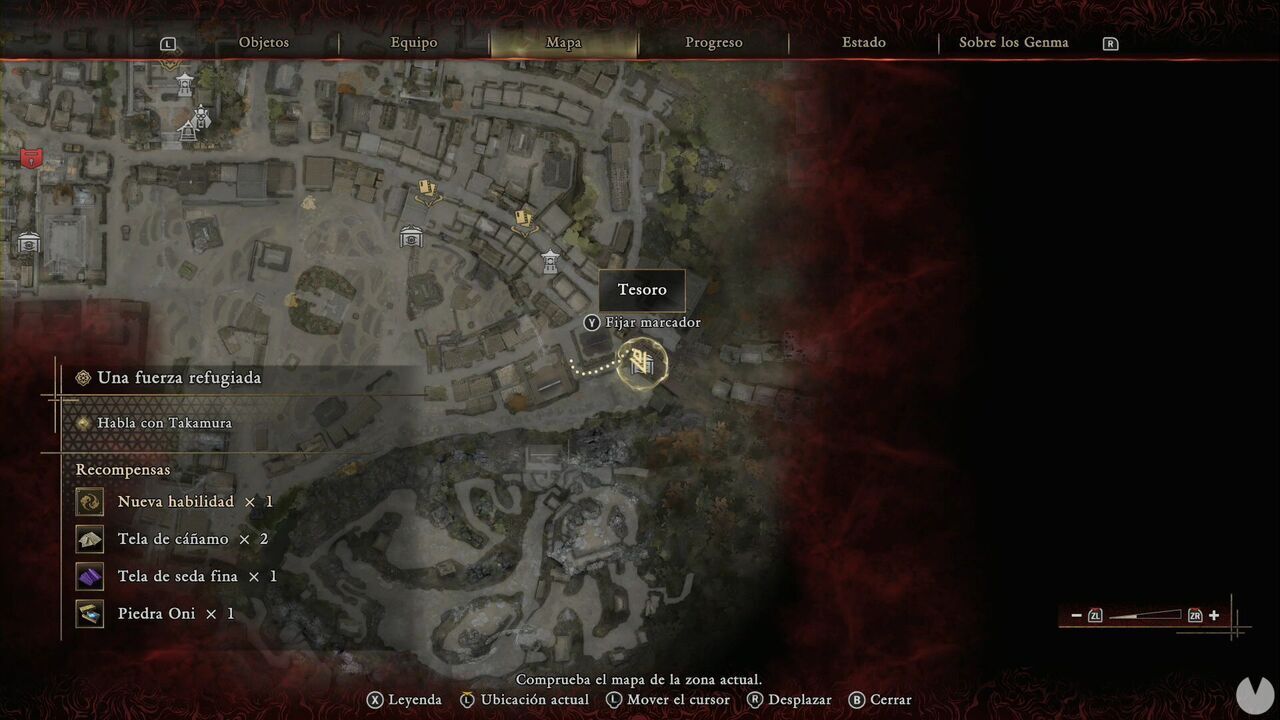
To the southwest, you'll see the entrance to a small compound on your right as you head downhill, with a couple of enemies standing just outside. Inside, you'll find a chest containing Tempered Iron.
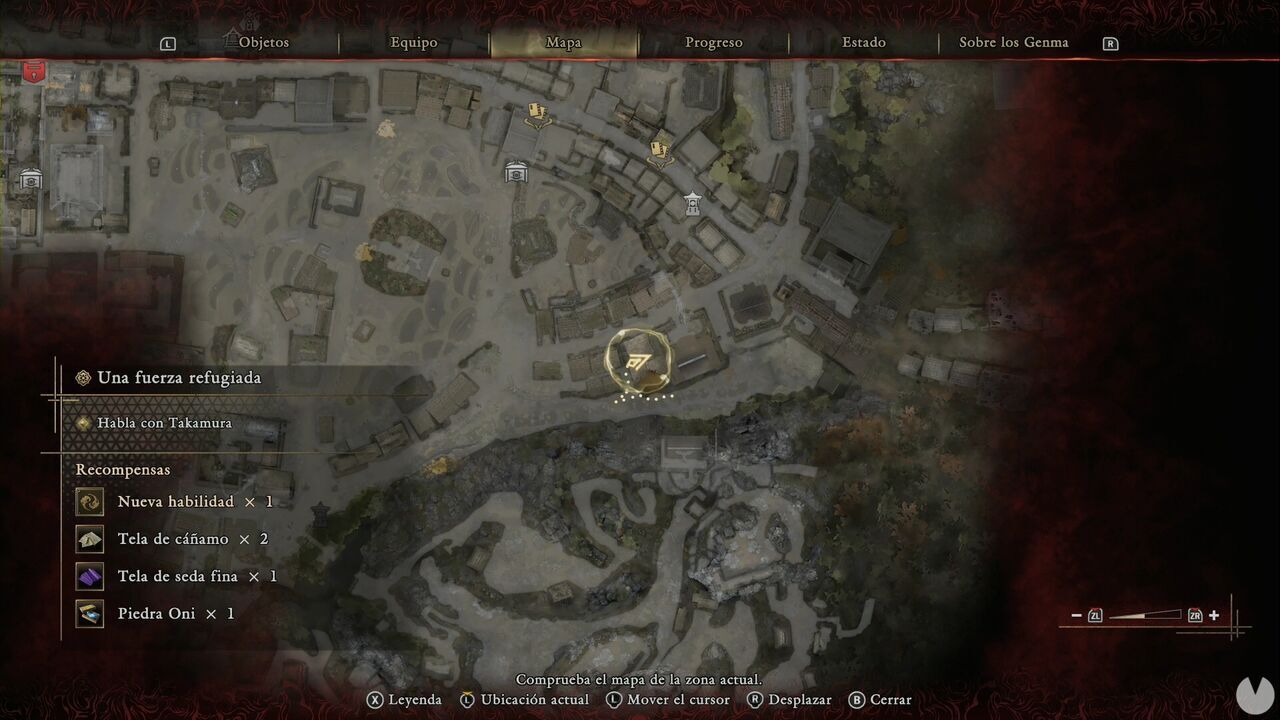
Before heading into the larger area to the west, go north and circle around this group of houses from the western side. This will take you to another small compound containing the next Kyoto Treasure.
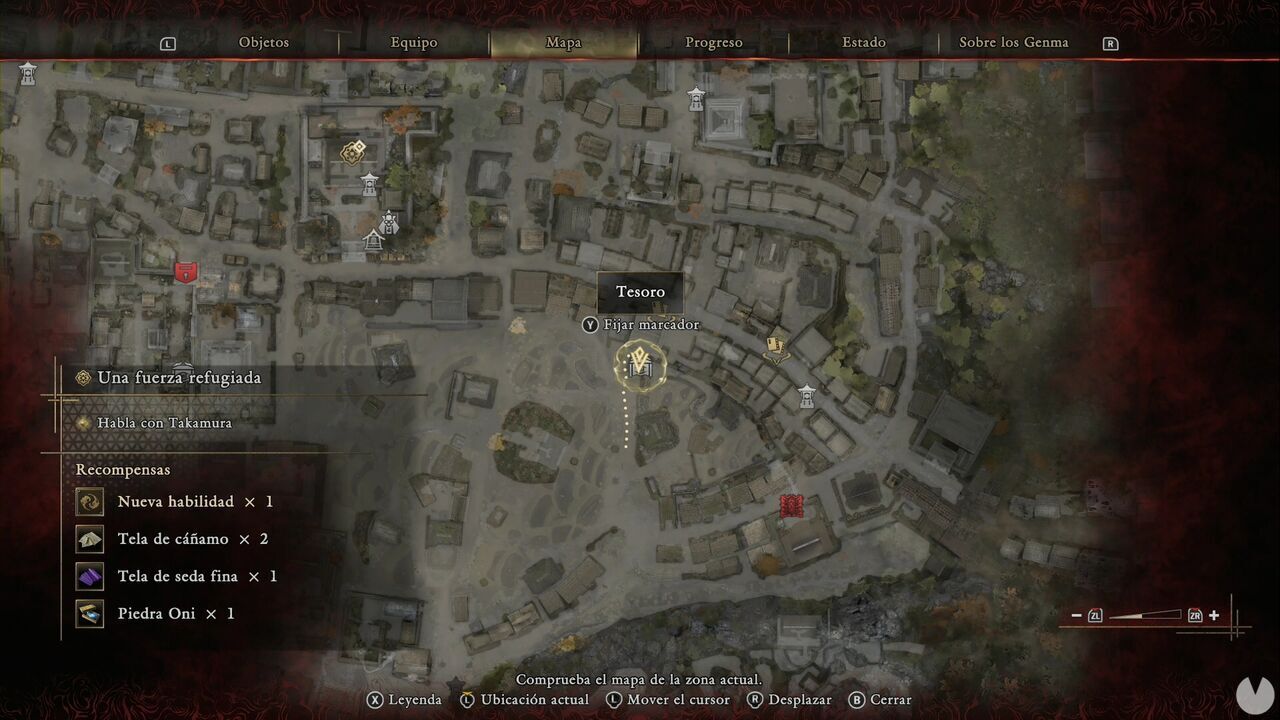
It contains Fine Silk Cloth. Now backtrack slightly to the southern street. Just before the point where we turned north, there's a small alley leading to another Treasure, which contains another Oni Stone.
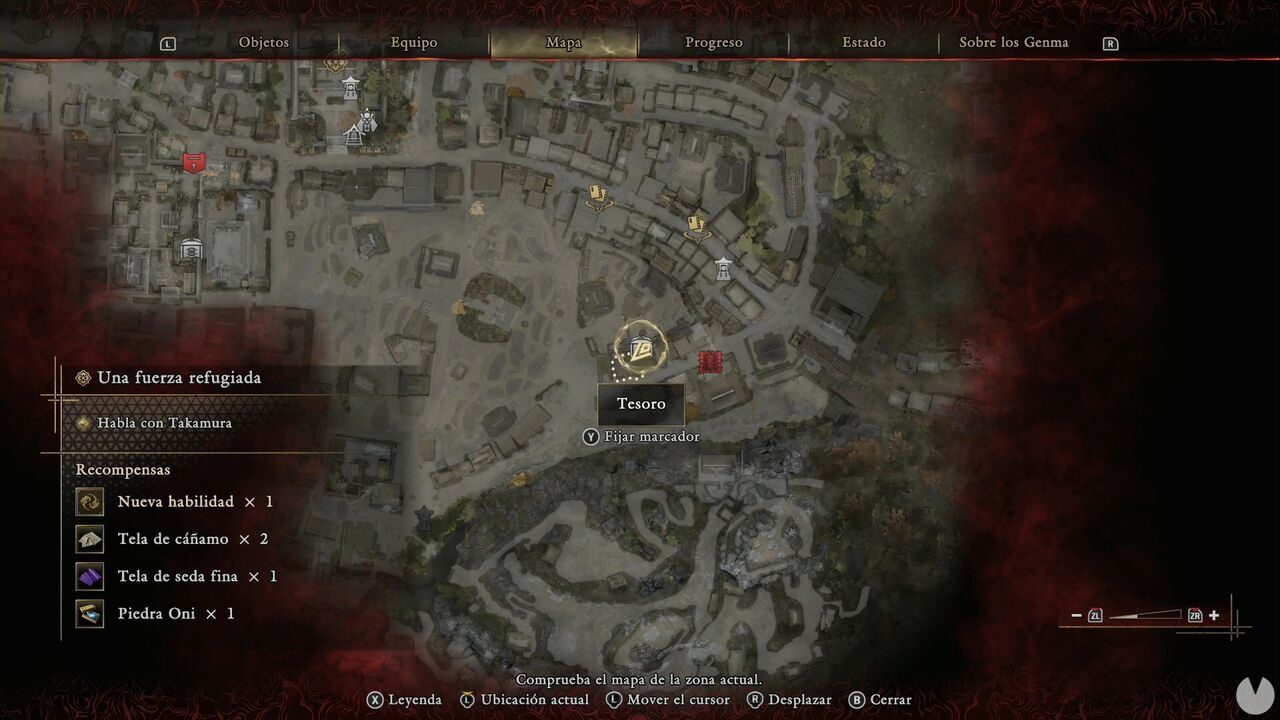
Ignore the Malice Barrier in the southeastern corner for now. You need access to the central courtyard of this block of houses, which is still locked. The southeastern corner of the map is also inaccessible for the time being, so continue west through the fields packed with enemies. Head to the central area, slightly southwest of the Treasure icon. You'll find a hut containing a chest with Tempered Iron.
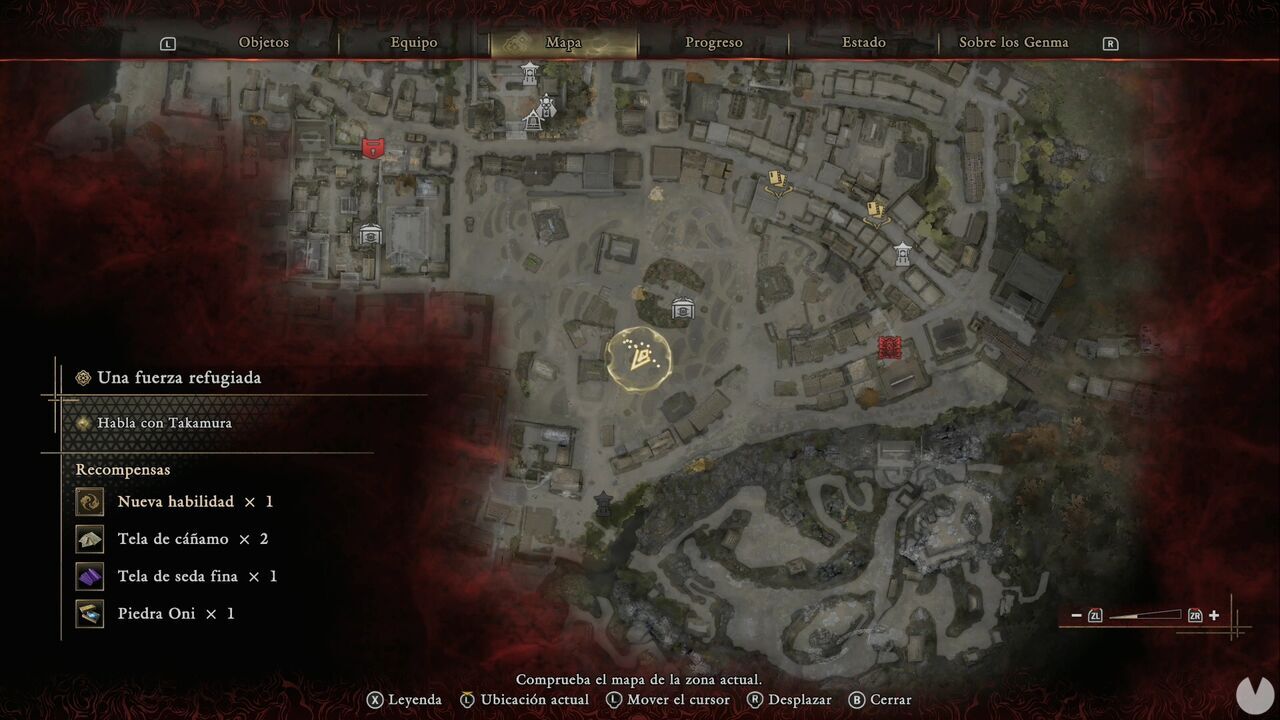
Next — the Treasure icon you can see isn't accessible yet — enter the compound in the southwestern corner of this region. To get inside, use the ladder in the northeastern corner of the compound and enter through the upper floor. You can see the route to the ladder below.
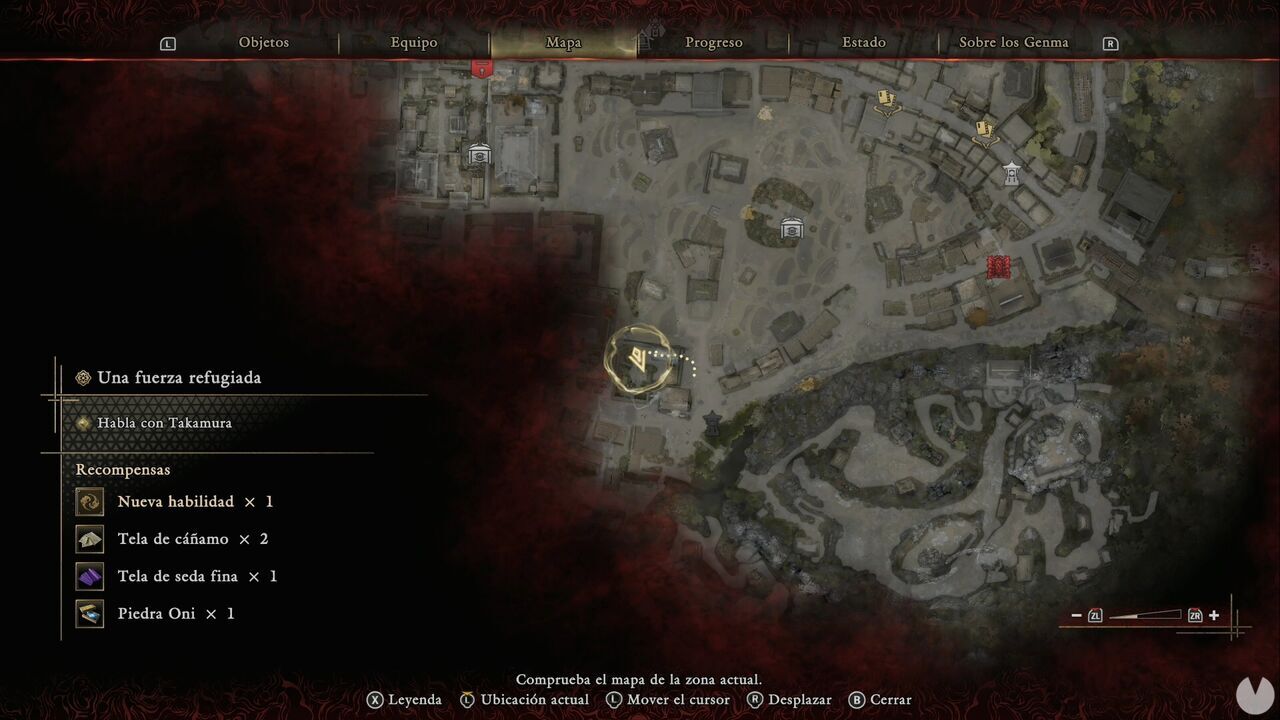
Go around the street and shoot the lock on the gate through the opening in the fence to open it. You'll find a chest containing Iron x2. There's a ladder next to the cart. It doesn't lead to anything particularly interesting for now, although you can take a look if you want. To leave the compound, head north from the well and you'll find a gate whose lock can be broken, allowing you to return to the fields.
Continue east-southeast for a short distance to find the Gojo Street - East Spirit Mirror.
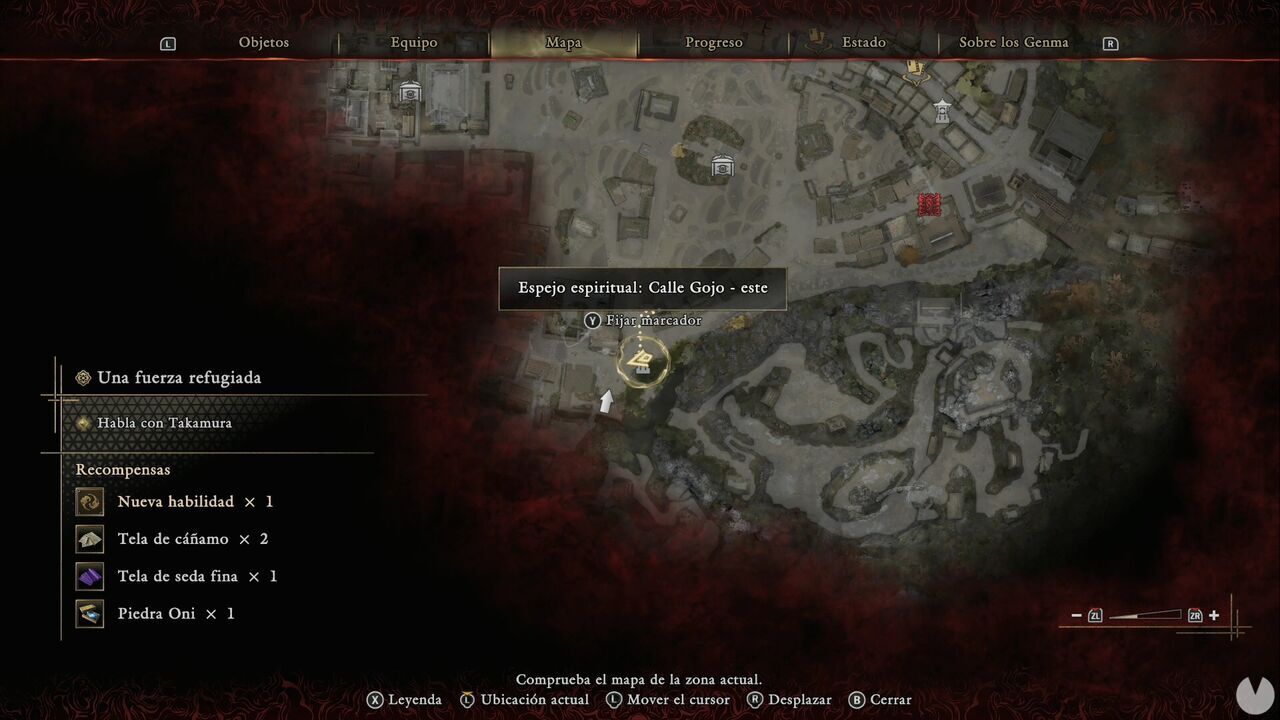
The ladder to the southeast doesn't lead anywhere useful yet. Now head west of the Treasure icon in the middle of the field — as mentioned earlier, you still can't reach the chest itself — and climb a watchtower to find a chest containing Leather.
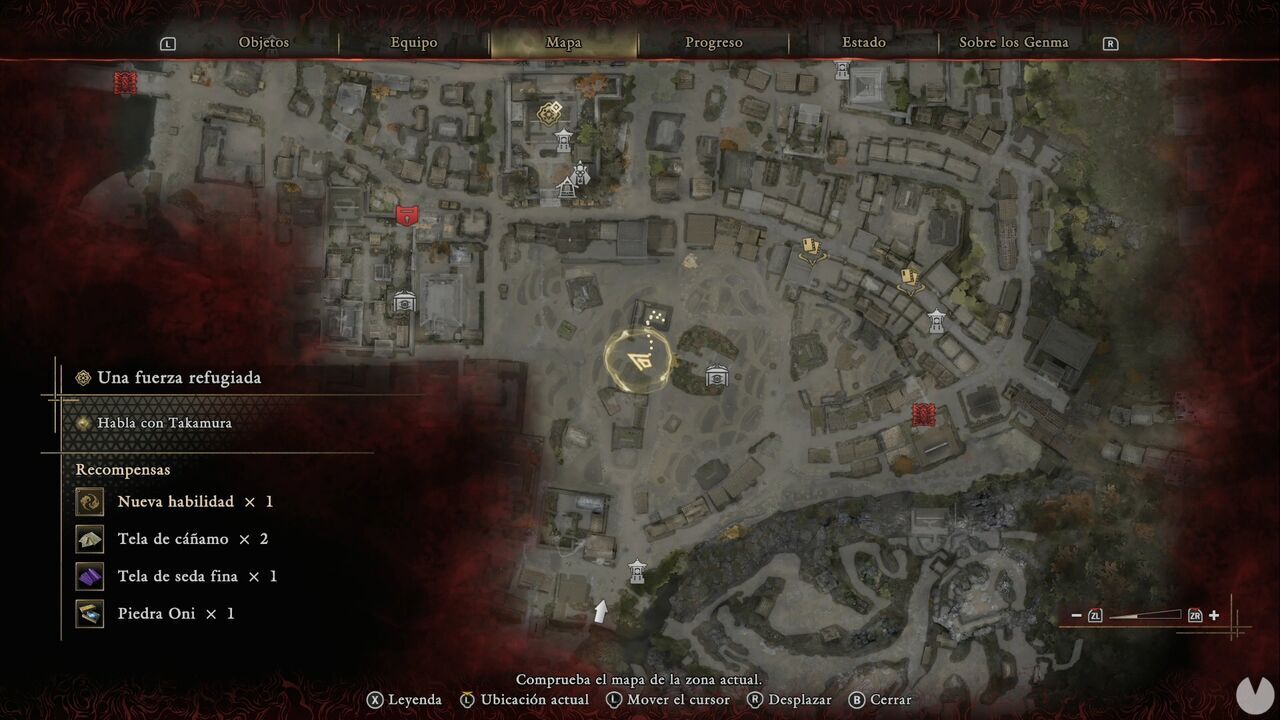
Directly south of the tower, you can enter a stable area where you'll find another chest, this time containing Iron and Cotton Cloth.
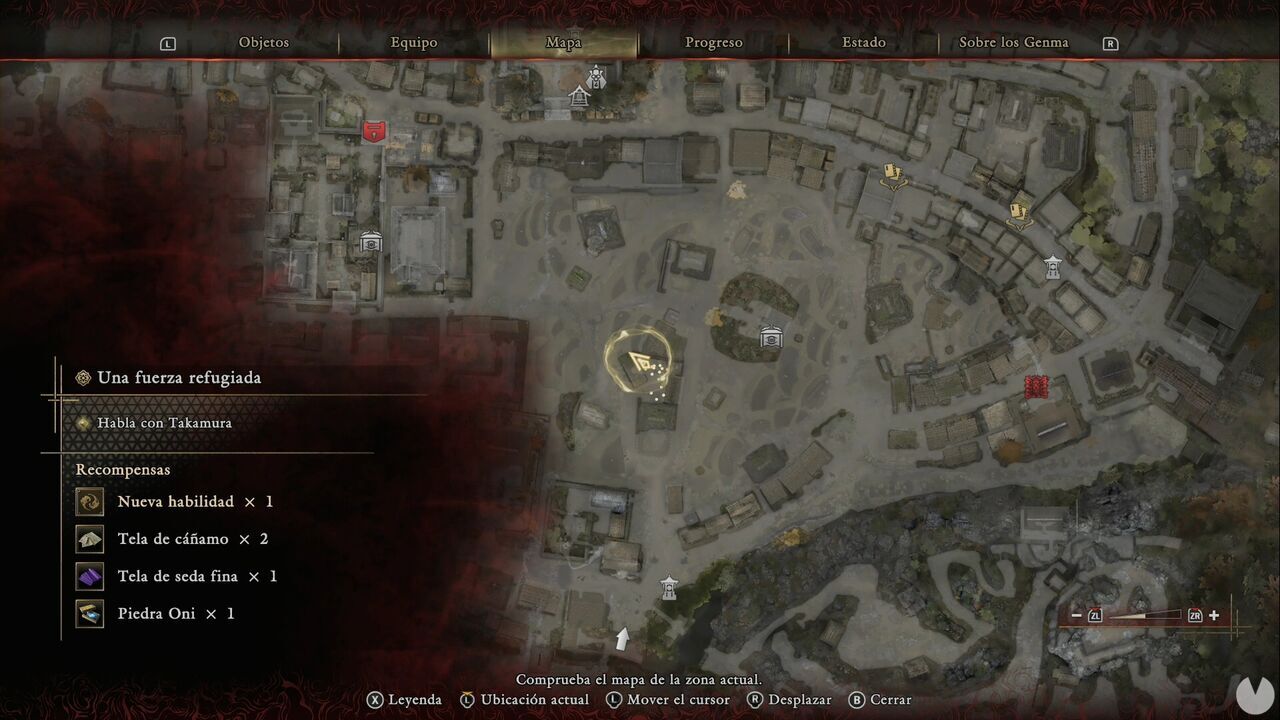
Directly southwest of the stable is a slope. Head down and you'll find a cart with another chest containing a Whetstone and Hempen Cloth.
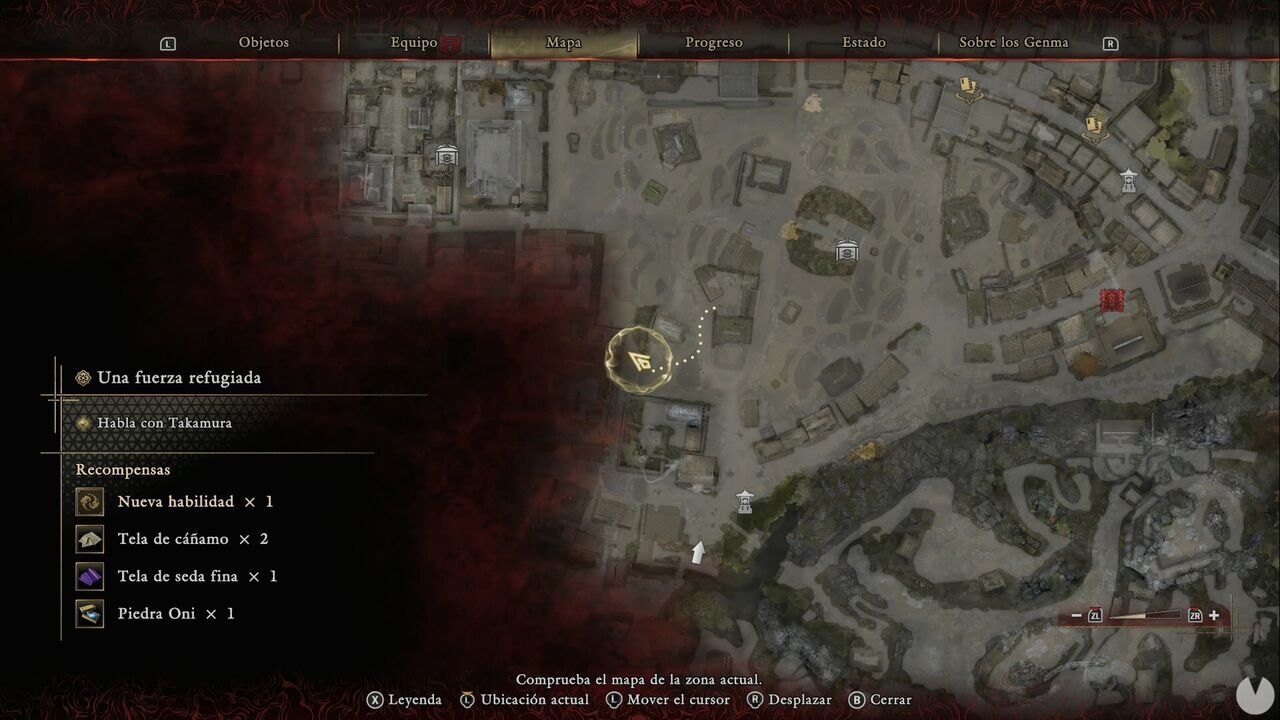
We now recommend returning to the area containing the northern Rift in Eastern Kyoto.
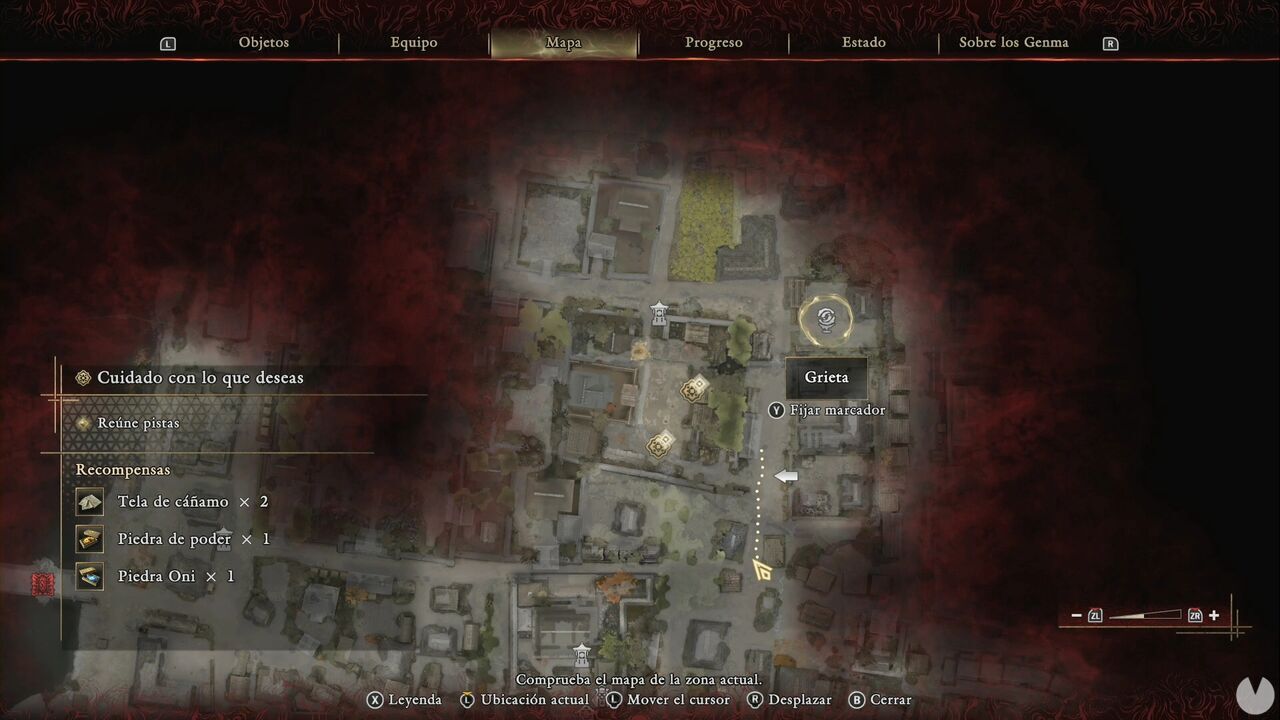
Even if you already sealed it, this Rift will be open again and another Byakue, Hundred Defilements will appear. Defeat it to obtain more Byakue's Talismans. We also recommend fighting Byakue in the Practice Ground. The mandatory boss fight doesn't really prepare you for what this creature can become once it starts powering itself up and changing its attack patterns.
At Yorimasa's shrine, you'll find a new Oni Glyph.
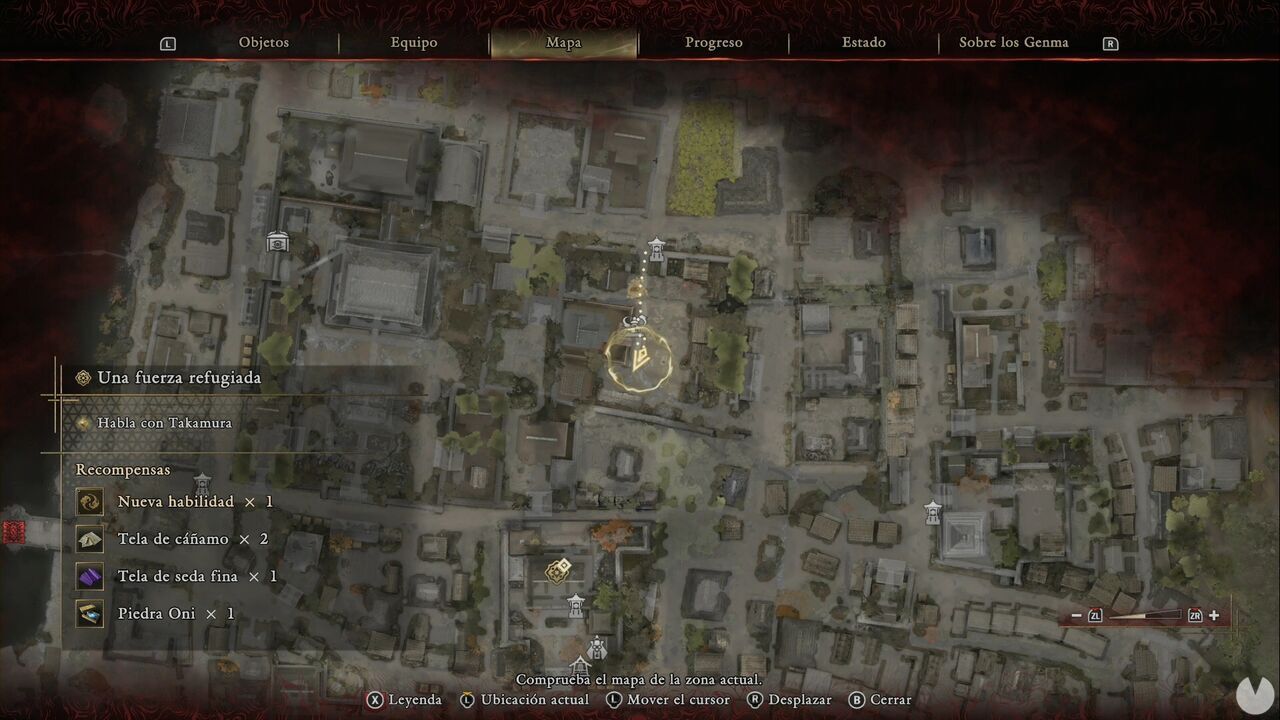
Activating it will reveal a Treasure containing the Genma Note: Rasho-gan.
Finally, in the northwestern corner of the map, down a slope beside the riverbed, you'll find another Oni Glyph. Activating it will reveal another Kyoto Treasure containing a Sun-Dried Hozuki.
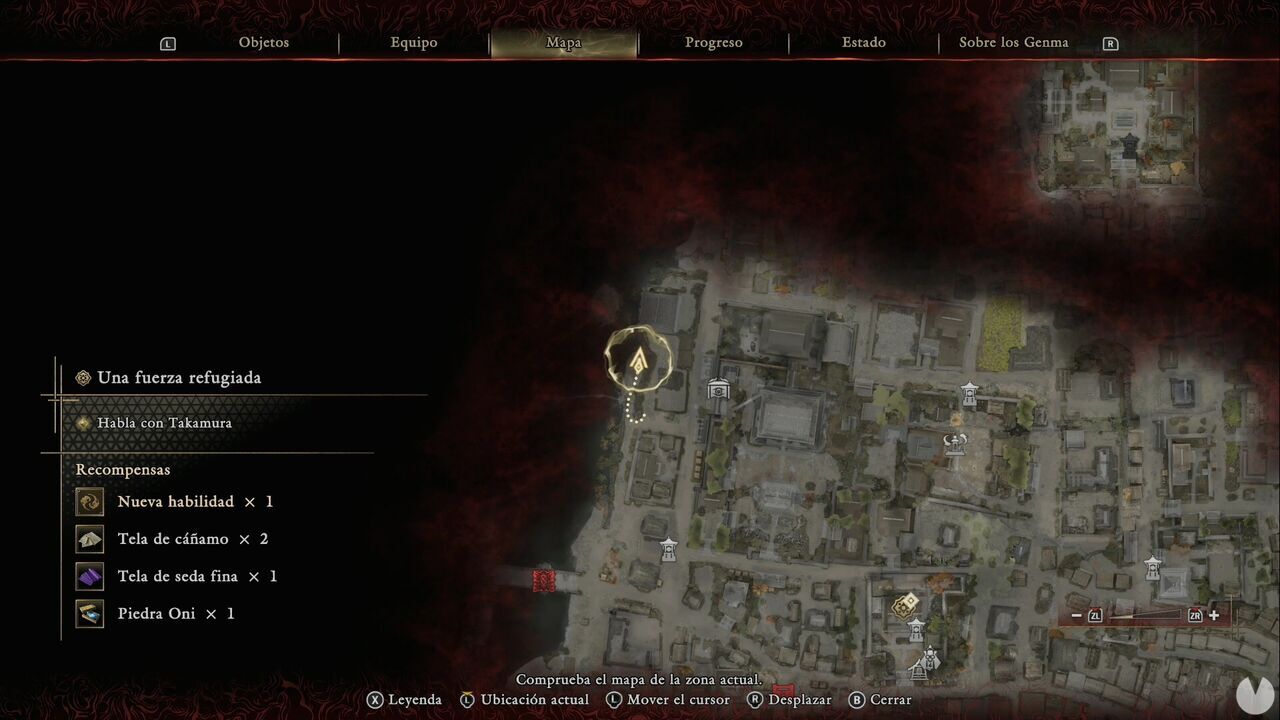
For now, we're finished with the straightforward exploration of every area currently available to us. There are at least two Treasures you still can't reach — the one in the middle of the fields and another southwest of Kyoto behind a locked gate — as well as the compound beyond the Malice Barrier in the southeastern corner of Kyoto. There is, however, one more thing to do: complete the available Chance Encounters:
If you've completed everything in the previous section, make sure to purchase every enhancement you can. With everything we've collected, Musashi should be considerably stronger by now. All three pieces of equipment should be at least at Proficiency 2; in fact, you should be around levels 4-5 of Proficiency 2 for Clothing, Sword and Gauntlet. If you ignored us and headed straight for the objective... well, you'll simply be less powerful for what comes next. Head to the marker at Rokudo-chinnoji Temple and approach Takamura to trigger a cutscene.
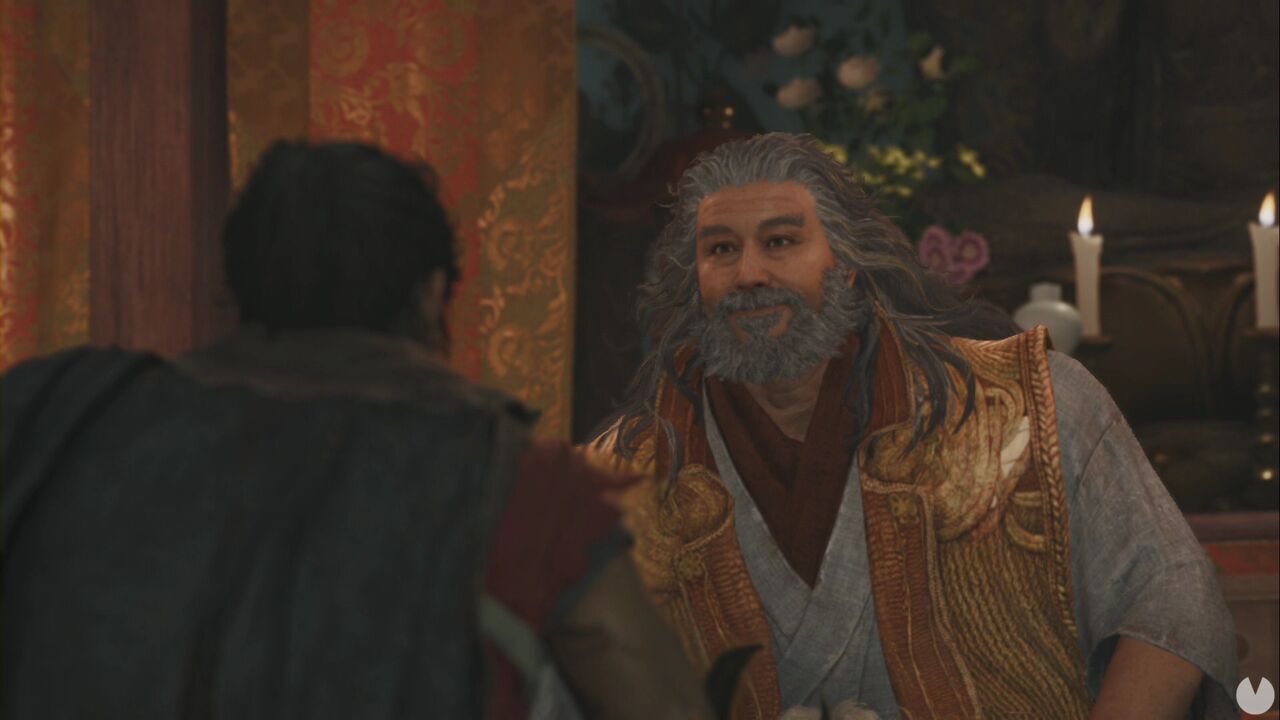
Before anything else, talk to Okuni in the room next to Takamura. She'll mention a key she has lost. There's nothing you need to worry about regarding that just yet. Head to the objective marker south of the fields. If you've been following this walkthrough, the gate to the compound will already be open. Otherwise, you'll need to enter using the ladder in the northeastern corner.
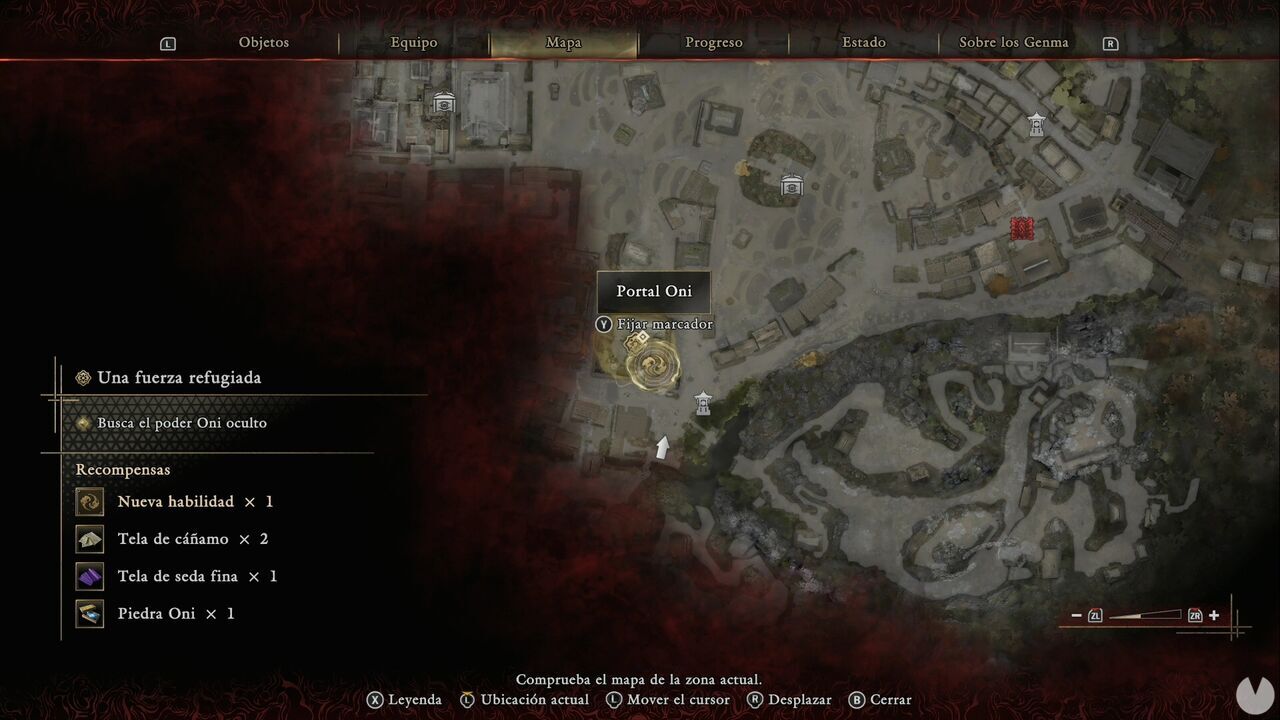
Remember the well we mentioned earlier in this area, when there was nothing inside it? There's now an Oni Glyph there. Activate it to reveal the first Oni Gate, which will take you to a new area of the Oni Refuge.
There's no map in this area. Continue until you drop into a cave, then turn right. Once you emerge from the cave, turn around and shoot the orb on the block to move it.
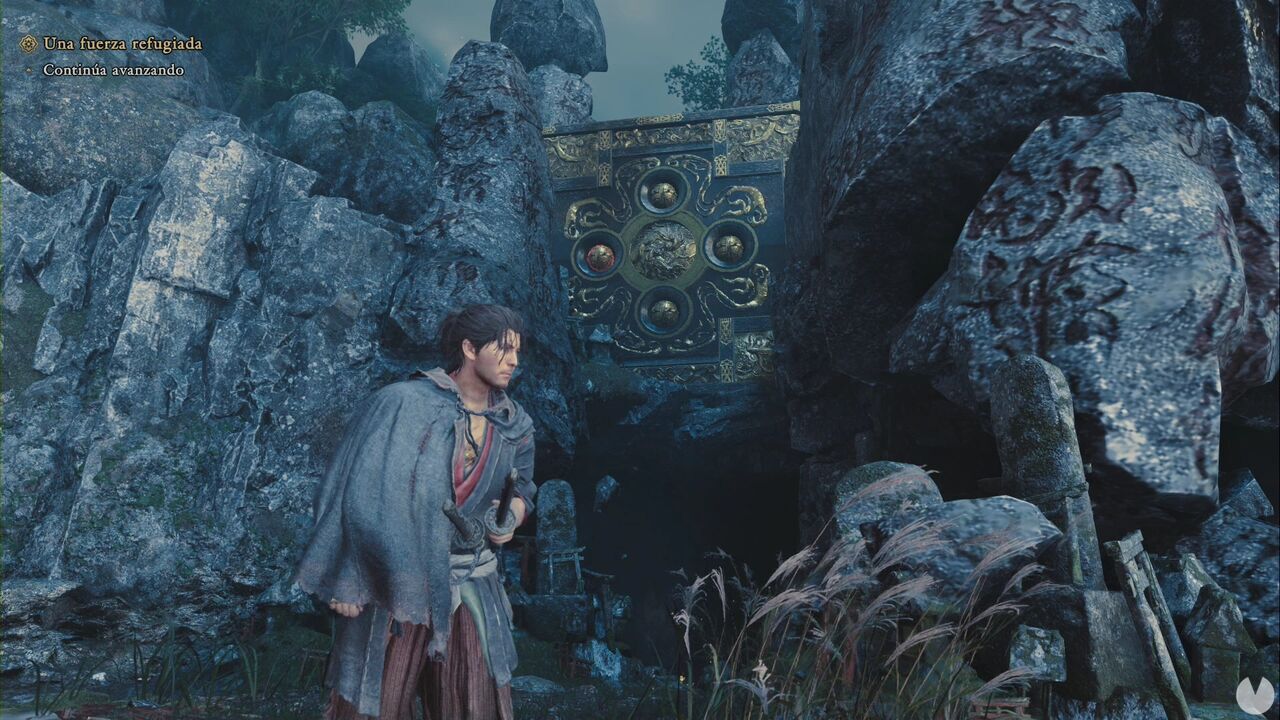
Now go back into the cave, head straight ahead and follow the only available path until you absorb a new Dark Mass. Once the cutscene ends, you'll complete this chapter and move on to Patching up the Pouch.
