
Kyoto, Corrupted is the third chapter of the story in Onimusha: Way of the Sword. It begins at the end of The Stage is Set at Kiyomizu, when you automatically return to Kyoto after defeating Daidara. As usual, throughout this spoiler-free walkthrough we'll help you complete every story chapter 100%, making sure you don't miss anything along the way and providing tips for the more difficult situations.
Before anything else, you now have access to several new mechanics. The first are Charms, which shouldn't be confused with consumable talismans, as these are actual pieces of equipment. You'll receive the Charm of the Healer, and the game will explain how equipment works and how to enhance Charms at Enma's Hall. Unfortunately, even if you've collected every offering we've pointed out so far in the walkthrough, you still won't have enough Favor to enhance your new Charm.
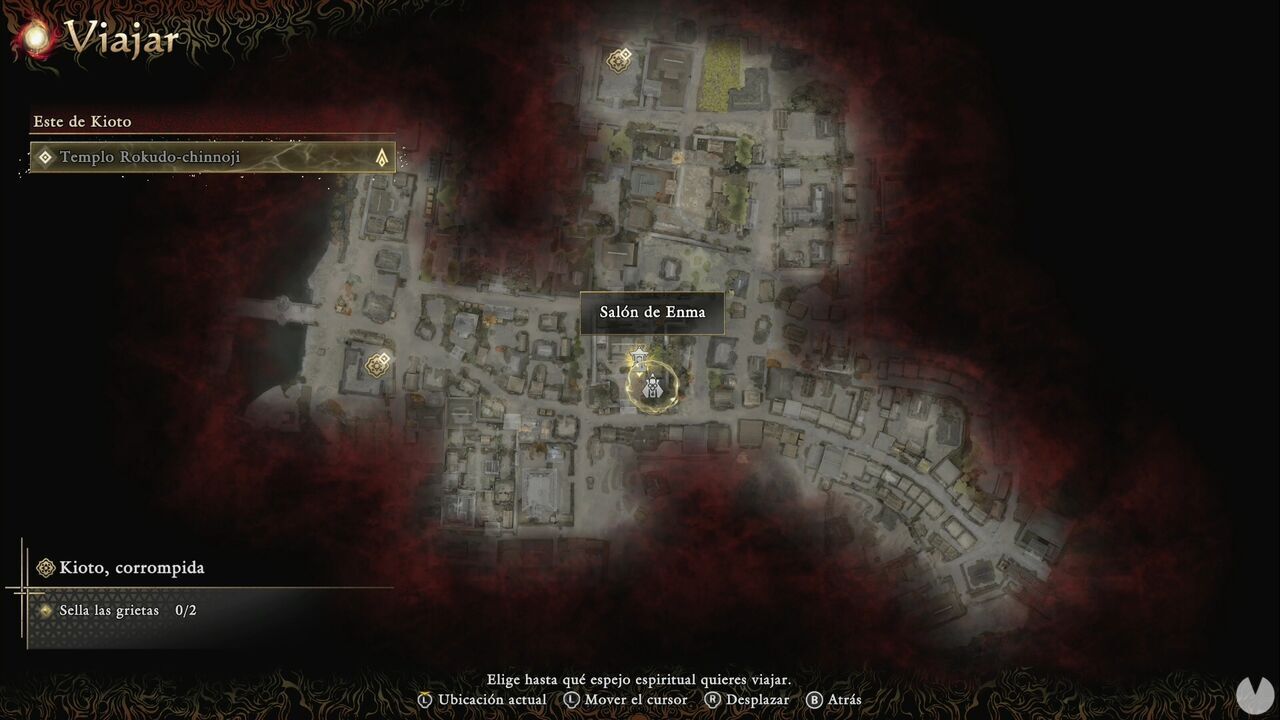
From the Spirit Mirror, you'll also have access to the Haori Coat menu — you only have one for now — and Outfits, where you'll find both your current outfit and the one Musashi wore during the prologue.
Now, before continuing, return to Kiyomizu-dera Temple. Start by heading to the house in the northeastern part of the area, specifically the large tatami room next to the courtyard where a large group of enemies ambushed you.
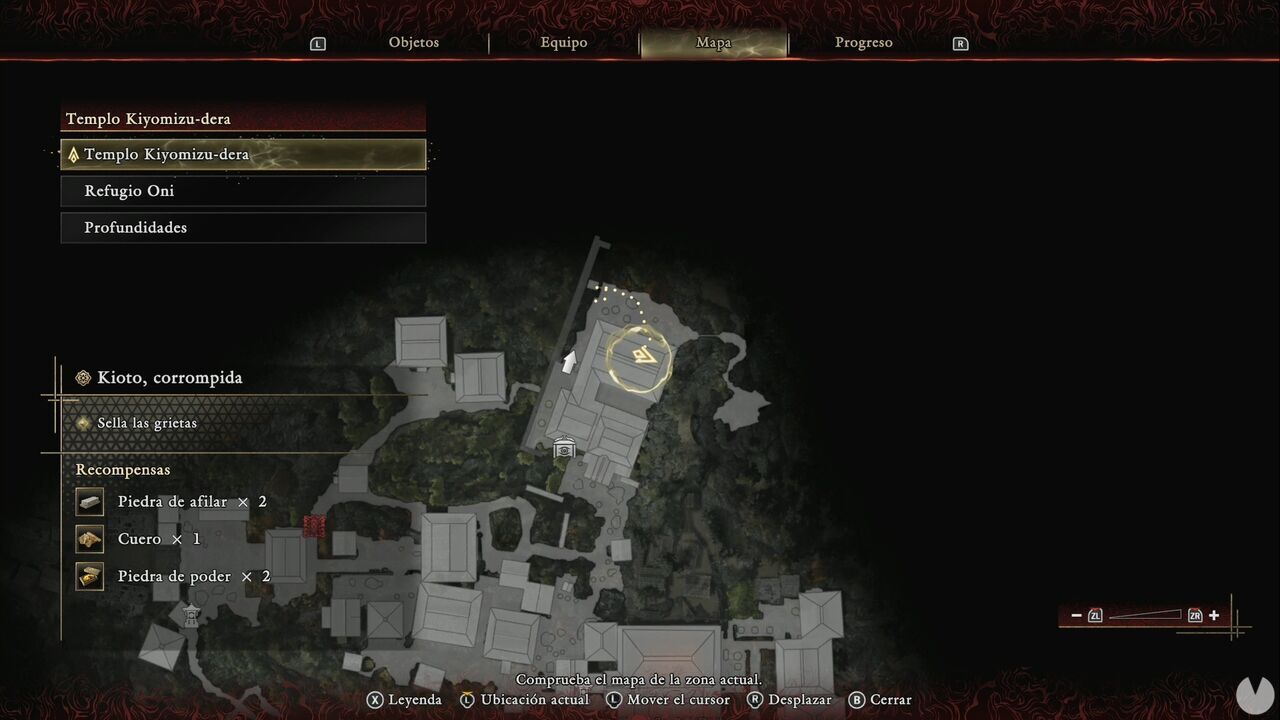
The Gauntlet will glow, so use Oni Vision to locate an Oni Glyph. Activating it will make one of the Kiyomizu-dera Treasures appear. It contains the Genma Note: Hitotsume Sho. Now head to the area where you fought Sasaki.
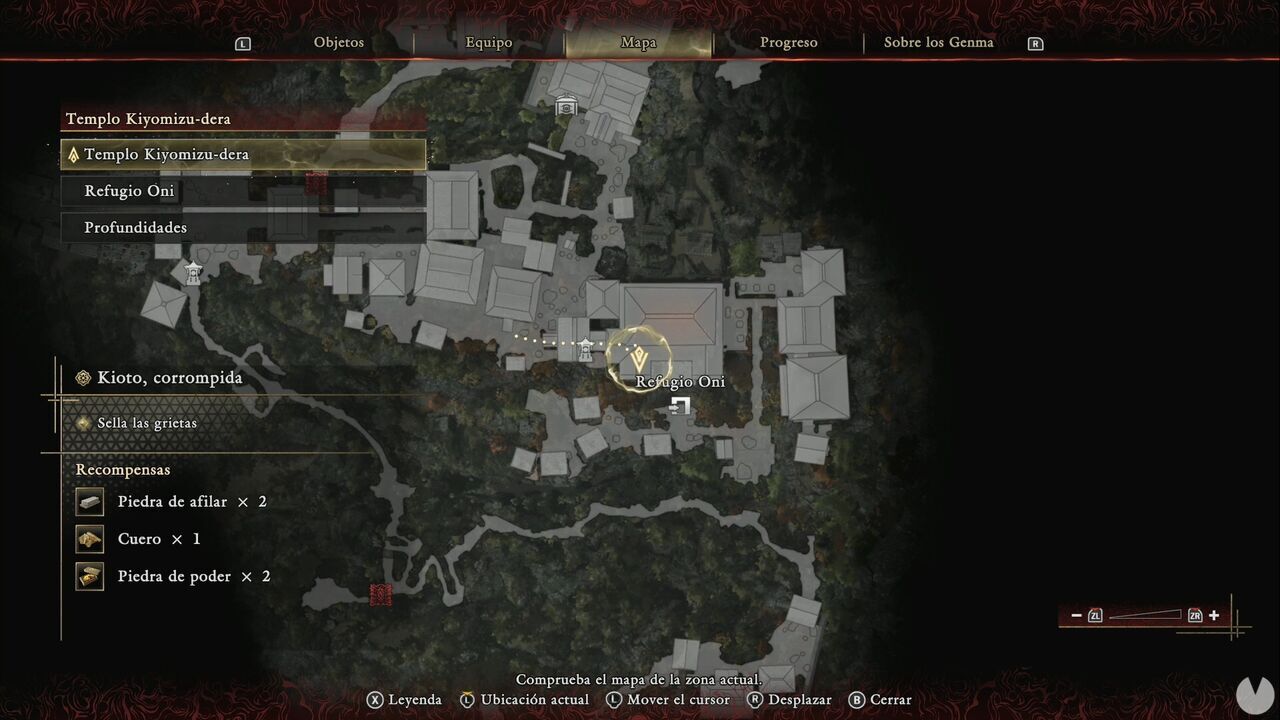
There's another Oni Glyph here that will make another of the Kiyomizu-dera Treasures appear. This one contains the Genma Note: Sasaki Ganryu. Finally, return to the area in the Oni Refuge where you fought Daidara.
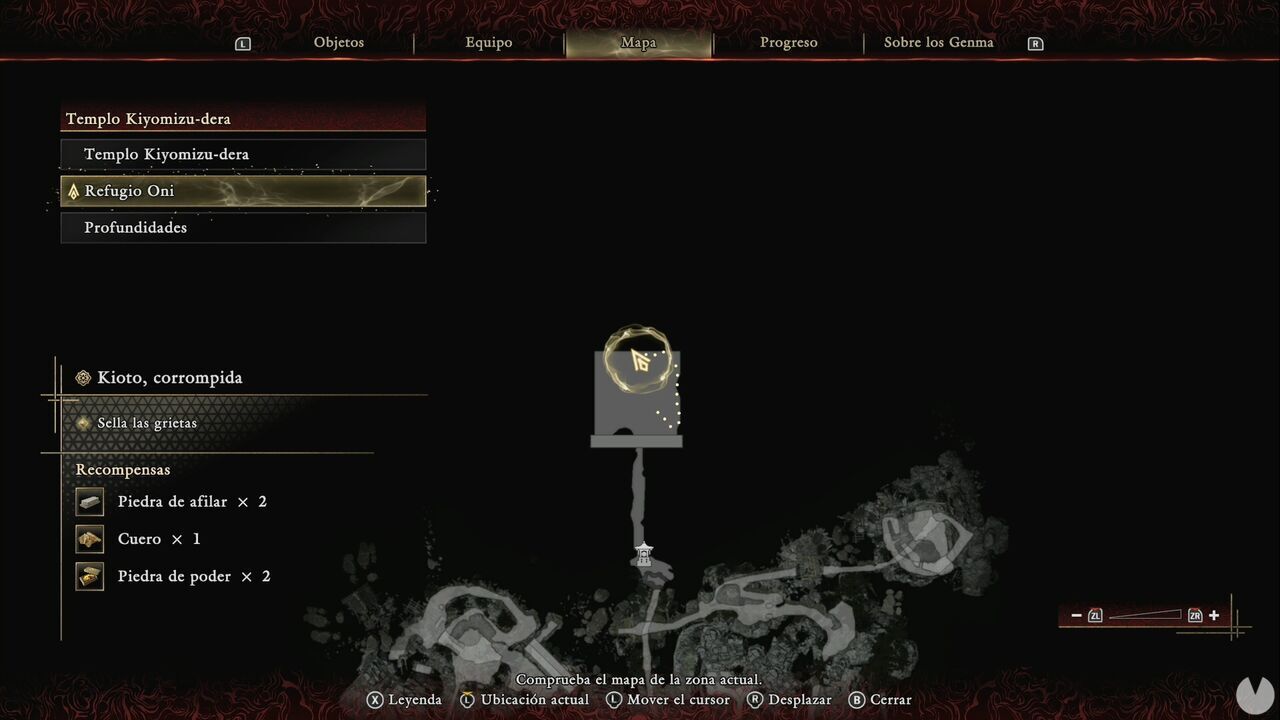
You'll find another Glyph there that you can activate. One of the Oni Refuge Treasures will appear. It contains the Genma Note: Daidara.
All right, we can now return to Eastern Kyoto. Technically, "Seal the northern Rift" isn't an actual objective, but we've added it ourselves to make the exploration easier to divide into manageable sections. Open the gate and you'll see that things have spiraled out of control. The game will also teach you how to use the Johari Shard. It works somewhat like Oni Vision, but is used to detect things around Kyoto. If you see a star-shaped indicator with a winding line in the upper-left corner of the screen, it means the Johari Shard can be used. Essentially, it shows you a route toward your objective.
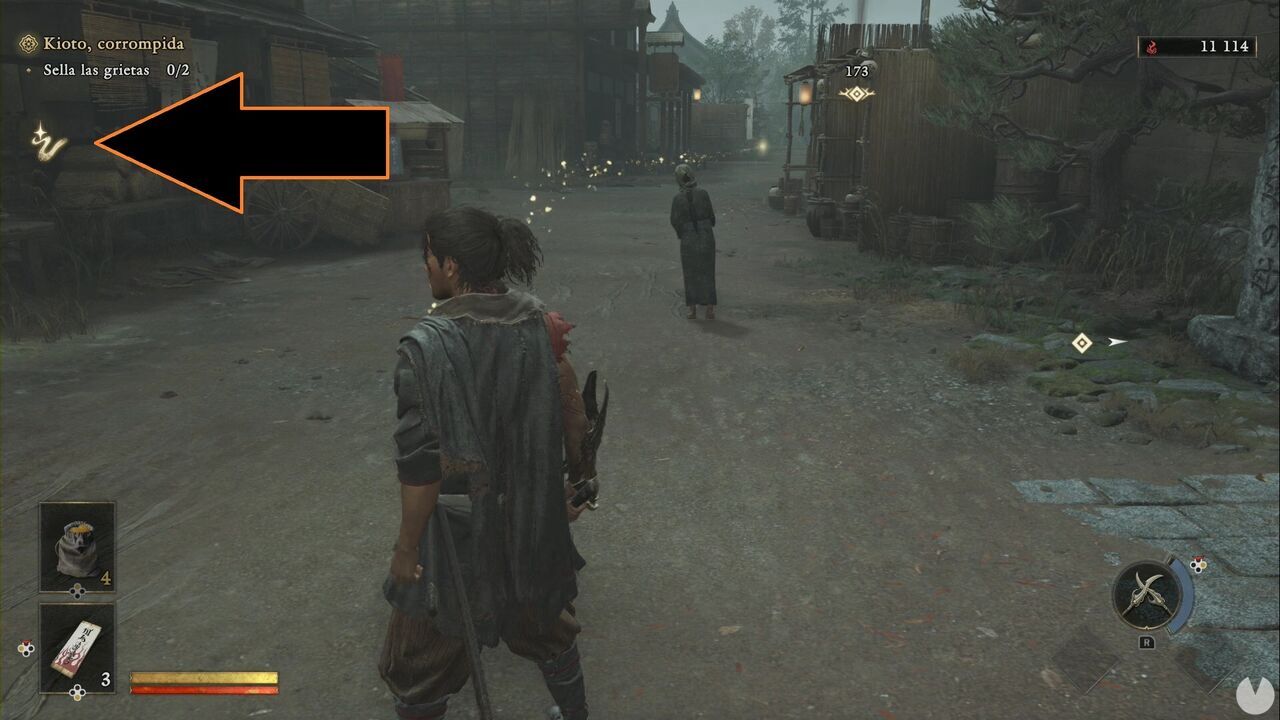
Ignore the route telling you to head west. Instead, go east and then north at the first intersection. If you keep going east, you'll run into one of those Malice walls. You'll know you're heading the right way when you see the glow of a Mixed Grain Rice Ball, a healing item, and two enemies at the end of the road. Pick up the item and defeat them.
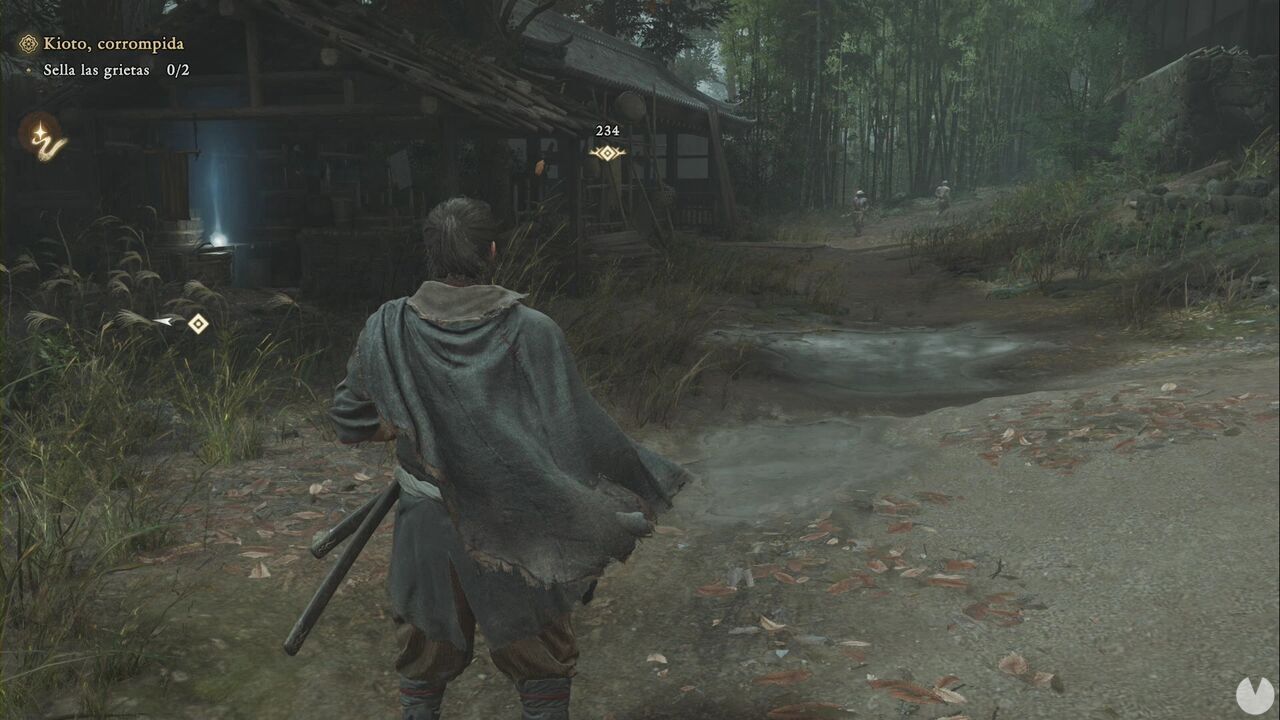
You can now move through the houses to the north-northeast. Since the layout can be somewhat confusing, we're going to point out the main points of interest on this side of Eastern Kyoto. There are several possible routes and minor items scattered throughout the area, but we'll focus only on the important ones. First, directly east of where you defeated the enemies, there's a chest containing Iron.
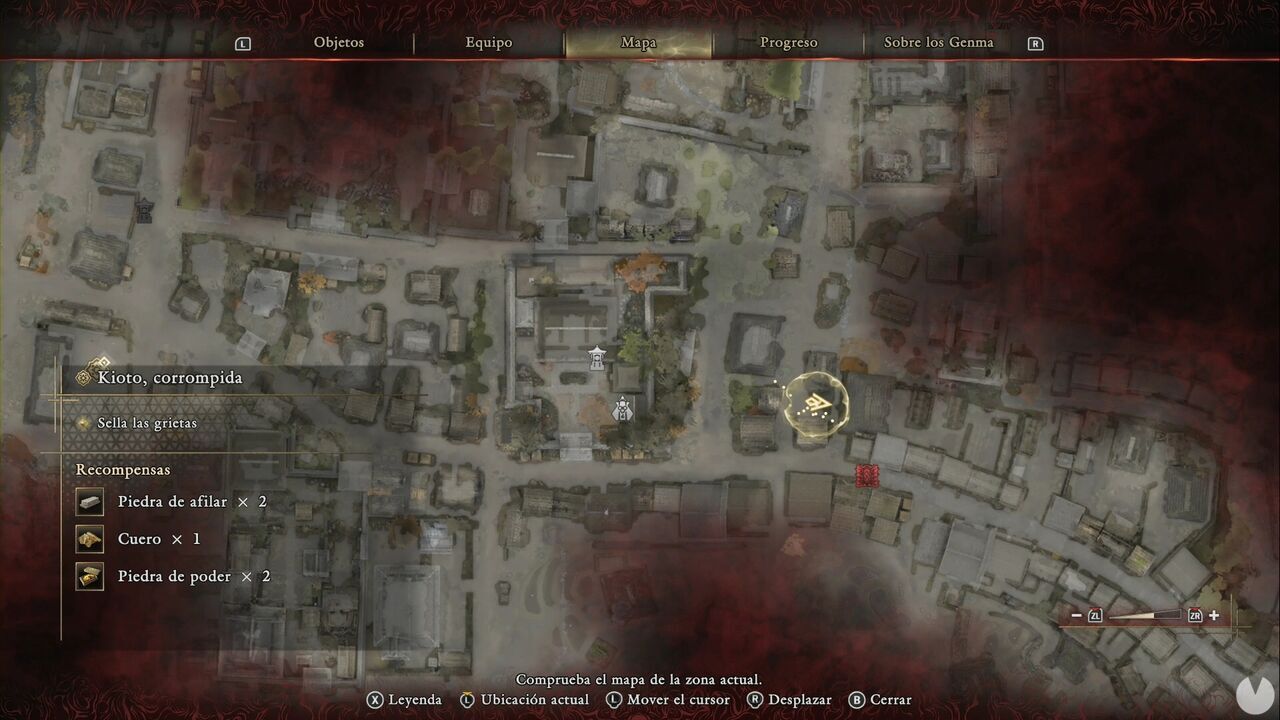
Now head slightly north of the northeastern corner of Rokudo-chinnoji Temple. In addition to a couple of consumables, including a Soul Crystal and some healing items, there's a small shed containing a chest with Cotton Cloth.
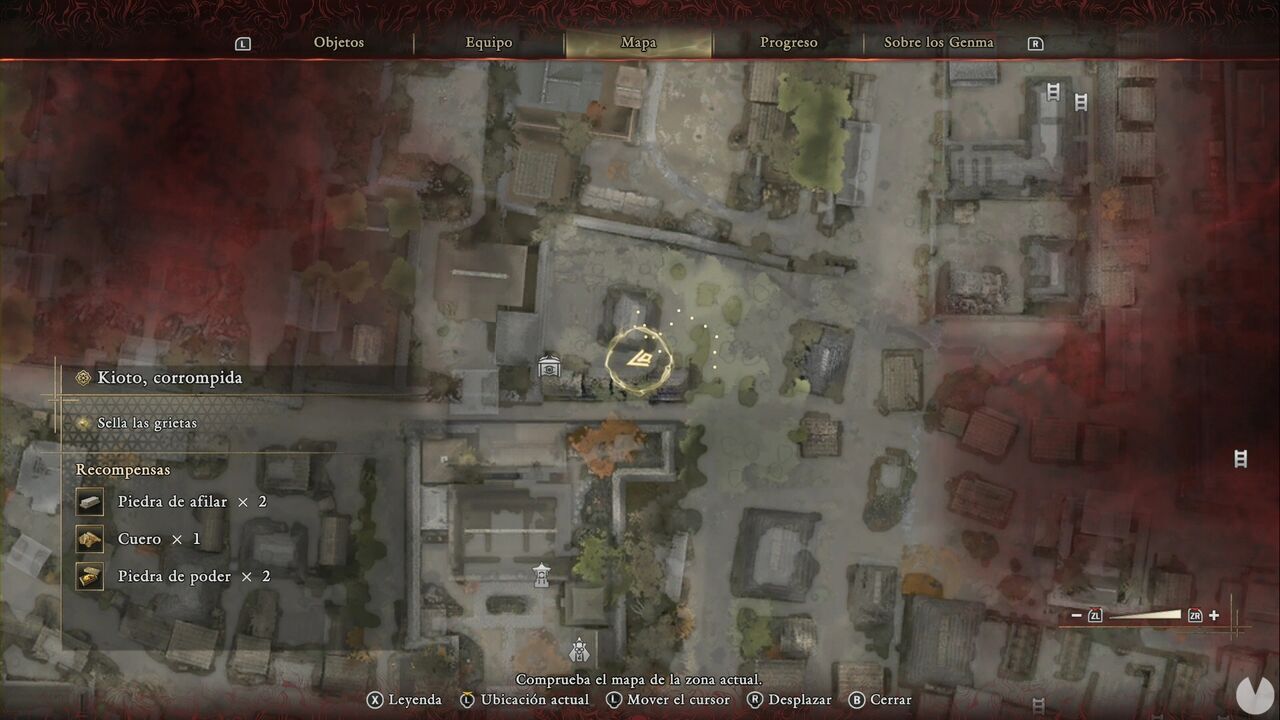
As you've probably noticed on the map above, slightly to the west is the area's first Treasure.
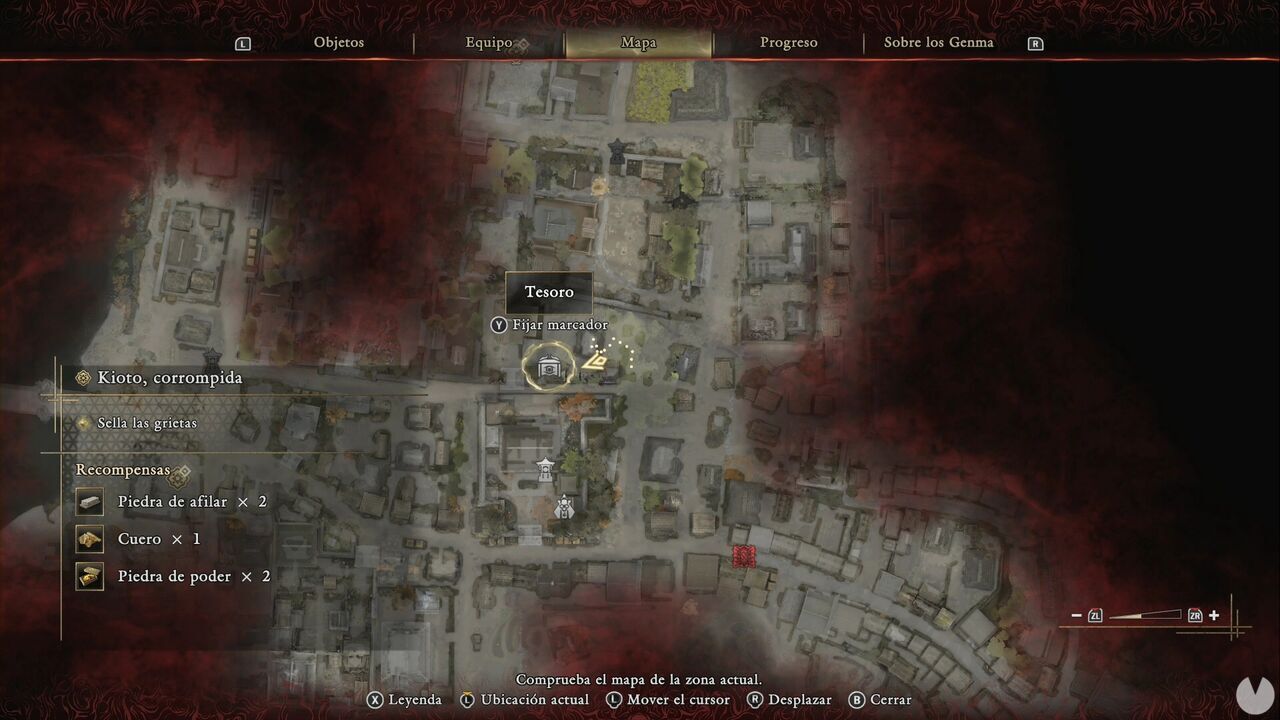
It contains an Oni Stone. If you head into the field to the north, you'll find both a Soul Squeezer and a Soul Sucker. These are consumables that affect the way souls are obtained from enemies. They're useful, but hardly essential. You'll also find a Soul Crystal next to the house east of the field.
Continue east-northeast to make your way around the wall to the north. It won't take long to notice that part of Kyoto is blocked by a red fog of Malice, effectively forming the edge of the accessible map.
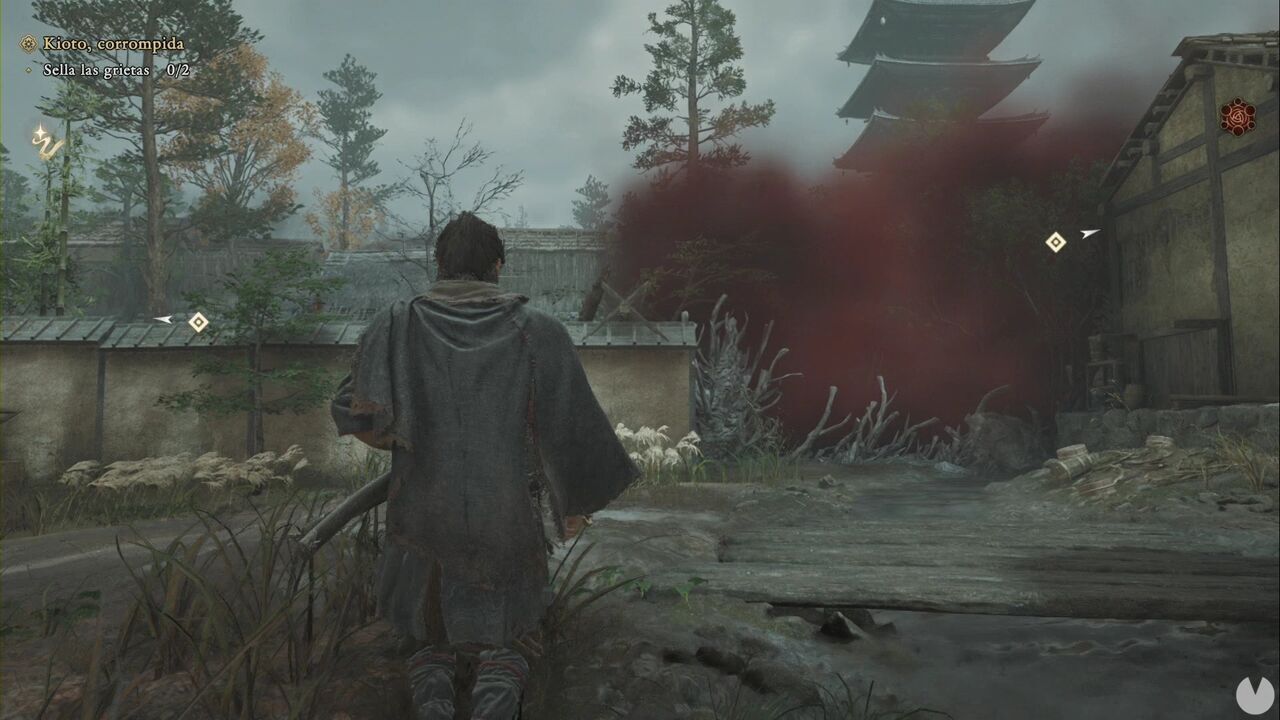
Immediately after passing the wall you've just gone around, look at the intersection just beyond it and you'll see a small chest containing one piece of Hempen Cloth.
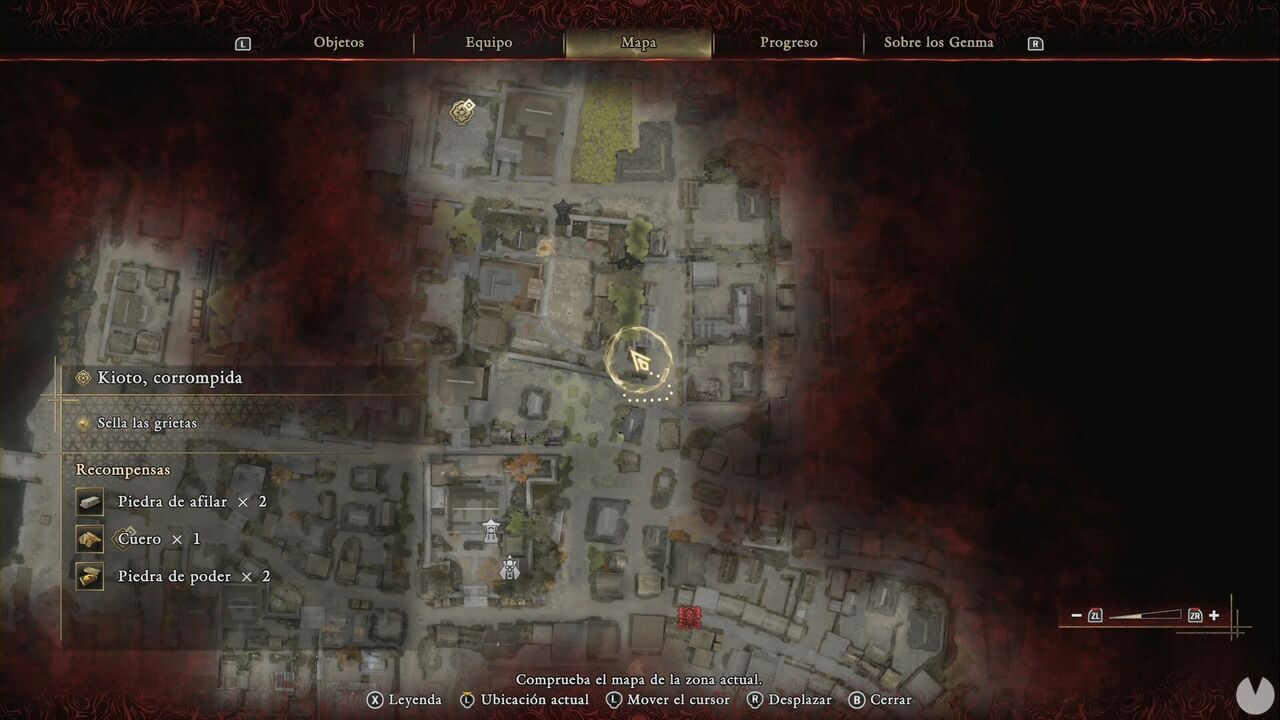
If you head northeast, you'll find a Greater Defense Talisman at the end of the path, but nothing else of importance. The doors of the houses to the east are locked. Head west from the Hempen Cloth chest and something... will happen: you've entered a safe zone. Follow the stone path until a cutscene begins. Afterwards, leave through the northern side and activate the Higashioji Street Spirit Mirror.
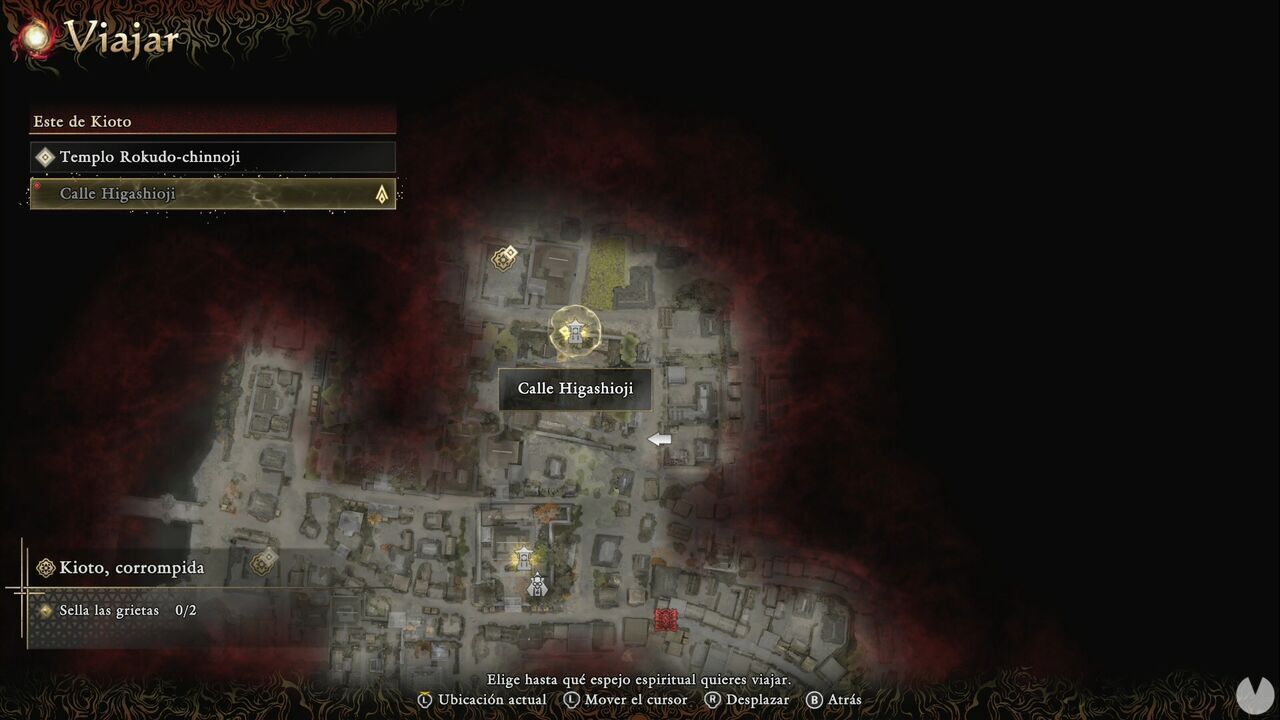
You're now at an intersection. Head north to find some Millet. To the east there's a Soul Crystal and the courtyard of a house occupied by enemies, but don't enter it just yet. Instead, open the map and you'll see a ladder icon slightly south of your current position. Climb it to reach a bottle of Six-Year Sake. Now you can enter the courtyard full of enemies.
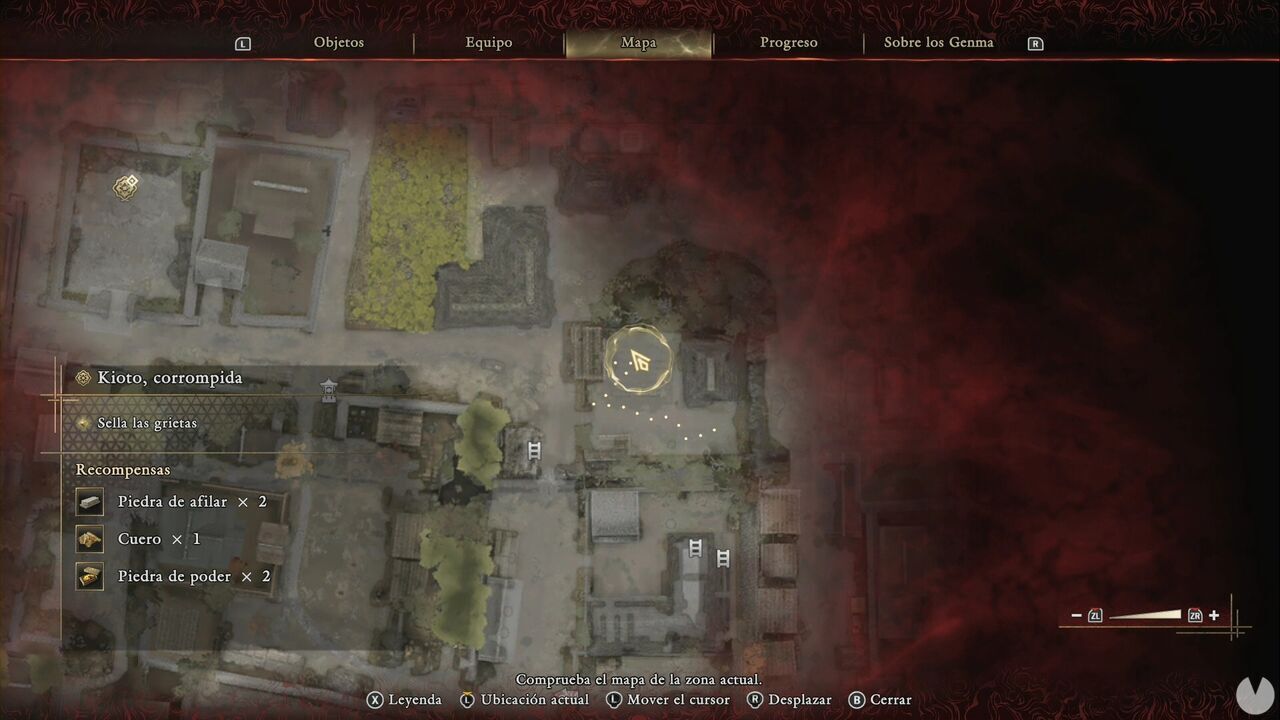
Once they're defeated, pick up all the items in the area. There's a Nashi Pear offering, some Hozuki, several minor items and a chest on the northern side of the field containing Iron and Cotton Cloth. Now return to the Spirit Mirror and head west.
At the first intersection, you'll encounter several enemies. On the northern side of the junction, there's a Watermelon and a chest containing Hempen Cloth x2.
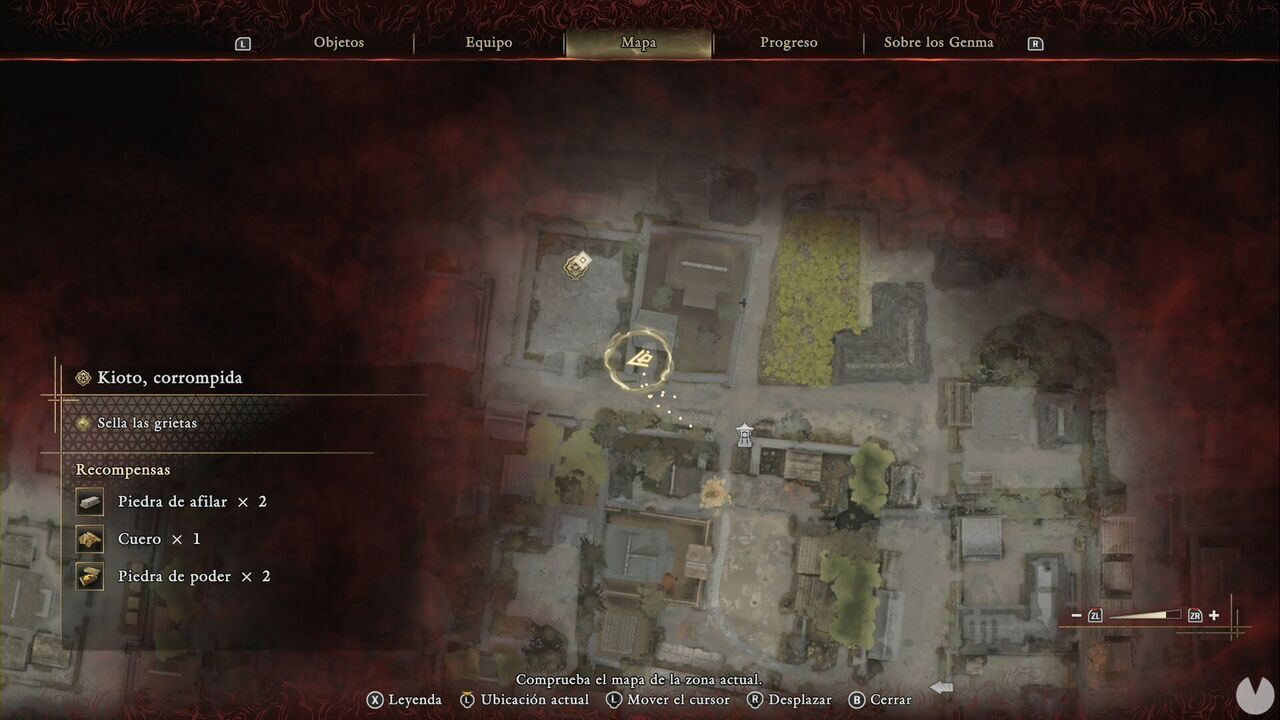
Continue west to the end of the street. Don't approach the Rift yet. Instead, go all the way to the western end and use Oni Vision to locate one of the Oni Glyphs in Eastern Kyoto.
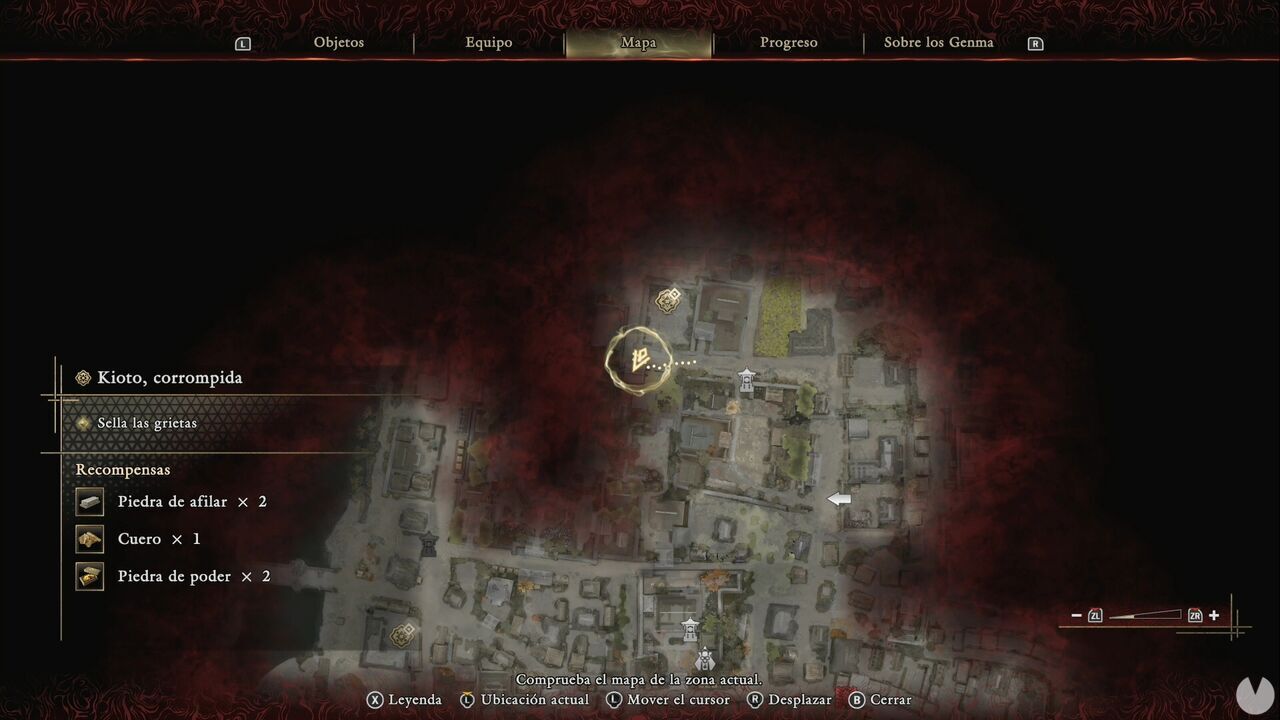
Activating it will make one of the Eastern Kyoto Treasures appear. It contains the Genma Note: Hitotsume Gasa. Now approach the northern Rift and you'll encounter a new enemy: the Togemaru. These creatures behave very much like the Bazuu from earlier Onimusha games, rolling toward Musashi to ram into him when you're at a distance or spinning like tops to achieve much the same result. If you successfully Parry one, it will become embedded in a wall, leaving it open to an immediate Issen.
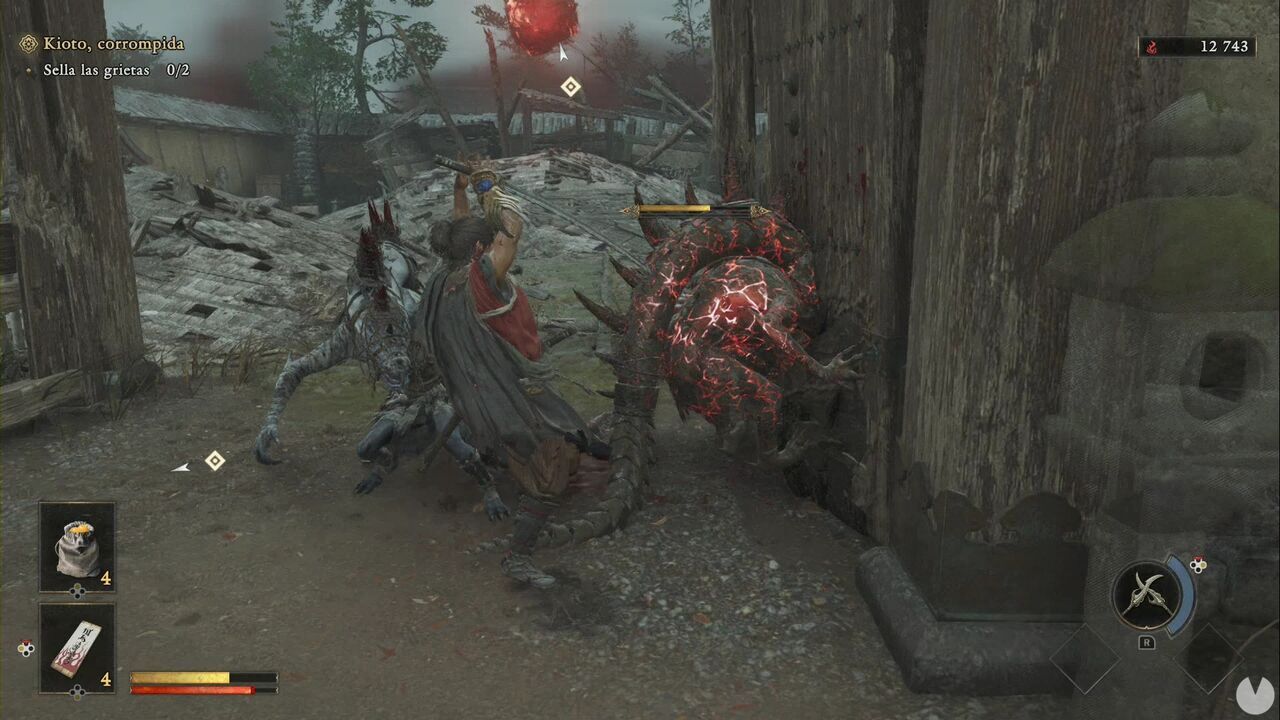
Once you've defeated the first two waves of enemies, seal the Rift. You'll receive Malicite x2. Retrace your steps all the way back to the gate of Rokudo-chinnoji Temple. It's time to deal with the other Rift.
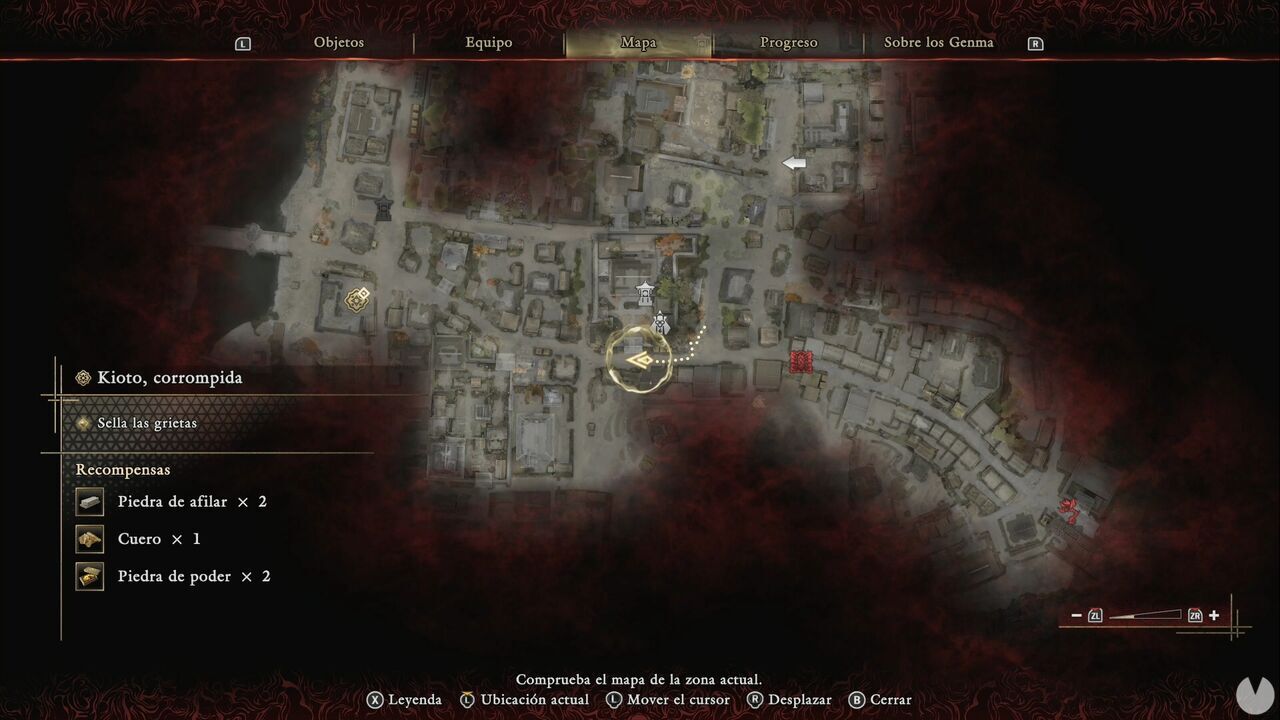
Head west and turn south at the first intersection. You'll find a group of Genma trying to break down a door. Defeat them and interact with the door to see what happens. Talk to the kneeling man to receive a Nashi Pear. On the northern side of this courtyard, there's a small storehouse where you'll find a Soul Squeezer and a jar containing Unrefined Sake.
Leave the house and head north at the intersection. In the alley, you should see a jar containing Cloudy Sake.
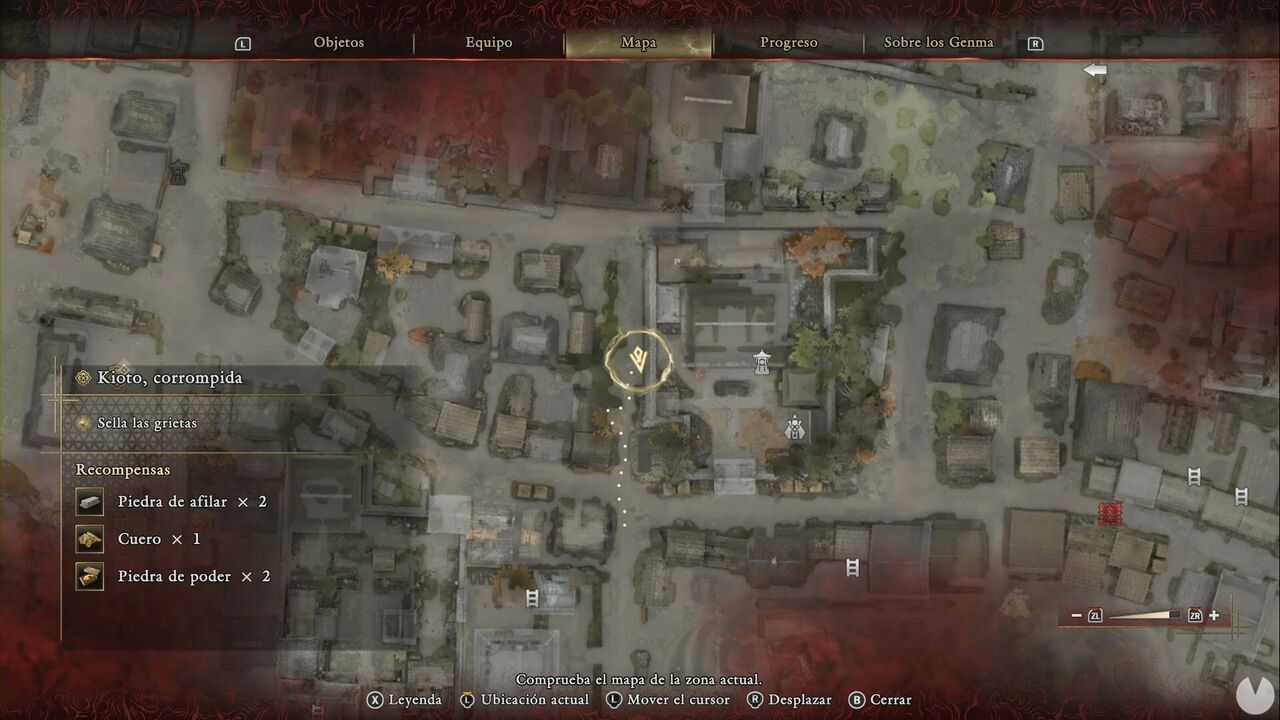
Continue north and you'll be able to pass through an alley north of Rokudo-chinnoji Temple, where you'll find more jars. One contains another bottle of Cloudy Sake. Now start heading west toward what looks like a market. Inside the first building to the south that you can enter, you'll find more Unrefined Sake. There's also some Cloudy Sake west of the building, near several enemies.
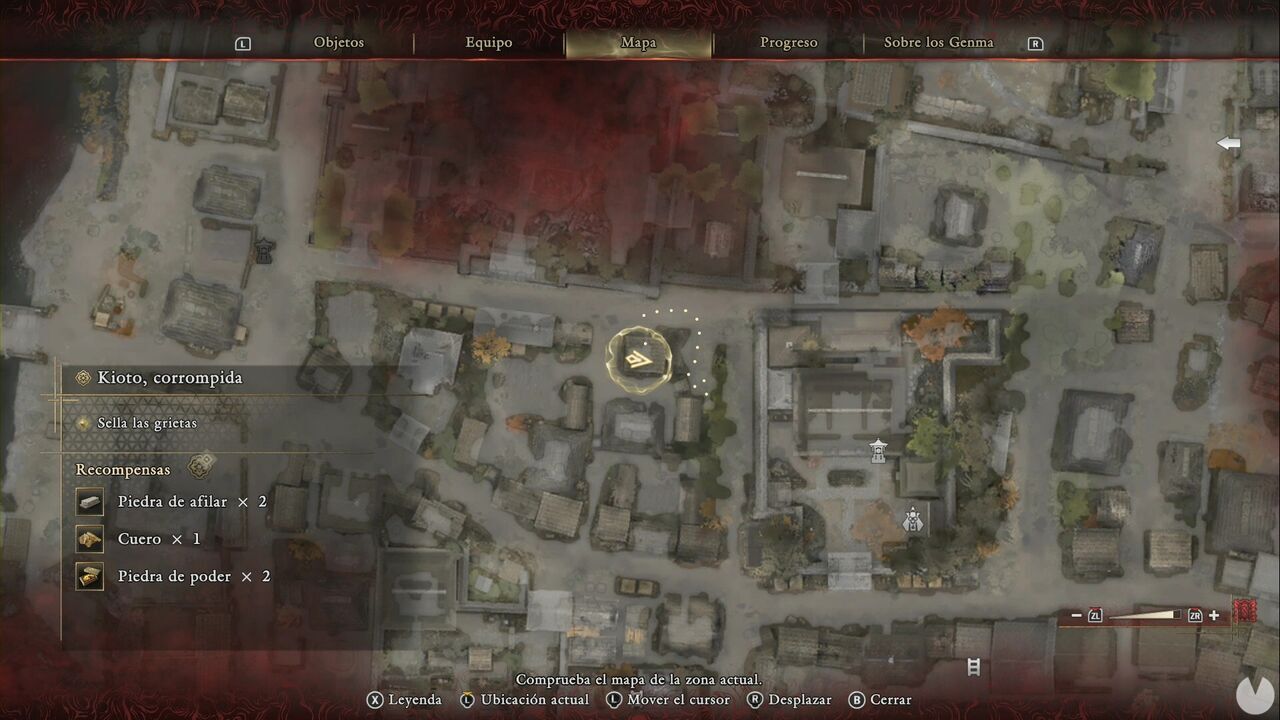
Along the southern side of the building containing the Unrefined Sake, there's a Soul Crystal and another couple of enemies, as well as a Soul Sucker in the southeastern alley. Now enter the building directly to the south to find a chest containing Leather.
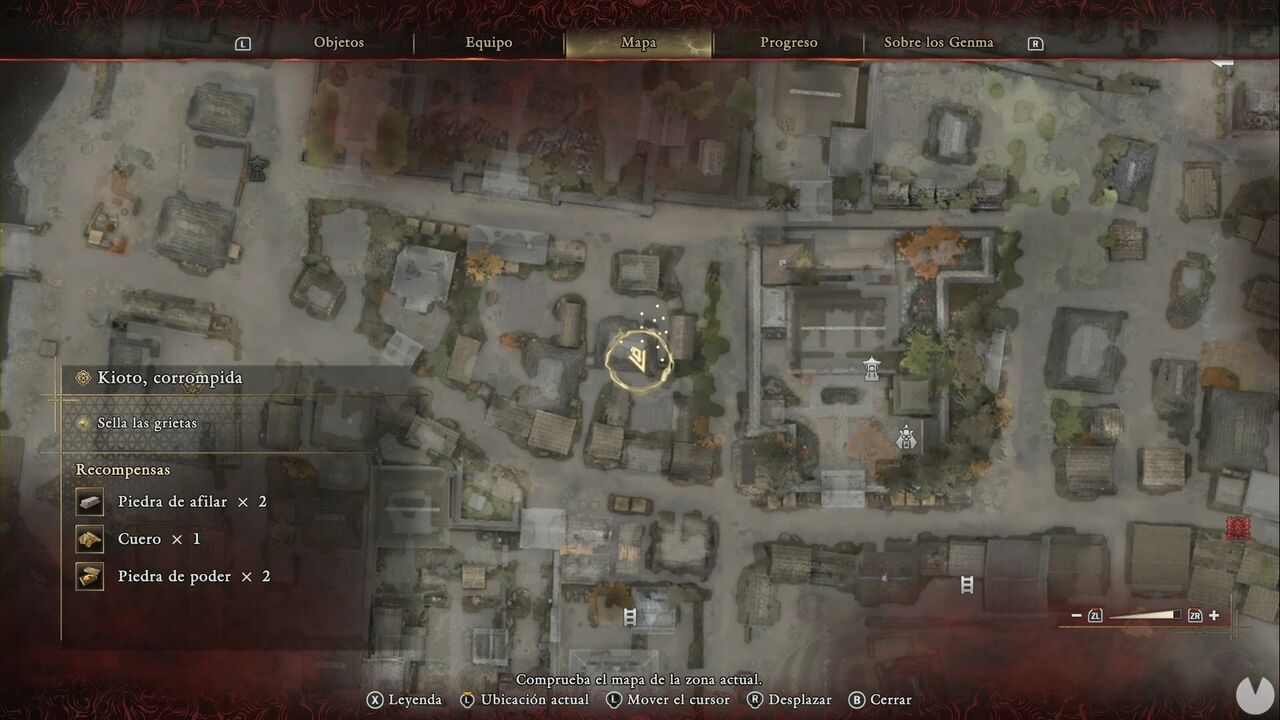
Continue south while collecting minor items. There's a small field to the south-southeast containing Millet. Eventually, you'll see another person fleeing from the Genma. Defeat them and talk to the farmer to receive Wheat, another offering. You should now be on the street west of the intersection west of Rokudo-chinnoji Temple.
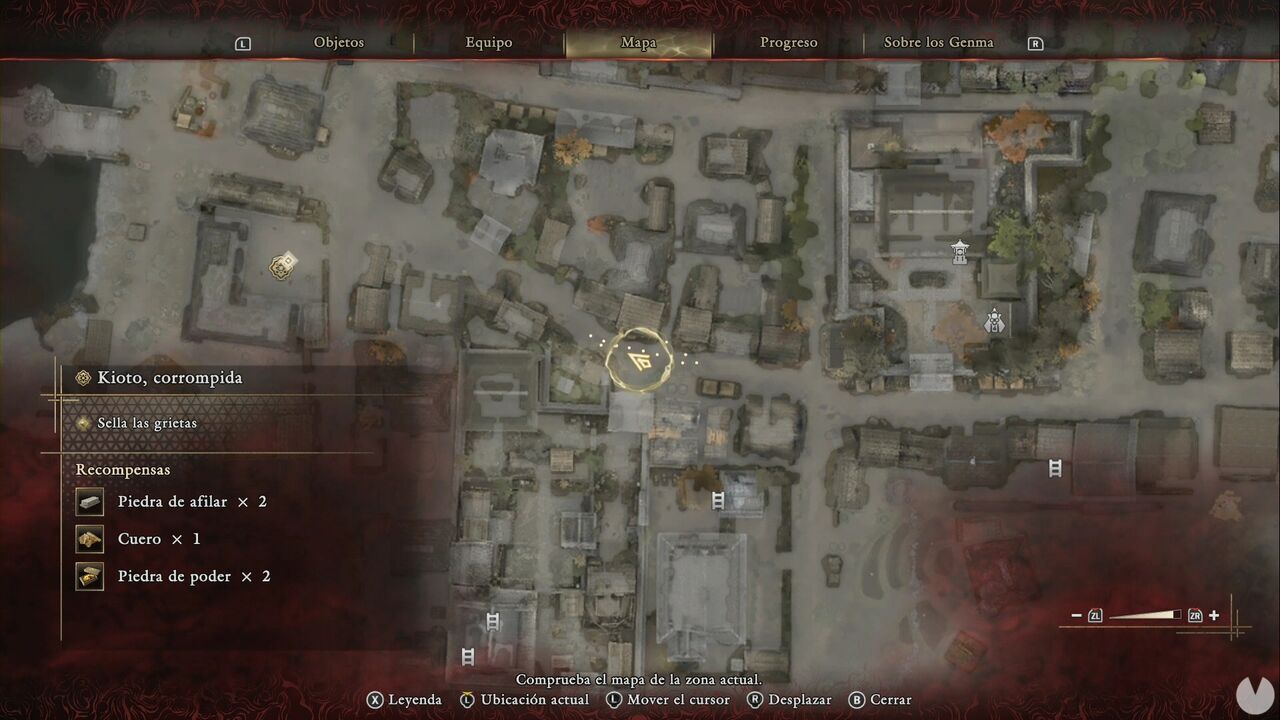
To the southeast, you'll find Millet and Unrefined Sake around the mats beneath the covered structures. There's a blocked gate to the south. To the east, in another covered area, you'll find more Millet and Unrefined Sake. Take a quick look around the courtyards to the northwest, back in the direction you came from, to collect a few minor items, then follow the street northwest until you reach the Kamo River - East Spirit Mirror.
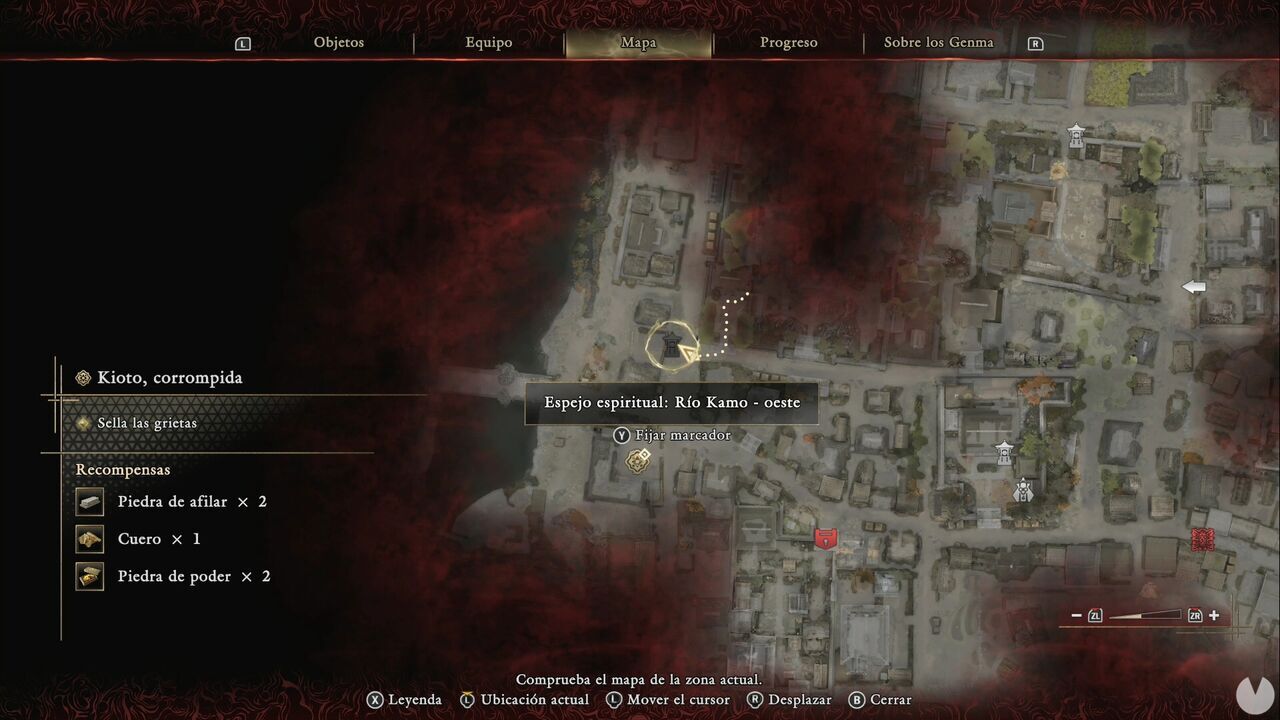
Head north and turn left to find some Unrefined Sake behind the house. Continue north until you reach another house occupied by enemies.
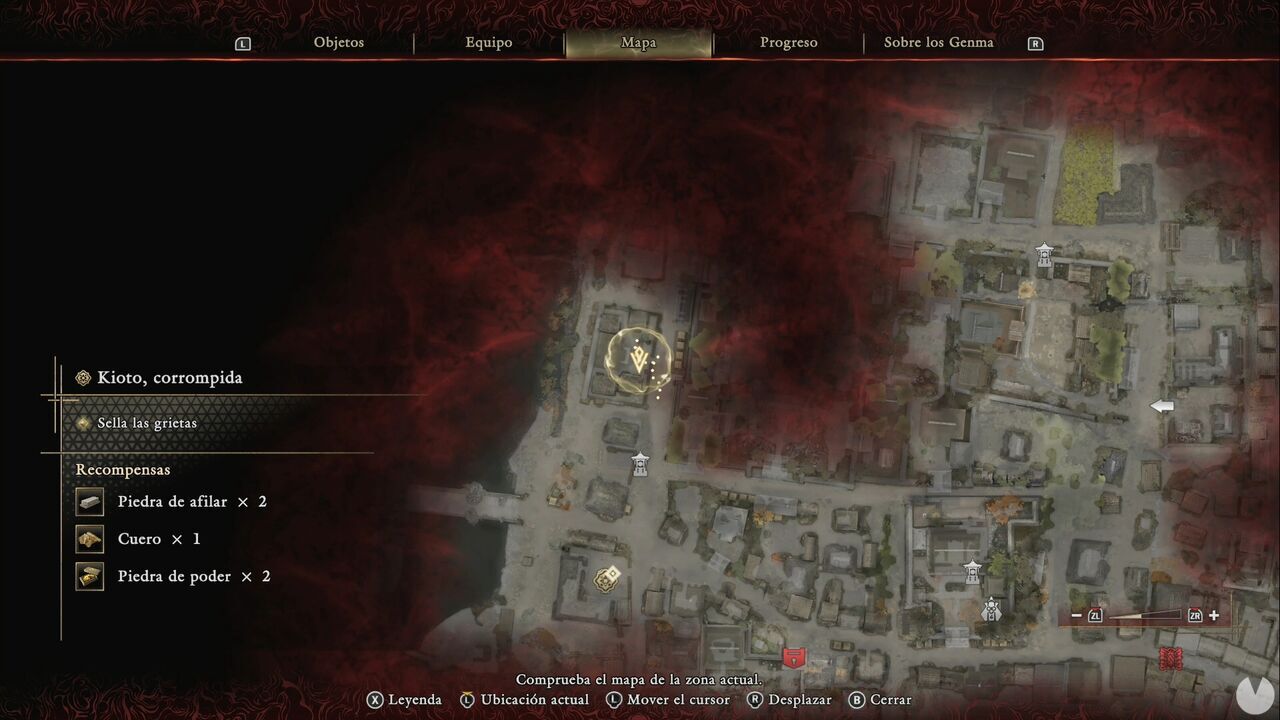
Once you've cleared the area, search the entire compound to find several items. Among them is a chest in front of the entrance containing Whetstone x2 and Cotton Cloth. In addition, in the northwestern corner of the compound you'll find another Eastern Kyoto Treasure.
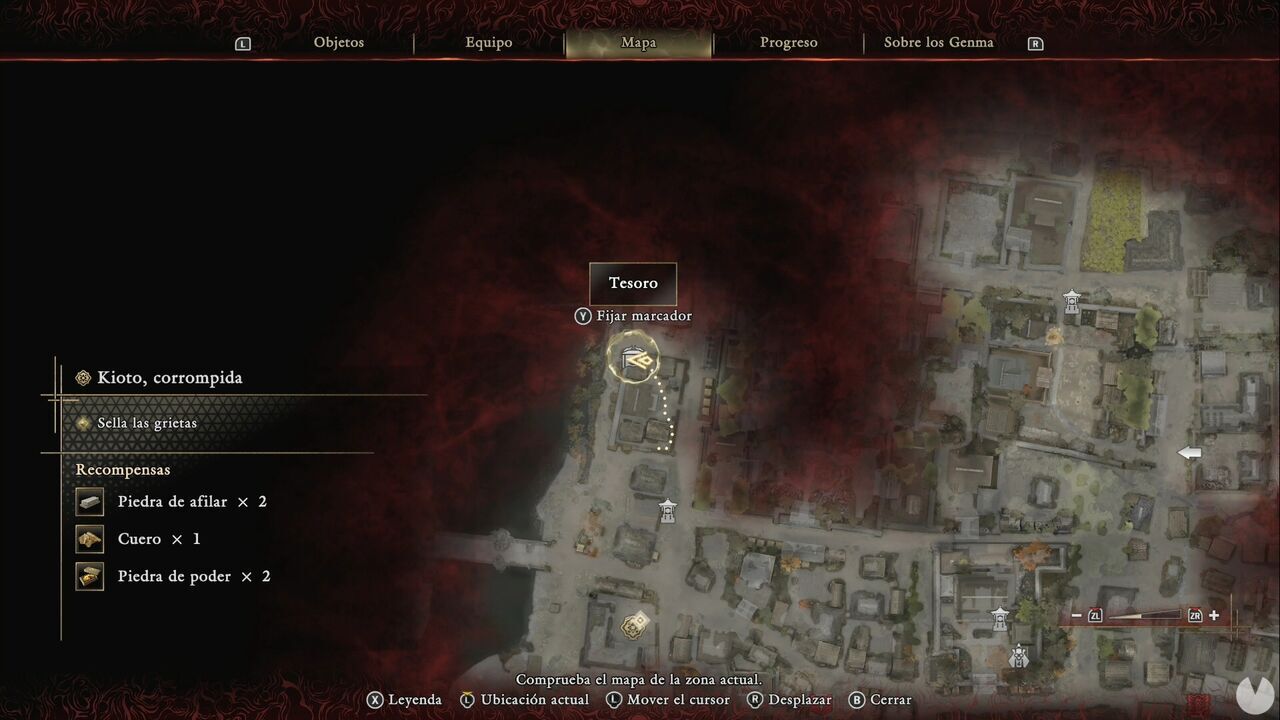
It contains Tamahagane. Leave the compound, head north, turn west and then start making your way south, collecting minor items and defeating a couple of enemies until you return to the Spirit Mirror. Now head west toward the bridge. There are more enemies and minor items to collect along the way. Approach the bridge and use Oni Vision.
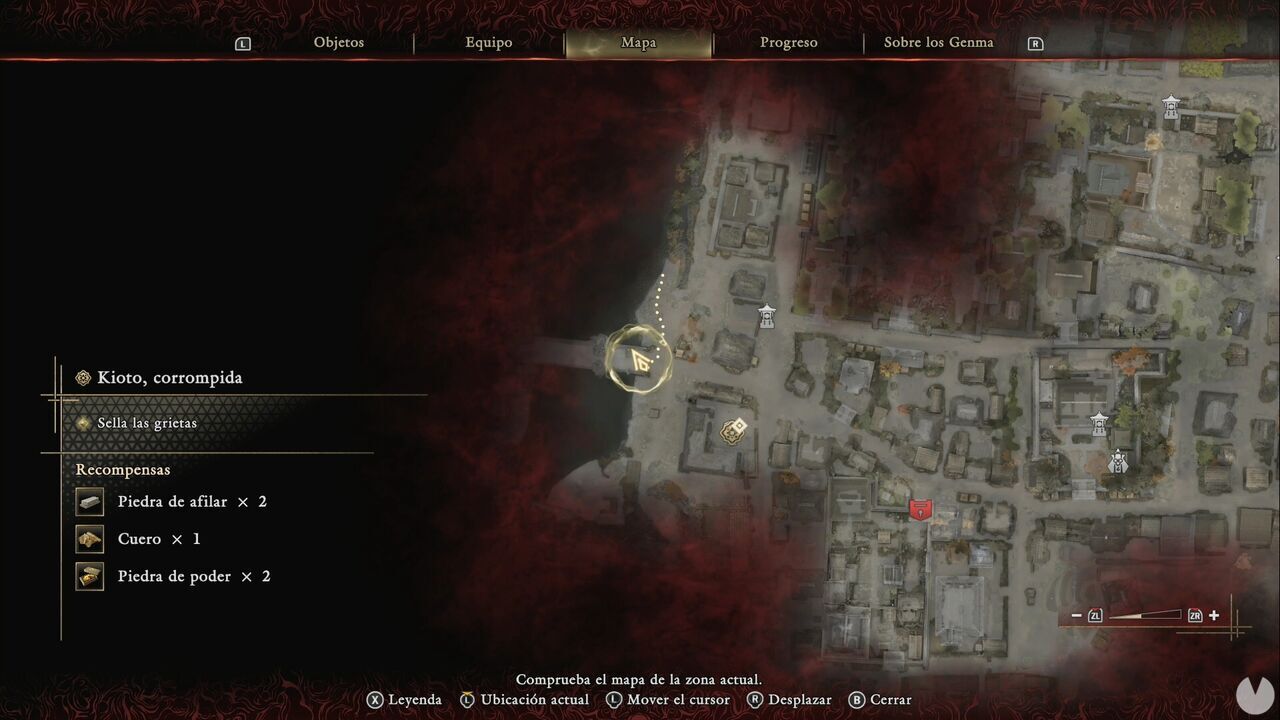
You'll find another of the Oni Glyphs in the area. Activating it will make another Eastern Kyoto Treasure appear. This chest contains a Mirror of Revival, which, as the name suggests, allows you to come back to life once if someone turns you into a pincushion.
If you continue south, you'll find some Unrefined Sake before having to go around the building near the objective marker. There's one more area we can partially explore for now: the street east of the marker. You'll find some minor items and the last Treasure in this section. It's behind one of the buildings along the street. You can see the route to reach it below: you'll need to enter a building and jump through the window at the back to reach the alley containing the chest.
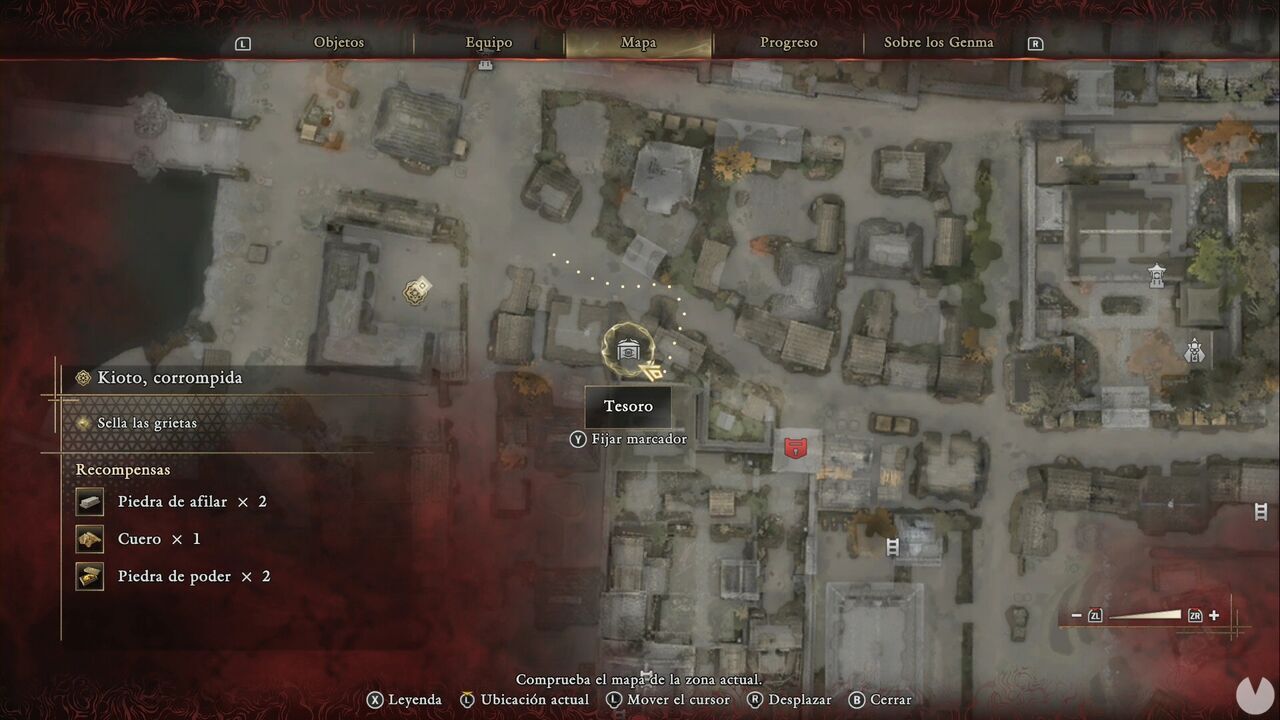
It contains a Power Stone. At this point, there's nothing else you can do in this part of the region for now. Head toward the western Rift and seal it. Defeat all the enemies, including the new big-headed creatures that spit projectiles, then seal the Rift to obtain another two pieces of Malicite.
Search the western Rift compound before leaving. There's some Cotton Cloth inside a box in the house.
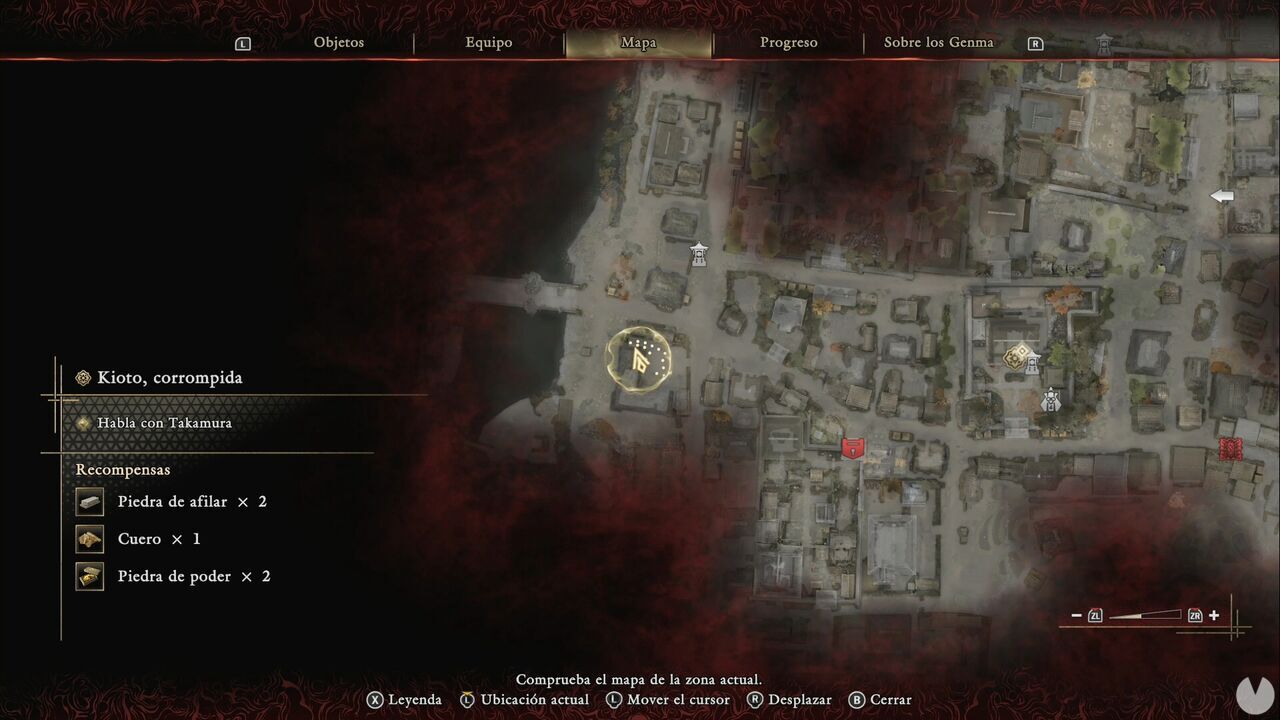
There are also minor items and offerings scattered around the house and courtyard. Once you're done, return to Rokudo-chinnoji Temple and speak with Takamura to complete the chapter. After the conversation, The Oni's Apprentice will begin.
