
In the Light of an Icy Moon is the twenty-first chapter of the story in Onimusha: Way of the Sword. It begins at the end of Storm Chaser, after defeating Ifuu and Burai for what may or may not be the last time. As usual, throughout this spoiler-free walkthrough we'll help you complete every story chapter 100%, making sure you don't miss anything along the way and providing tips for the more difficult situations.
First, a quick progress check. By this point in the game, your equipment should be extremely well upgraded if you've been following this walkthrough. For comparison, in our playthrough the sword, Gauntlet and Clothing have all reached Proficiency Level 5, the maximum, as have all the Charms we've obtained so far. The only thing we're still missing is Level 3 for the Hozuki Pouches. If you've followed the guide, you should have collected enough materials and souls to reach a similar point, while also unlocking the vast majority of abilities.
Before moving on, go and activate the Oni Glyphs at Kennin-ji to reveal the Treasures containing the Genma Note: Ifuu and Genma Note: Burai.
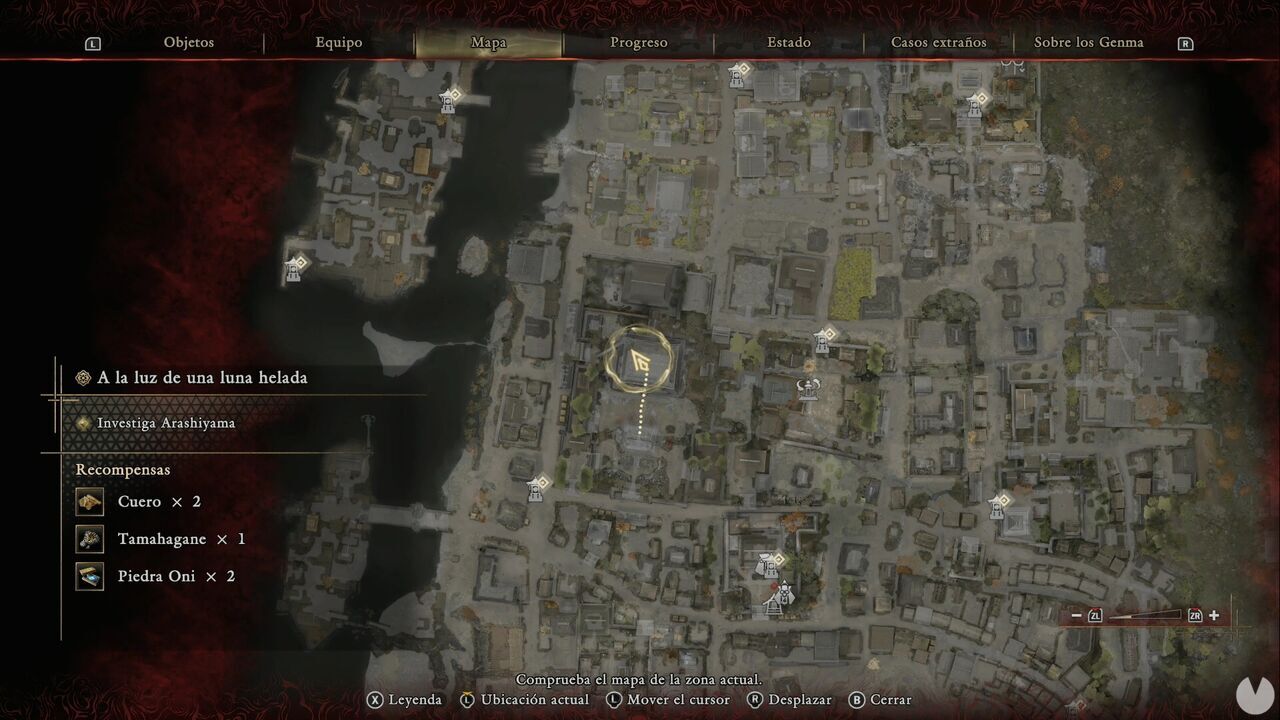
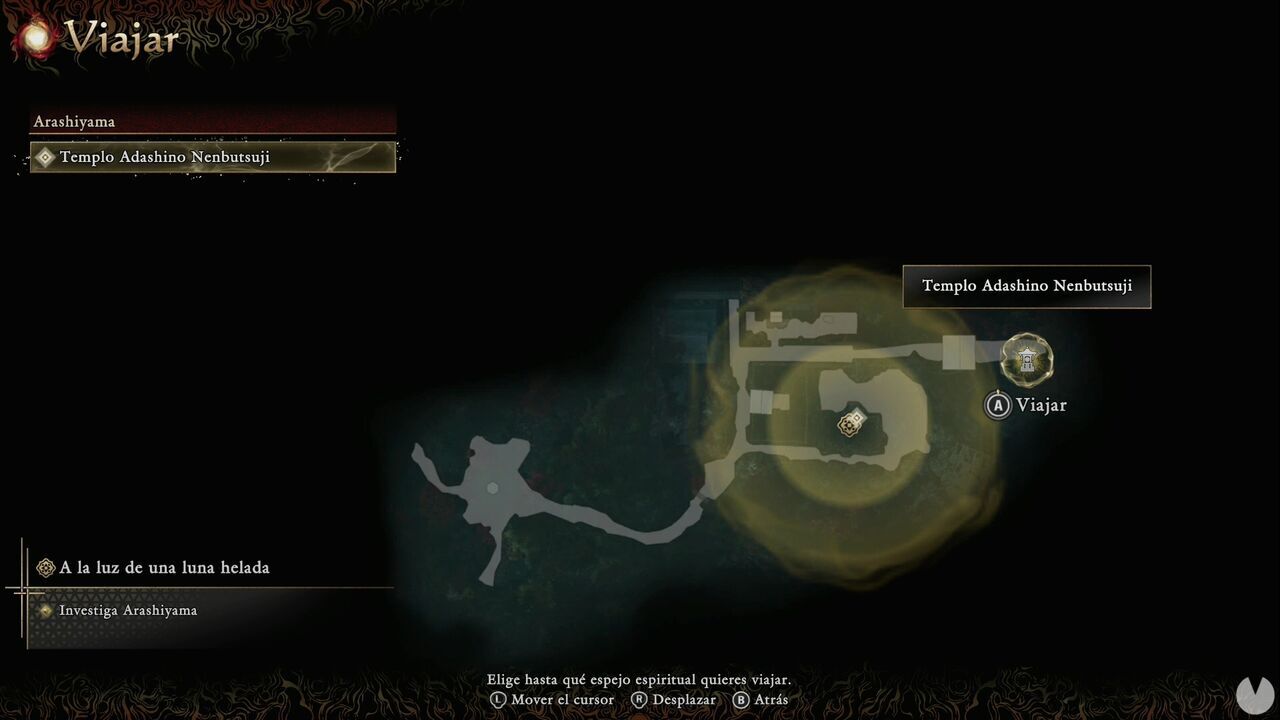
Now use a Spirit Mirror to travel to the new area, Arashiyama.
Continue until you can enter the small garden to the north. In the northeastern corner, you'll find a chest containing Iron.
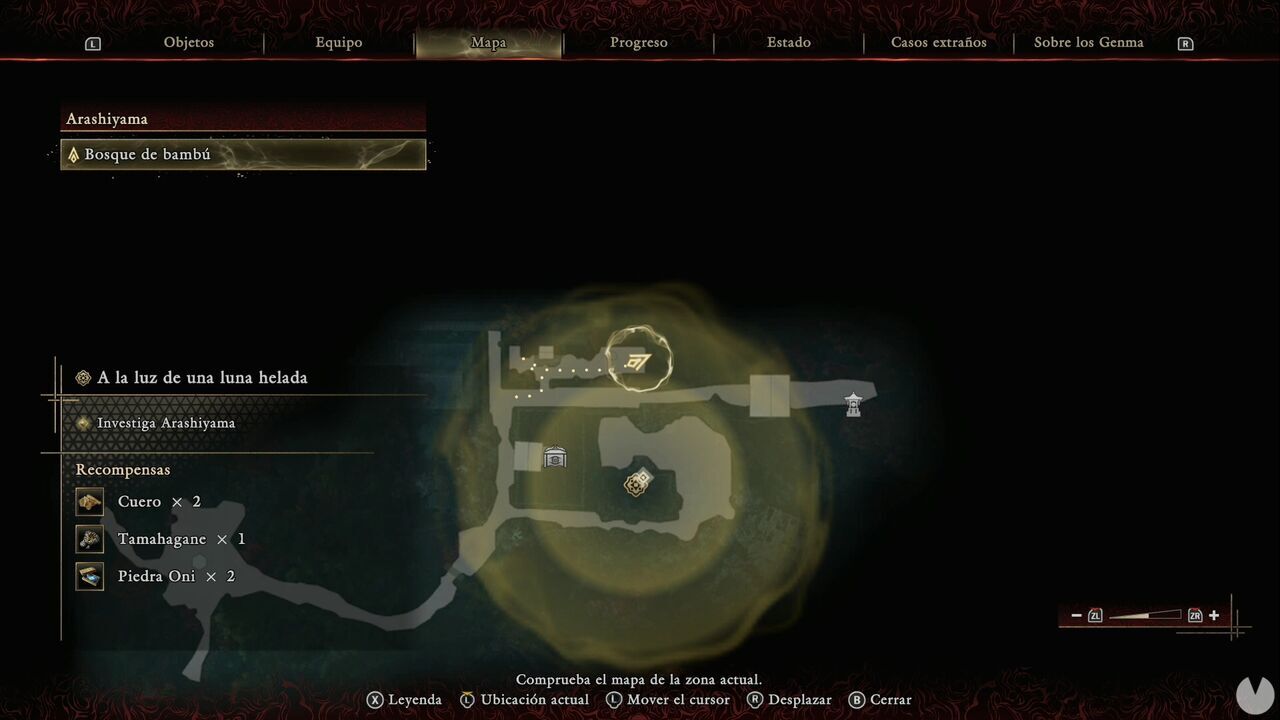
In the same image above, you can see the icon for the first Treasure in Arashiyama. It contains a Power Stone.
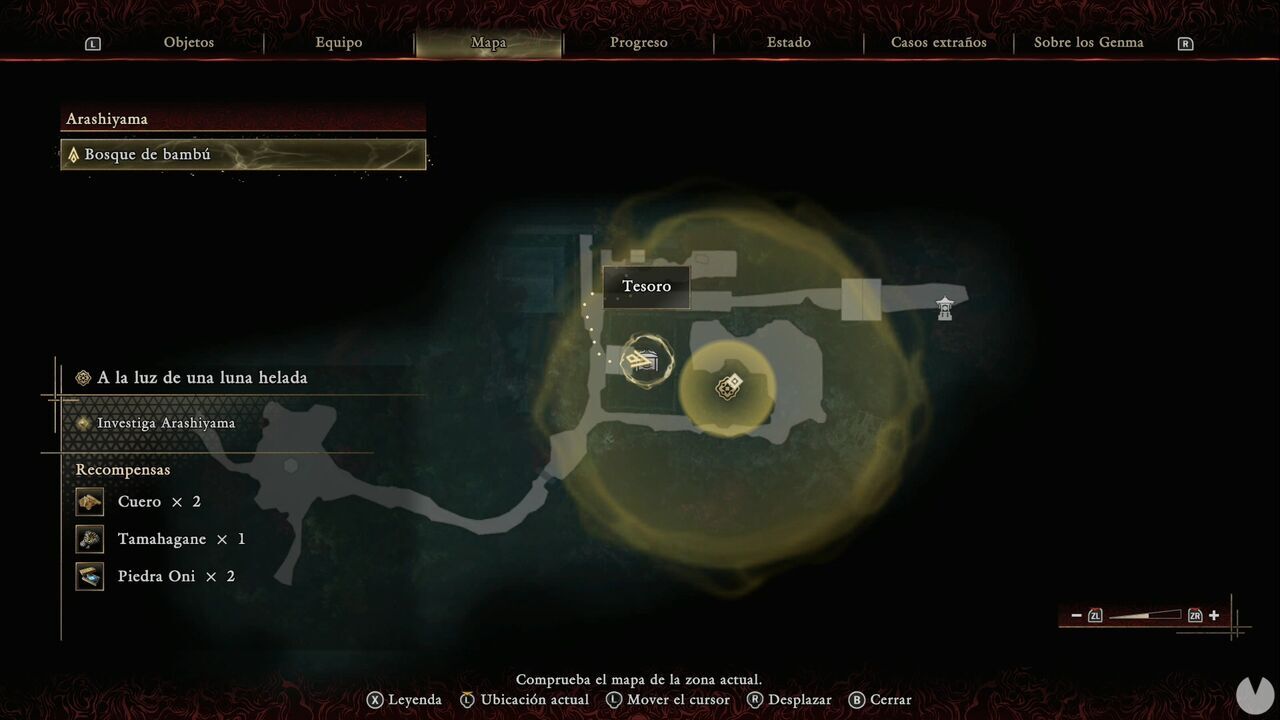
You'll only be able to continue toward the objective marker, where a cutscene will begin. Once it ends, several Genma will appear along with a Rift containing a Dohatsu-ten. After sealing the Rift, destroy the northern Malice-emitting plant. The other one is outside the accessible map area.
You can now follow the path to the west.
When you reach the plaza-like area, use Oni Vision and examine the illuminated stone monument.
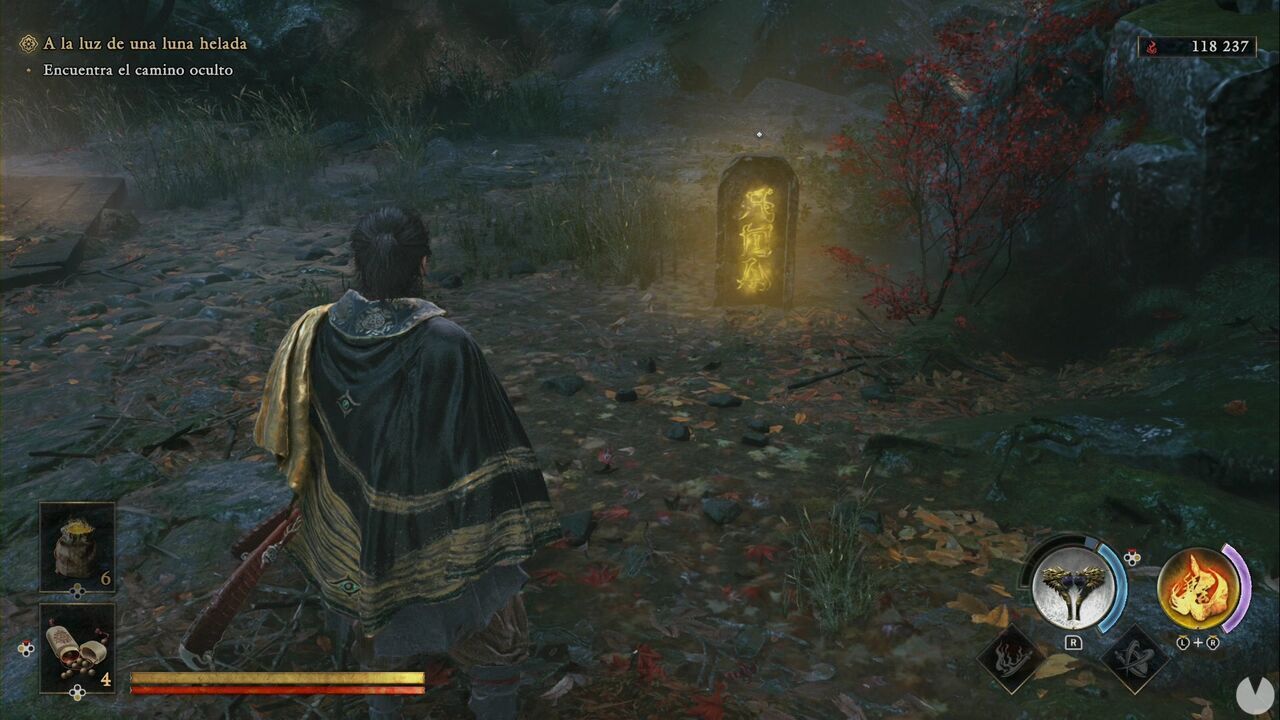
To continue, you need to walk through the rock southwest of the statue in the center of the area.
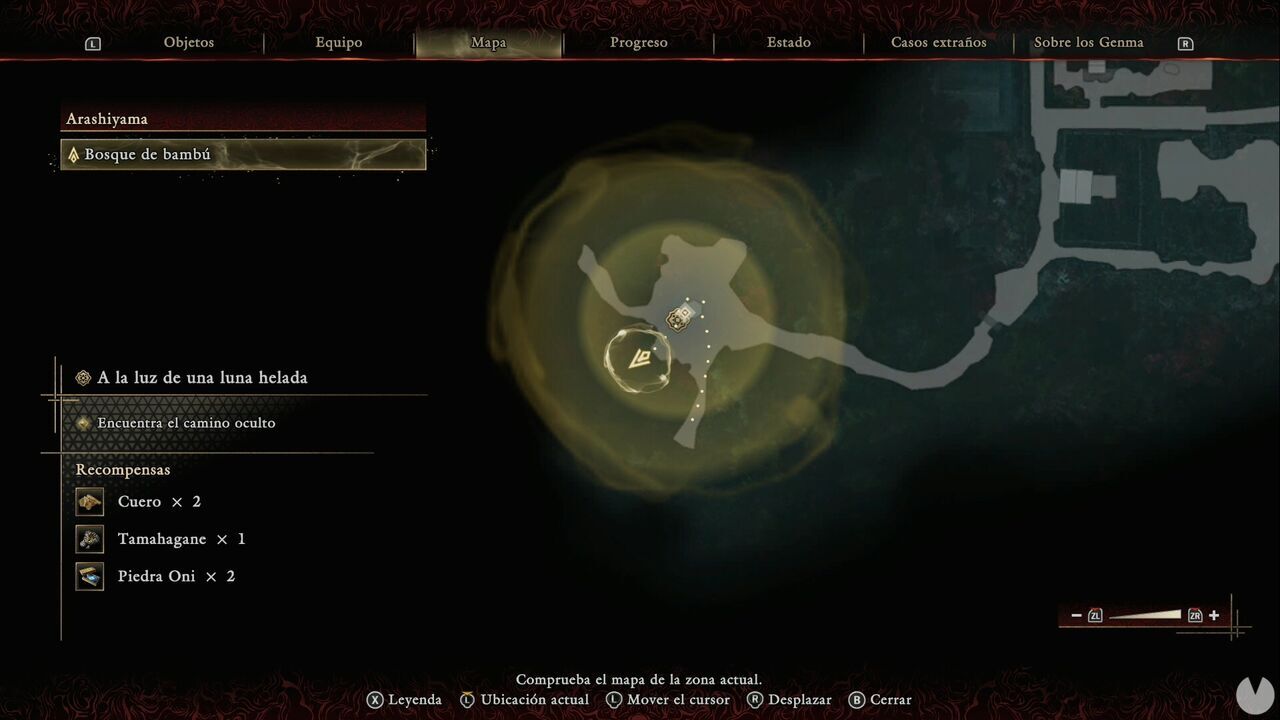
Continue onward and you'll reach an Oni Glyph. Activate it to open an Oni shortcut you can use to cross.
Follow the only available route. When you reach the cliff, before continuing northeast, look north to spot a crate that you need to shoot in order to continue.
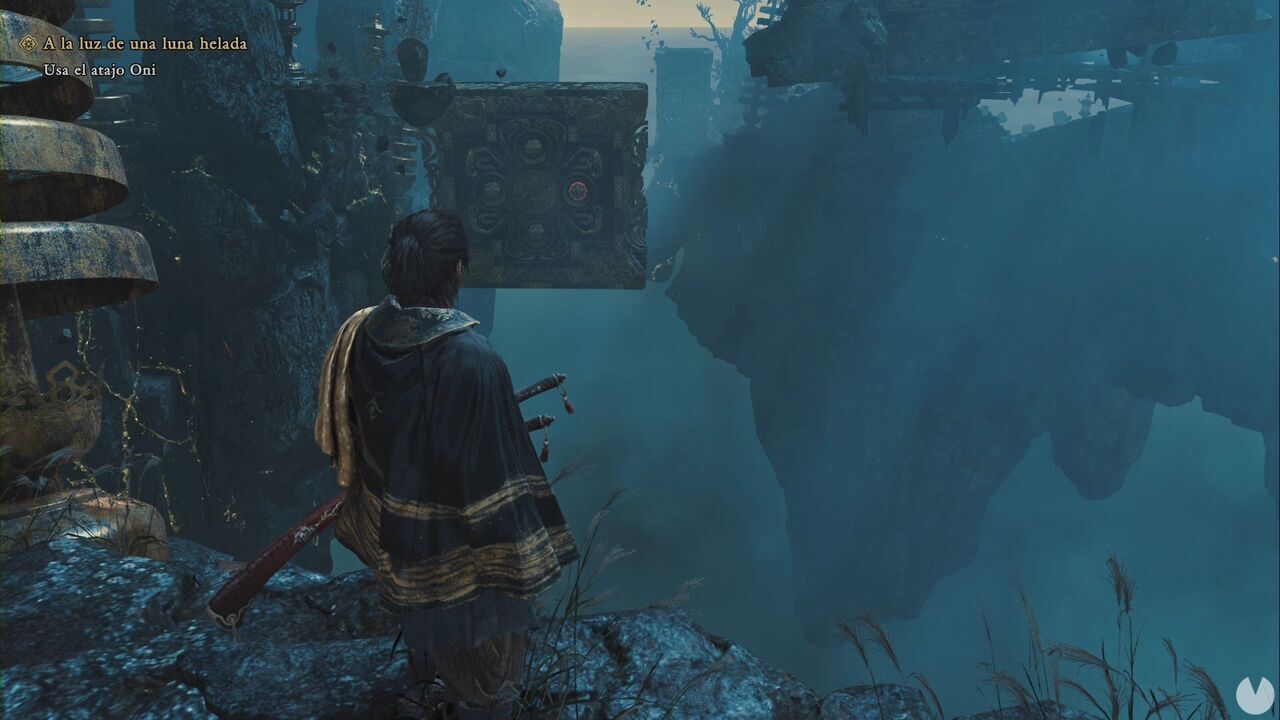
Head north across the second platform and you'll see another crate to your left. Don't shoot it yet. Continue northwest to find a Treasure containing an Oni Stone.
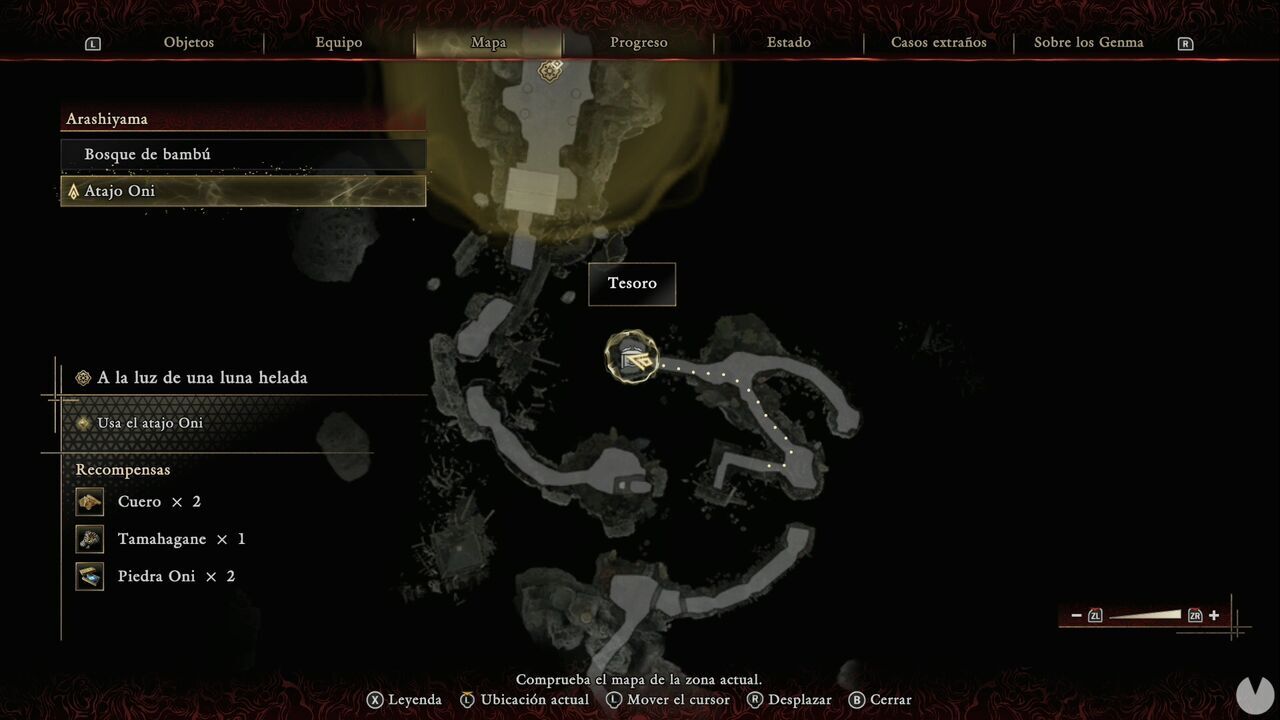
Now head to the northeastern side and go down the steps. From the edge, you'll be able to shoot the first crate, the one you moved to reach the second platform. Shoot it to move it again and now shoot the other crate we ignored earlier. This creates a bridge that lets you cross to the west. Follow the only available route until you activate another Oni Glyph, which opens another shortcut. You'll emerge in the main part of Arashiyama, with the Bamboo Path Spirit Mirror nearby.
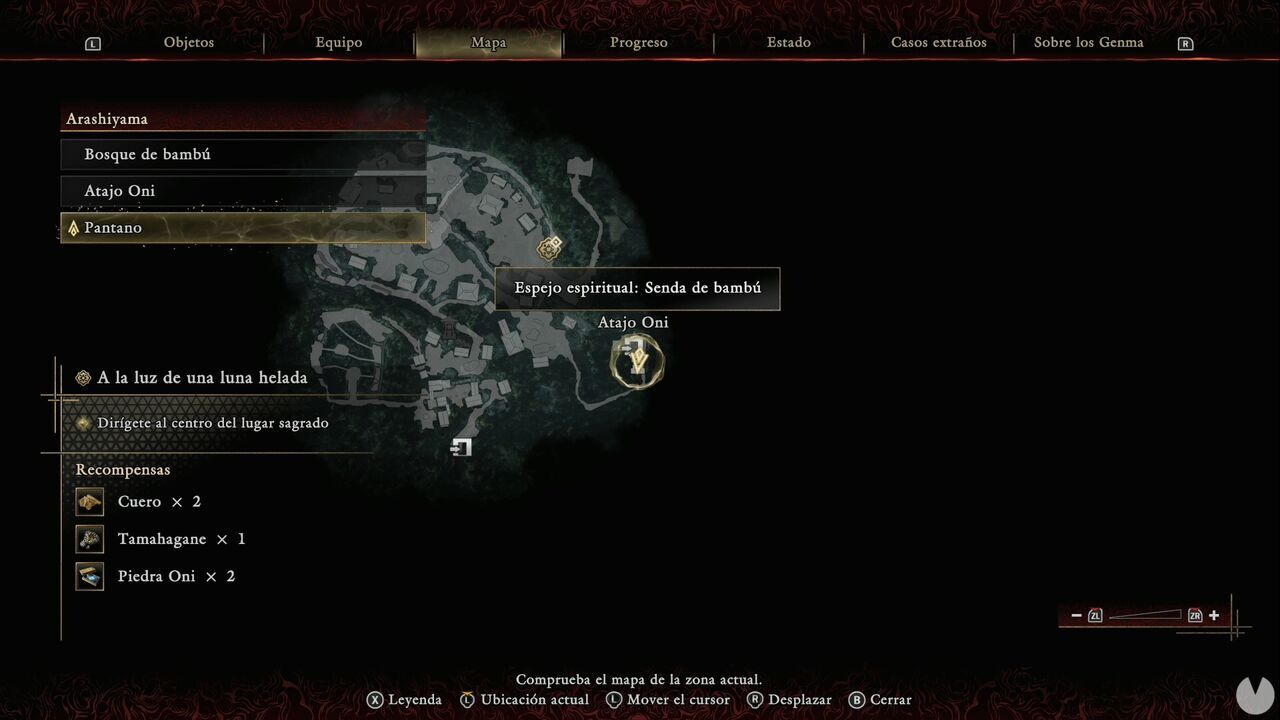
Run toward the path to the northwest and destroy a barrier to cross, since you can't destroy the Malice-emitting plant yet. There's a Byakue roaming around this central area, so take it out as soon as possible to remove the threat. The swamp is surprisingly empty when it comes to anything particularly interesting. Cross the central area and head to the southwestern corner of the northern section to find a chest containing Tempered Iron.
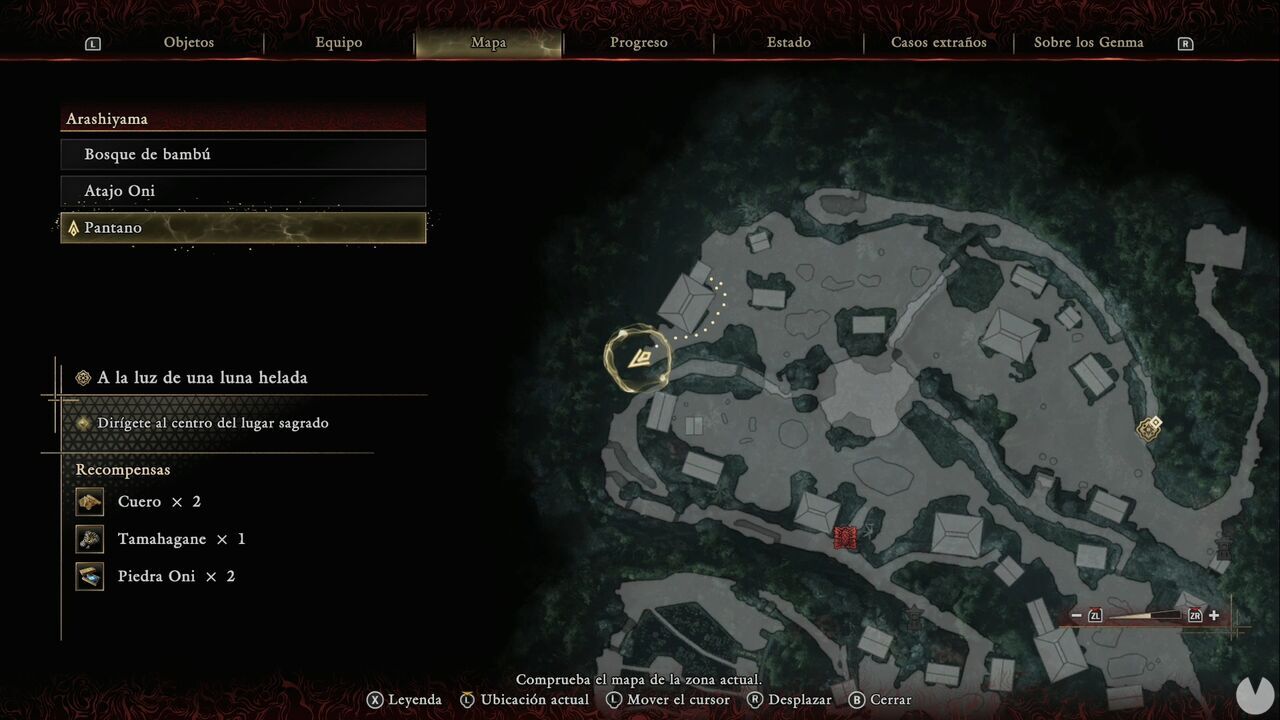
Near the northern edge of the central-northeastern section, you'll find another Treasure. It contains a Power Stone.
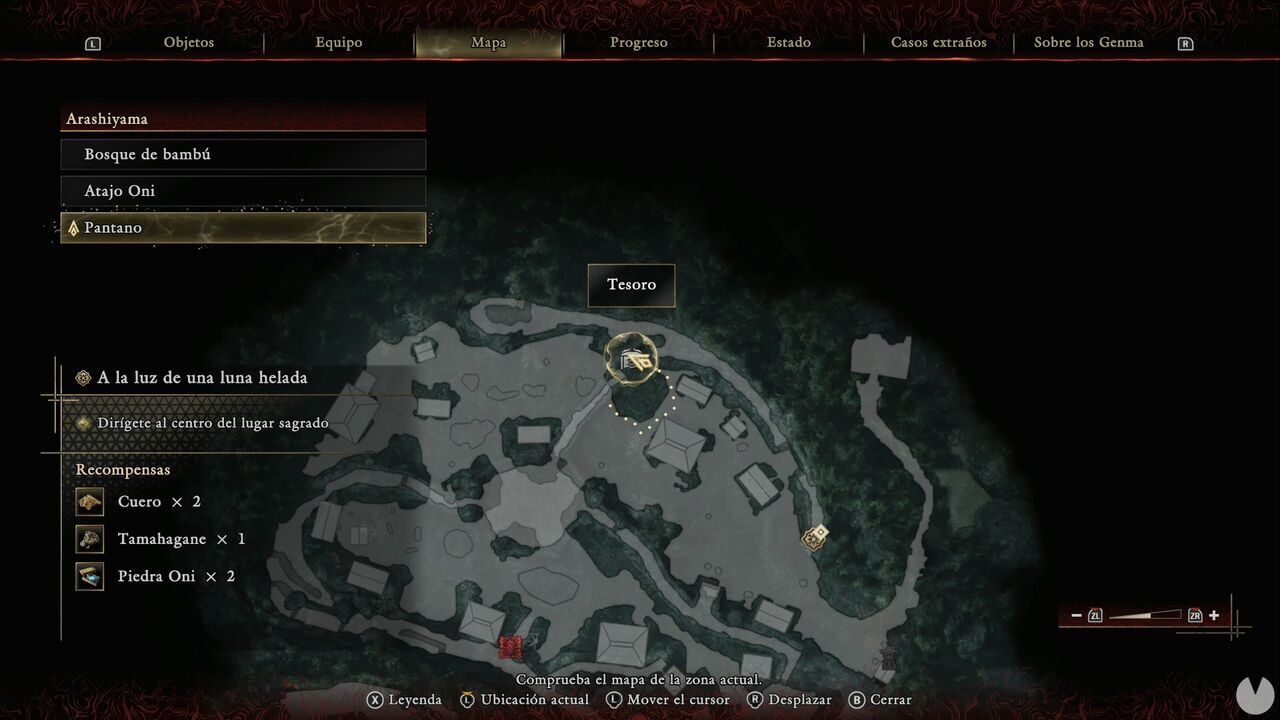
In the southeastern corner of the northern section, you'll find the Swamp I Spirit Mirror and another Treasure right beside it. It contains a Power Stone.
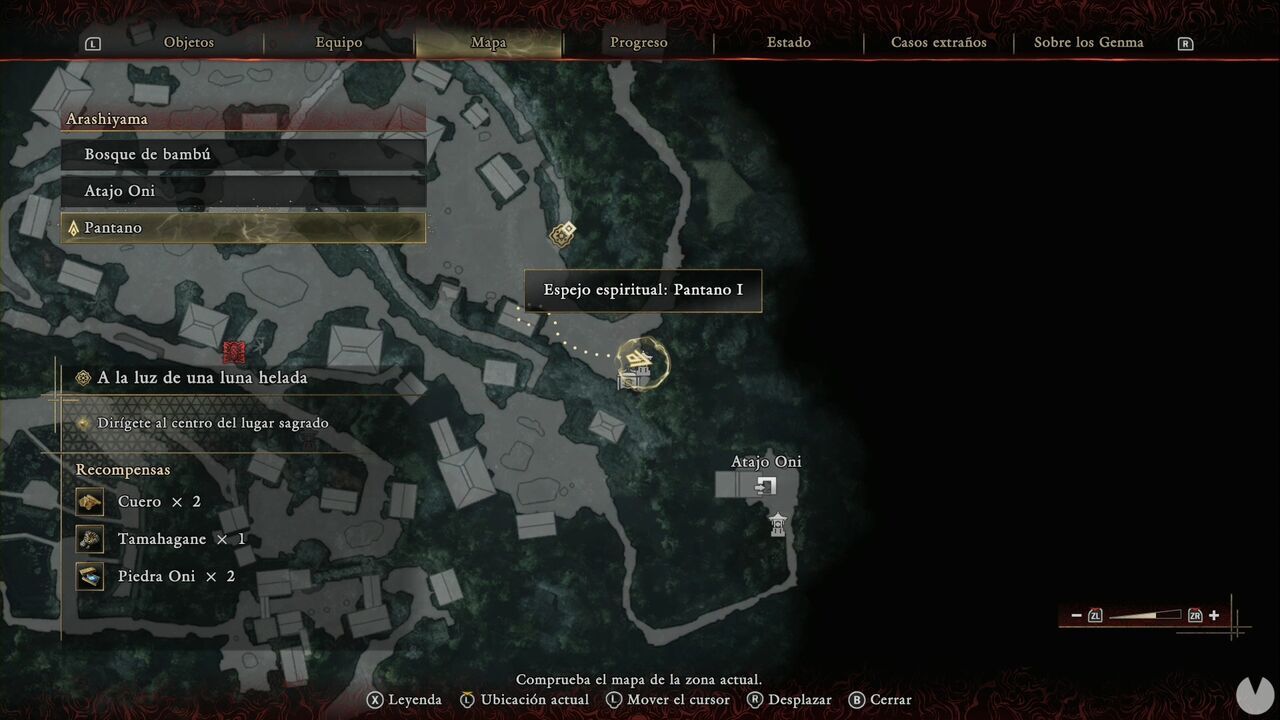
Now head through the cave to the north and follow the Malice-filled tunnel to the end to find another Treasure. It contains Still Water, the final Oni Armament.
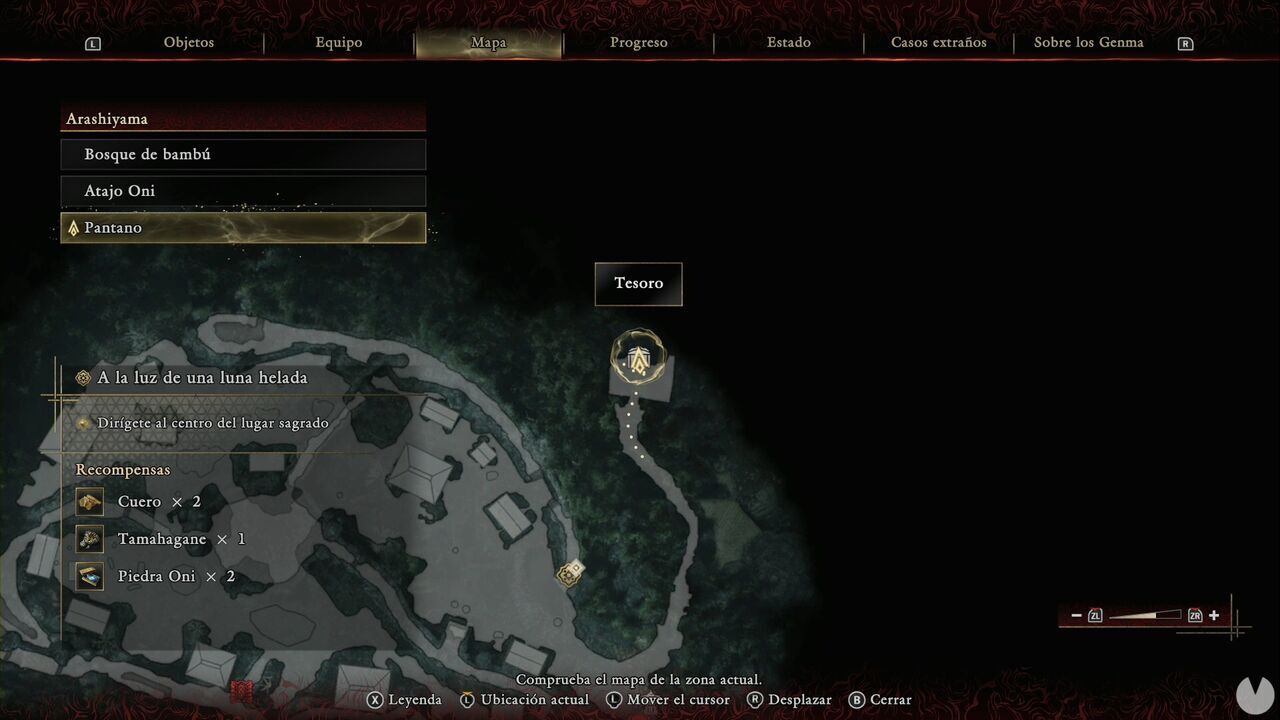
Now follow the objective marker up a slope. Head to the northwestern corner of the route to find a Malice-emitting plant. Destroy it to make things a little easier in the lower part of the swamp.
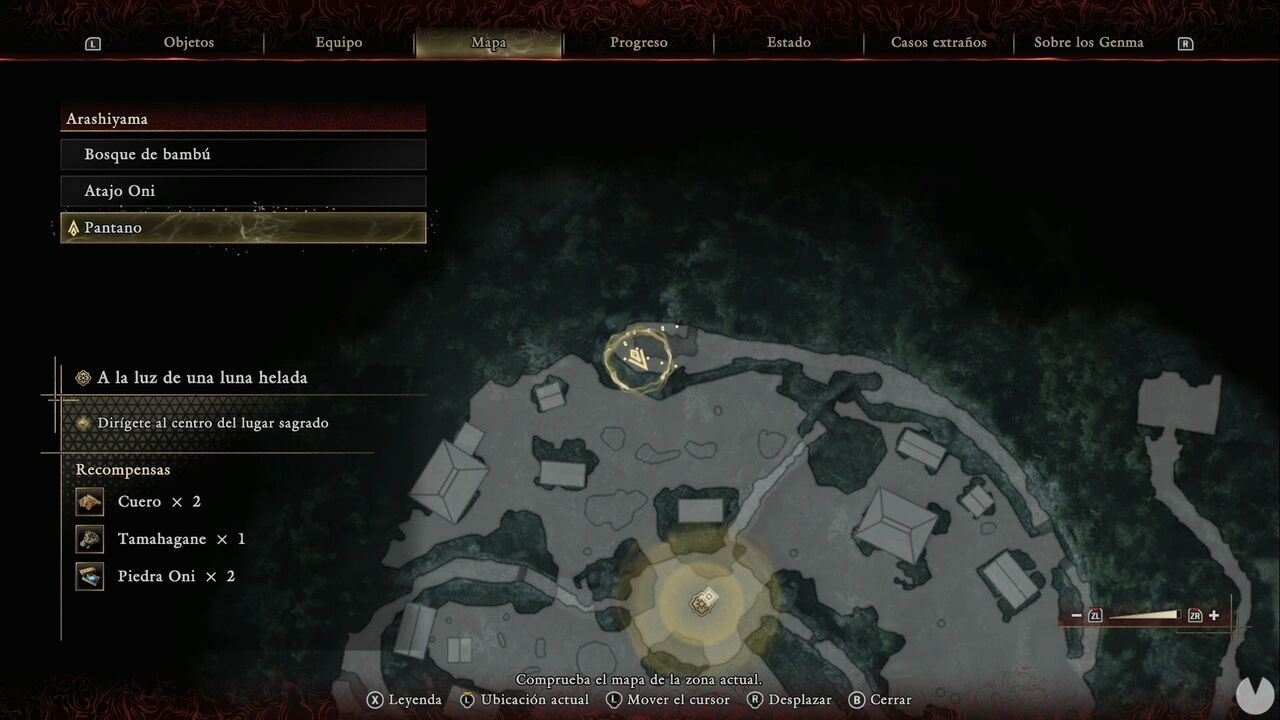
Follow the objective marker to the elevated area in the center of the Swamp, where you'll find another Rift to seal and a Malice-emitting plant to destroy. Once that's done, follow the path beginning to the west for quite a while. You'll pass the Malice Barrier that previously blocked the route south from the central area, so destroy it to open a shortcut. A little farther on, take the northeastern branch to reach another of the Malice-emitting plants that was inaccessible earlier.
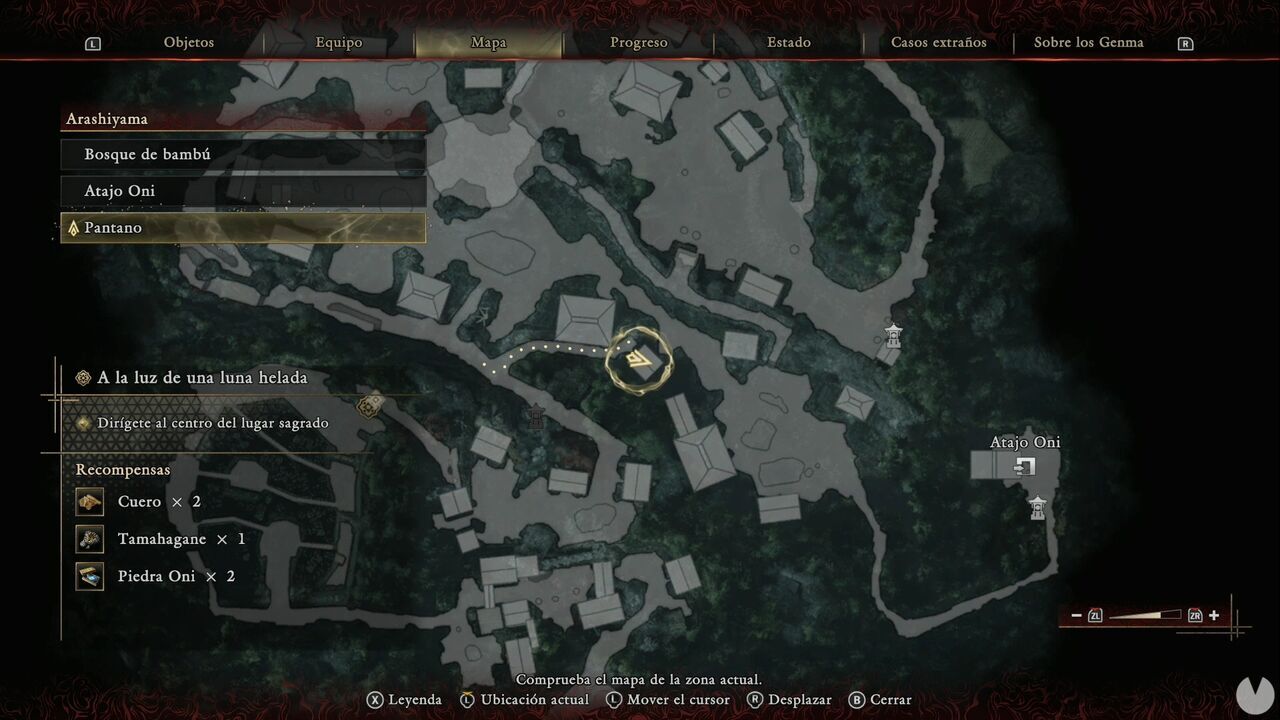
Afterwards, follow the path southeast until you reach the Swamp II Spirit Mirror.
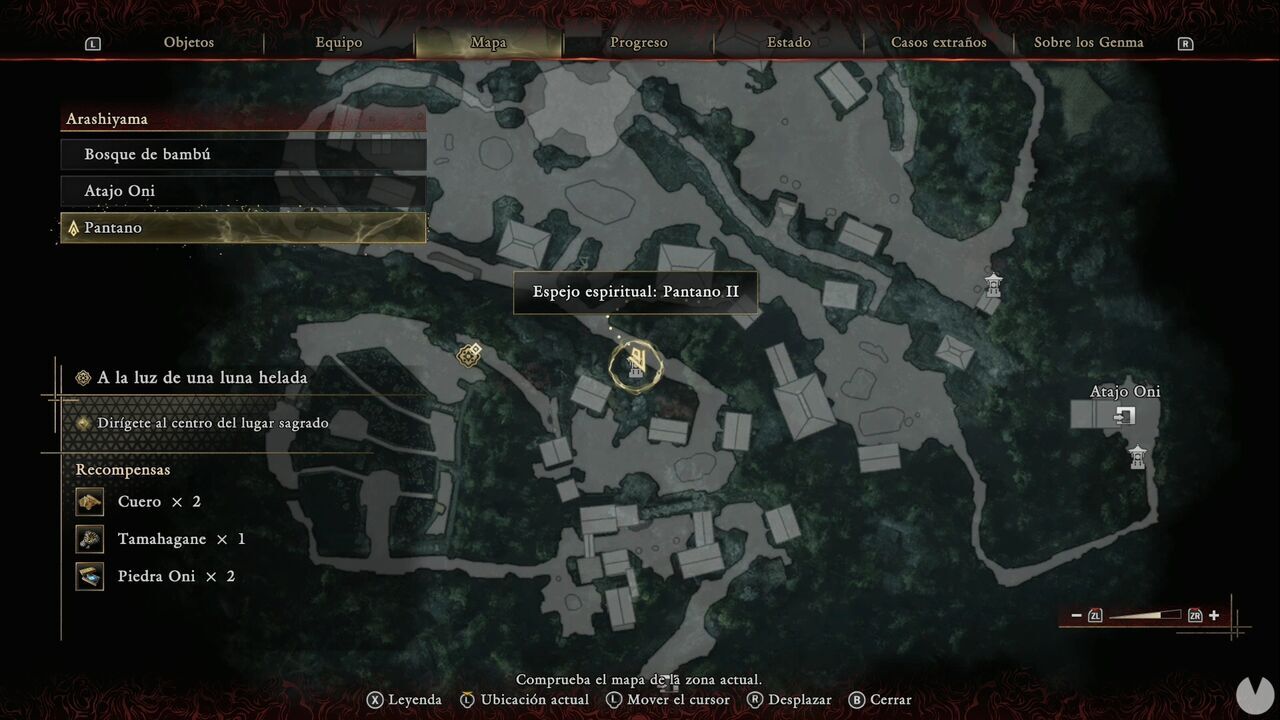
Continue along the path until a group of Genma appears. Once you've defeated them, climb the watchtower to the northeast to find a chest containing Tempered Iron.
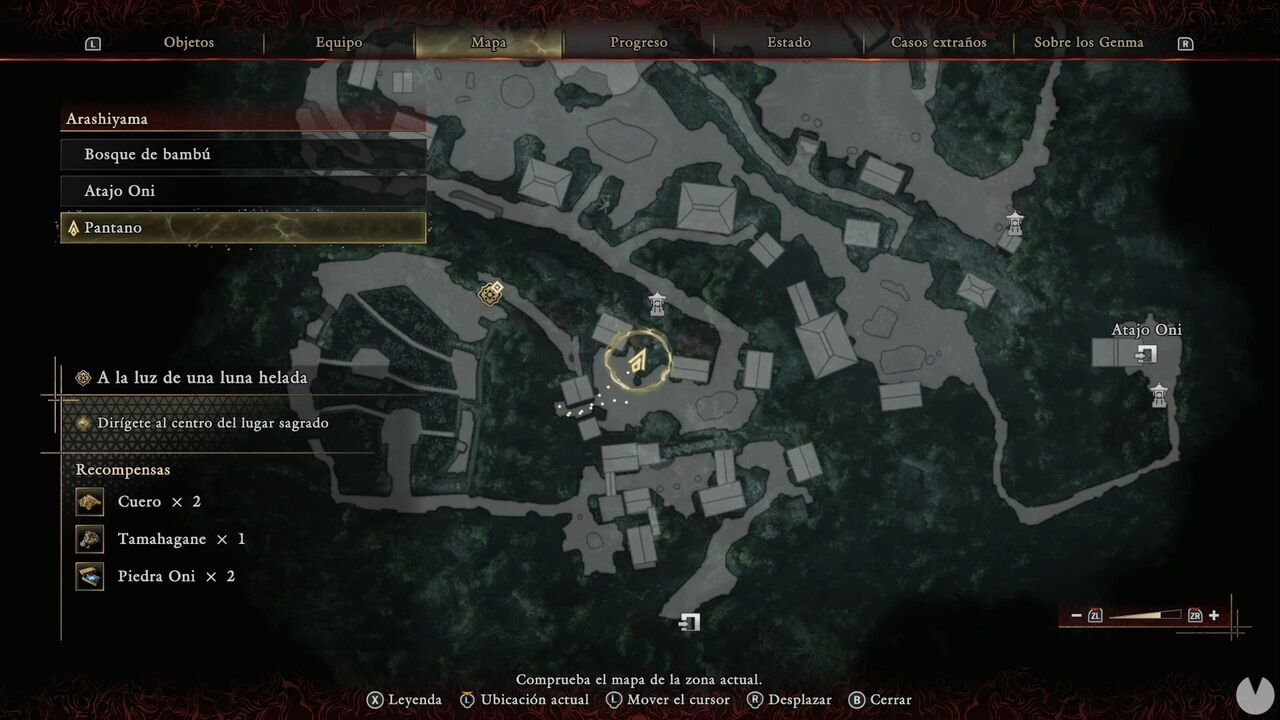
Continue forward using the ladders until a cutscene begins.
There's no time to hang around here. Follow the only available route, dealing with enemies whenever they get in your way. At the second bridge, shoot the explosives above the gate to destroy it. When you reach the main gate, head east and climb the ladder so you can look back toward the gate from its eastern side. You'll see some explosives that you need to destroy to eliminate the cannon threat.
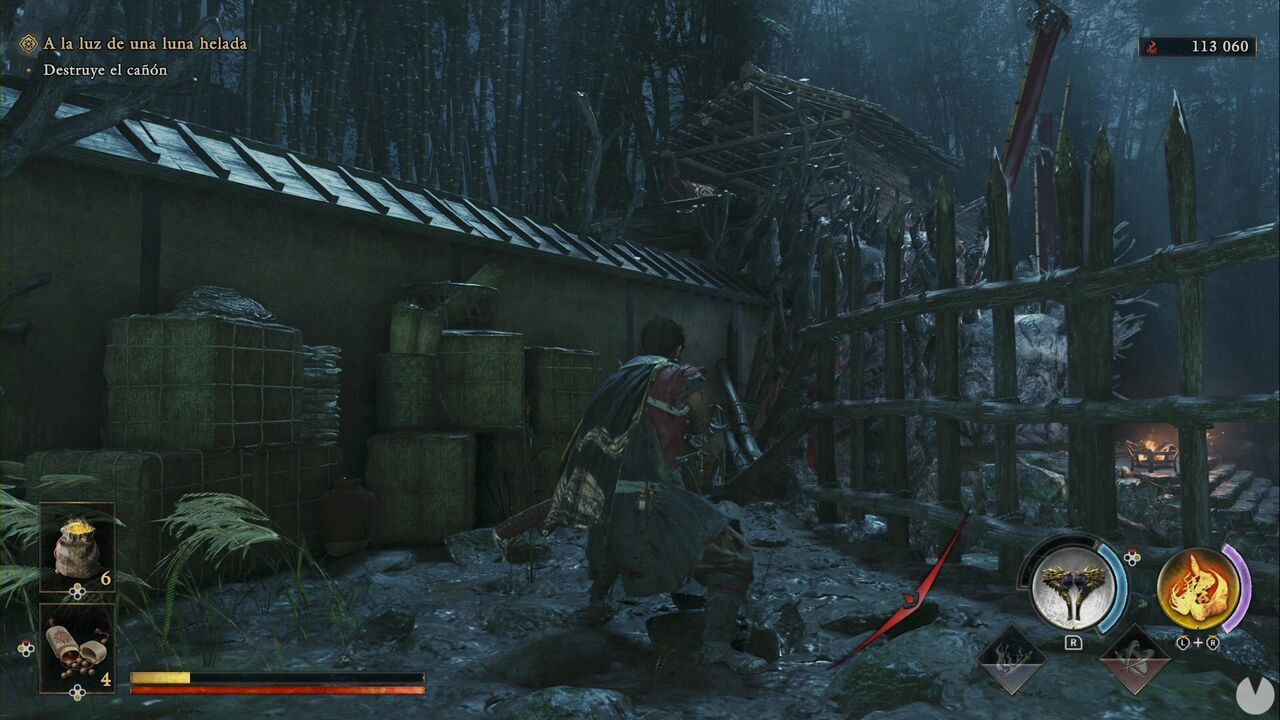
After blowing up the gate, head west at the intersection to find a Treasure containing Fine Silk Cloth.
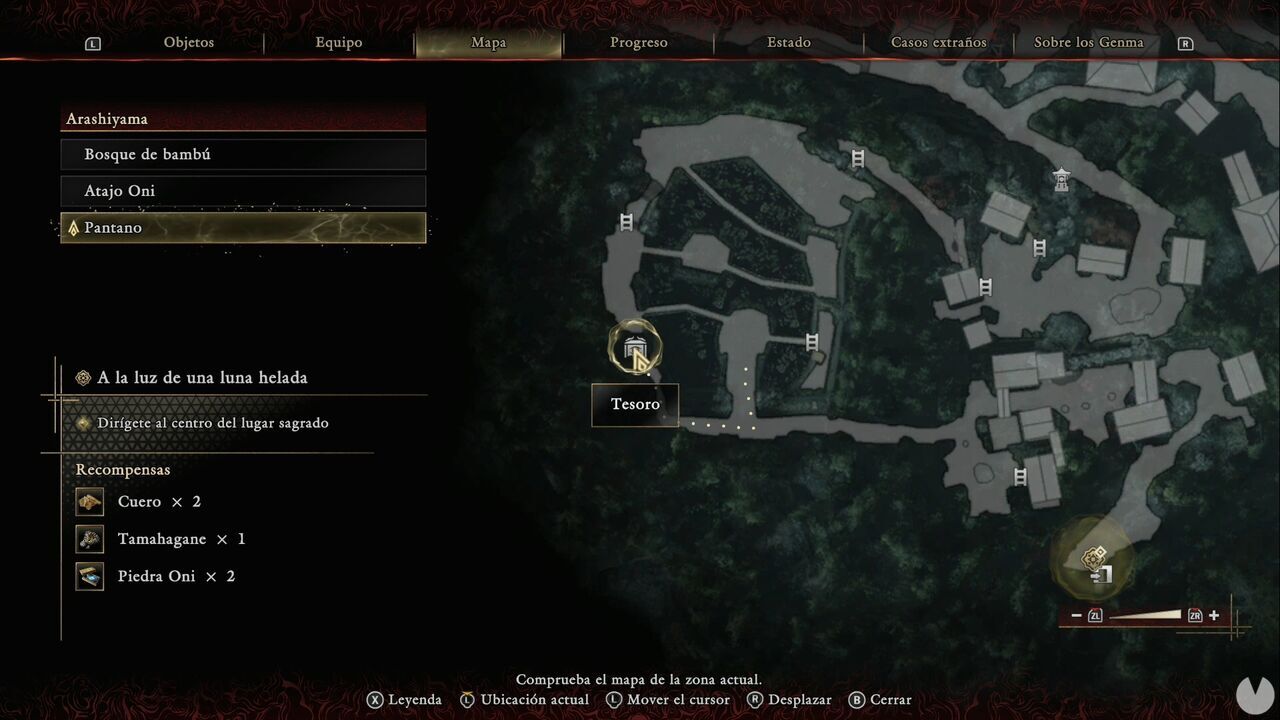
When you reach what looks like a small shopping area, first head straight east toward the Malice blockage. You'll find a chest containing Leather.
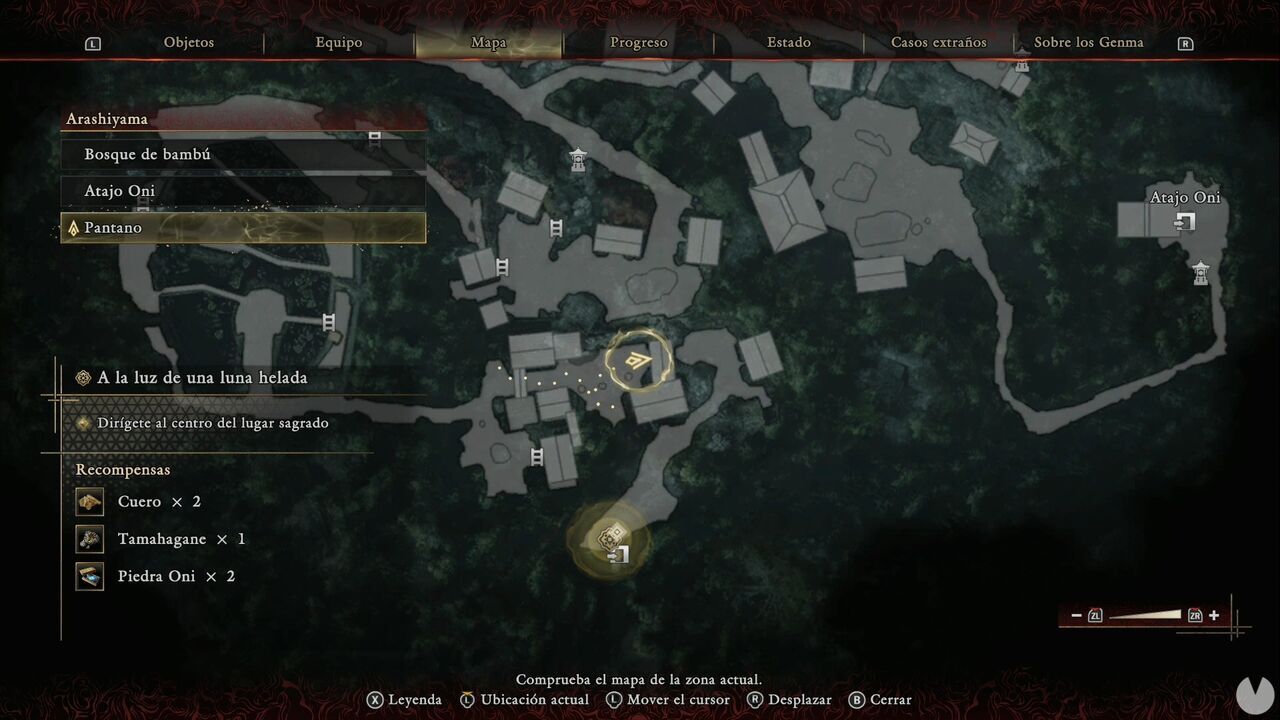
Now climb the ladder on the southern side and cross the rooftops to reach the exit, where another cutscene will begin.
When you reach the Temple area, enter the first house to the southwest to find a chest containing Cotton Cloth.
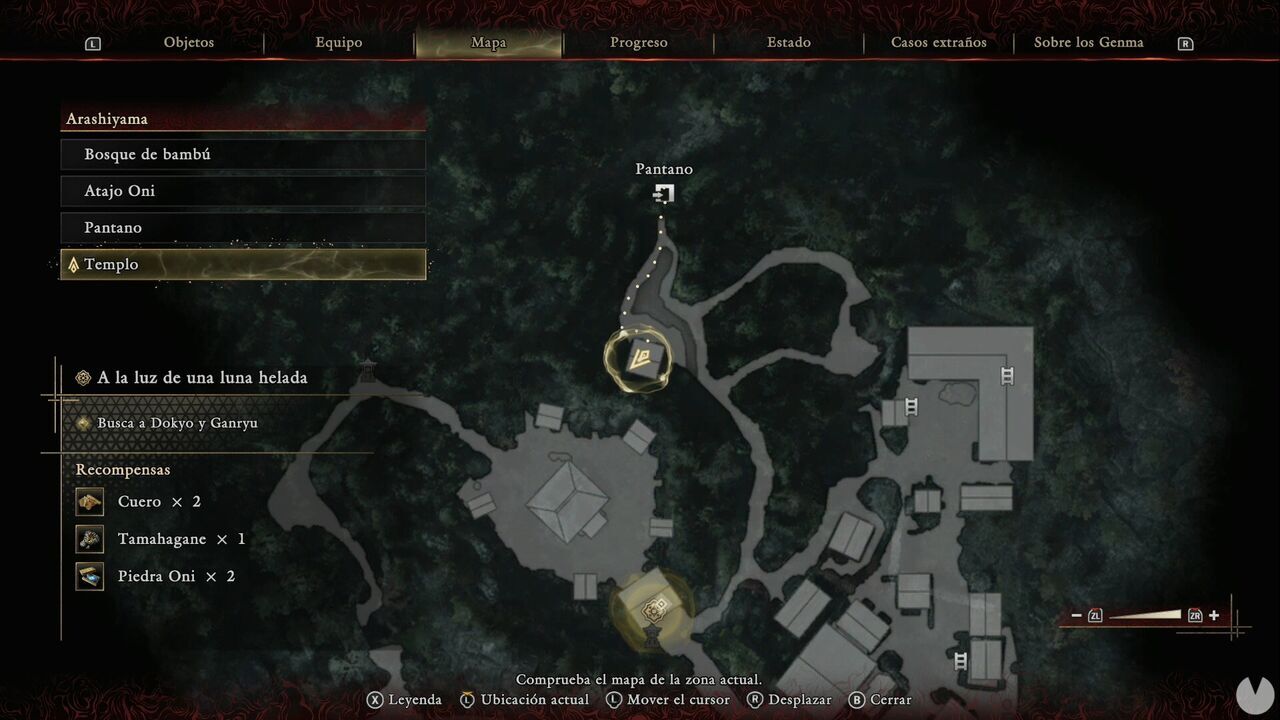
Continue south until you reach the Temple Spirit Mirror.
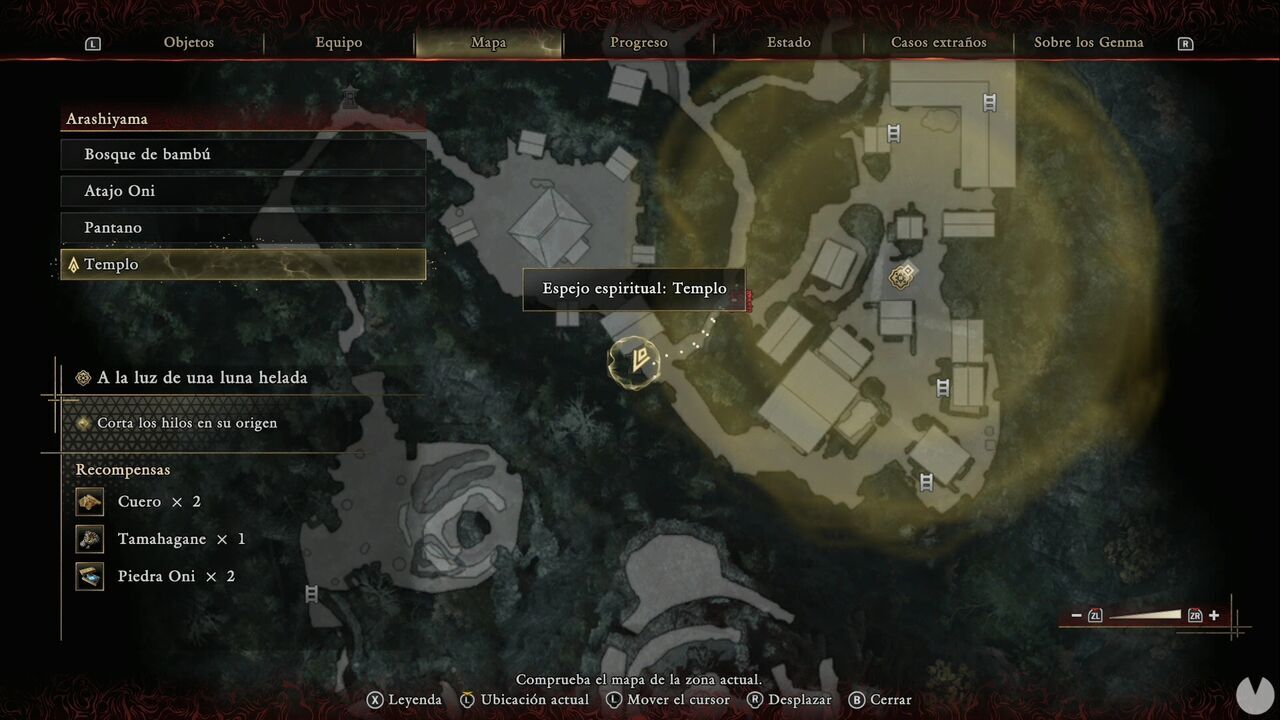
Use Oni Vision to reveal a barrier maintained by three Weavers, then continue southeast. Once you enter the Malice-filled area, go into the first house to the west to find a chest containing Iron.
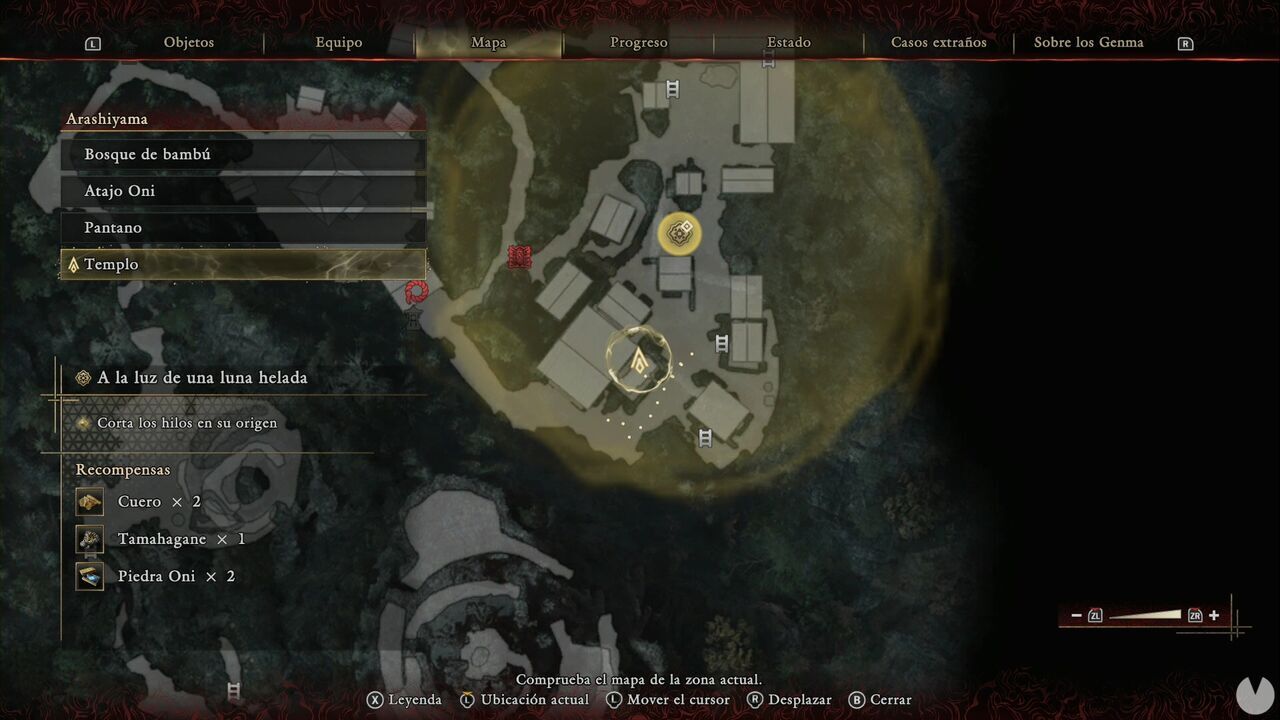
Now head to the ladder to the southeast. From the rooftop, you can wall run to the upper floor of the house containing the previous chest, where you'll find the first Weaver. Return to the street and go around the easternmost house from your position to find another Treasure containing an Oni Stone.
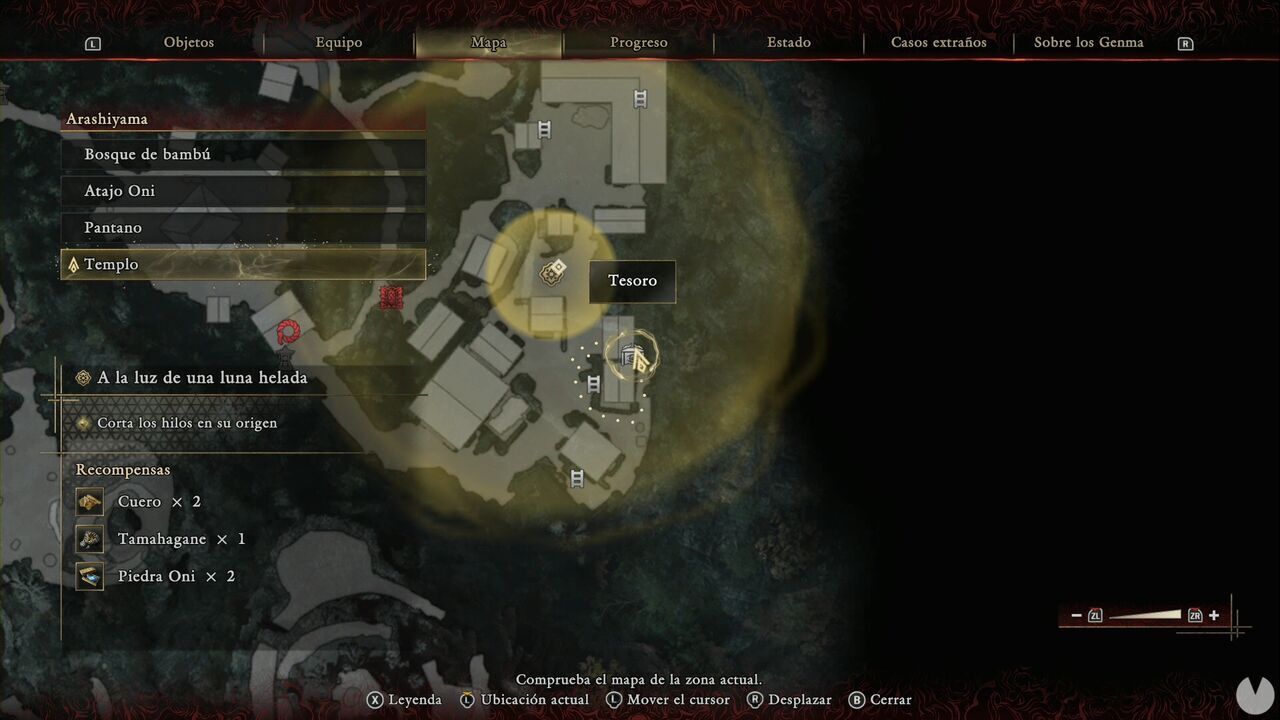
Climb the ladder on this same building and you'll be able to use a wall-running section to destroy a Malice-emitting plant. Once it's gone, another wall-running route will become available to the north. In the enemy-filled area, you'll find a second Malice-emitting plant in the northwestern corner, up a ladder. Now enter the northeastern building and use the ladder to reach the loft. You'll find a chest containing another Cotton Cloth, along with the second Weaver.
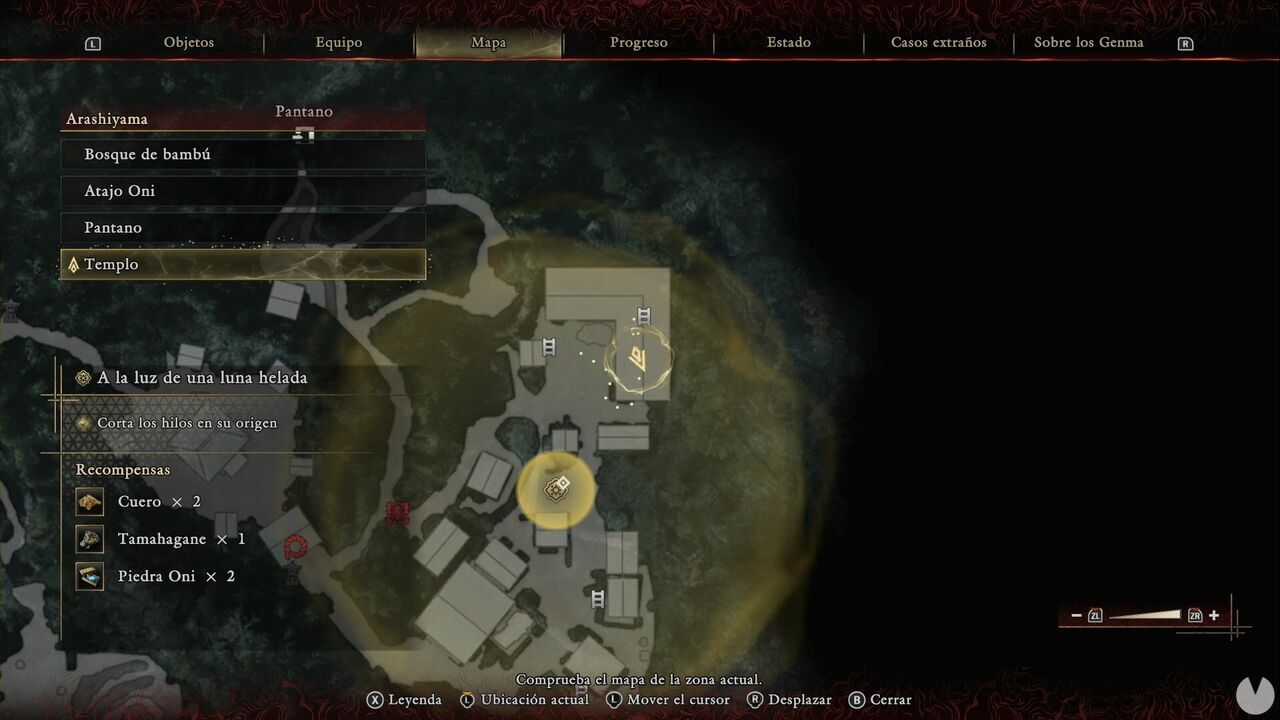
The final Weaver is to the southwest, inside the building beside the Malice Barrier you need to destroy to open the shortcut. Now follow the objective marker and open the gate to trigger a cutscene. You'll need to defeat several waves of Genma before you can help the samurai. Continue until you reach the Mountain Trail Spirit Mirror.
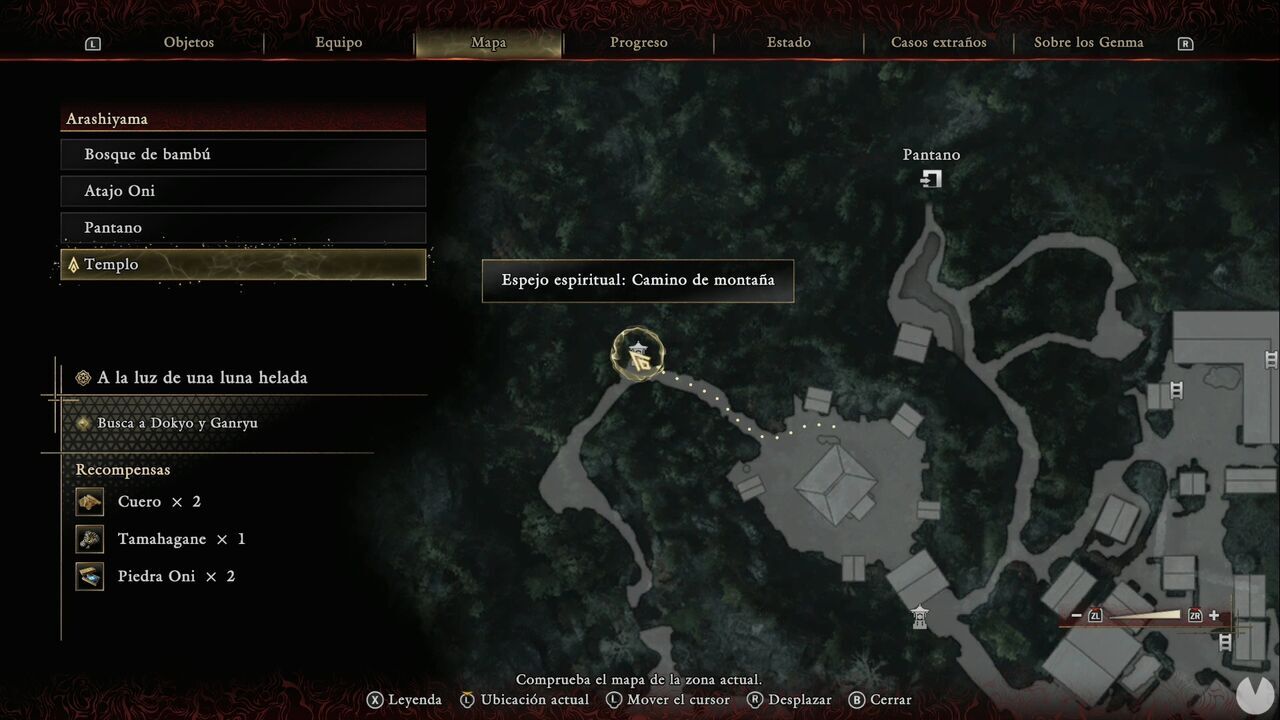
Continue until you reach an area with another cannon. Go around the area to the eastern side and climb the Malice-covered slope, then wall run across. Keep climbing until you reach a position where you can shoot the explosives to the left of the gate. As soon as you pass through it, look to the left of the gate to find an Oni Glyph, which reveals the Treasure containing the Genma Note: Mohja.
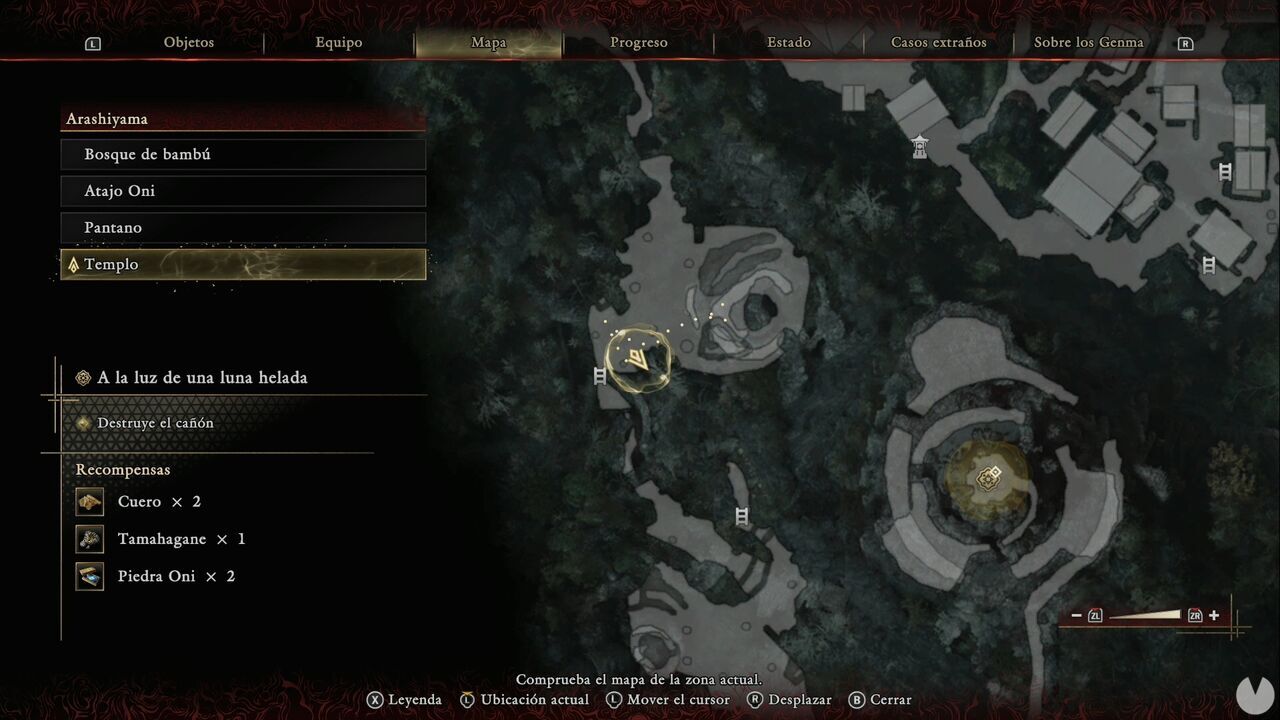
Continue up the ladder until you can take the ladder on the northern branch. Climb it and shoot the explosives to your left from the top of the slope. Head back down and continue southeast toward the northern side of the cannon building. There's another Malice-covered slope leading to a wall-running section.
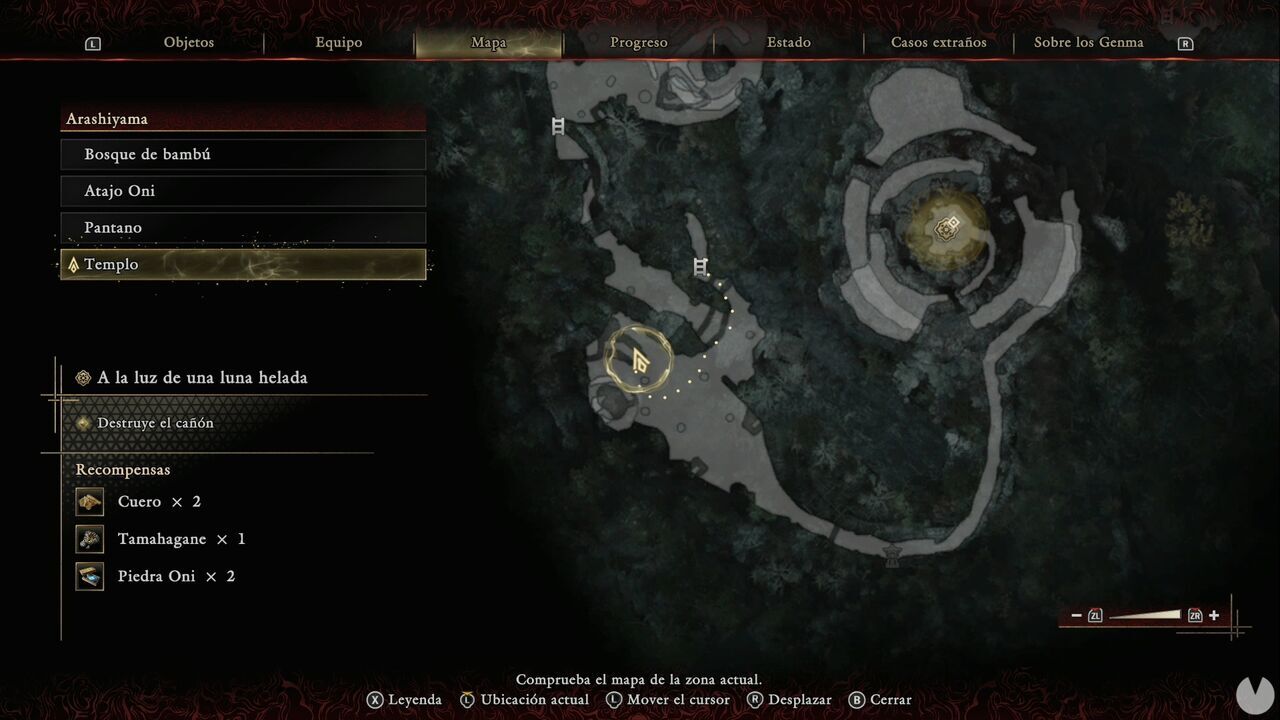
From the highest point of the spiral, you can shoot the explosives to the right of the cannon, destroying the building. Continue through the opening it leaves behind until you reach the Nine-story Pagoda Spirit Mirror.
You'll soon reach a tower surrounded by slopes that you need to climb. As you make your way up, you'll have to seal a couple of Rifts containing only regular enemies. A cutscene will begin once you reach the top of the tower. When it ends, you'll appear in Hozukyo Gorge.
Yes, there's still quite a bit of this mission left. It's a long one. Head forward a short distance to activate the Hozu River Spirit Mirror.
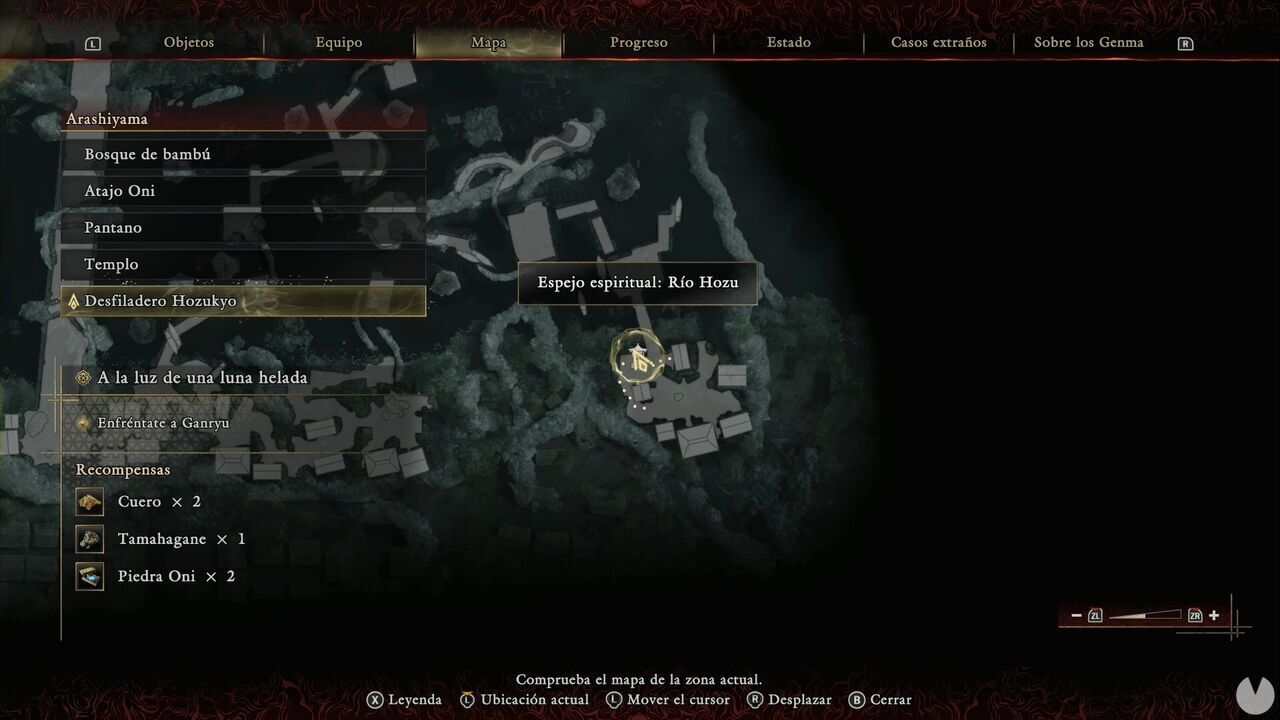
Follow the only available route for a while. The northeastern wall on the second platform doesn't lead anywhere important, only to a few minor consumables. A little farther ahead, however, you can take the northeastern branch after the Oboro Garasu attack. The wall-running section takes you to a platform with a chest containing Leather.
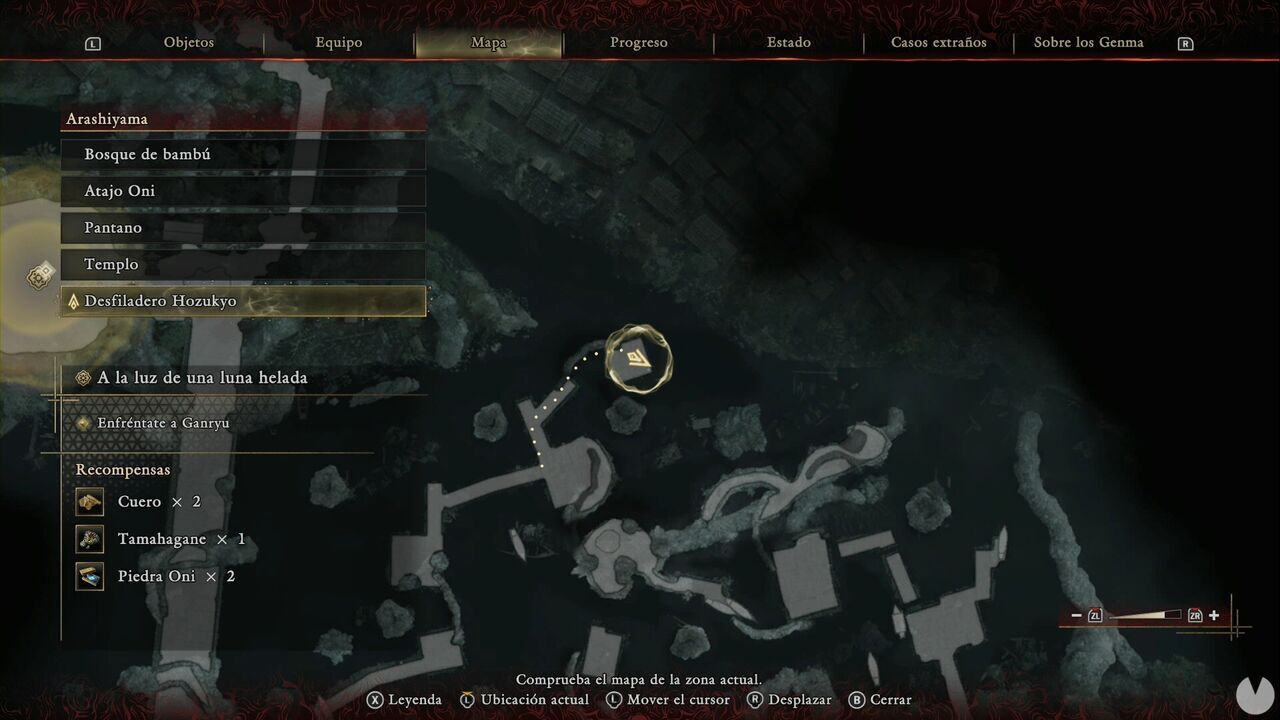
Continue along the only available route until you reach the village to the south. Once there, head all the way east to the houses in the southeastern corner. One contains another Treasure with a Power Stone. The house next door contains a chest with Cotton Cloth.
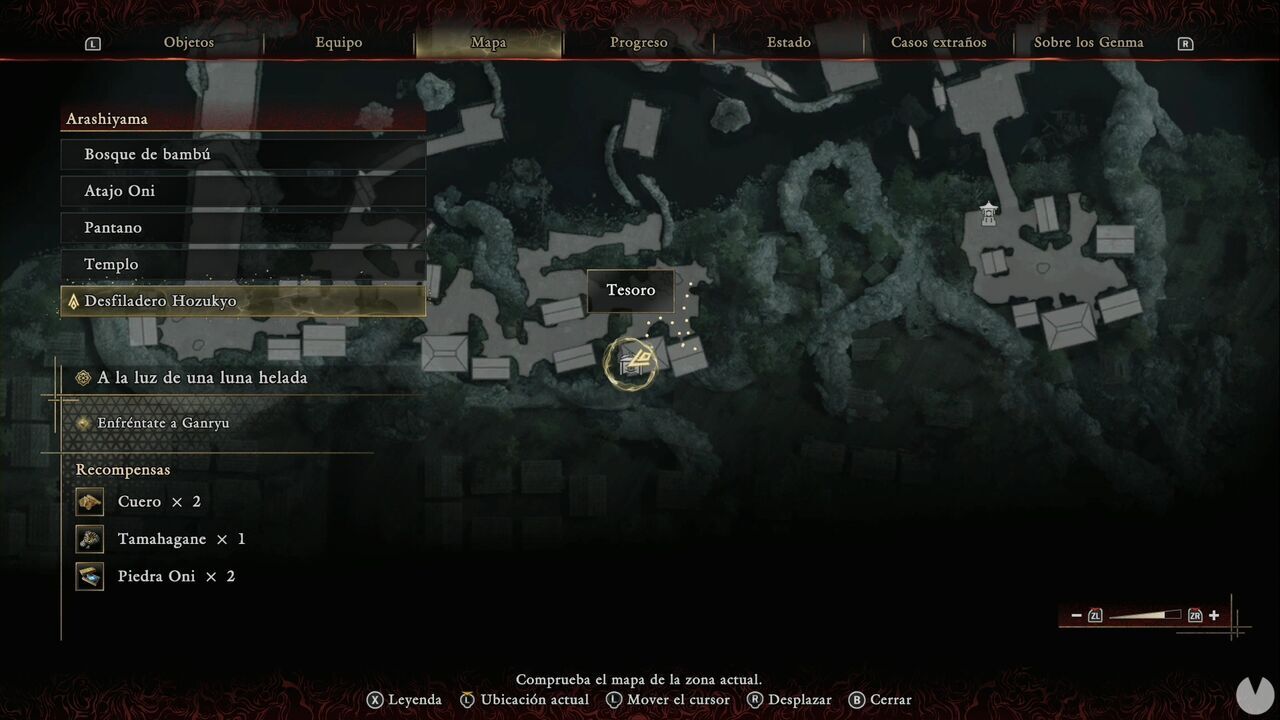
The north-northeastern branch leads to another chest containing Leather.
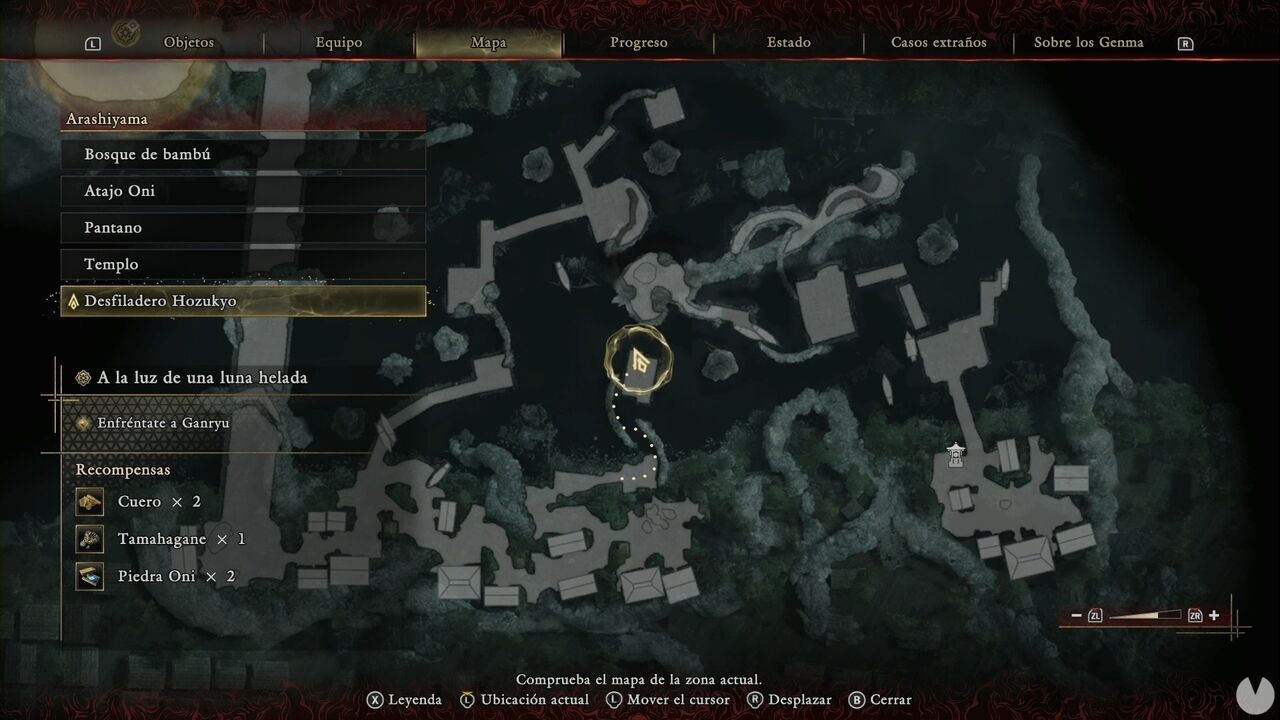
In the southwestern corner of the village, before the long road north, there's a house containing a chest with Tempered Iron.
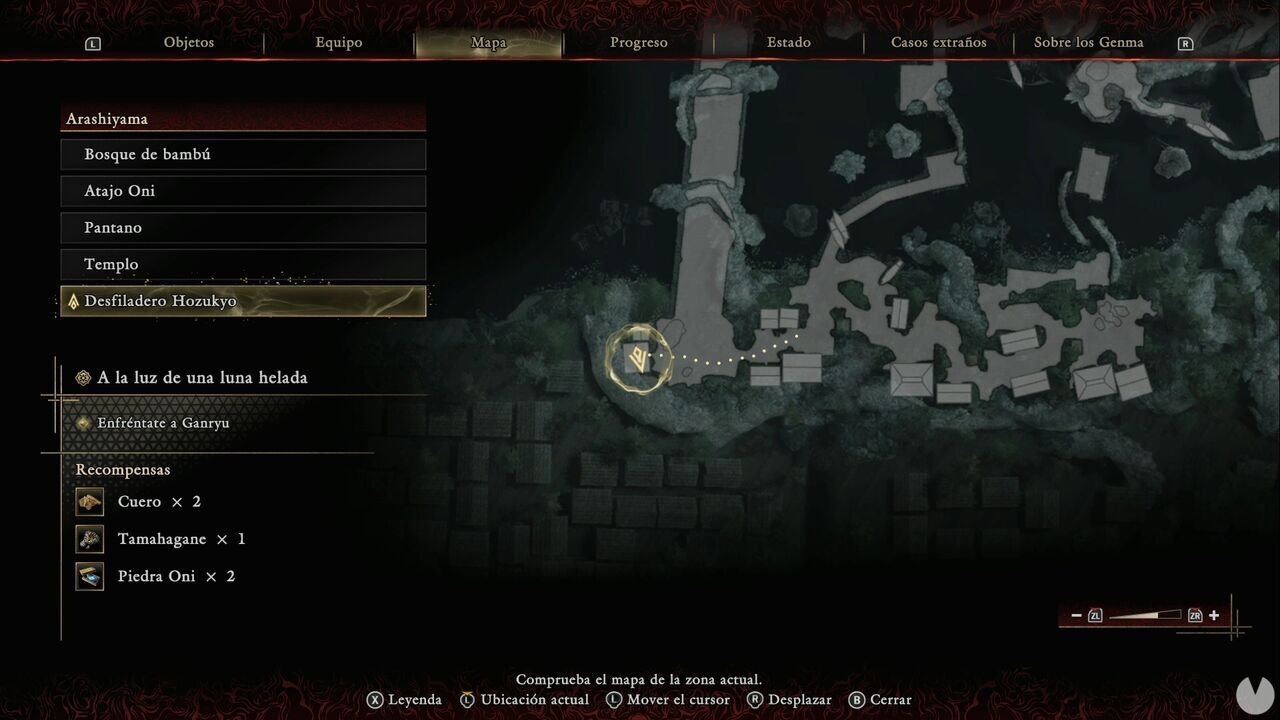
Continue north until you reach the Togetsu-kyo Bridge Spirit Mirror.
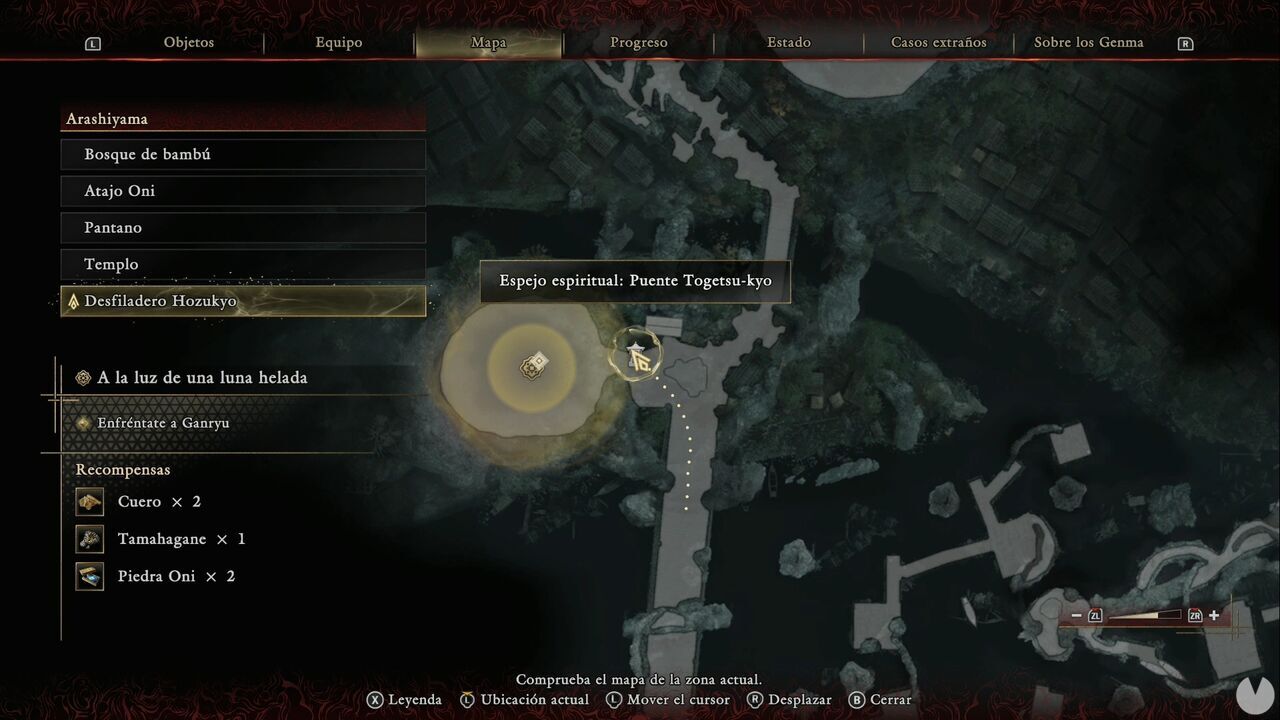
And because apparently it couldn't happen any other way, it's time to fight Ganryu once again.
After the fight, head northeast and follow the trail. When you reach the houses, there's a branch to the southwest where you'll find a chest containing Tempered Iron.
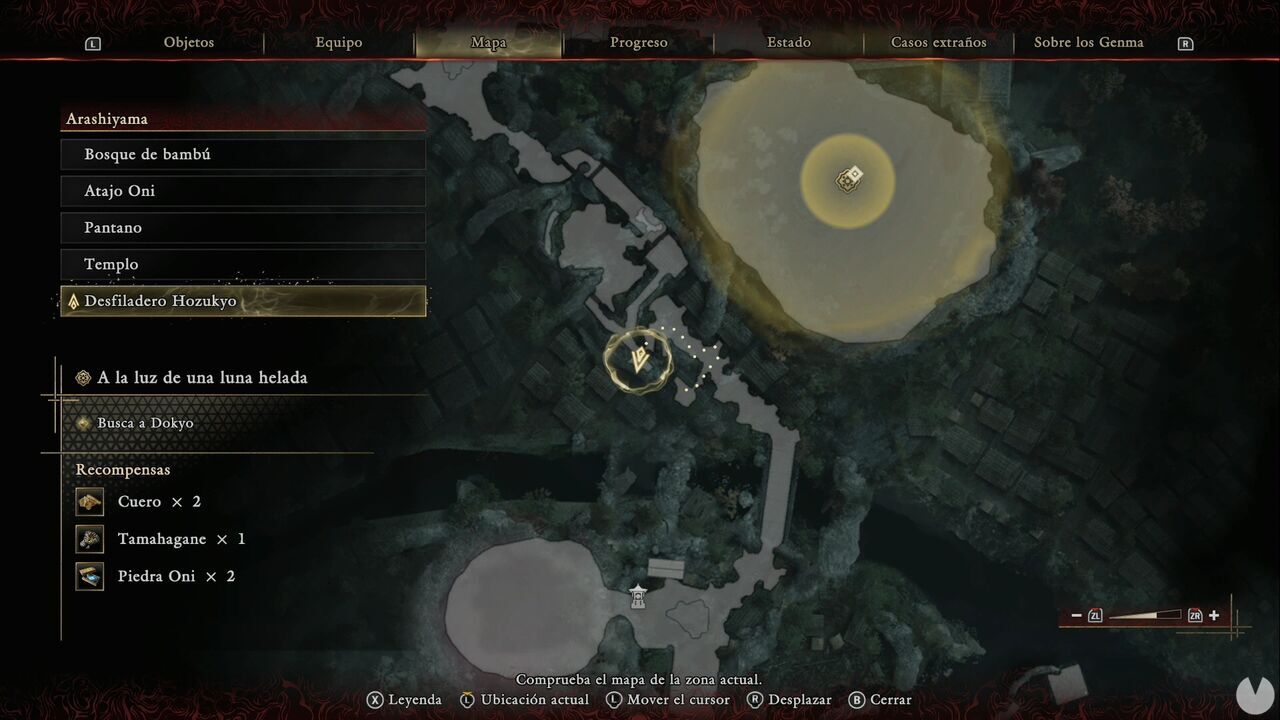
Beside the gate is a slope leading to a wall-running section that takes you onto the rooftop. Drop into the pit and defeat the enemies. Then enter the house to the southeast to find another chest containing Leather.
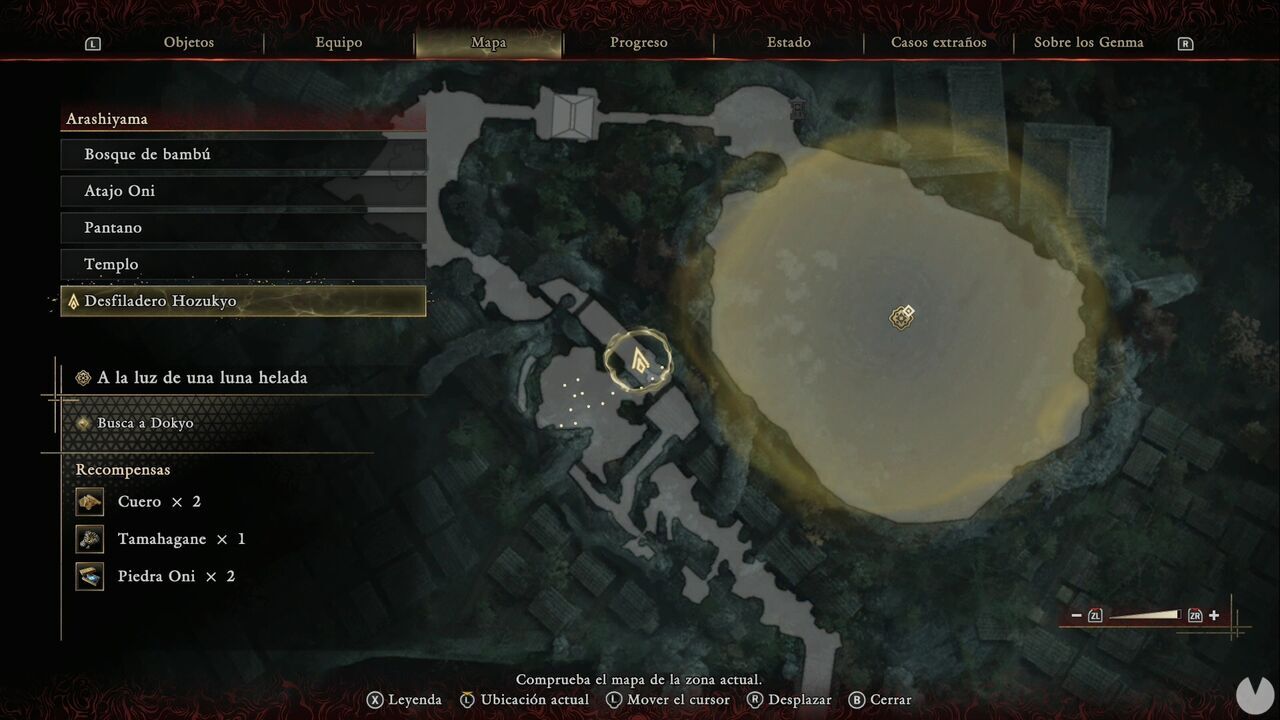
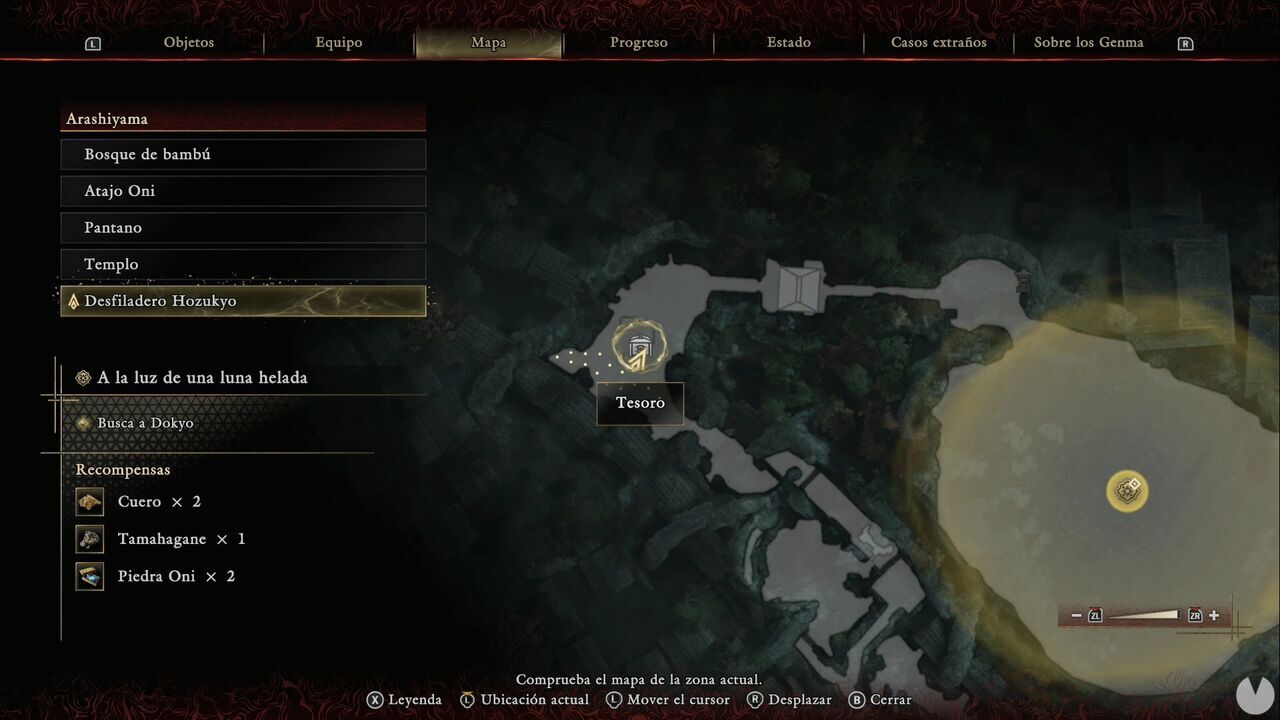
Take the slope to the northwest to reach another wall-running section and continue north. Defeat more Genma and destroy the Malice Barrier. In the next plaza, sitting right out in the open, you'll find the final Treasure in Arashiyama, at least for now. It contains Tamahagane.
Now climb the stairs to the north until you reach the Horin-ji Temple Spirit Mirror.
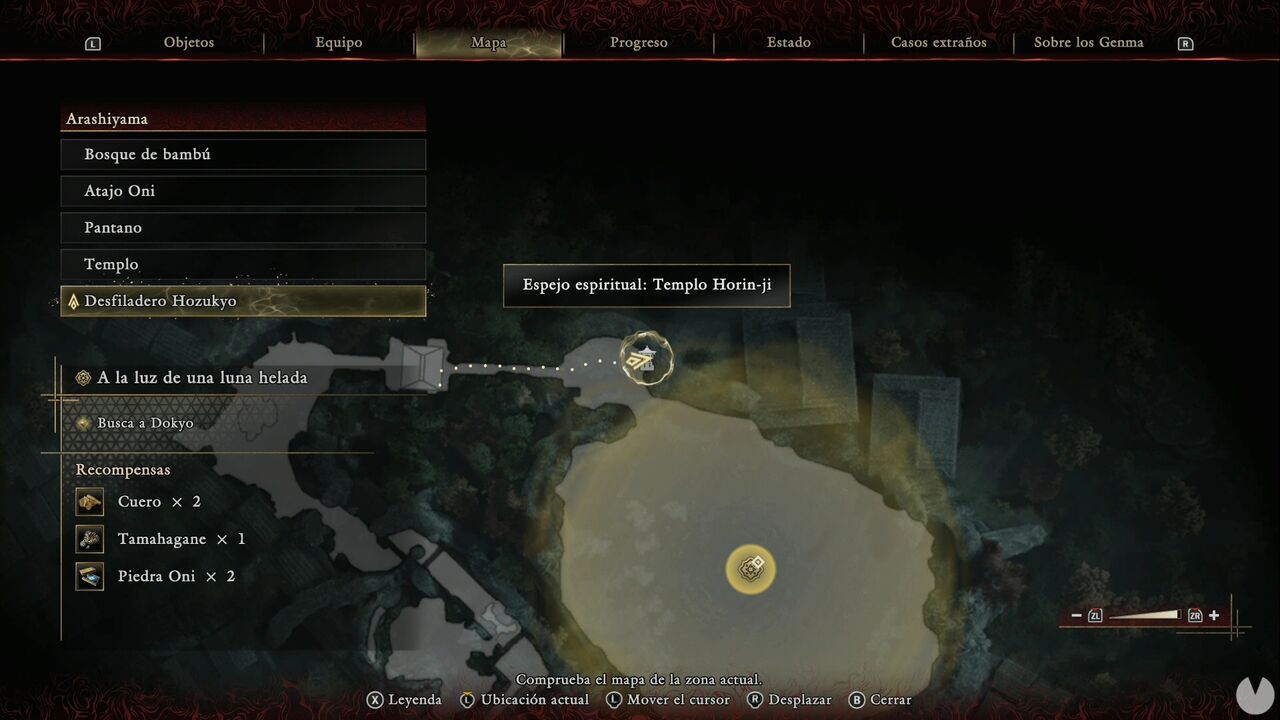
Enter that enormous arena that barely screams "THERE'S GOING TO BE A GIANT BOSS HERE" to trigger a cutscene and face Dokyo, The Transgressor.
All right, the boss wasn't actually that big, but apparently she needed a gigantic arena anyway. After the cutscene, you'll move on to The Clash at Rendaino.
