
What Lurks in the Shadows is the eleventh chapter of the story in Onimusha: Way of the Sword. It begins at the end of An Immortal Talent, after speaking with Takamura's ally. As usual, throughout this spoiler-free walkthrough we'll help you complete every story chapter 100%, making sure you don't miss anything along the way and providing tips for the more difficult situations.
As in the previous chapter, there's nothing new within reach, so you can head straight to Rokudo-chinnoji Temple and speak with Okuni to continue.
All right, we're in a new area, which means a much more manageable and linear map instead of the chaos of Kyoto. As soon as you enter the courtyard, look for the Nijo-jo Castle Entrance Spirit Mirror, the first one in this area.
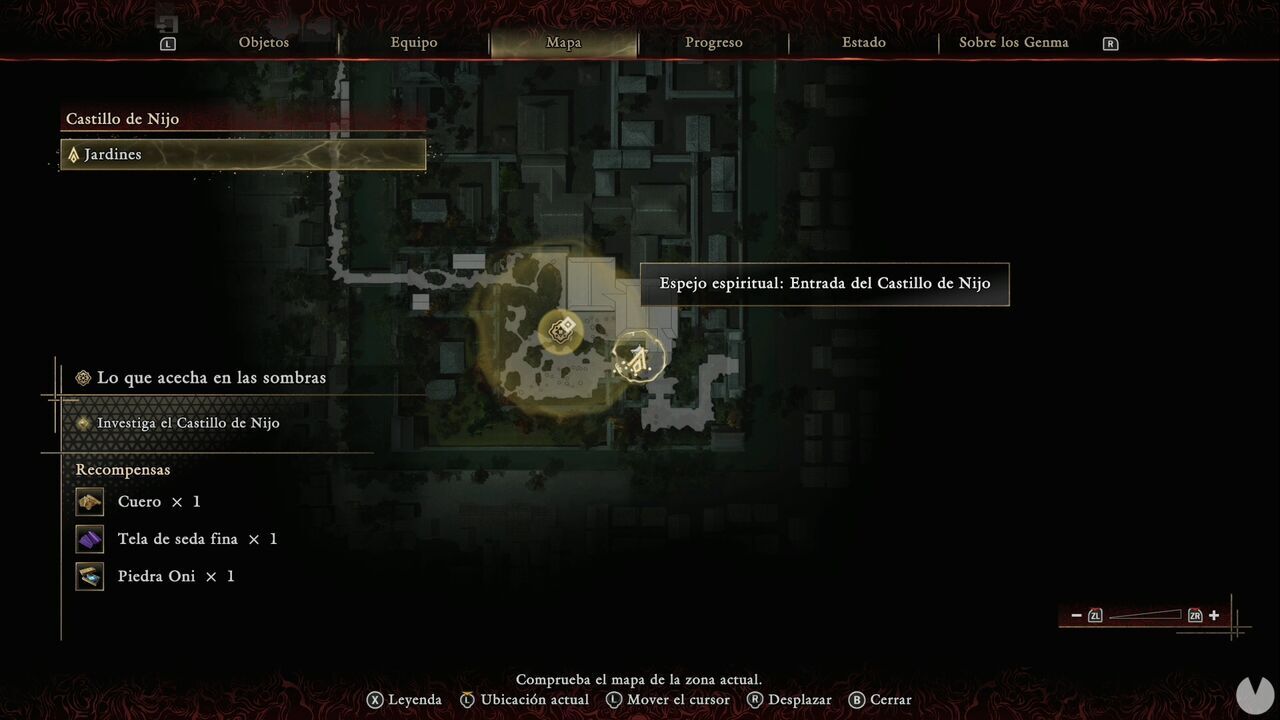
Now continue forward and open the western gate.
Start exploring the garden while picking up a couple of common items. Once you reach the southwestern corner, use Oni Vision to find some clues. Keep following them until you reach the northwestern corner of the garden, where examining another clue will advance the mission.
Since Musashi is apparently a magnificent swordsman who's completely incapable of jumping half a meter, you'll need to take the northeastern exit from the garden, right where the search area's reference marker appears on the map.
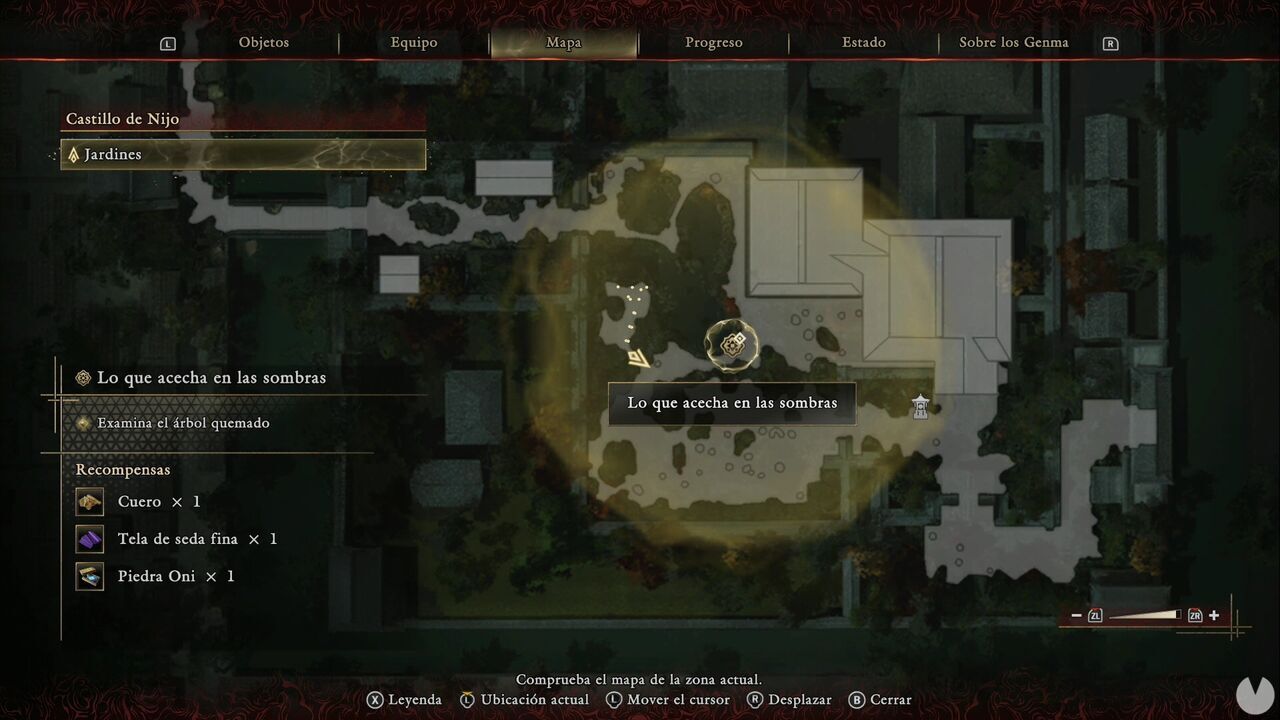
Before heading north, go northeast toward the corner formed by the buildings on the area map. You'll find a chest containing Whetstone x2.
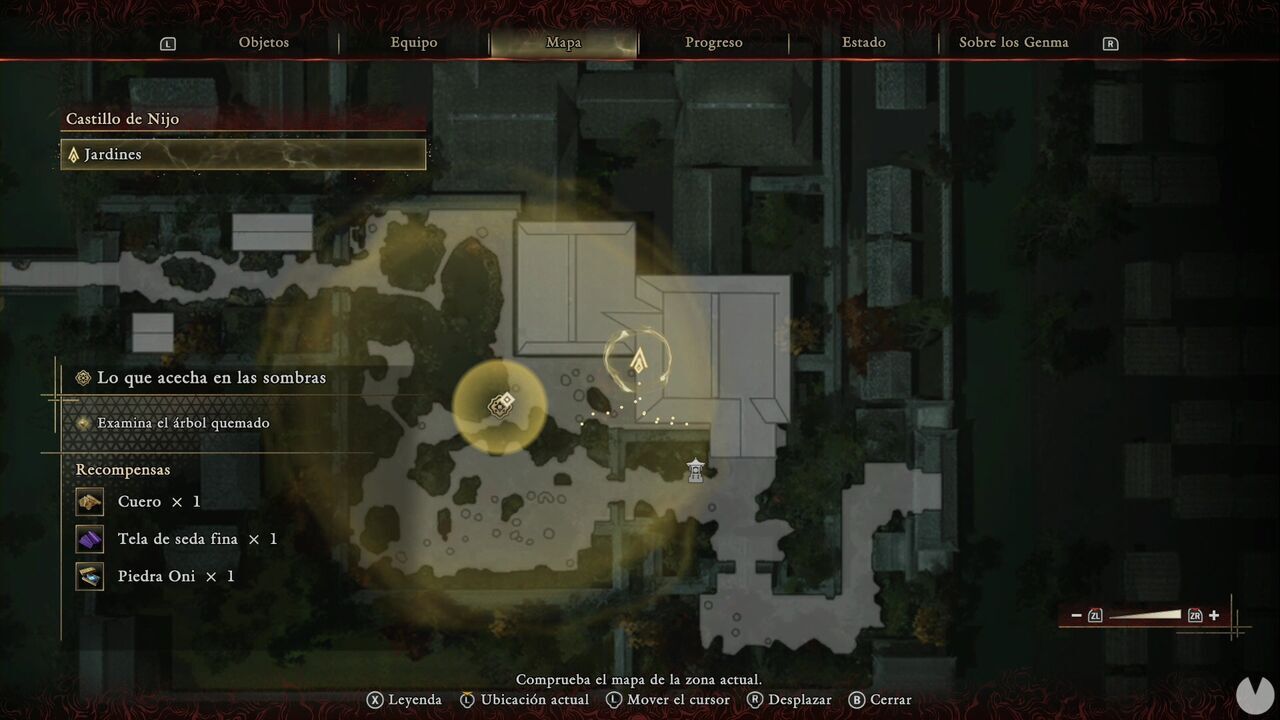
Go around the building from the west and continue north. Are we the only ones slightly concerned by the size of those claw marks? In any case, this will let you take the northwestern exit from the garden and continue through the castle.
Lightning will begin striking the area as you advance. It always hits fixed spots, so whenever you see the light warning of an incoming strike, move back. The route is linear, with a couple of hazards and nothing particularly noteworthy. Just before climbing the ladder, look to its right. Under the roof is a chest containing Iron.
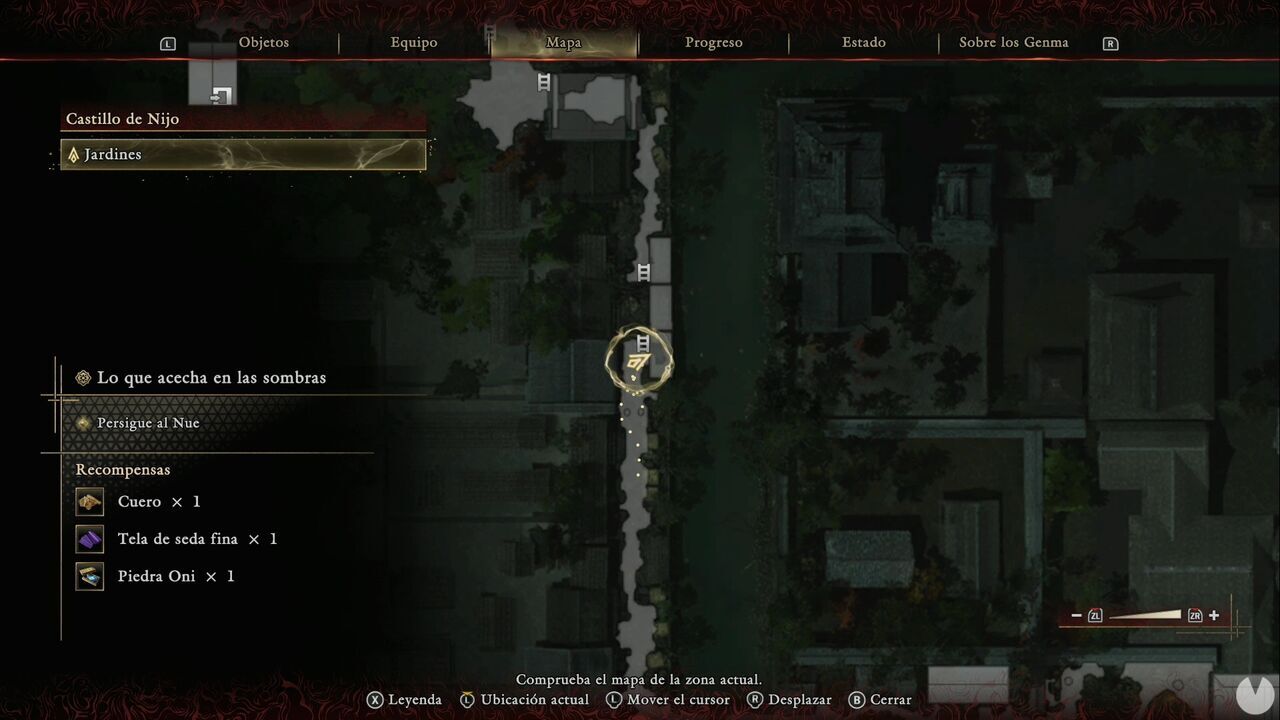
Follow the only available path until you enter the first floor of a building. In the southeastern corner of the room, you'll find another chest. It contains Hempen Cloth.
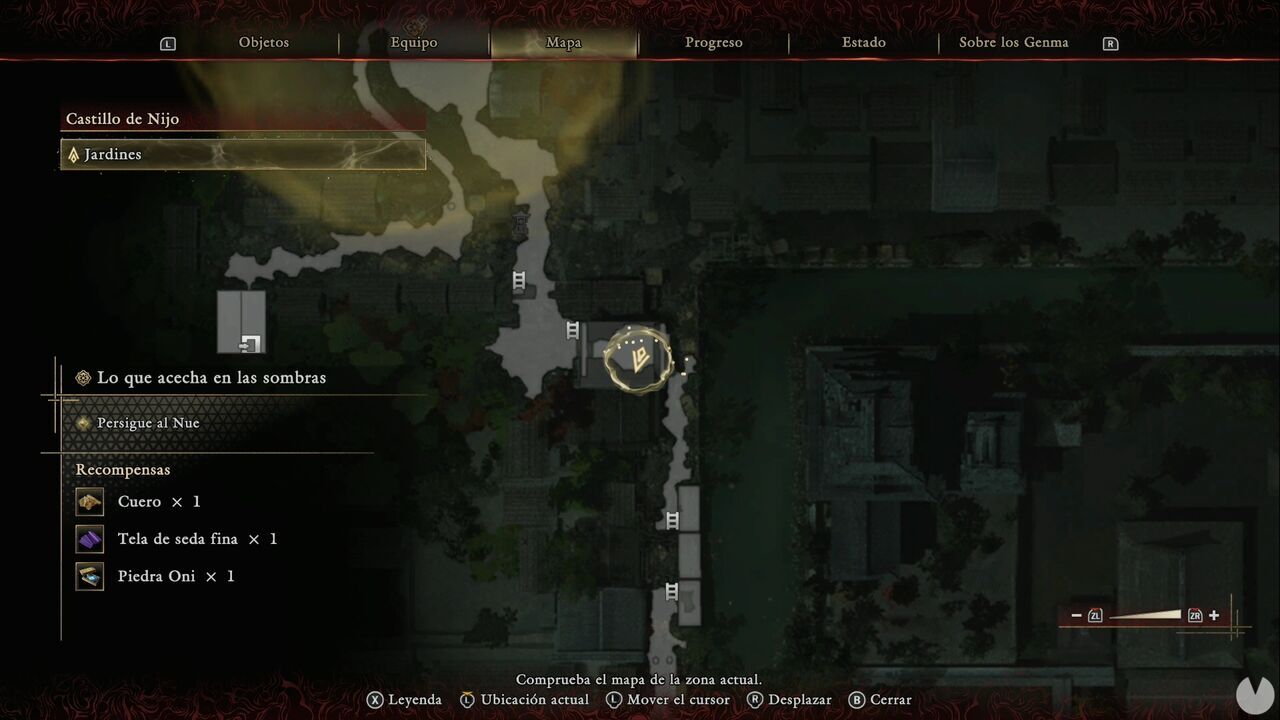
When you drop down into the courtyard, both lightning and enemies will come crashing down around you. The lightning won't stop until every enemy has been defeated, so clear the area quickly or you'll take damage either from the strikes themselves or the fires they create. Once they're all dead, continue north. Beyond the gate, you'll find the Nue Pond Spirit Mirror.
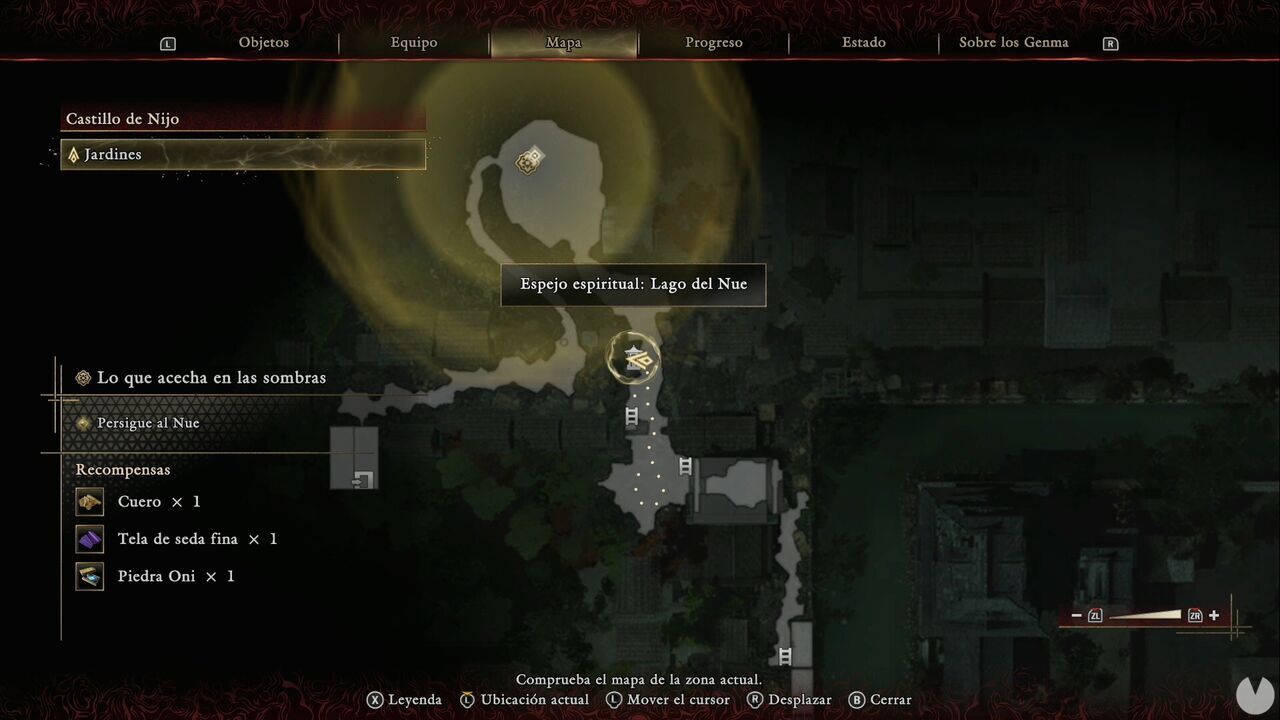
Continue a little farther and you'll have to face Nue, Legendary Chimera.
Once you've defeated the creature, head west until a cutscene begins.
Follow the only available path until you enter the building at the far end, where you'll find a lever that takes you to the next area.
Head west toward the only door within reach. Just before going through it, you'll find a chest containing Hempen Cloth behind a folding screen.
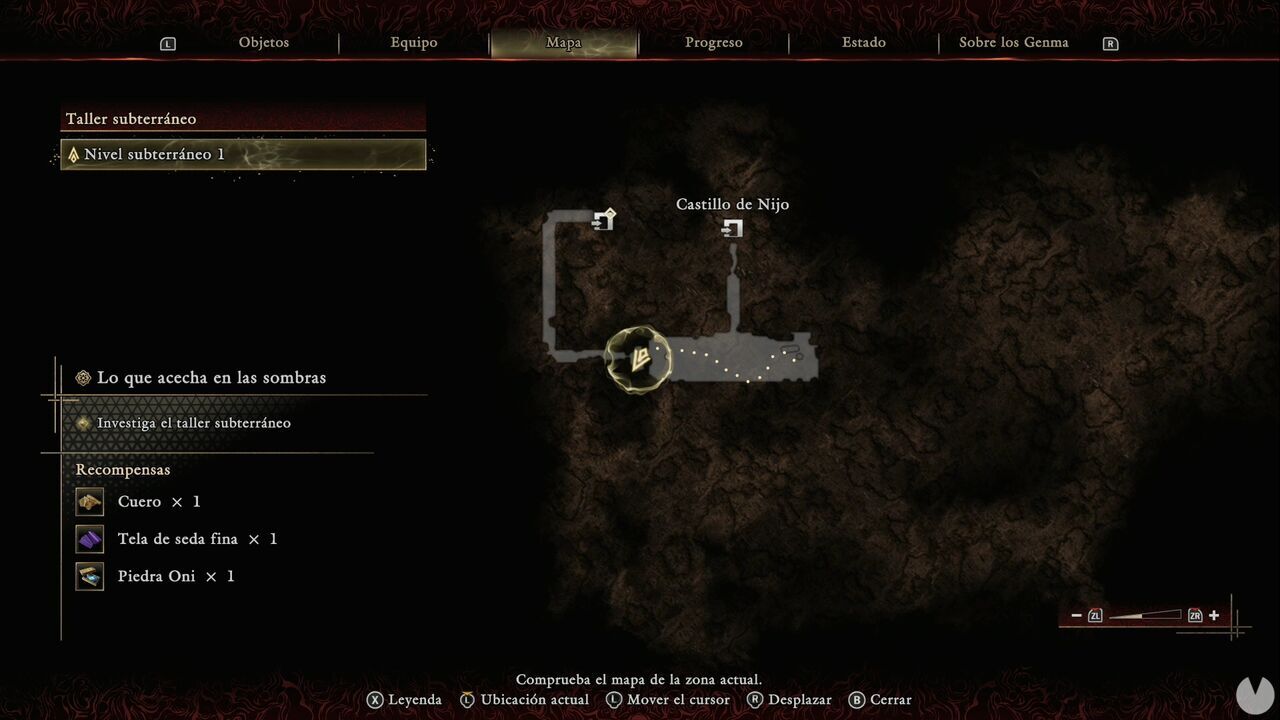
Follow the only available route for a while until you reach the Underground Level 2 Spirit Mirror.
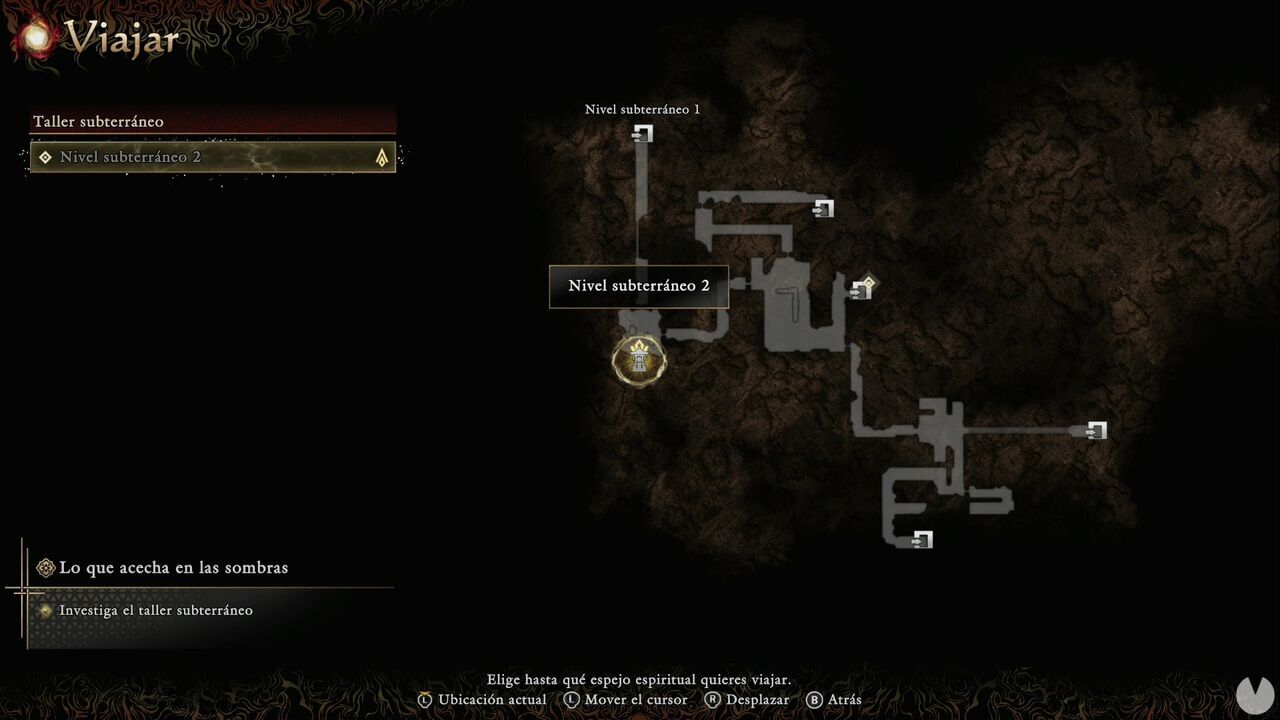
Now go through the door to the east until you trigger a cutscene, then continue to a central room with a locked door to the north and a Malice Barrier to the southeast. Naturally, destroy the barrier and head down that route. It will eventually lead you to another elevator.
After defeating the creature, try to leave through the southern door to make the eastern exit open, leading into the long corridor. Head in that direction and you'll see that you need to activate a mechanism to move forward. Continue until some enemies appear. Defeat them, then cut the ropes to the right of the locked door to open it.
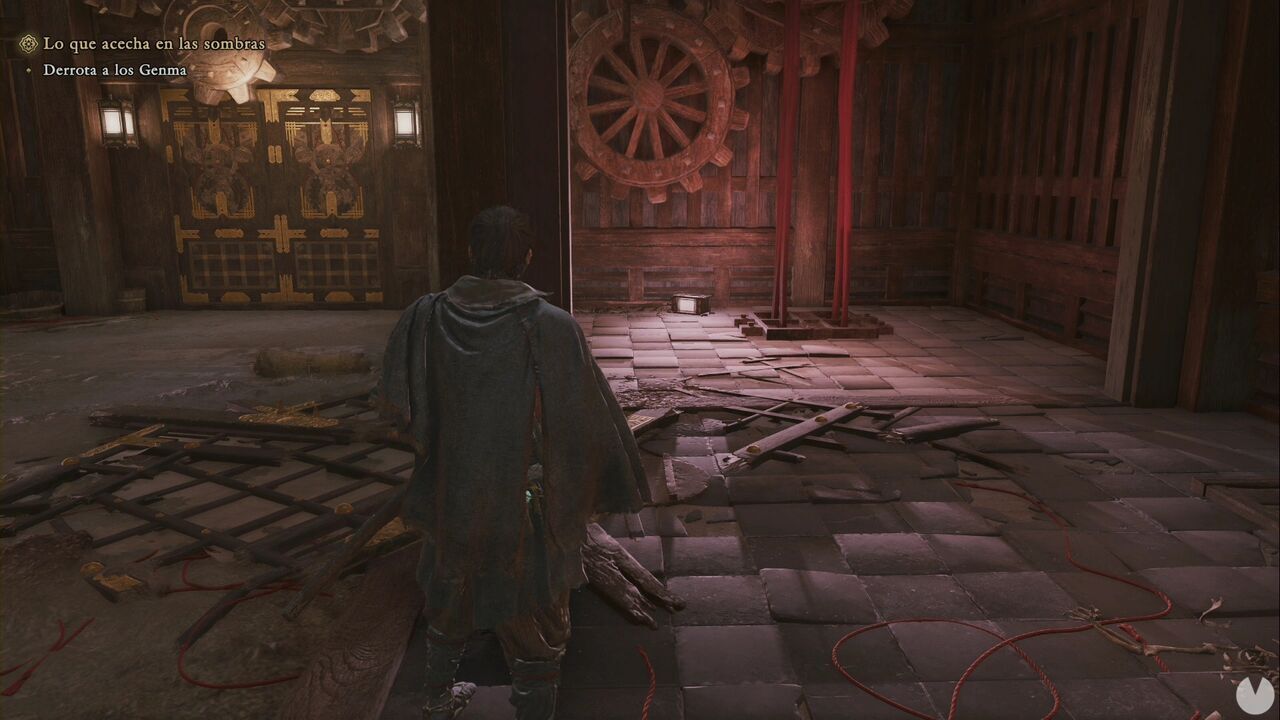
As soon as you cut the ropes and pass through the door, look to your right to find the Underground Level 3 Spirit Mirror.
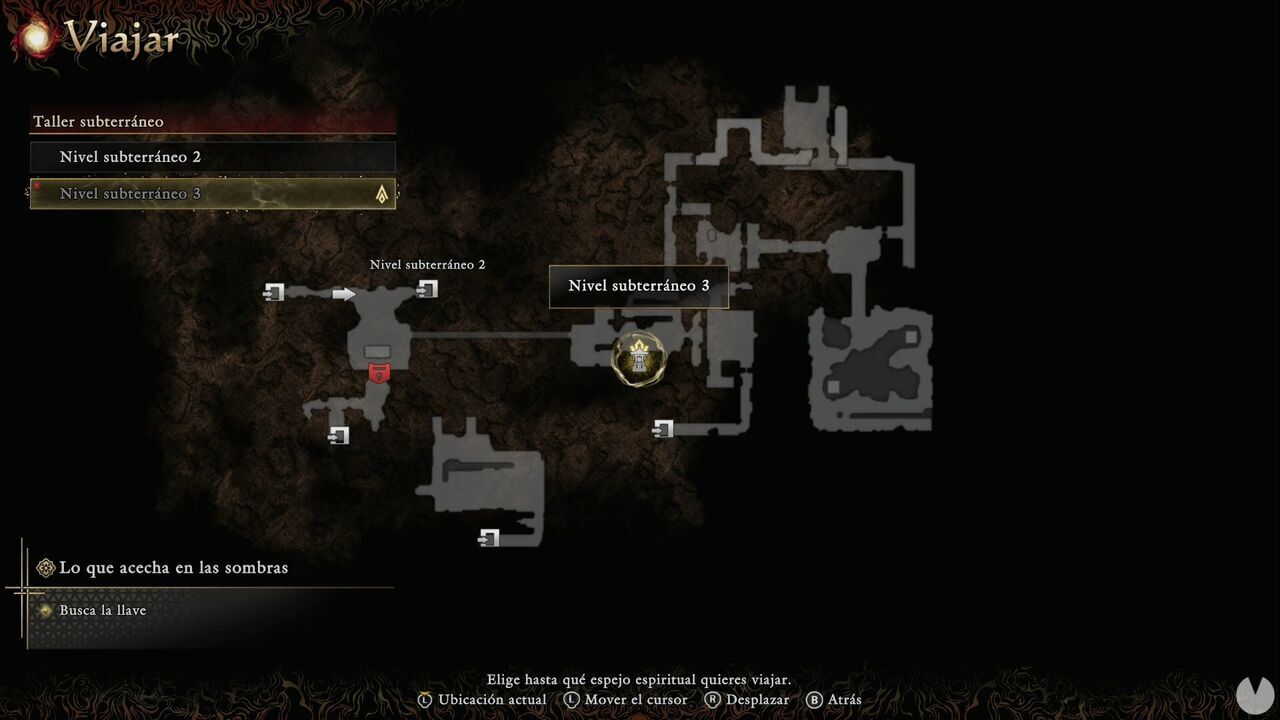
To the east, you'll see a door with a face on it. Our next goal is to open it, because obviously a door locked with this much ceremony must be hiding something. The villains would probably have much better luck hiding their valuables under the doormat instead of building mechanisms that scream "THERE'S SOMETHING IMPORTANT IN HERE," but that's none of our business. Climb the stairs and head north. The first door in the corridor will be locked, so keep going north along the only available route.
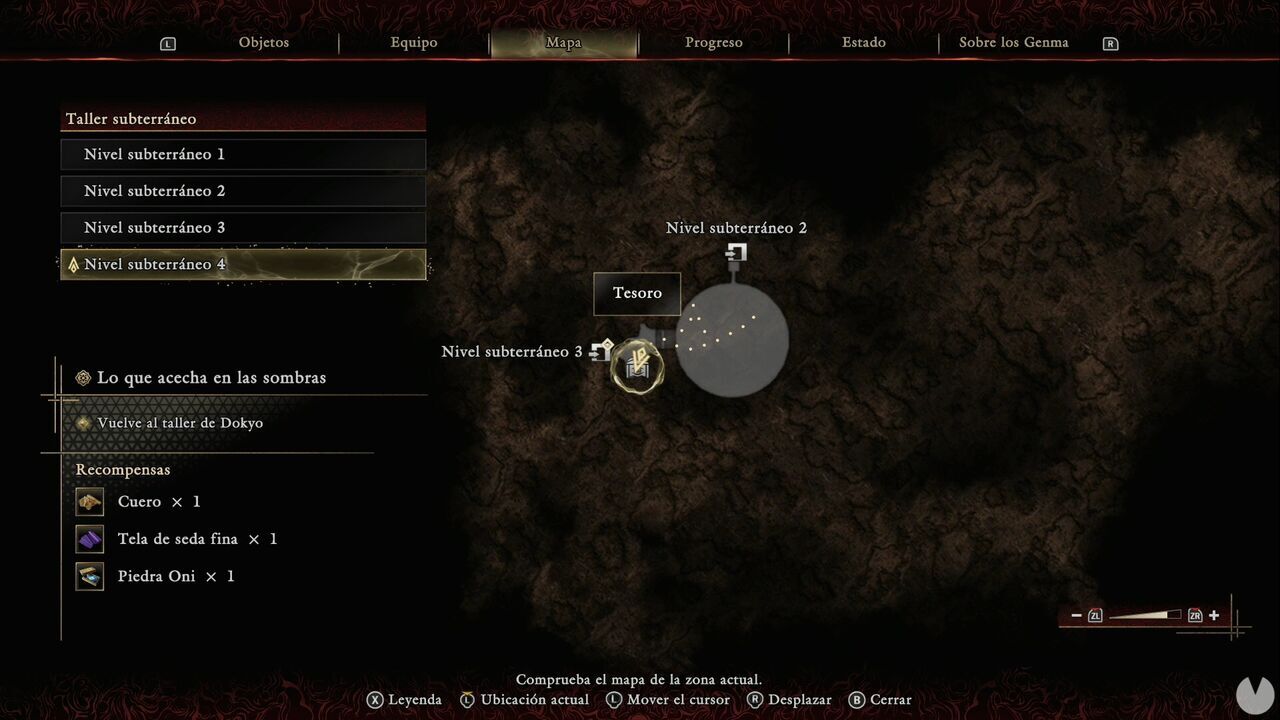
A little farther ahead, you'll need to drop to a lower level and defeat several enemies before you can leave through the southeastern corner of this particular pit. As soon as you emerge, look to your right, west, to find the first Treasure in the area.
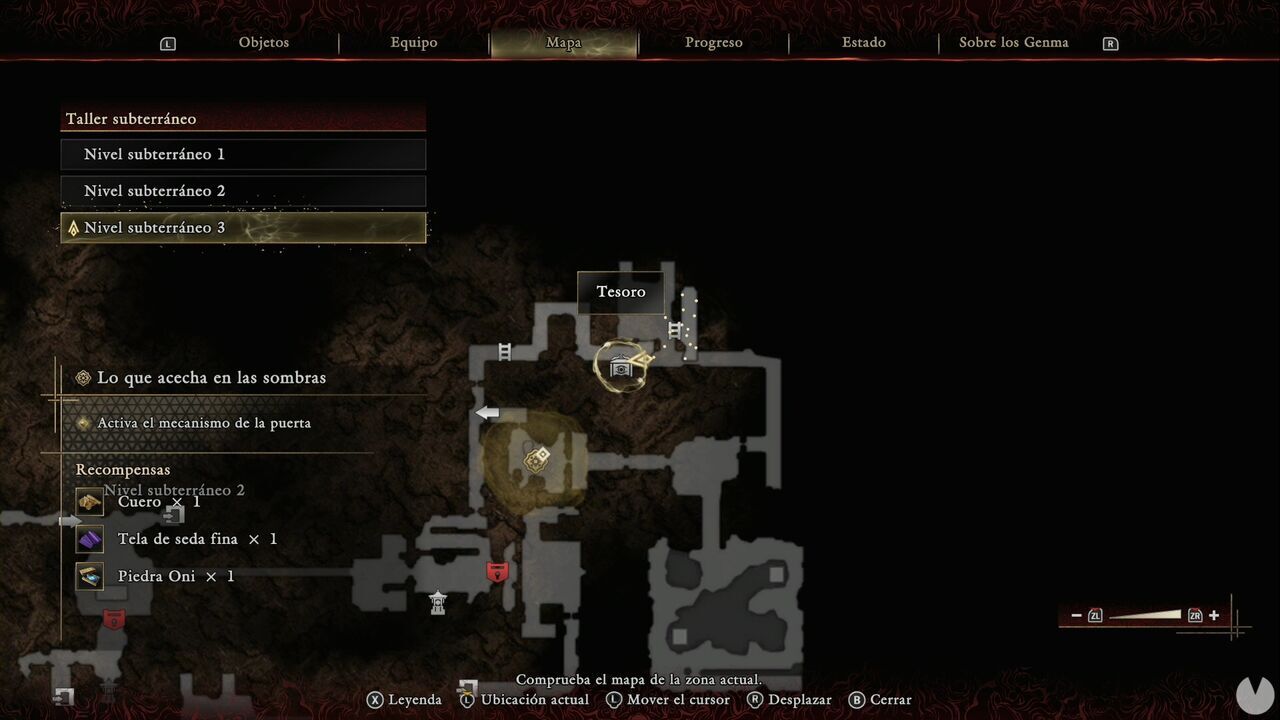
It contains a Power Stone. Now continue southeast through the corridor and open another door leading to a large area full of enemies. The western door is locked by a mechanism, so clear the Genma first. Head to the southwestern corner to find some stairs leading to a chest containing Cotton Cloth.
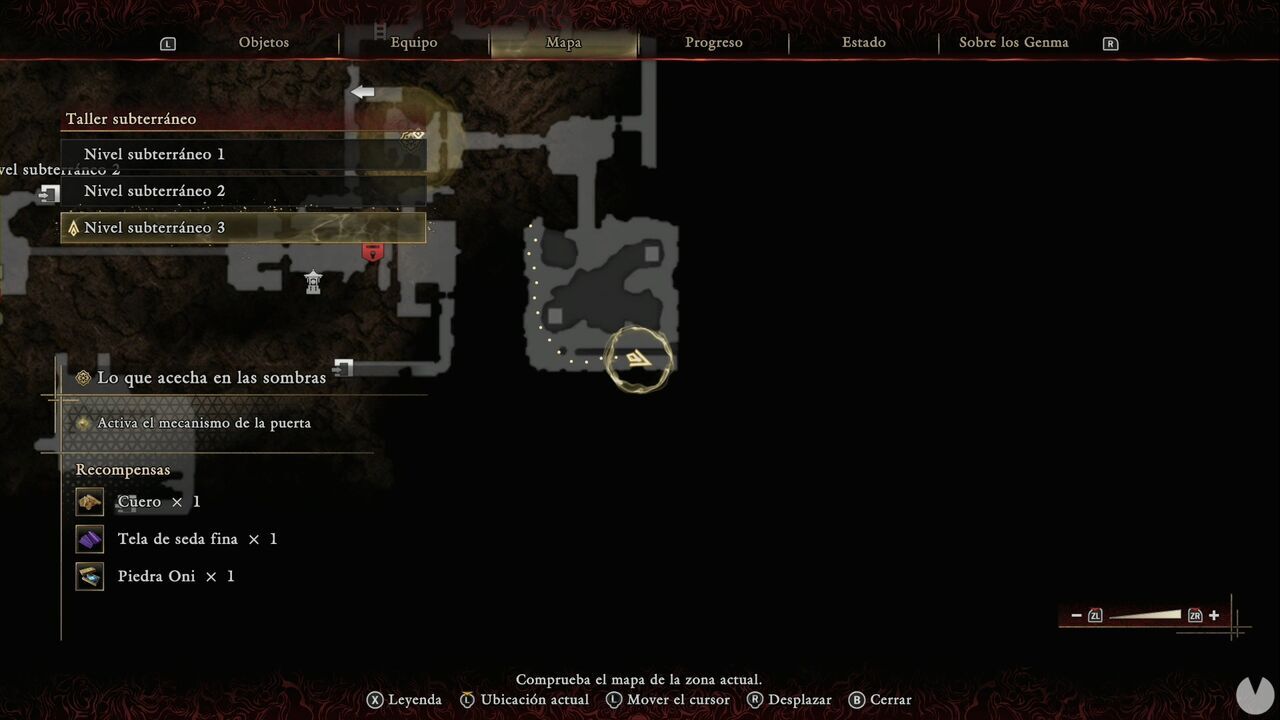
Afterwards, cut the ropes to open the northwestern exit, which is where you need to continue.
When you reach the room at the end of the corridor, four masks will descend from the far wall.
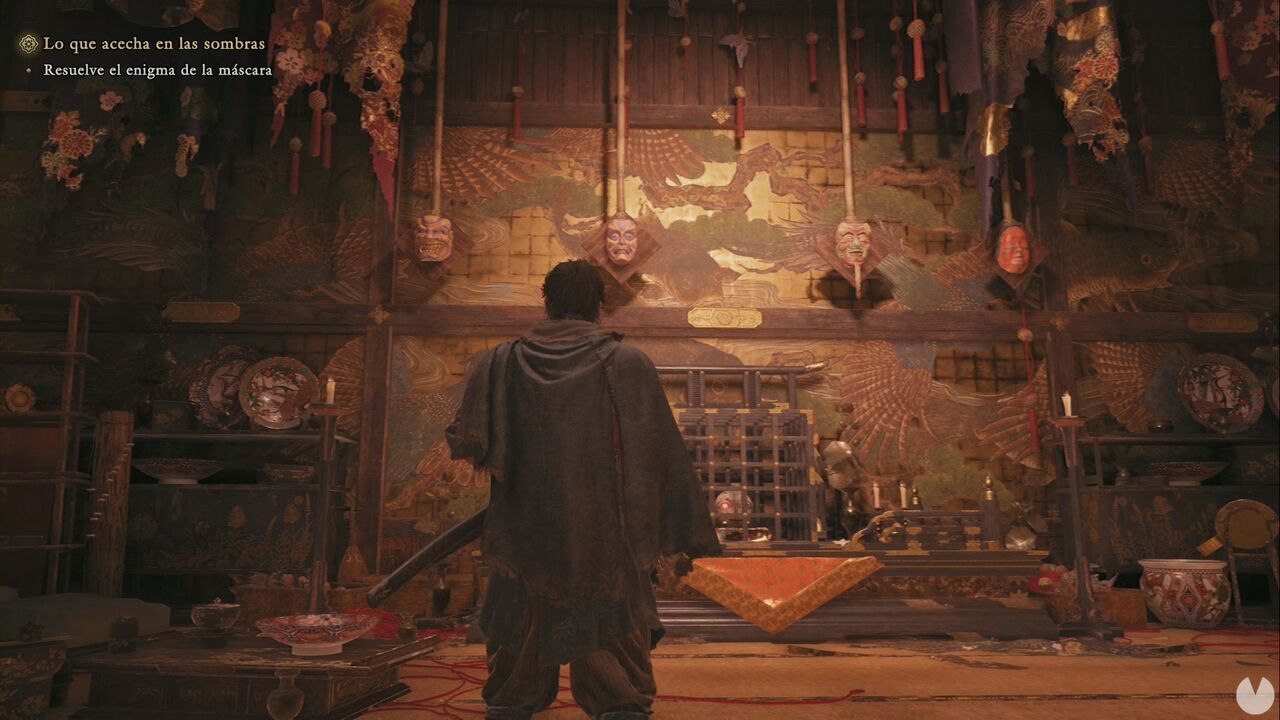
The clue to the correct order is found in the masks on the opposite wall. If you look at the panels from outside the room, you'll see light passing through one, two, three or four openings. So, numbering the hanging masks from left to right, shoot them in this order: 3, 4, 1, 2. The gate will rise and you'll be able to collect the Unsettling Mask, which can be used to open the door marked by the objective.
As soon as you go through the door, you'll face another small puzzle. Start by entering the space to the south and activating the lever. You'll see that the mouth of the mask on the contraption is now pointing to the right.
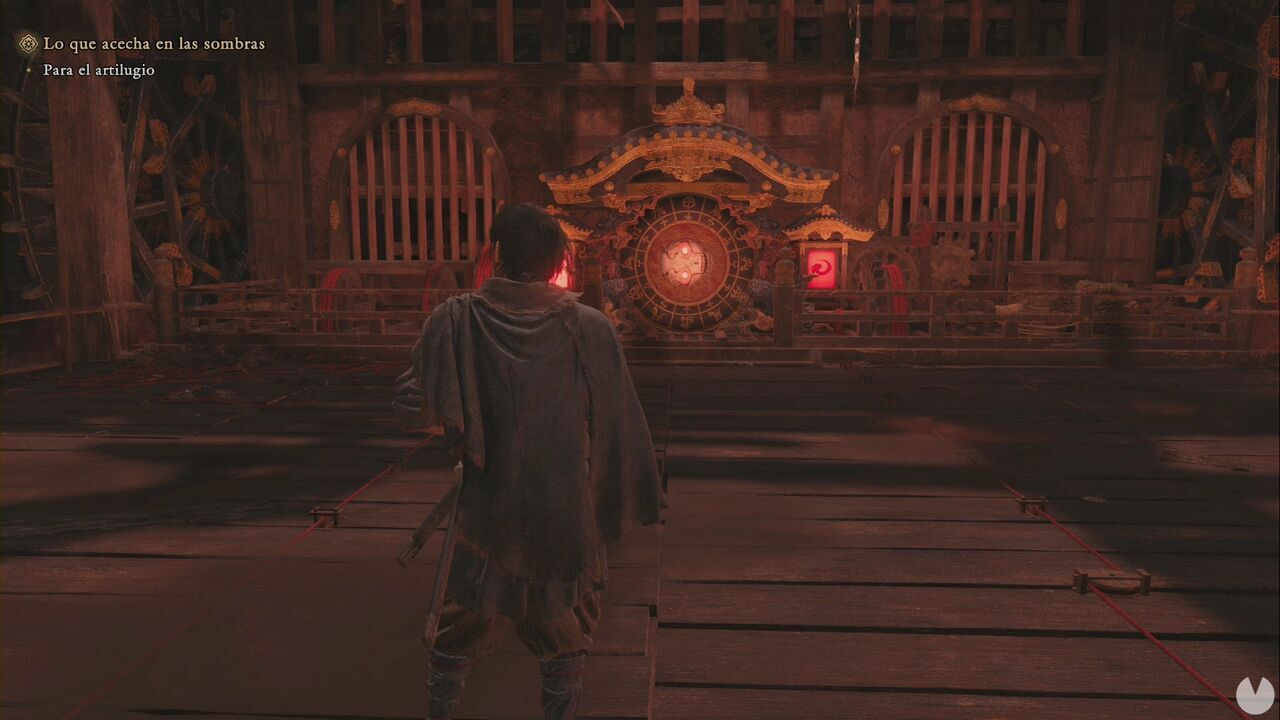
Now approach the paper wall on the northern side and a Genma will burst through. Defeat it, enter the opening, collect the Treasure containing Fine Silk Cloth, then activate the lever. The mask's mouth will now point upward. Leave the room and approach it to stop the contraption.
Back to the main objective. Follow the corridor south until you reach another mechanism that moves when you activate the lever. Use it again once it stops and a cutscene will begin. When you reach the next area, head into the space to the southeast by opening a door to find an Oni Glyph.
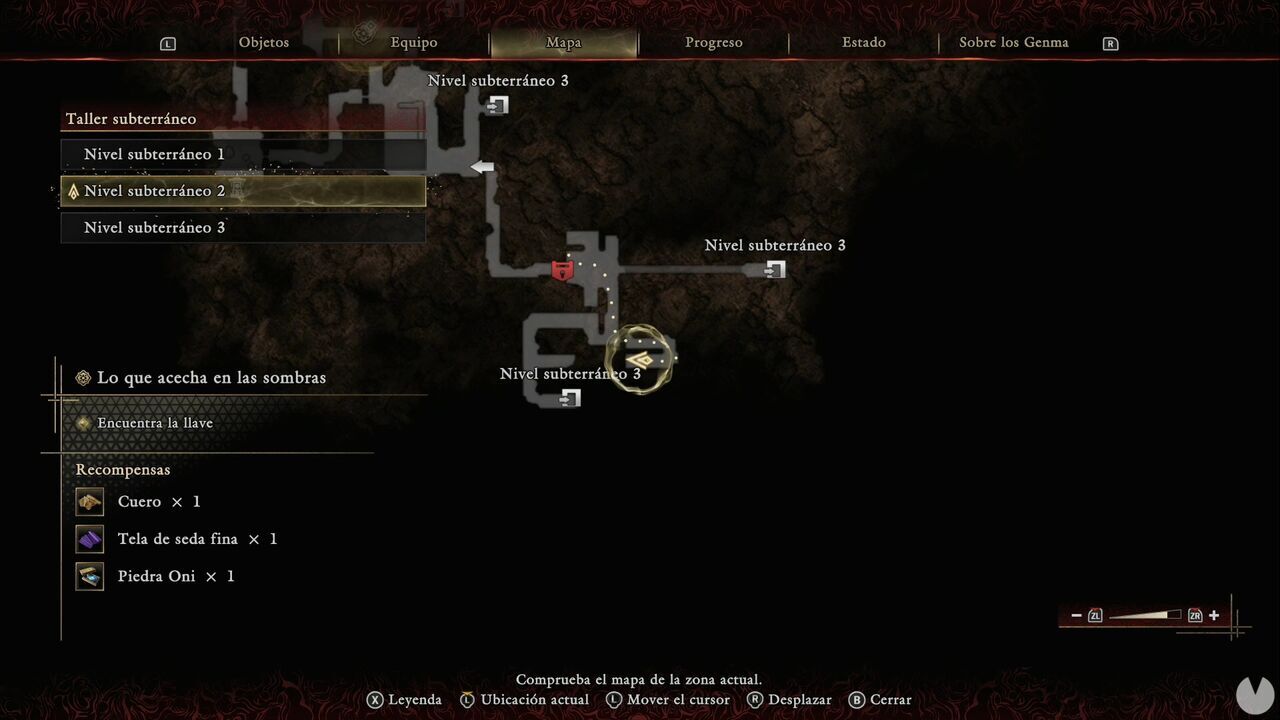
Activating it will reveal a Treasure chest. It contains the Genma Note: Chijiko. Now backtrack and head toward the southwestern section of Underground Level 3. Once you recover from the fall, deal with the smaller Genma first without moving around too much, then defeat the Byakue waiting at the far end.
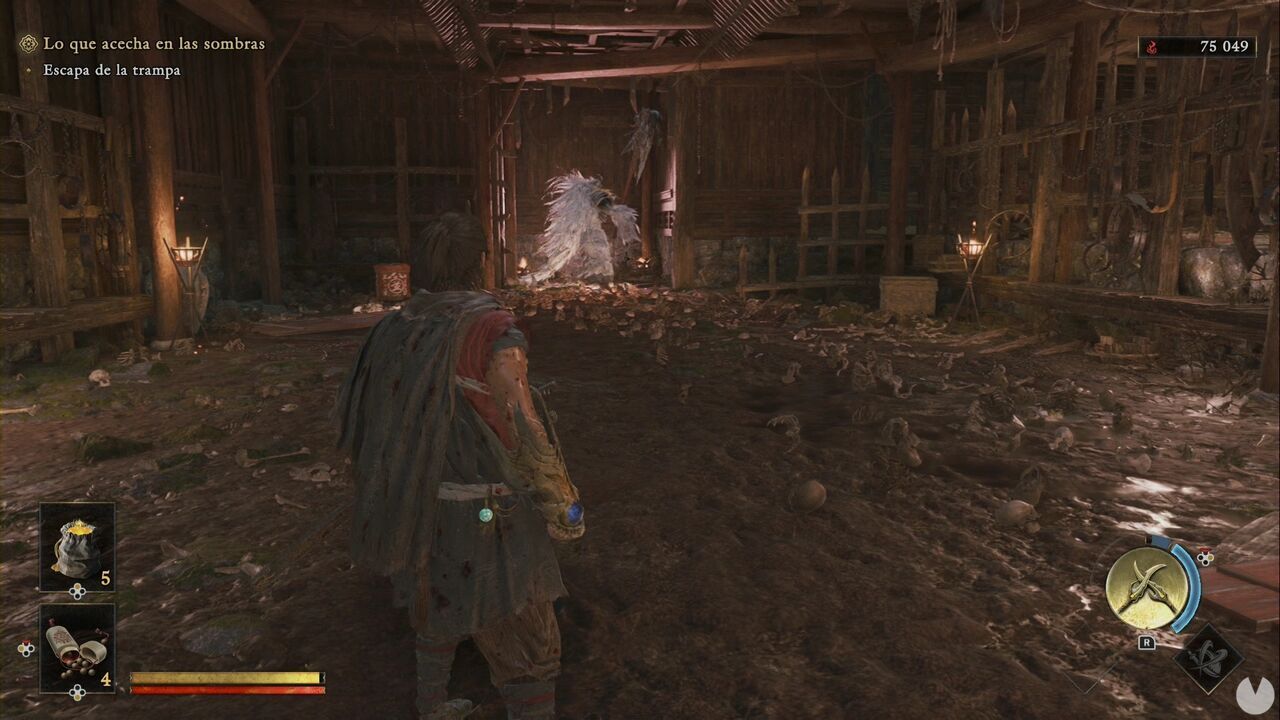
Once the area is clear, head to the northwestern corner to find a chest containing Tempered Iron.
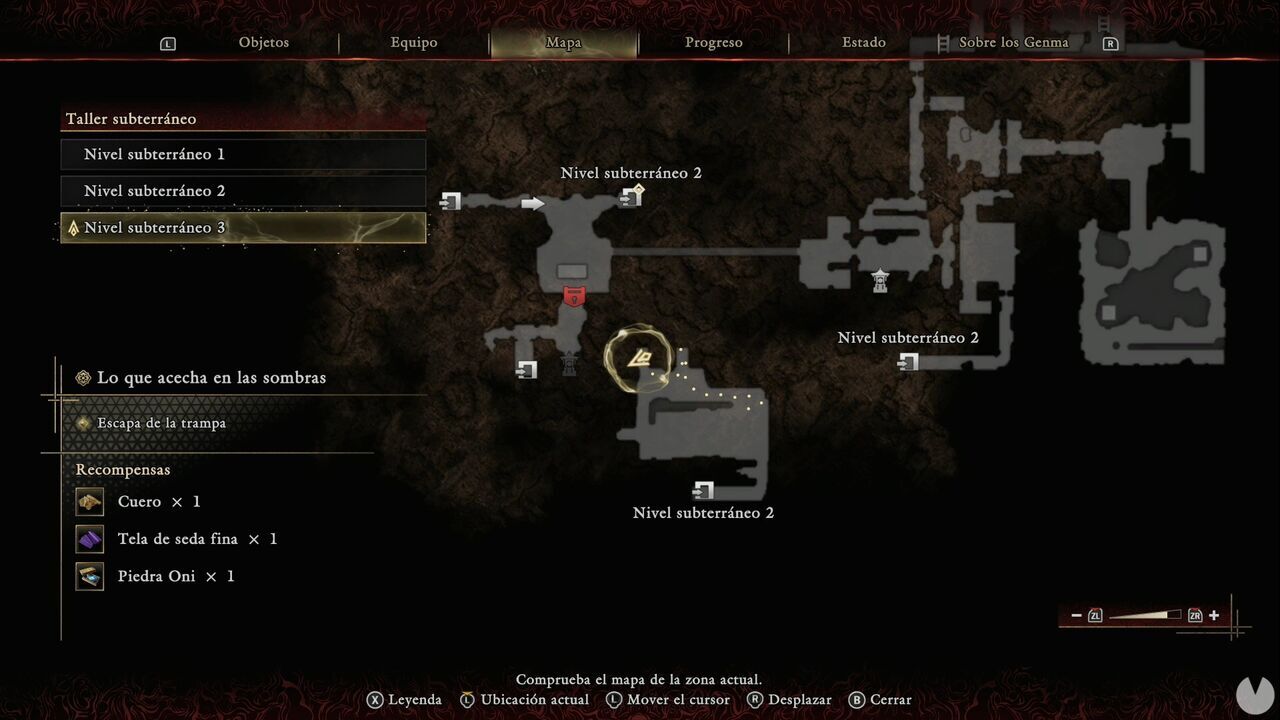
Now head to the southeastern corner, activate the crank to raise the gate, climb the stairs and turn right to find another chest. This one contains Leather.
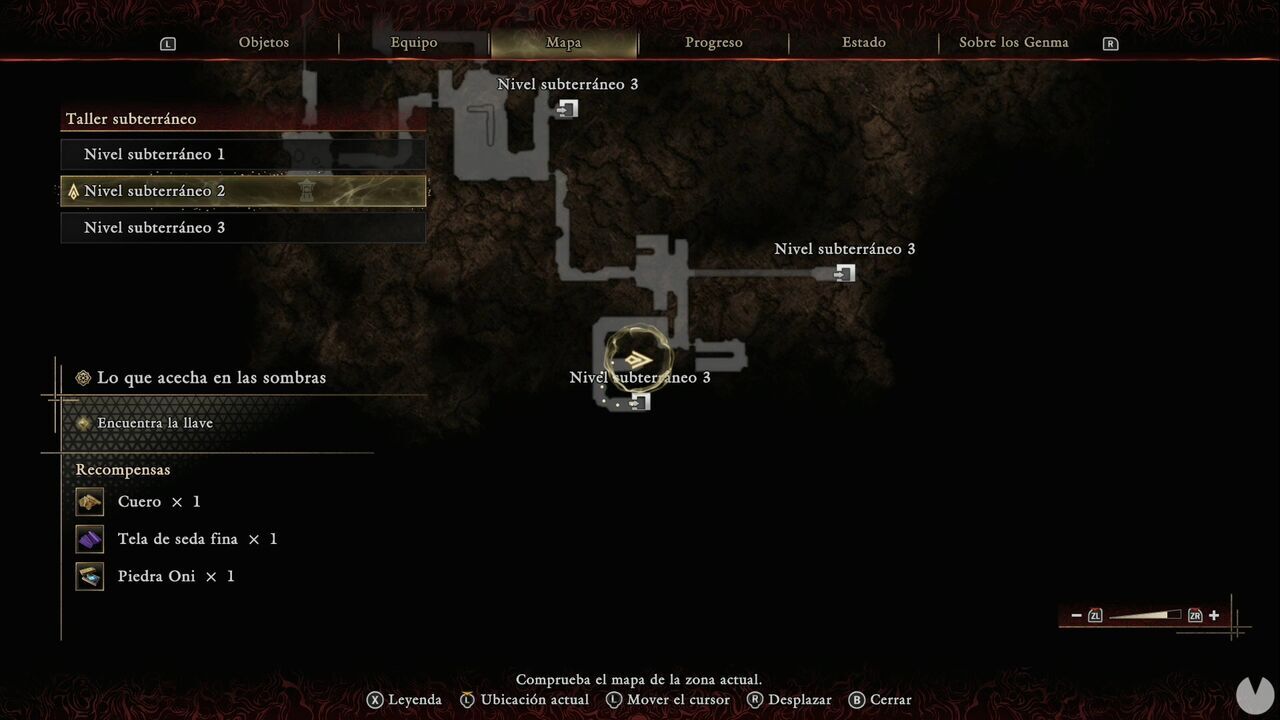
Cut the ropes in the corridor, return to the central area, defeat the enemies and cut the ropes in the northern section, which will open when an enemy emerges as you approach the door. You can now continue northwest toward the objective marker. The route eventually takes you to another elevator, which drops you into the pit containing the Gore-Spattered Key. Clearly not a trap at all.
Once the blades begin spinning, look for the spools of red rope surrounding the mechanism and shoot them with the Oni Bow.
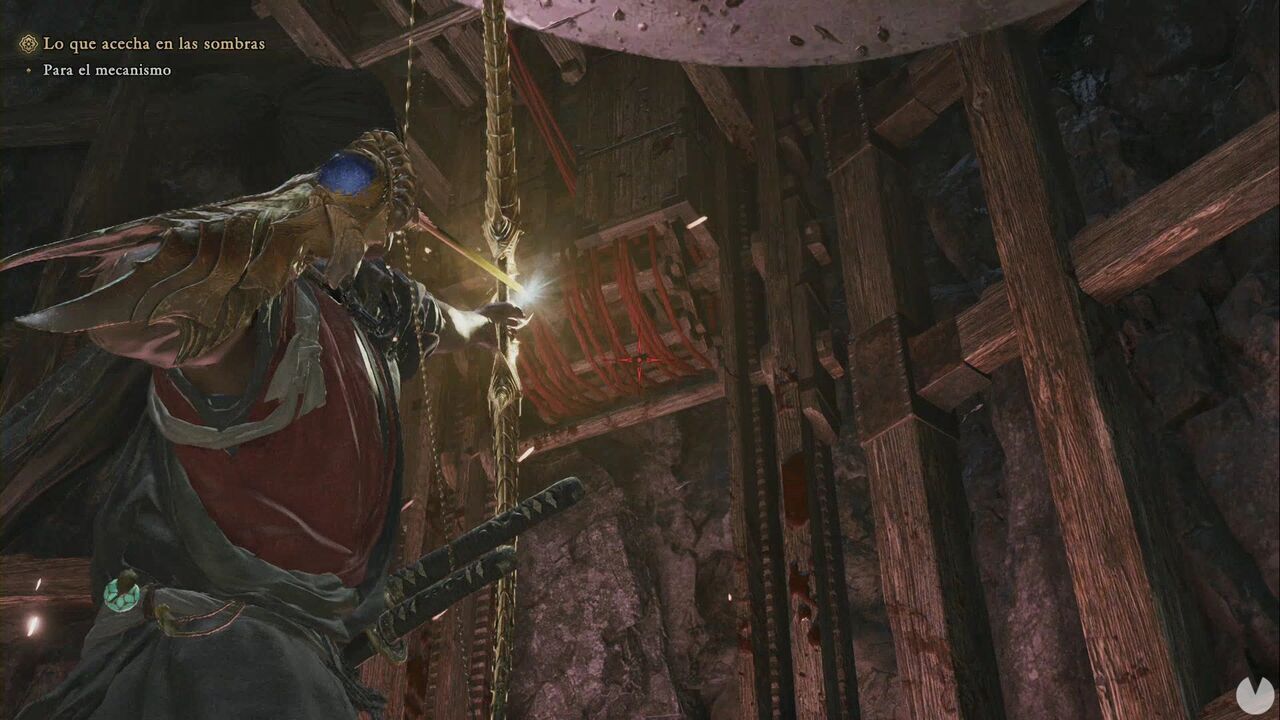
Be careful, because you'll initially only be able to see three of them. Work out where the fourth one should be and it will only become exposed when the blades are almost on top of you. Once you've destroyed all four spools, the blades will stop moving. After the cutscene, climb up the western side and open a new Treasure containing the Earth-Shakers.
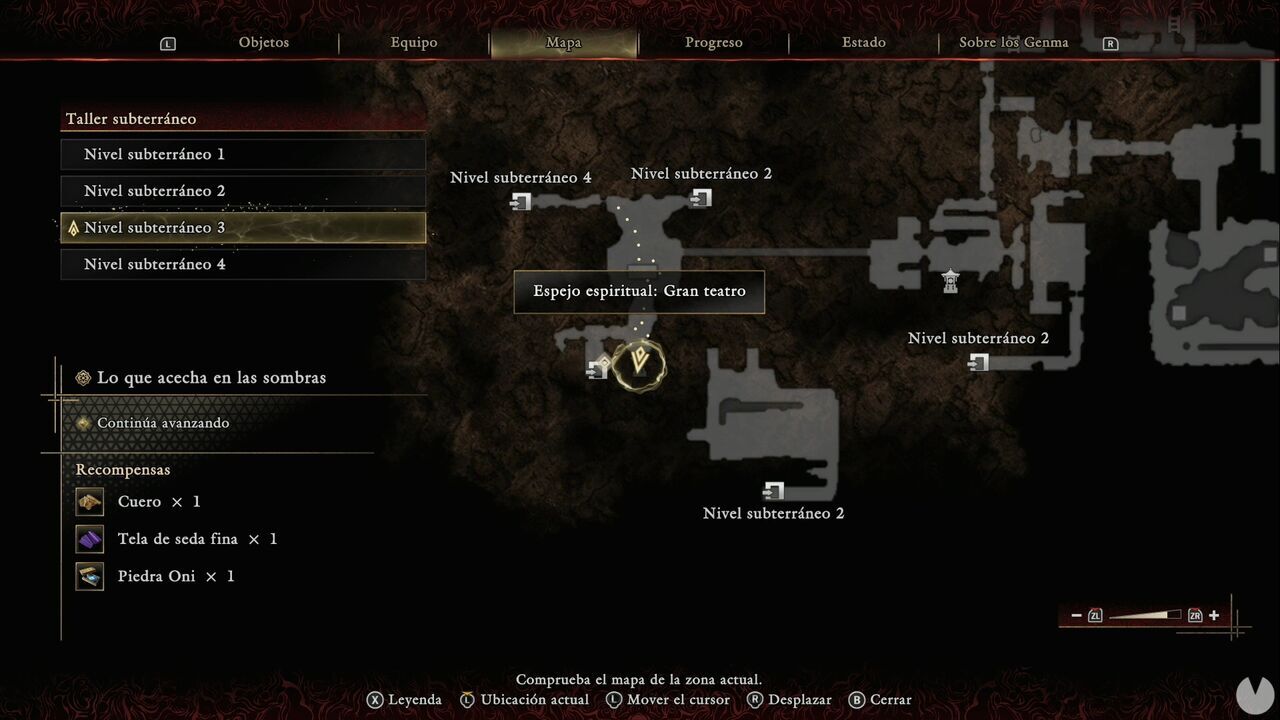
Now use the elevator to return to Dokyo's workroom. Open the southern door to find the Grand Theater Spirit Mirror.
Continue to the western end of the corridor, going past the elevator, to find an Oni Glyph.
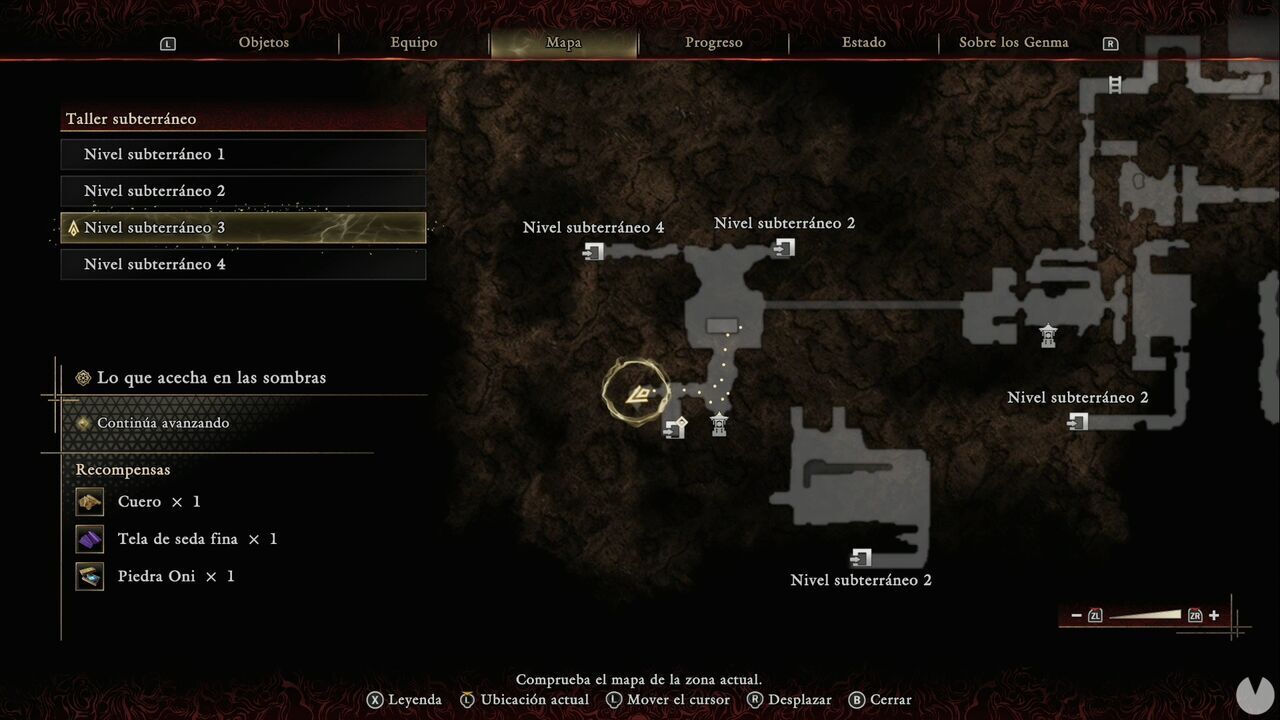
Activating it will reveal a Treasure chest containing the Genma Note: Kogashira. Now step onto the platform, which will rise automatically. Once you reach the top, you'll have to defeat two Nue. This time, you have the Earth-Shakers, so make sure to charge the attack as much as possible and watch half of your target's Stamina Gauge disappear in one hit.
Once they're defeated, continue through the corridor to another elevator.
When you return to the surface, you'll be inside Kyoto Imperial Palace. Continue until you reach the Palace Entrance Spirit Mirror.
Follow the only available route until you reach the northeastern area, where you'll see a path branching southeast. Cross over an obstacle and squeeze through the narrow passage to find a Treasure, after defeating the enemies, of course.
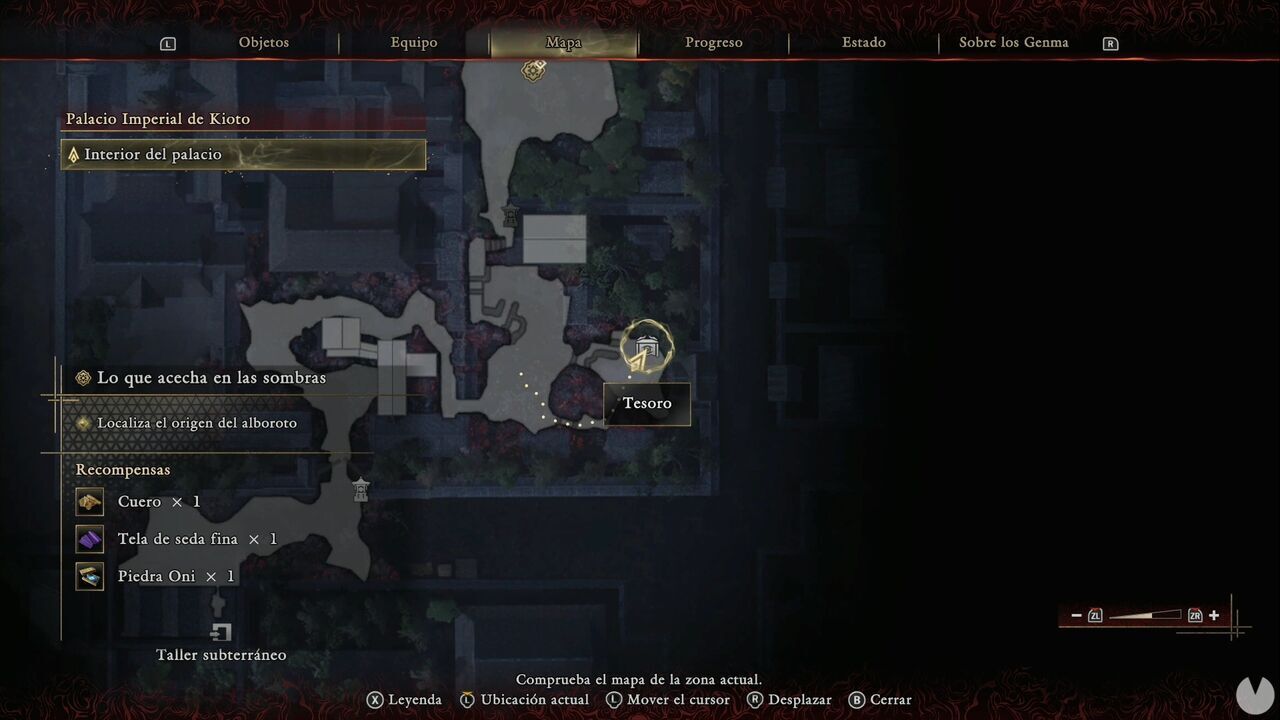
The chest contains an Oni Stone. Backtrack to the larger area and head north-northwest to reach the rooftops via a slope. From there, continue until you reach the Oikeniwa Pond Garden Spirit Mirror. It won't be long before a cutscene begins and you have to face Greater Nue.
Once the fight is over... you'll know what you have to do.
Now, before continuing to the next mission, complete the following optional content. Make sure you do not complete The Light of Vengeance yet:
Now you can complete The Light of Vengeance. Once you finish it, The Roots of All Evil will begin.
