

Careful What You Wish For is the fifth chapter of the story in Onimusha: Way of the Sword. It begins at the end of The Oni's Apprentice, after you return from the Practice Ground. As usual, throughout this spoiler-free walkthrough we'll help you complete every story chapter 100%, making sure you don't miss anything along the way and providing tips for the more difficult situations.
Note: from this point onward, we'll stop pointing out the locations of common items. Keep breaking pots and other similar objects you come across, as they'll regularly contain offerings, talismans and basic consumables. As always, before continuing with the main objective, we're going to clear up a few things. Start by returning to the area where you sealed the western Rift.
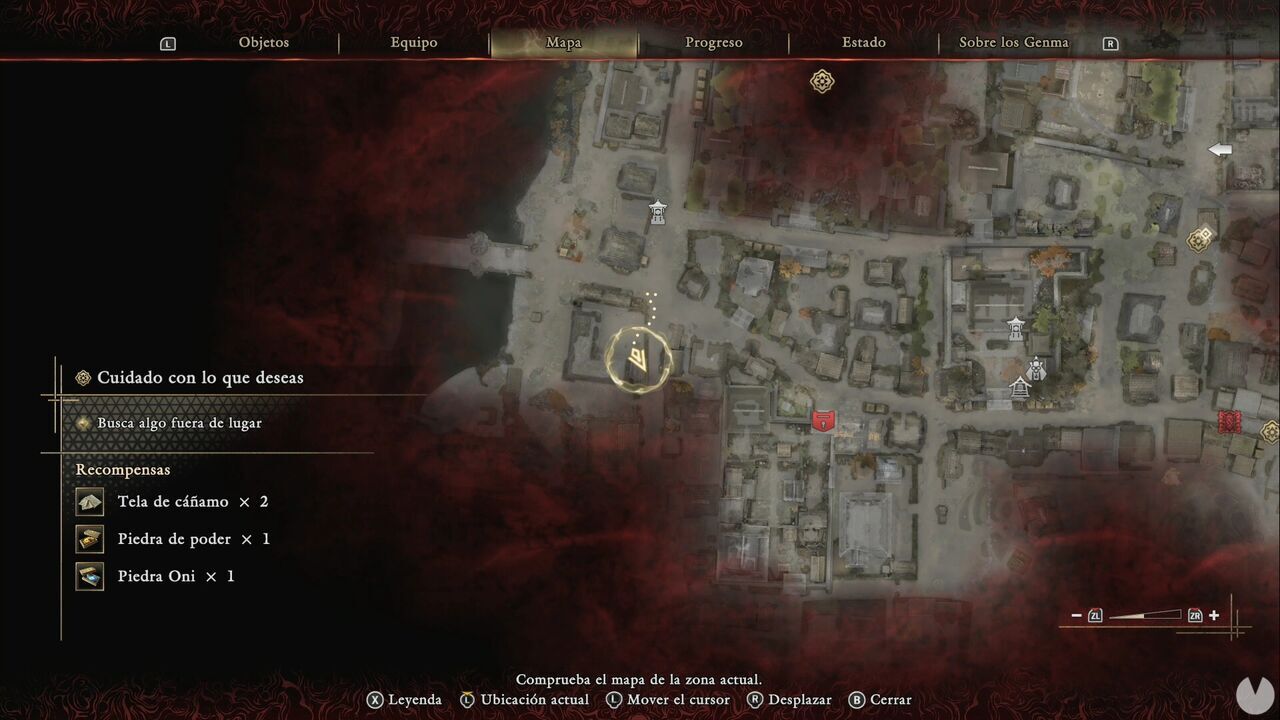
If you use Oni Vision in the southeastern corner of the compound, you'll find a new Oni Glyph in Eastern Kyoto. Activating it will reveal one of the Eastern Kyoto Treasures. It contains the Genma Note: Kubi Akari.
Next, head through the alley behind Rokudo-chinnoji Temple.
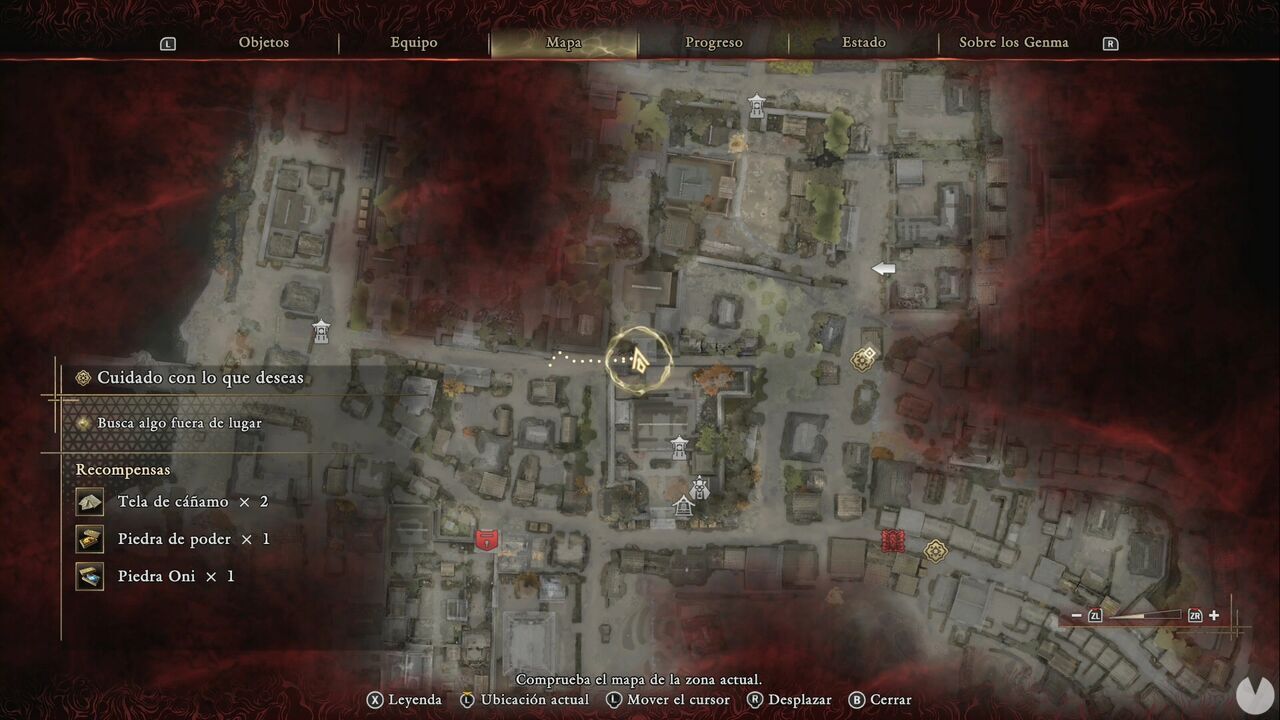
As you pass through, a monster will smash through the gate leading to the courtyard north of the temple. Defeat it and enter the courtyard. In the first area, you'll see a cart with a chest containing Tempered Iron. Now continue north through the courtyard, going around the building until you reach an area packed with enemies, including several archers.
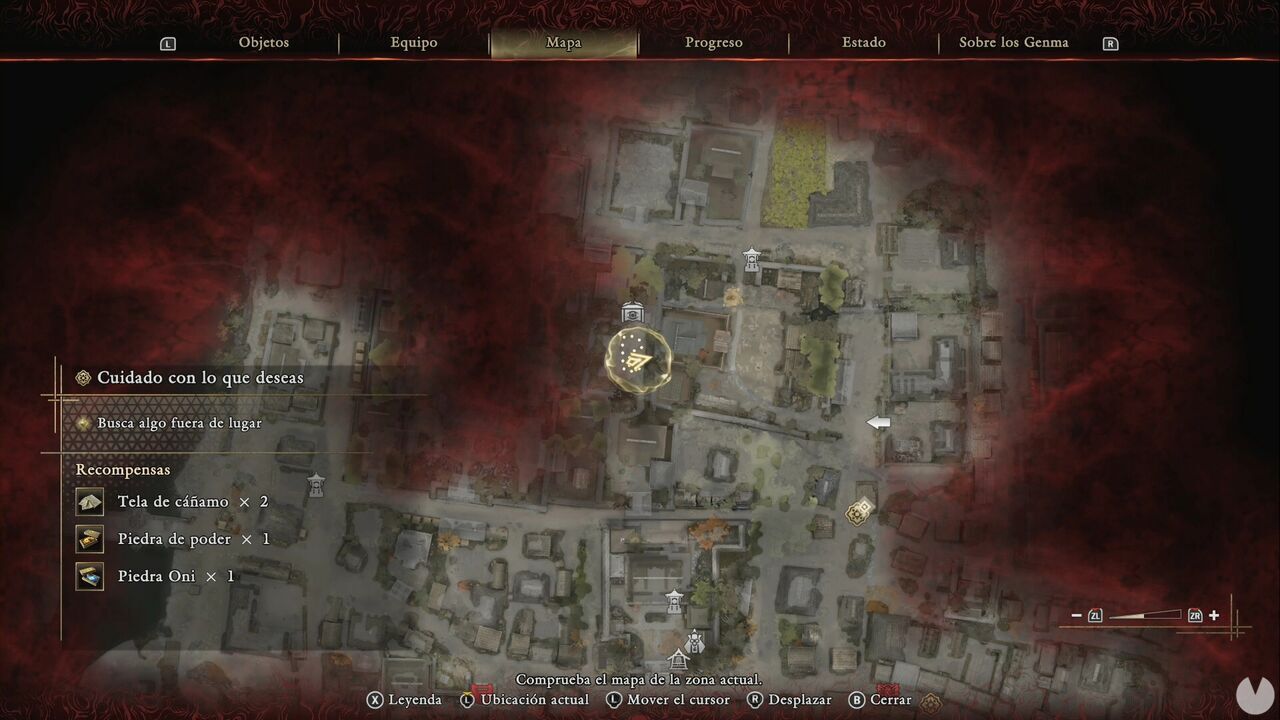
Once you've defeated them all, use Oni Vision on the eastern side of the courtyard to locate another Oni Glyph. Activating it will reveal another Eastern Kyoto Treasure. This one contains the Genma Note: Togemaru.
Now enter the building on the northern side of the courtyard to find another Treasure chest.
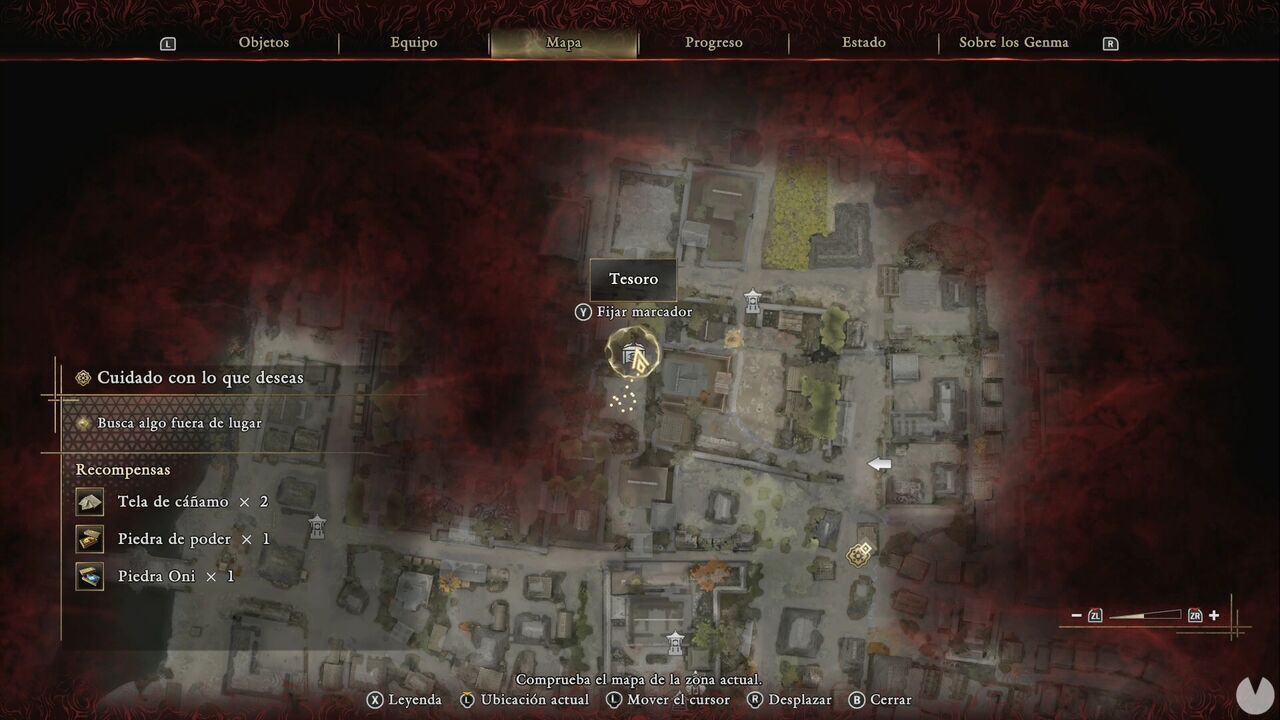
It contains an Oni Stone. In the same room, there's also a chest containing Iron and Hempen Cloth. We're still clearing the western area, so don't advance the main objective just yet. Head to this spot northwest of the locked gate southwest of Rokudo-chinnoji Temple.
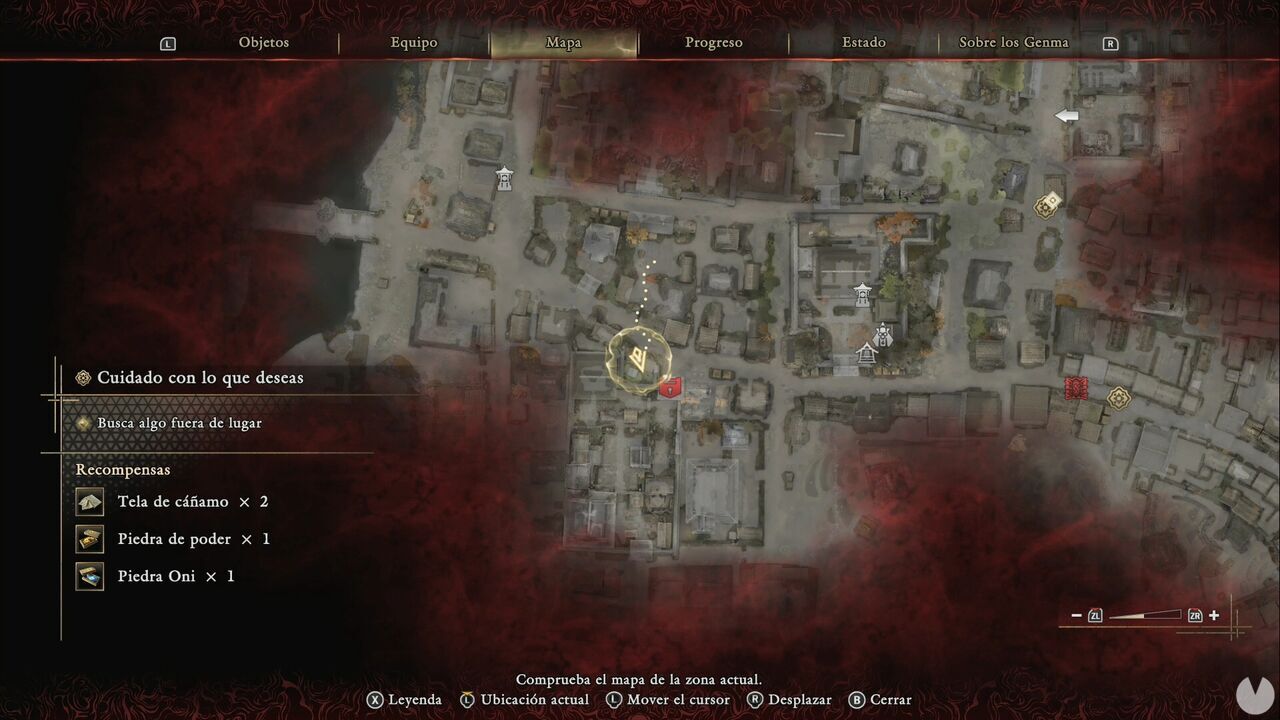
You'll find that a previously inaccessible courtyard is now open. Inside is a chest containing a Whetstone. From here, head west and you should find a woman in trouble. Rescue her to receive an offering. Finally, head to the northwestern corner of the northern part of the map, where the northern Rift was located. In the courtyard, there's a chest containing Iron and Hempen Cloth. This particular material chest gave us some trouble: we're not sure how, but it appears that it may respawn with different materials, something we haven't encountered with the others.
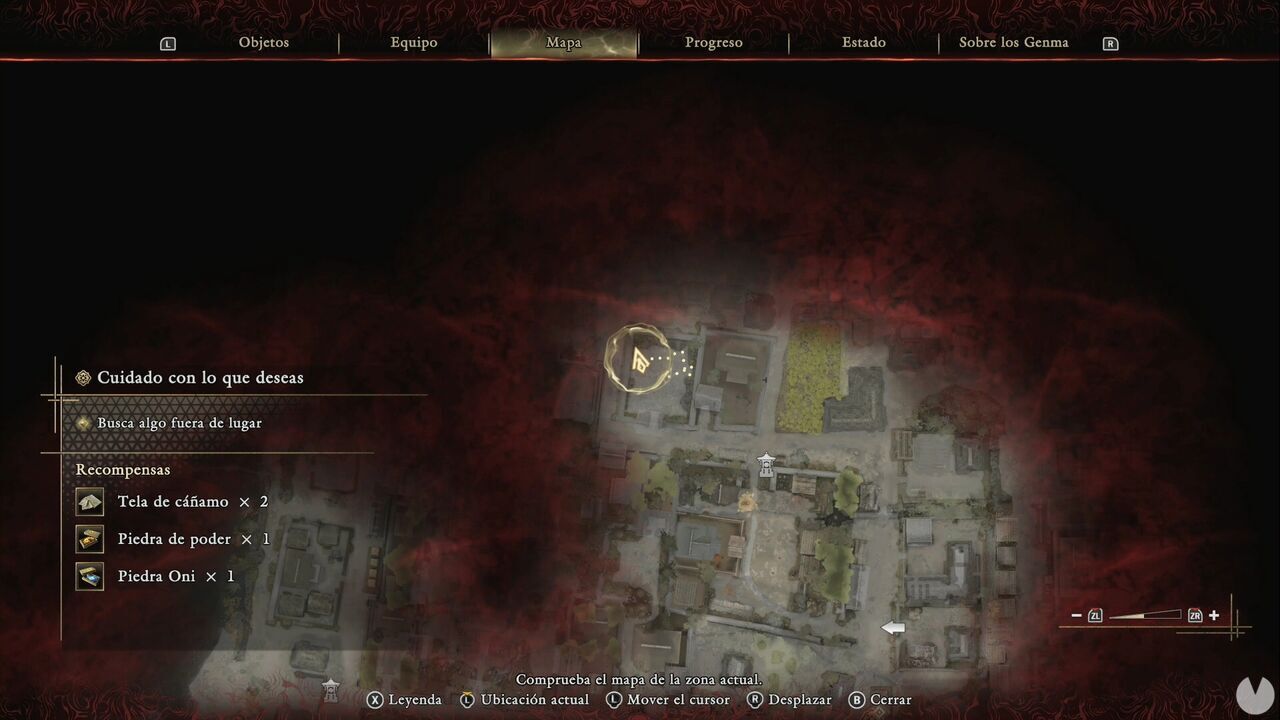
Now follow the street all the way east until you reach a courtyard that we already visited in the previous chapter, where there was previously nothing but a large group of enemies.
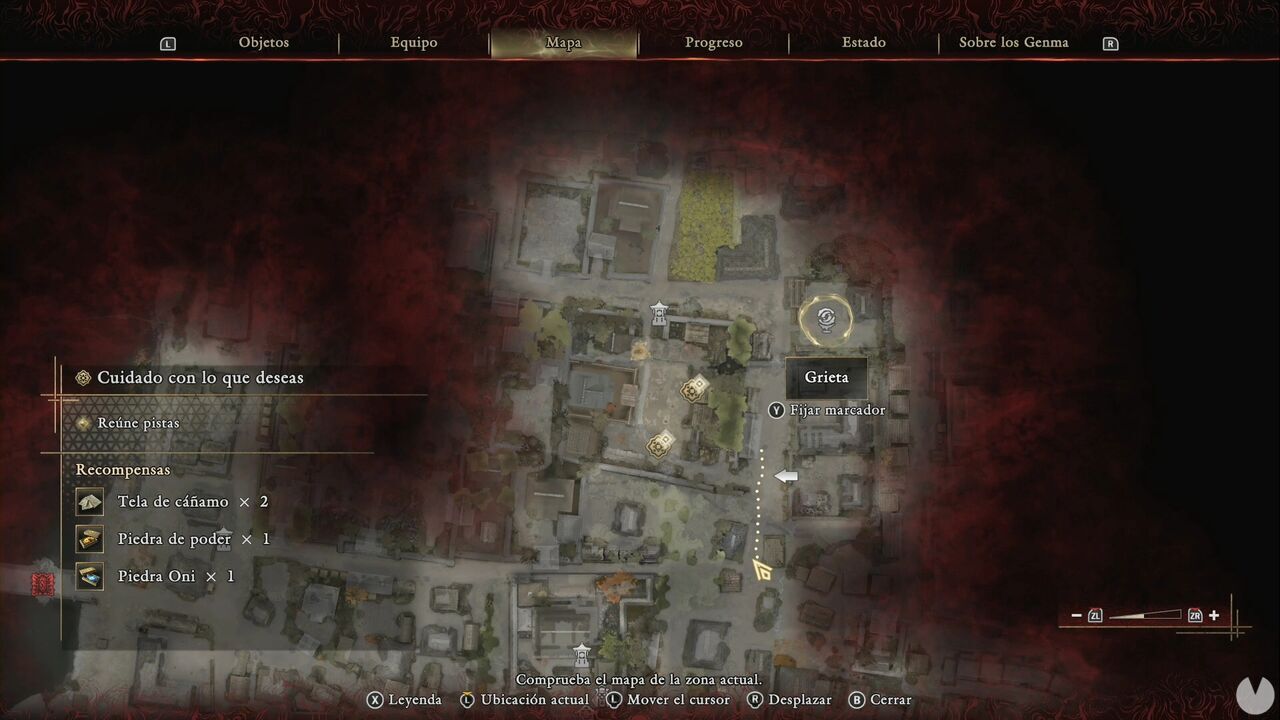
This time, in addition to the enemies, you'll find the first optional Rift that isn't part of the main story. Defeat the enemies and seal it to obtain more Malicite x4 and a new material, Malicite Mass x2. Make sure to stop by a Spirit Mirror afterwards to see what you can enhance with all the materials you've collected.
That's everything we can explore for now, so head to the objective marker and talk to the NPC.
The game will give you two more objective markers. Investigate both to discover a rather disturbing pattern in the way this god has been granting people's wishes, then examine Yorimasa's monument when it becomes your next objective.
Once again, follow the objective marker to have a conversation with... some statues.
You'll now have three new objective markers. Start with the one farthest to the northeast, east of your current position.
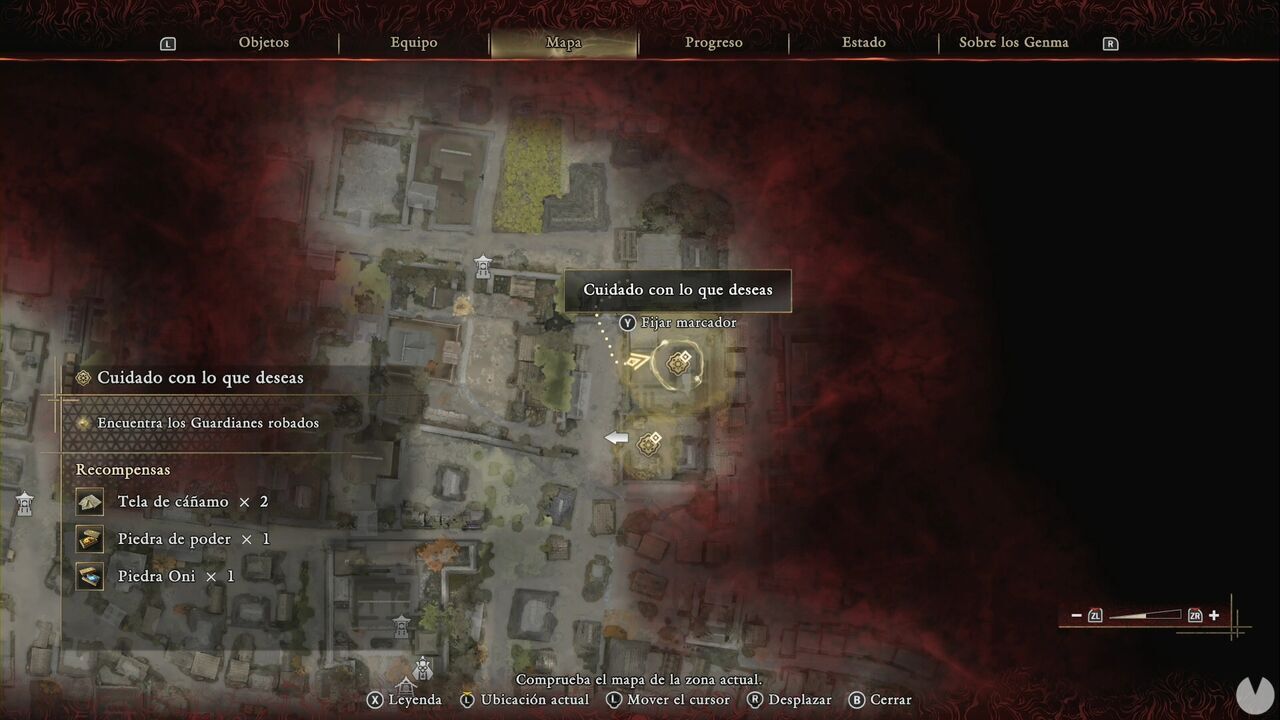
The gate was previously locked, but you'll now find it open. A group of enemies will be waiting inside. Defeat them and climb onto the roof using the ladder at the back of the courtyard. On the scaffolding, you'll find the Seventh Stout Pillar. When you try to leave the house through the entrance, a couple of Genma will smash through the southern wall. Defeat them and search the stable to find a ladder that allows you to reach the roof. It's located in the northeastern corner of the building.
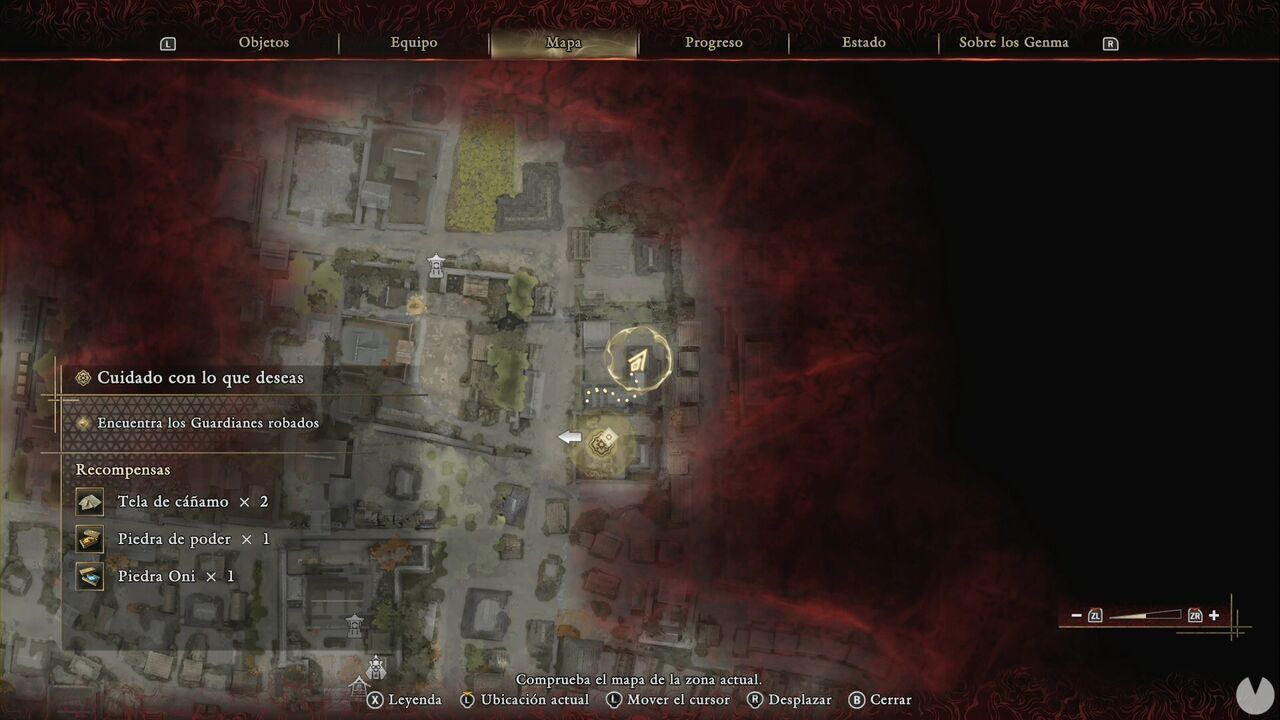
From there, you can reach the courtyard of the house to the south. Defeat the enemies and collect the First Stout Pillar from the remains of the roof. Before breaking the lock on the gate, check the barn for a chest containing Leather.
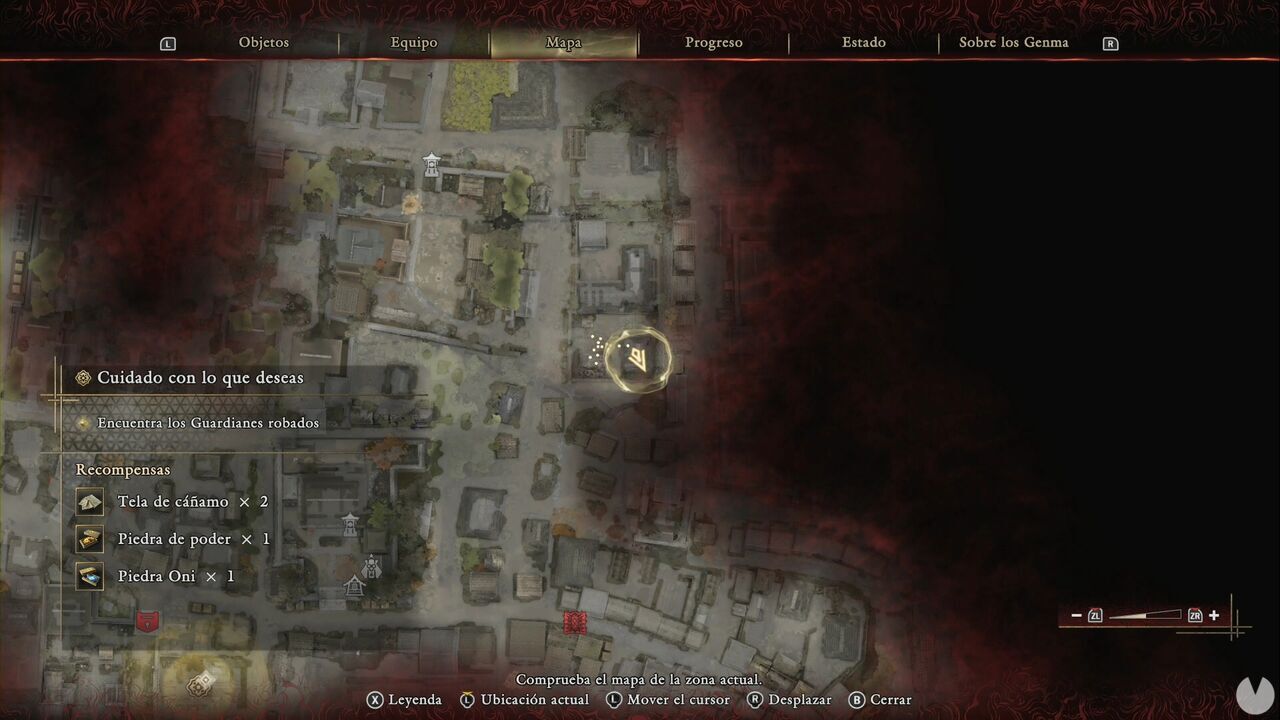
Now all that's left is the marker in the southwestern area. Approach the compound containing the marker from its eastern side.
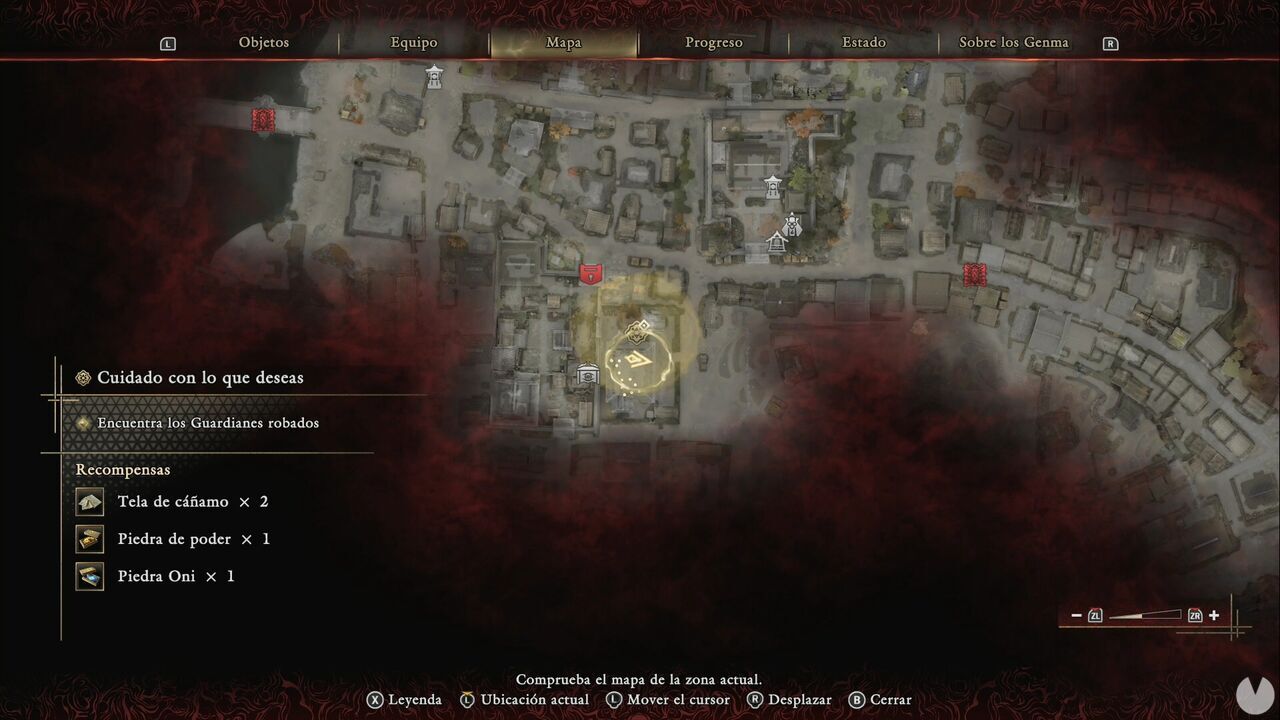
Enter the courtyard, which should already be open from the previous mission, and go around the building from the south so you can enter it. Inside, you'll find a group of Genma and a chest containing Hempen Cloth. There's another chest in the courtyard containing a Whetstone. The Third Stout Pillar is hidden inside one of the pots near the northern fence, beside a tree.
Now follow the objective marker back to the shrine where the statues were missing and return them to their places. After the cutscene, absorb the dark mass blocking the path to trigger another scene. It's time to face the Genma that has been deceiving everyone here, Rasho-gan, Wish Warper.
Once the cutscene ends, The Curse of Kiyomizu-zaka Slope will begin.
