
Bloodbath on the Bridge is the thirteenth chapter of the story in Onimusha: Way of the Sword. It begins at the end of The Roots of All Evil, after destroying the final Malice-emitting plant in Toribeno. As usual, throughout this spoiler-free walkthrough we'll help you complete every story chapter 100%, making sure you don't miss anything along the way and providing tips for the more difficult situations.
First of all, the Malice covering Eastern Kyoto has receded. This means we now have access to a new area southwest of the fields. As always, before continuing with the story, we're going to help you fully explore this new area to find materials, Treasures and plenty of other useful items. After that, we'll take you to the newly available collectibles before finally moving on to the main objective. If none of that interests you, option B is to skip directly to Head for Gojo-ohashi Bridge.
As soon as the chapter begins, in the area where you fought Dohatsu-ten, look for Oni Glyph #12.
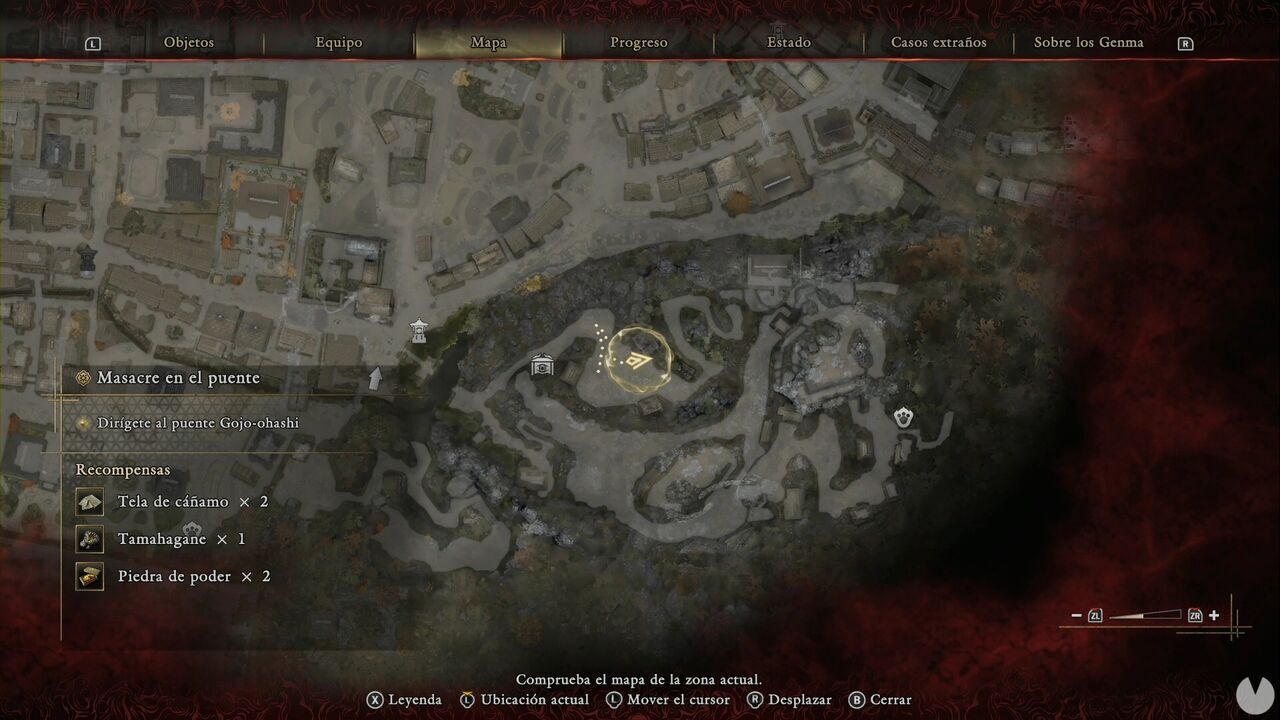
It will reveal a chest containing the Genma Note: Dohatsu-ten. Now, as you leave the area heading north, you'll find the next Treasure, which contains Tamahagane.
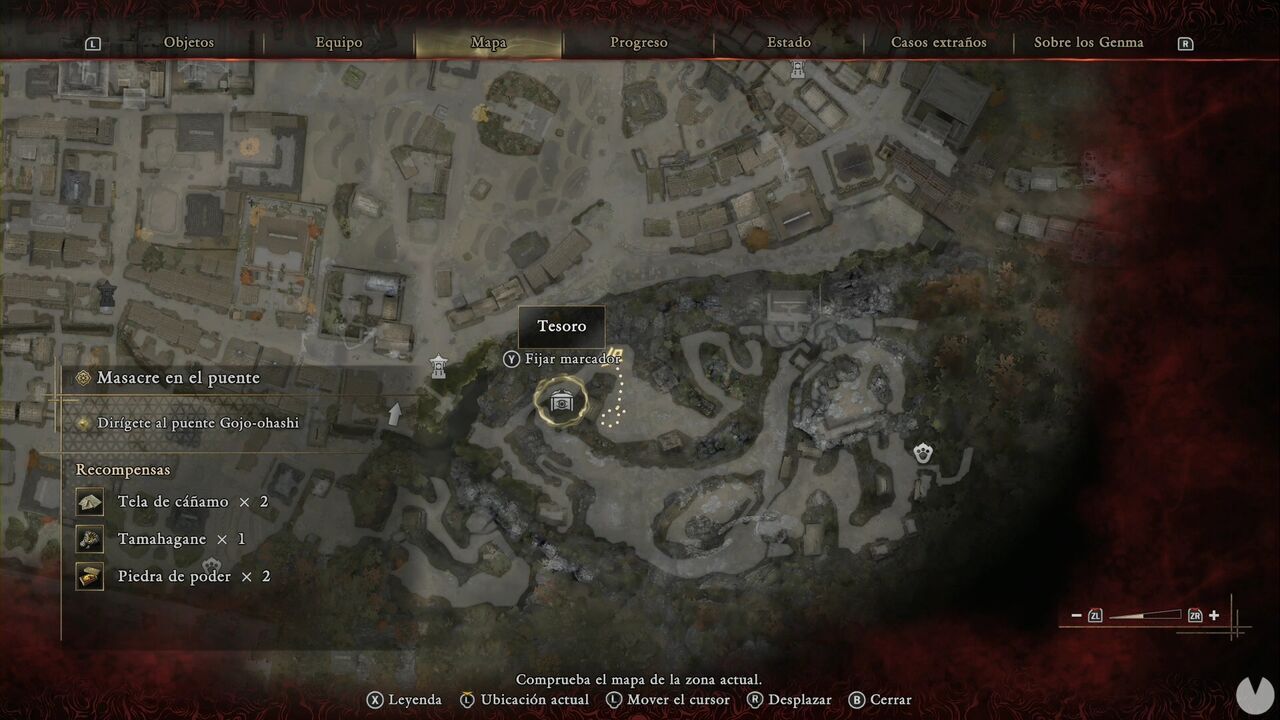
Now leave Toribeno. Notice that the new area available for exploration is relatively small: the southwestern section of Eastern Kyoto and the area northwest of it, across the river.
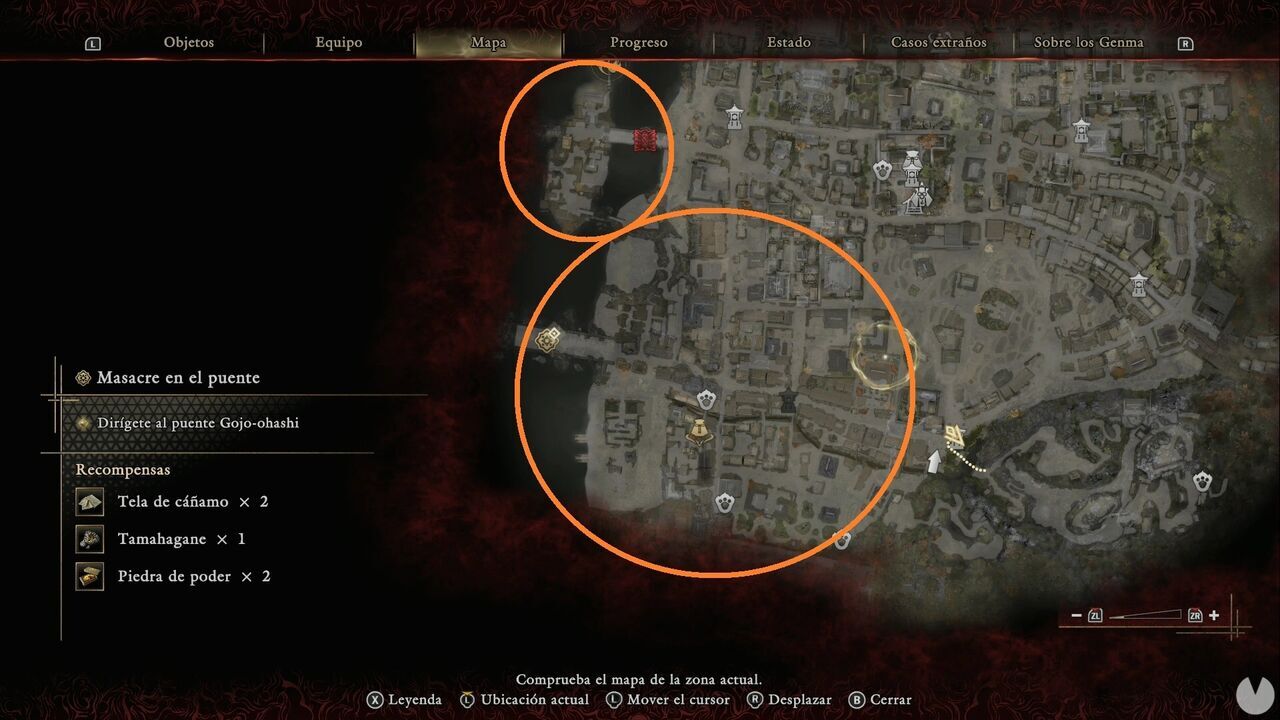
To explore it methodically, we'll head southwest from the Kamo River - East Spirit Mirror, in the northwestern corner of the search area shown above. From the start of the bridge, follow the riverbank south. Go around a house to reach the dock, where you'll find a wall you can run along to cross to the other side of the river.
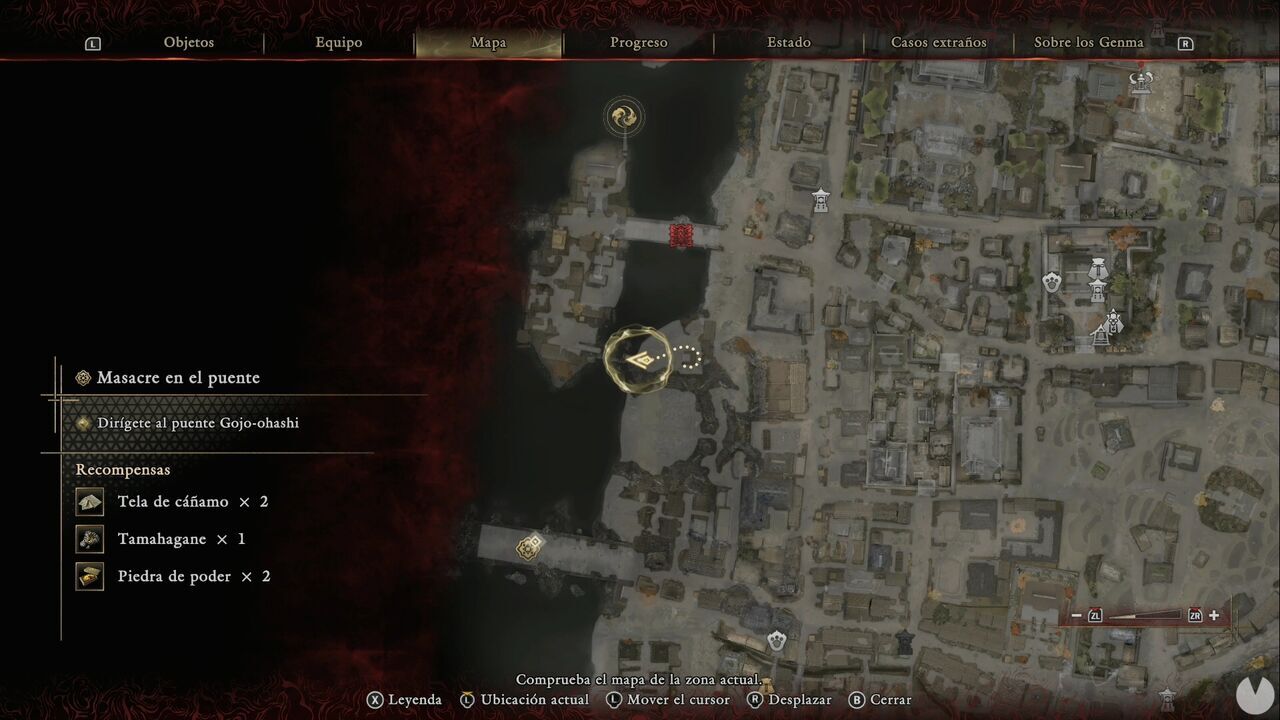
As soon as you cross, head to the southwestern part of the island. Inside a house, you'll find a chest containing Tempered Iron. Leave through the window and you'll find the next Kyoto Treasure, which contains a Power Stone.
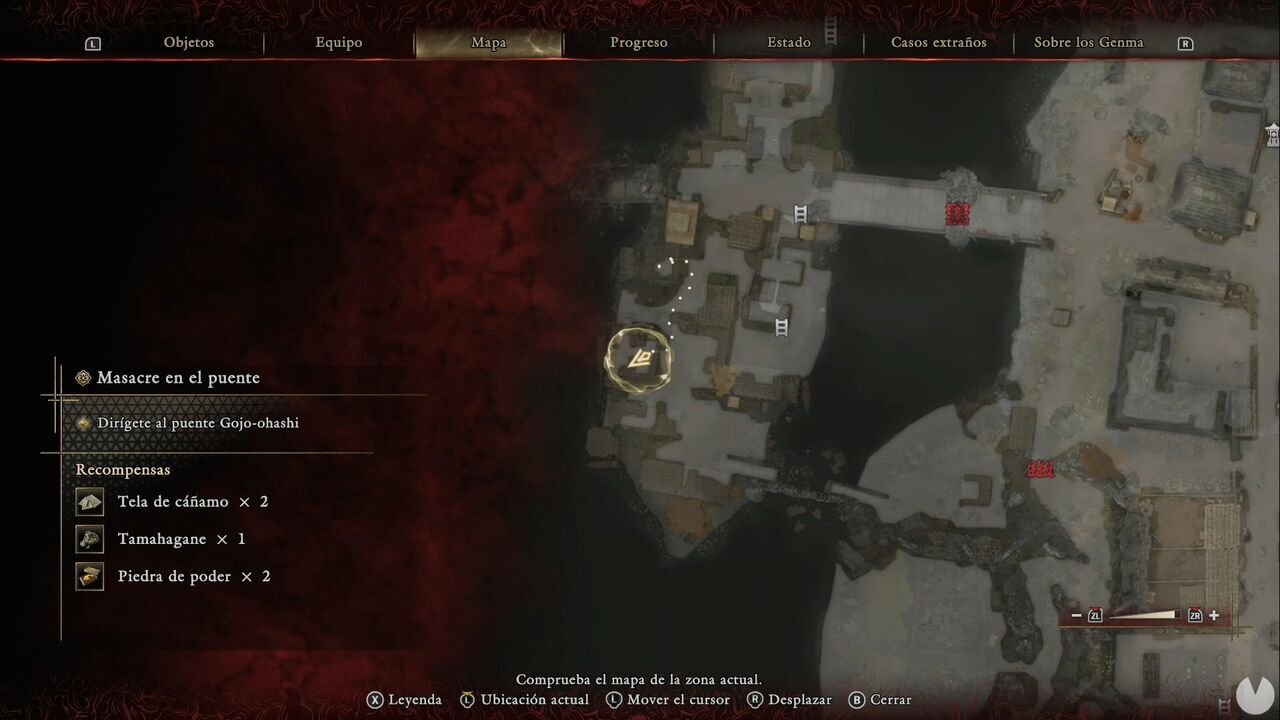
A little farther north along the western side, there's another chest inside a house. It contains a Whetstone.
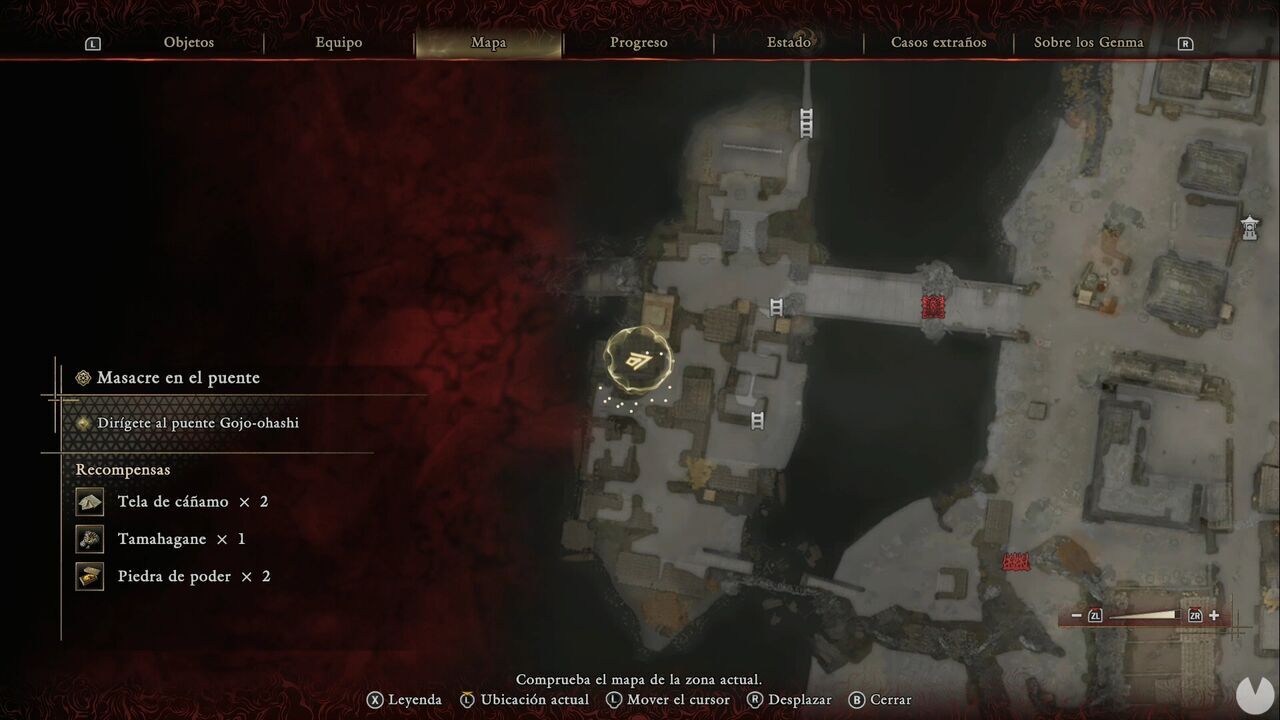
Ignore the Gauntlet marker for now; we'll deal with it shortly. Continue through the alley, pass underneath the obstacles, defeat the Genma and don't climb the ladder yet. Instead, keep going around the buildings to the north until you find a new Treasure. It contains Fine Silk Cloth.
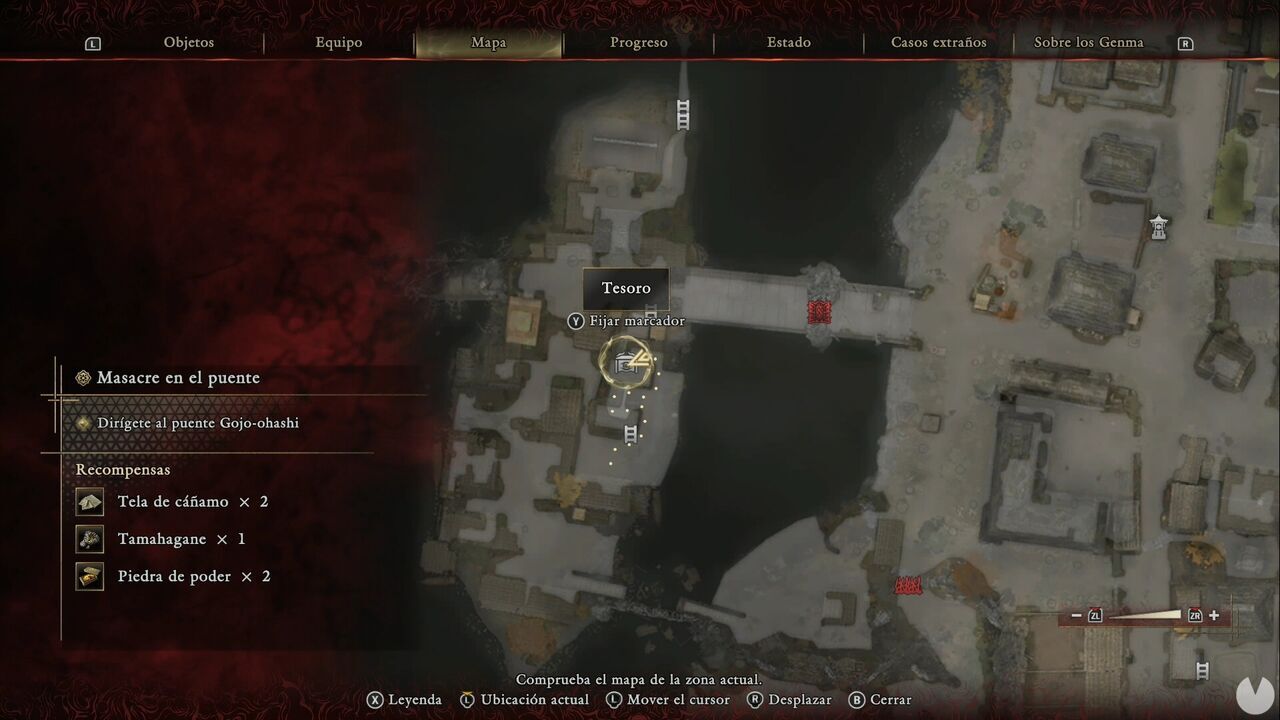
Now climb the ladder you just ignored and continue north. You can destroy the Malice Barrier on the bridge to the east, making it easier to return to the island later. There's another Treasure inside one of the nearby shops. It contains an Oni Stone.
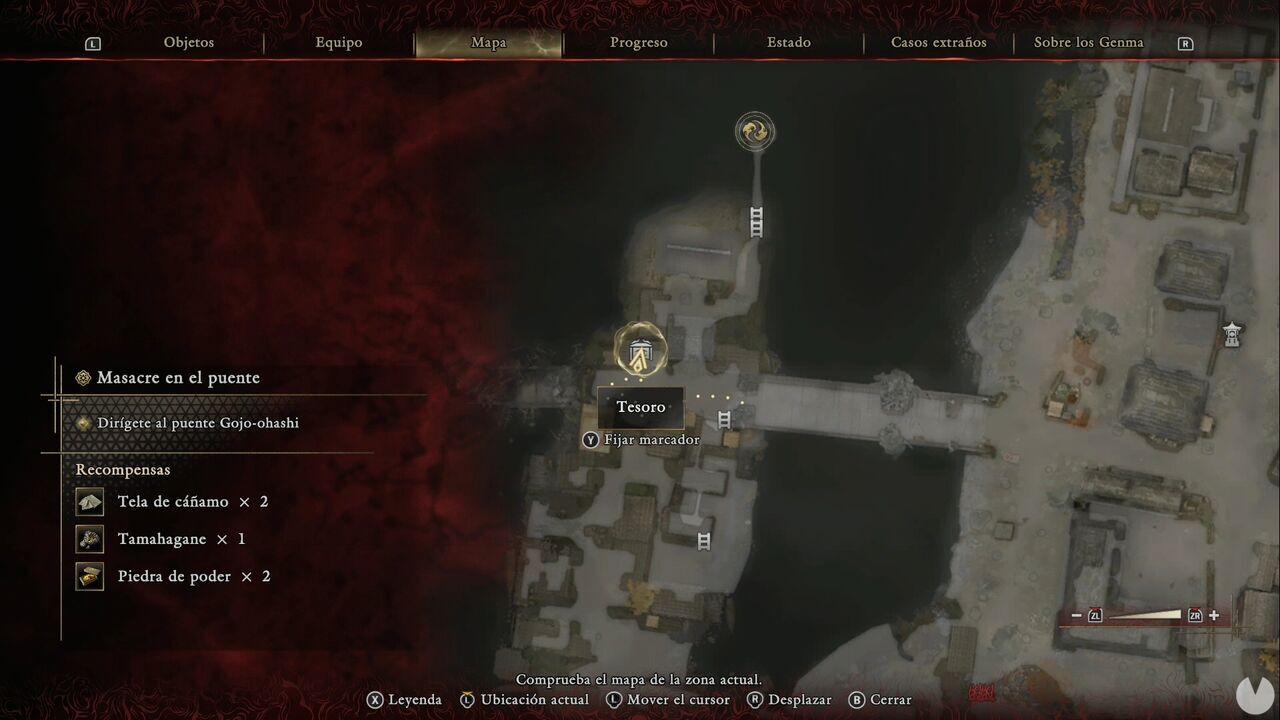
Finally, head all the way north and drop down the well. At the bottom, you'll find an Oni Glyph that activates the second Oni Gate. Complete it to unlock access to more powerful abilities.
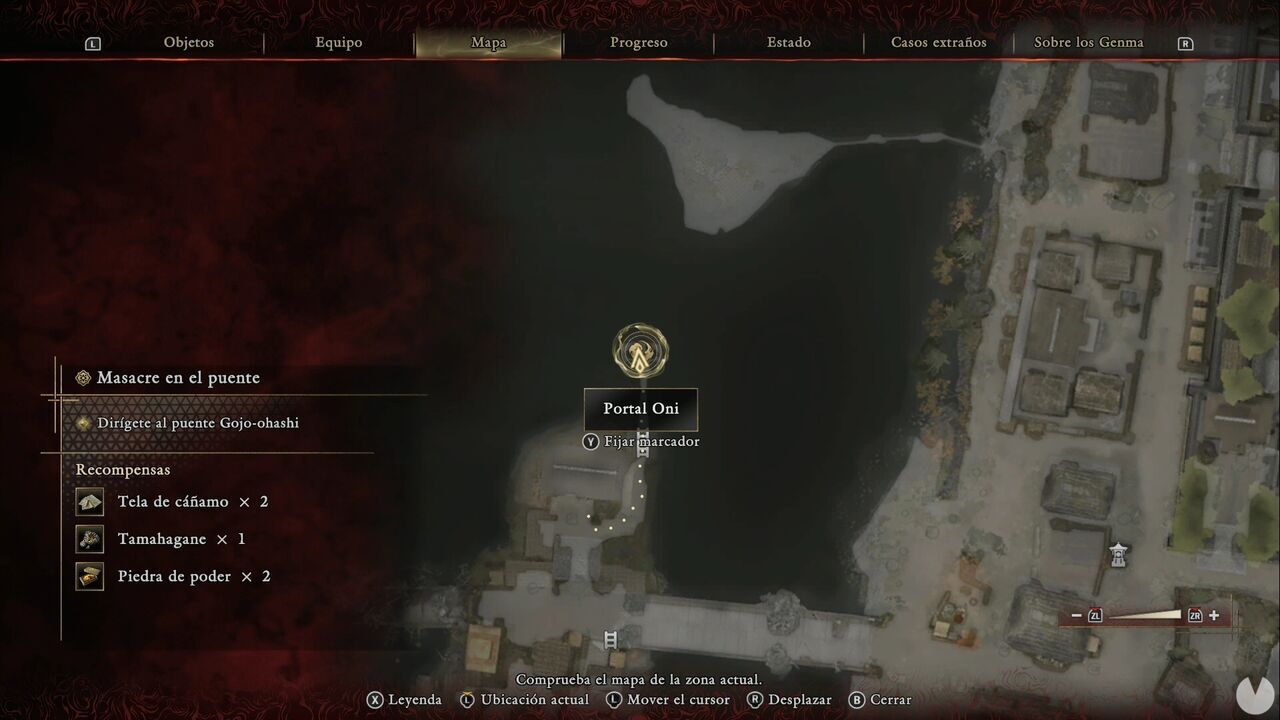
Make sure to unlock any new abilities you want, then we'll start heading southwest from the Kamo River - East Spirit Mirror. First, break the lock on the gate to open a shortcut east of the point where we wall-ran across to the northwestern island.
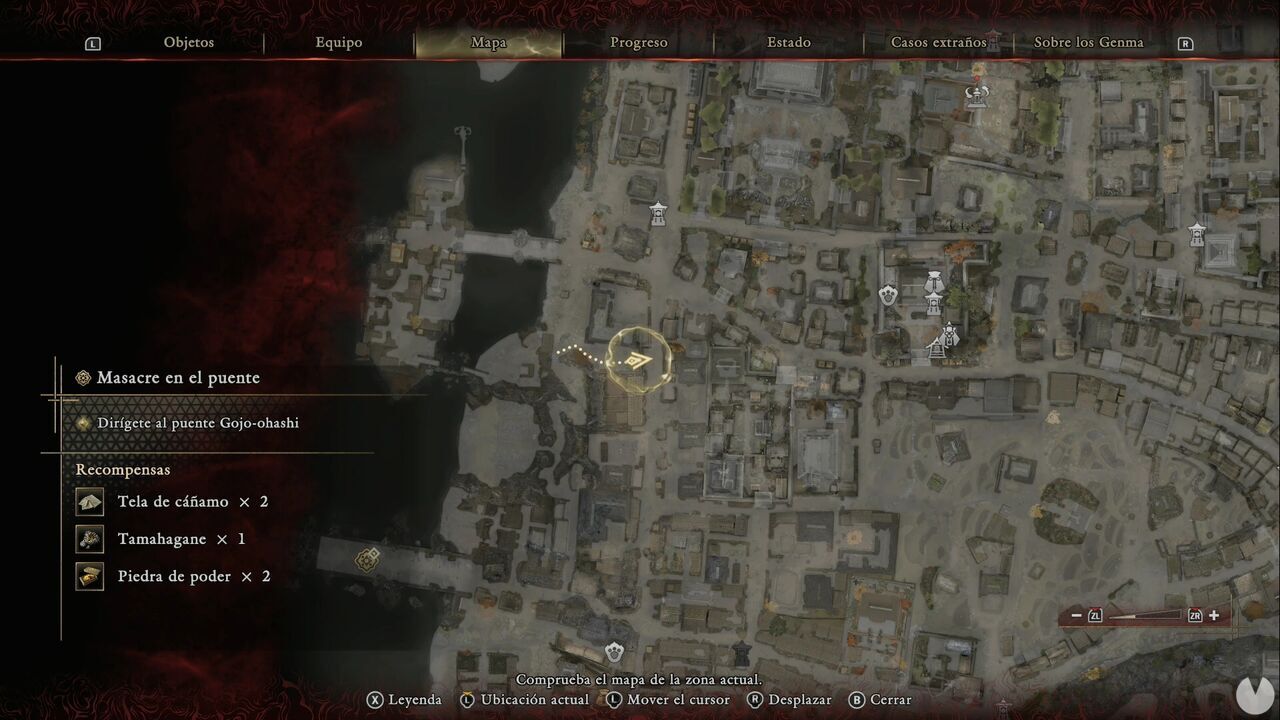
Enter the courtyard on the street immediately to the northeast to find a chest containing Iron.
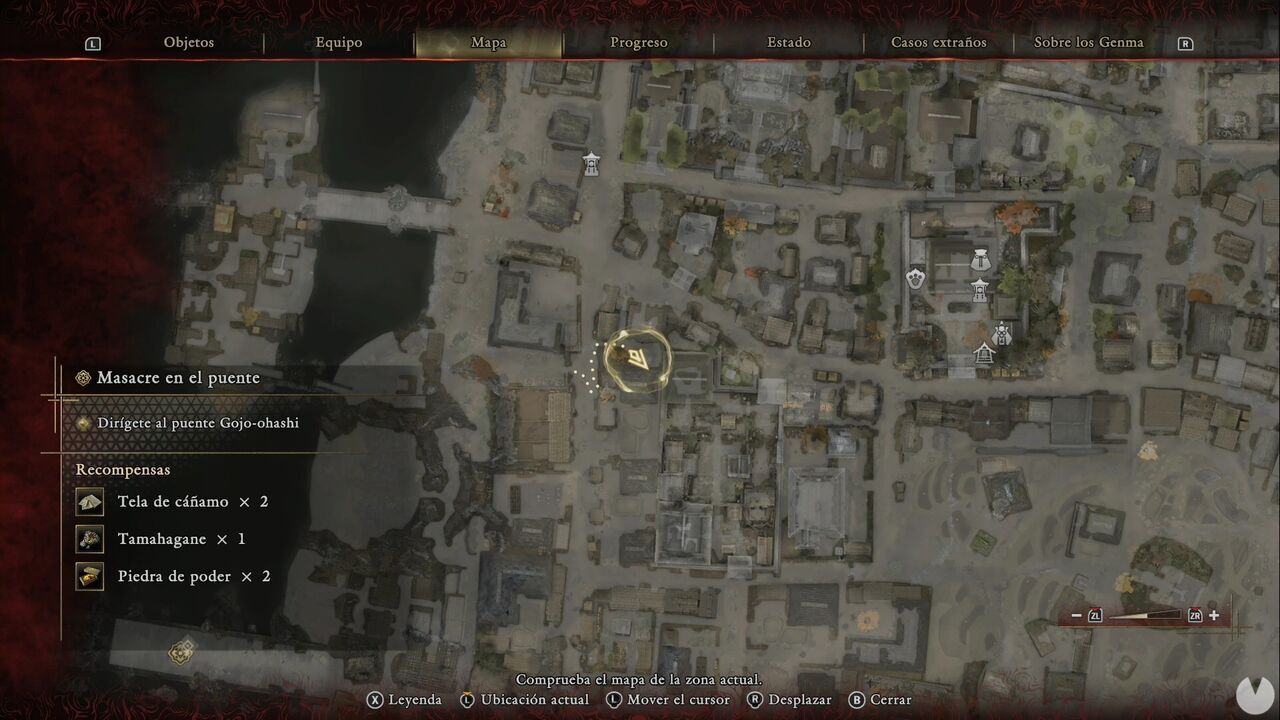
Continue south along the street and enter the field to the southwest a short distance ahead. In the southwestern corner of the compound, there's another chest containing Hempen Cloth.
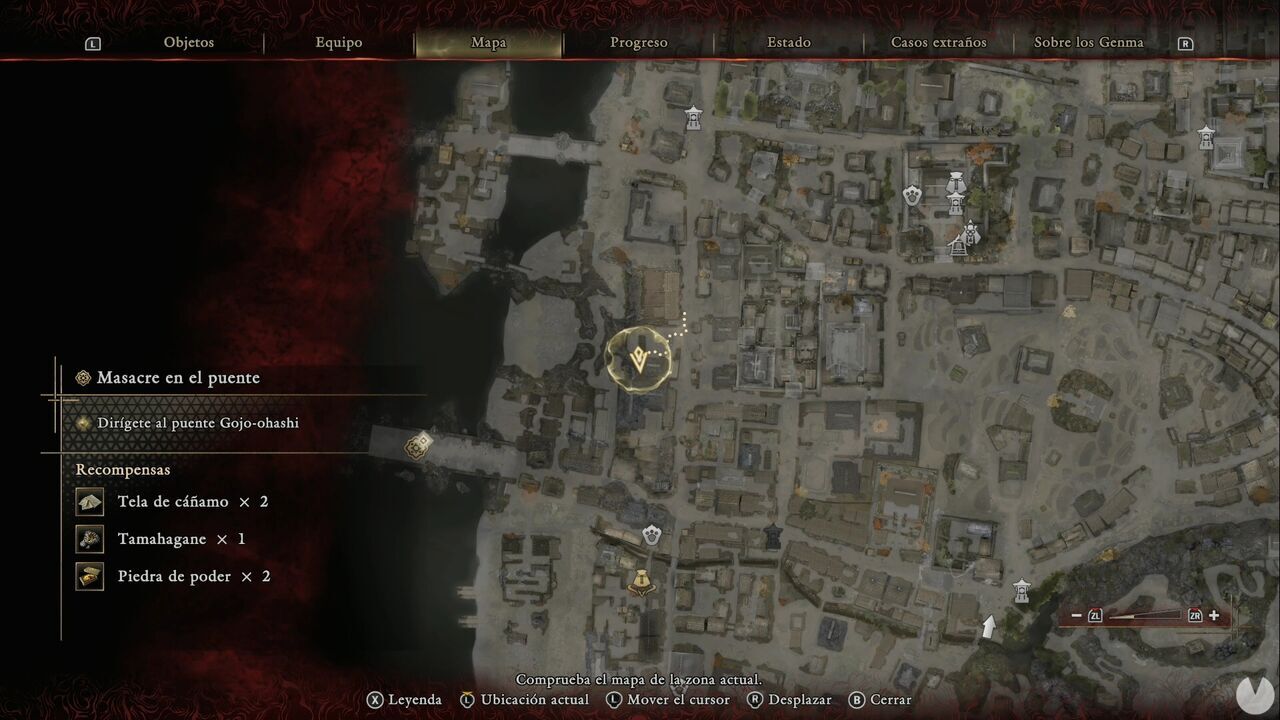
There are now a couple of intersections, but we'll head south so we can explore the area methodically. In the field directly south of the previous one, there's another chest containing a Whetstone.
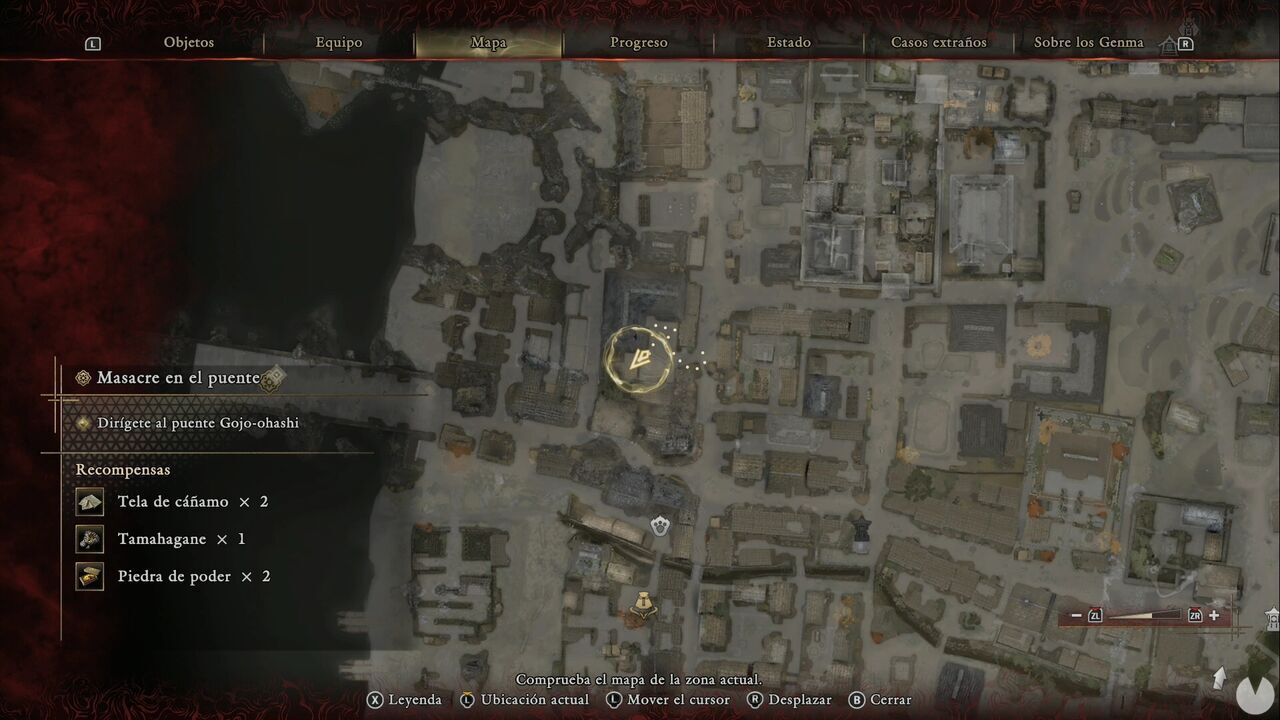
There's another chest inside the building directly to the east. It contains Cotton Cloth.
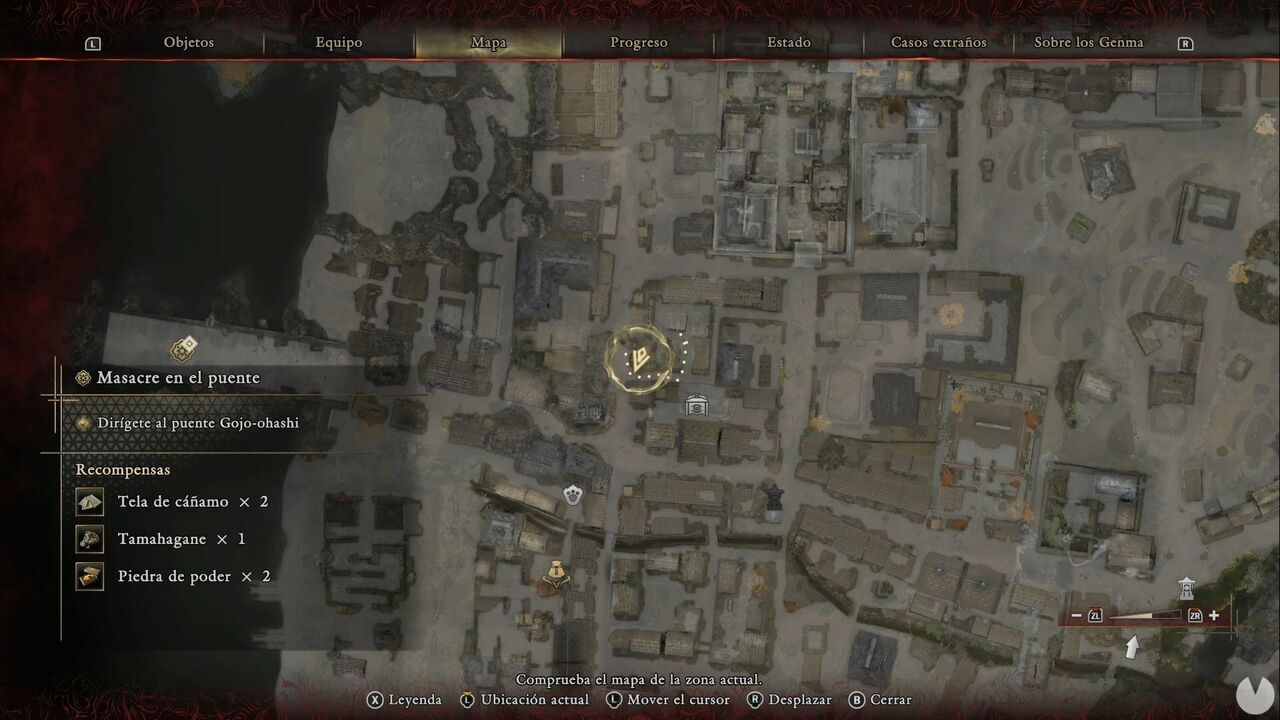
At this point, you may be wondering why we haven't explored the area southeast of the northwestern island, directly below the wall-running section between the two bridges. The reason is simple: that area isn't accessible yet. Ignore the Treasure icon you've probably noticed for now and head north, then east at the intersection. We'll work our way through the area from top to bottom to make sure we don't miss anything.
When you reach the next intersection, you'll find several enemies and a chest containing Iron and Cotton Cloth.
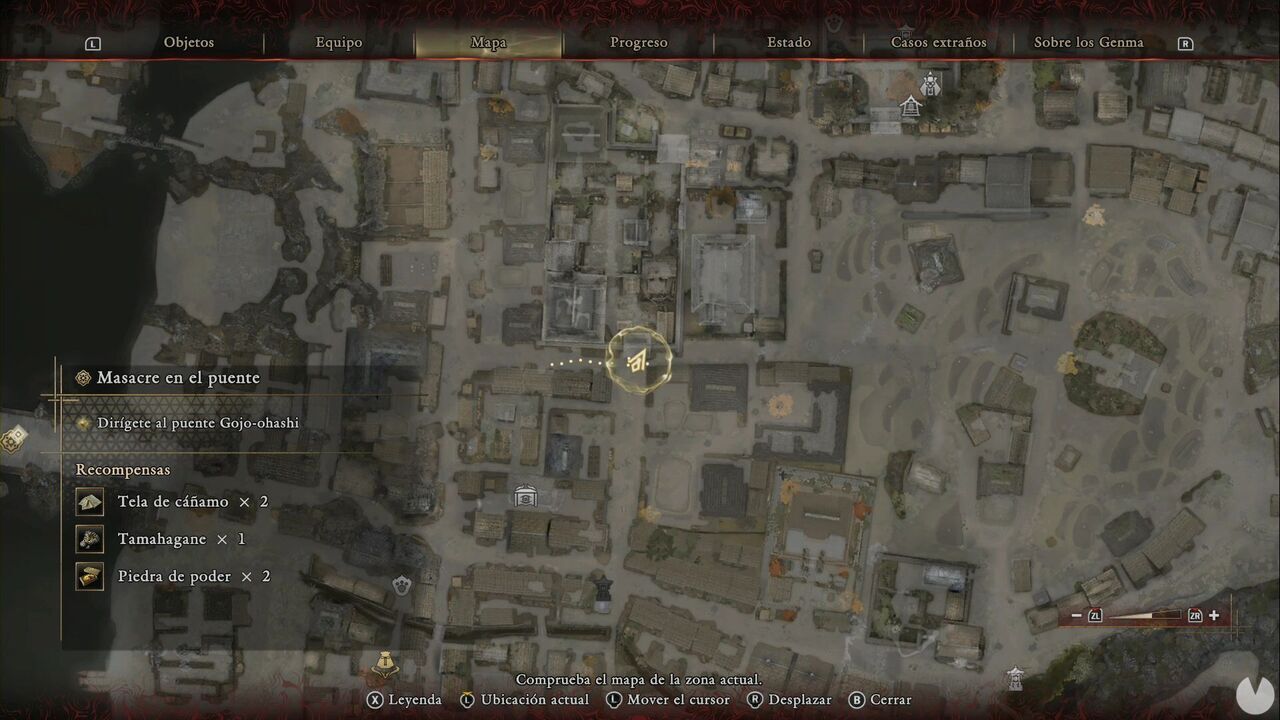
Since you're here, continue east to open the shortcut to the fields. Remember where this intersection is, because we'll return in a moment. First, though, there's something to collect at the old temple just north of the intersection. We visited this area while looking for materials for the first Hozuki Pouch, but there's now an Oni Glyph here as well. Remember that the old temple is accessed from the street west of Rokudo-chinnoji Temple; from there, simply head south to the building just north of the intersection.
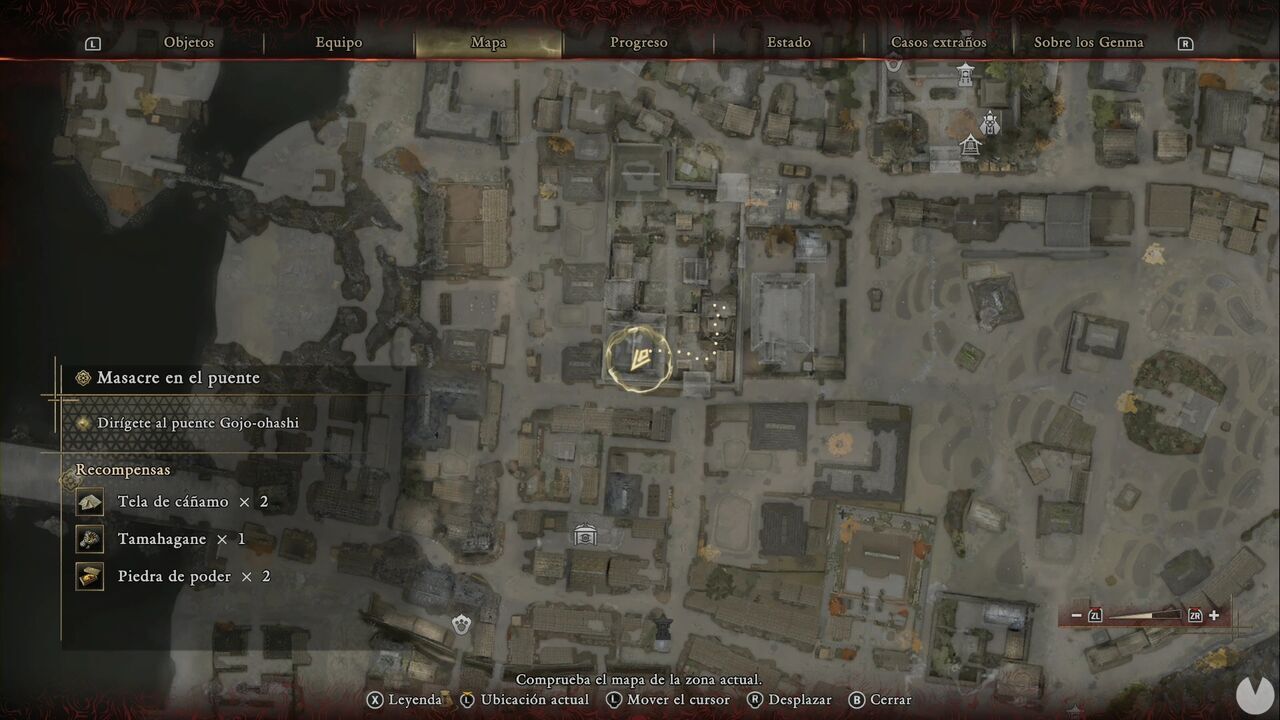
Activating it will reveal a new Kyoto Treasure. It contains the Genma Note: Kogai. Return to the intersection and head south. As soon as possible, turn west through an alley that leads to the ladder of a watchtower.
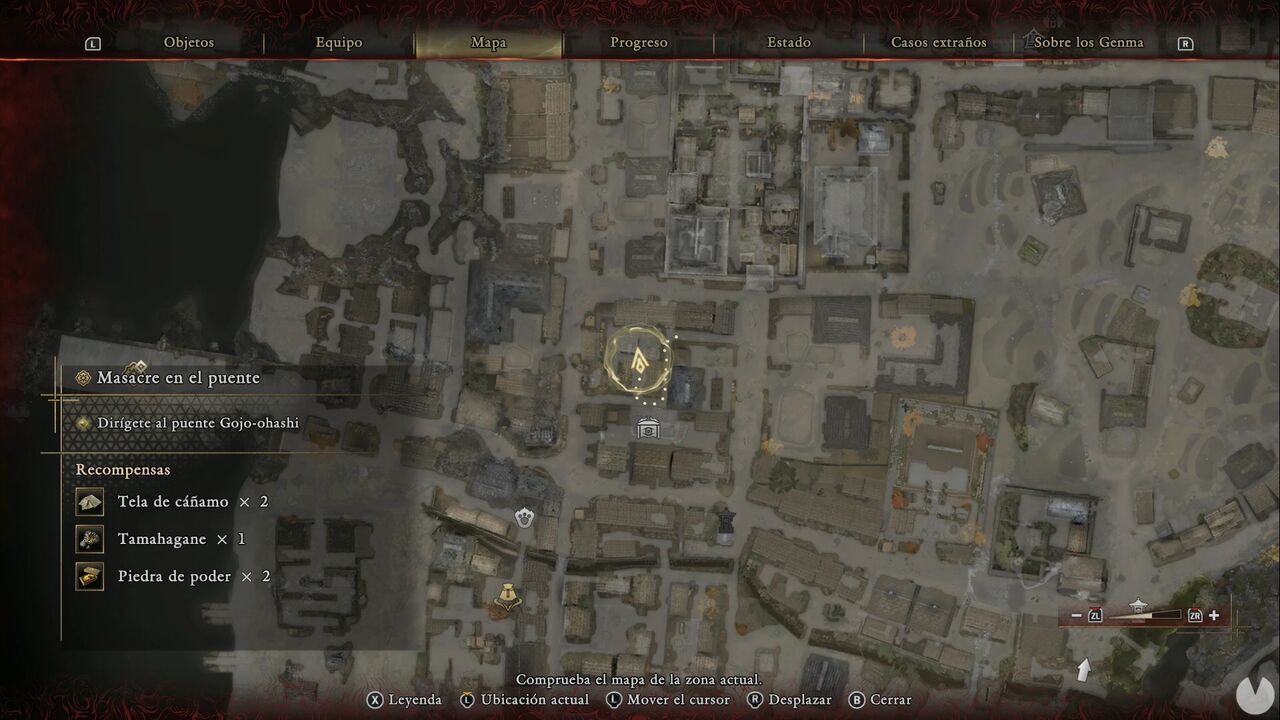
Climb it to find another Oni Glyph, which reveals another Treasure. It contains a Sun-Dried Hozuki. There's nothing particularly important inside the houses and fields east of the street, just enemies and a few minor consumables.
Now head for the Treasure icon visible to the south.
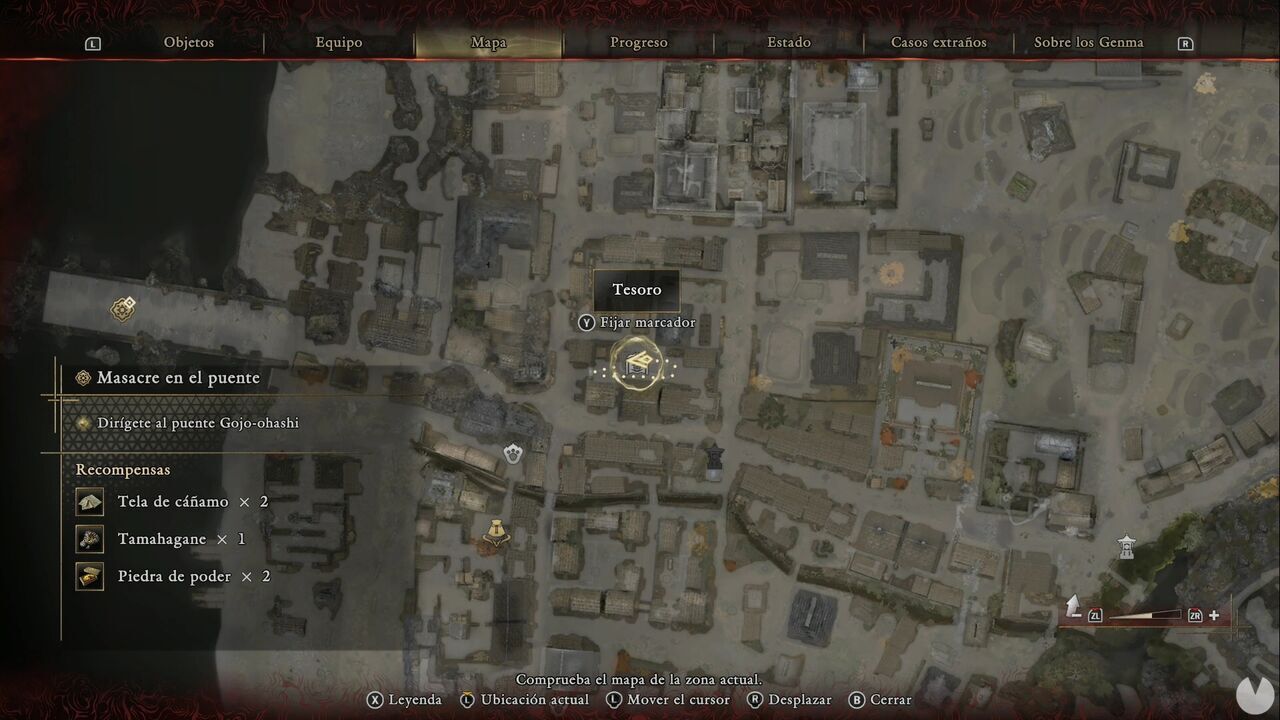
You can reach this chest either from the street southwest of the intersection or by heading down the street east of the watchtower. It's inside a small building within a fenced compound, but the western gate is open, and the house in the southeastern corner of the block also provides access. It contains Fine Silk Cloth.
When you return to the intersection, a cutscene will play. Don't head west yet, as the paths north and south near the bridge are still blocked and there's nothing else worth checking there for now. Instead, head east from the intersection until you reach the Gojo Street - West Spirit Mirror.
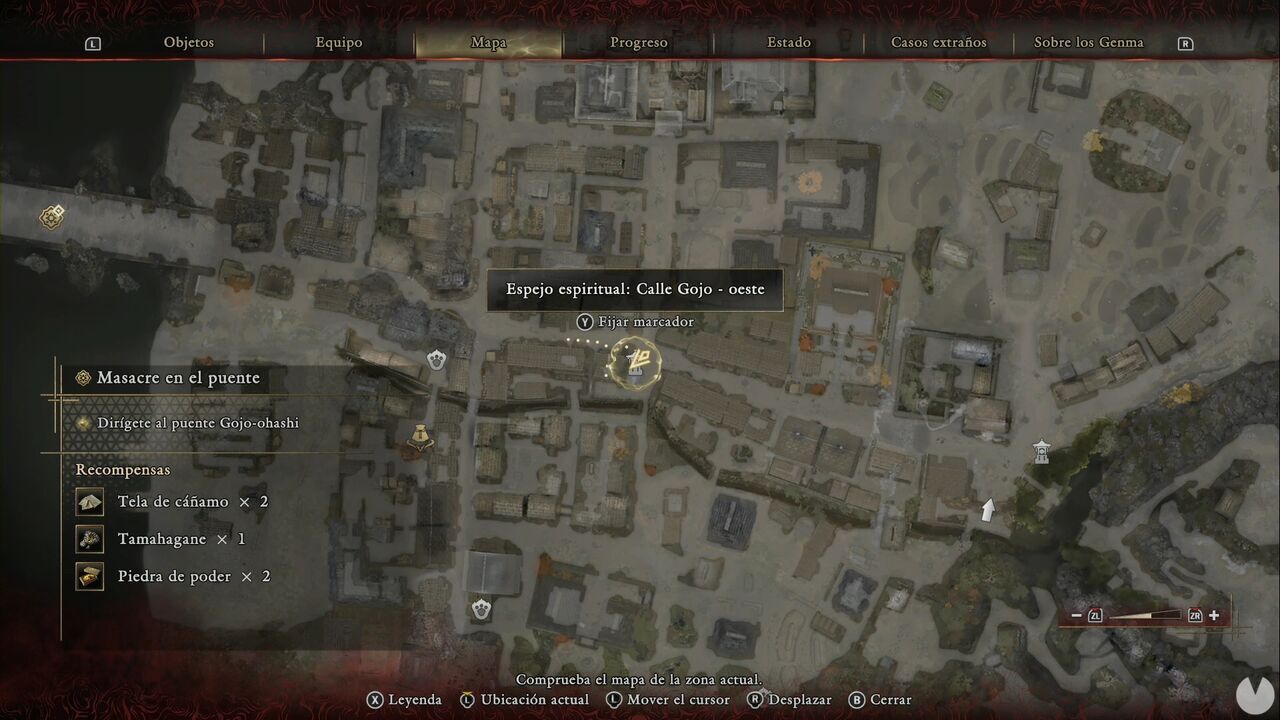
There's a watchtower next to the Spirit Mirror. Climb the ladder to find a chest containing Hempen Cloth. Continue east along the street from the Spirit Mirror. Take the first turn south and climb the steps to the east to enter a small shed containing a chest. It holds Tempered Iron.
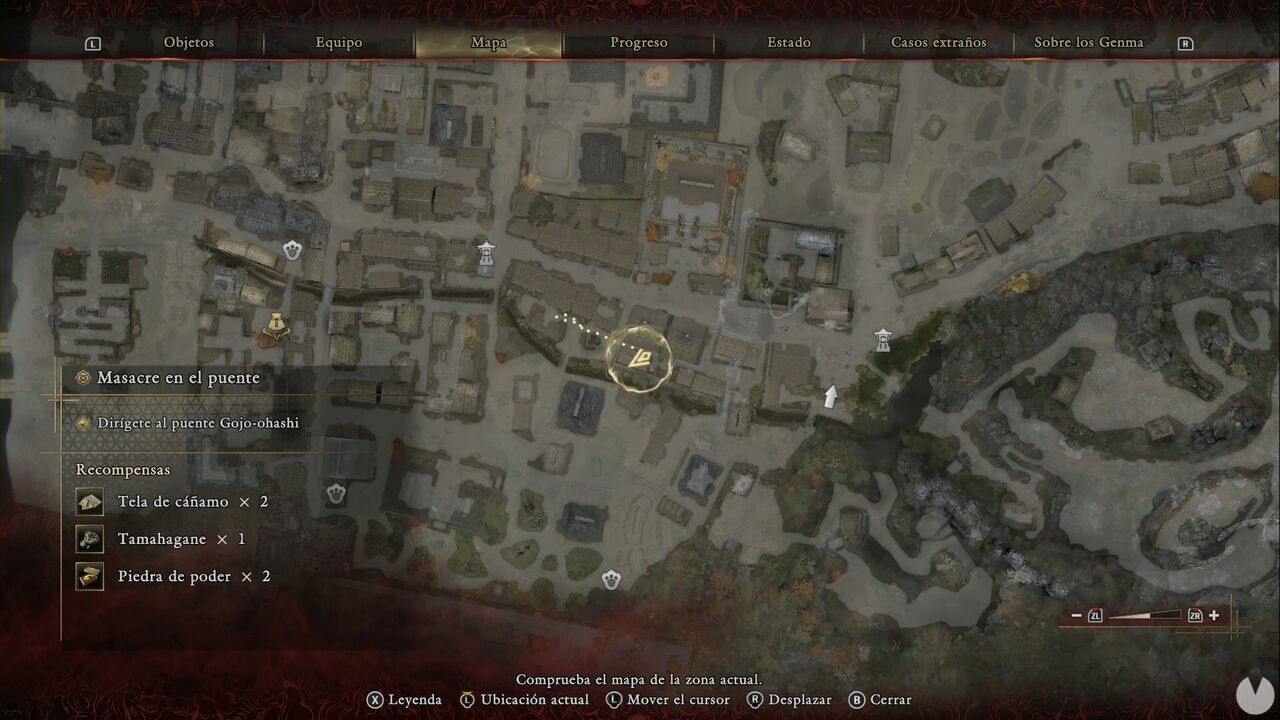
Don't take the southern exit yet. Instead, return to the street, continue a little farther east and enter the small temple to the north. Inside, you'll find a chest containing a Whetstone, and beyond the northern gate, another Treasure containing an Oni Stone.
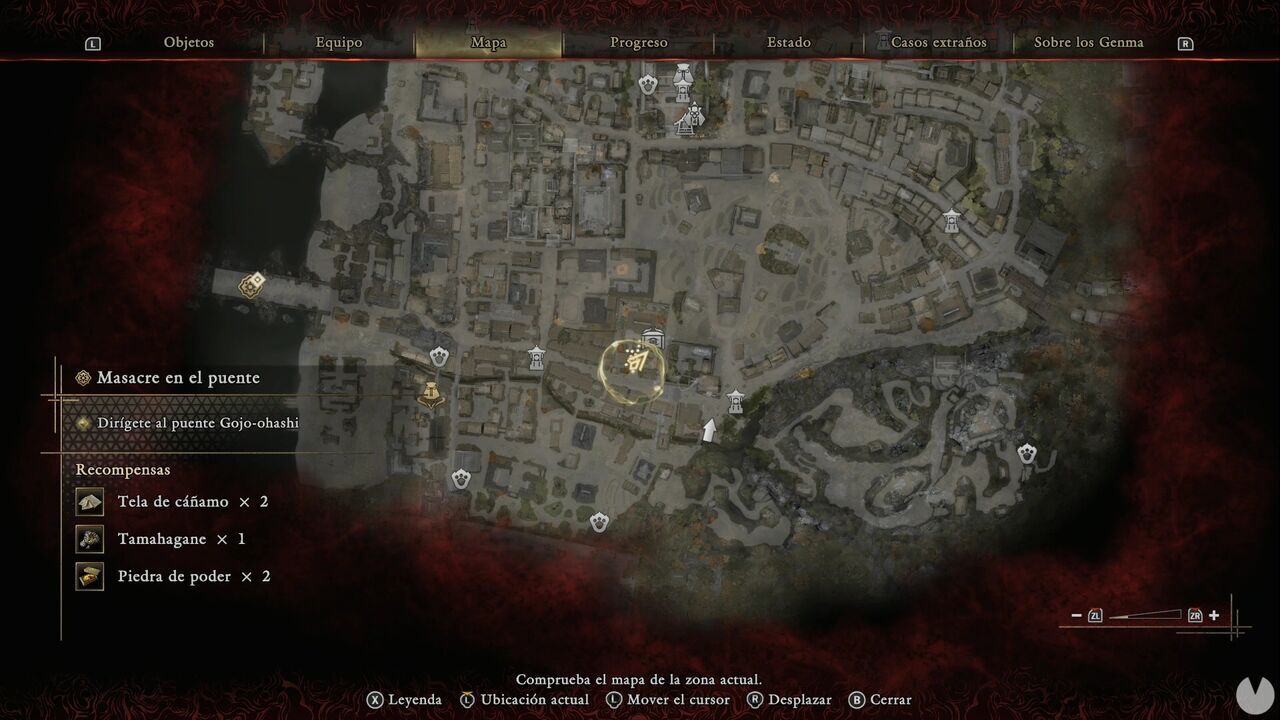
Now head down into the southern area through the courtyards on the southern side of the street and go northeast to open the shortcut leading to the Spirit Mirror at the entrance to Toribeno.
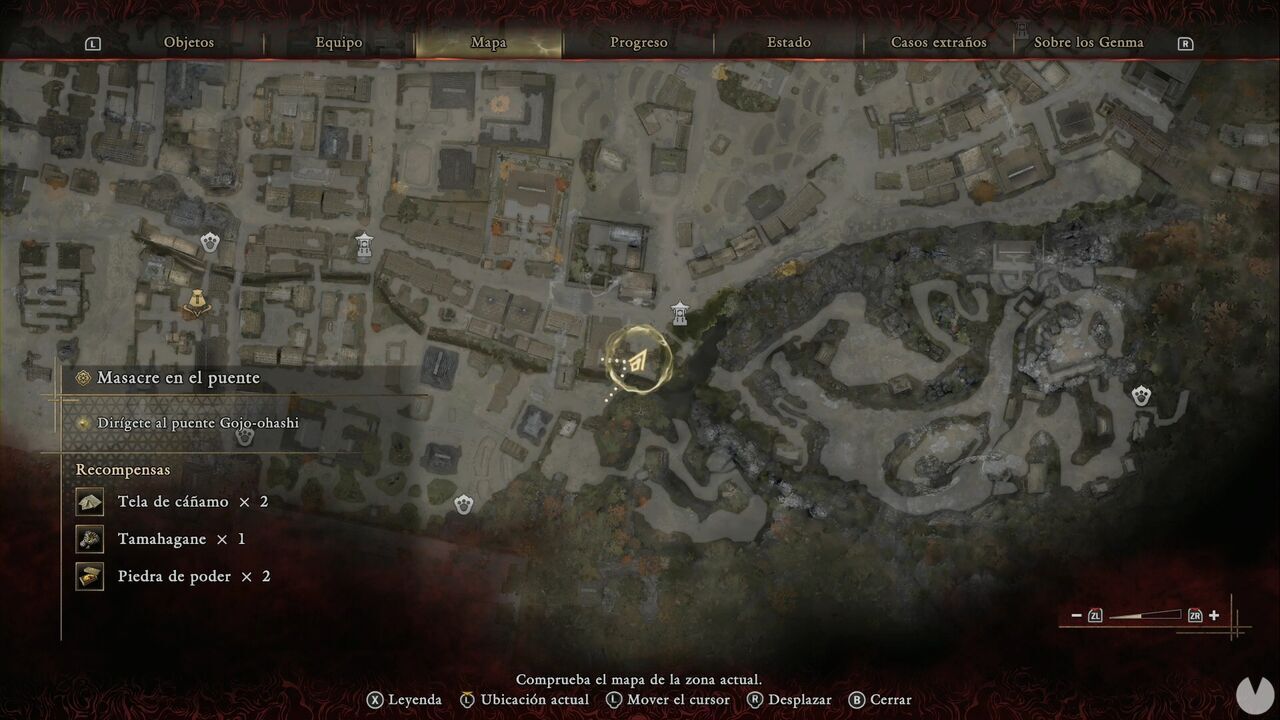
Ignore the compound to the south-southeast for now, as there's nothing there and the path leading east is blocked. Captain Obvious would also like to remind you that we're deliberately ignoring the Lion Dogs in this area for now, since we're currently focusing on materials, chests, Glyphs and similar content. You can collect the two you'll pass during this exploration if you want, but we'll remind you about them later.
Head south to find a new Treasure, beyond the Lion Dog icon. It contains an Oni Stone.
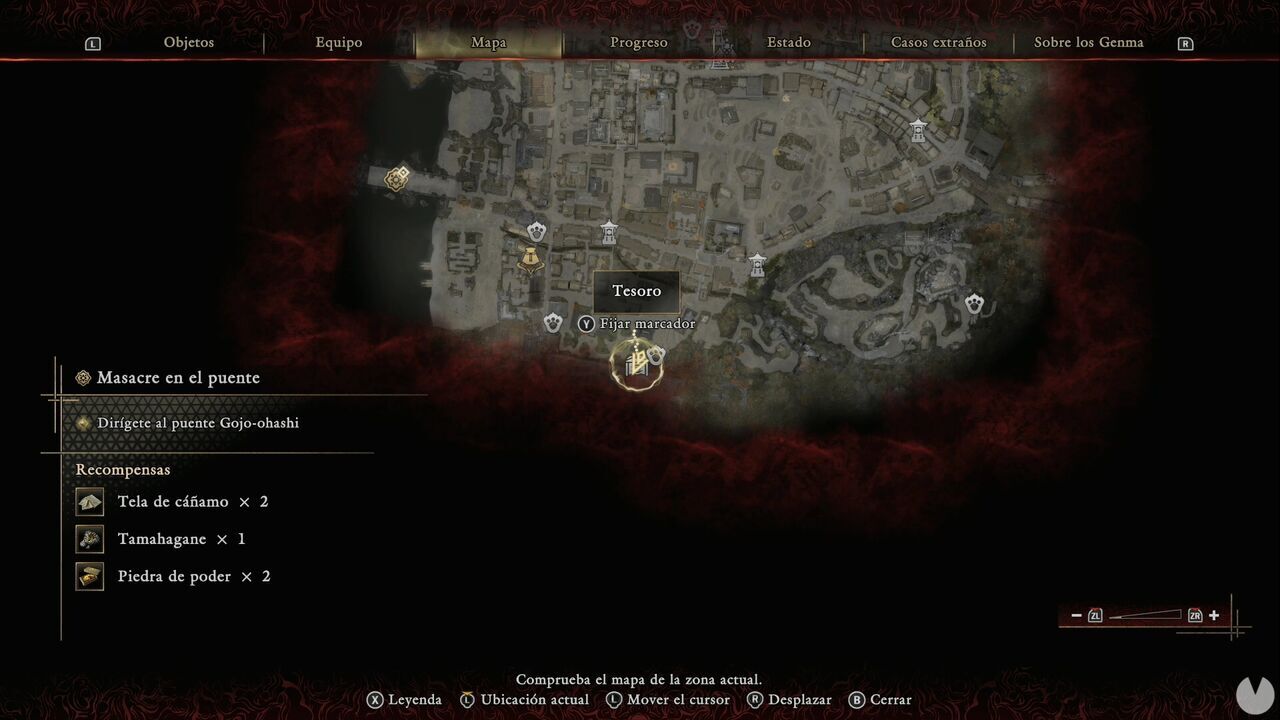
Follow the southern edge until you reach a small building. As you approach, one of those tentacled creatures will burst out from inside, smashing through the paper door. Inside is a chest containing Whetstones and Cotton Cloth.
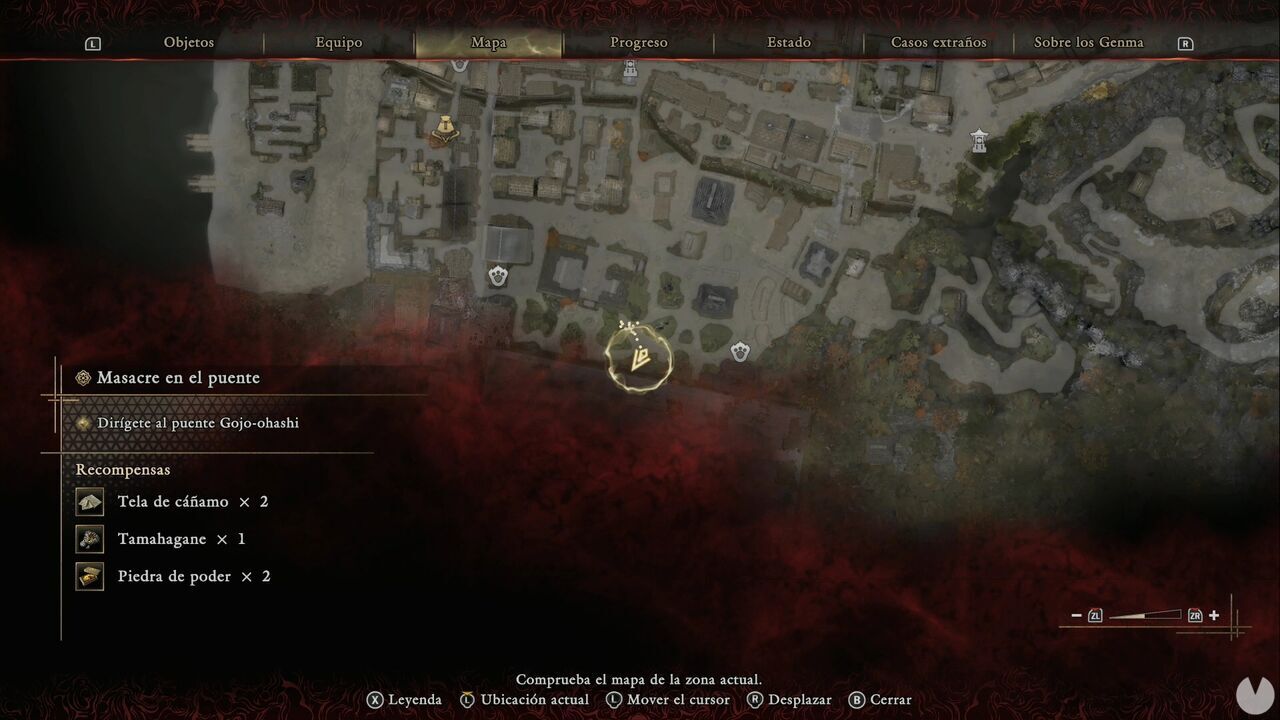
There's nothing else in this section, so head toward the central part of the fields. First, enter the compound south of the Gojo Street - West Spirit Mirror. Here you'll find the next Treasure chest, containing Tamahagane, as well as a chest containing Iron.
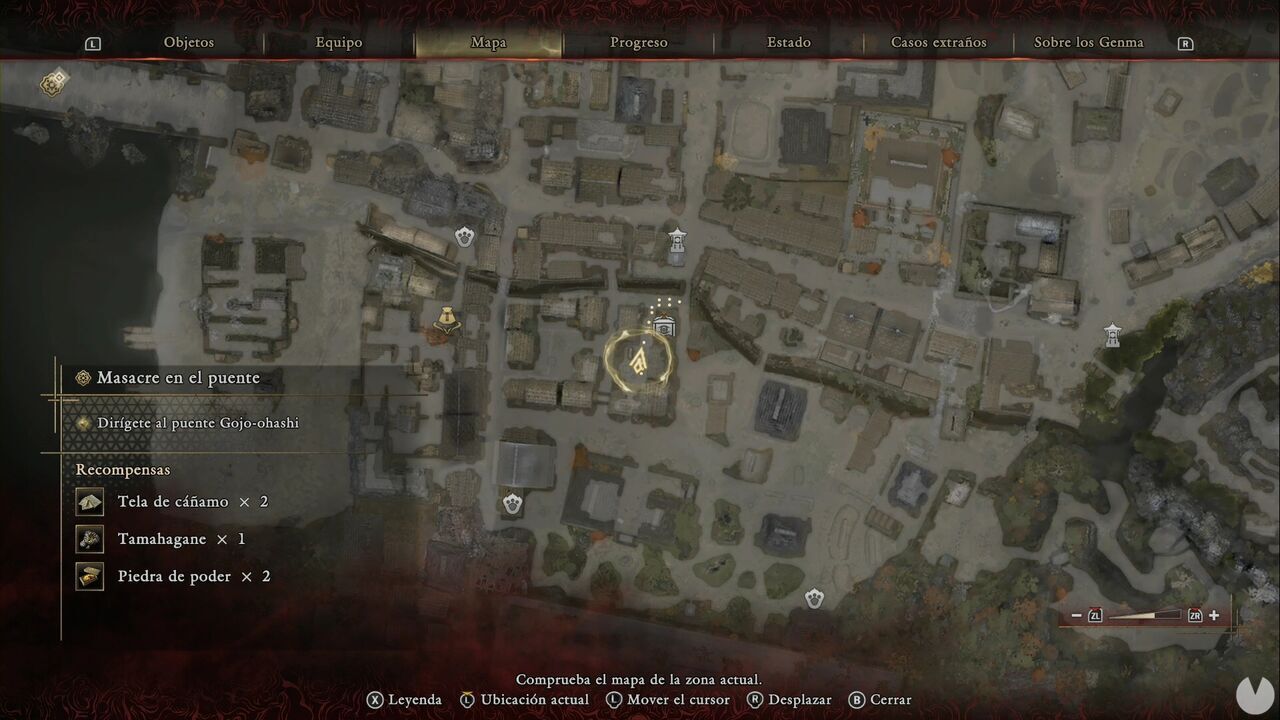
From the compound containing the two chests, head directly south and climb out through the window. Continue south until you reach a courtyard packed with enemies. Defeat them all to find another chest containing Whetstone x2 and Cotton Cloth.
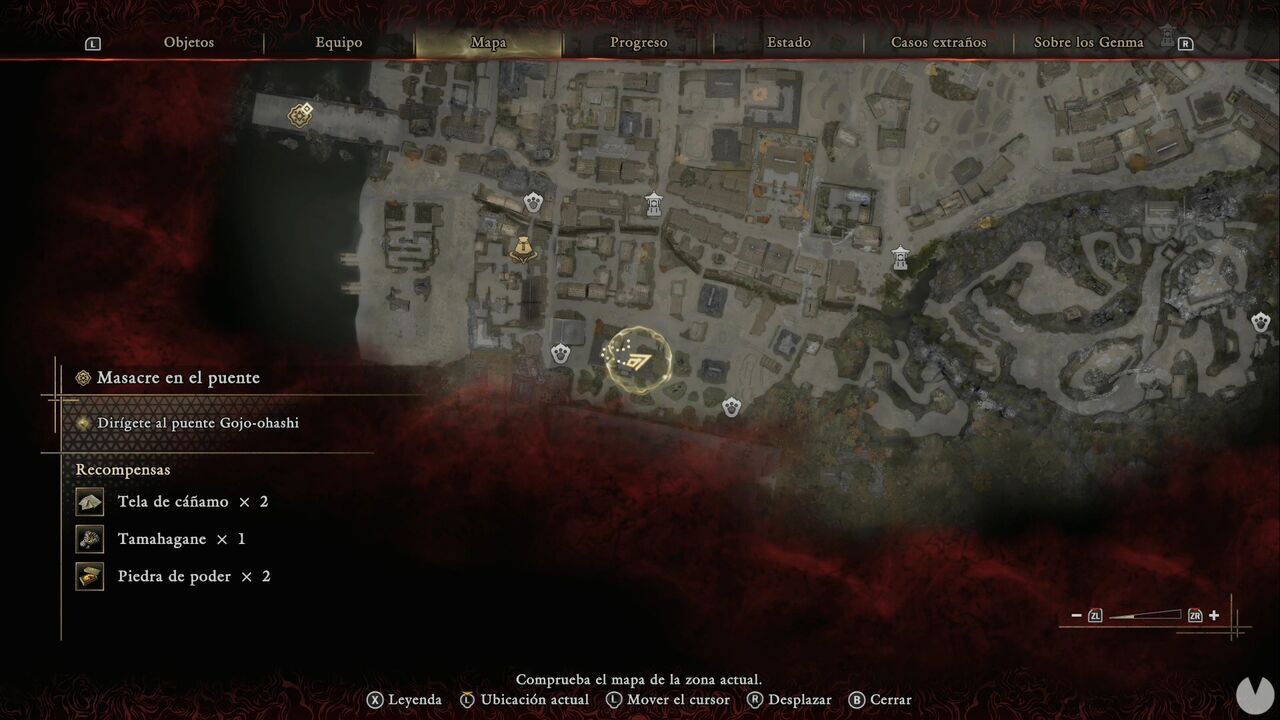
Now move to the group of buildings southwest of the Gojo Street - West Spirit Mirror, approaching from the south, or north-northwest from the courtyard you just left. Head all the way north and then turn west along the only available route to find another Treasure. It contains more Tamahagane.
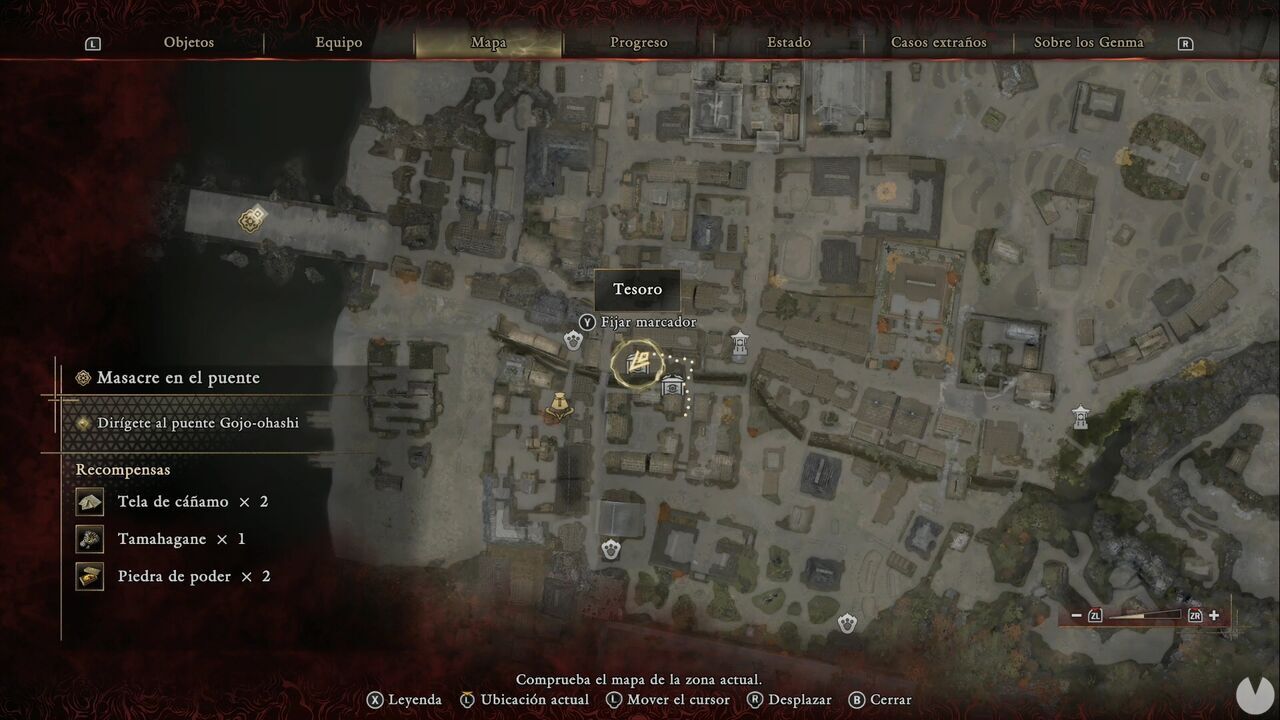
Now backtrack and head to the center of this group of houses. You'll find a courtyard full of enemies and a large number of explosive barrels inside the buildings. Once everything is clear, there's a chest in the courtyard containing Iron and Cotton Cloth. Leave through the window of the northern building to reach another Treasure. It contains a Power Stone.
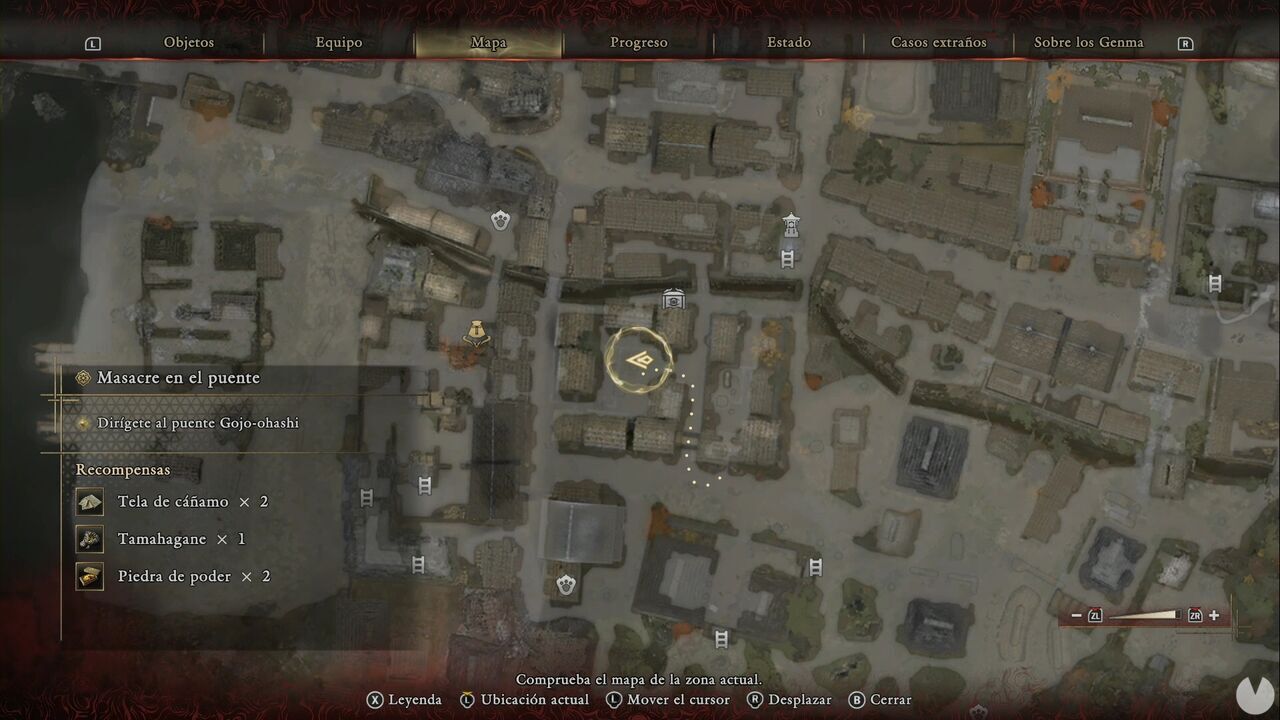
We're almost done. To continue, start by heading south from the intersection west of Gojo Street - West. Enter the first house to the west that you can access, on your right as you head south, to find a chest containing more Cotton Cloth.
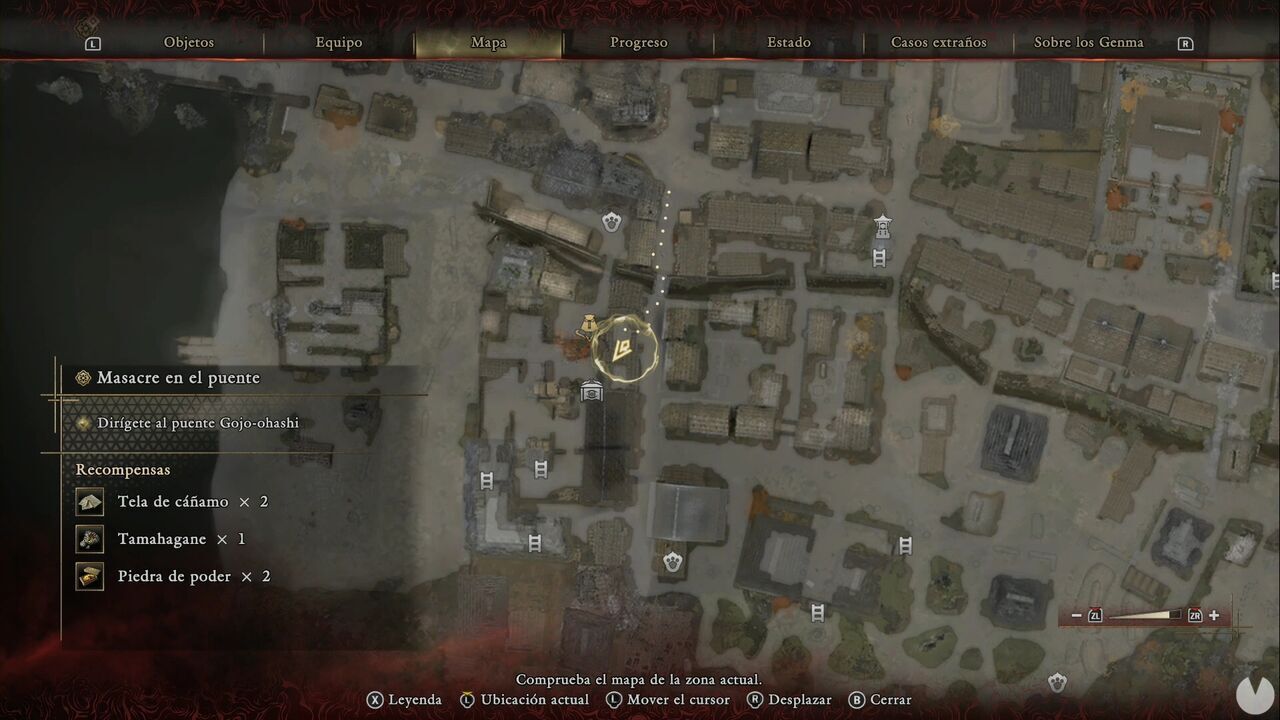
Continue all the way south until you can turn west. You'll reach an alley packed with enemies and the entrance to a storehouse, where you'll see a chest containing Iron x2.
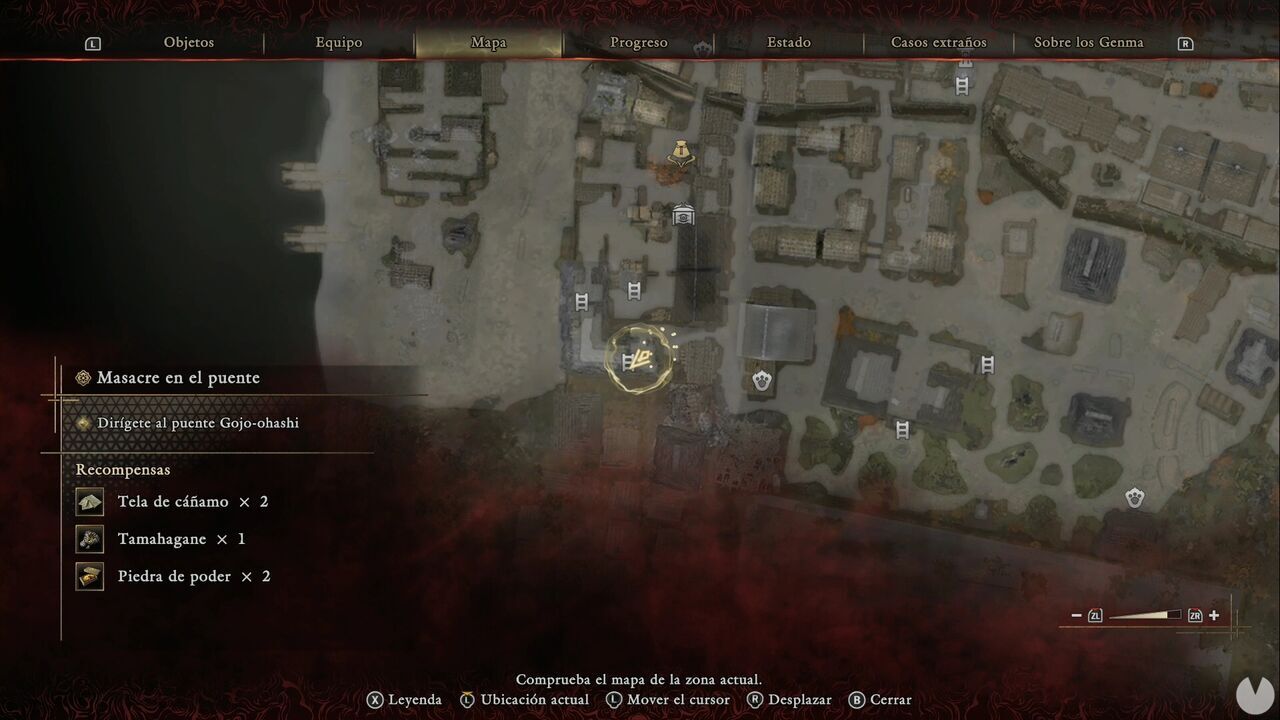
Now climb the ladder. Continue until you reach another ladder leading back down. As soon as you descend, don't leave through the door: there's an opening next to the ladder that you can crawl through. This leads to a room with two enemies and a chest containing Leather. Crawl back out to the courtyard, where you'll find another chest, this time containing Cotton Cloth.
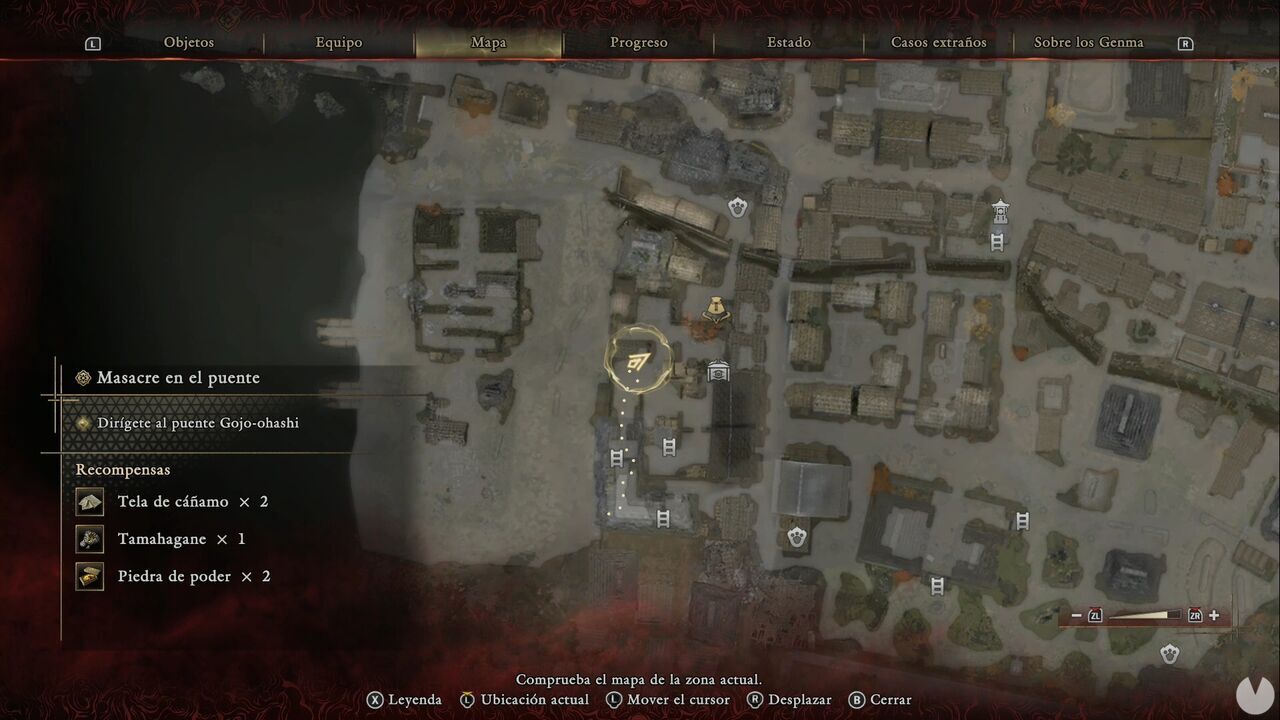
Next, go around the courtyard toward the base of the watchtower ladder. Beside it is a chest containing Tempered Iron. Now climb the ladder to kill one of the Weavers maintaining the nearby barrier.
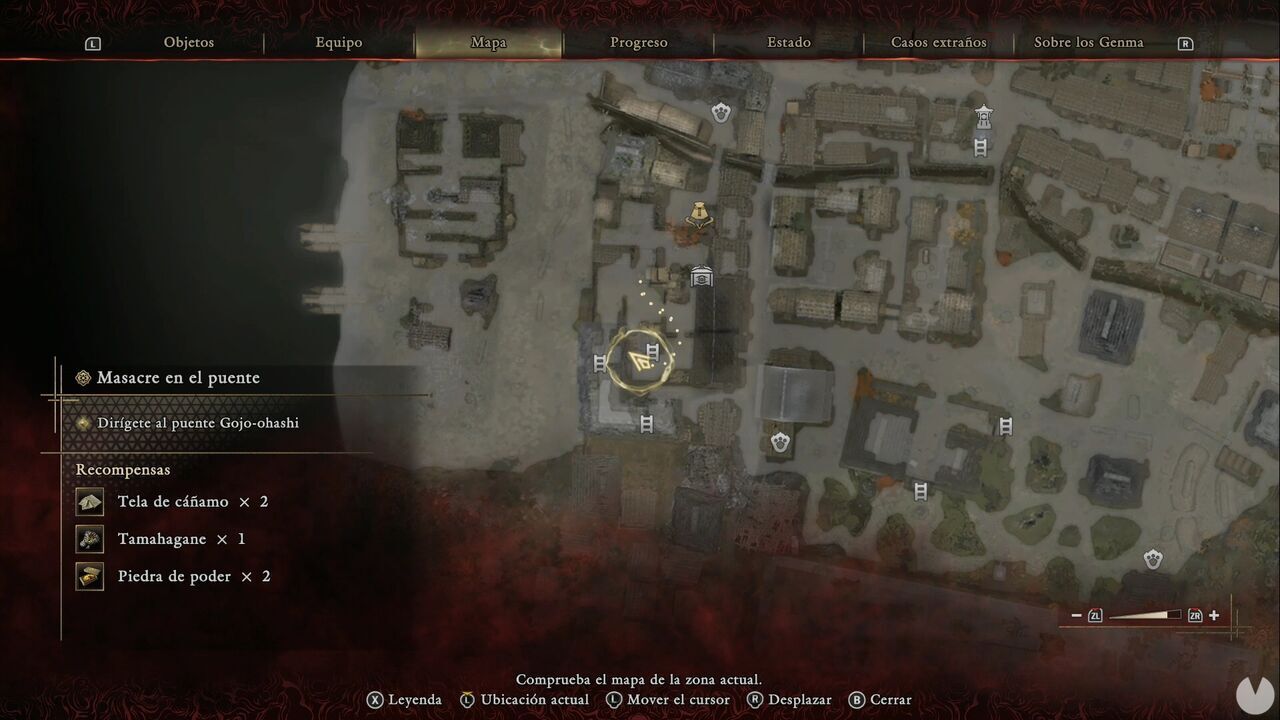
Return to the storehouse and crawl through the opening to reach the second Weaver and remove the barrier. Pass through the gate, defeat the enemies and find the next Treasure in the southeastern corner of the courtyard.
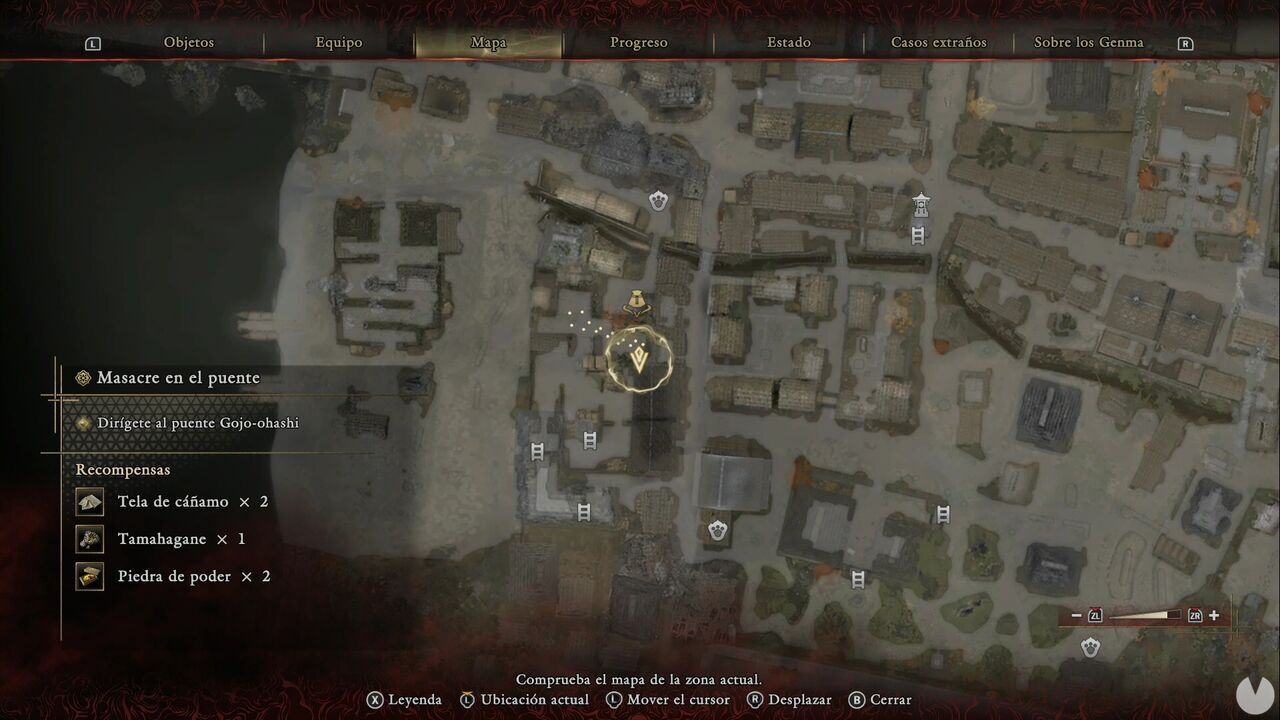
It contains a Skeleton Hozuki. Finally, head north through an opening in the courtyard toward the Hozuki Pouch marker. Activate the Oni Glyph to reveal another Treasure containing the Oni Cloth (Aggressor). We'll use it to obtain a new Hozuki Pouch shortly.
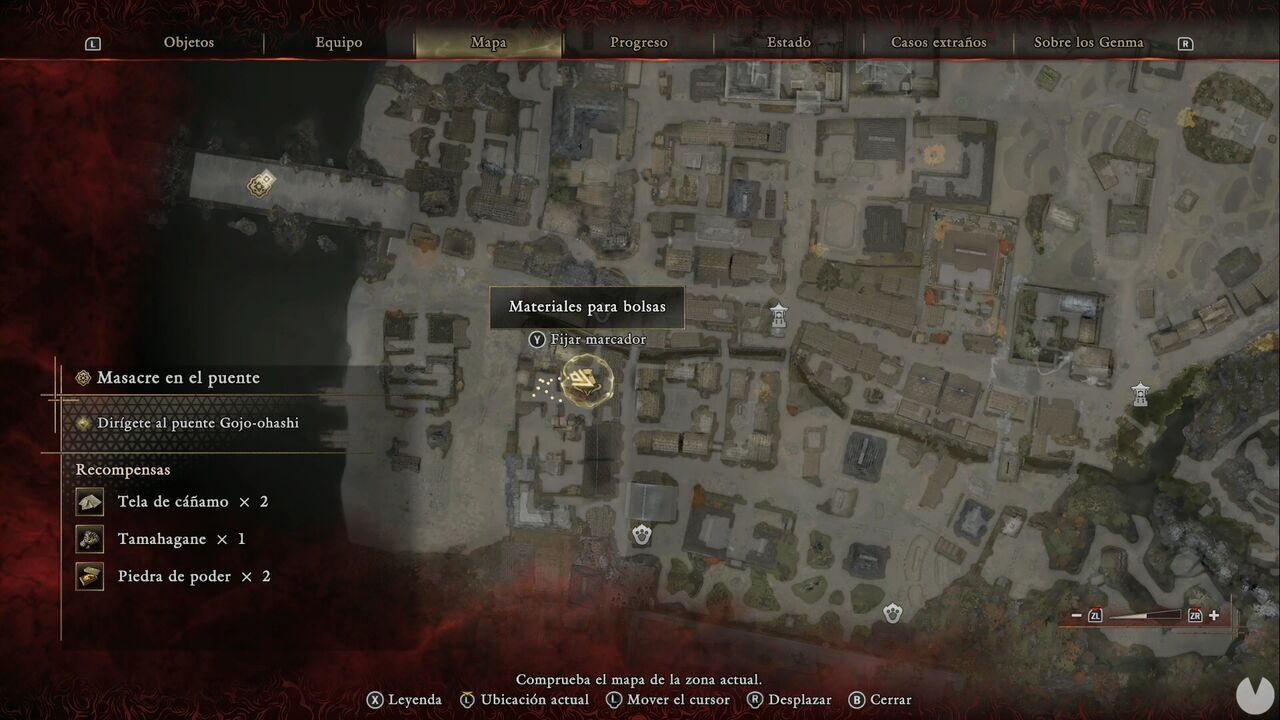
Open the northern gate and continue west. Head to the southwestern corner of the riverbank to find a Rift from which a Dohatsu-ten will emerge. Like the Byakue Rift, this one reappears after some time if you return to the area, allowing you to farm Dohatsu-ten's Horns for Gauntlet enhancements.
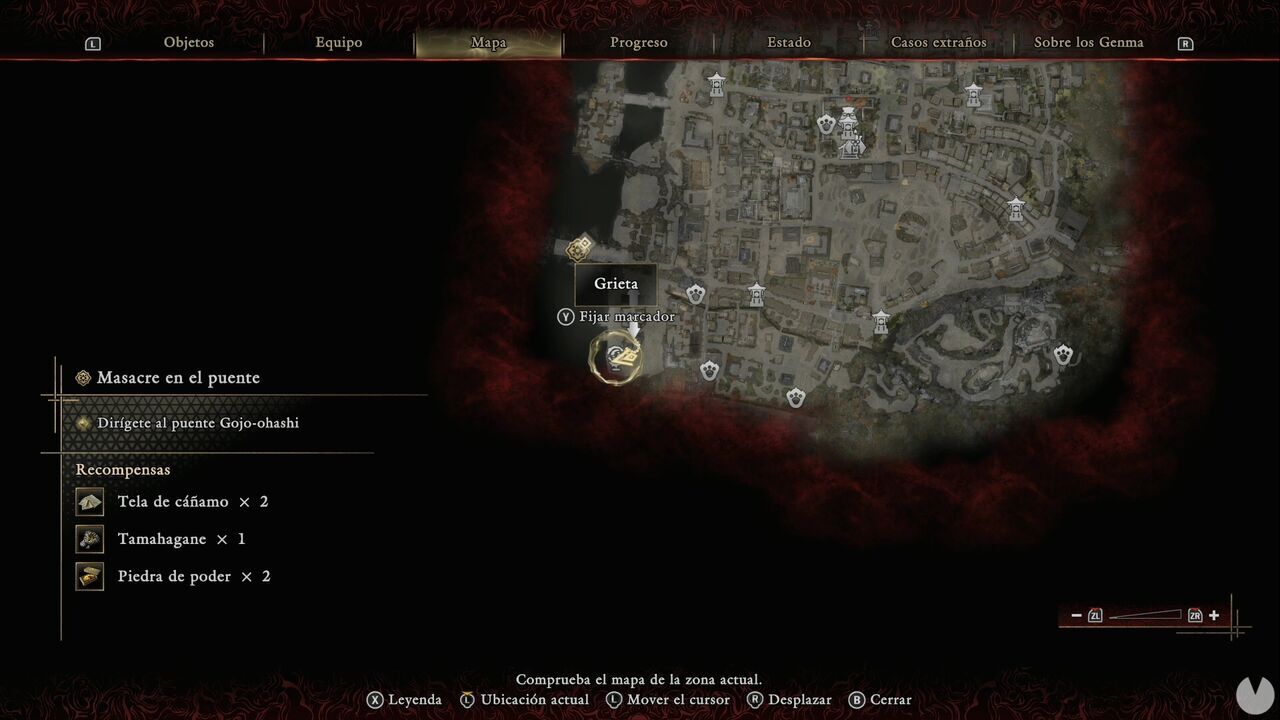
Finally, head to the western dock to find another Oni Glyph, which will reveal a Treasure. It contains a Mirror of Revival.
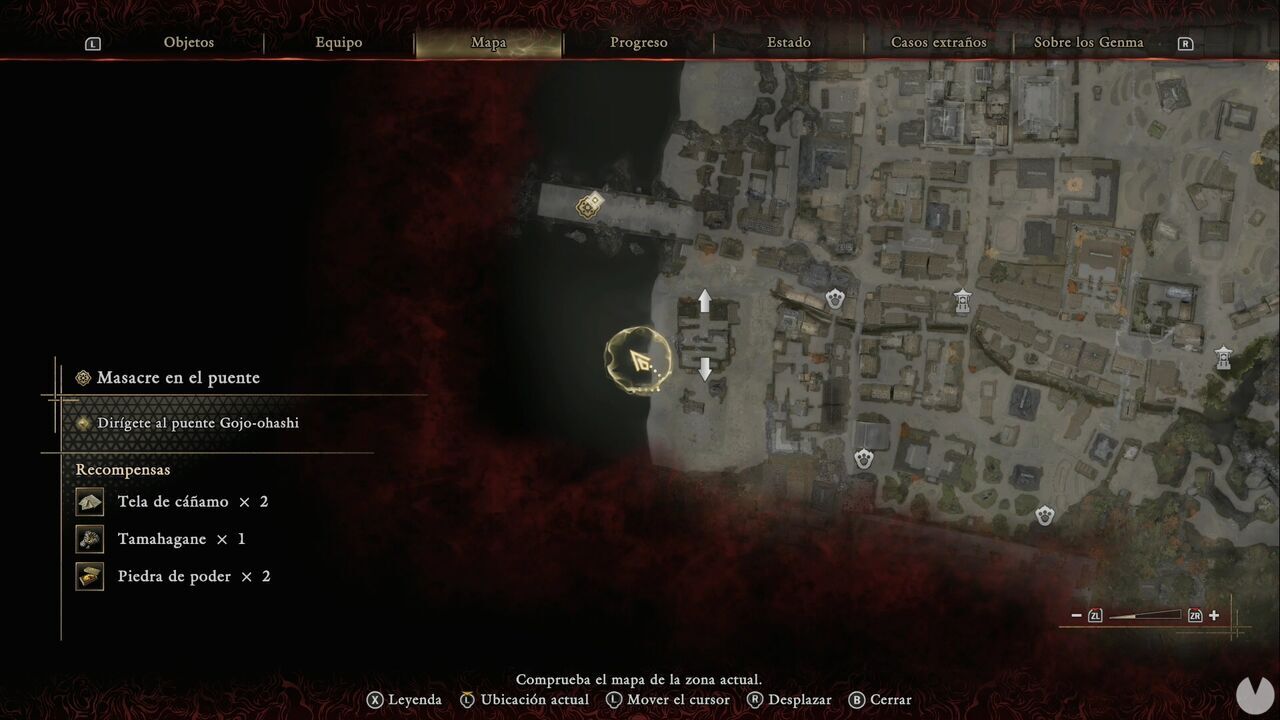
We're done with the general exploration, and by now you've collected roughly seven tons of materials. Before continuing, do the following:
There's nothing else optional to do for now. Travel to the Gojo Street - West Spirit Mirror and follow the objective marker west.
After the cutscene, you'll finally face the warrior you've been looking for, the bridge enthusiast himself: Benkei, whom longtime fans of the series may recognize — even without realizing it — as the historical figure who inspired Gilgamesh.
After the fight, you'll complete this lengthy exploration-heavy chapter and begin Shadows Fall.
