

Patient Center (III) is the fifth chapter or section of the story in Resident Evil Requiem. It begins immediately after Leon meets Grace at the end of the second part of the Patient Center. As usual, throughout this walkthrough we will explain how to progress while completing as much of the game's content as possible, avoiding spoilers whenever possible while ensuring that you obtain all the collectibles, receive help with puzzles and much more.
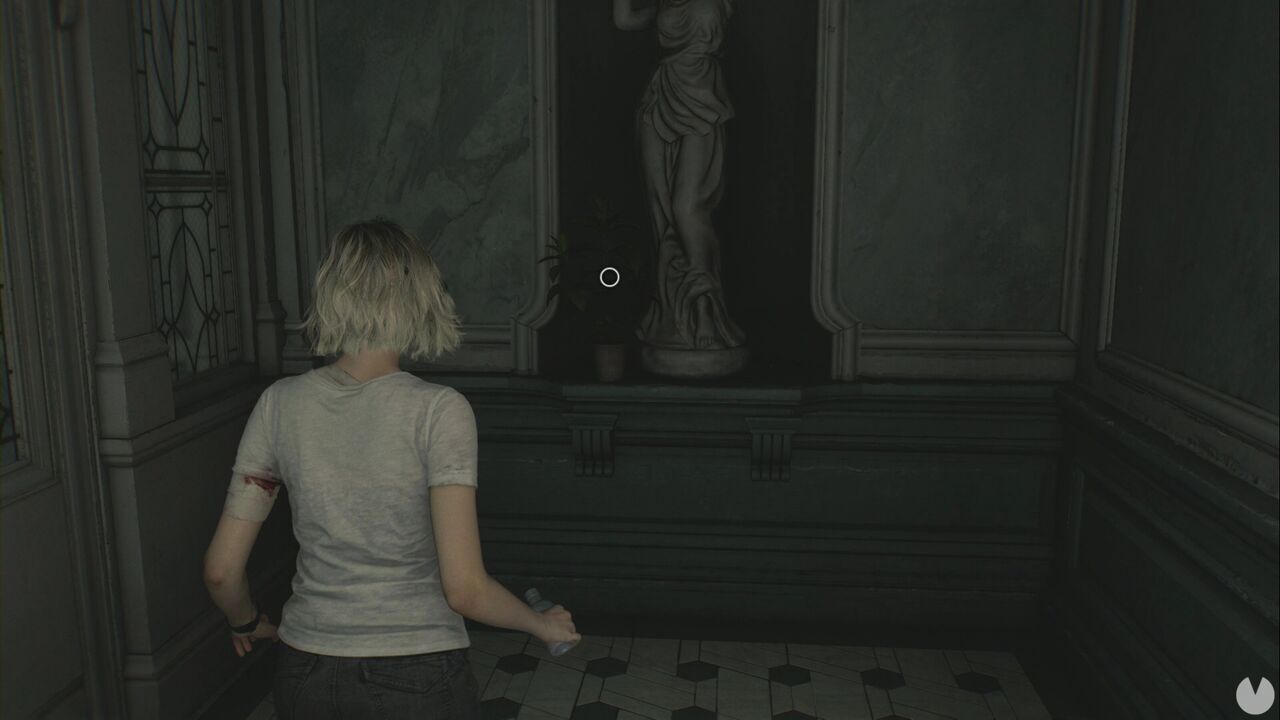
All these shocks that keep knocking her unconscious cannot be good for Grace. That is surely going to cause brain damage. You will see that Grace now has the Requiem, so unequip it to avoid firing it accidentally. Start by going downstairs and walking all the way around the staircase before climbing the opposite side. At the end, you will find a locked door and a Green Herb beside a statue.
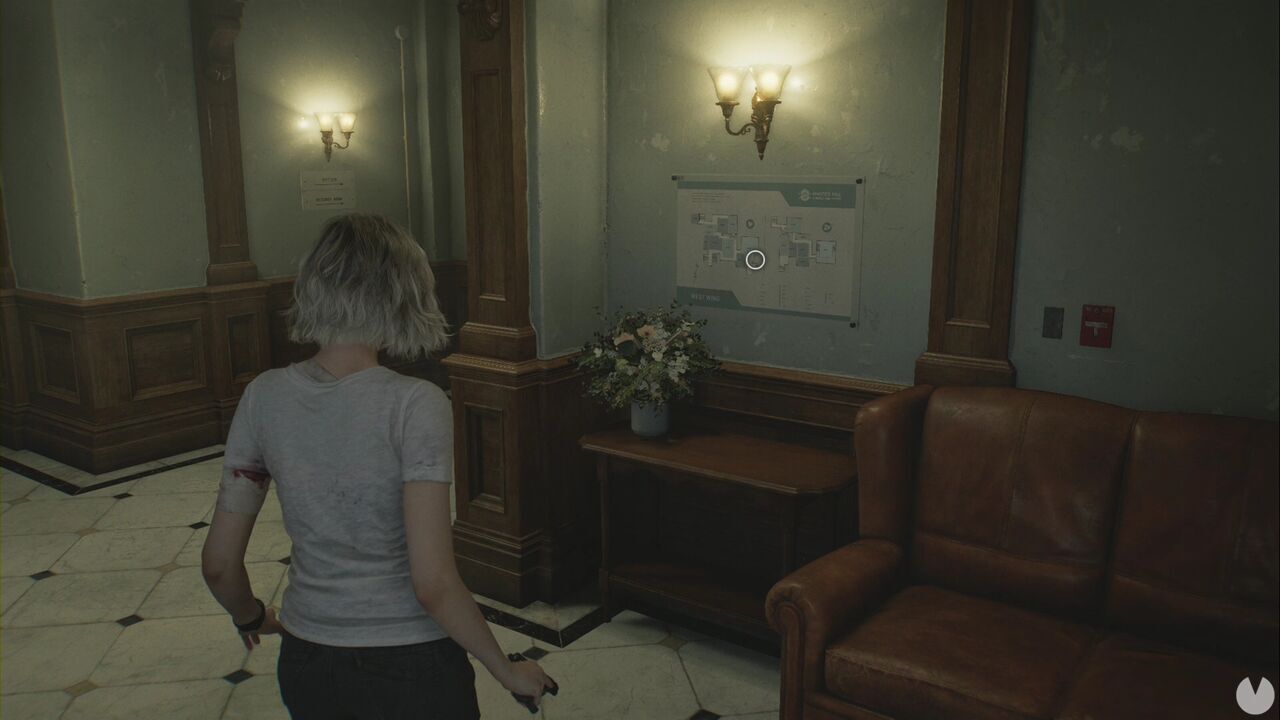
The northern door is locked, so go downstairs to the ground floor. Approach the reception desk to find a patient list. You cannot do anything with it, at least for now. Head south and look to the left after passing through the double doors. Both the eastern and western doors are locked, but you will find a map of the Patient Center here.
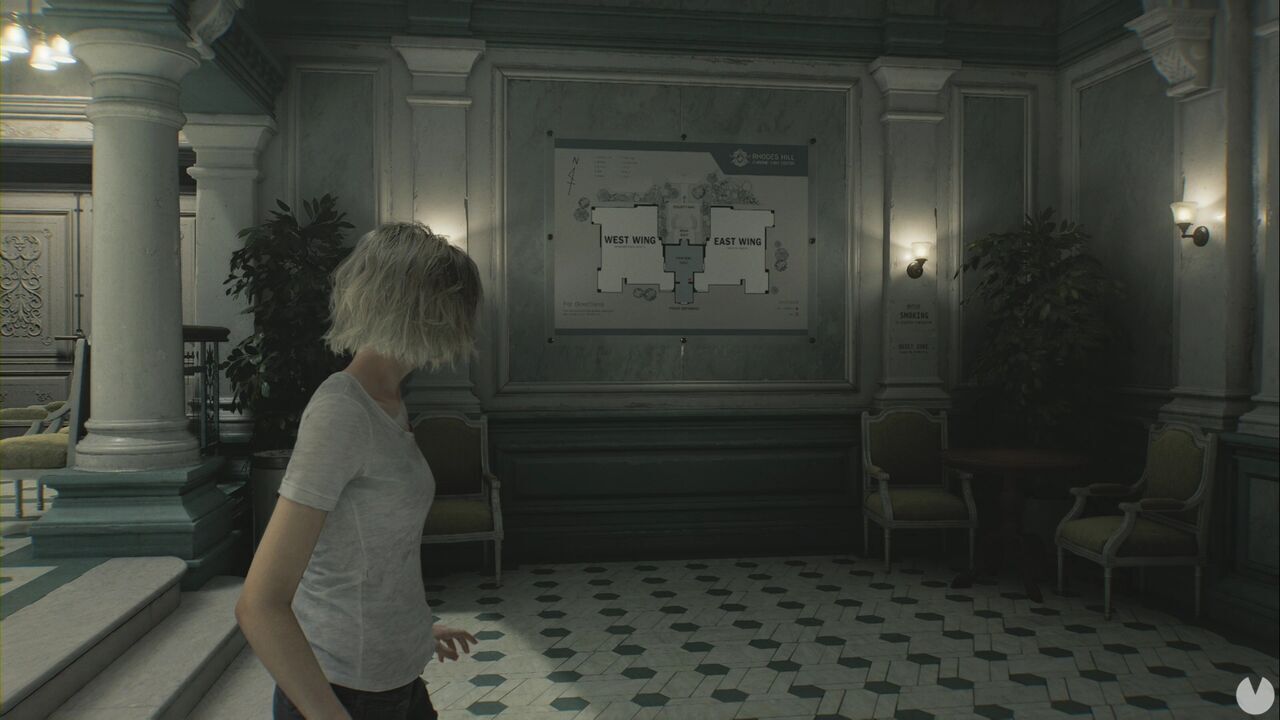
The southern and southeastern exits are also blocked, so open the southwestern door leading to the Guard's Office.
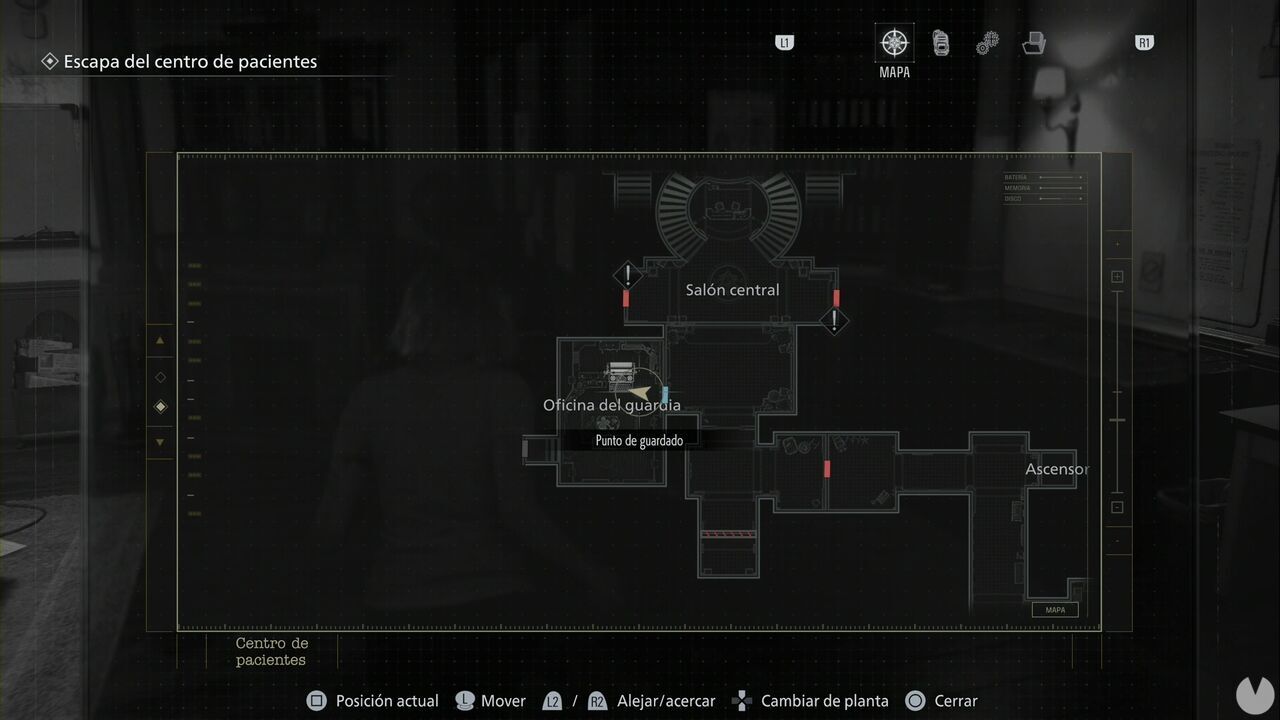
You will find several things here:
After collecting everything and saving your game if you wish, take the southwestern exit to trigger a cutscene.

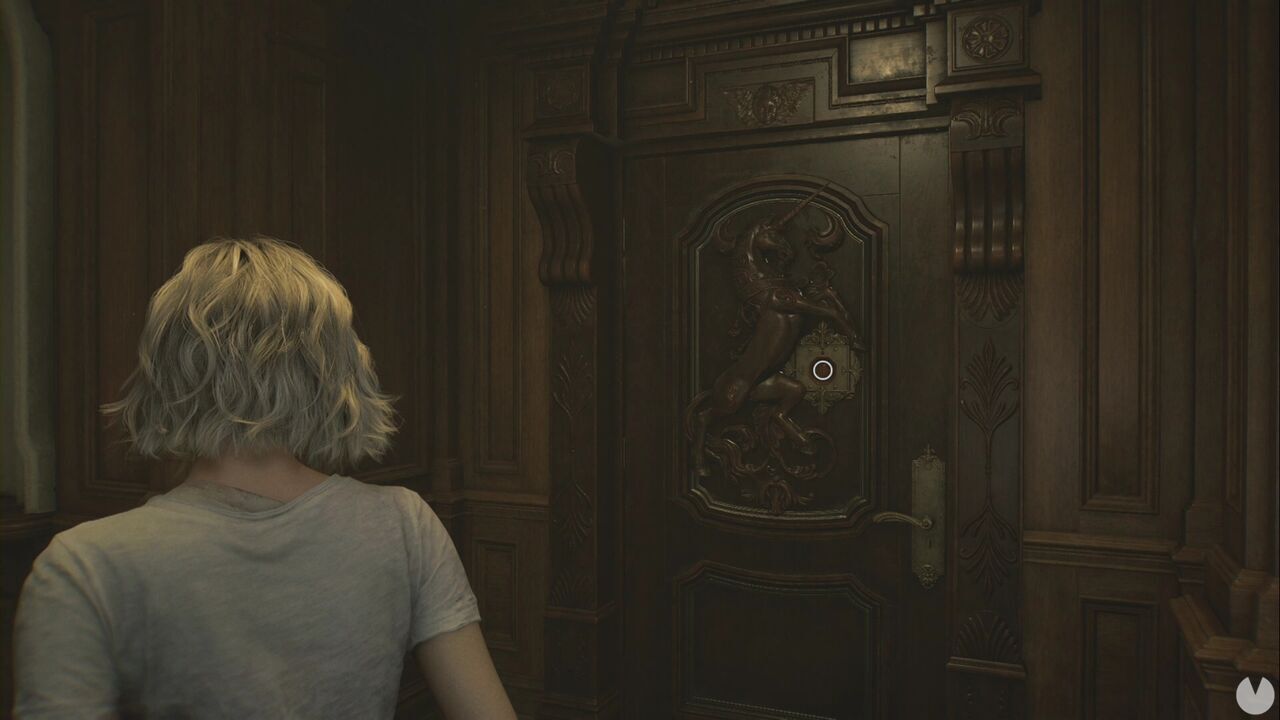
Trying to interact with something locked inside a glass case in a building suffering from some horrific outbreak sounds perfectly safe. Anyway, you will obtain the West Wing Keycard. Return to the Central Hall and use the card on the western door to enter a hallway. The northern door is locked, so continue south. After turning the corner, you will see a door engraved with a unicorn. Remember its location.
Continue until you reach another door leading north, as the western route is blocked. Turn off your flashlight and crouch as you enter the Kitchen. That thing will kill you if it sees you, so wait for it to move and drag the cart behind its back. It will not hear you, but remain alert because whenever it speaks, it is about to change position.
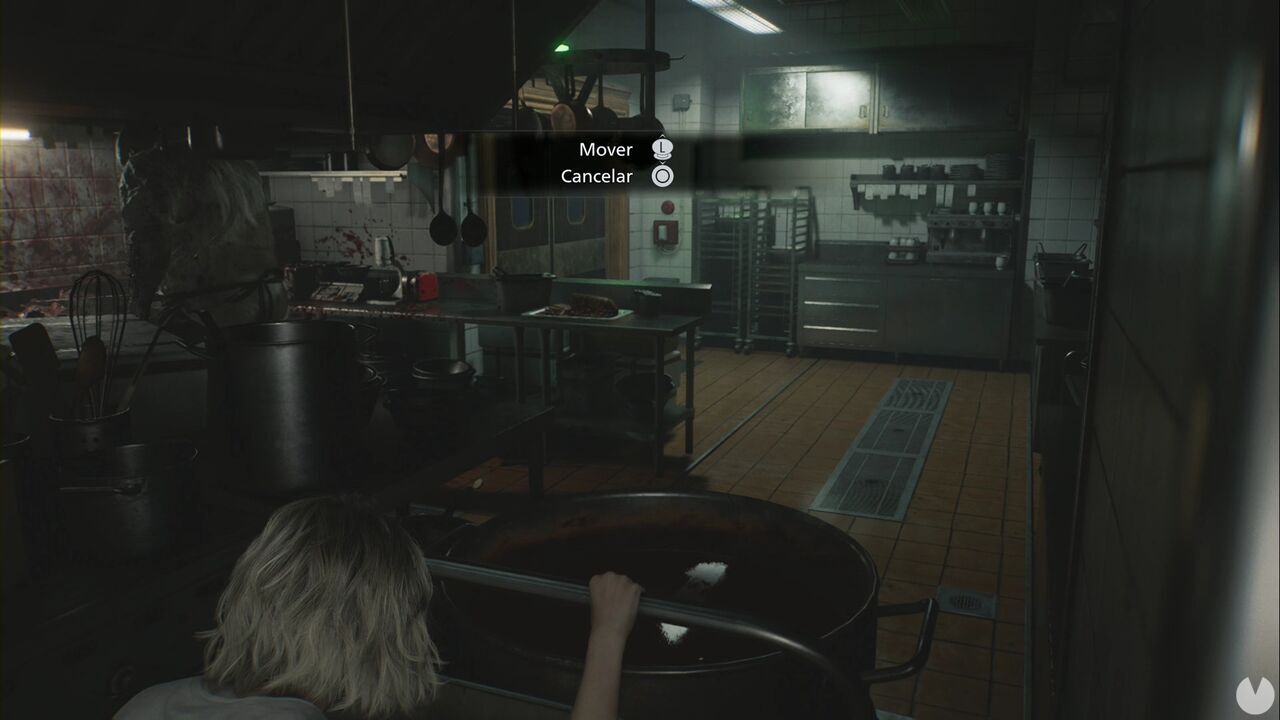
If you do it correctly, you will escape through the northeastern door without alerting it. If it notices you, run through the northeastern door anyway and wait in the darkness until it loses interest. Be extremely careful when passing through the doors: crouch and turn left without switching on your flashlight. There is an infected enemy to the right, and you do not want it to notice Grace.
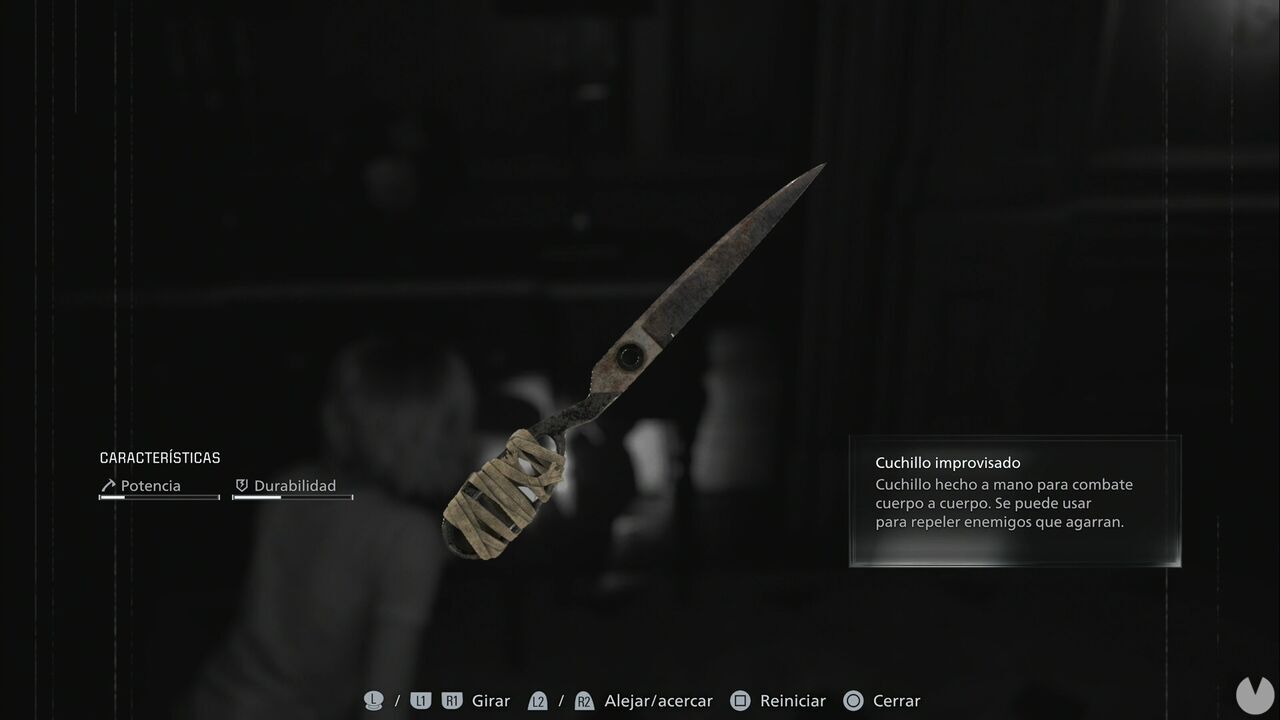
Follow this hallway to the end—you can switch on your flashlight now—to reach a small lounge area. Here you will find a drawer secured with a simple lock and an Improvised Knife that you can use to defend yourself... although it barely inflicts any damage.
Notice the light switch in the corner. Do not touch it yet, but remember where it is.
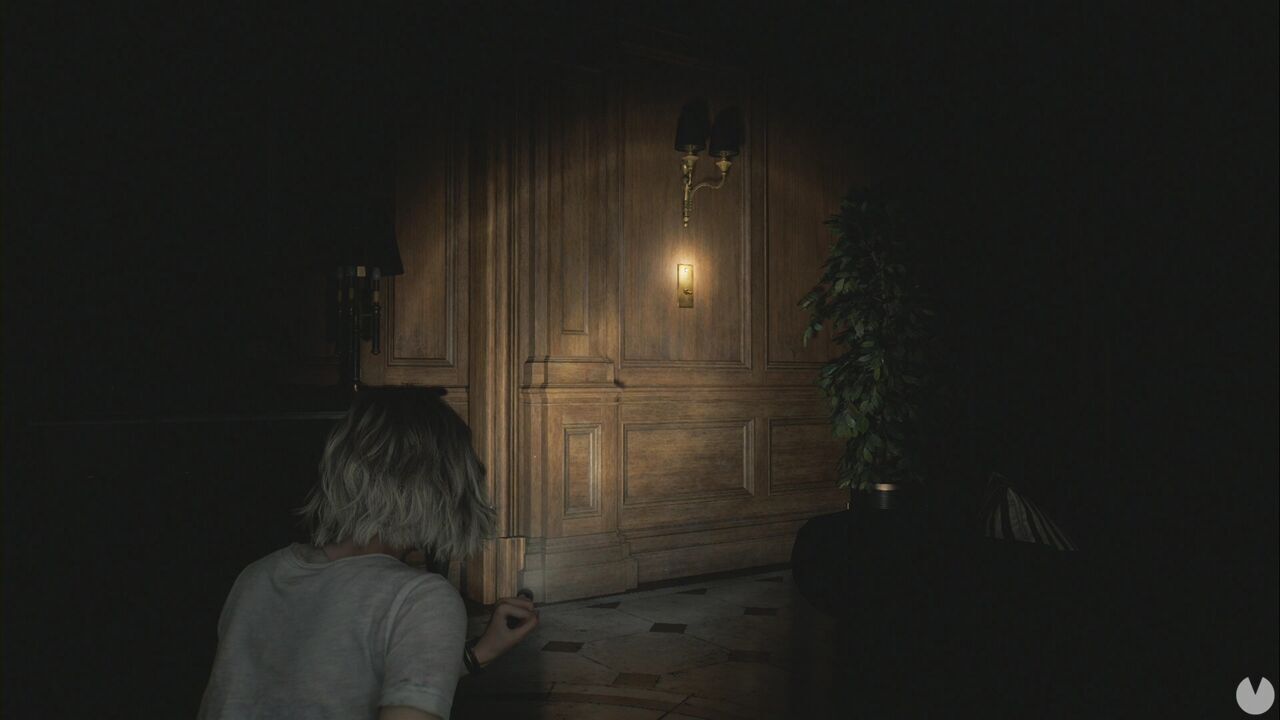
Turn off your flashlight, crouch and open the northern door in the hallway you just crossed. You will see a sink and an infected woman banging her head against the mirror. Wait until she grows tired and turns around, collect the Green Herb from the sink and retreat, as there is nothing else for you here yet. Now activate the light switch we just ignored. Quickly hide in the opposite corner of the small lounge and wait for the infected enemy on the other side of the hallway to come and switch it off.
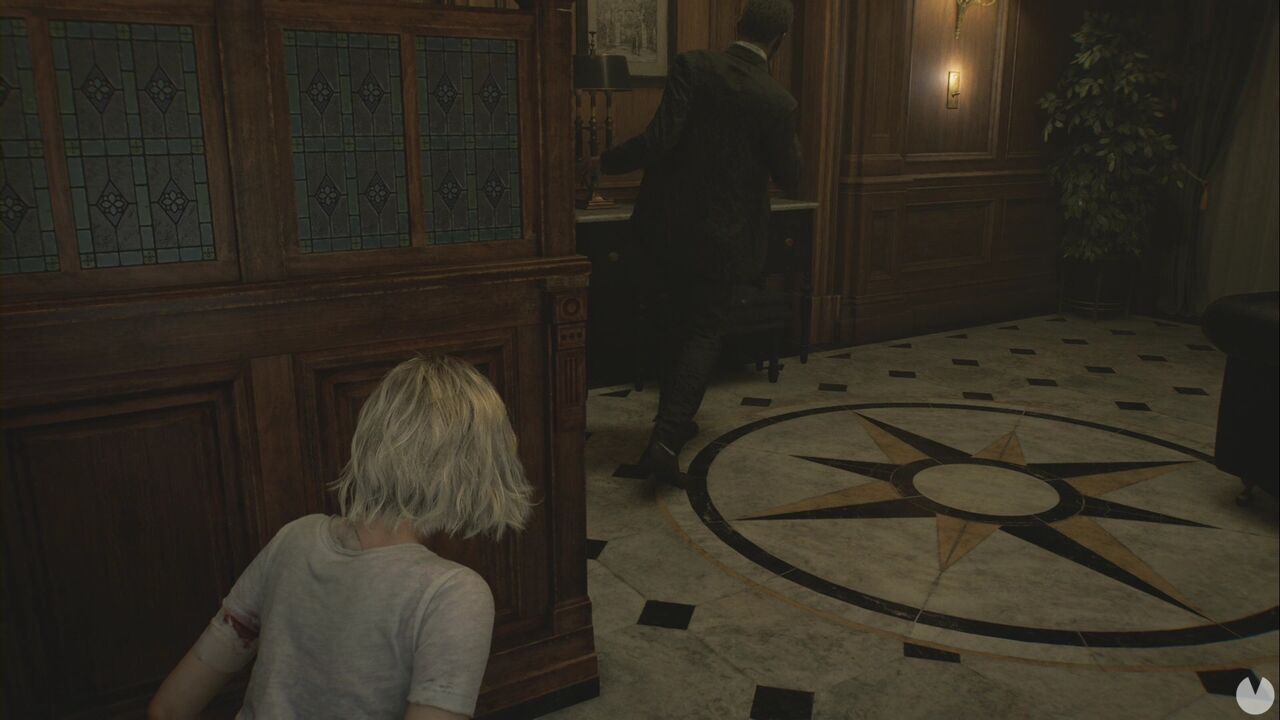
This will allow you to slip behind him and head east. Make sure to unlock the southeastern door and collect the Ink Ribbon from the dresser before going through the northern door.
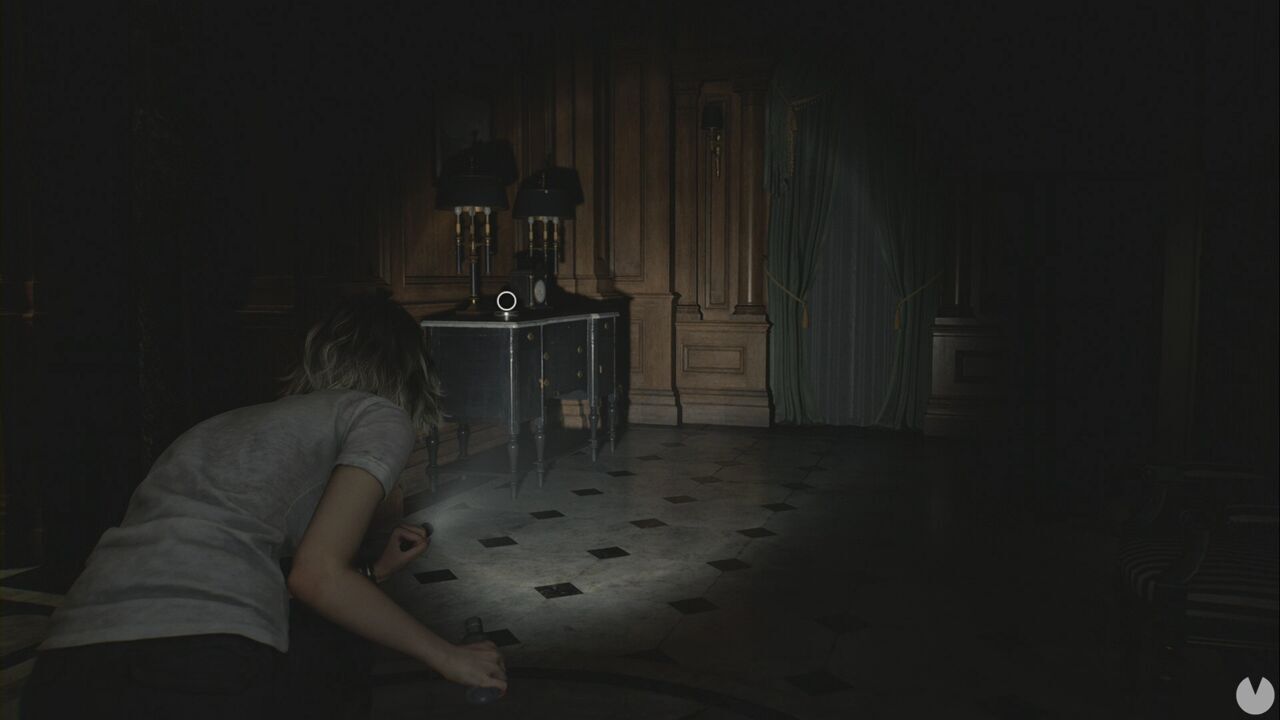
Once inside the Dining Hall, move along the right-hand side and collect the B934 from the floor.
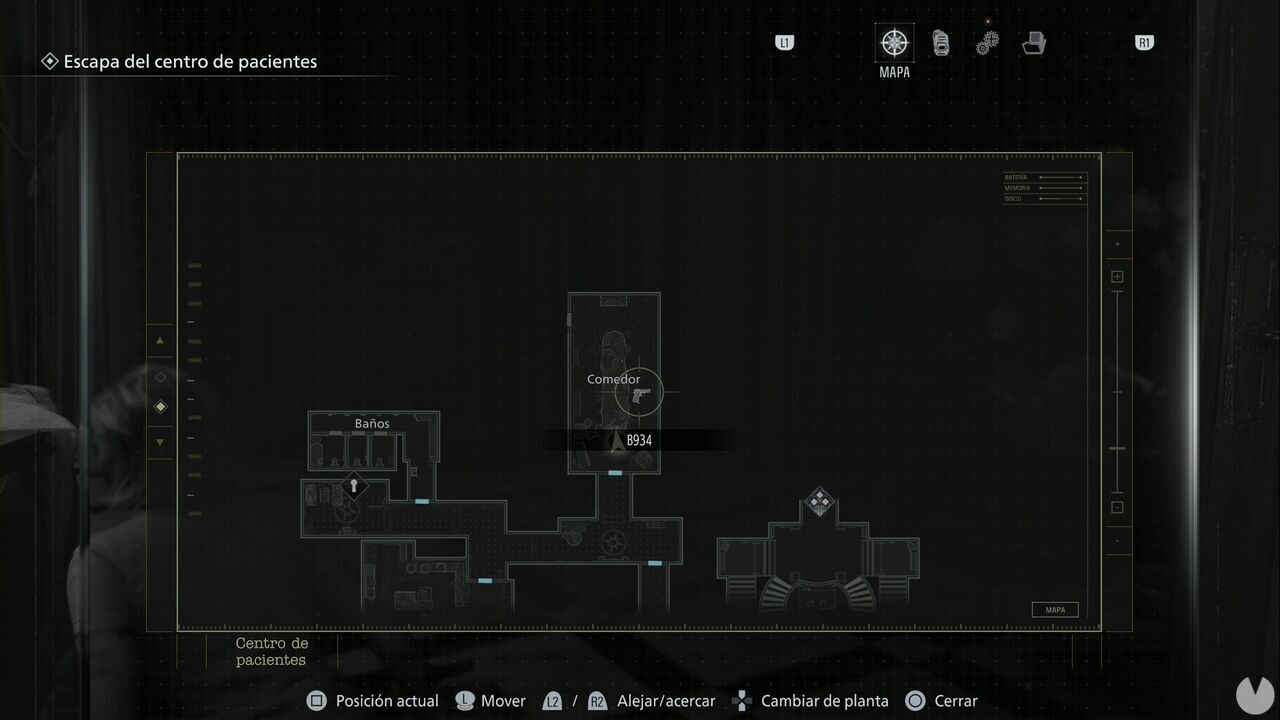
It has no ammunition, so be careful. As soon as you move forward, an infected enemy will crawl out from beneath the table. Run to the northwestern door, cross the hallway and enter through the first door on the left. There are two bullets on the table at the far end and another Improvised Knife inside the lockers. Wait for the infected enemy chasing you to catch up, shoot it in the head and then finish it off with a knife. Make sure you collect its Hunting Knife.
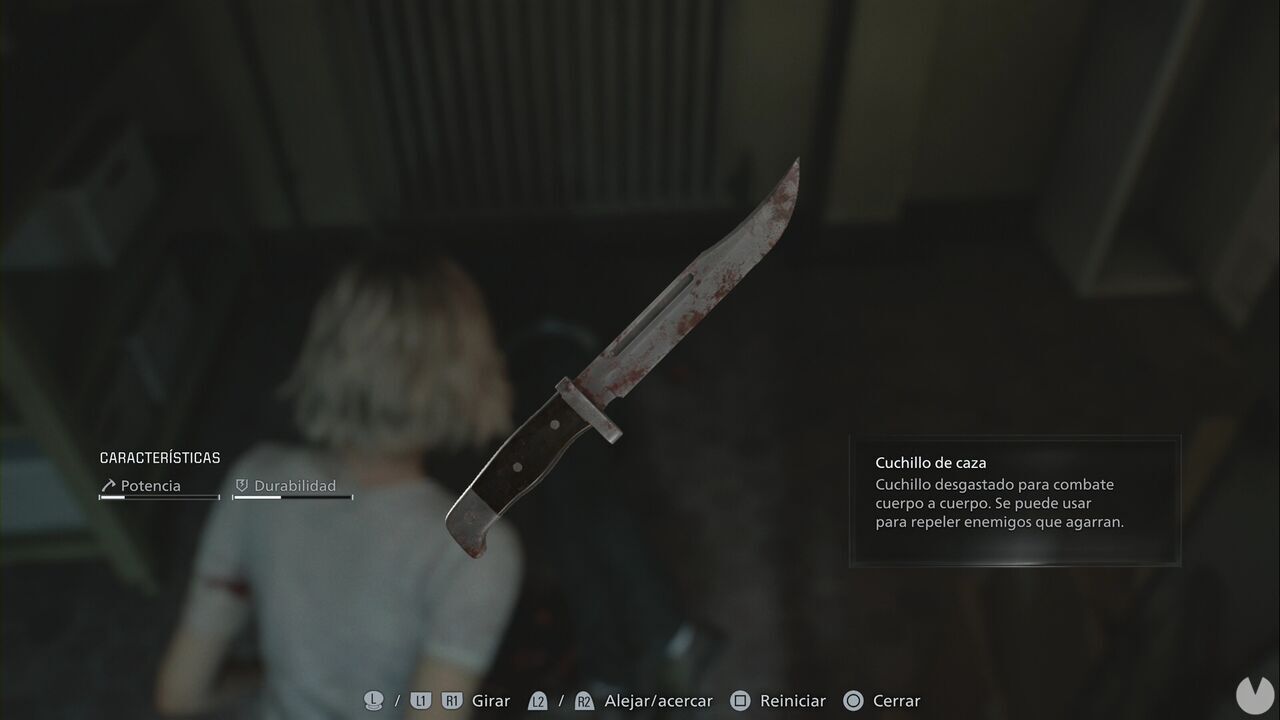
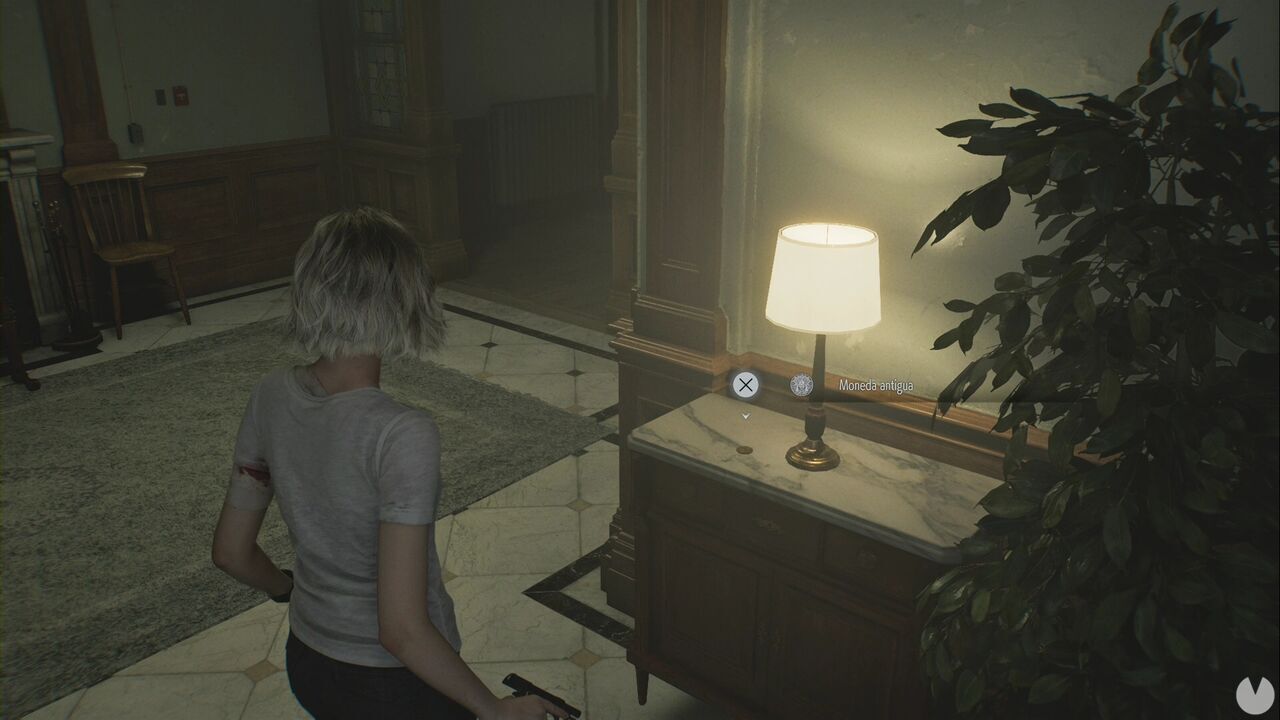
It is not a bad idea to use the shortcut you opened a moment ago to return to the Guard's Office, store some items and save your game. The infected enemy drawn to the light switch will remain on the western side, while those in the Dining Hall will leave Grace alone unless you attack them. Follow the hallway where you eliminated the infected enemy west-northwest to find an Antique Coin on a dresser beside a lamp.
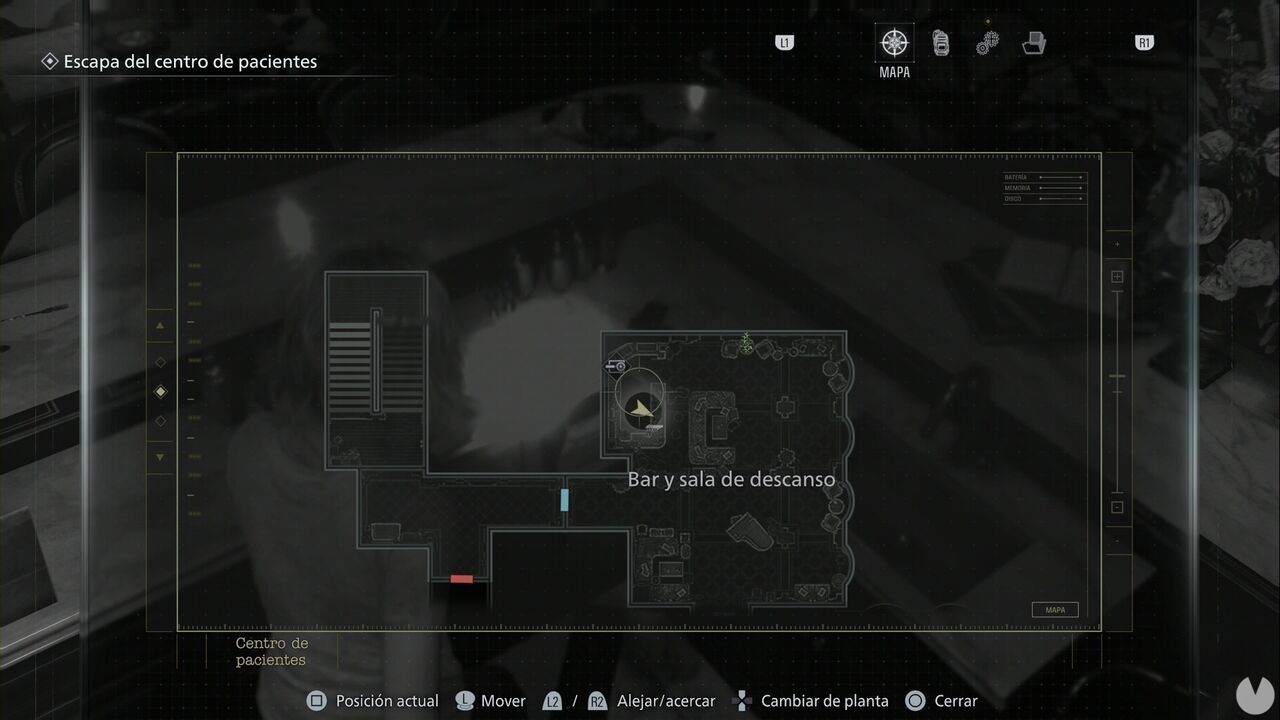
After heading west, look beneath the stairs and break a crate to obtain some handgun ammunition. This will come in handy for eliminating the infected enemy coming downstairs. Remember to aim for the head, shove it and then stab it while it is on the floor, or finish it off with a couple more shots. Before going upstairs, interact with the western door. It will not open, but you will discover that you need something capable of turning the hexagonal bolt. Go upstairs and enter through the open door to find the West Wing Map.
Continue up the stairs to find a Green Herb and some ammunition beside a door that you cannot open. Go back down to where you found the map and enter the Bar and Lounge, where you will see several infected enemies. Do not attack them.
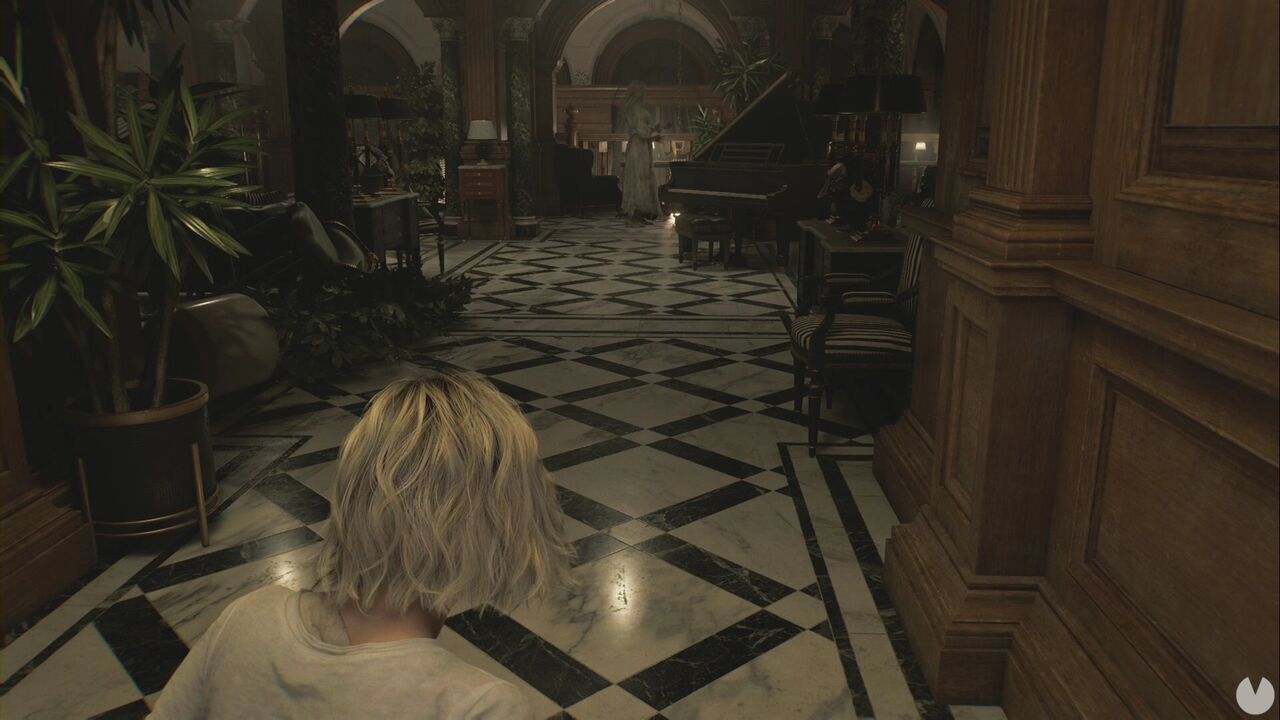
Wait for the infected woman in the white dress to move, approach the piano, collect the Antique Coin and hide behind the piano. Now return to the entrance, shoot the infected woman in the white dress and wait. She will scream and your reticle will go wild for a few seconds. You should have one round for the Requiem: wait for all four infected enemies to approach in a straight line and fire once they are lined up to eliminate all four. You can collect another Antique Coin from the infected woman in white—you must eliminate two of them for an achievement/trophy—but there is more to find:
Bear in mind that the S&S M232 is more powerful than the B934. If the weaker handgun still has a full magazine, you can use those rounds, but do not reload it. Go through the southern door to continue. Cross the hallway and turn left to see a hanging lab coat. Examine it and unfold the paper to obtain the Folded Note.
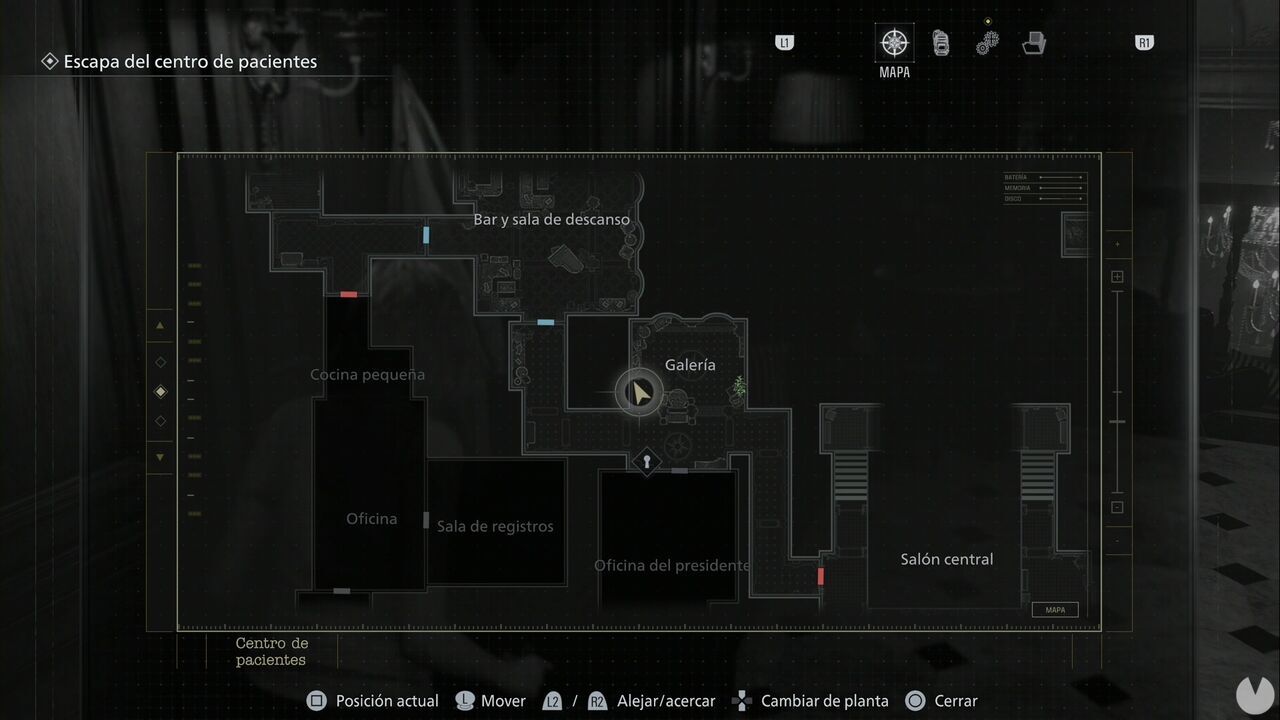
Search the area to find ammunition, a Green Herb and a locked drawer in the southwestern corner beside the office door. Do not open the door. Instead, carefully head east while avoiding an infected enemy to open a shortcut to the Central Hall. You can store items in the Item Box before heading upstairs again and passing through the door to the President's Office. Eliminate the infected enemy and search the room. You will find a Unicorn Box in one corner. Examine it, turn it over and press the back to open it and collect the Red Gem.
On the dresser at the far end beside the open door, you will find the Copy of an Email to the Chief document.
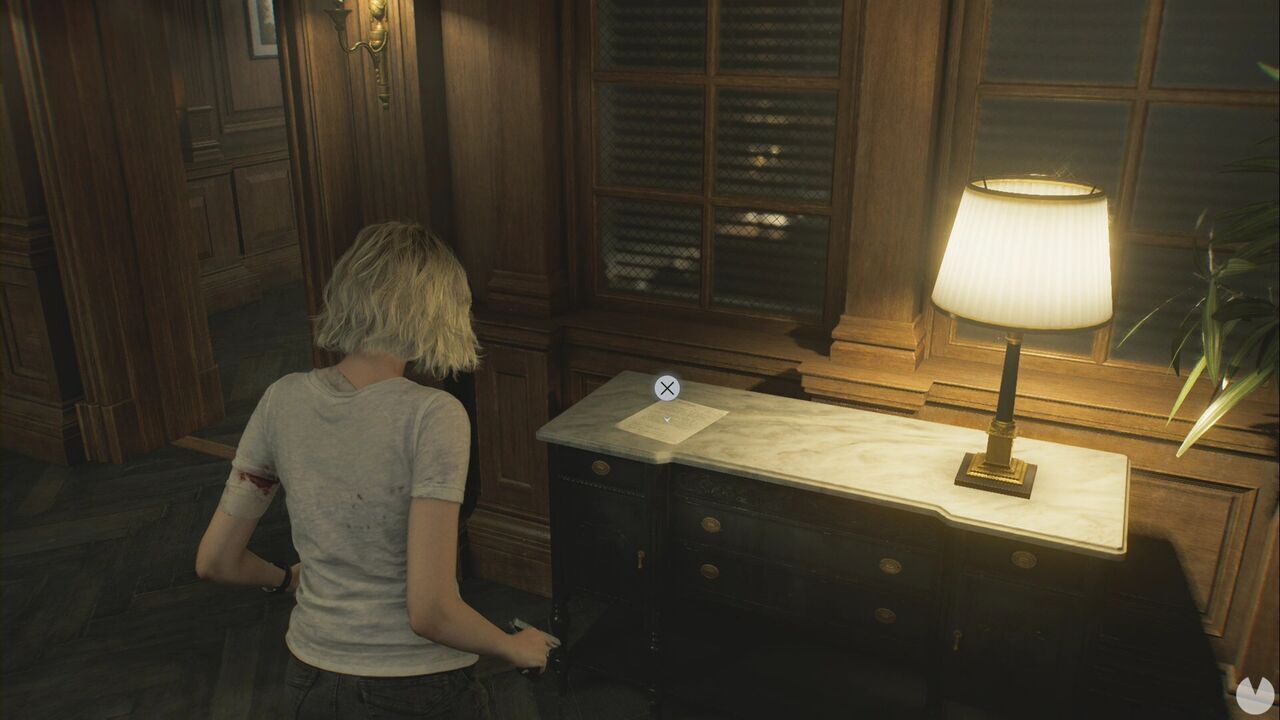
Go through the open door and collect the Pencil from the desk. You will see a wastepaper basket in the corner. Interact with it to retrieve a sheet of paper that you can unroll and read: this is the Note to the President document. Open the left-hand desk drawer to find some ammunition. Now return to the previous room and interact with the notebook on the table. Use the Pencil to shade the page and obtain the President's Note.
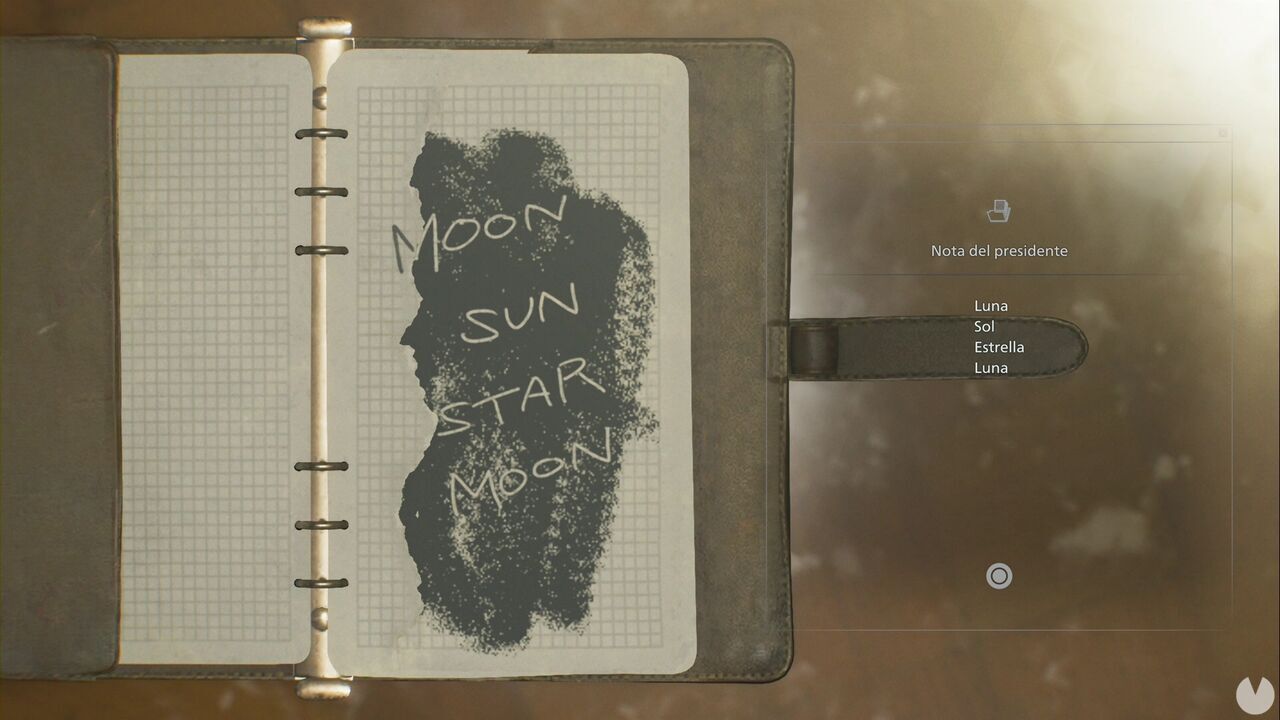
Now open the Puzzle Box to obtain the Moon Quartz. Return to the Central Hall and place it in the northern door.
Placing the quartz will activate a new objective: finding the other two pieces of quartz. Before continuing, make sure you are carrying four Antique Coins. Retrieve any you need from the Item Box; you should have found seven in total if you have followed this walkthrough. Head to the unicorn door in the ground-floor hallway of the West Wing.
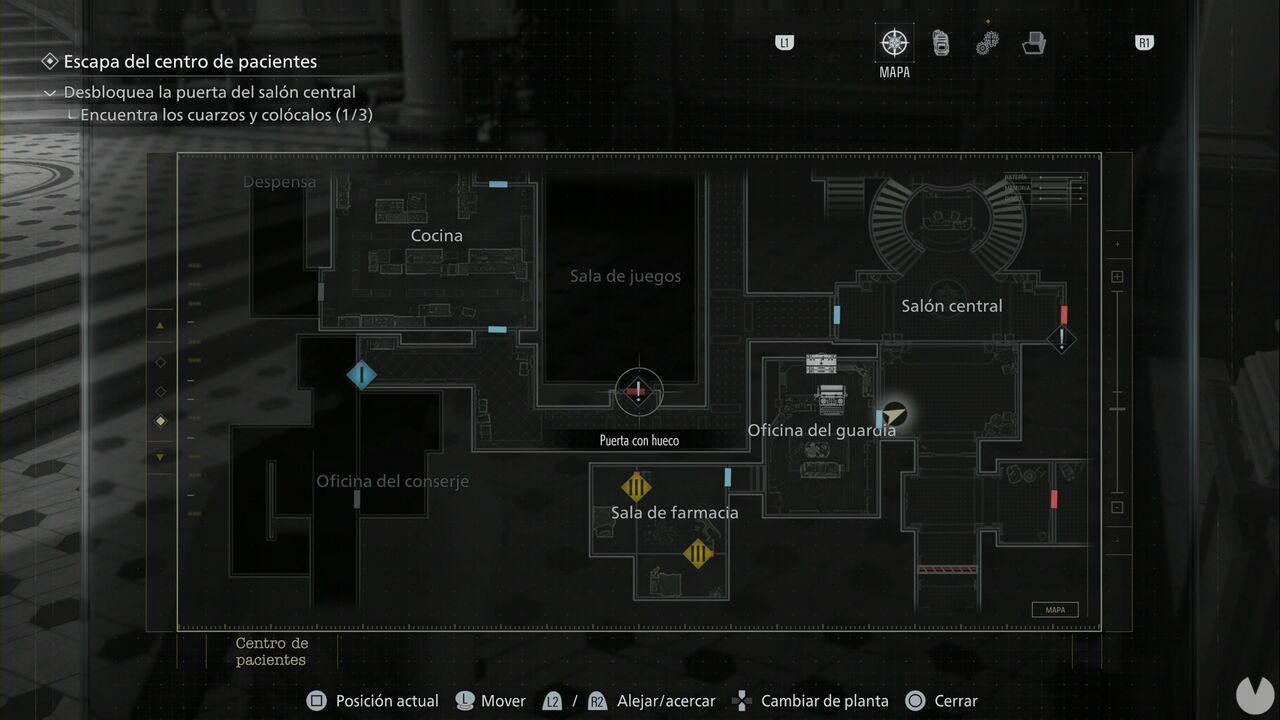
Be careful: the cook has left his domain and will appear as you approach the door. He will continue forward and walk past the intersection opposite the double doors through which you entered the hallway. He will turn around before passing through the next door and repeat this route. If you wait until he passes the intersection and then crouch, you will have enough time to get through. Even if he turns around, he will not see you unless you switch on your flashlight. You will have time to reach the door, use the Red Gem and close the door behind you.
Once inside, collect the two Ink Ribbon Packs on the right and the Antique Coins. One is on the roulette table, another is on the bar at the far end and the third is inside the vase behind the bar. Now examine the display cases on the left.
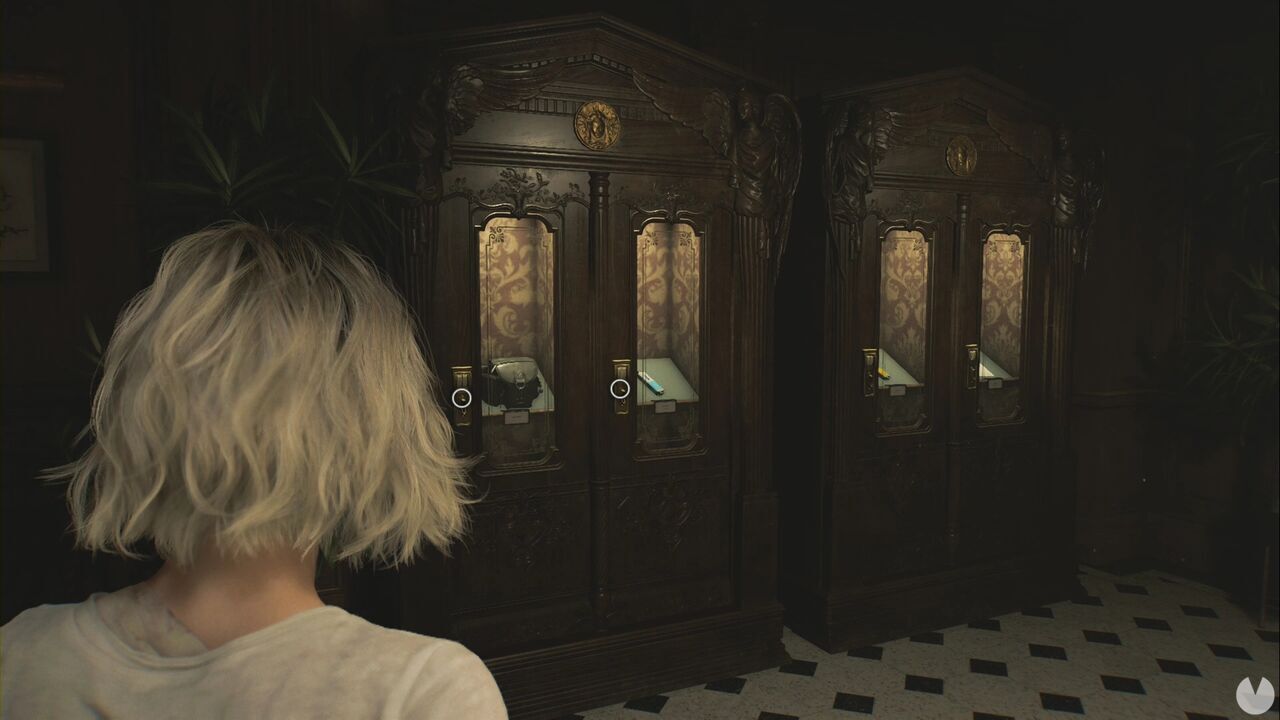
You can insert your Antique Coins into these display cases to receive different rewards. With the 10 coins you should now be carrying, we recommend obtaining the Hip Pouch and choosing between the Steroids and the Stabilizer. We chose the Stabilizer. Now look to the left of the bar at the far end to see an arm beneath the table.
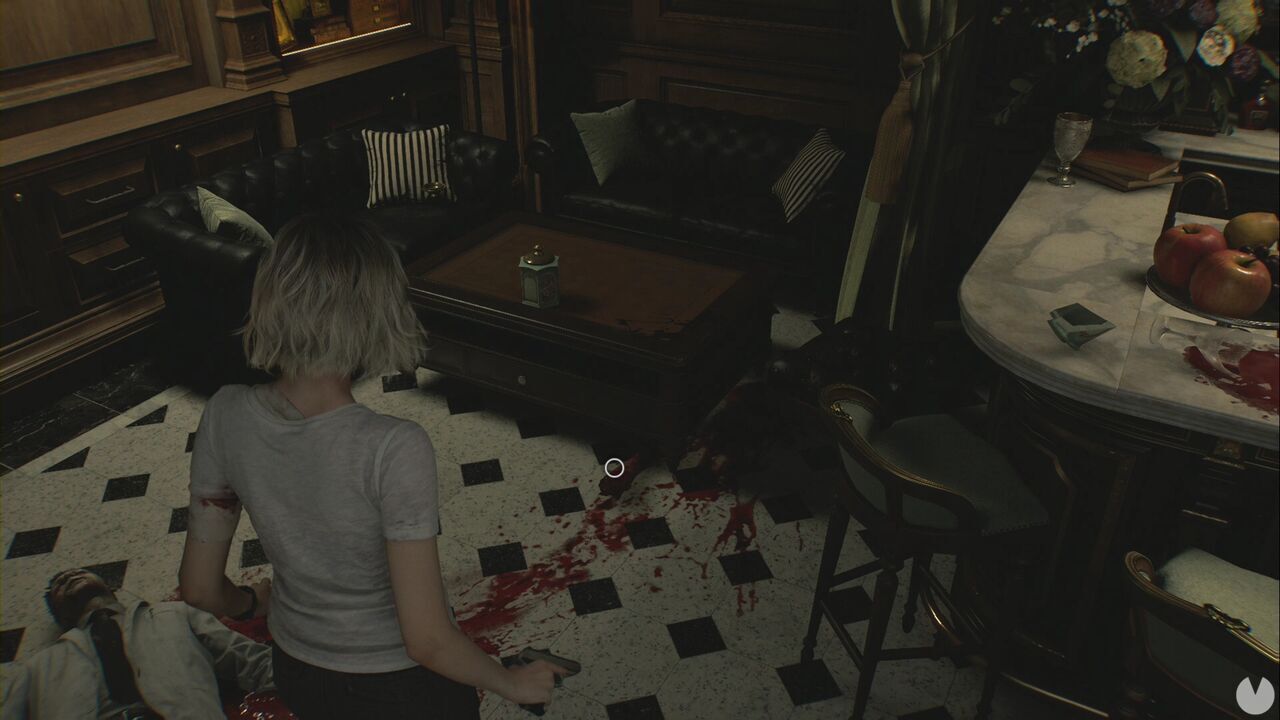
Someone must have said, "I'd bet my right arm that..." and evidently lost. Examine the arm, rotate it and collect the East Wing Keycard. There is also a Green Herb to its left. You must now return to the Central Hall, but the friendly cook will almost certainly appear at the door. Use the roulette table as an obstacle to avoid him, as you currently have no way to eliminate him. Once you escape, open the eastern door in the Central Hall.
Immediately after entering, you will see a Mr. Raccoon on the reception desk.
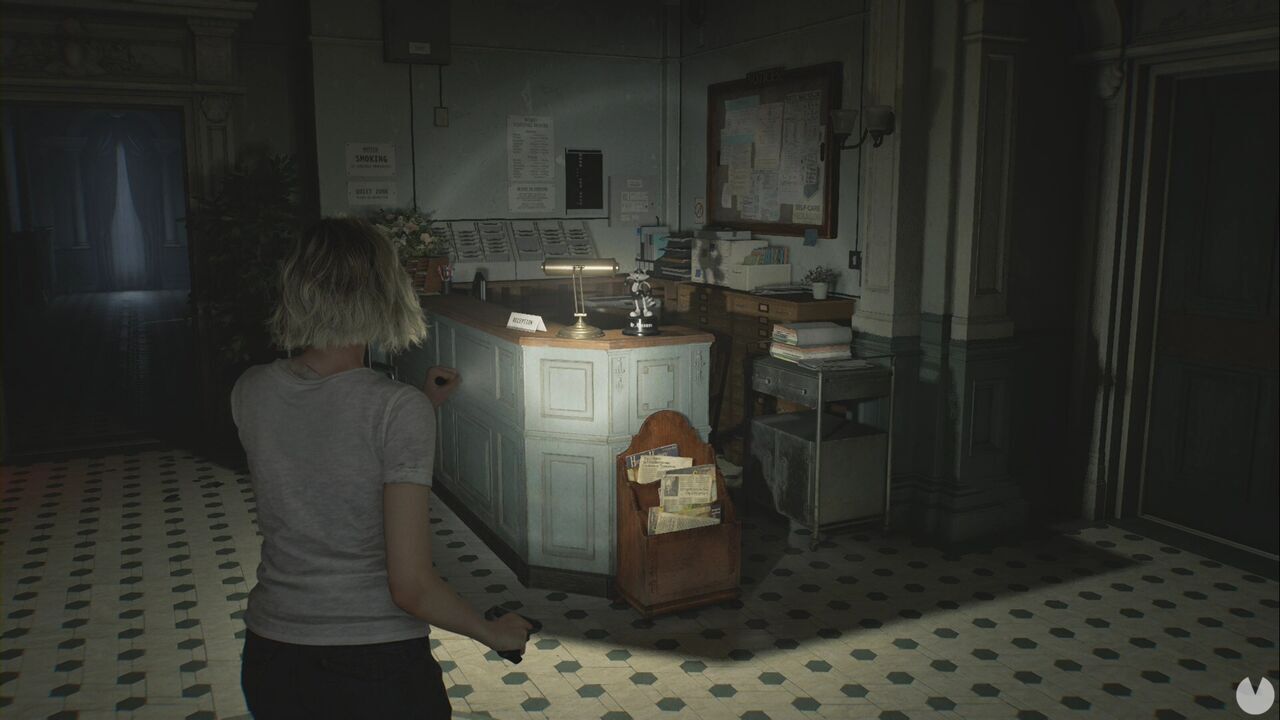
Follow the hallway and collect a Green Herb at the far end before going through the partially open door. Turn off your flashlight and crouch as you enter. Go to the southeastern corner of the room to find another safe. The combination is 30-10-50. It contains another three Antique Coins. Now approach the infected enemy without standing up. You will see the Hemolytic Injector on a table to your right.
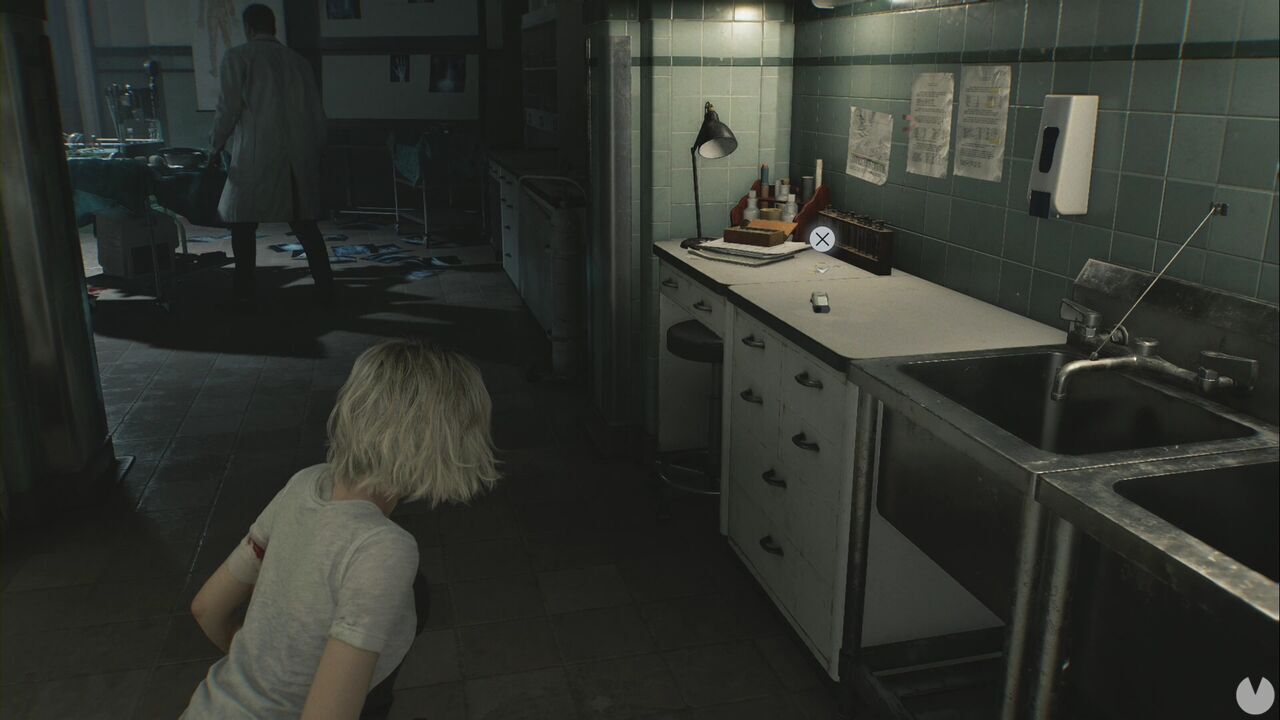
If you remain crouched, the infected enemy will turn around but will not see you. Retreat and wait for it to turn its back again, then approach and eliminate it with the Hemolytic Injector to unlock the Lethal Dose achievement/trophy. Be careful, as another zombie nearby will get up and must be eliminated conventionally. Go through the northern door and press the hallway light switch before returning to the Treatment Room. Wait for a zombie to come and switch off the light, then slip behind it—but be careful, as it may turn around. You may decide that simply putting a couple of bullets through its head is the better option.
At the intersection, head east to enter the Hematology Laboratory. You will find some Scrap in a locker and the Blood Extractor on the central table. On the other table is a Blood Sample (Denatured), which you can use in the nearby analyzer. Simply activate the upper-left node to complete this short puzzle, unlock the ability to craft handgun ammunition and Hemolytic Injectors and earn the Eureka! achievement/trophy.
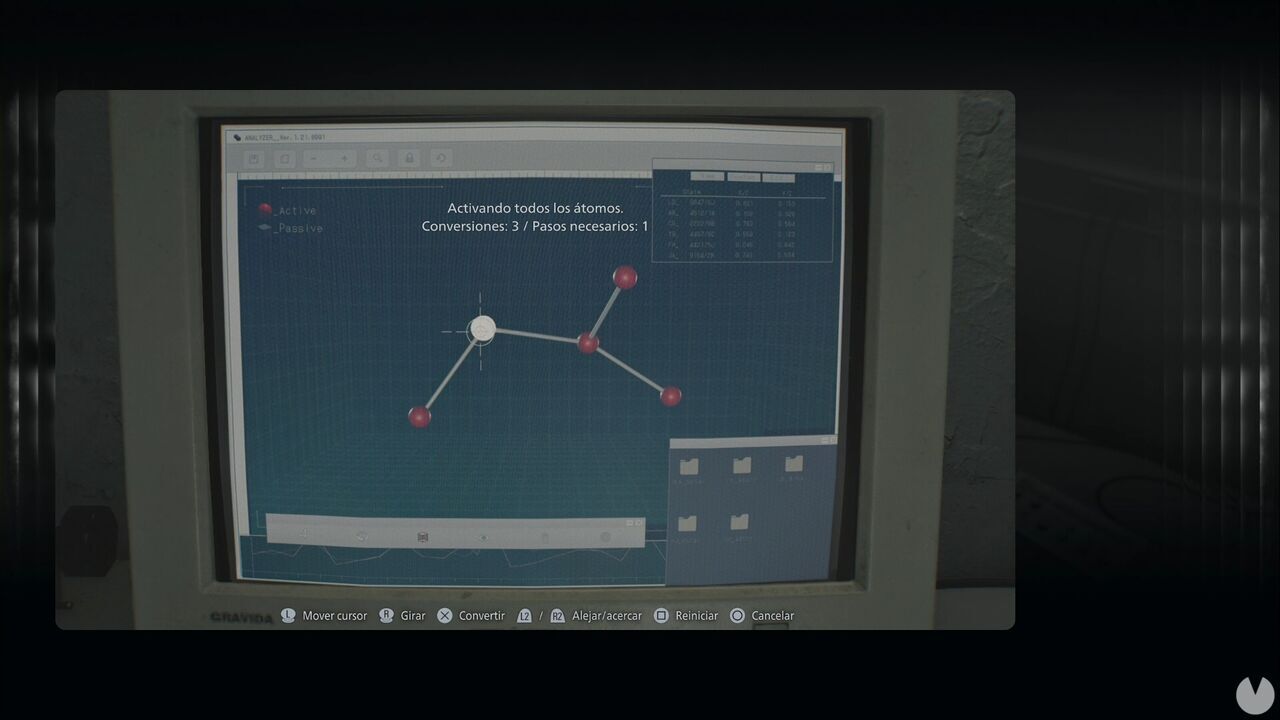
In this room, you can also find the Blood Composition Synthesis document on the table. From now on, remember to use the Extractor on bloodstains and buckets to keep your supply full. Blood buckets will be marked on the map whenever you pass close to them.
Return to the hallway and head south. Be extremely careful, as three infected enemies will emerge from the hallway at the far end. It is best to retreat and lure them through the hallway you just left, making it easier to shoot them in the head.
You have probably almost run out of ammunition. You can craft eight handgun rounds using one piece of Scrap. Doing so will also unlock the Power of Blood achievement/trophy. Collect some Ink Ribbon Packs from a stretcher in the central area, then continue southeast along the hallway from which the enemies emerged. Enter through the first door on the right to reach the Waiting Room. You will find an Antique Coin on the table in front of you. Do not shoot the female zombie on the left. Circle the room to the right without breaking the vase to find another zombie holding a weapon.
Shoot it in the head, shove it to knock it to the floor as soon as possible and finish it off. The cleaner will not even notice. Circle the table to find a drawer containing Scrap. An open box on the wall contains two Antique Coins, while the Safe Replacement document is resting on some files. Make sure to open the western shortcut, but do not leave.
Now backtrack and break the vase against the northern wall. Collect the item inside and watch which direction the cleaner approaches from so that you can evade her and exit east, returning to the hallway. You will reach the bottom of a staircase.
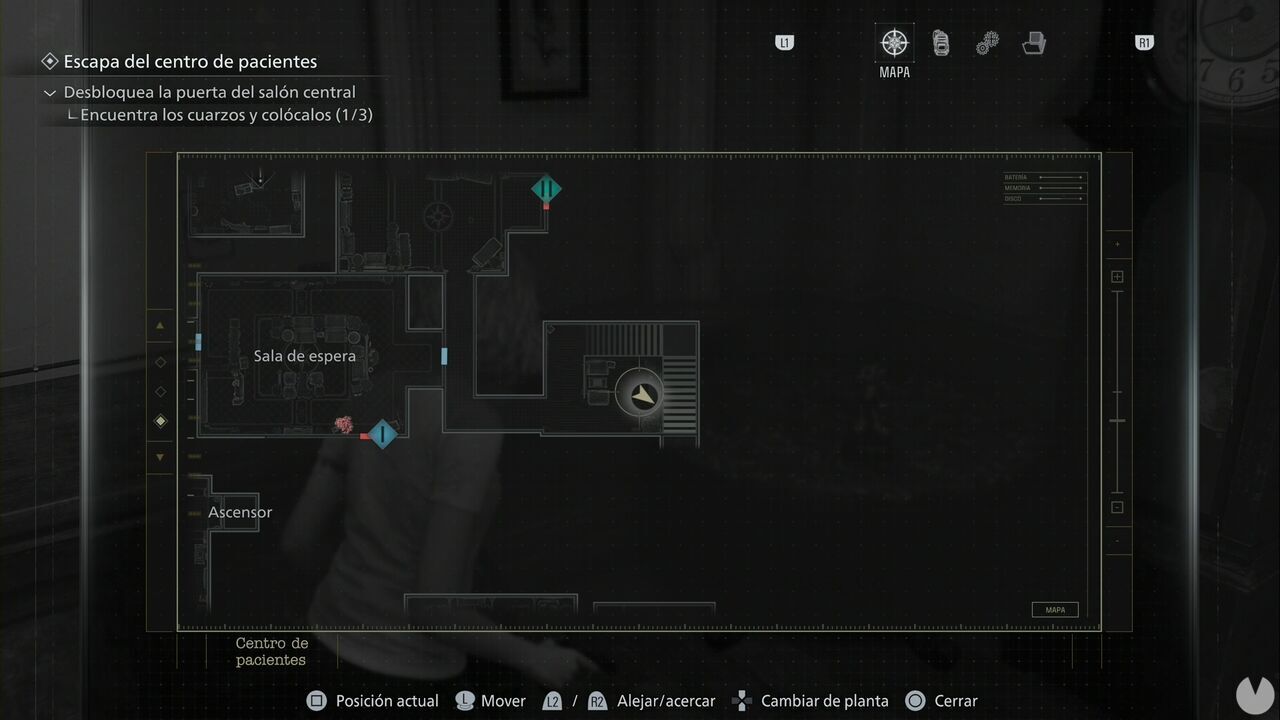
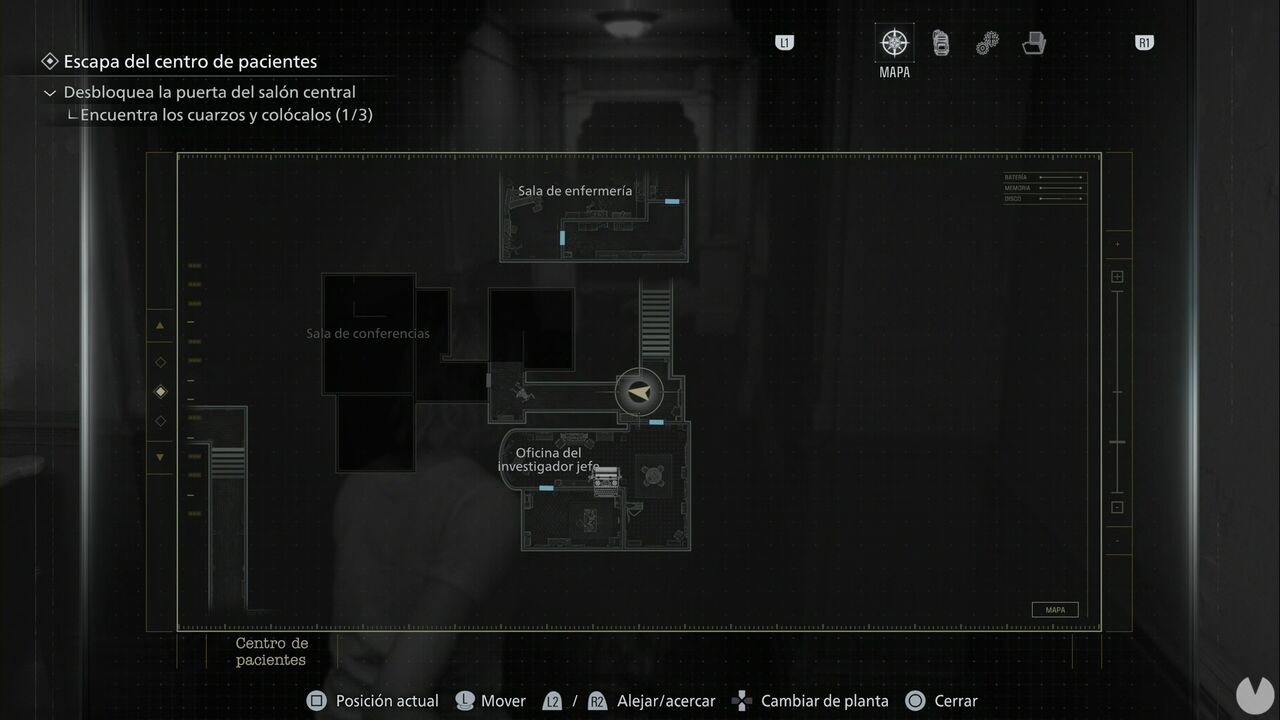
You will find an Antique Coin on one table and a Mr. Raccoon on the other, beside the clock. Destroy it and climb the stairs. You will find an East Wing Map on the wall beside the door to the Chief Researcher's Office, which you should enter. There is a vase immediately to your left that you can break to collect an item. At the far end, you will find a Lock Pick on a table beside the windows.
There is a typewriter and some Ink Ribbon Packs to your right.
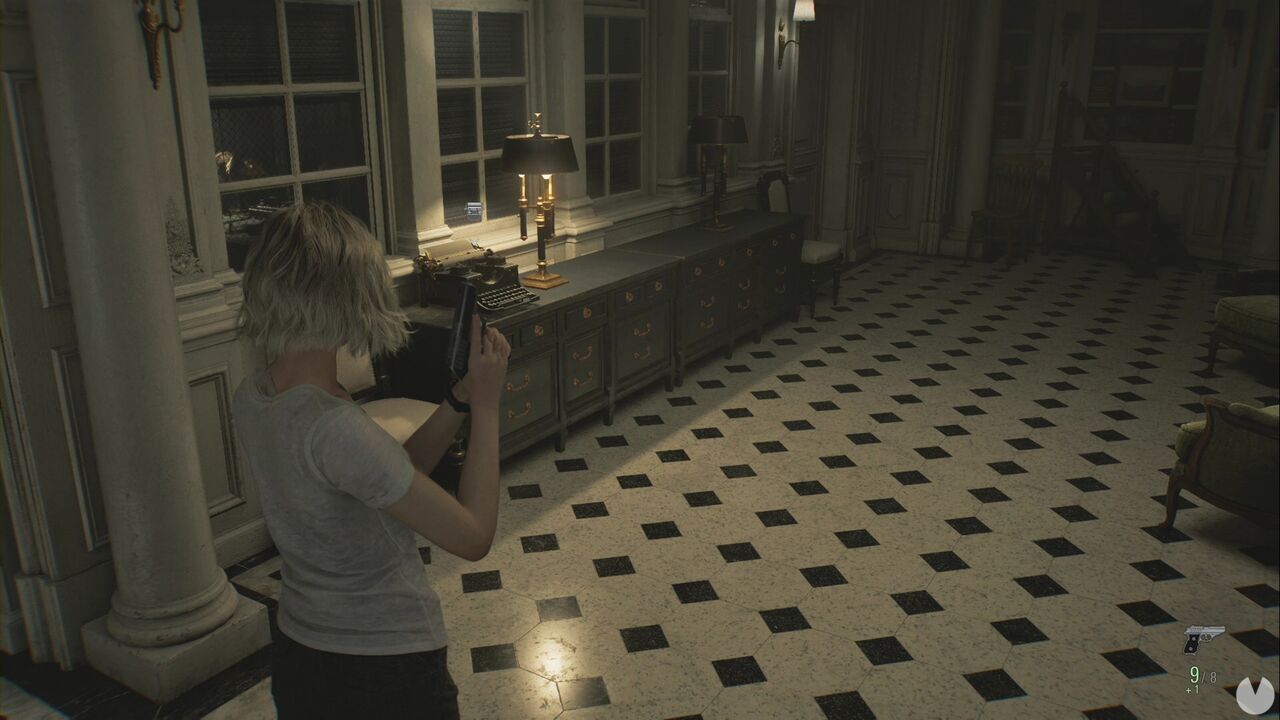
Continue past the typewriter to enter a private office. On a cabinet at the far end, you will find Chief Researcher Photo 2. Turn the photograph over and examine it so that it counts as a document. The Chief Researcher's Message is in the northeastern corner. On the office desk, you will find Chief Researcher Photo 1 and Chief Researcher Photo 3, which is the framed photograph. There is also a Green Herb in one corner.
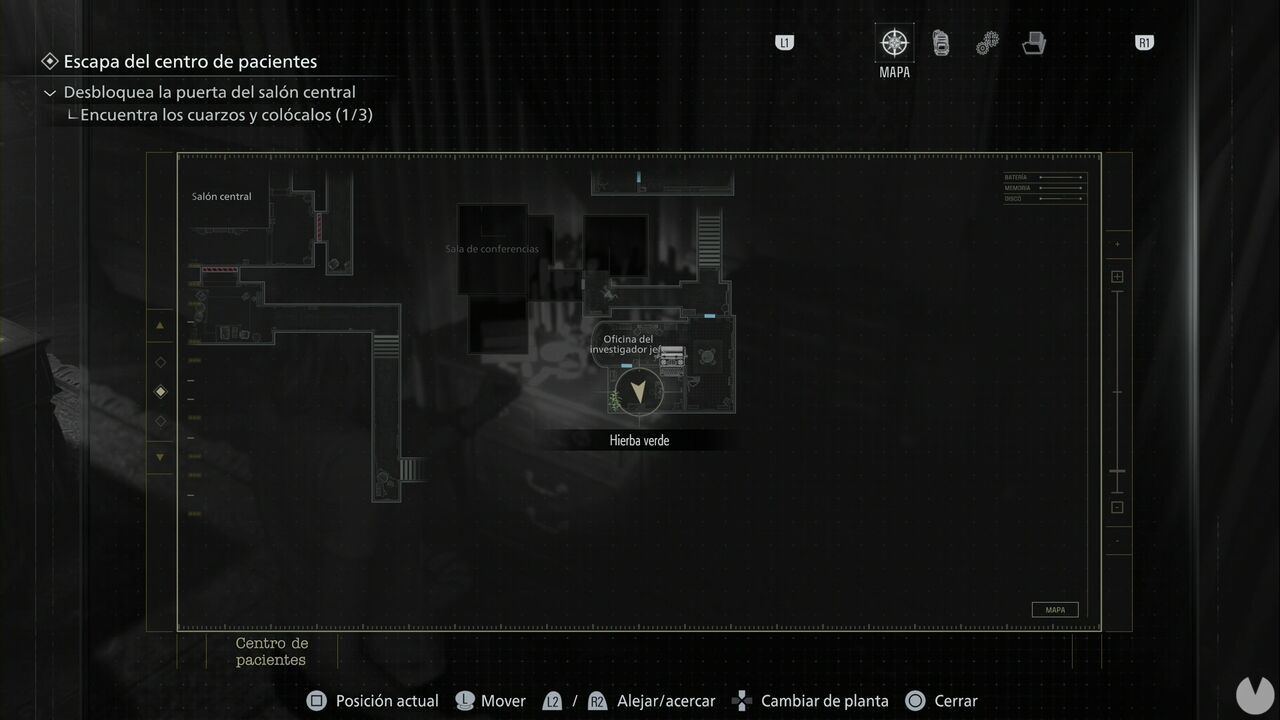
Before continuing, we are going to use the Lock Pick and take a detour. You have three options: a drawer in the ground-floor East Wing Hall; the drawer beside the President's Office in the first-floor West Wing Gallery; or the drawer in the hallway north-northwest of the Kitchen. It does not matter which one you open because they all contain Rare Metal. You will unlock the Like Parent, Like Child achievement/trophy.
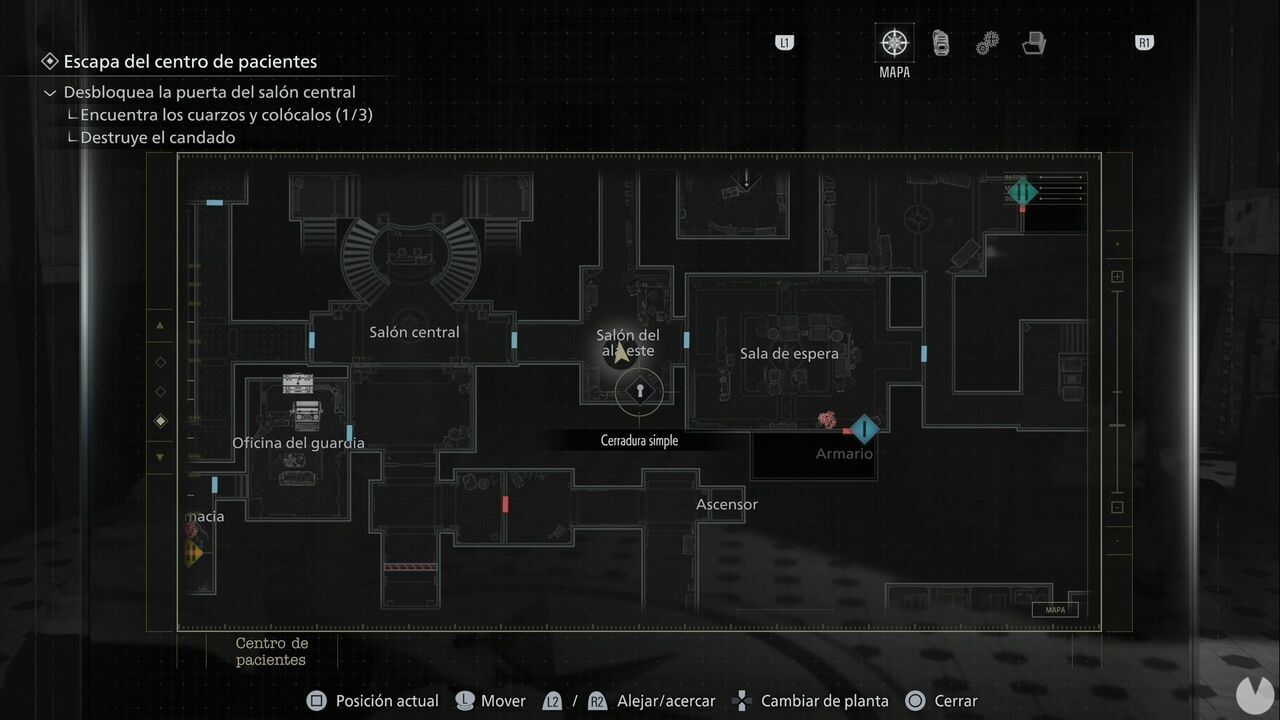
Now use the Scrap you collected earlier to craft a Hemolytic Injector and make sure that you have at least five or six rounds for the S&S M232. You may need more or fewer depending on the difficulty. Return to the Game Room on the ground floor of the West Wing and lure the cook inside. Shoot him in the head a couple of times until he is stunned, then approach and stab him with the Hemolytic Injector. This will kill him instantly and unlock the Order Up! achievement/trophy. You can also collect the Pantry Key. While you are here, you can exchange Antique Coins for whichever item you did not obtain earlier—the Steroids or Stabilizer—or a blood capacity upgrade for the Extractor. We chose the latter.
Use this key to open the door in the southwestern corner of the Kitchen, which leads to the Pantry.
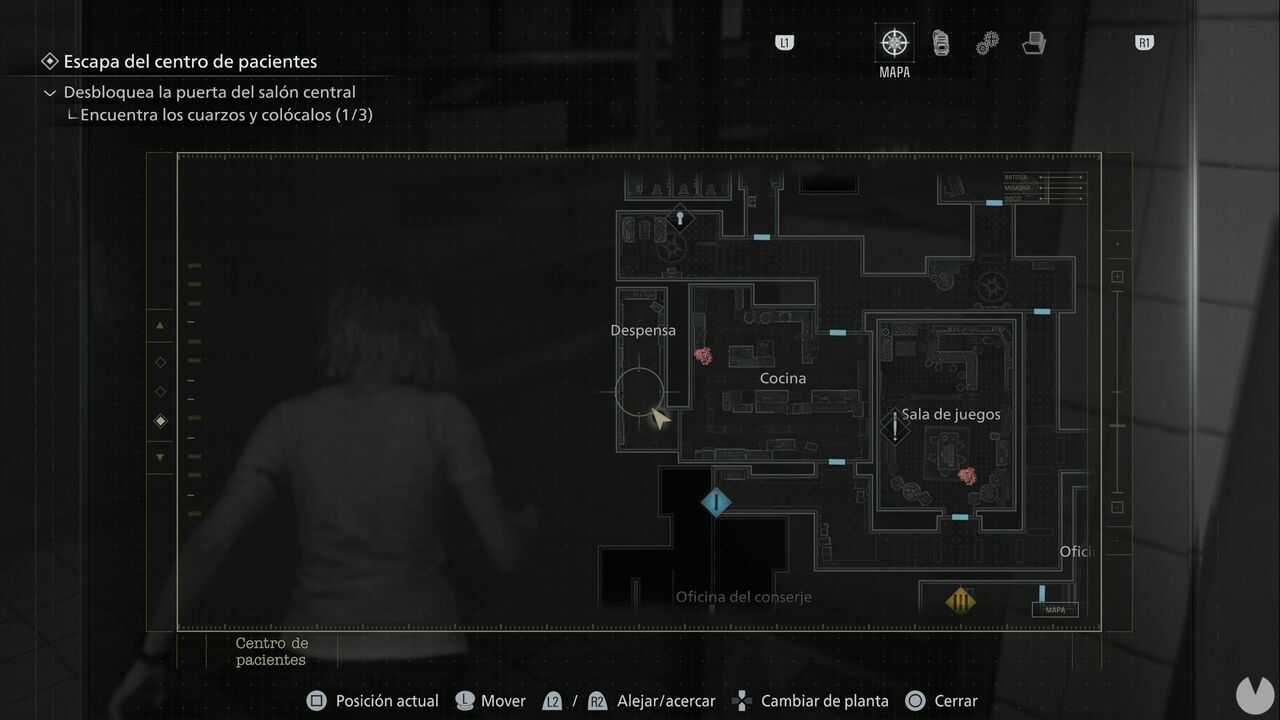
Inside the Pantry, you will find blood, handgun ammunition, an Ink Ribbon, 12.7x55 ammunition and Scrap. More importantly, you will find the Bittersweet Vigilance Charm. That 12.7x55 round is for the Requiem, so load it into the weapon and store the gun in the Item Box alongside anything else you do not need. The Rare Metal can also be used to craft a 12.7x55 round. This detour was certainly worthwhile. Store anything you do not need in the Item Box.
Now return to the first-floor hallway in the East Wing.
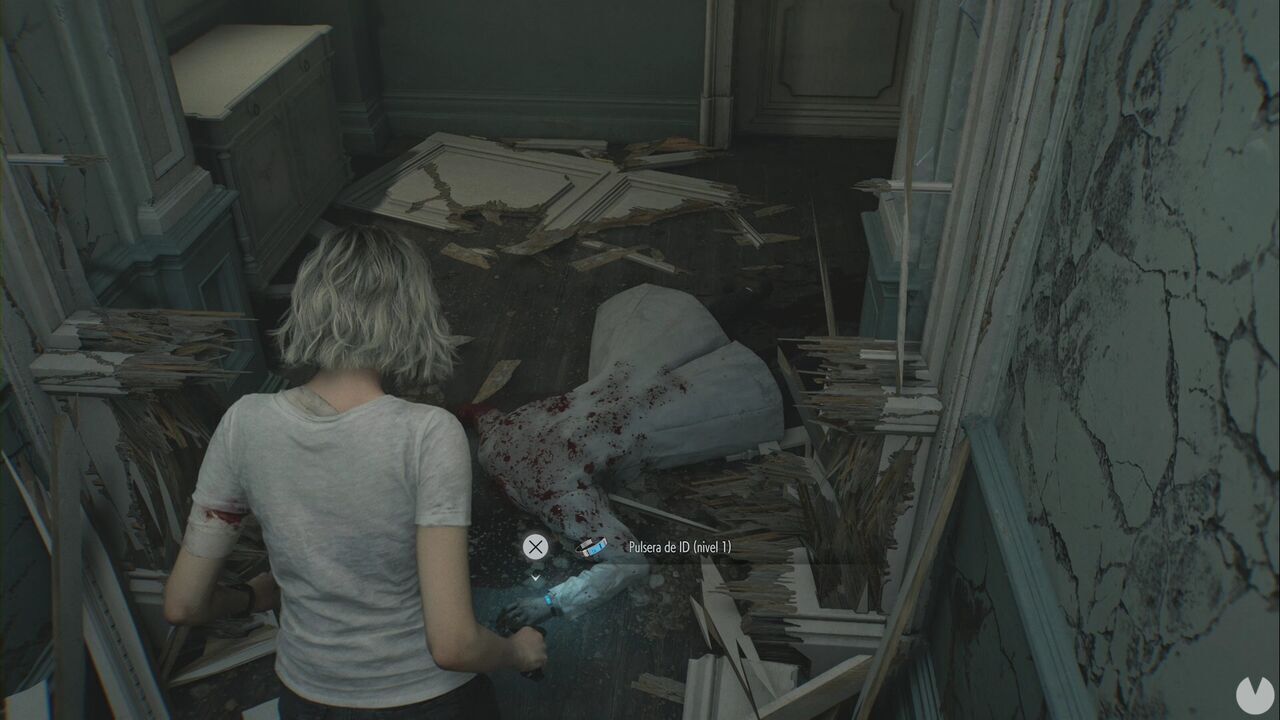
Head west. As you approach the body, an absolutely enormous creature will appear. Run downstairs and make it chase you to the hallway outside the Hematology Laboratory. It will become stuck in the doorway, allowing you to circle around and enter through the western door of the Waiting Room. Approach the door leading to the eastern hallway, but do not get too close: the creature will pass by and smash through the door. Let it pass, then crouch and sneak behind it before returning upstairs to the first-floor hallway. You can now collect the ID Wristband (Level 1) from the corpse.
Continue to the end of the hallway without opening the door. You will reach a changing room containing handgun ammunition, Scrap inside one of the lockers and the Examination Room Safe Code document on another overturned locker.
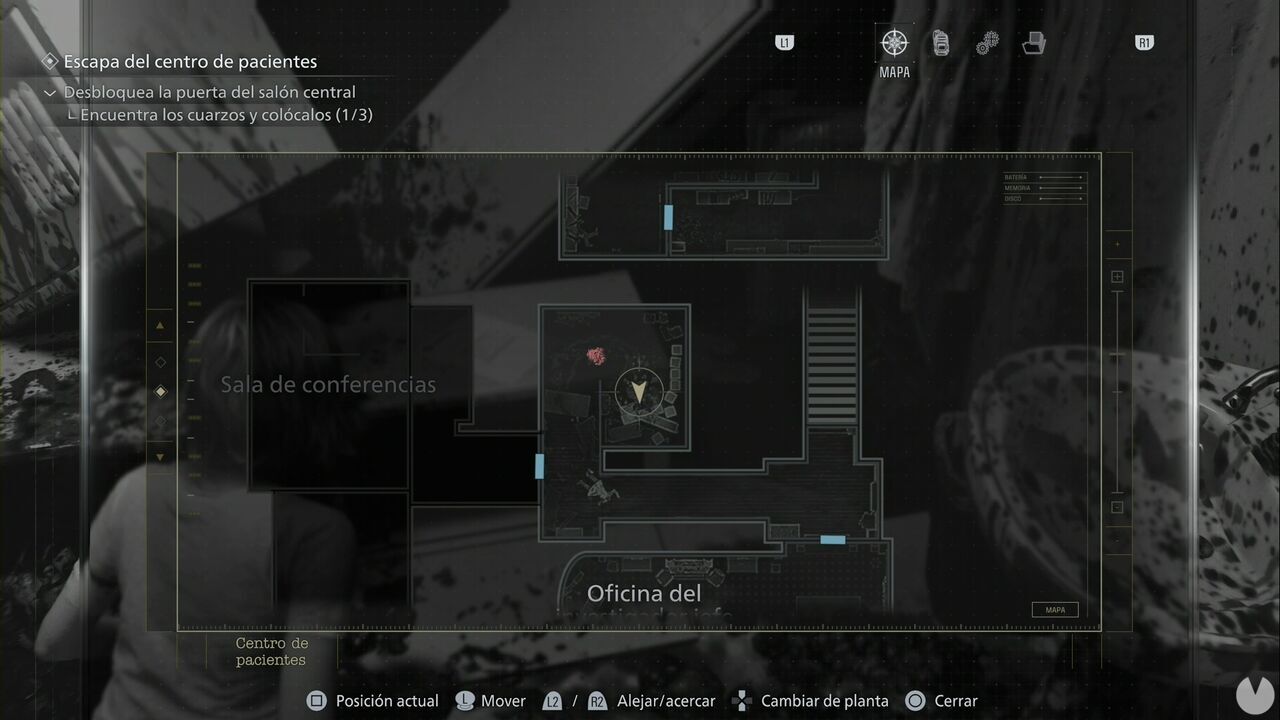
Now enter the hallway leading to the Conference Room—make sure you close the door—and then enter the Conference Room itself. Crouch as you enter, as there is a singer inside. Collect the Antique Coin from the table and circle the central obstacle. As soon as the singer sees you, three zombies will get up. Eliminate them before dealing with her. Since she is the second singer you have killed, you will unlock the Deadly Duet achievement/trophy. Collect the Antique Coin from her body along with the other items in the room. Afterwards, enter the room at the far end.
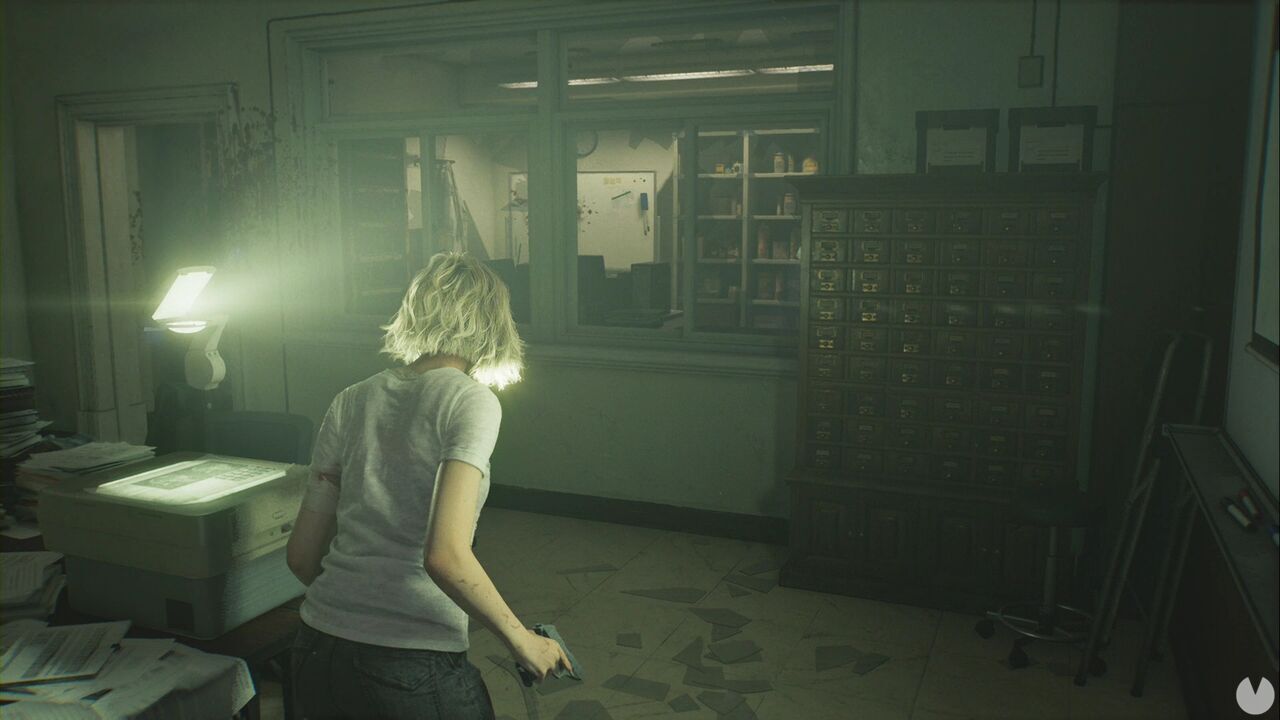
You will find a Corrosive Agent here. The Patient Records document is on the table beside it, next to the computer. Return to the Chief Researcher's Office in the southeast and enter the private office to trigger a cutscene. Once it ends, go back inside, use the Corrosive Agent on the lock securing the box in the corner and solve the next Puzzle Box. You will obtain the Sun Quartz and a Leather-Bound Notebook, which you must examine.
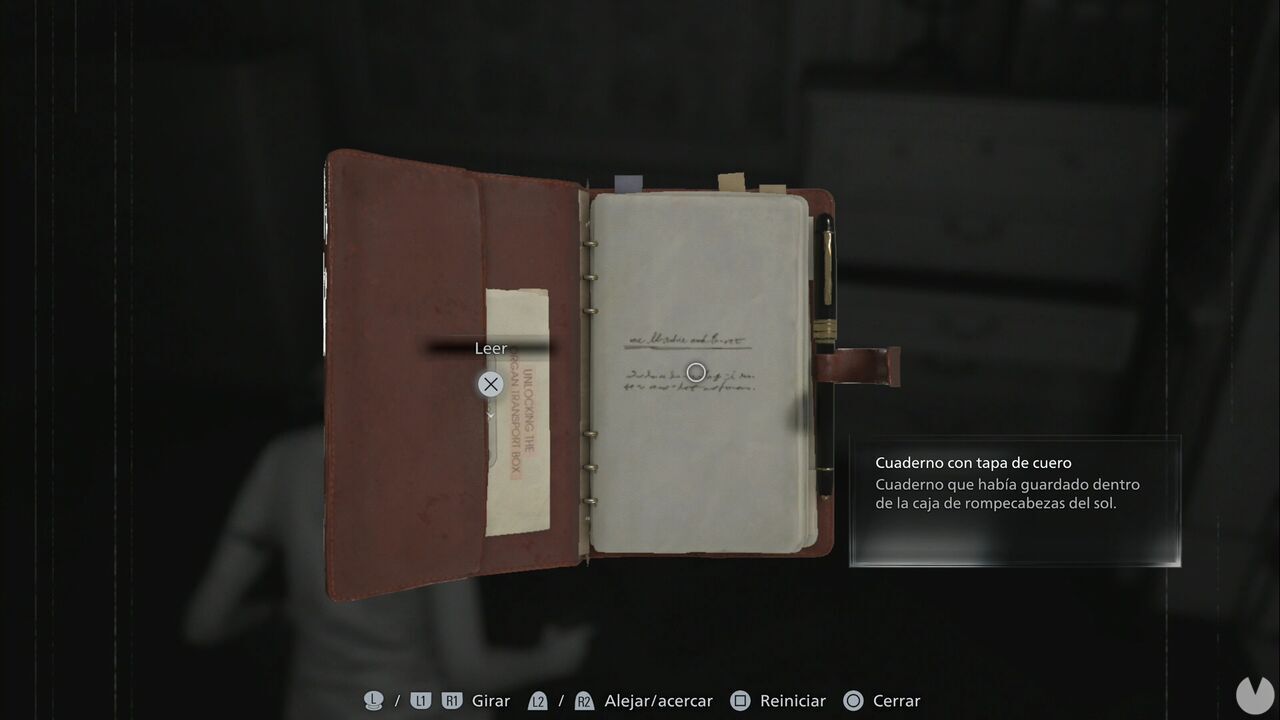
Doing so will give you two documents: Unlocking the Organ Transport Case and Spencer Research I. Thanks to the wristband you obtained, you now have access to several new areas. Start by returning to the Hematology Laboratory and opening the eastern door.
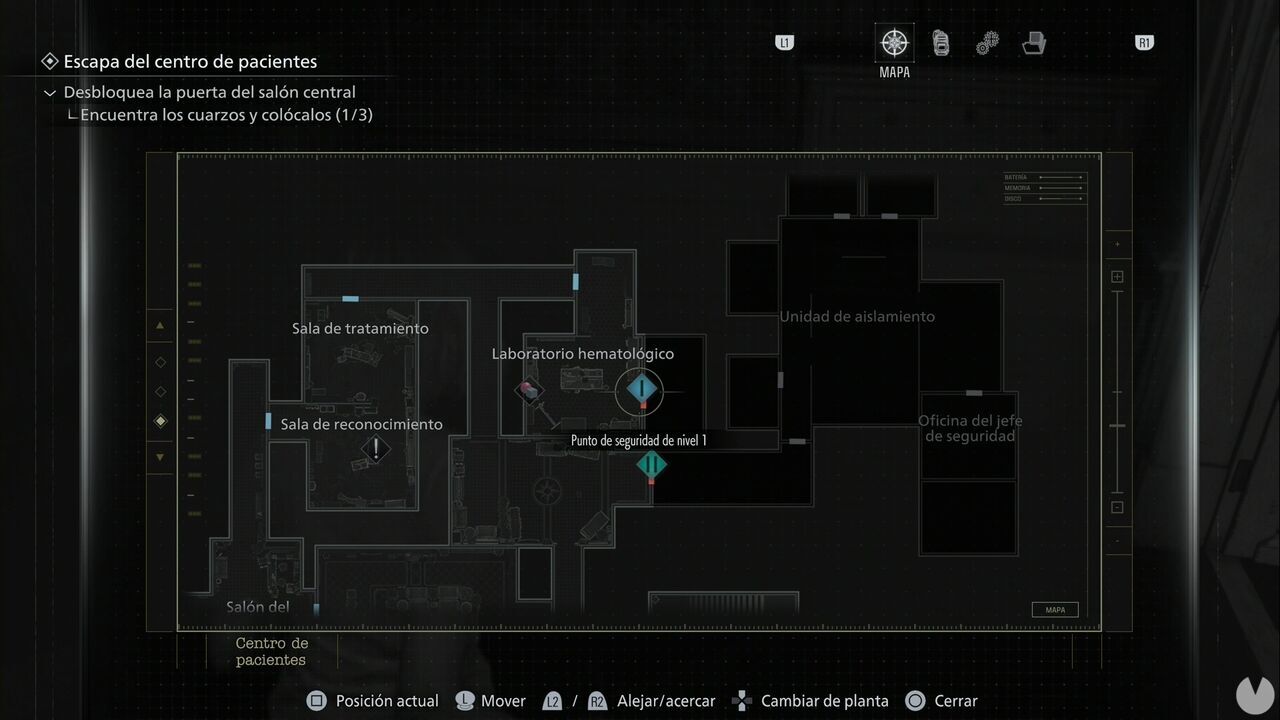
Inside, you will find various resources, including a Green Herb, Scrap and a Transfusion Bag, along with the Victor's Diary document. More importantly, you will find the Blood Sample (Reversible) and an Empty Injector. Collect the sample and use it in the laboratory analyzer. Activate the nodes in the following sequence:
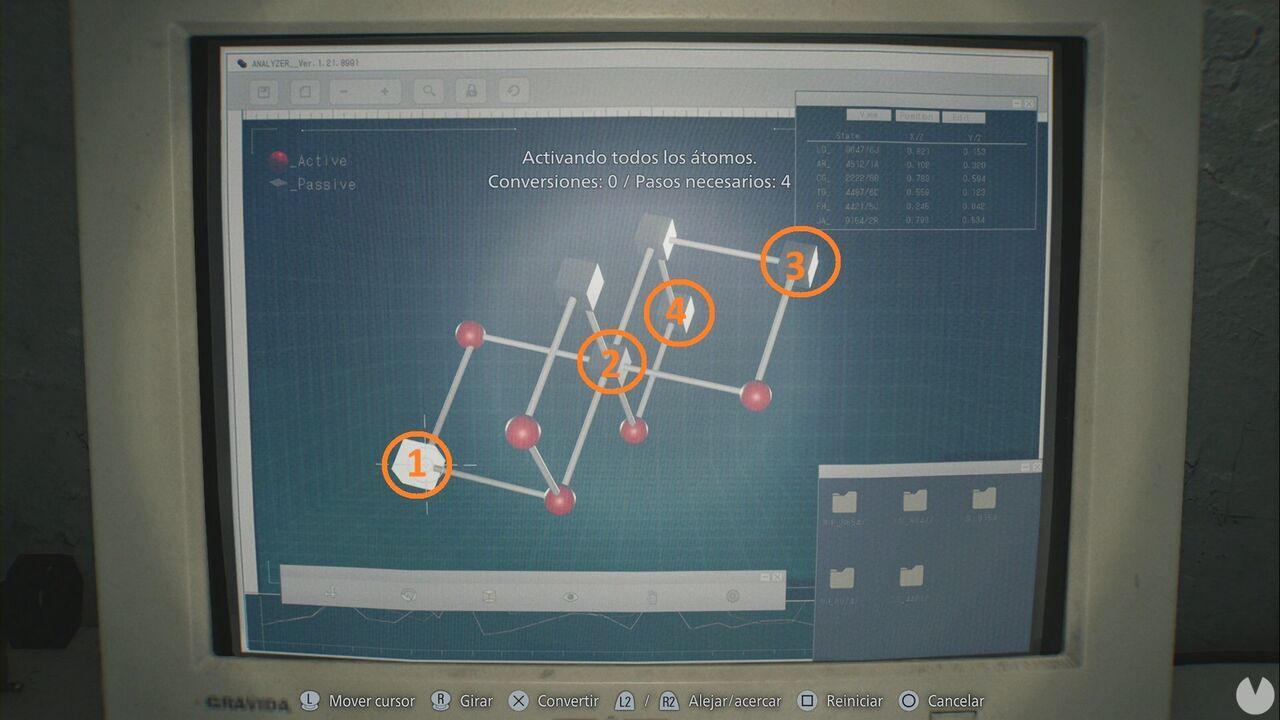
You can now craft Steroids and Stabilizers, although you will need Empty Injectors to do so. We recommend starting with a Stabilizer. Head to the Central Hall, place the Sun Quartz in the door and use the Item Box to store anything you do not need. Afterwards, open the Closet door in the southern section of the Waiting Room. The cleaner zombie should be occupied with the enemy you killed in the southwestern corner of the room, so she will not bother you.
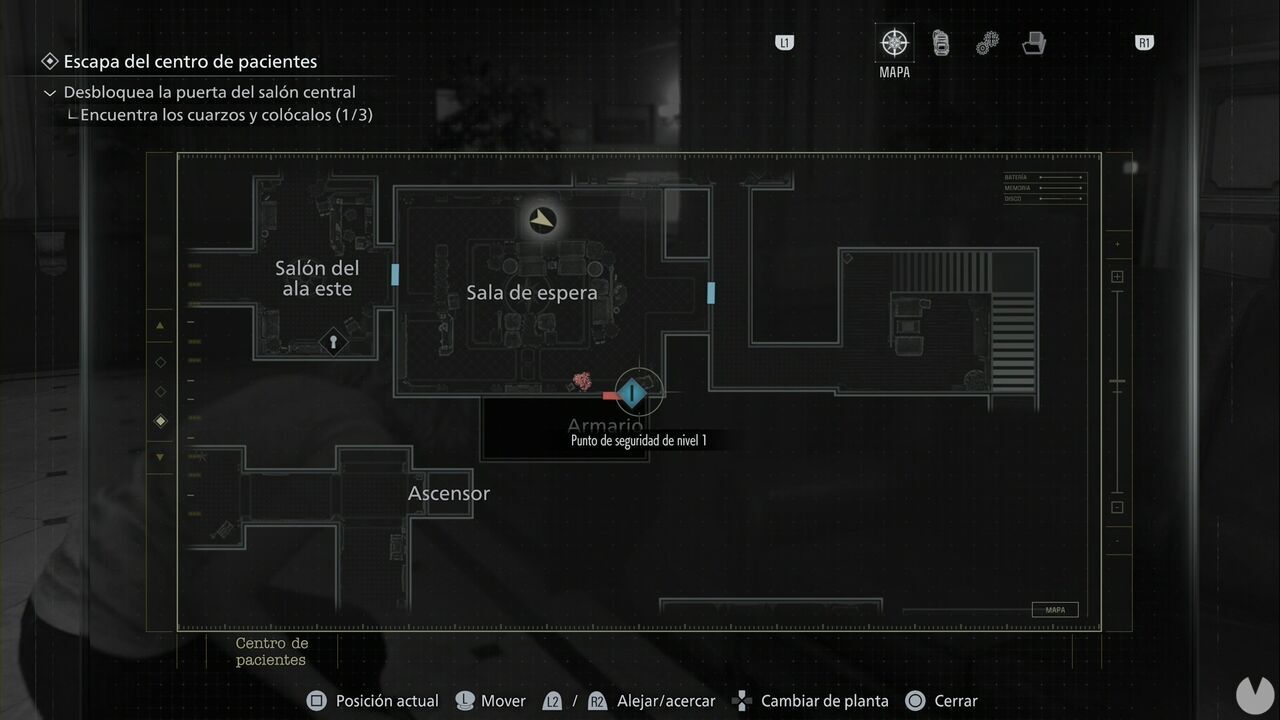
Inside, you will find an Ink Ribbon, handgun ammunition, Scrap, a 12.7x55 round and the Blood Sample (Converged). Return to the laboratory, as it is essential that you analyze this blood. The solution is shown below:
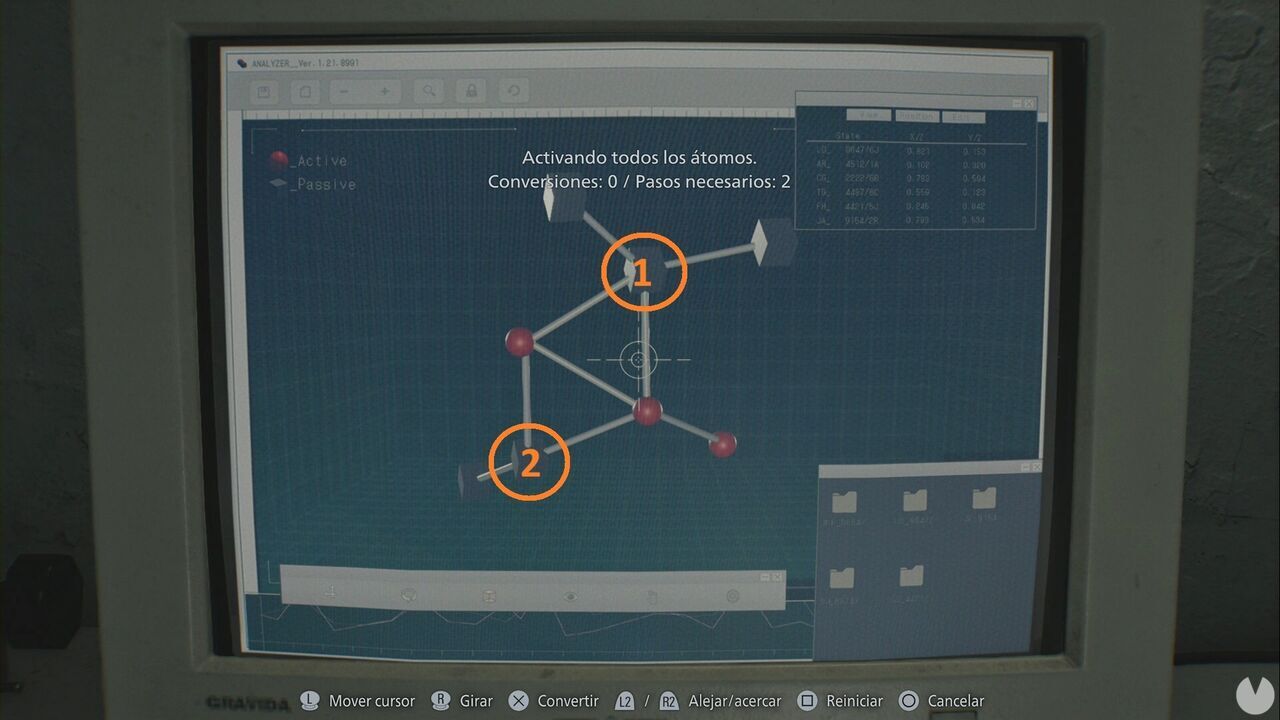
Solving it allows you to craft Injections and, even better, ammunition for the Requiem: 12.7x55 rounds. We will now head to the western area. If you have followed this walkthrough, you should have four Antique Coins—six in total, in fact—which is enough to collect whichever item you have not yet obtained from the Game Room. Make sure to go down the stairs from the Guard's Office towards the Pharmacy Room to see an additional cutscene.
Our next destination is the Level 1 door to the Records Room in the northwestern corner of the ground floor.
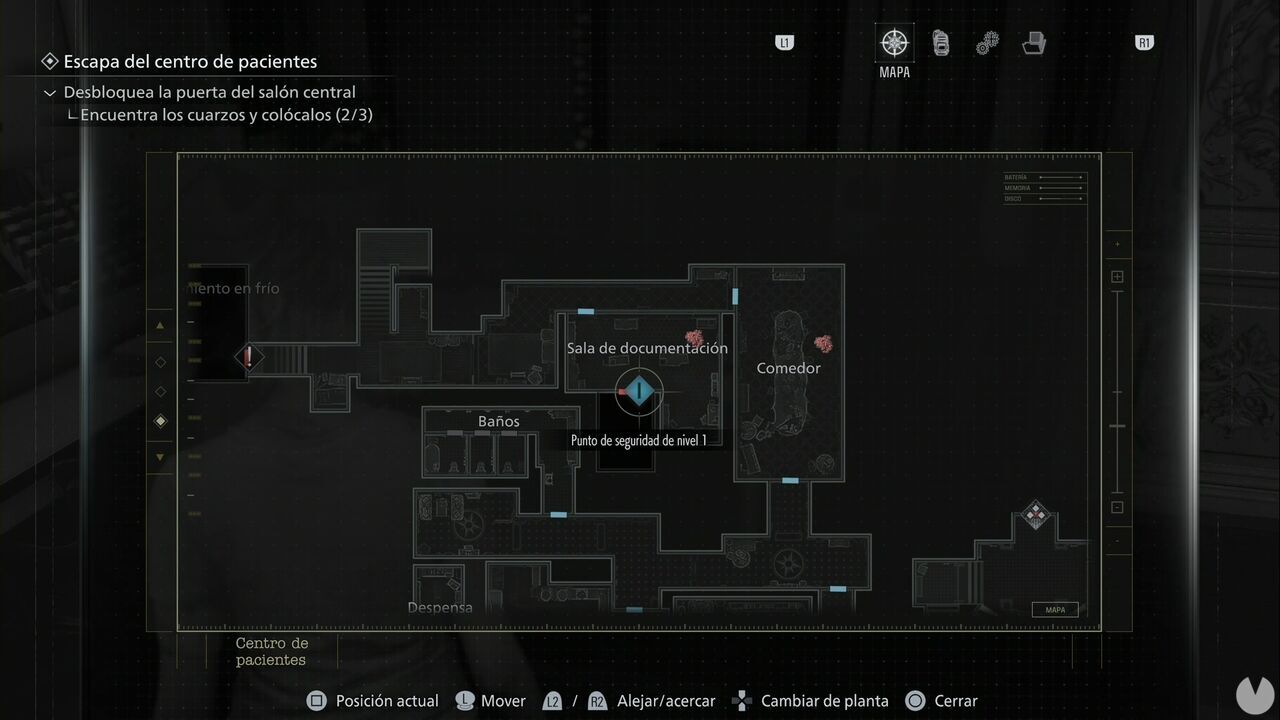
On the way, make sure to collect at least 80 units of blood. Use the Craft option and the Rare Metal you collected to create two Requiem rounds. You should now have four in total; remember to load them into the weapon the next time you pass the Item Box. You are going to need them. Once inside the Level 1 room, collect the second Hip Pouch and some handgun ammunition. You can now head to the Level 1 door in the southwestern corner, as we have finished clearing the optional areas unless you want to collect more blood and craft additional items.
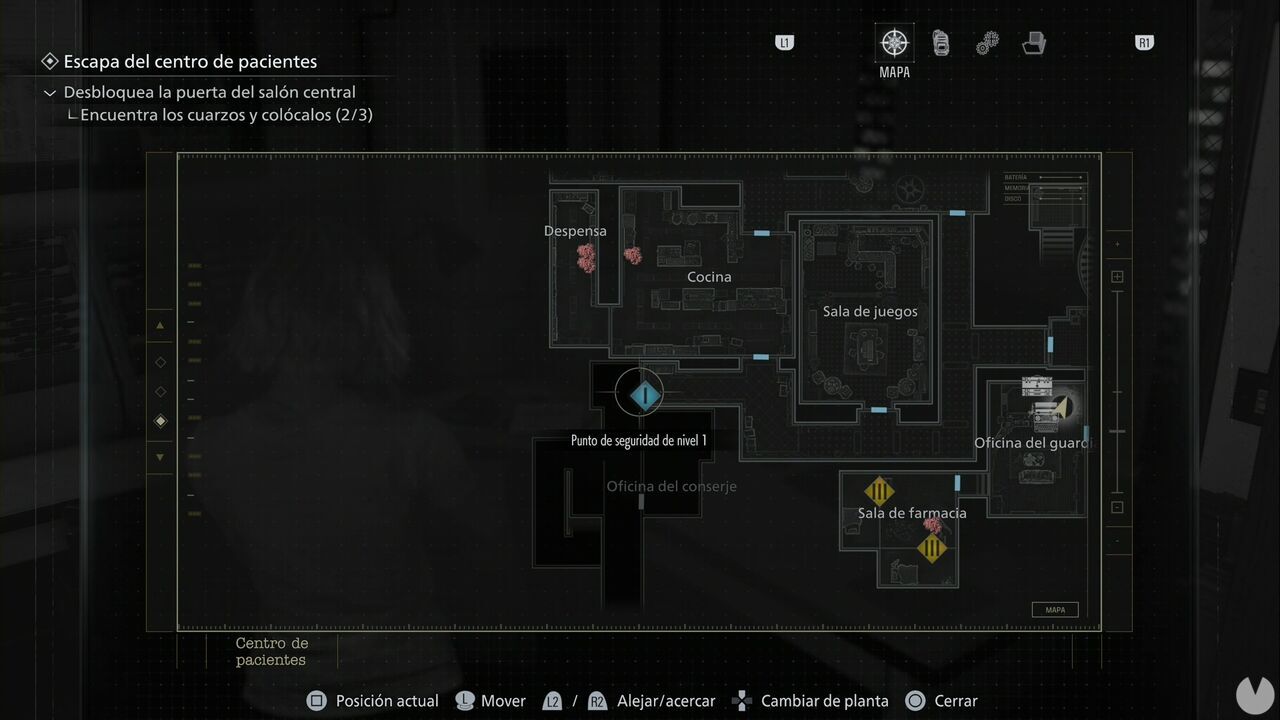
Eliminate the zombie in front of the gate. The ID Wristband (Level 1) should be discarded automatically after you have used it on every available lock. If it is not, search the area again, as you still have at least one lock to open. Enter the Janitor's Office to find a safe room containing resources, a typewriter and an Item Box. You will also find two key items: a Wrench beside the typewriter and the second Lock Pick inside a locker. Take a detour to open one of the remaining locks, collect another piece of Rare Metal and craft more ammunition for the Requiem.
Now look at the wall opposite the Janitor's Office door.
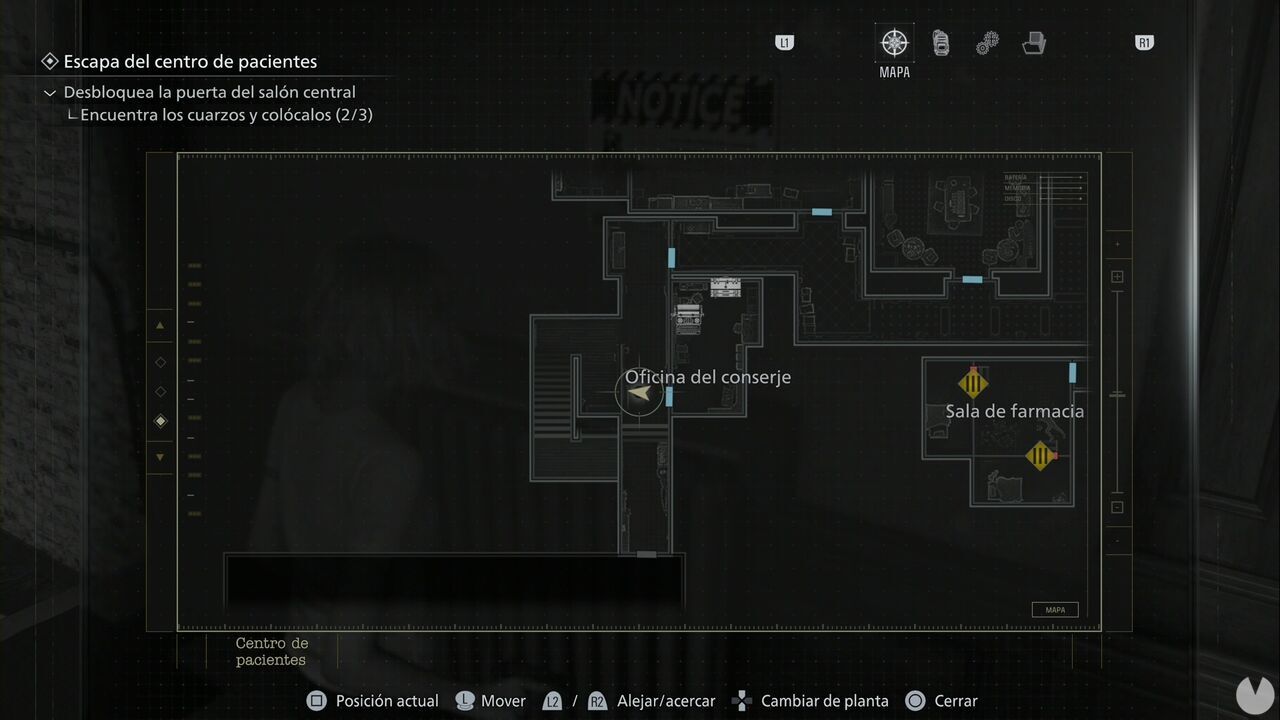
Read the sign on the wall. This is the Construction Notice document. Then head to the Garage. At the far end, you will find a crate that you can break to obtain some resources. More importantly, you will find the Organ Transport Case, which you must open to obtain the Artificial Lungs.
When you try to leave, "something" will happen. You must quickly shoot the enemy and wait before you can cross back over. The incident has opened one of the garage bays, where you will find two crates to break. When you return to the Janitor's Office, you will hear something that does not bode well. You may not hear it just yet, but you will know what we mean when you do. Store the Lungs in the Item Box, but make sure you are carrying the Wrench and an Empty Bottle. Go through the door on the left and climb the stairs instead of returning through the hallway.
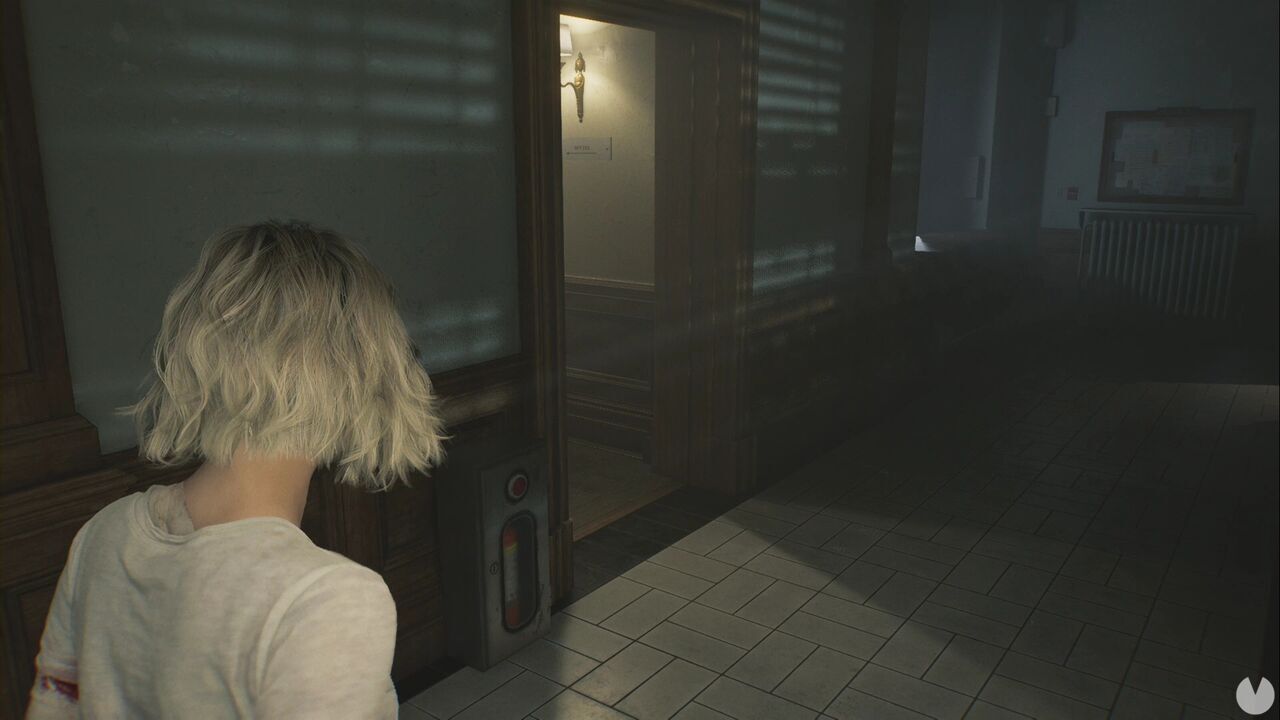
These stairs provide access to the southwestern areas of the first and second floors of the Patient Center. First, continue up the staircase to break two crates. Then head north on the first floor and enter the Office.
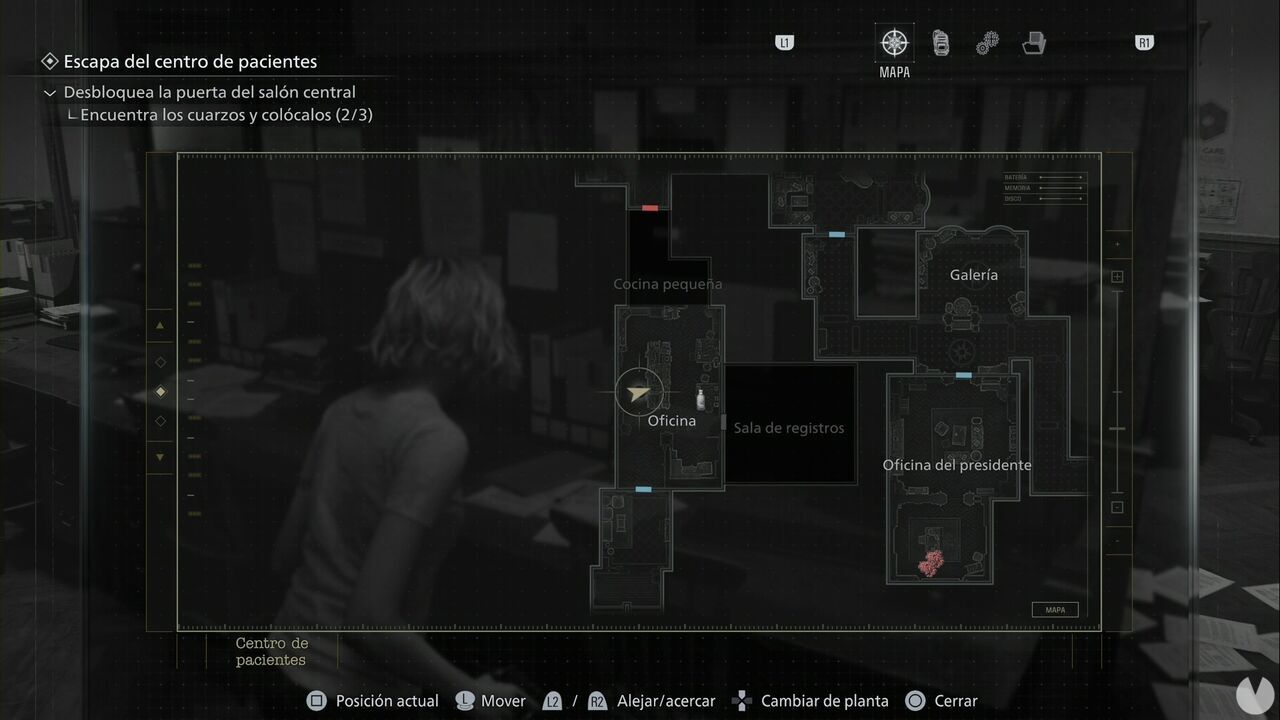
On a table on the western side, you will find the Bar and Lounge Safe Code document. A little farther ahead is the third Lock Pick. Do not forget to use it on the last unopened drawer. On the other side of this room, there is a crate that you must not break and the Background document. Now crouch as you enter the Records Room.
Move straight ahead and turn slightly to the left without rounding the corner. You will see two zombies that have not noticed you. Throw an Empty Bottle onto the floor between them, causing the one carrying a metal bar to strike the other and unlocking the Internal Dispute achievement/trophy.
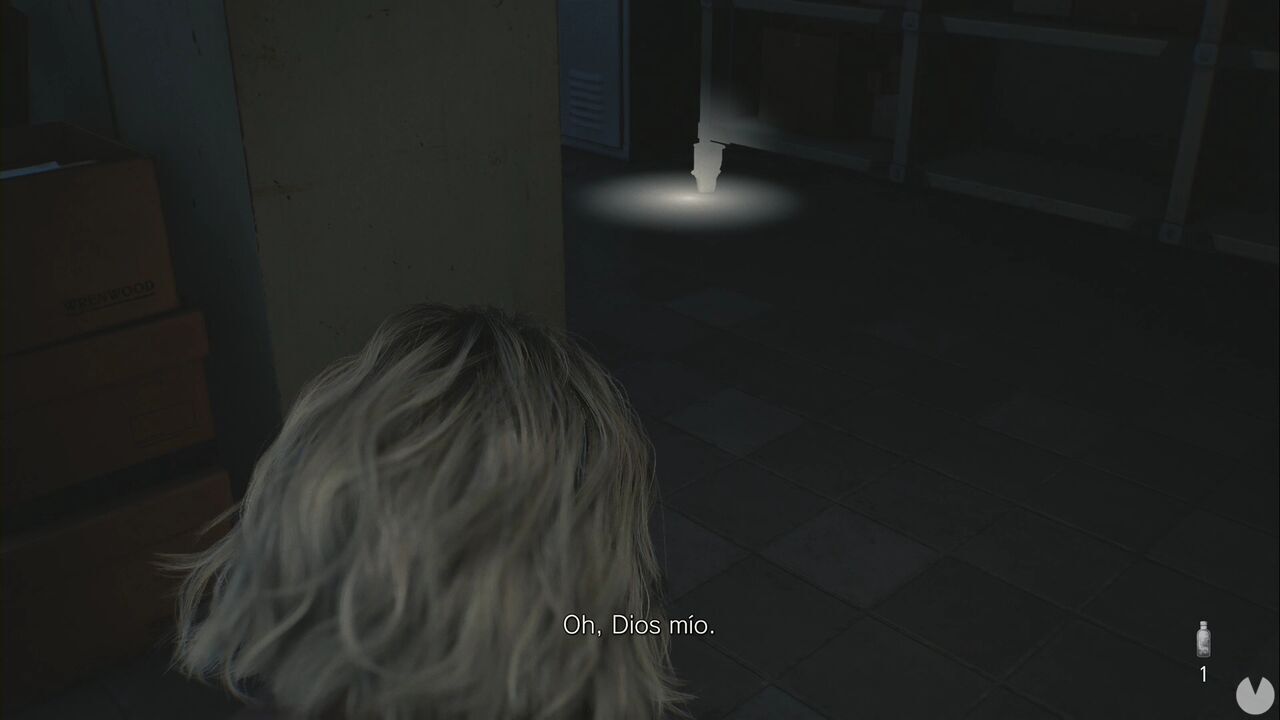
In this room, you should find an Improvised Knife, an Empty Injector, the Disposal Team Report document, some Ink Ribbon Packs and a crate that you can break. Yes, the Mr. Raccoon is inside the cabinet, but you cannot open it. Do not worry about it for now.
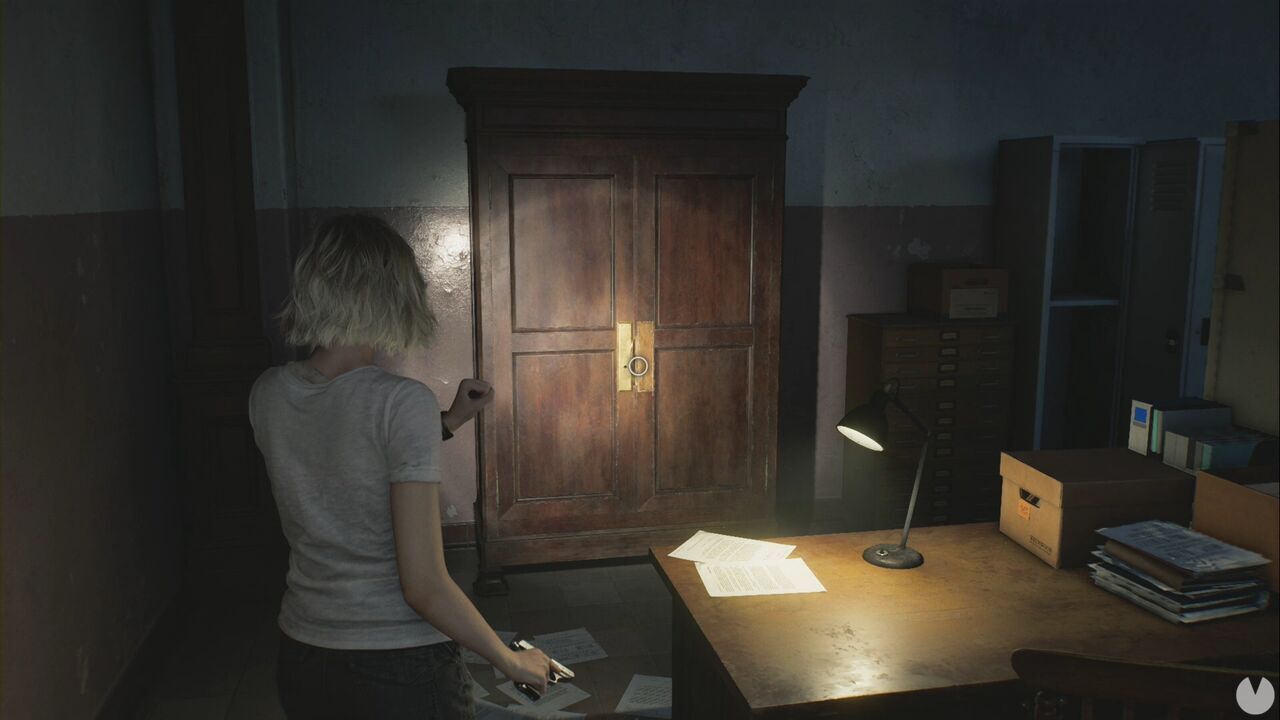
Backtrack and head directly north to the Small Kitchen. There is a Mr. Raccoon here that you can destroy, sitting on top of the coffee maker in the corner.
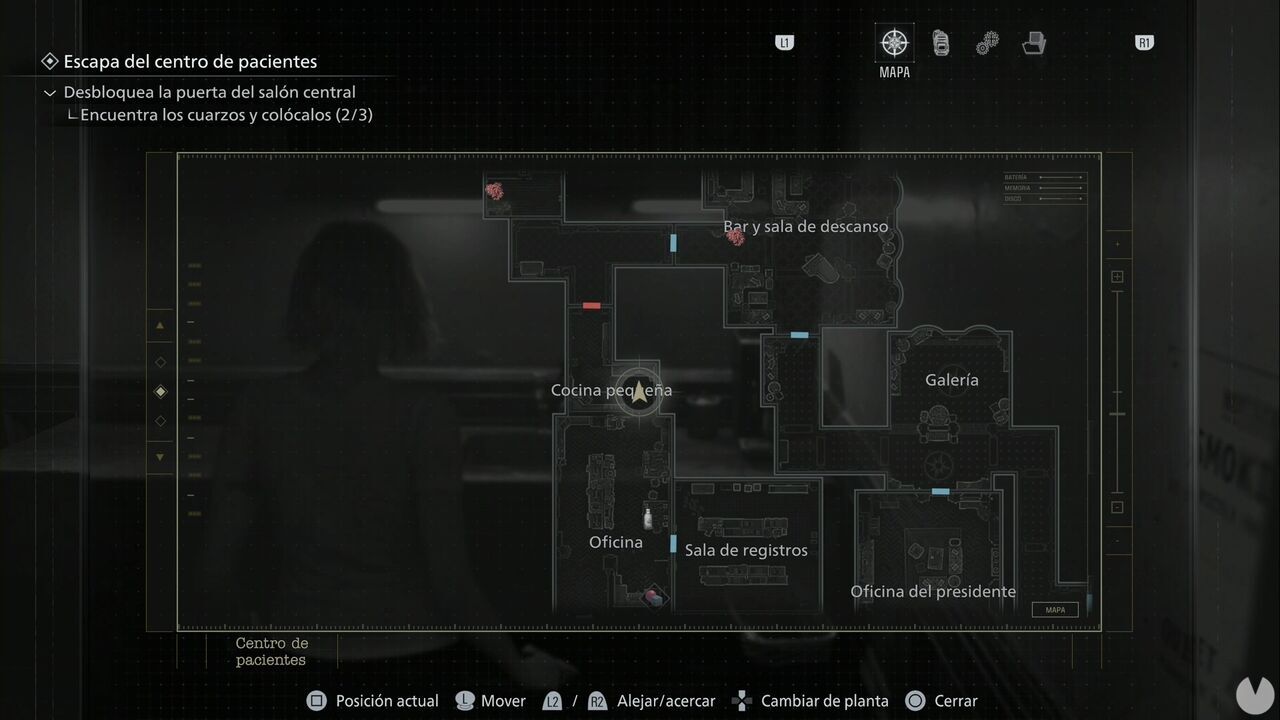
You can now open the northern door to create a shortcut to the Gallery. Go down the northwestern stairs. If you did not hear the scream earlier, you may hear it now: a zombie with a swollen head will get up, and if it grabs you, you will die.
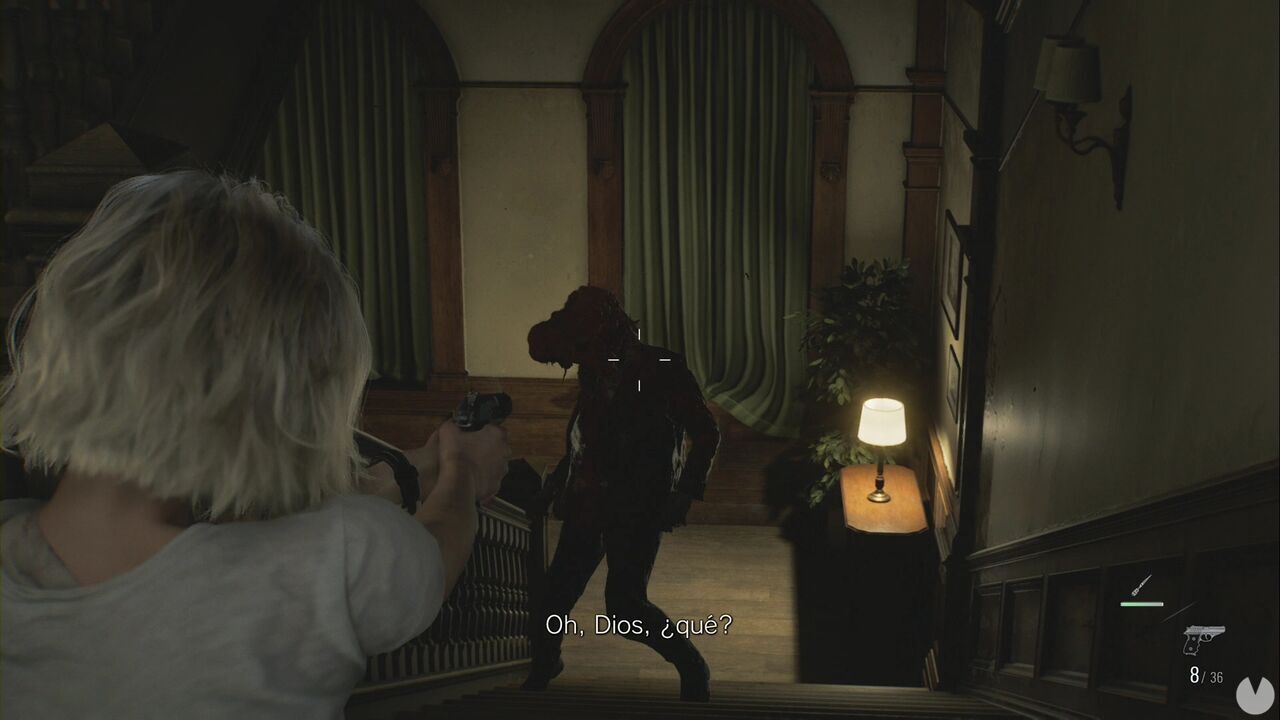
These creatures are essentially the Crimson Heads from other Resident Evil games: they are lethal, fast and can withstand an obscene amount of damage. From now on, try to carry a Hemolytic Injector so that you can use it against them as soon as you stun them for the first time. Once the hallway is secure, go back downstairs and use the Wrench to open the Cold Storage door.
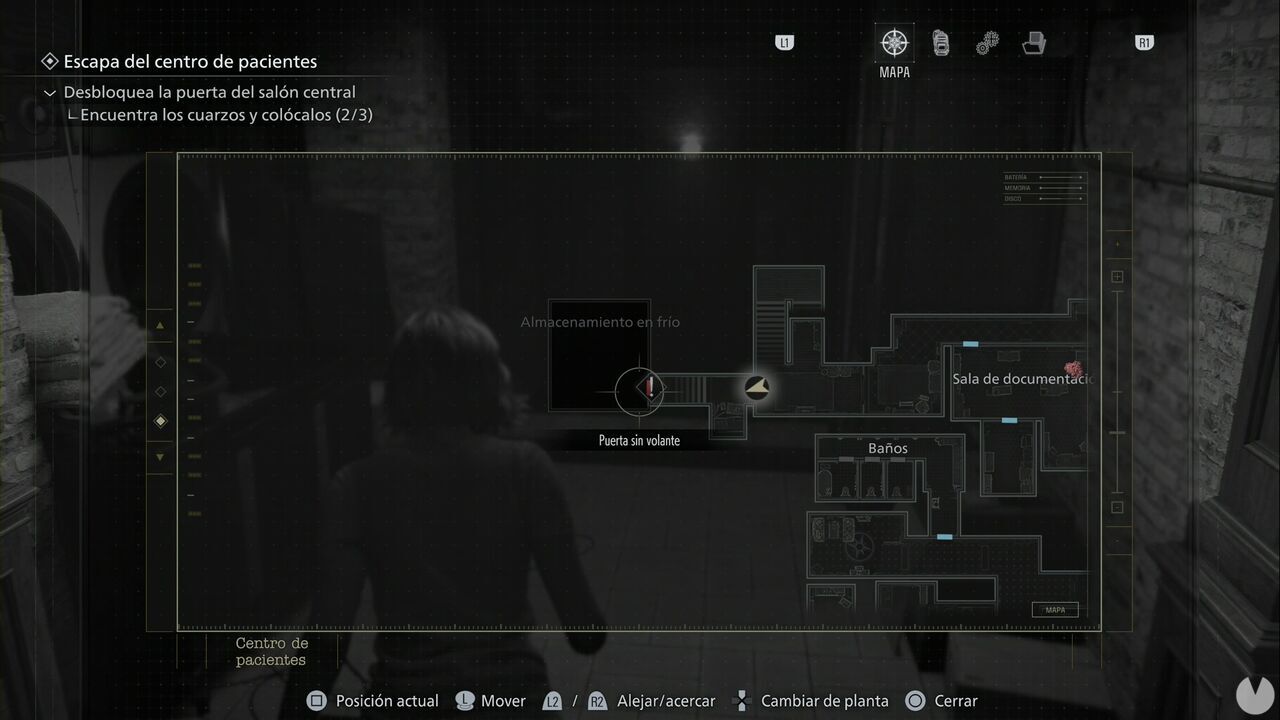
Inside, you will find several resources, including ammunition, blood and Scrap, along with the Artificial Heart. Return to the Central Hall and use the Item Box to reorganize your inventory. You must carry the Artificial Heart and Artificial Lungs. Take the Requiem with at least three rounds—four if you do not have a Hemolytic Injector—and make sure you have at least one additional round left over. Head to the Examination Room in the northeast, where you obtained the first Hemolytic Injector.
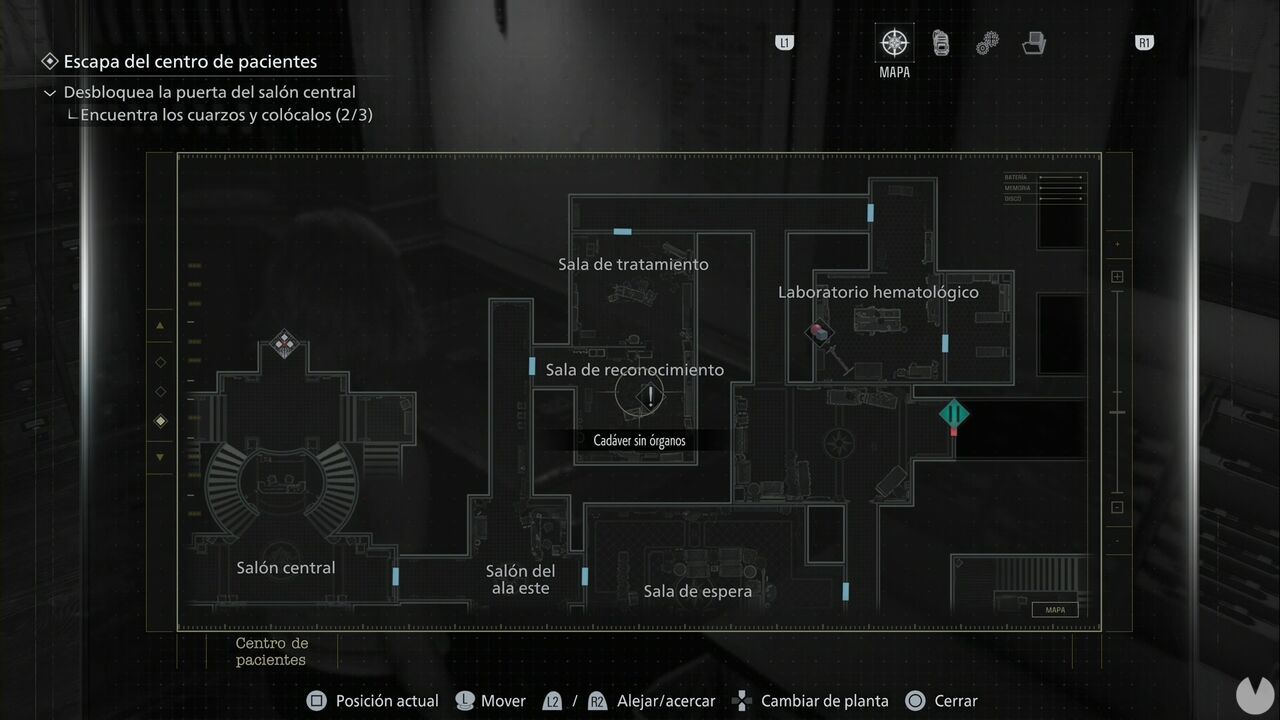
When you enter, one of the corpses will get up with its head swollen. Eliminate it quickly with a couple of shots and the Injector, or use the Requiem if you do not have one. Then place the Lungs and Heart inside the Organless Corpse. To what we imagine is nobody's surprise, you will have to put down the reanimated corpse. Once it falls, you can collect the ID Wristband (Level 2). You must now find the enormous creature in the East Wing that has been pursuing you. Three Requiem shots to the face should kill it. It will take a little while to fall, but as soon as you see it begin to bleed, move away and wait.
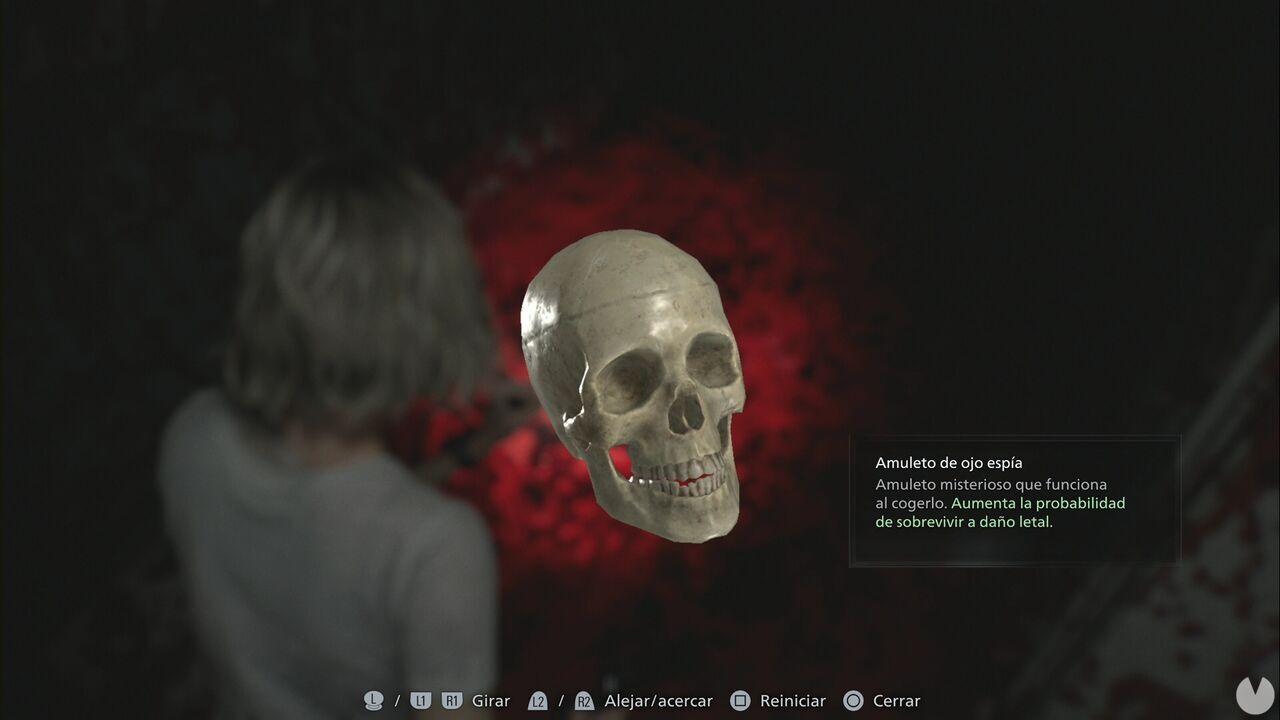
You will unlock the Grace and Goliath achievement/trophy and can also collect the Spy Eye Charm.
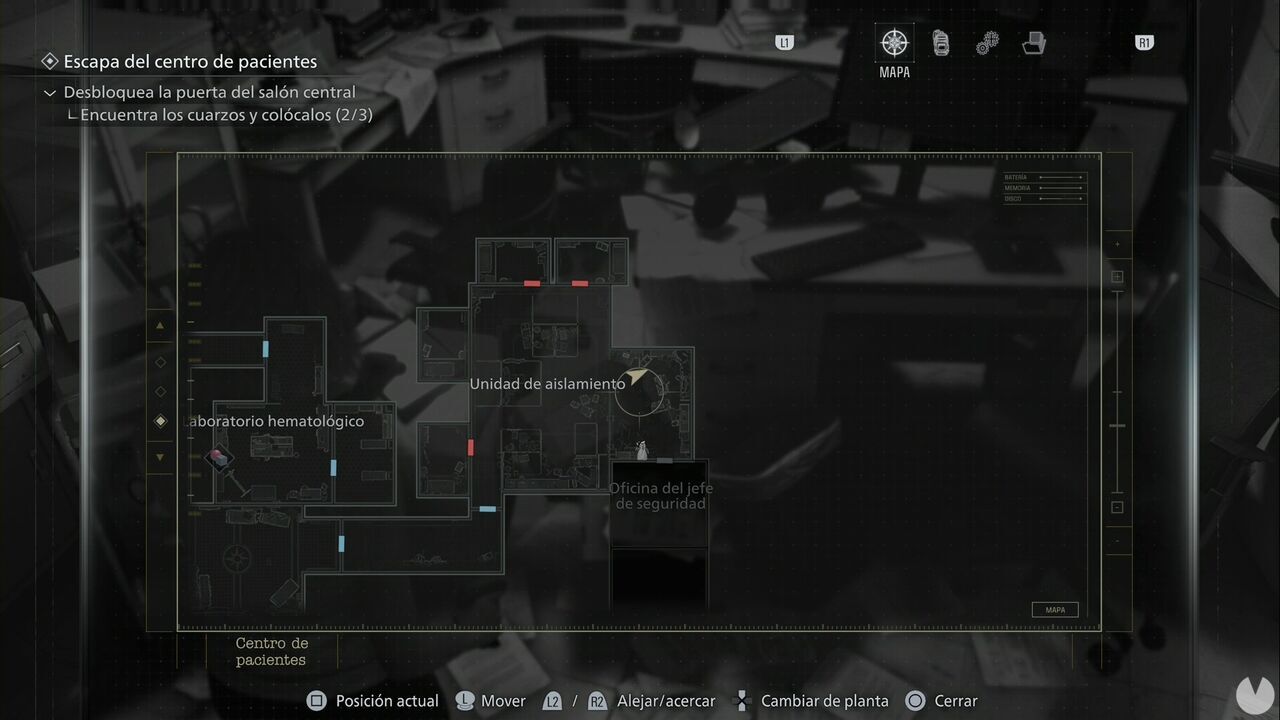
The only Level 2 security door is to the east, in the hallway leading to the Isolation Unit. There is definitely nothing unpleasant in there. They call it the Isolation Unit simply because it is in an isolated area, not because something potentially lethal needed to be isolated. Cross my heart.
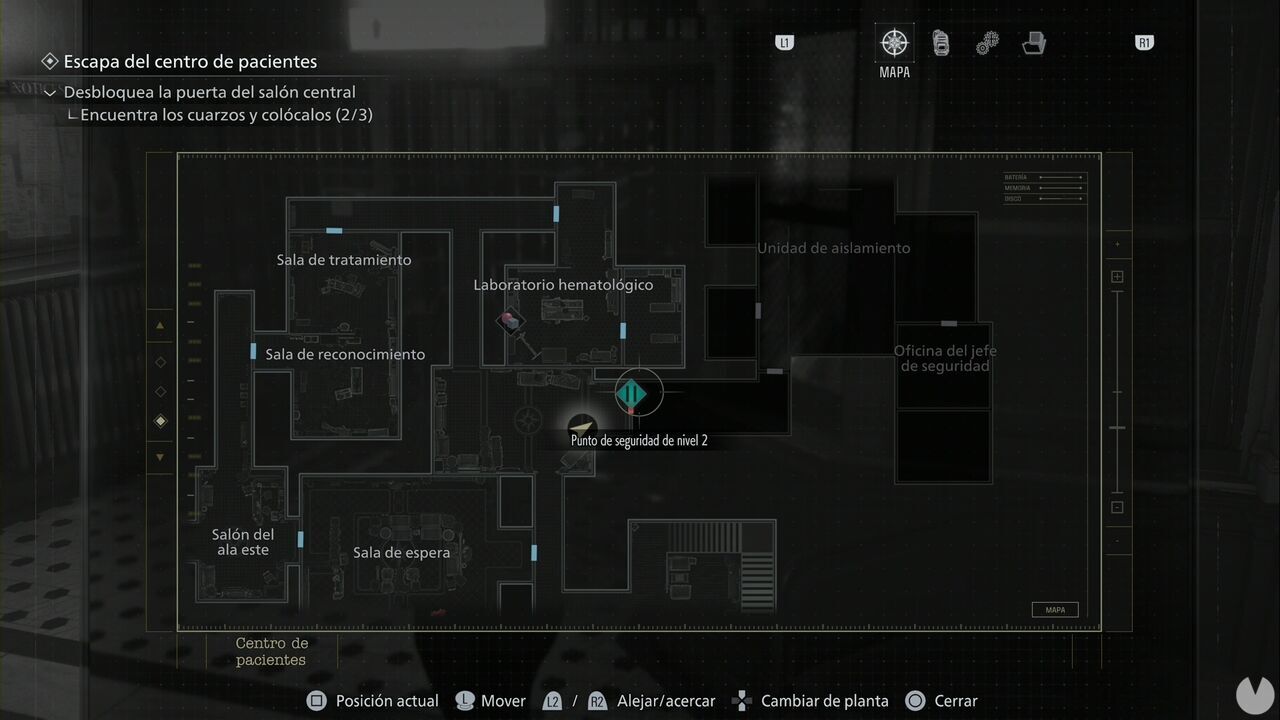
There is a blood bucket and a crate you can break in the stretcher area, but the room doors are all conveniently and suspiciously locked. Your only option is to enter the Security Chief's Office.
On a box in the room before the office, you will find the Double Mutation document. Right beside it, on the table, is the Nursing Log. Collect the Scrap and Green Herb, one on either side of the door, and then enter the office.
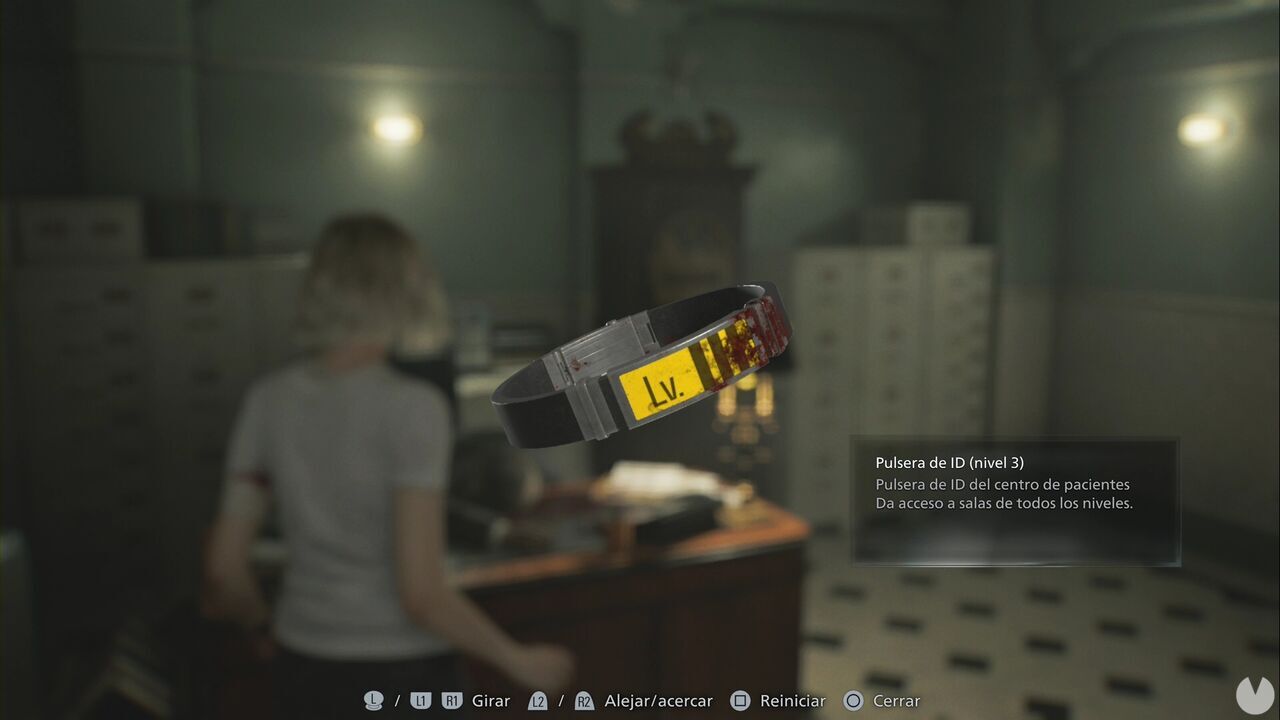
There is handgun ammunition on the whiteboard and an Ink Ribbon on the sofa. Examine the notebook on the table and turn the first page to see the solution to the nearby box... which you will not be able to open. When you examine the box, a cutscene will begin and you will obtain the ID Wristband (Level 3).
When you leave the office, crouch. One of the rooms on the northern side will have opened, and two zombies will emerge. Wait a few seconds for them to leave, enter the room to collect some resources and then move on. They will not see you if you do not draw their attention. Your objective is to reach the Pharmacy Room, which contains the Level 3 security locks. Begin by opening the empty "fish tank" room to find a Mr. Raccoon beside the bed.
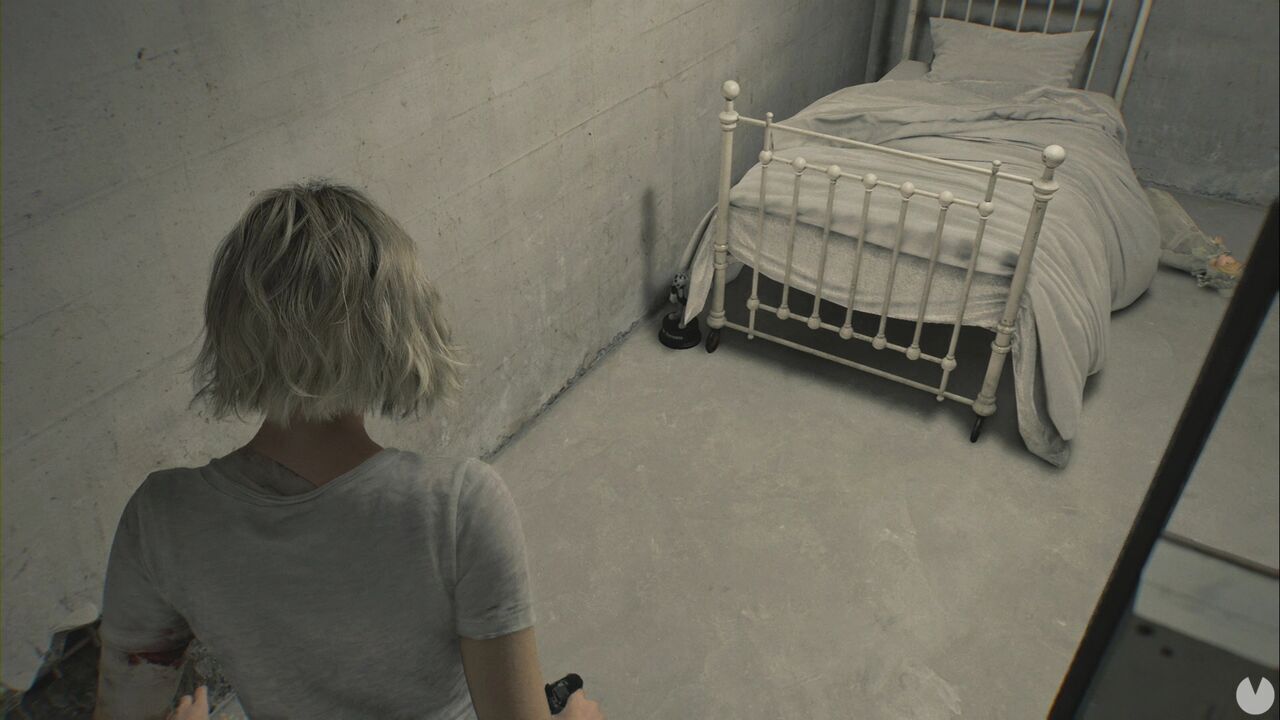
After destroying it, open the door to the girl's room to trigger a cutscene. Save your game just in case, as you must reach the Security Chief's Office while carrying the girl. The problem is that if you are attacked while carrying her, you will die instantly. You can leave her on the sofa in the Guard's Office and create a safe route through the Waiting Room. Eliminate the two or three zombies inside and you will be able to cross safely. You can avoid the cleaner if she is still alive. You must also evade two zombies near the entrance to the Isolation Unit: one patrols between the entrance and the intersection west of the Hematology Laboratory, while the other will leave the Isolation Unit when you try to enter. Lure it into the larger area, evade it and head directly to the Security Chief's Office.
Interact with the Puzzle Box to trigger a cutscene.
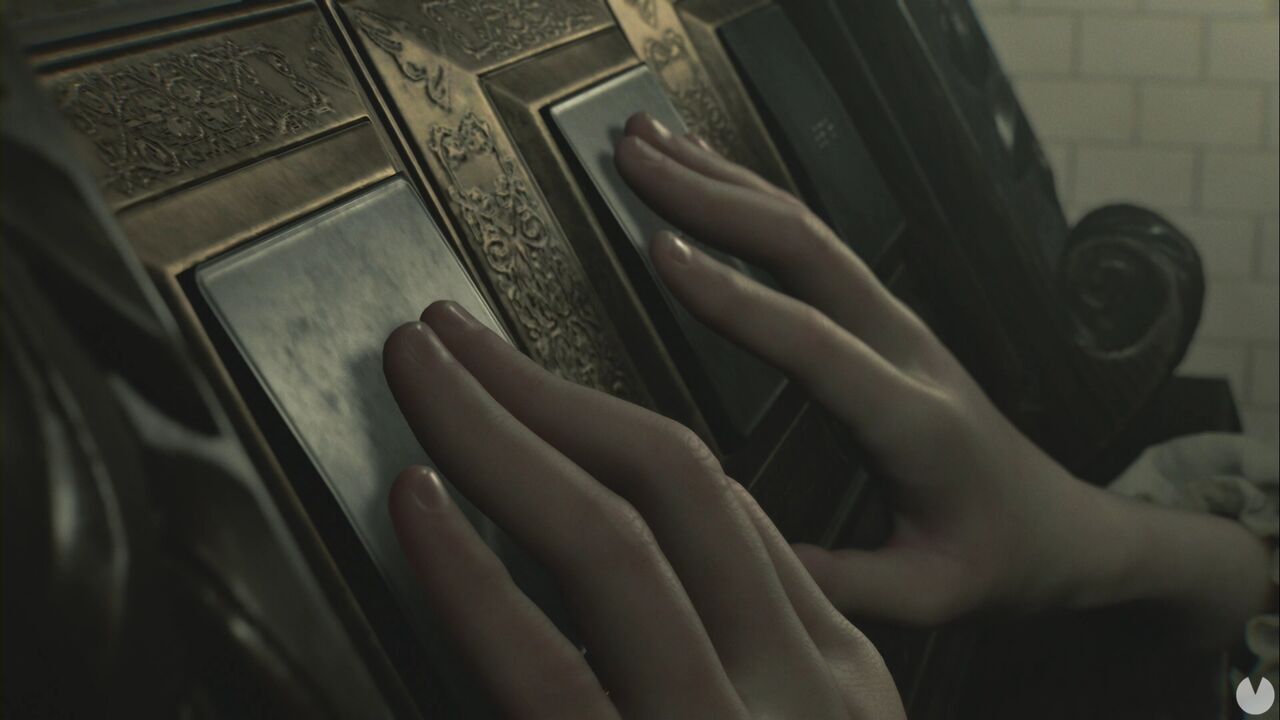
Look into the stretcher area and four zombies will appear in two groups of two. One will transform into a Mutant Head, the swollen-headed creature, after dying, so be careful. Make sure to enter both newly opened rooms to collect the resources inside before returning to Emily when she calls you. After the cutscene, go through the opening and jump into the hole in the floor to begin the next part of the Patient Center.
