As you make your way through the story of Resident Evil Requiem, you can find a total of 75 files. Besides the achievement/trophy tied to collecting them all, they also contain clues that can help you in certain situations, including item locations, safe combinations and more. This section of our guide shows you where to find every one of them.
Bear in mind that these locations inevitably contain spoilers for areas you will visit during your playthrough. Read on at your own risk.
These are the files you can obtain during the Wrenwood Hotel chapter.
This item is already in Grace's inventory when the chapter begins. You need to examine and rotate it from your inventory until the option to open it appears when the front is facing you, just like the medal books in the original Resident Evil. Once you open and read it, it will count as collected.
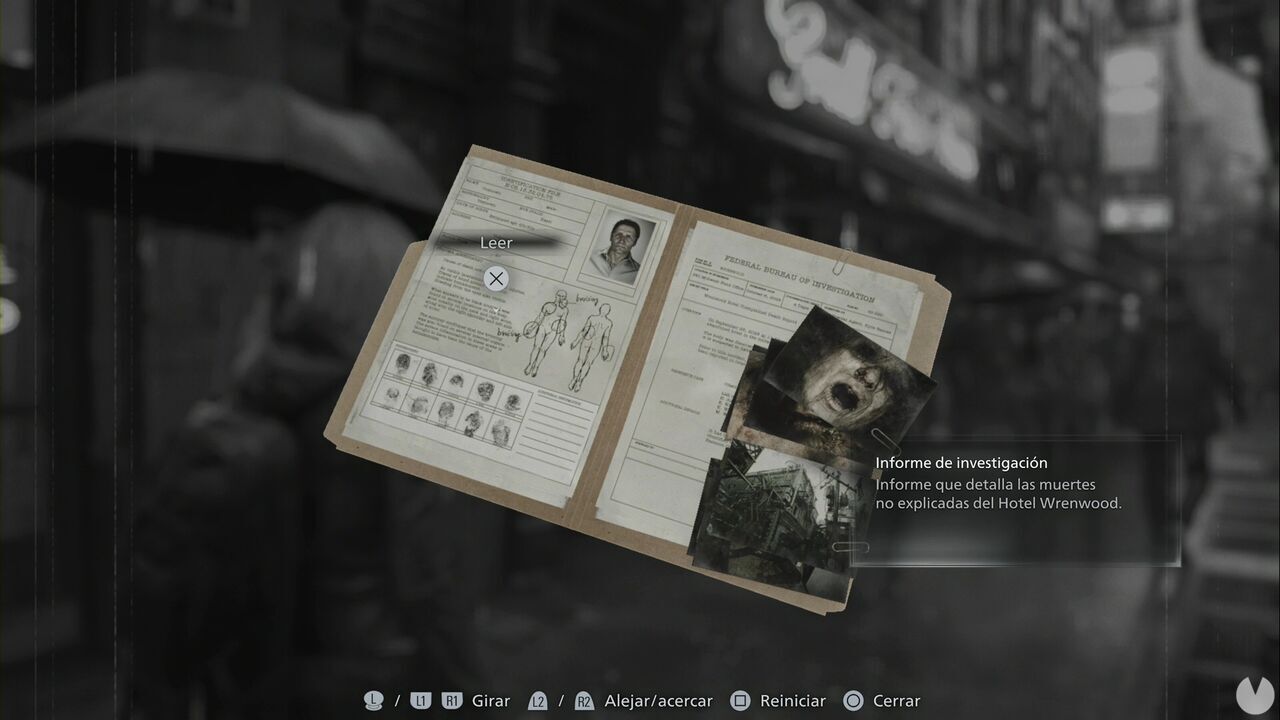
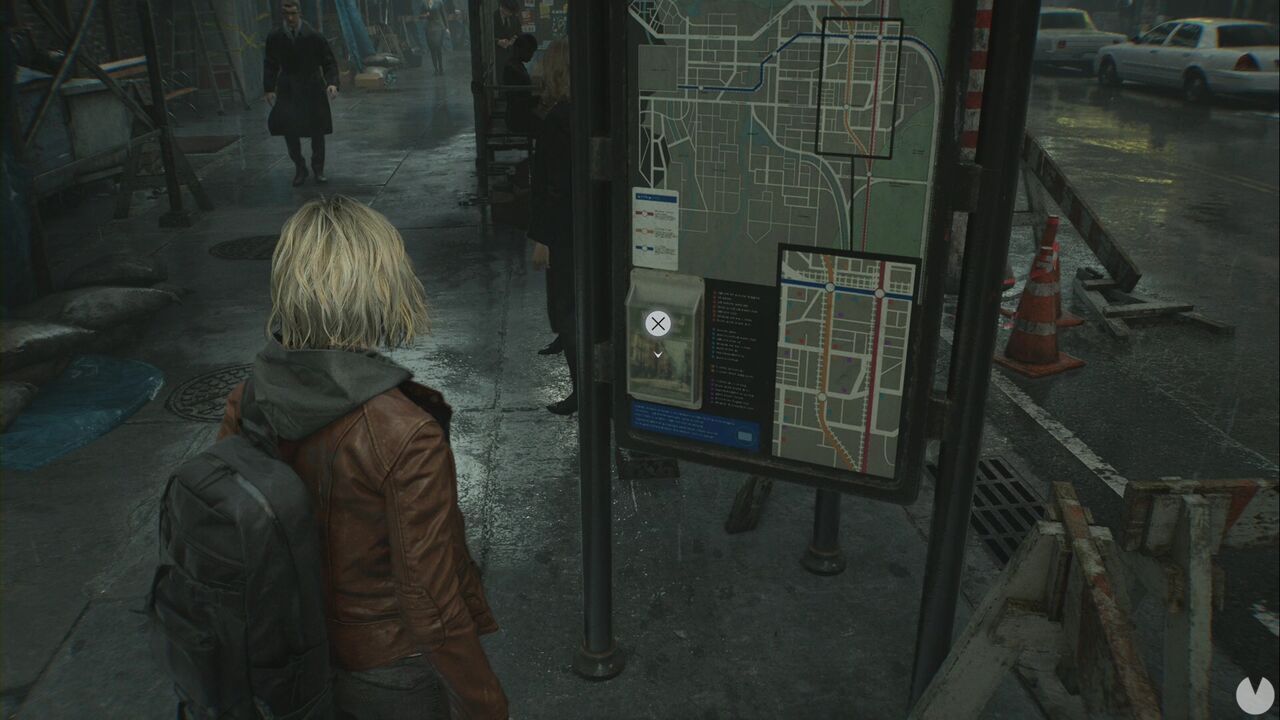
It will be on your right as you move forward, displayed on a tourist information board.
You should see it in front of the barber shop, the building with the red awning.
It is on the floor in the Lobby, and you will pass right by it as part of the story.
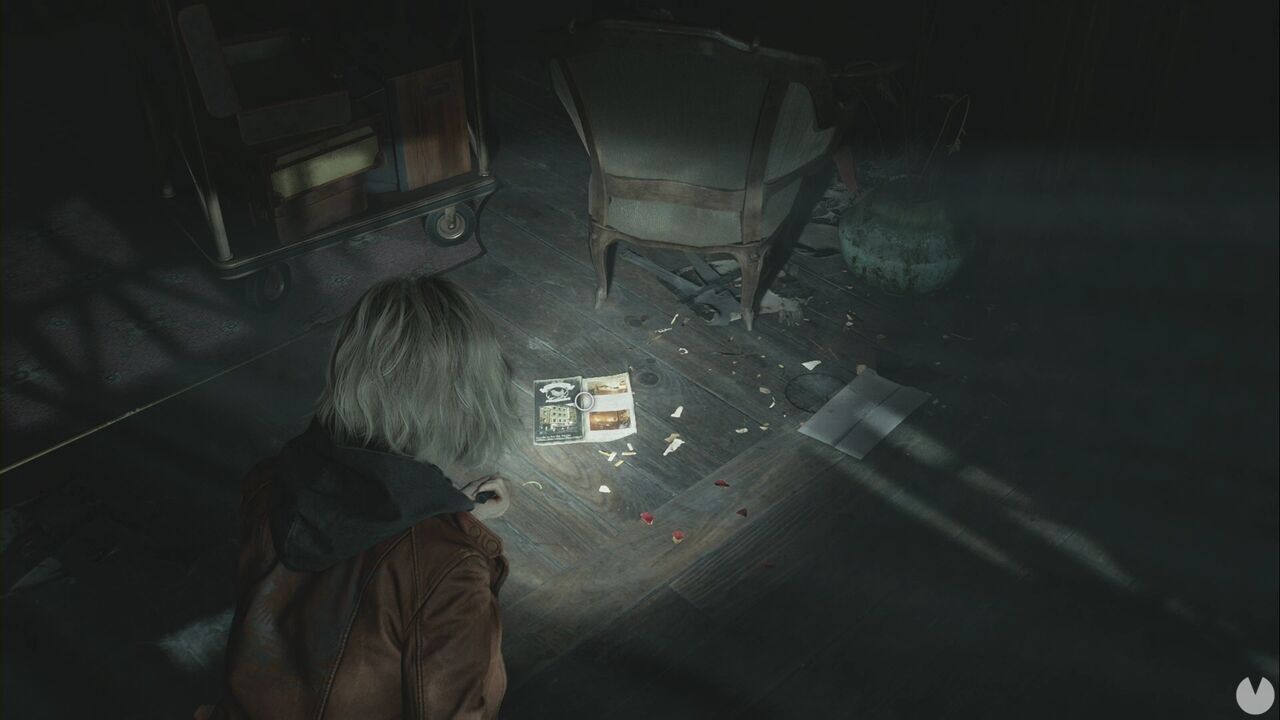
You will find it on the floor ahead and slightly to the left as soon as you enter the area.
It is in the Office, northeast of the Lobby.
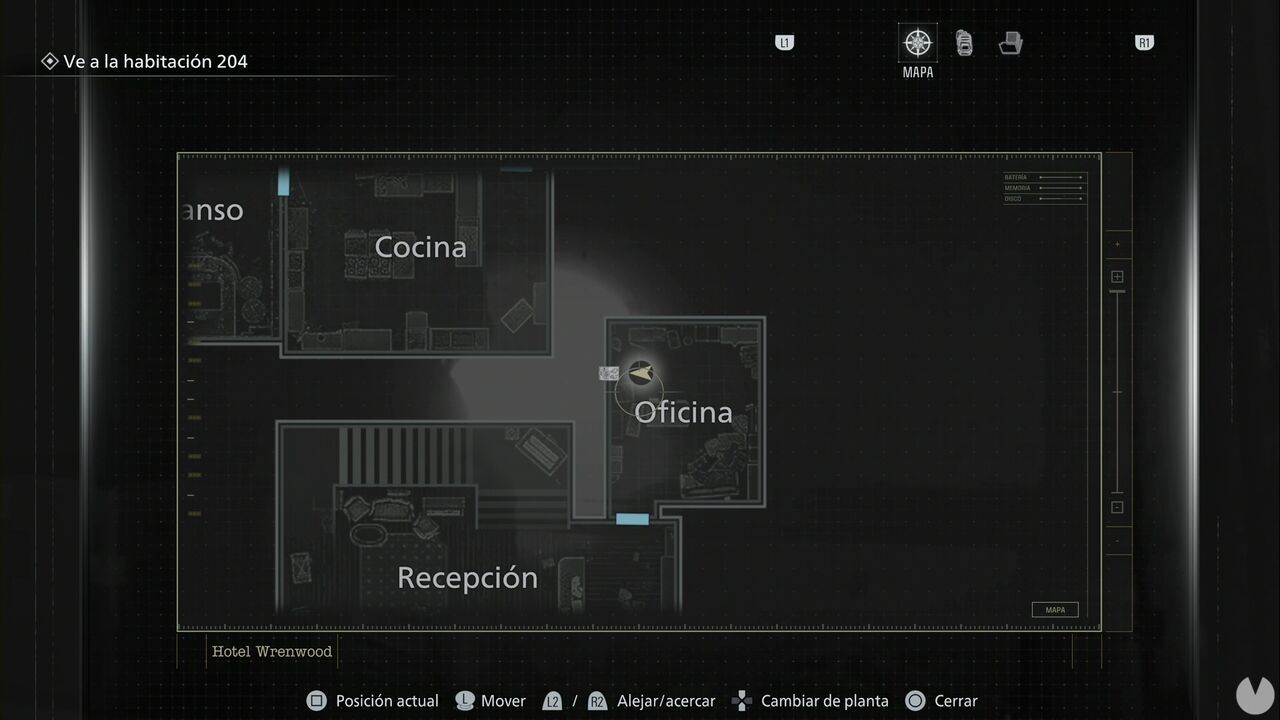
Enter the room and go around the blue desk to open a drawer containing the file.
This is obtained as part of the story.
These are the files you can obtain during the Wrenwood Streets chapter.
It will be automatically added to your file log when the chapter begins.
These are the files you can obtain during the Care Center chapter.
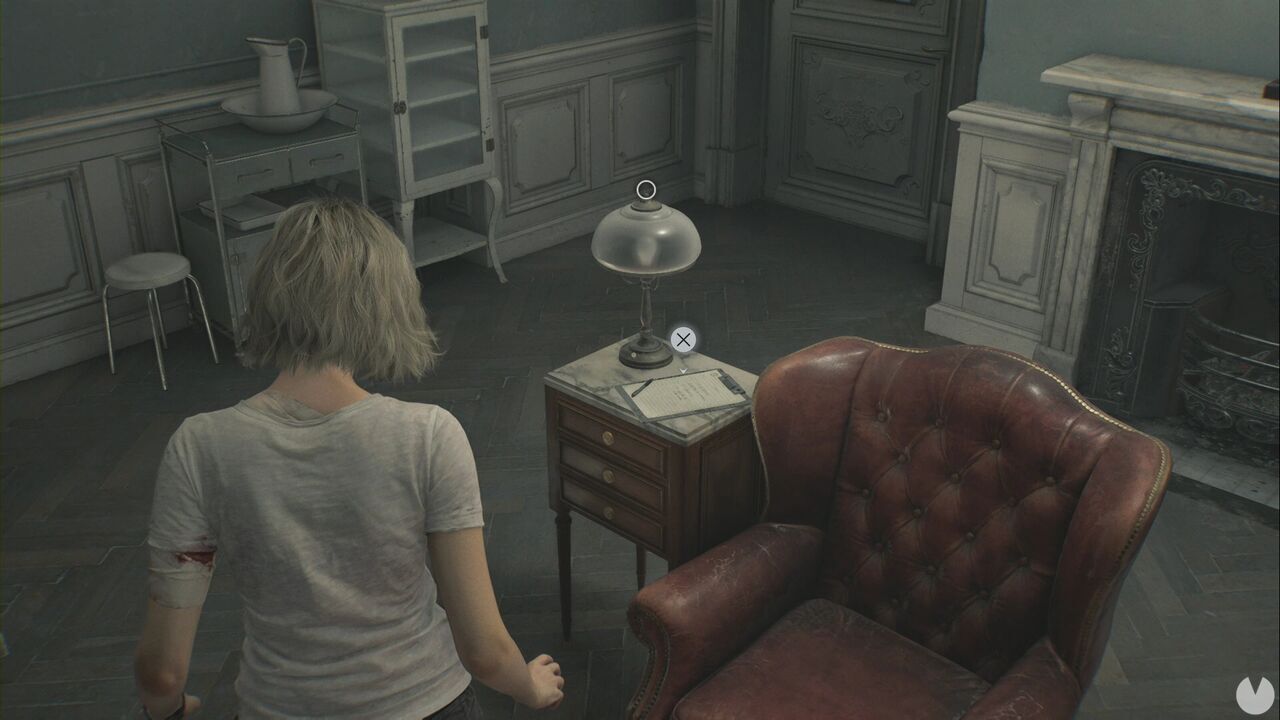
You will find this file on the small table directly in front of Grace when the chapter begins, next to the lamp.
It is in Room 202, inside the closet in the northwest corner.
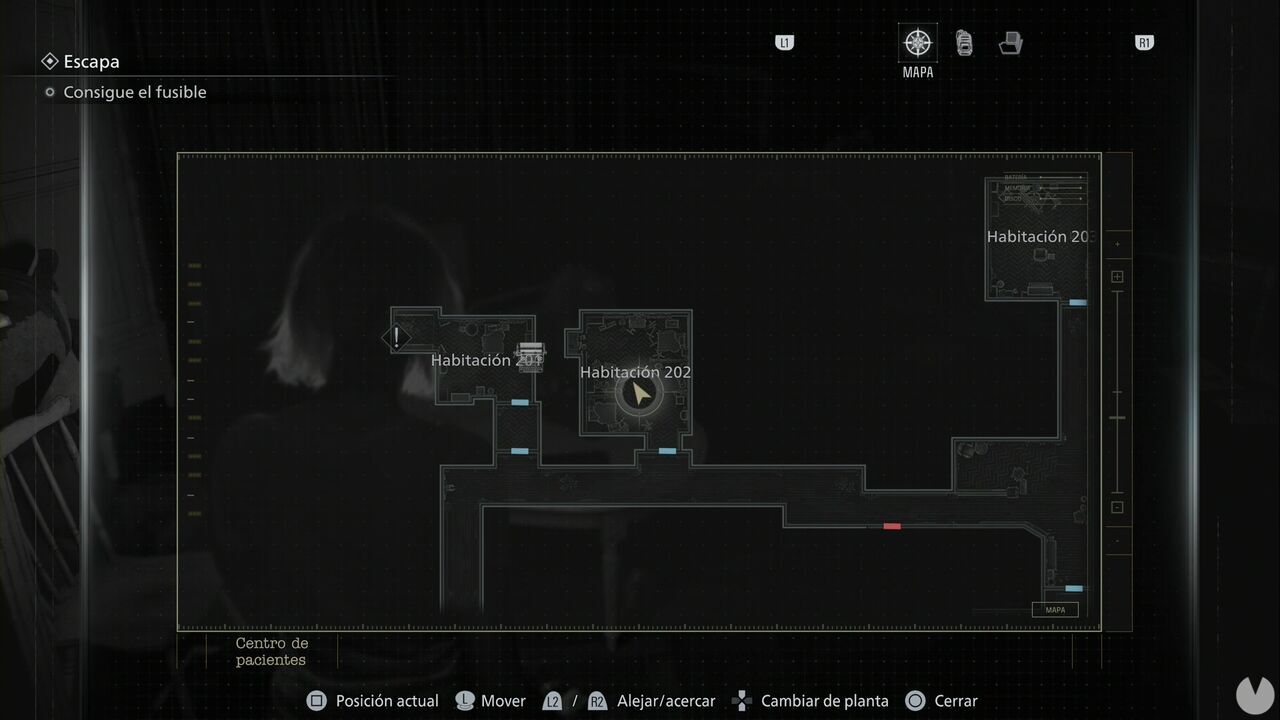
You need to wait until you obtain the Lighter before you can collect it.
These are the files you can obtain during the Care Center (III) chapter.
It is in the Guard Office, in the southwest corner of the ground floor.
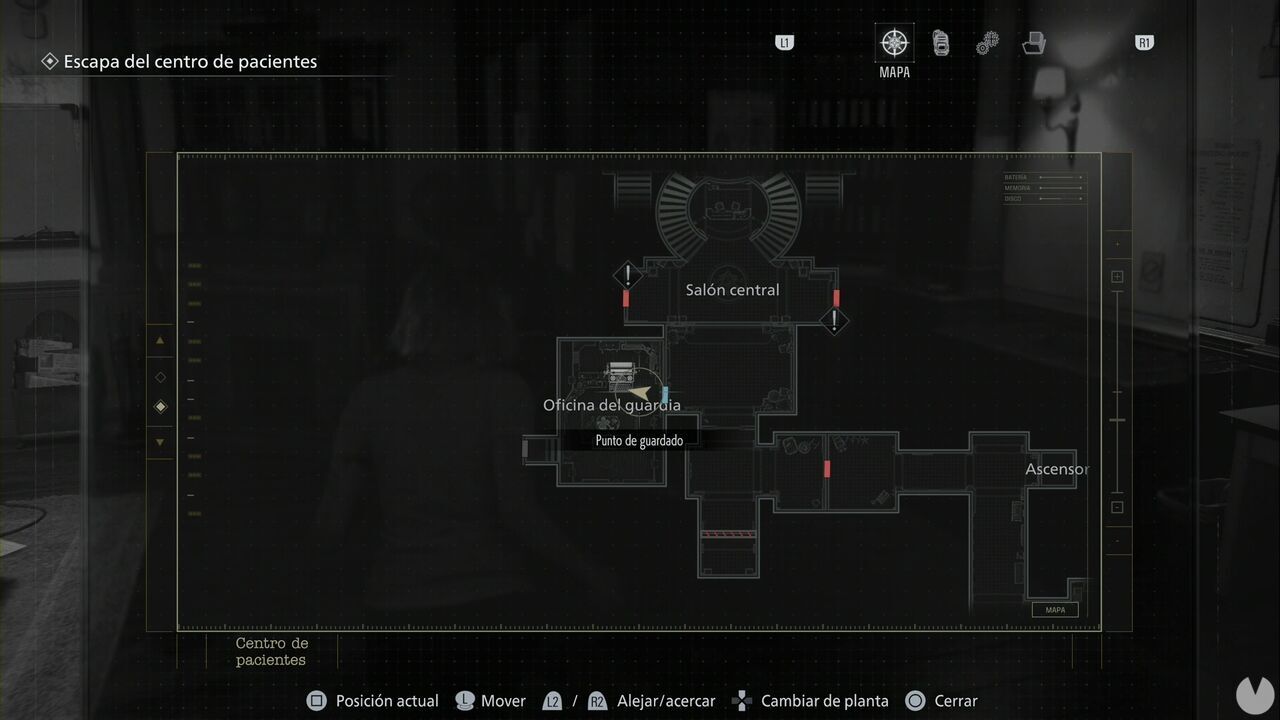
You will find it on the coffee table in the middle of the room, in front of the sofa.
This is also in the Guard Office, in the same room as the previous file. Check the whiteboard in the west corner, next to the red-lit hallway.
You can obtain this file in the Gallery, on the second floor of the West Wing.
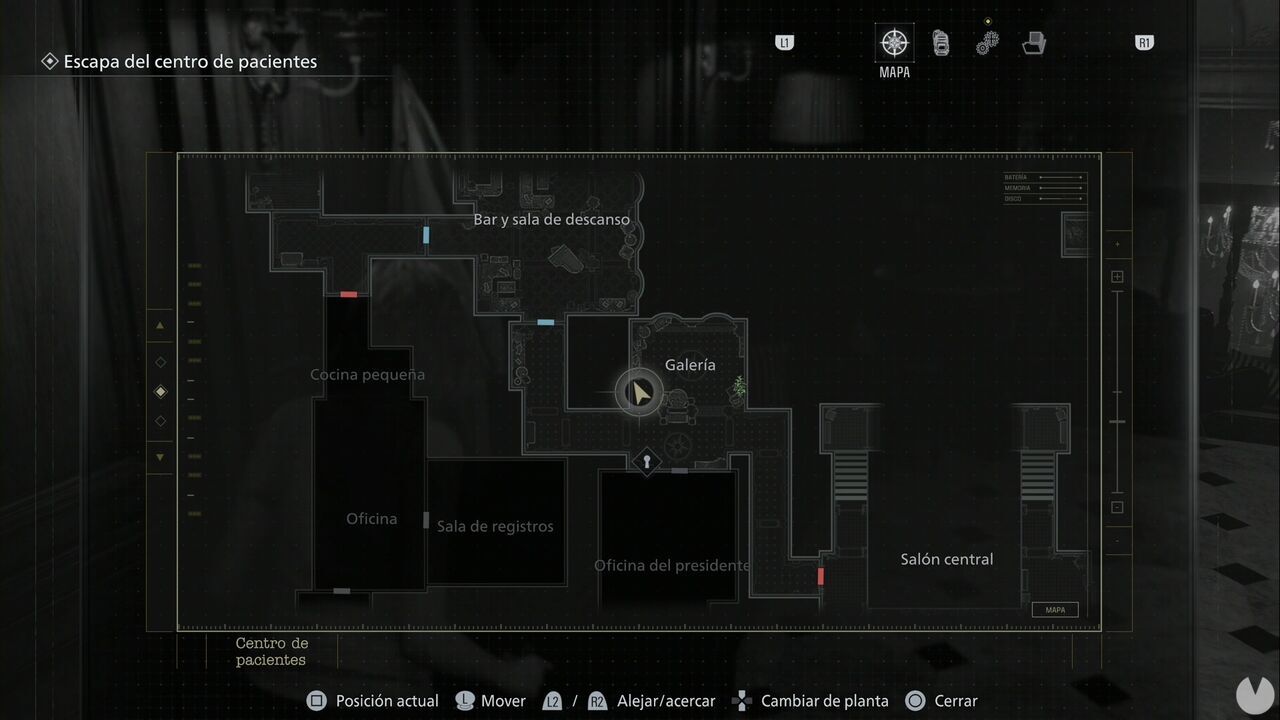
Once you get there, look for the hanging lab coat at the location shown above. Examine the paper and rotate it to open it and obtain the file.
You will find it in the Chairman's Office, an area you visit to collect several story-related items. It is on the cabinet beside the open door on the south side of the room.
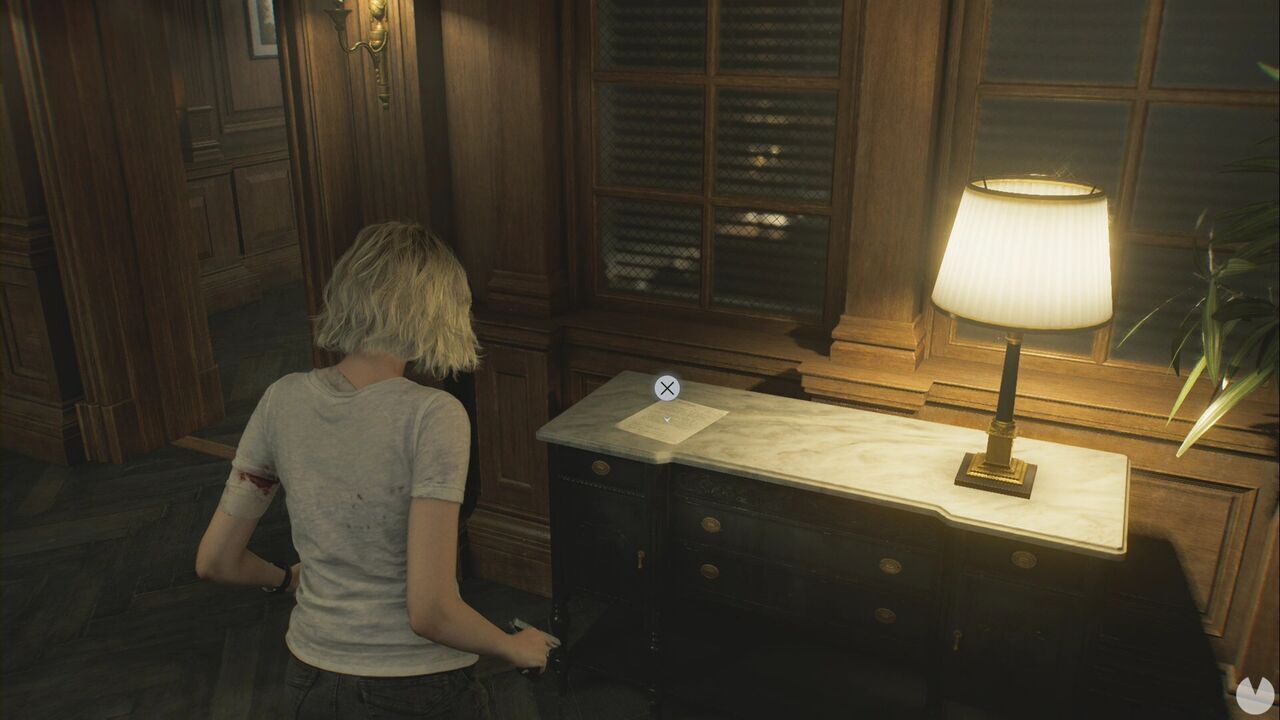
It is in the same Chairman's Office as the previous file. Go through the open door beside the cabinet, turn right and inspect the wastepaper basket to find a piece of paper that you can unroll and read.
In the room where you found the previous file, pick up the Pencil from the desk and return to the area where you found the Copy of an Email to a Manager. Interact with the notepad on the small table and use the Pencil to shade in the page.
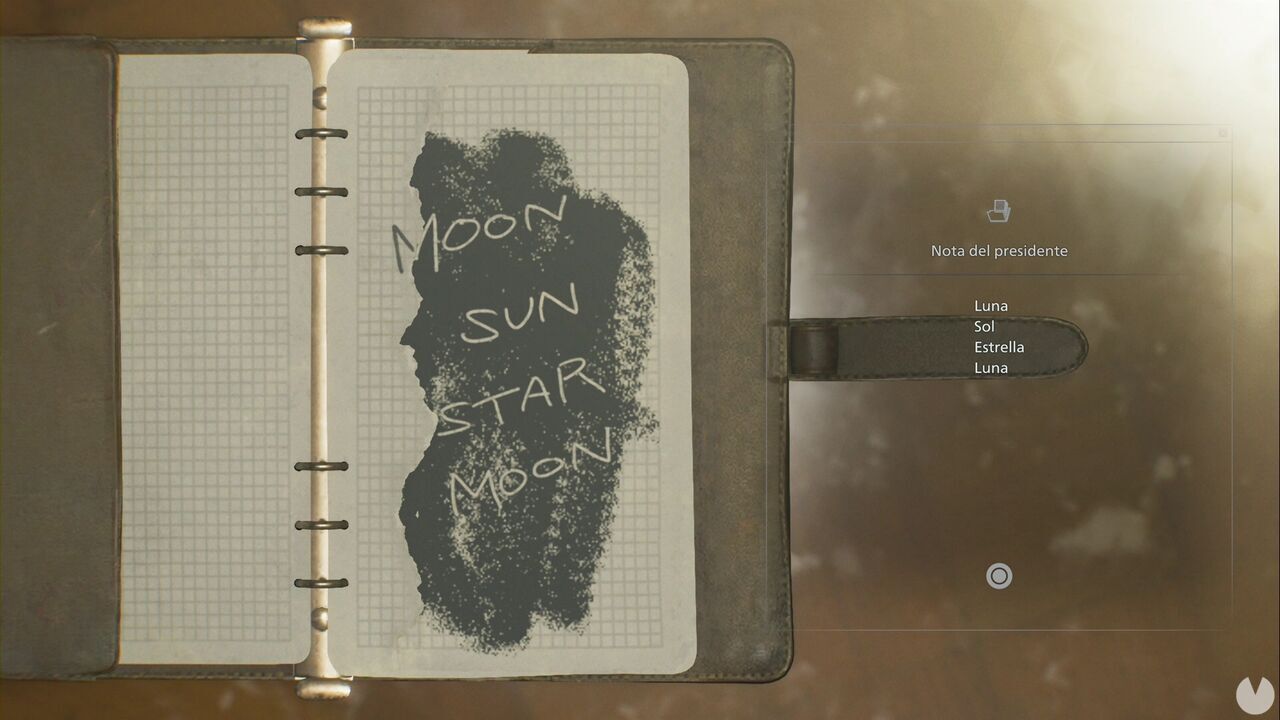
You will obtain the note once you have shaded in the entire page.
This is found in the Blood Lab, in the East Wing of the ground floor.
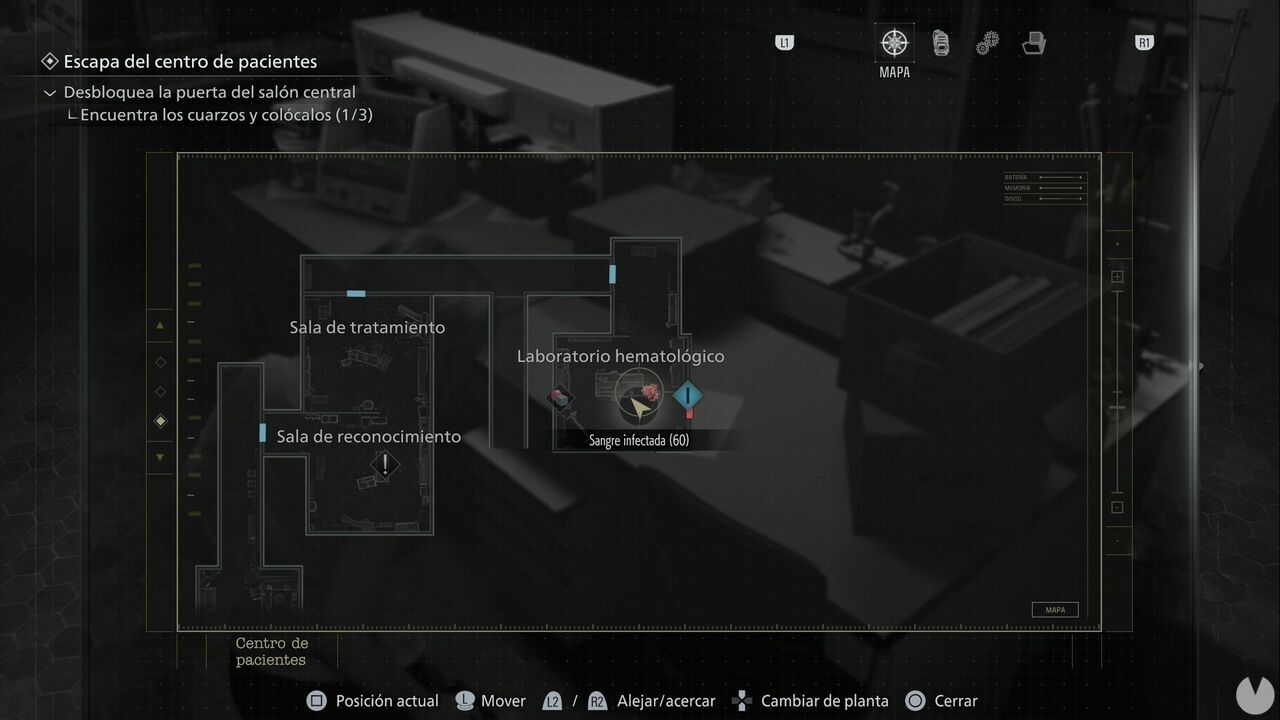
Check the table in the middle of the lab to find the file.
It is in the southwest corner of the Waiting Room, in the East Wing of the Care Center's ground floor.
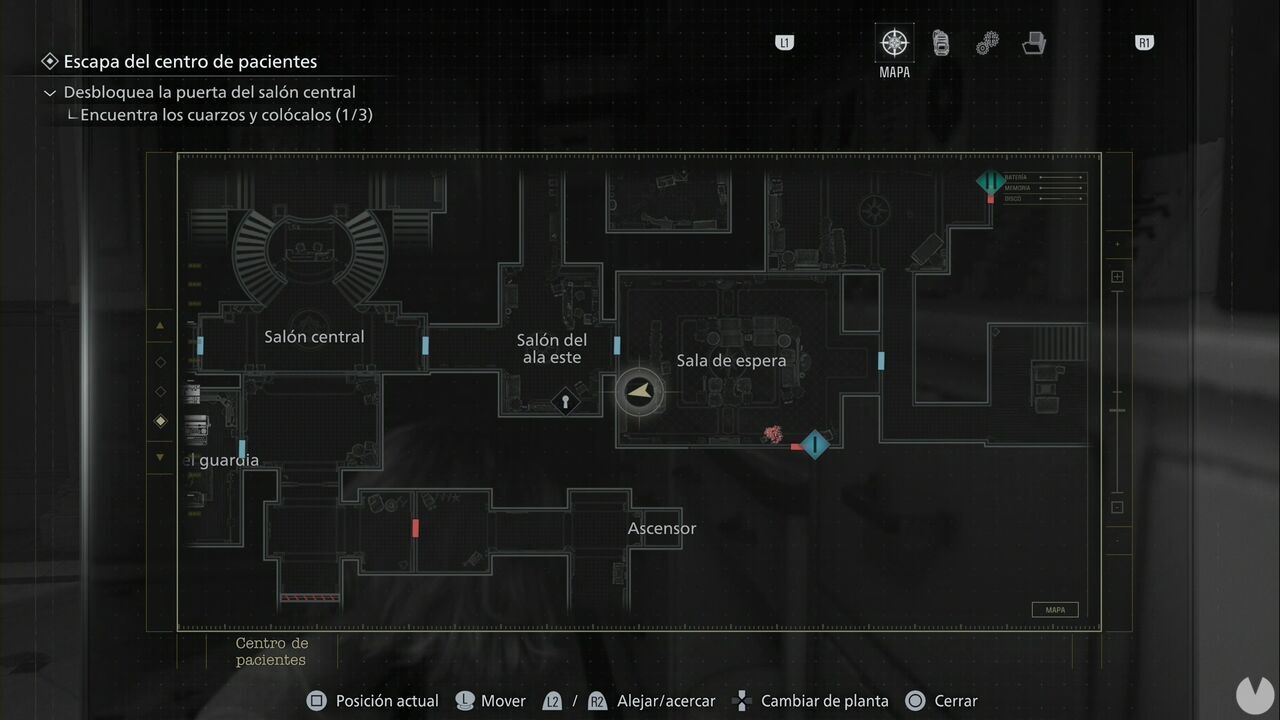
You will need to go around the desk beside the zombie to find the file on top of a stack of folders, next to the open safe.
It is in the Lead Researcher's Office, in the small office in the southwest corner beyond the typewriter. This area is on the second floor of the Care Center's East Wing.
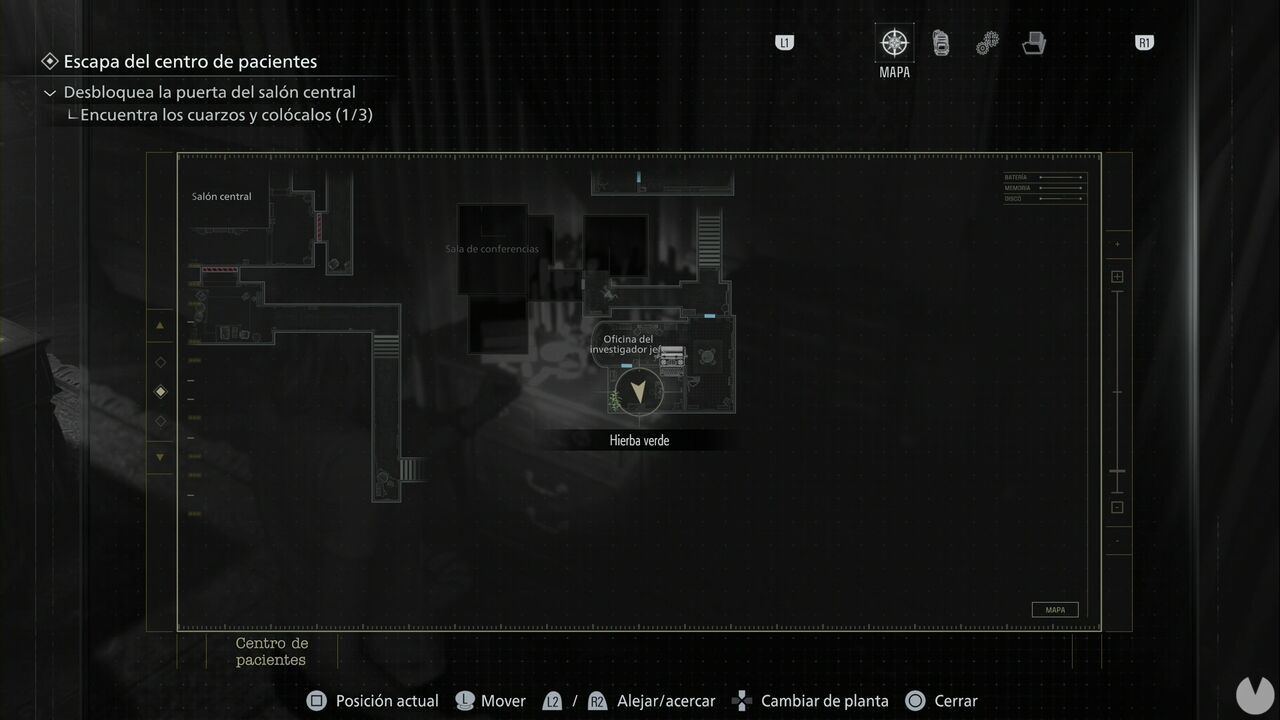
Check the northeast corner of the small office to find the file on a cabinet.
It is in the same office as the previous file. Check the desk to find it.
It is in the same office as the previous file. You will find it on the cabinet against the south wall. You need to examine the picture and turn it over for it to be registered as a file.
It is in the same office as the previous file. This is the framed picture on the desk.
It is in the locker room on the second floor of the East Wing, just before the Conference Room.
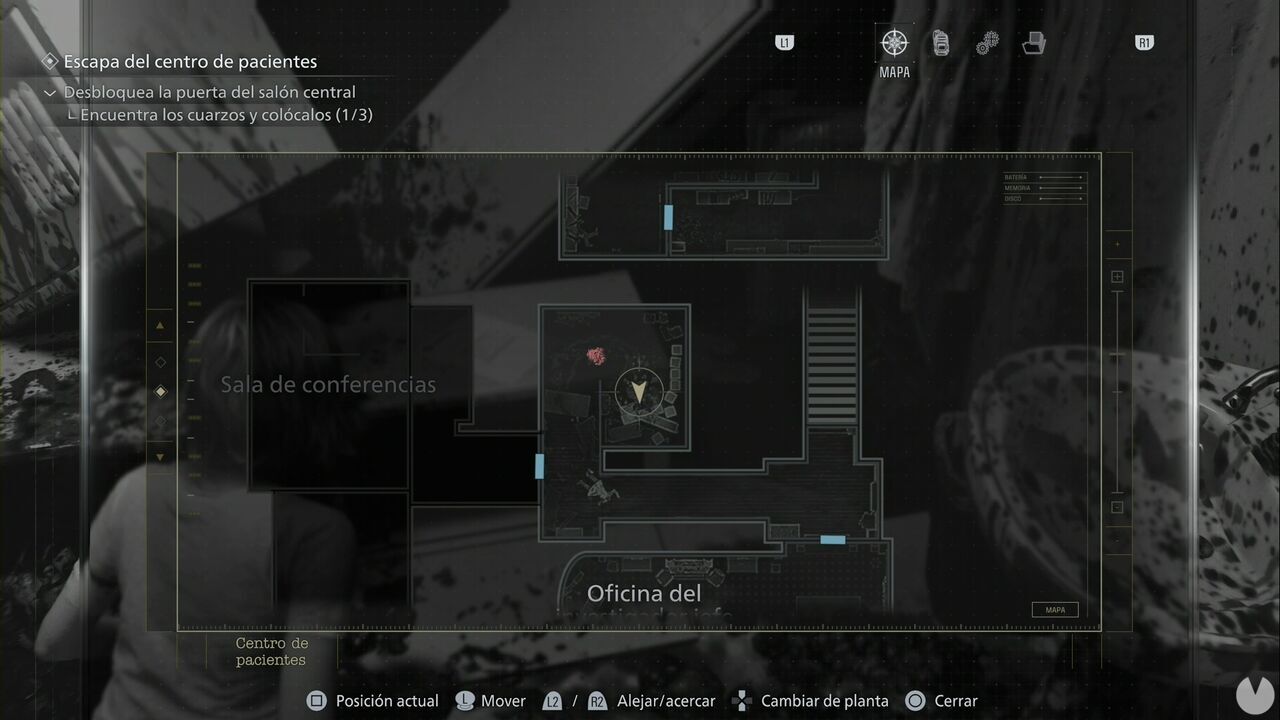
Bear in mind that when you approach this area for the first time, a giant monster will appear. You will need to avoid it so you can get through the hole in the wall. The file is on top of an overturned locker at the far end.
This file is in the Conference Room, immediately after the previous one. Head into the room at the back where you obtain the Corrosive Agent. The file is beside the computer in that room.
This is obtained by examining the Leatherbound Notebook found inside the Puzzle Box (II).
This is obtained by examining the Leatherbound Notebook found inside the Puzzle Box (II).
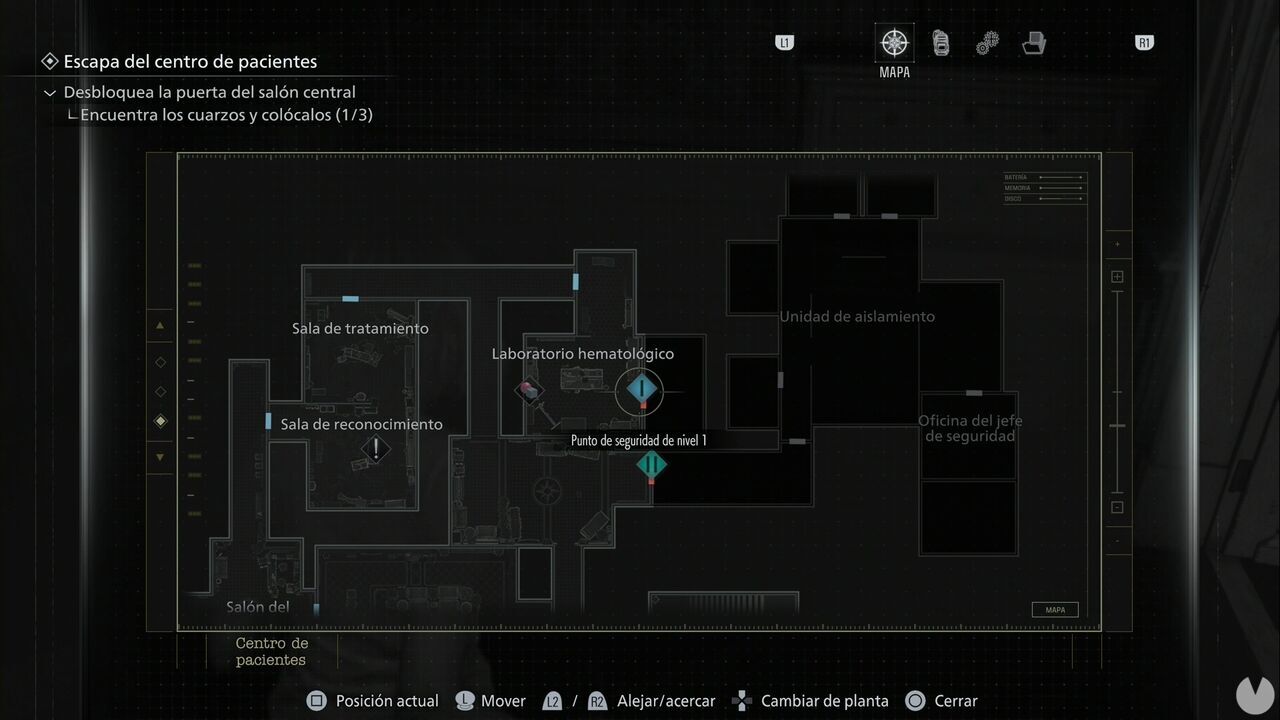
It is in the Blood Lab on the ground floor of the East Wing. It is behind the Level 1 security door, so you will need to wait until you obtain the wristband as part of the story before you can open it.
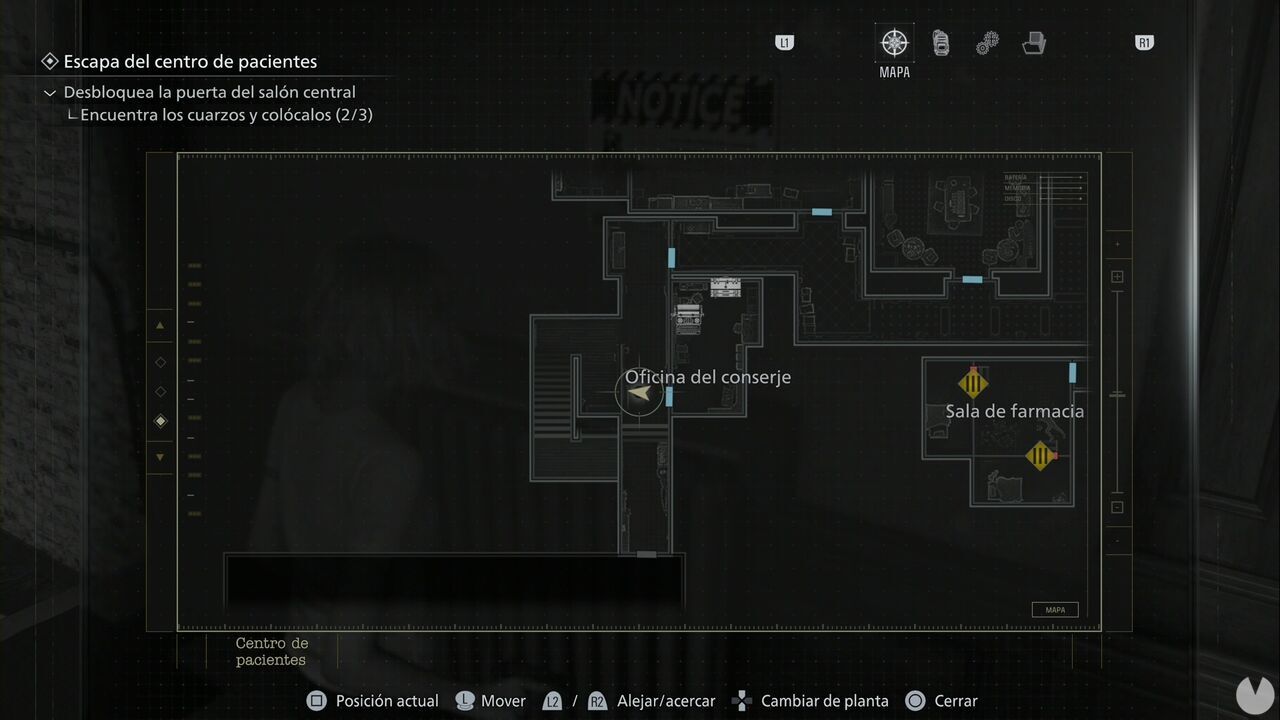
It is in the hallway outside the Custodian's Office, in the southwest corner of the Care Center's ground floor.
You will pass through this area as part of the story, so wait until you obtain the ID Wristband (Level 1) before trying to reach it.
You will find this file on one of the desks in the Office, in the southwest corner of the second floor.
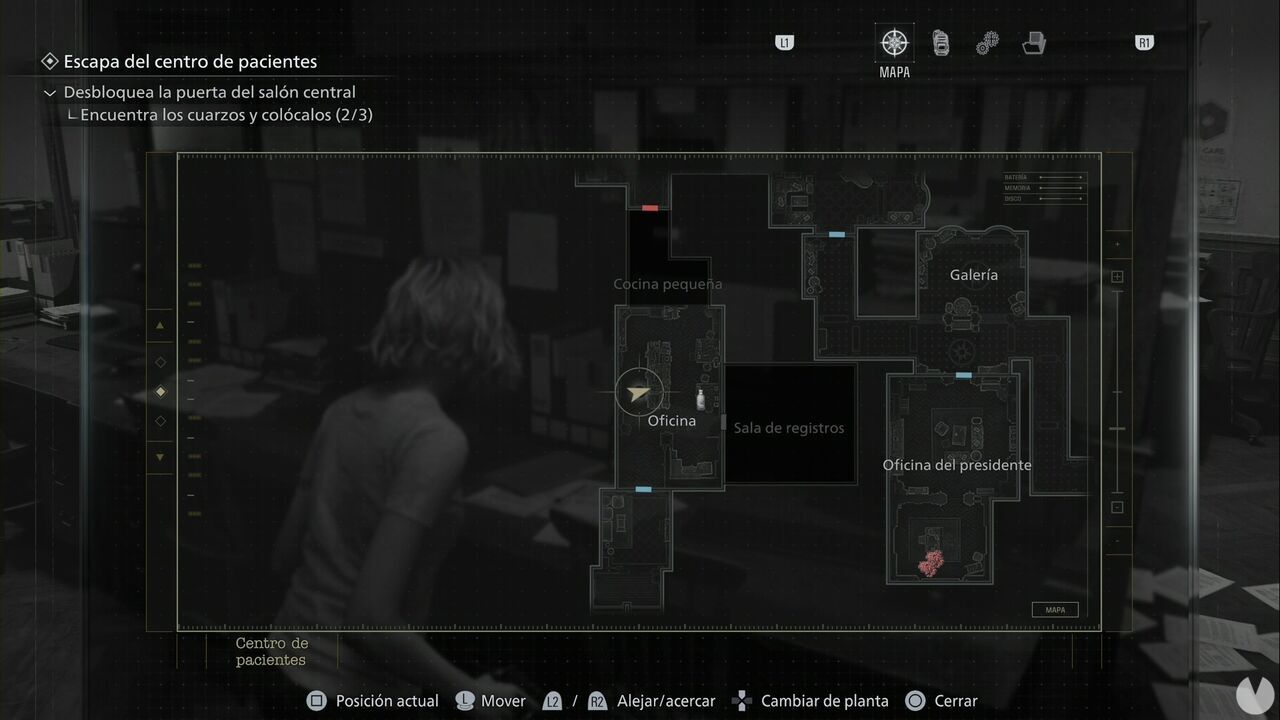
You can reach this area by going up the stairs beside the previous file, in the hallway outside the Custodian's Office.
It is in the same room as the previous file, on another desk.
It is in the Records Room, next to the previous Office. You will find it on top of one of the boxes.
It is in the Isolation Ward, in the eastern section of the ground floor. You will need to wait until you obtain the ID Wristband (Level 2) as part of the story before you can enter the area. The file is on a table north of the door to the Security Manager's Office, and you will have to pass right by it.
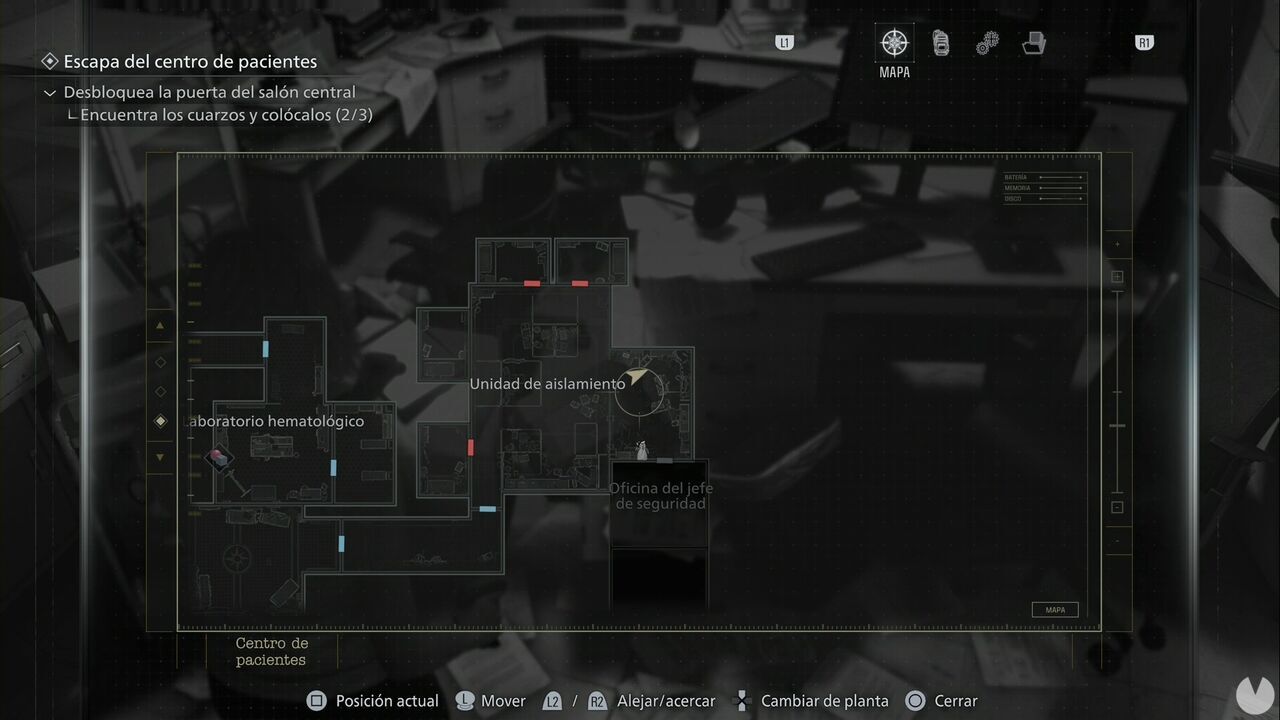
It is immediately to the right of the previous file, just before you enter the Security Manager's Office.
These are the files you can obtain during the Care Center (IV) chapter.
This file is in the southeast corner of the Attic, right at the beginning of the chapter.
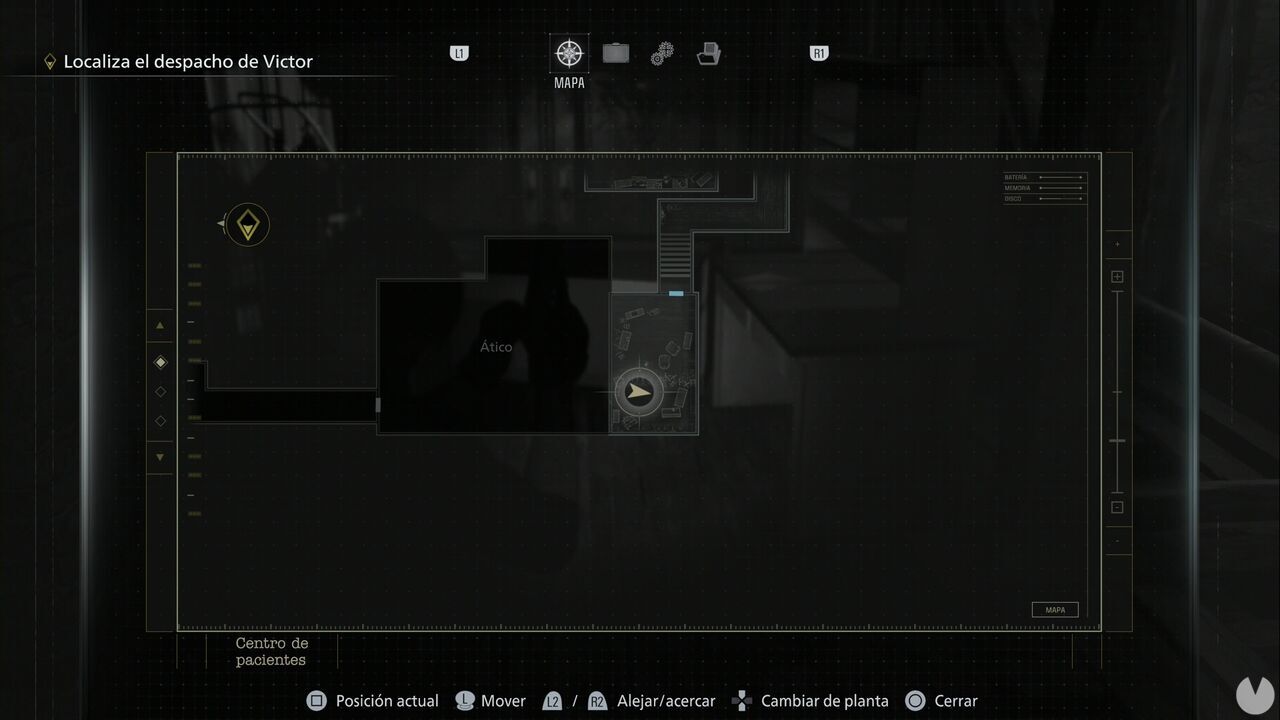
As soon as you go through the door leading in from the northeast corridor, move along the west side of the room and look to your left to spot several desks. The file is on top of one of them.
You will find it inside the cabinet in the Attic Storage Room.
You will find it inside the cabinet in the Gallery.
This is obtained automatically at the end of the chapter.
This is obtained automatically at the end of the chapter.
These are the files you can obtain during the Care Center (V) chapter.
You will find it as soon as the chapter begins, beside a body.
You will find it shortly after the previous file. Continue until you see an open door on your right.
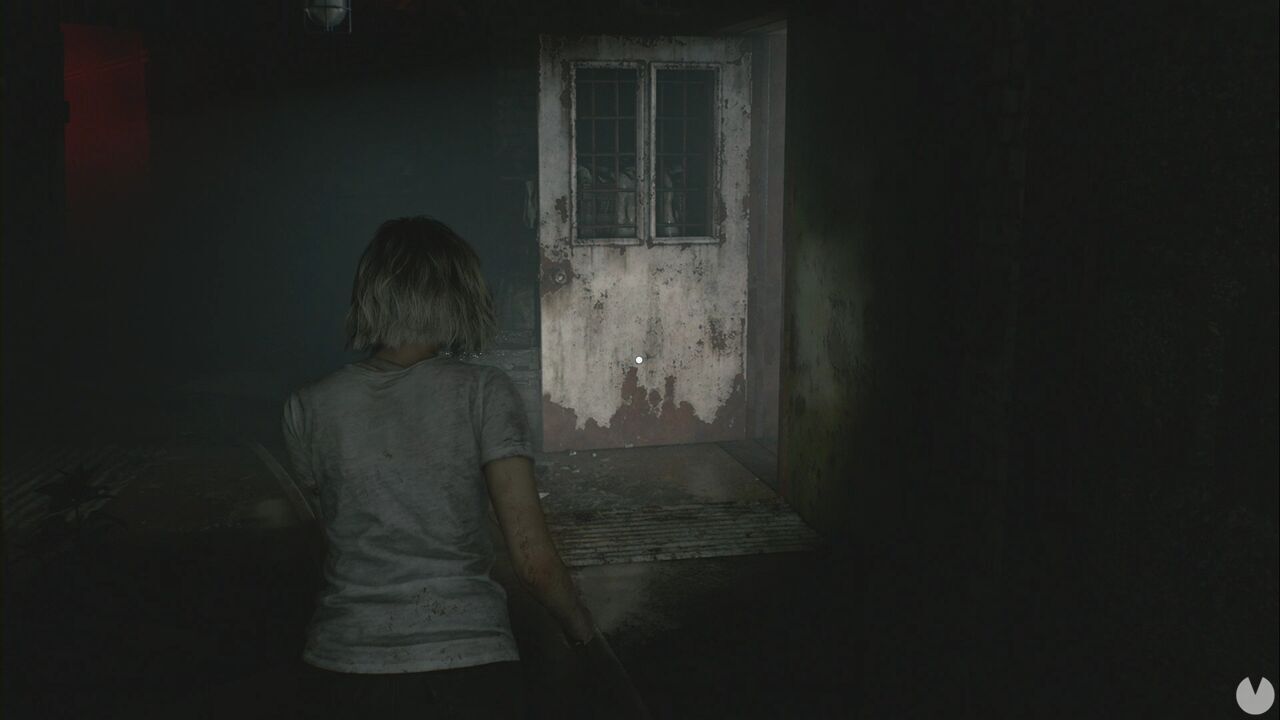
This leads into the Security Room, where the file is lying on a desk.
This is obtained by examining the panel above the cell lever. You need to use it to advance the story, and it provides instructions on how to restore the power, so it is difficult to miss.
It is in the Workshop, in the northwest corner of the Cells corridor.
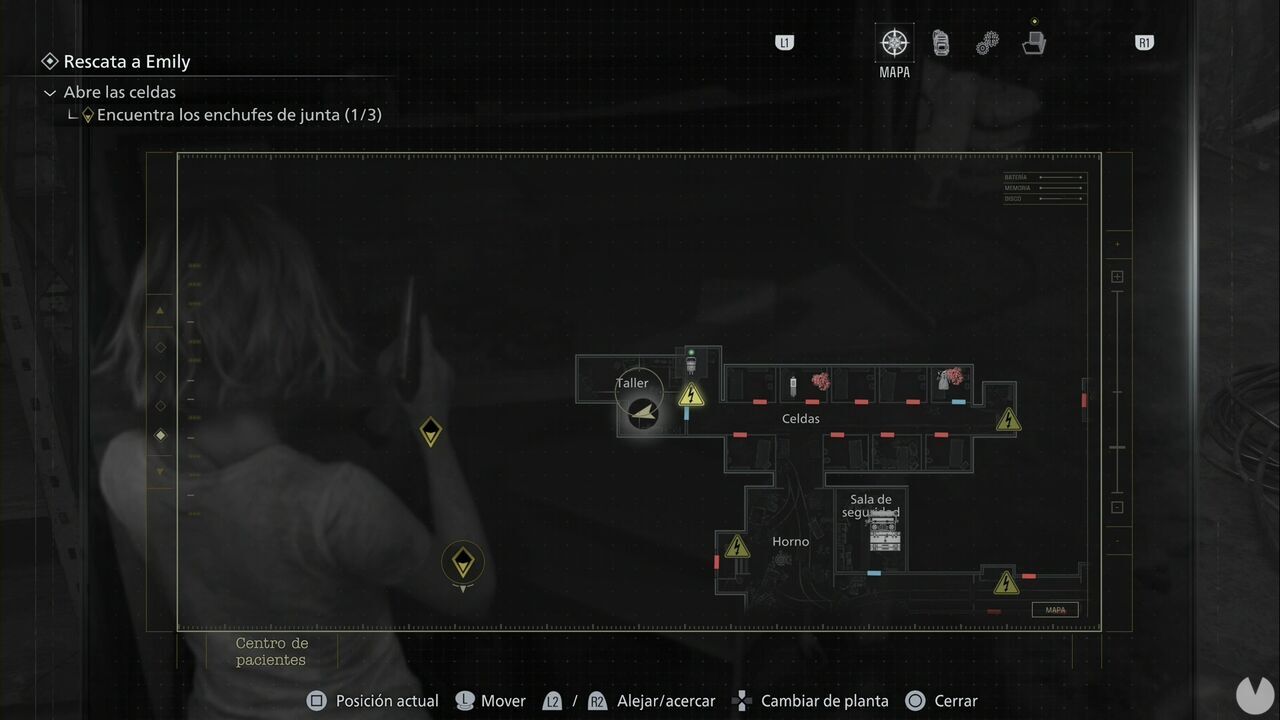
It is in the office north of the area west of the Furnace.
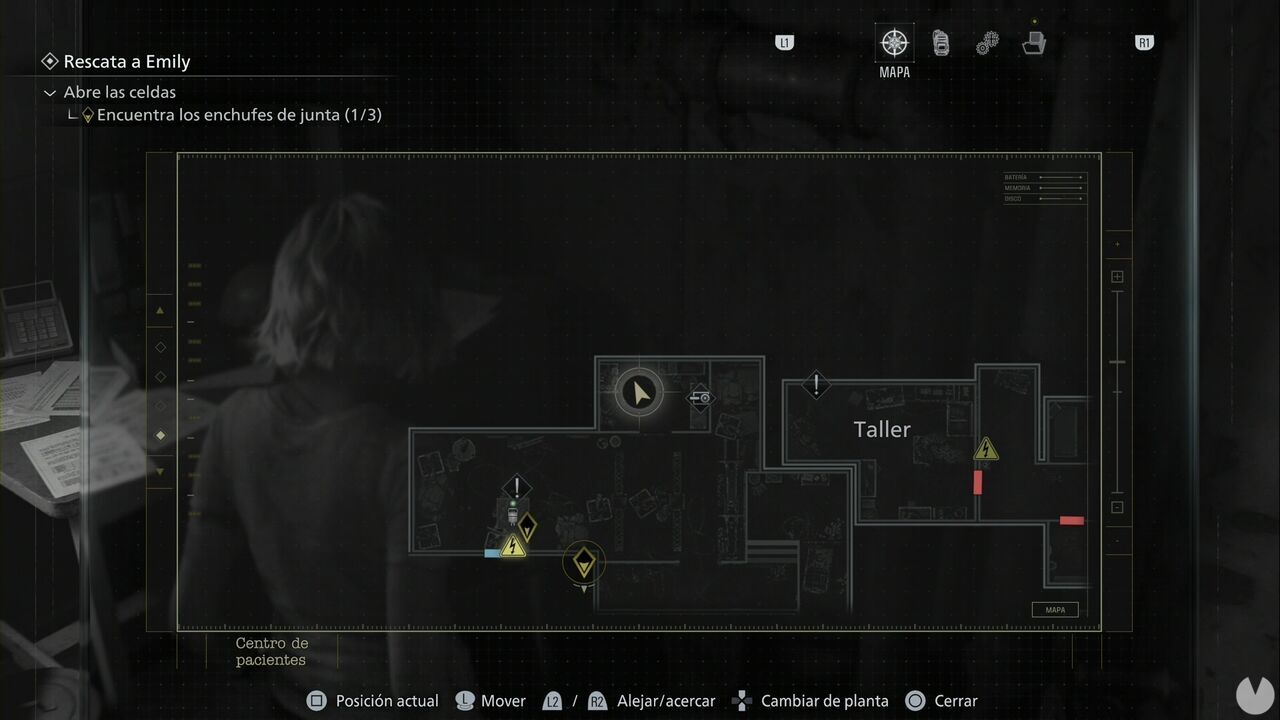
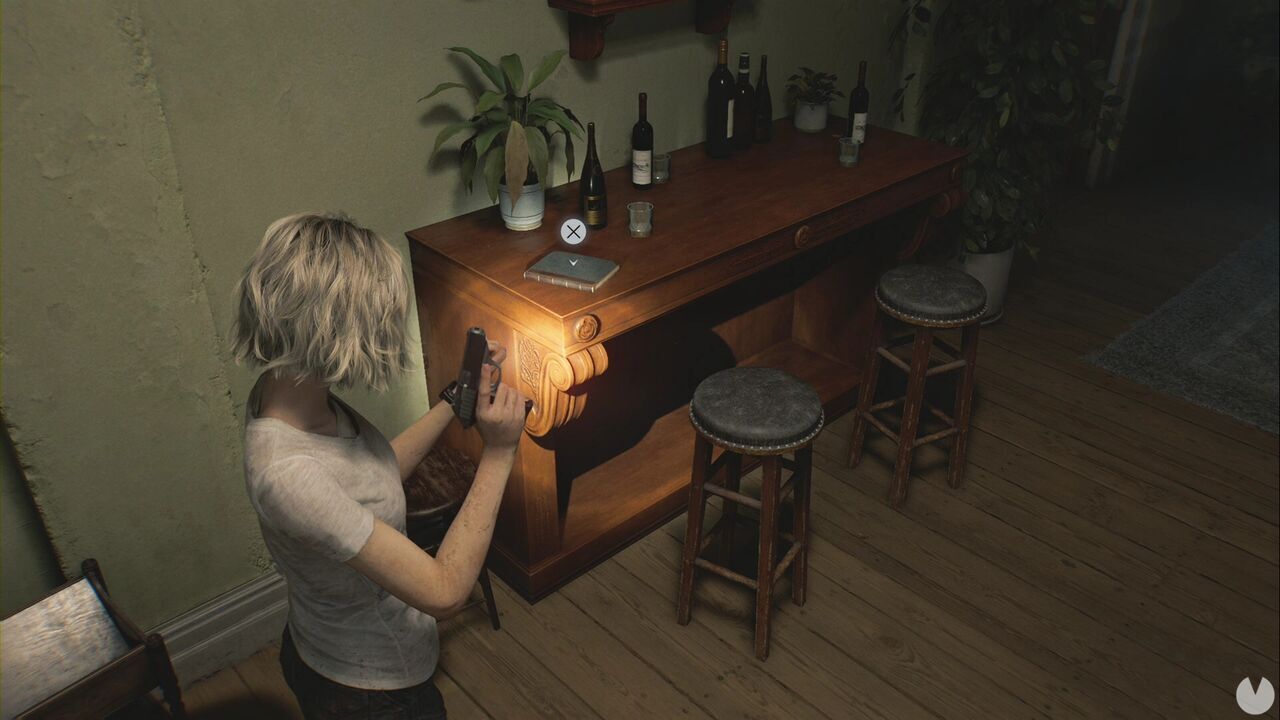
You will find it as soon as you enter the house from the courtyard. Look to your left after crossing the first hallway to spot it on a cabinet with several bottles.
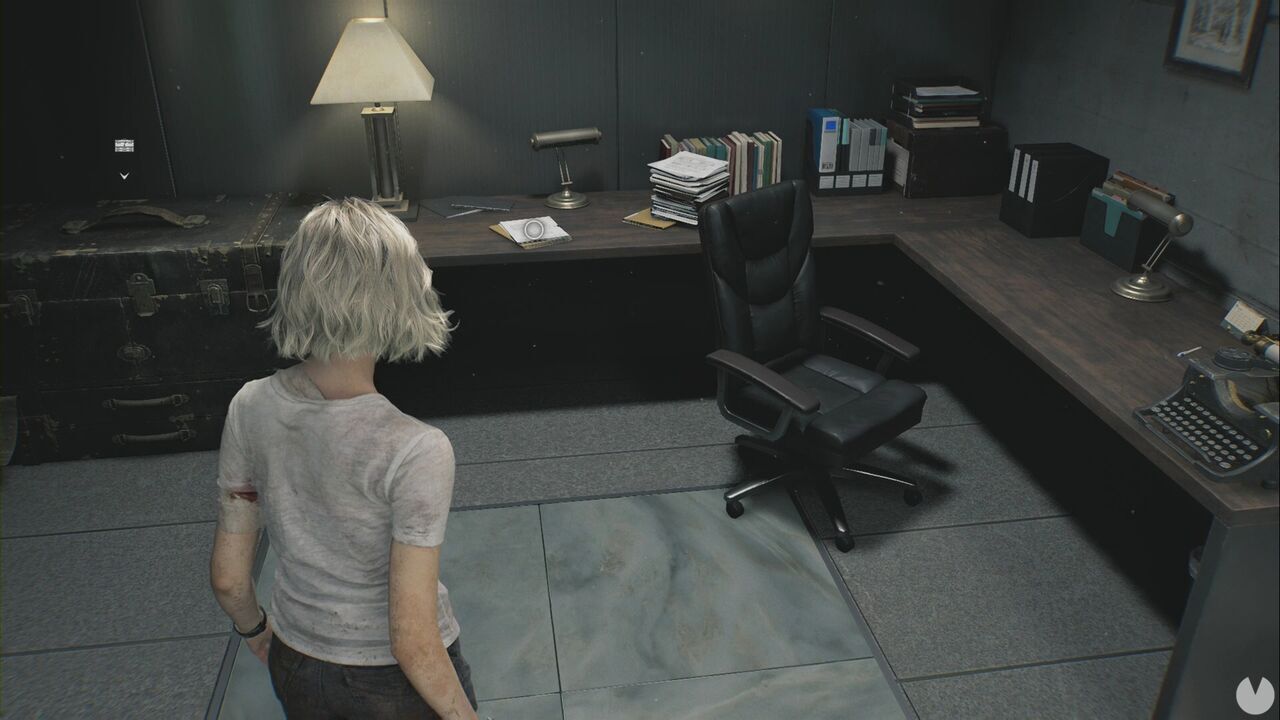
You will find this file in the office of the same house as the previous one. Check one side of the desk to find it.
This file is in the basement of the courtyard house. As soon as you leave the first room, you will enter a room containing a storage chest and a typewriter.
You will find the file right between them.
This is obtained immediately after the previous file. Head down the stairs and make your way to the northeast exit of the Collection and Testing area.
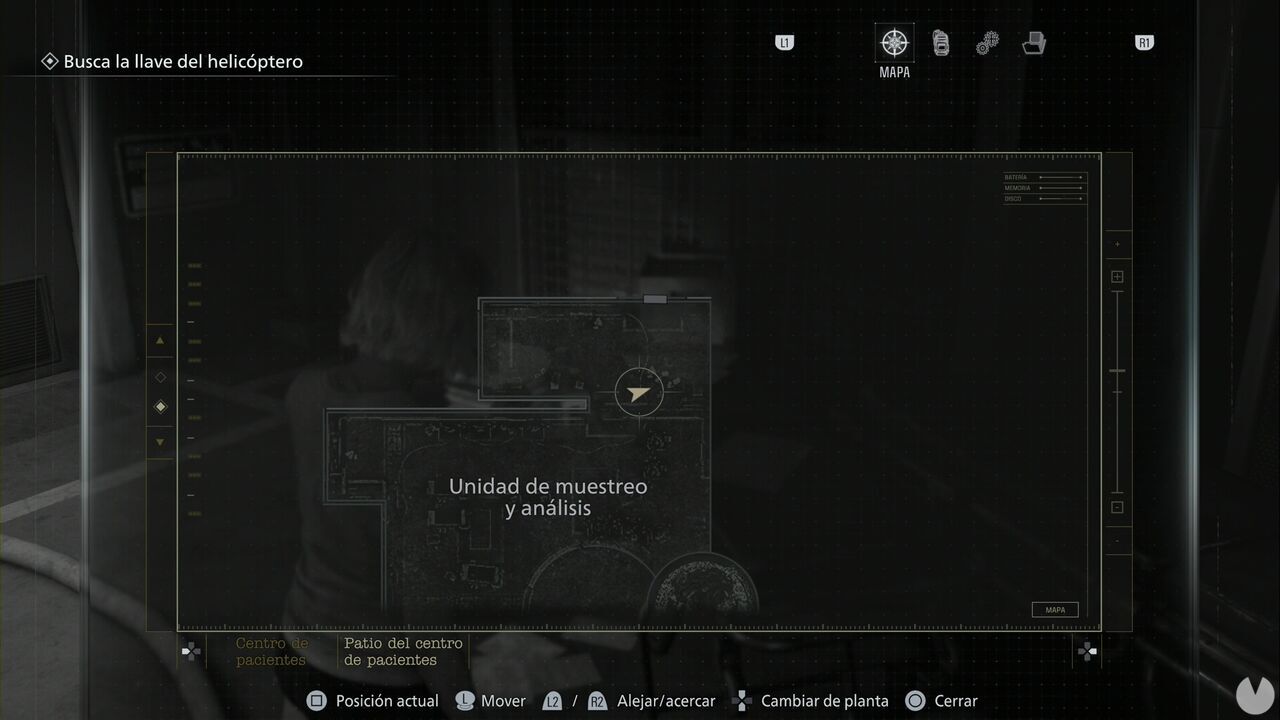
The file is on top of a stretcher.
This is obtained immediately after the previous file. Go up the stairs and continue until you reach the Private Lab, beyond the Development room. Check the northeast corner to find the file on a table.
These are the files you can obtain during the Care Center (VII) chapter.
You will find it on the table beside you after leaving Emily, as part of the story. It is difficult to miss.
These are the files you can obtain during the Raccoon City East chapter.
This will automatically be in your inventory when the chapter begins.
You will find it just a few yards from where the chapter begins, lying on the road beside the sidewalk on the west side.
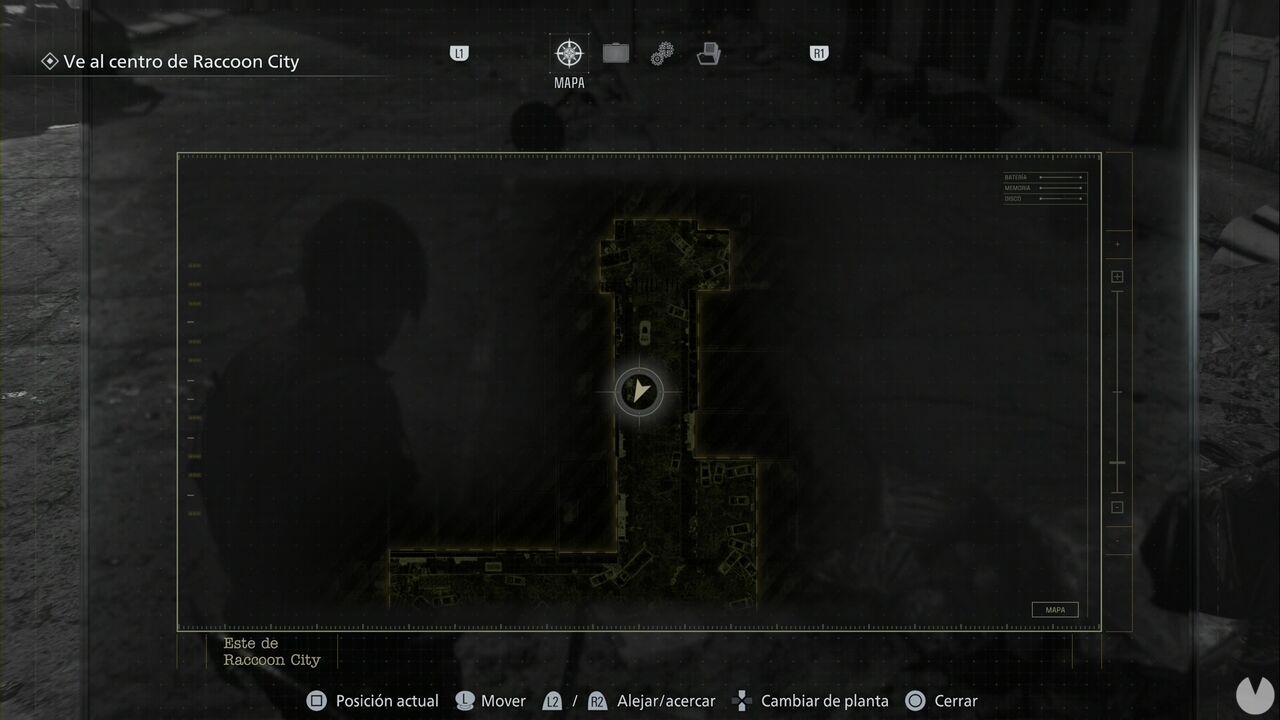
You will find this file inside the tent at Central Camp.
You will find this note on the battery box in the Underground Garage. You need to interact with the box to advance the story, so it is difficult to miss.
You will find it inside a container opposite the entrance to Cedarbrook Apartments.
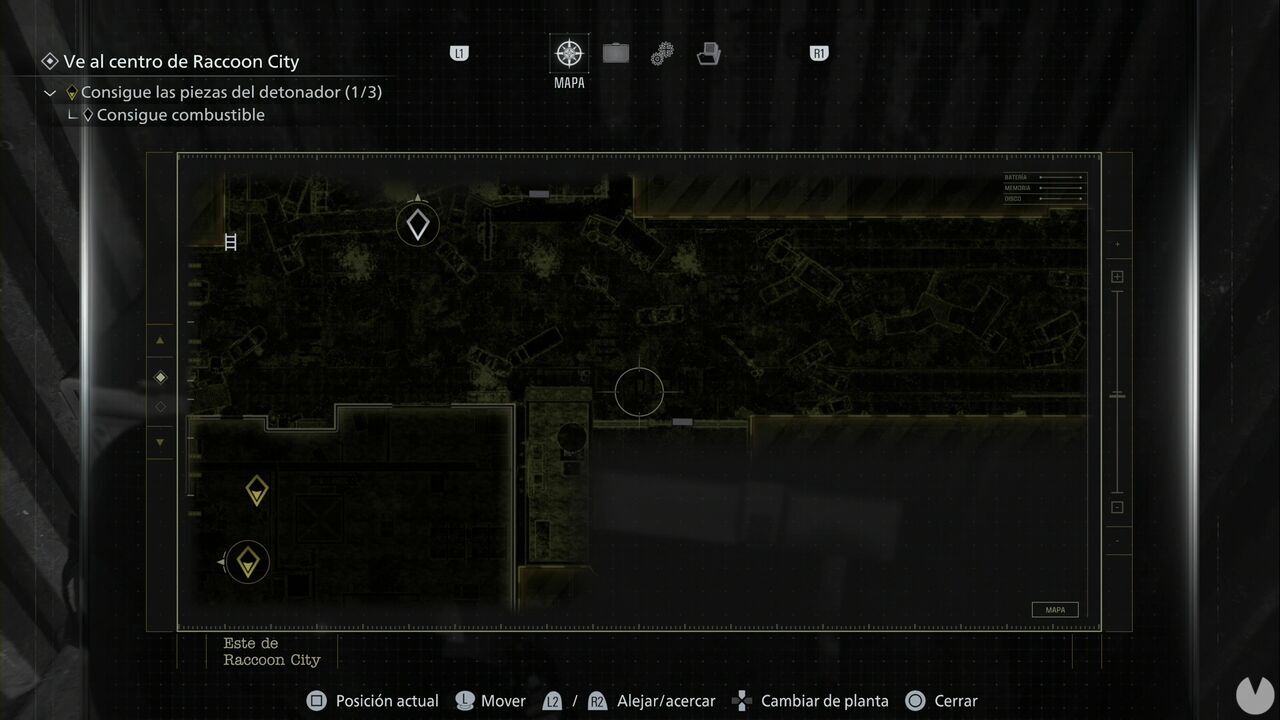
It is on the rooftop of Cedarbrook Apartments. You will find it next to the yellow crate containing the Broken Signal Receiver, so it is hard to miss.
These are the files you can obtain during the R.P.D. chapter.
You will find it in the Main Hall, in the police station lobby. After the map sequence, look northwest of the computer to spot it on top of a box.
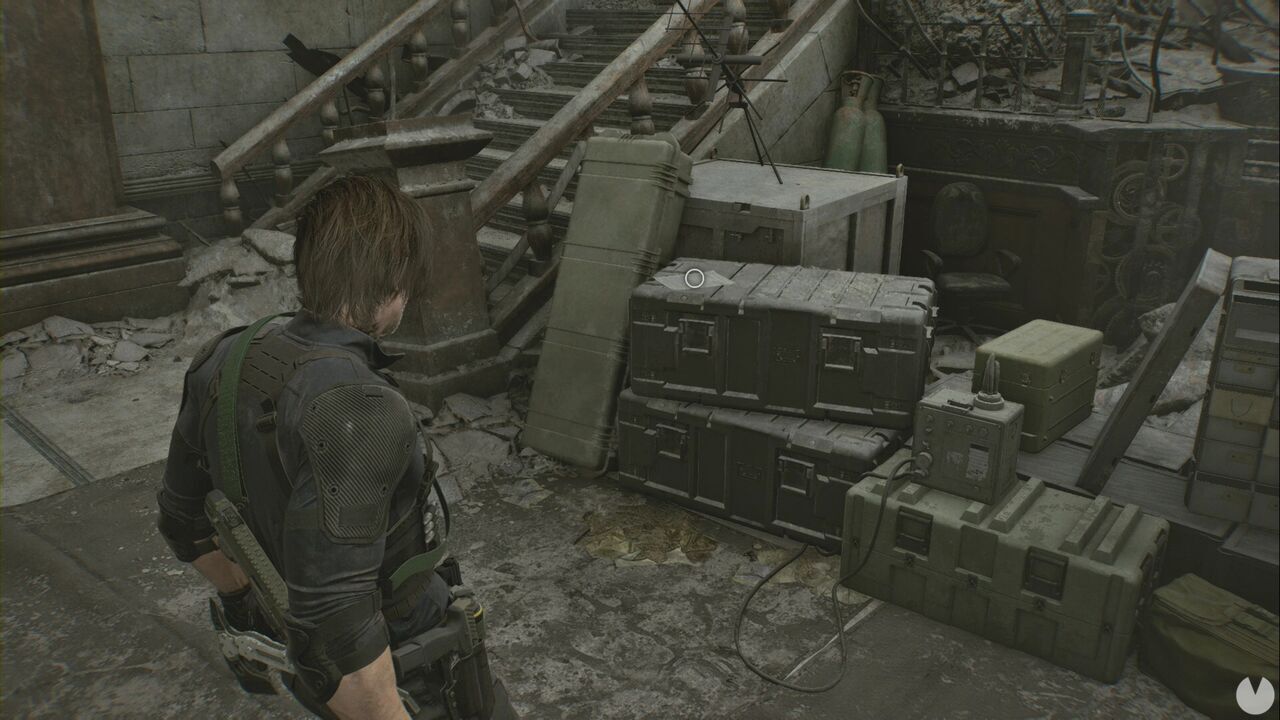
This is obtained immediately after the previous file. Enter the West Office, through the door to the left of the R.P.D. Perimeter Report, and check one of the desks on the right.
It is in the Operations Room, in the northwest corner of the ground floor. Look for the note on the whiteboard.
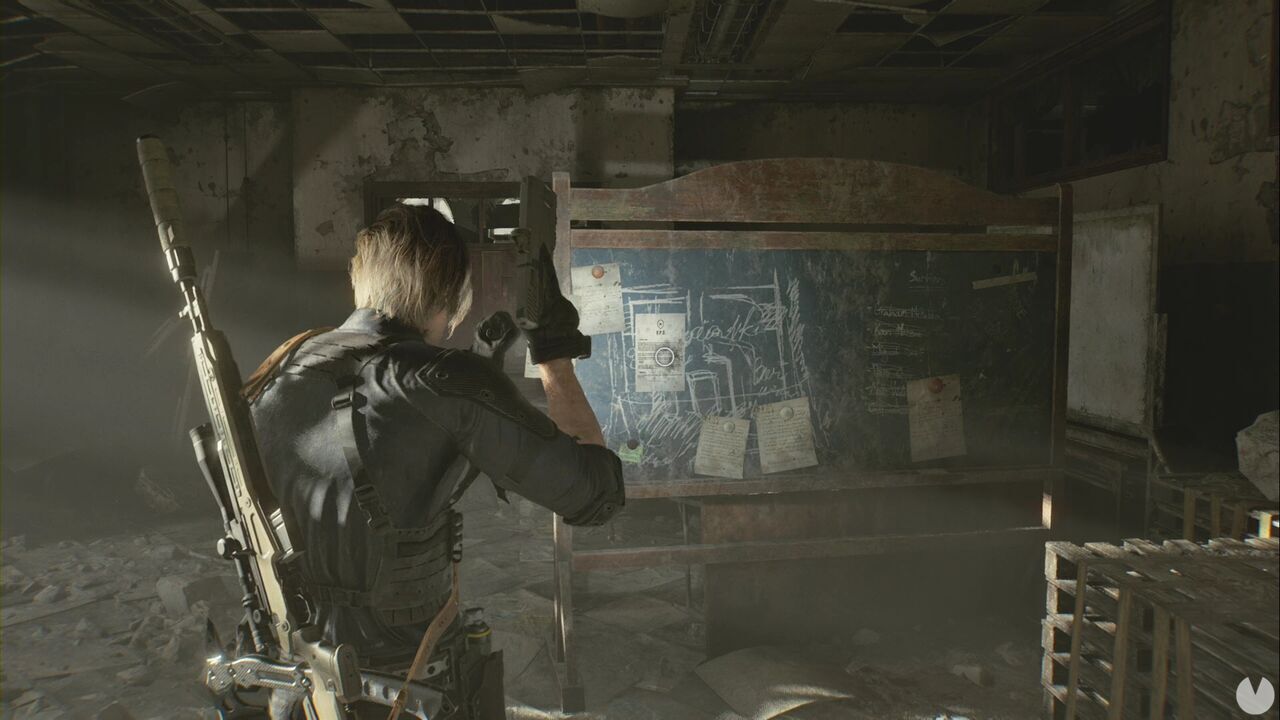
This file is in the southeast corner of the police station's second floor. The problem is that it appears "out of order" in the game's list, in an earlier position than it should. Simply keep progressing through the story until you can reach the location shown below. After a later sequence, you will automatically end up there as part of the story.
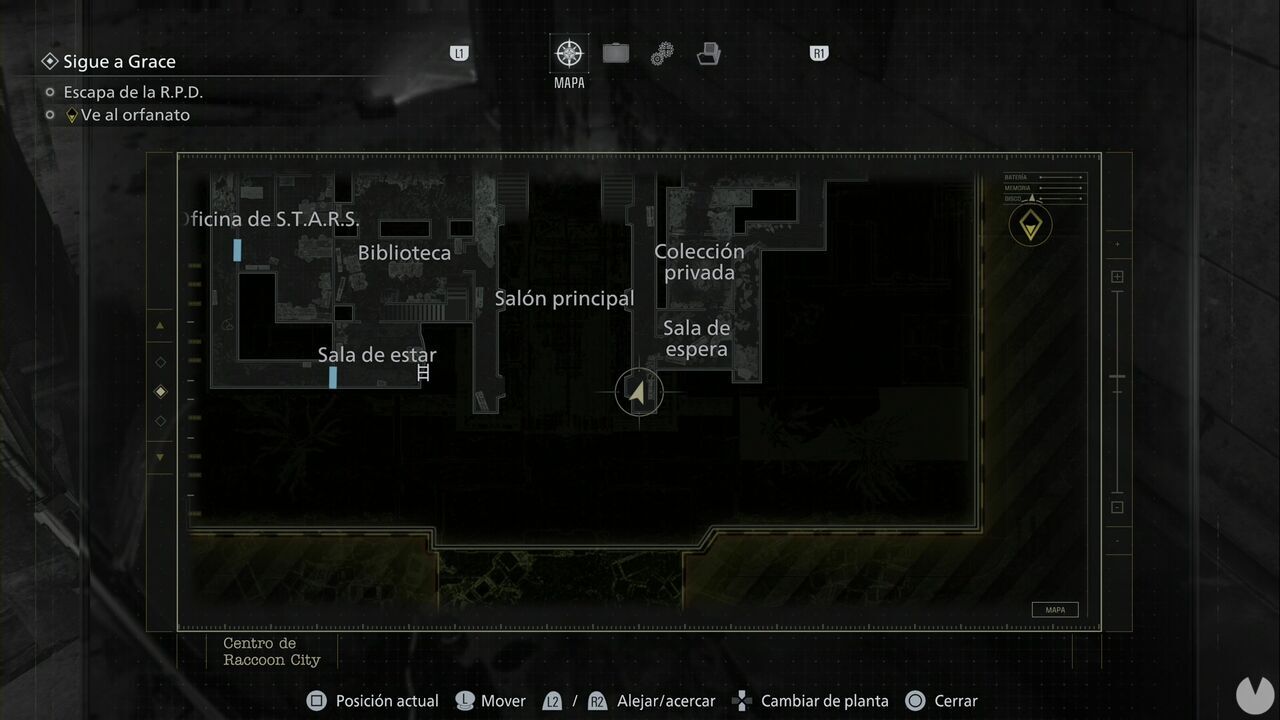
It is in the S.T.A.R.S. Office, in the west wing of the second floor.
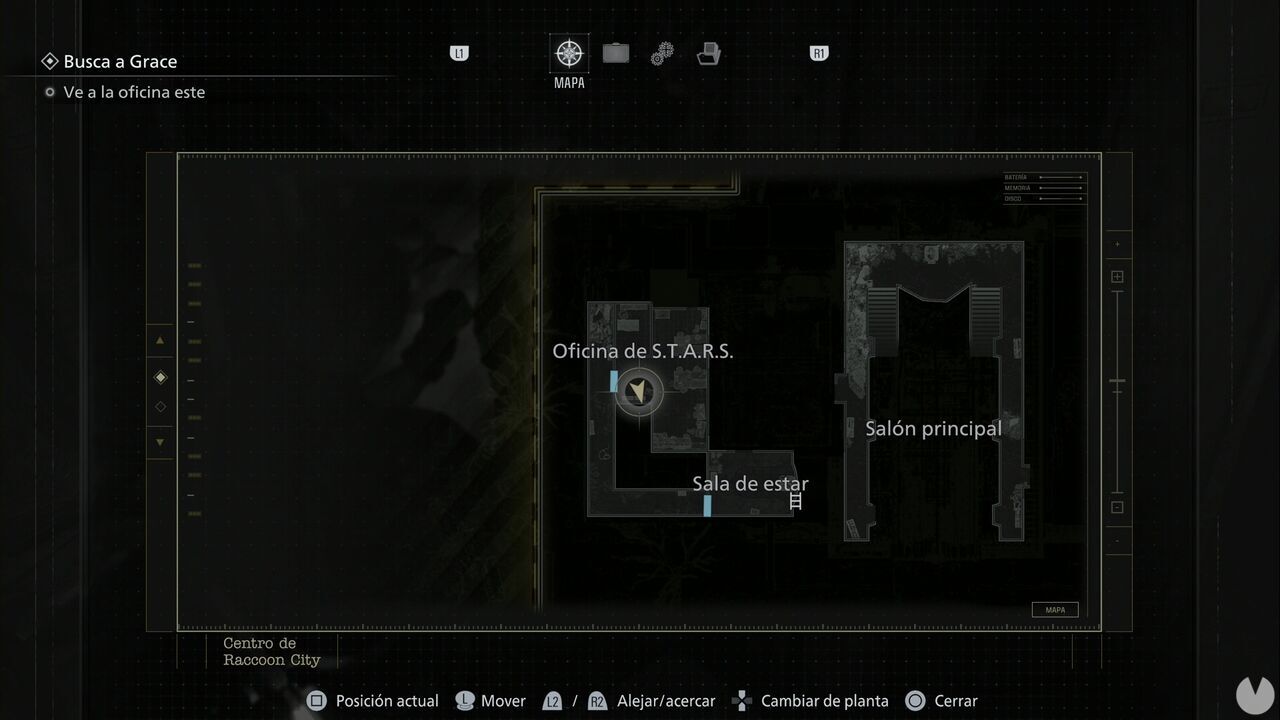
It is inside the drawer of the desk on the left as soon as you enter. Be careful, as it can bug out and fail to appear unless you inspect the photograph beside the desk, turn it over and read the inscription.
It is in the S.T.A.R.S. Office, in the west wing of the second floor.
Check the desk at the back on the left, just before the armory.
It is in the S.T.A.R.S. Office, in the west wing of the second floor.
Check the jacket between the desks to find it.
It is in the S.T.A.R.S. Office, in the west wing of the second floor.
You will find the file by opening the cabinet on your right as soon as you enter.
To obtain this file, you first need Barry's To Do List and the Library Card. Once you have both, head to the Library, go up the stairs, cross the walkway and inspect the book on the shelf to the right. Open it to find the photograph.
This is obtained during the flashback sequence. The files appear out of order in the menu, so do not worry about the empty spaces. When you reach the chapel and open the gate, examine the first coffin to open it and find the tag.
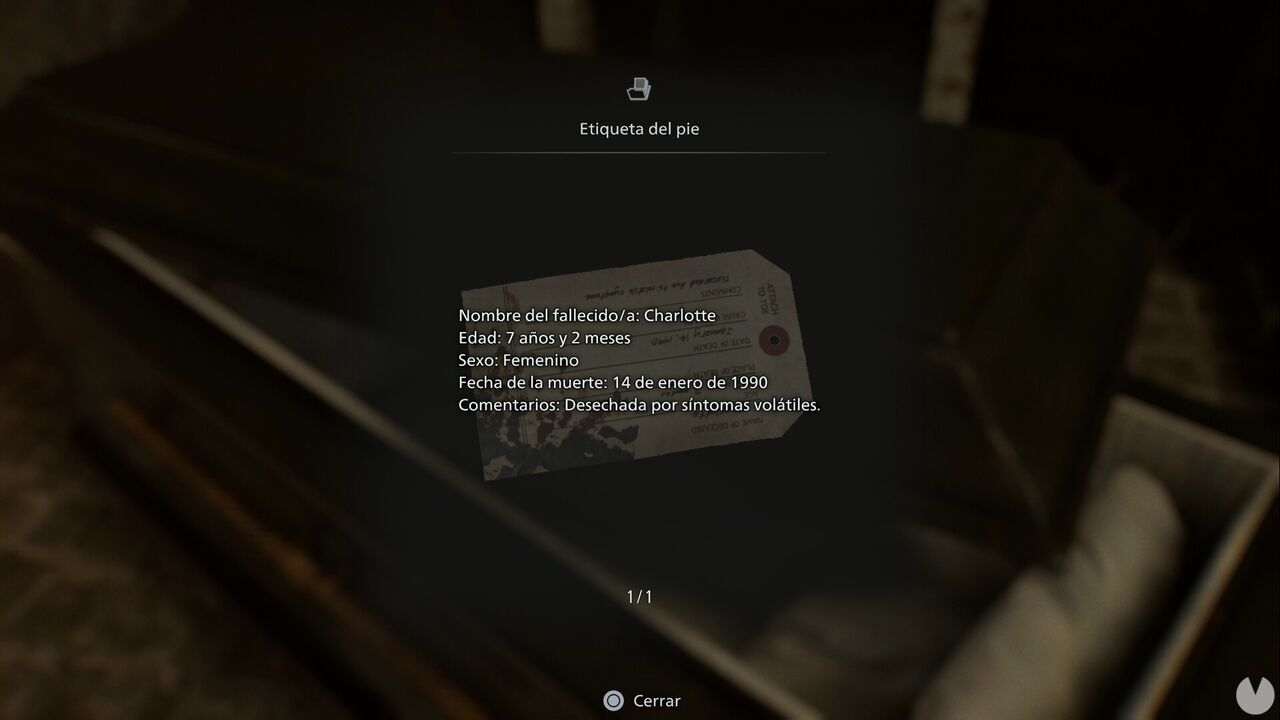
This is obtained during the same flashback sequence as the previous file. Continue until you enter a laboratory. The file will be directly in front of you after you open the door with the green light.
It is on a table in the same room as the previous file.
These are the files you can obtain during the ARK chapter:
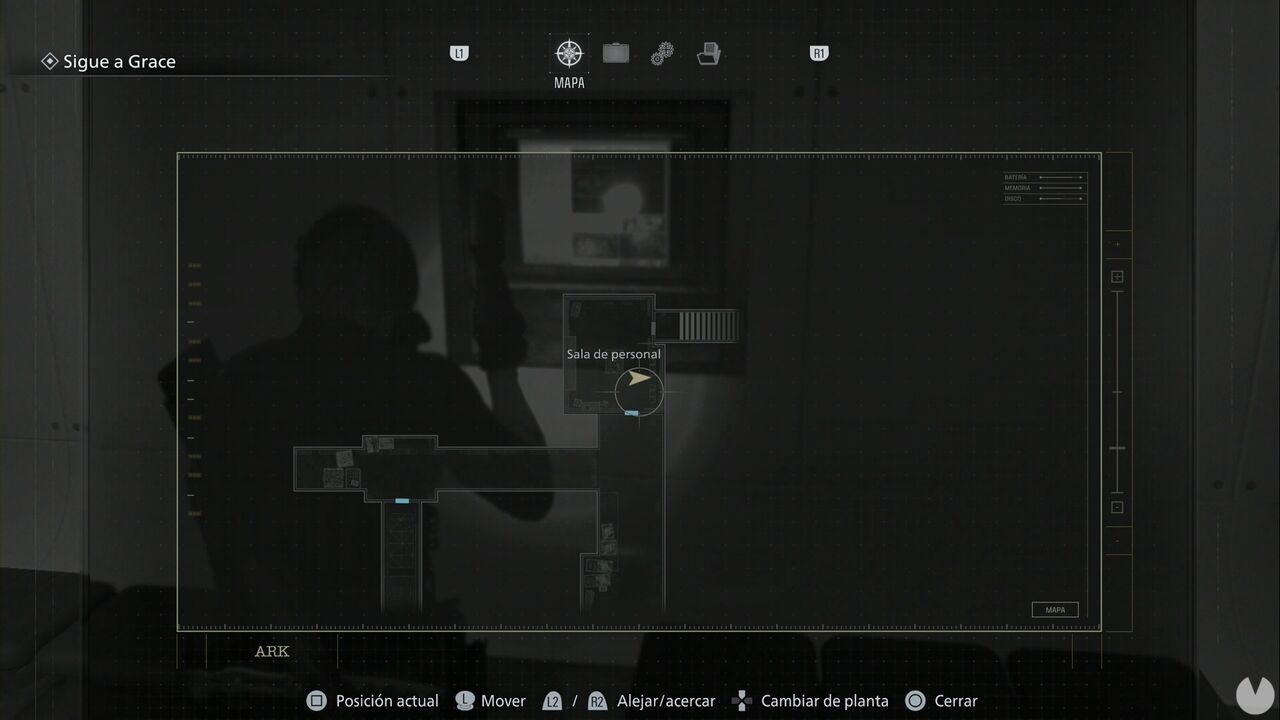
You will find it in the Staff Room, the first room on the left after passing through the initial corridor. Interact with the screen on the wall to read it.
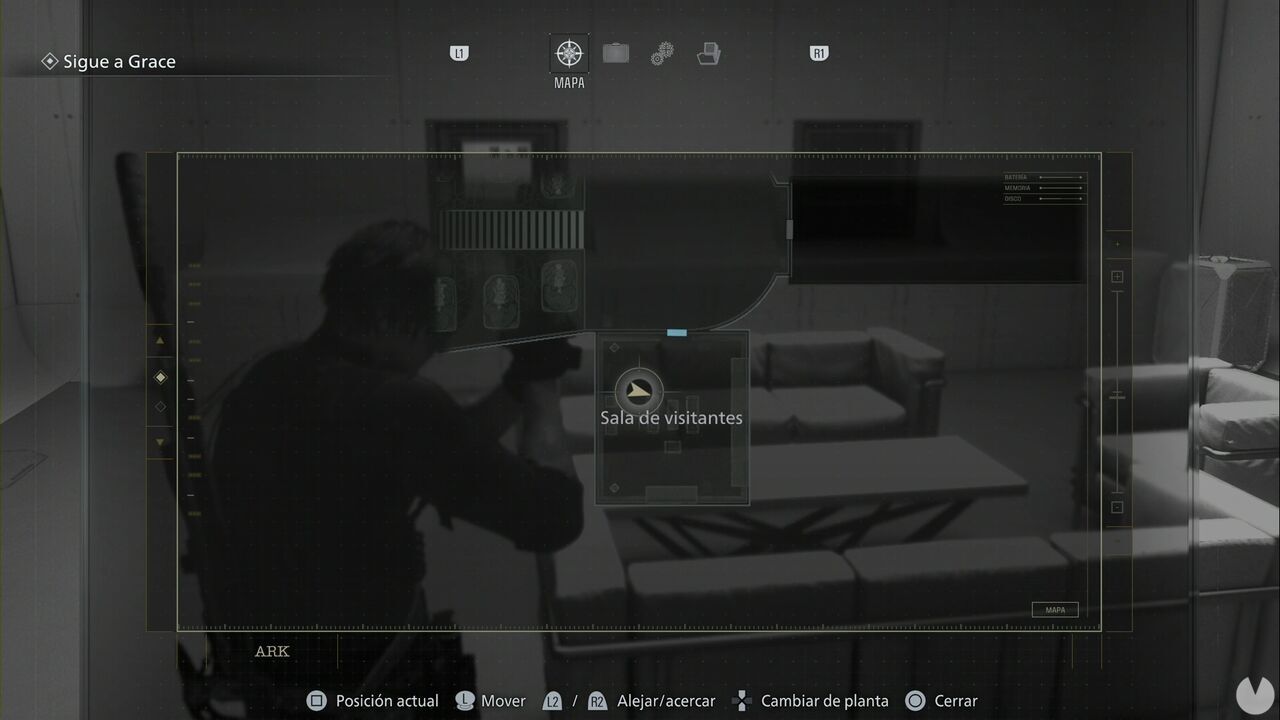
It is displayed on one of the screens in the Visitor Room, the room to the south after passing through the Entrance.
This is in the same room as the previous file, on another screen.
This is in the same room as the previous file, on another screen.
These are the files you can obtain during the ARK (II) chapter:
You will find this file in the Monitor Control Room, southwest of the Lobby. You need to wait until you obtain the Keycard as part of the story before you can open the door leading to the Lobby.
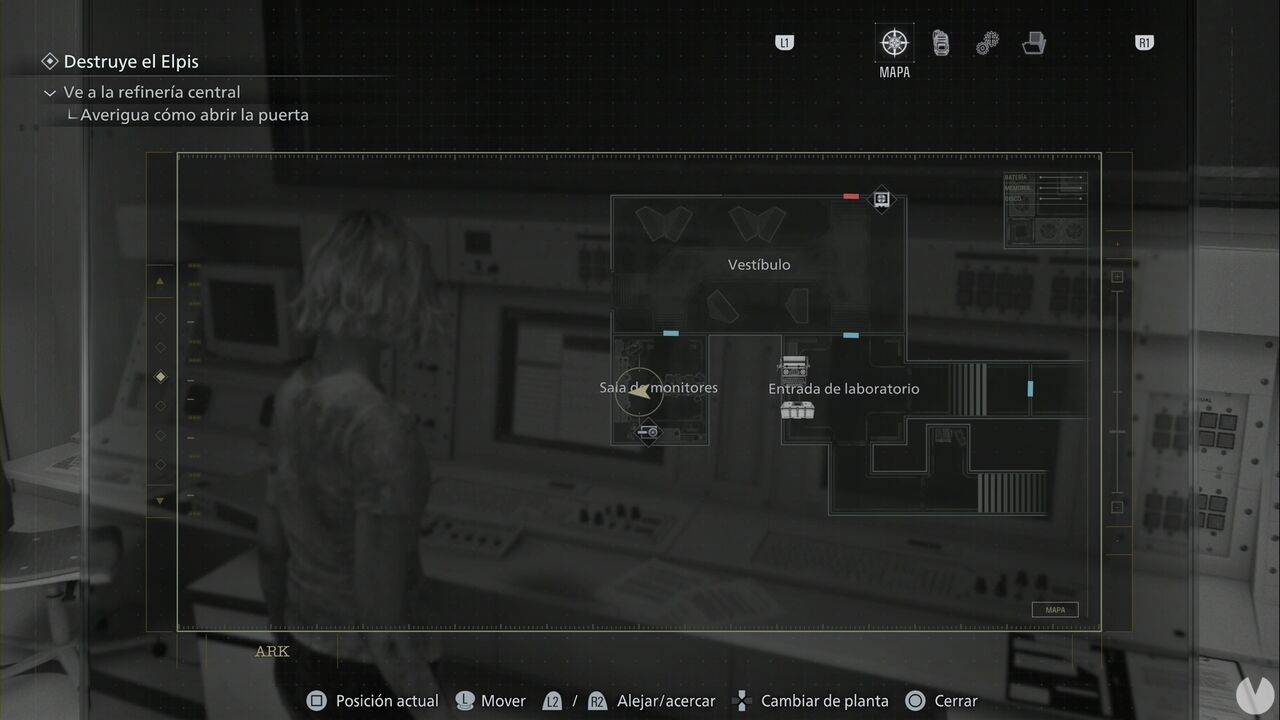
It is displayed on one of the screens.
From the previous file, head west toward the Lobby. Go down the stairs and turn right into the corridor, directly behind the wall bearing the Umbrella logo. You will find the file on top of some boxes.
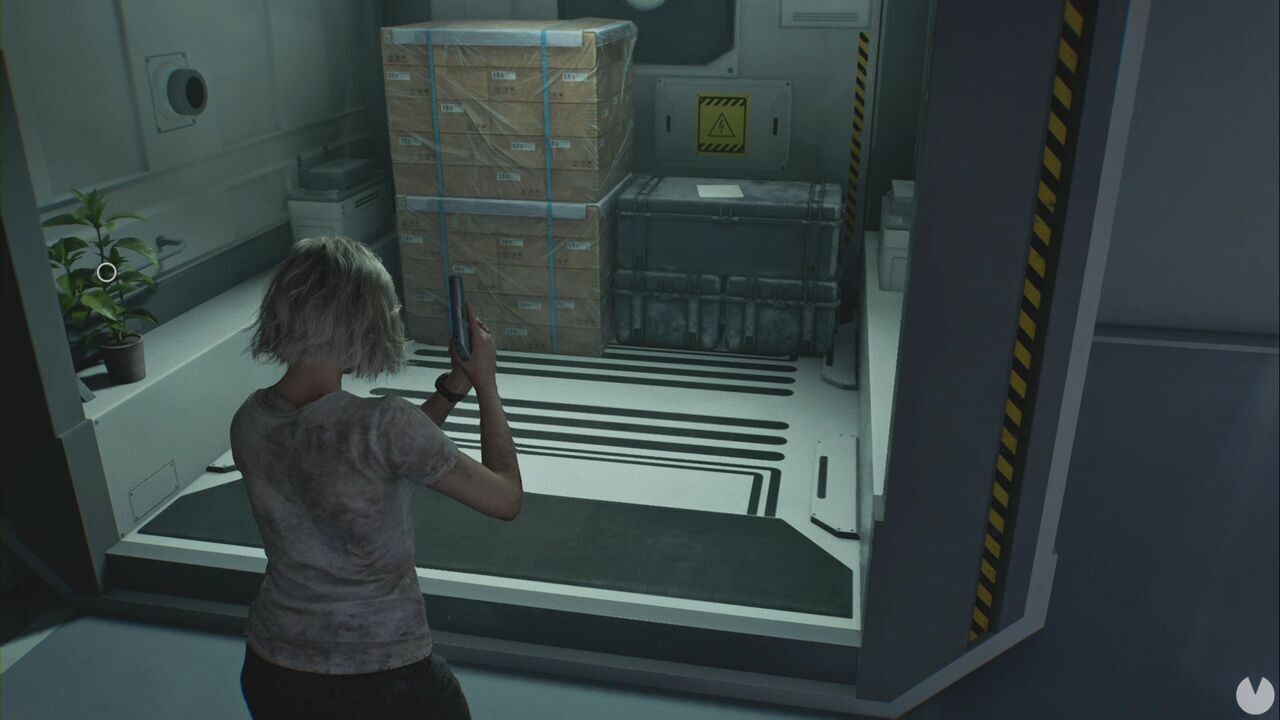
It is in the same general area as the previous note. Head north and look for the container shown below. It is the southeasternmost container in the northern half of Bioweapon Silo 05, and you can enter it from the north side.
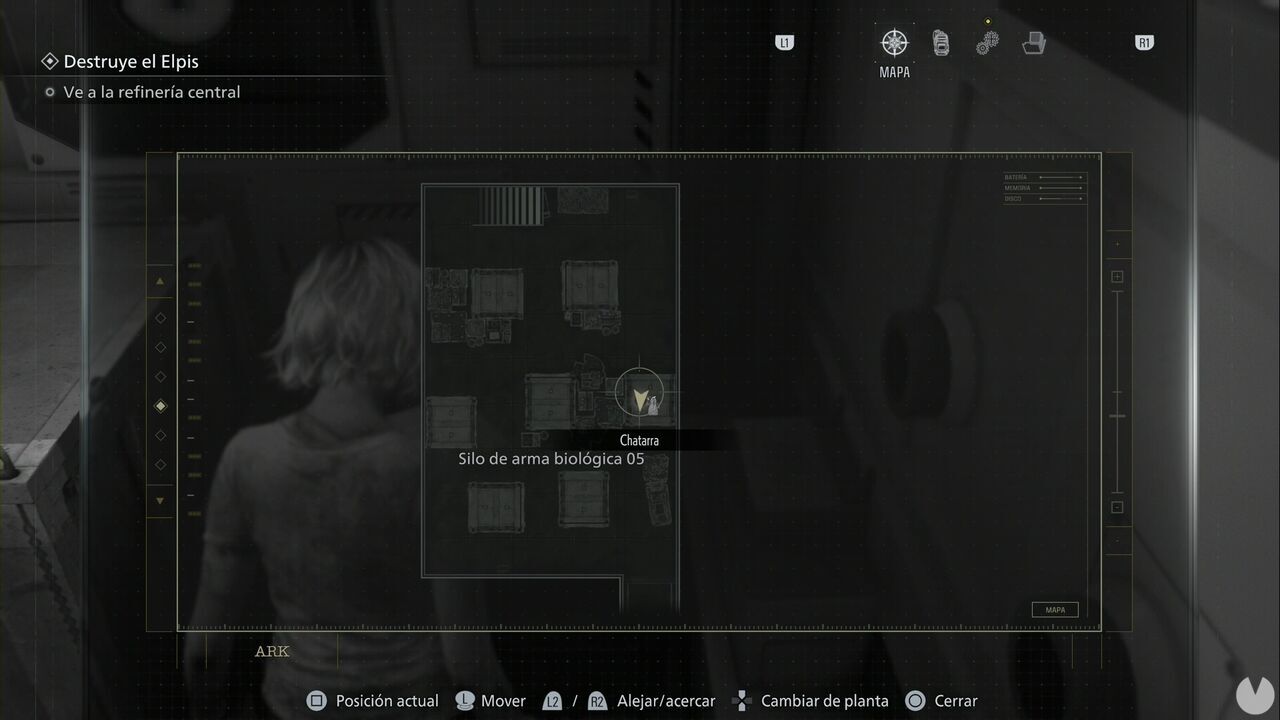
The note is on top of a box inside the open container.
You will find this file on a screen in the Archive, the room that opens after placing both Orbs in the door in the Lobby. Check the lit screen on the east side of the room.
These are the files you can obtain during the ARK (III) chapter:
This is obtained automatically as part of the story.
This is obtained automatically as part of the story.