
The end of Chapter 13 was, to some extent, a positive one compared with the rest of the story in Resident Evil 4 Remake. There is still a long way to go, however, so it is time to get moving and load your weapons. The hardest part is yet to come. Collect the Crystal Ore and give Ashley a boost through the opening beside the locked door in the adjoining room to head north.
Continue a little further and you will find the notice that activates the Blue Medallions in the Cargo Depot request. Just beyond it, you will find the Merchant and the final Shooting Range.
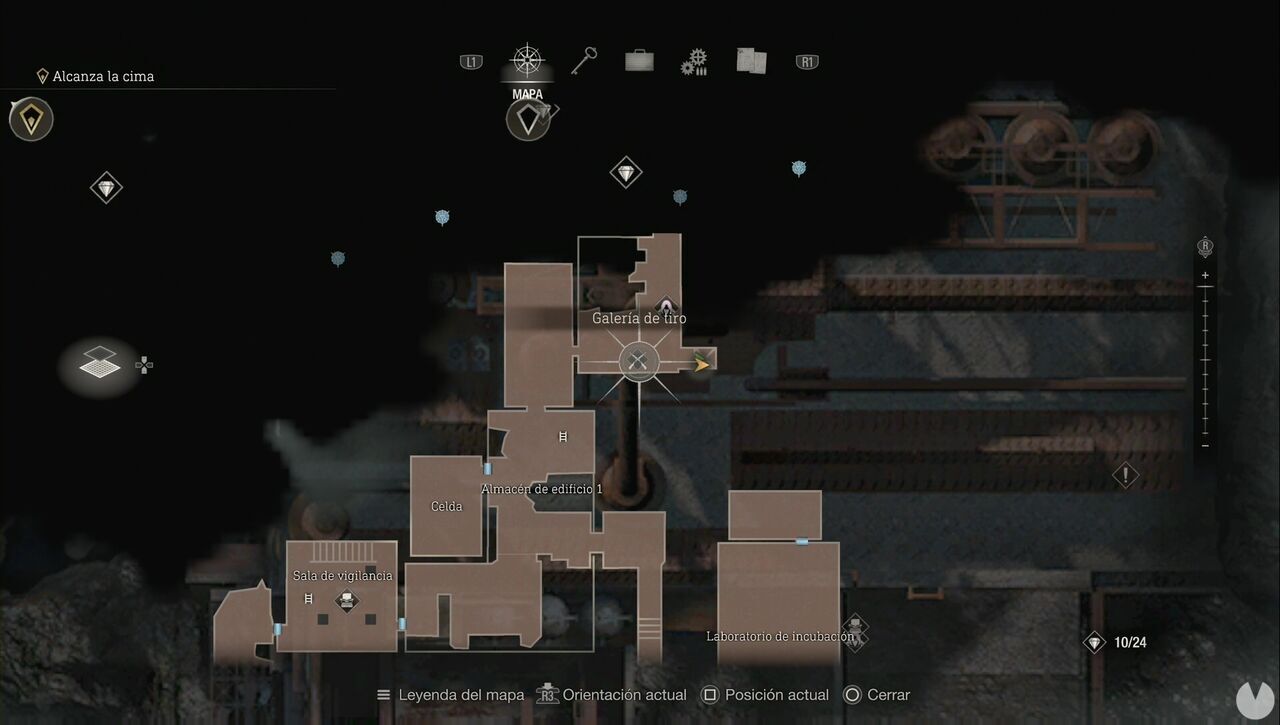
After passing through the door beyond the Merchant, you will enter the Cargo Depot. First, collect the Alexandrite from the hanging lantern and the Gold Bangle inside the container after climbing down the ladder. Clear the area and destroy the Blue Medallions in the area.
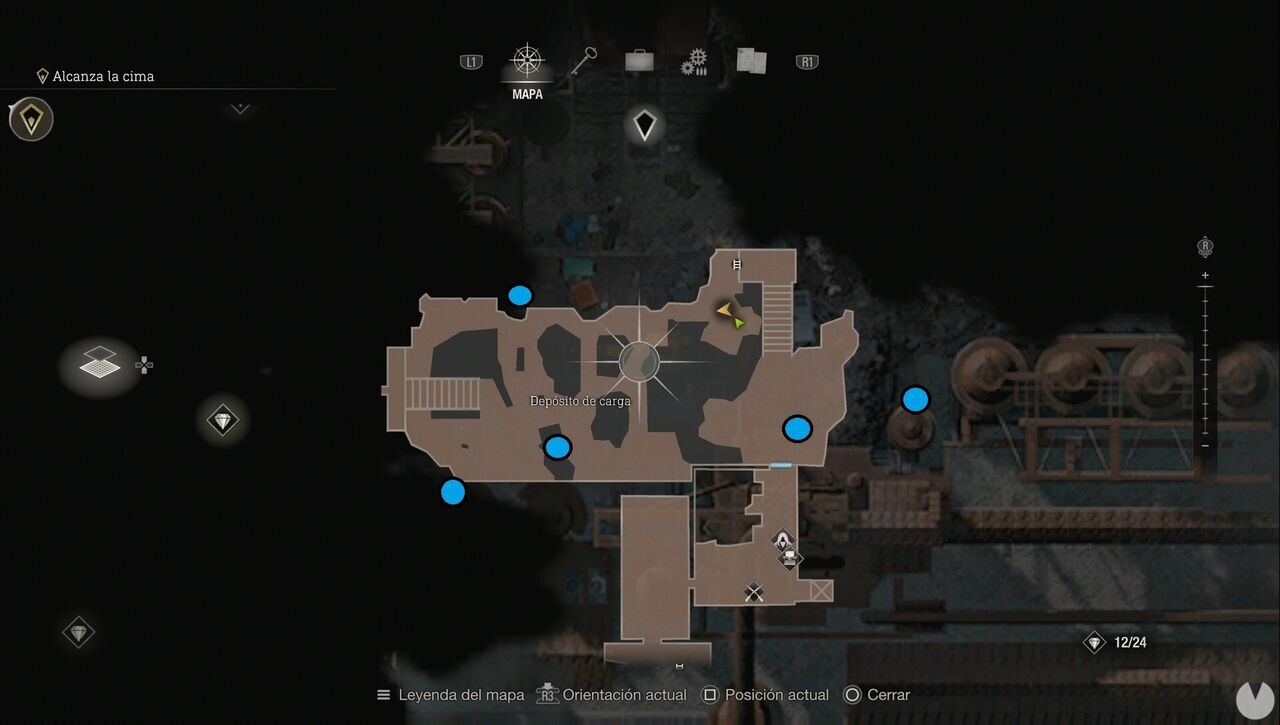
Continue west and climb the stairs to a new area, Facility 2. Eliminate the enemies—watch out, as one of them has a metal shield—and shoot the lantern at the western end of the ceiling to collect another Velvet Blue. At the top of the stairs, order Ashley to operate the lever, allowing Leon to cross and head east to open a door so that Ashley can follow.
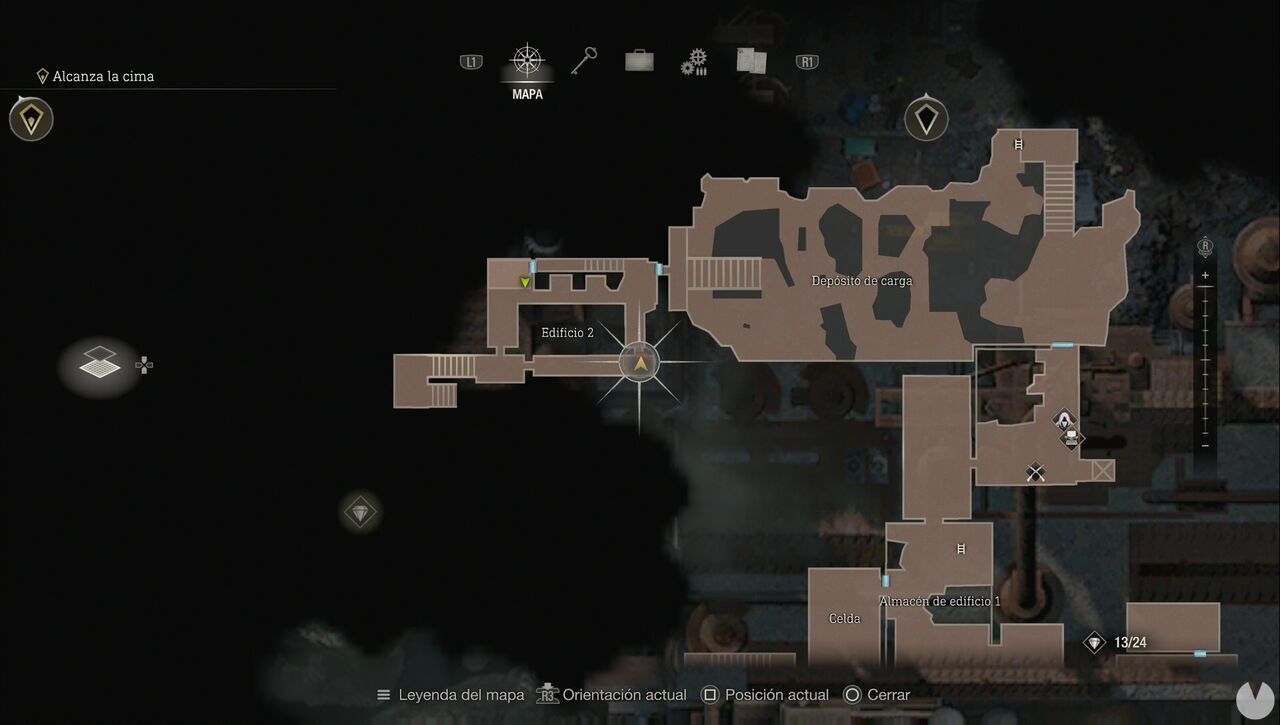
Eliminate the enemies that appear and continue along the corridor you have just opened, then head upstairs. More heavily armed Ganados will be waiting, so be careful. Afterwards, cross the sewer, making sure to collect the Emerald in the southwestern corner.
After crossing the next door—you must press the interaction button when the indicators enter the red section—tell Ashley to hide inside the locker and move forward. You will face an enemy popularly known as an Iron Maiden. It is a Regenerador that, after you destroy all of its parasites, develops another one and becomes even more dangerous, firing spikes from all over its body. It is worth noting that if it grabs you, you will die instantly, although a shot to its final parasite will still kill it.
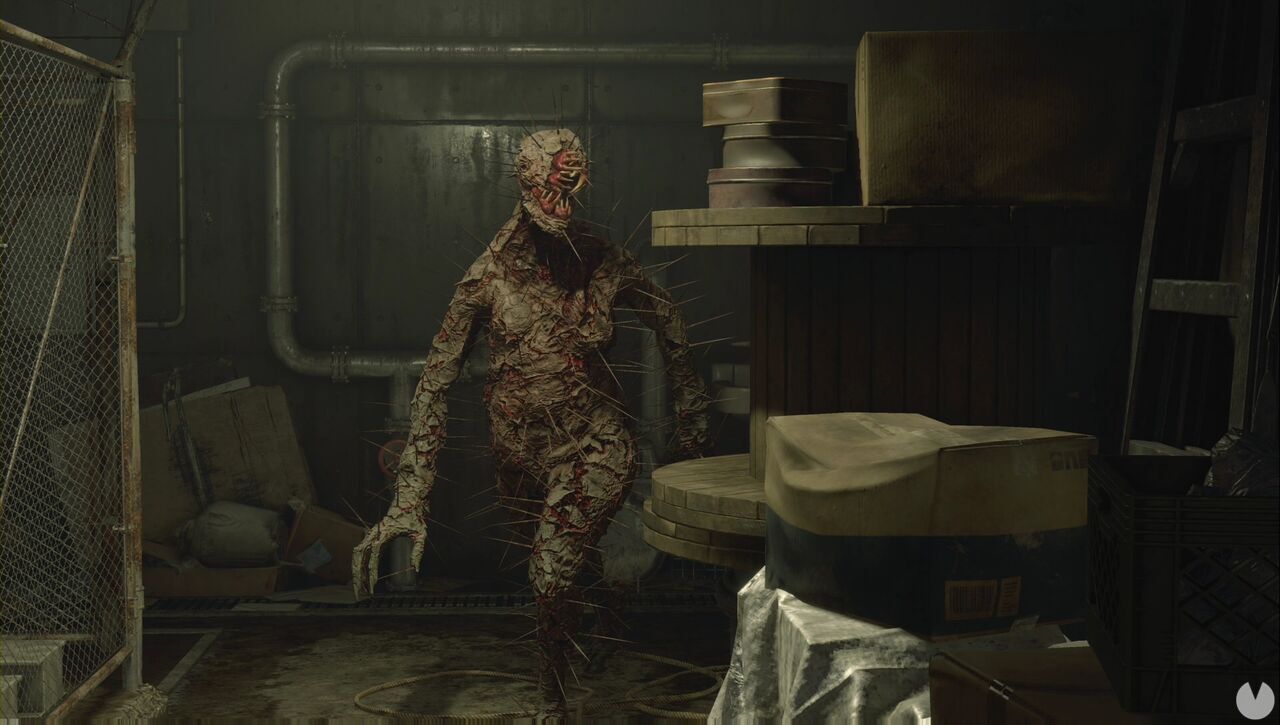
Follow the only available path until you reach another door with synchronised levers. Once you reach the crank, tell Ashley to turn it so that you can cross. Move forward and collect the Ornate Necklace before continuing. When you reach the end, prepare yourself before activating the lever, as trouble is on the way. Several enemies will go after Ashley while another Iron Maiden attacks you. Four enemies will appear first, followed by the Iron Maiden and, at the same time, more enemies coming down the corridor.
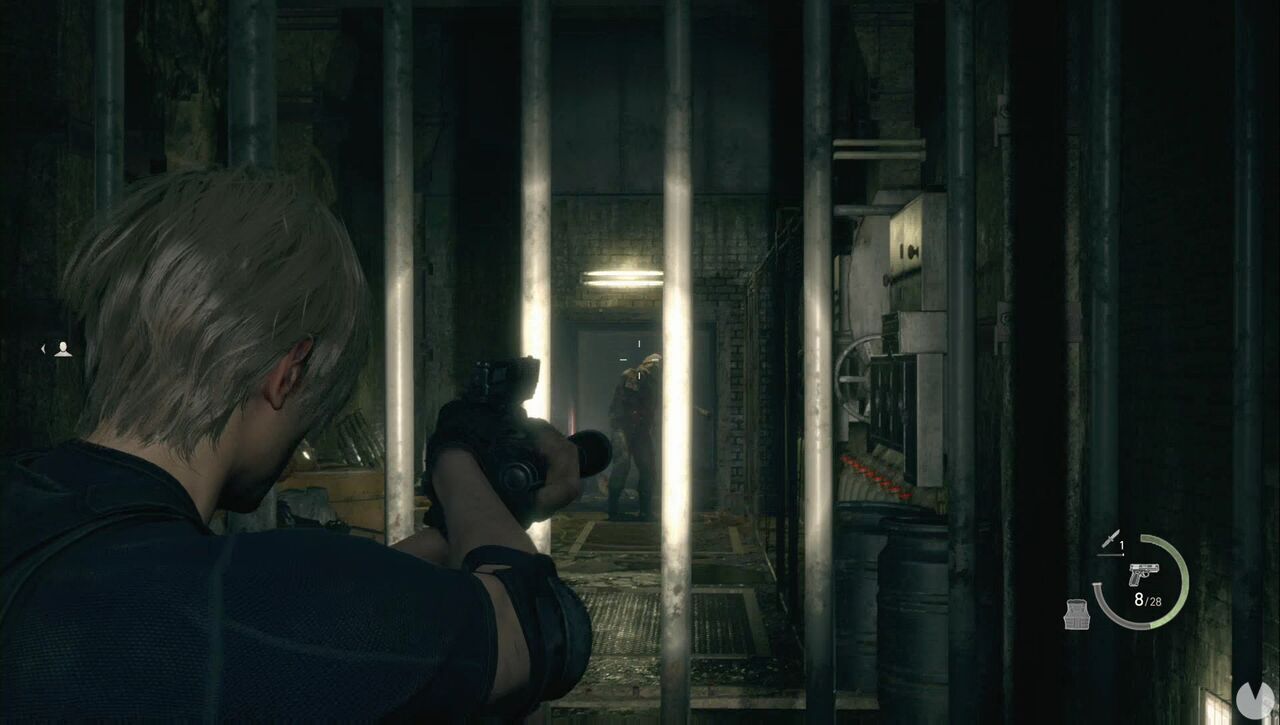
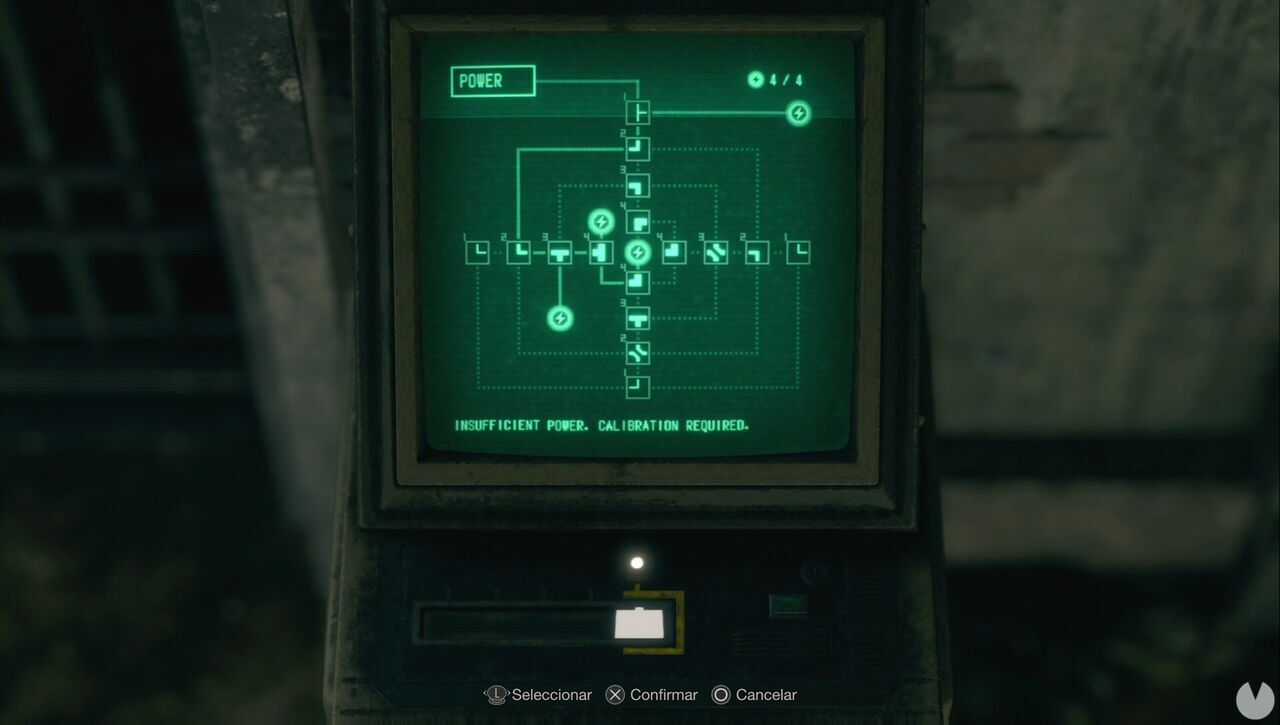
One useful trick is to shoot the Regenerador from the lever after the first wave. This will give you a tactical advantage—and a rather tactical one at that. Once you have cleared the area, you should be able to spot two rats on this side and another two where Ashley is. Kill all four and you can complete the Even More Pest Control request before you even find the notice. You must now solve another power console puzzle. The solution is shown below:
Be careful in the corridor, as there will be spider Plagas. After passing the Merchant, continue forward and interact with the wrecking ball machine. You will have to protect Ashley for several minutes while she breaks down the wall. You must prevent any enemies from climbing onto the cabin, as it has its own health bar and the game will end if it is depleted. After passing through the demolished wall, activate the The Wandering Dead request.
Return to the Incubation Lab—where the four Regeneradors were kept in tubes—to find the target. There is a shortcut in the southeastern section beyond the demolished wall that will get you there more quickly.
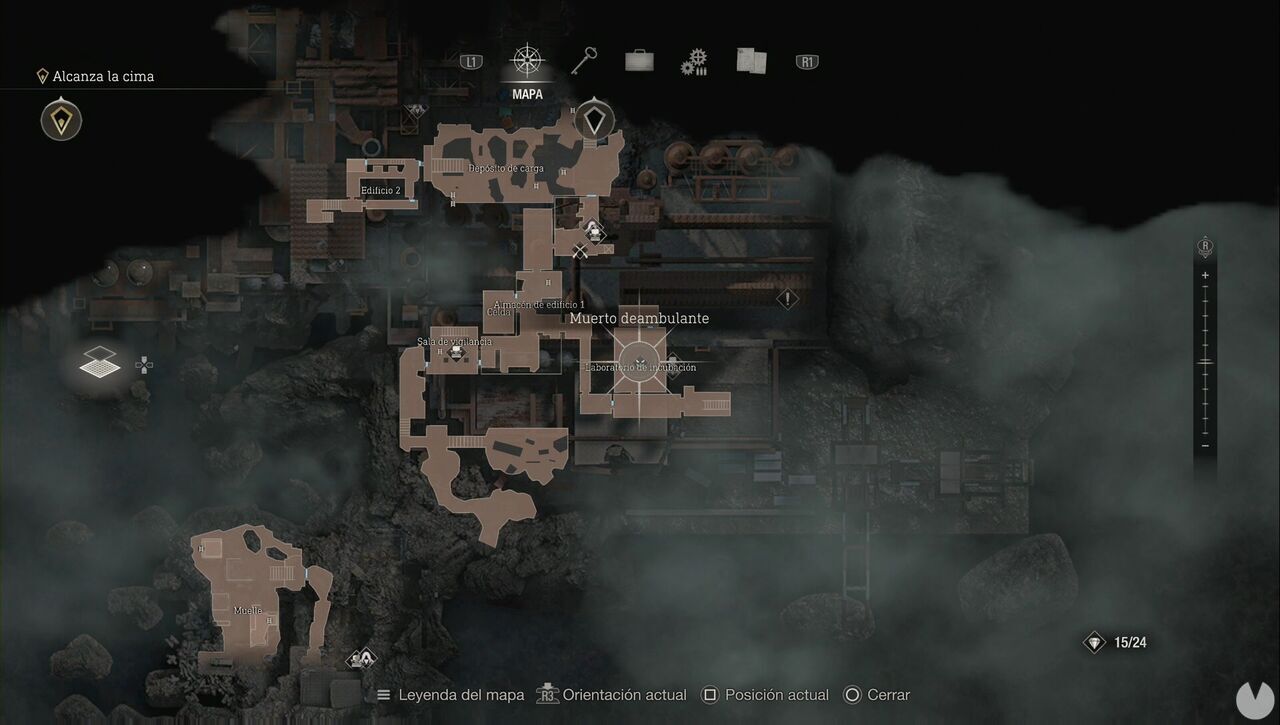
This is an Iron Maiden that is stronger than usual. Bear in mind that you can leave Ashley inside a locker in the corridor to the west to ensure that she is not harmed. Turn in the request and continue with the main objective by activating the lift beyond the wall demolished with the wrecking ball. Follow the only available path until a cutscene plays. Afterwards, head to the northern side of the room to find another Crystal Ore. In the next area, the Campsite, begin by heading southwest.
In addition to an enemy, you will find a shed containing resources and Clockwork Castellan #14.
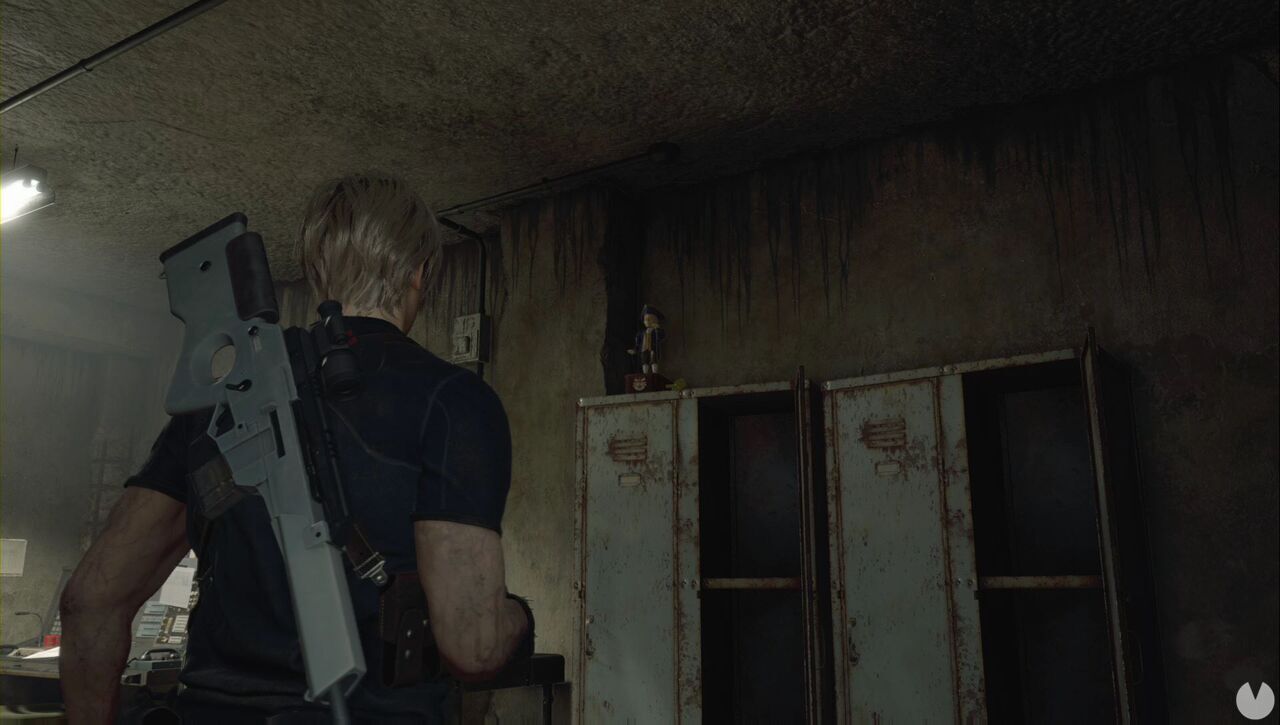
Head down into the campsite, eliminate the enemies and collect the resources and the Gold Bar (L). Afterwards, follow the only available path and collect items until a cutscene plays, after which you will fight Krauser again.
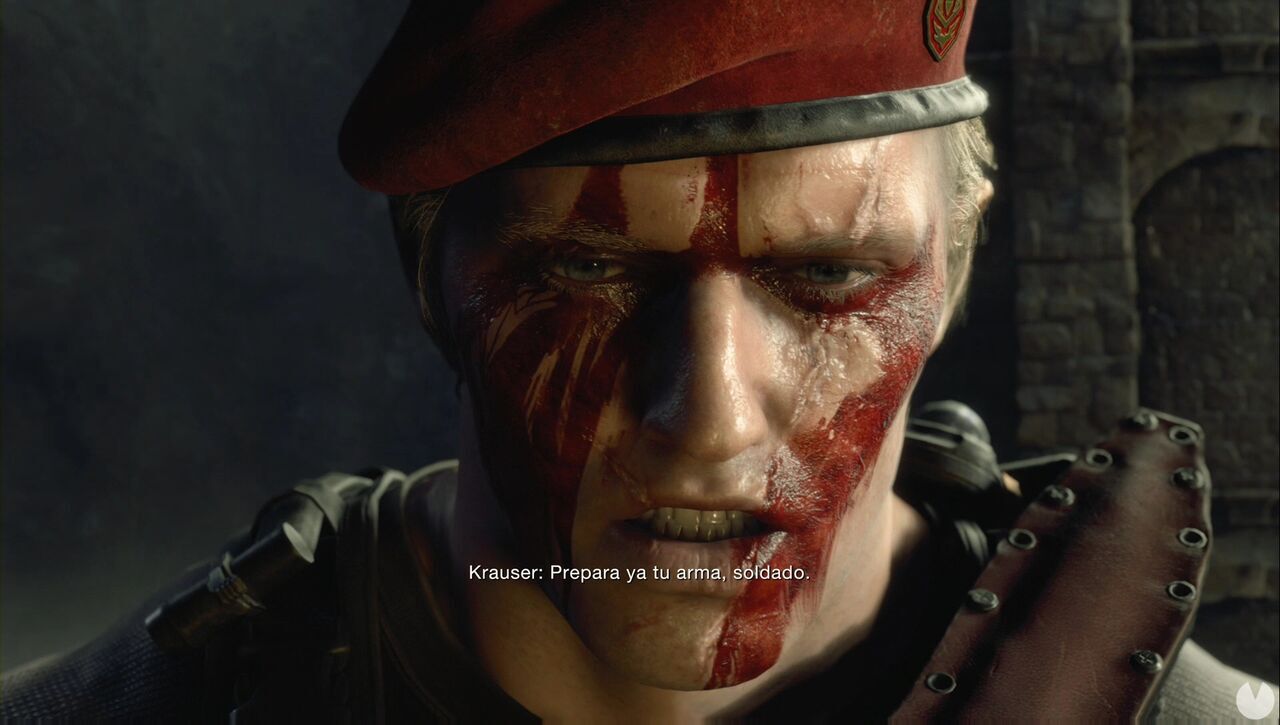
At the start of the battle, take cover behind the pillars and run towards the nearby building. Climb the stairs and fight Krauser until he retreats, at which point you will be able to use the crank. The battle is very similar to the previous one: parry his knife attacks, move out of his line of fire when he jumps onto the upper level to shoot so that he comes back down, then repeat until he leaves. If you shoot him, he will eventually blind you and move behind your back, but it is worth doing if you are capable of dodging him. After passing through the door, watch out for the explosives: you can crouch beneath the first ones, but when you approach the second, Krauser will attack you from behind. He will also appear in front of you as you approach the third explosive, so watch out for his arrows.
Immediately after destroying the third explosive, look to the left at the junction. Above you, attached to the ceiling, is an automatic turret that will riddle you with bullets if you enter its field of vision. Shoot it to disable it.
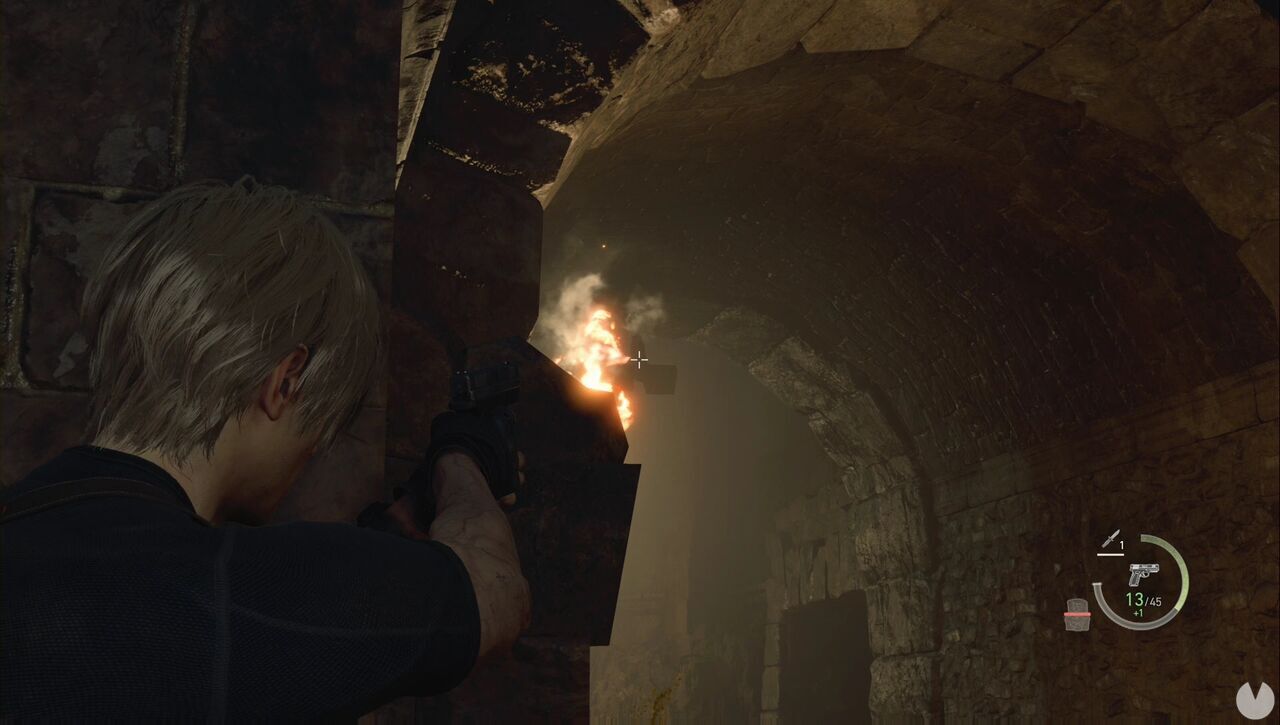
There is another one in the tunnel to the east. Disable it and continue north through the tunnel. You will be able to deactivate the explosives in the previous corridor and proceed. Inside the circular tower, there is a bear trap and a turret. When you try to leave through the other side, Krauser will fire an explosive arrow, so move back when you see the laser and then continue. When you reach the stairs, he will fire more arrows. Once you reach the top, you must take cover from his attacks as you make your way towards his position. Be careful, as he will throw grenades from above; wait for them to explode before entering.
When you reach the very top, he will appear directly in front of you. Shoot him and he will fall from the ledge. The battle then continues in much the same way as before. Eventually, a rather familiar cutscene will play and the arena will change dramatically.
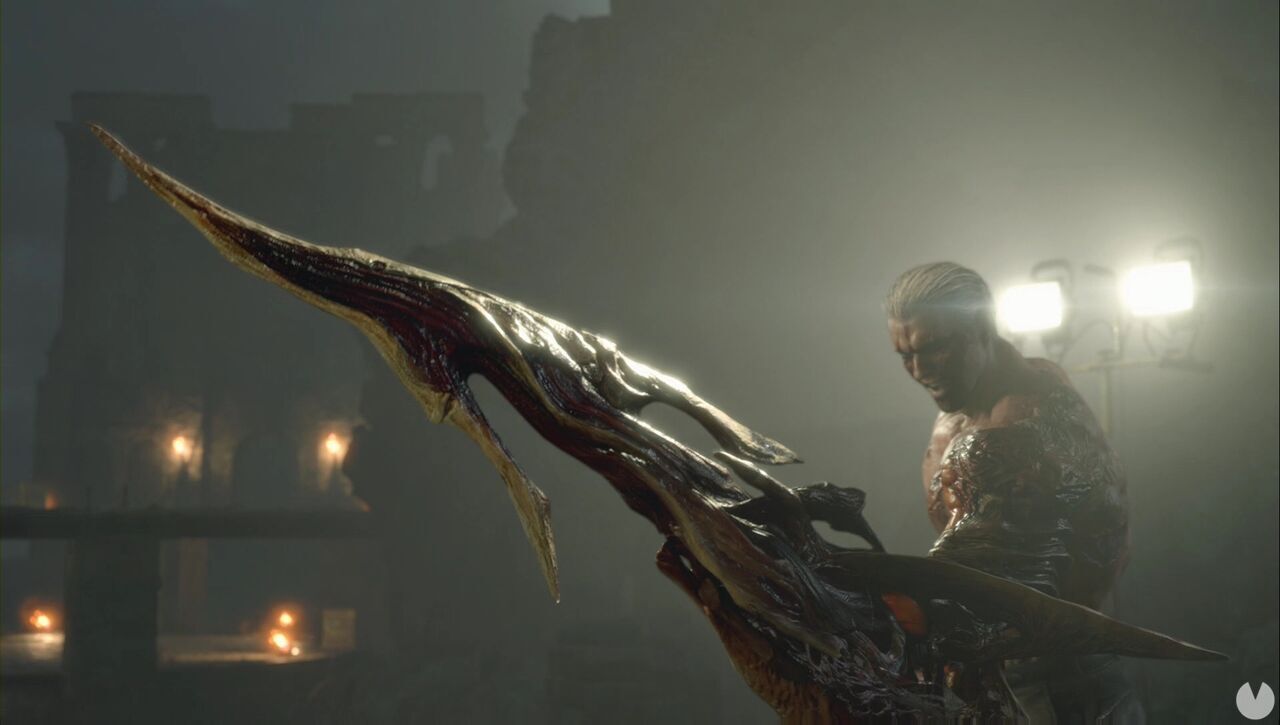
Move along the corridor and shoot him when he appears near the breakable crate. If you deal enough damage, he should retreat. Alternatively, you can simply run back the way you came. Continue until you reach the point where you must vault over an obstacle: he will attack you from above, so press Evade or you will take a nasty hit. Continue to the outdoor area and climb the ladder to begin the final battle with Krauser. Incredibly enough, you can parry his attacks with your knife. Just remember that jumping attacks must be avoided with Evade, and that if he raises his right "hand", you must crouch to avoid his grab attack. He also has a mid-range kick attack that must be avoided with Evade.
After taking enough damage, he will jump onto a ledge. Quickly climb one of the ladders at the sides to avoid the impact. Once the battle is over, you will obtain the Fighting Knife. Collect any remaining resources, cross the bridge and you will reach Chapter 15.
