

The end of Chapter 12 of Resident Evil 4 Remake marked our farewell to the Castle. We are now entering the game's third region: the island where, if everything goes according to plan, Leon should be able to rescue Ashley and bring this whole mess to an end. Once you gain control of Leon, move forward a little and you will be able to use the binoculars to scout the area. No, those machine guns are not good news.
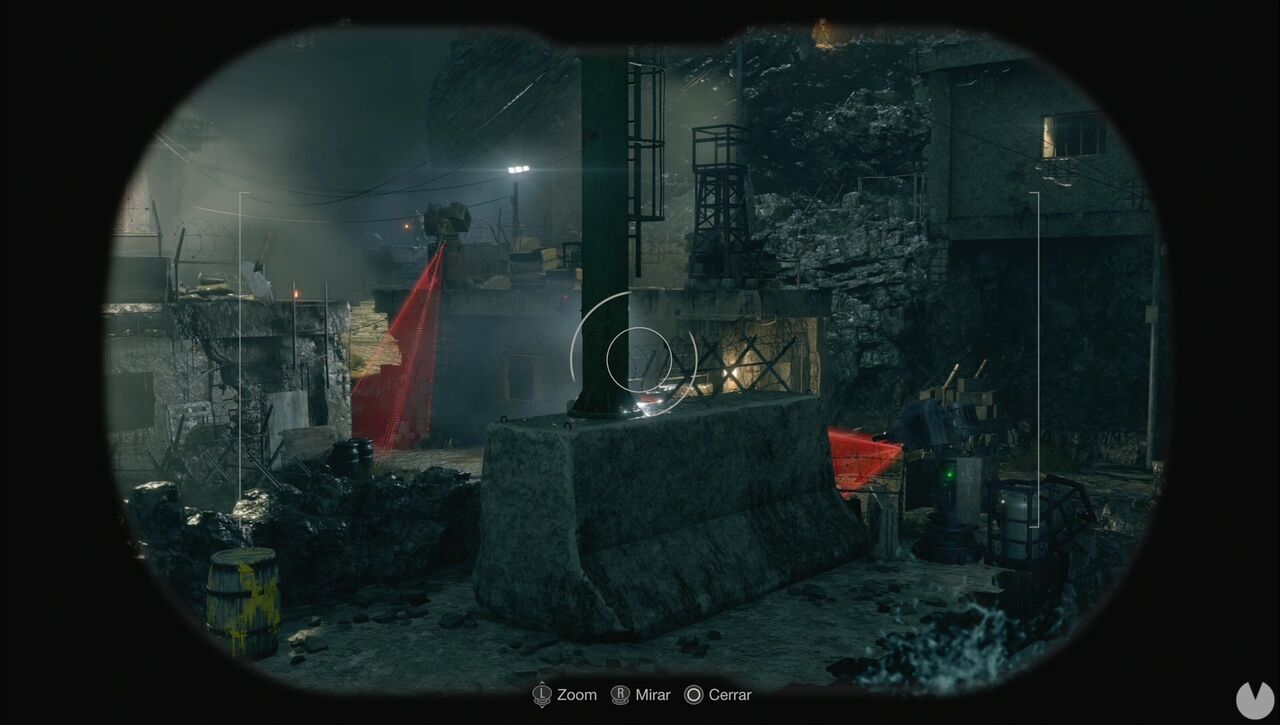
Inside the cave, head northeast to find the Merchant. He has several new items for sale, including a treasure map and a new Attaché Case with greater capacity. Then head towards the western side of the cave, where you can get behind the machine gun and change the direction it is facing, allowing you to pass through the area easily. Continue a little further and wait for the patrolling enemy to turn his back on the window before crossing behind him.
If you are quick, you can stab him before he turns around. Otherwise, hide behind the ladder and give him a good stabbing while he is not looking.
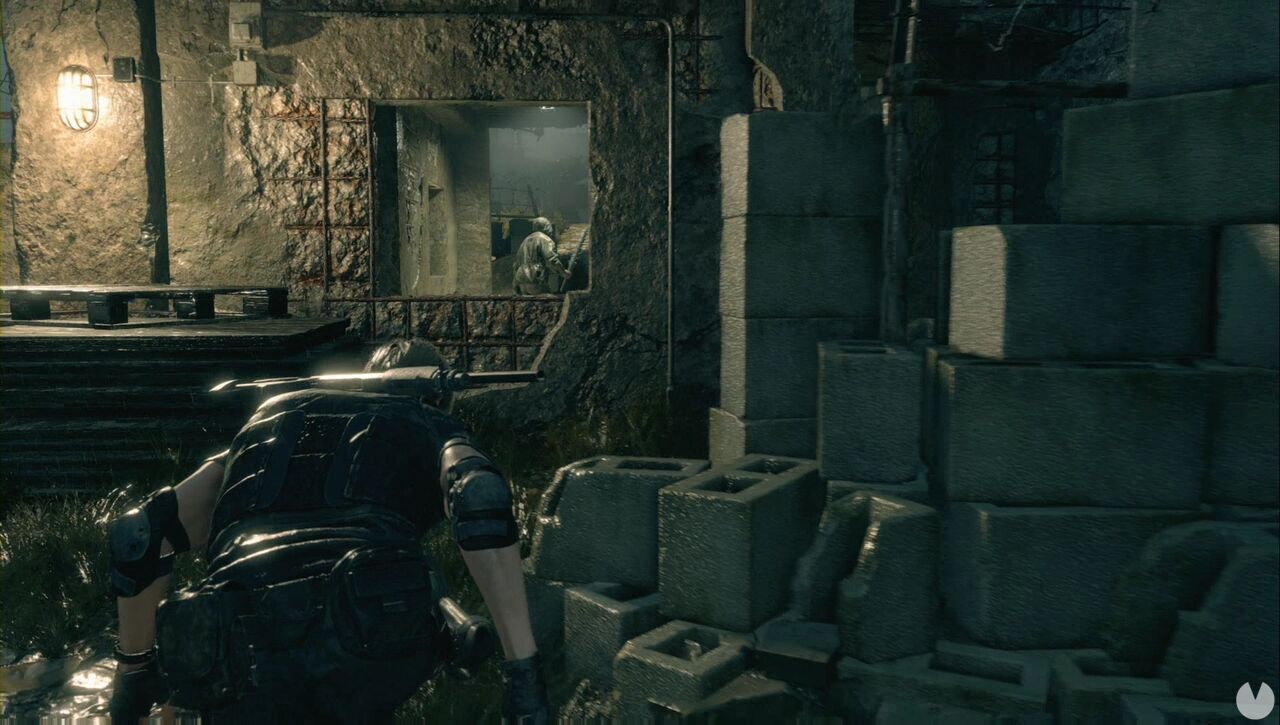
Now climb the ladder and disable another machine gun. Climb back down and carefully move past without letting the enemy with the electric baton spot you. Leave the machine gun you just moved on your right and hide beneath the window, waiting for the baton-wielding enemy to pass by on his patrol and turn his back on you.
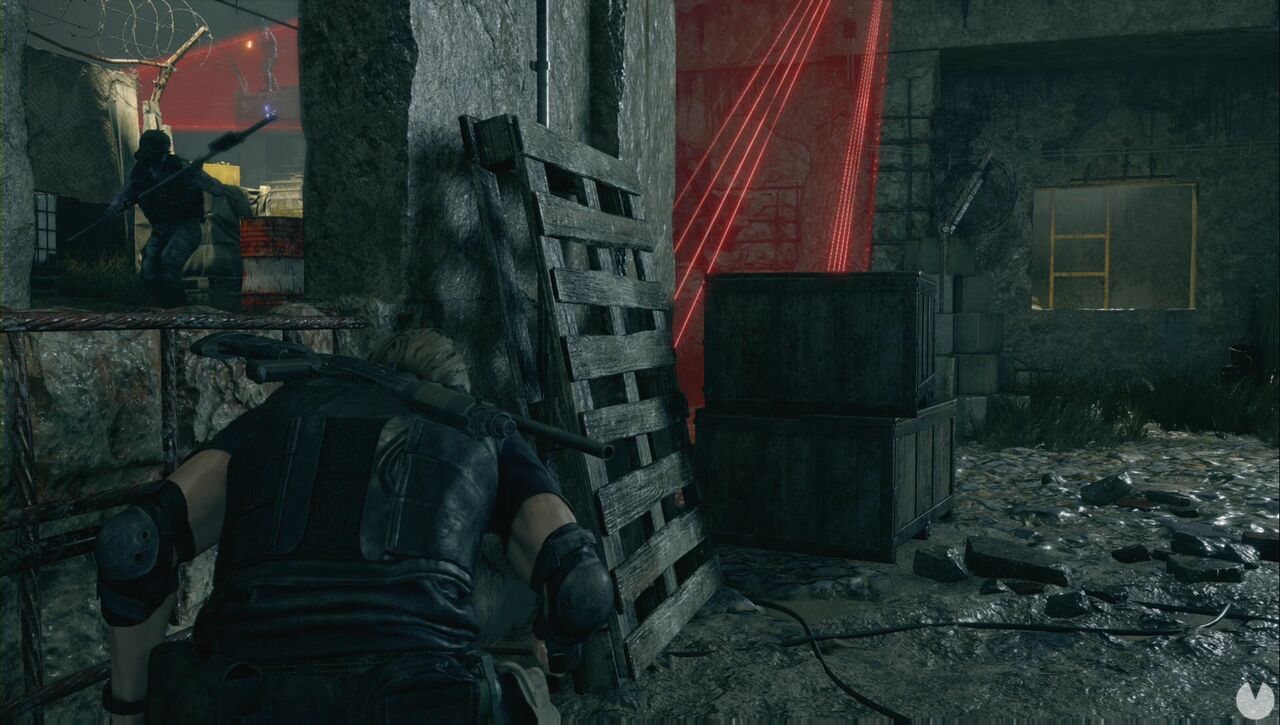
Once he has passed, vault through the window frame, hide around the corner and wait for him to patrol back towards the structure. Obviously, move out as soon as he turns his back and slit his throat. If you take too long, you will be spotted. Continue to the left until you see a tower in the northwestern corner. Climb it to stab another enemy from behind.
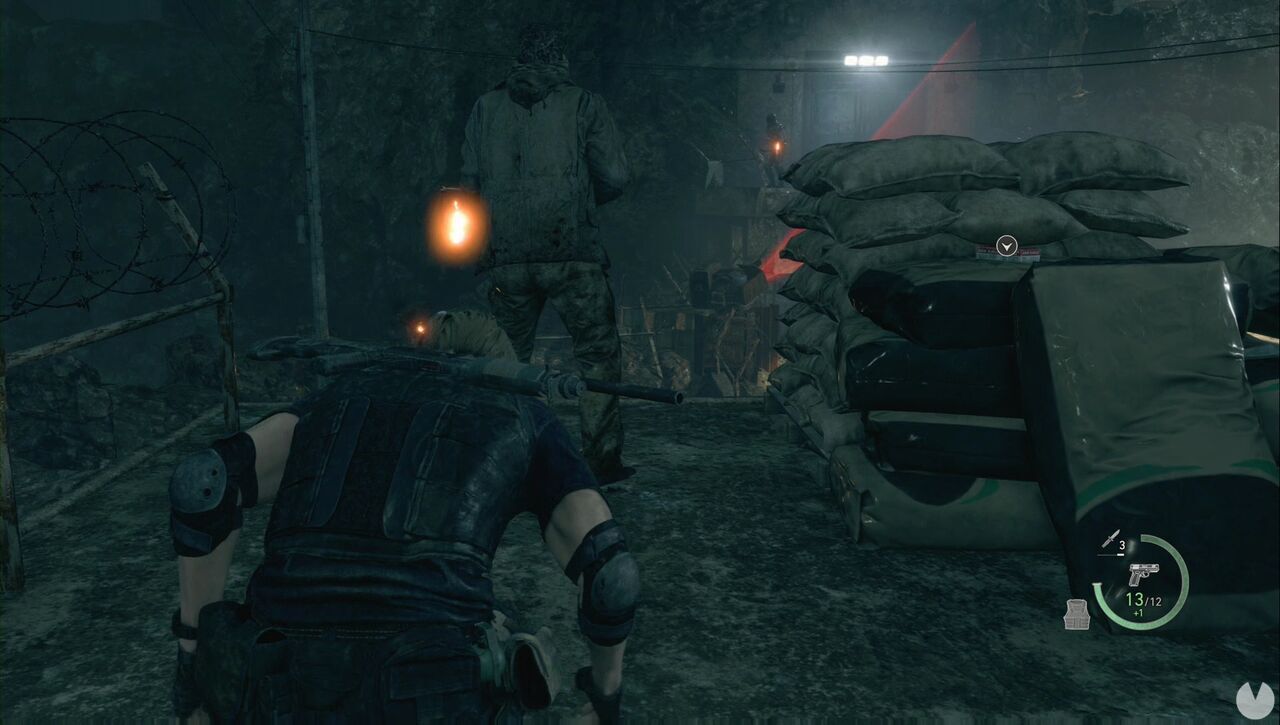
There are two enemies remaining: one at the top of the stairs and another patrolling the path to his left. If you return to the corridor where you killed the first enemy, you should be able to simply shoot the enemy on the stairs in the head, leaving only the one patrolling the path. Afterwards, you can shoot each of the spotlights on the central tower. This will allow you to collect the Pearl Bangle in the southwestern area. Bear in mind that things will get tense if you are spotted. Two additional enemies will appear, including one with a boar's head like those in the Village, but carrying a rather deadly machine gun.
Disable the machine guns and cross through the northeastern gate to reach another cave section. Here, the enemies will spot you, but this will not trigger an alert; it will simply result in a normal encounter. Be careful when you see the bridge, as an enemy will charge straight towards you. A good shotgun blast right in the face, followed by a quick "Don't look at me like that—you scared me too, mate," should do the trick.
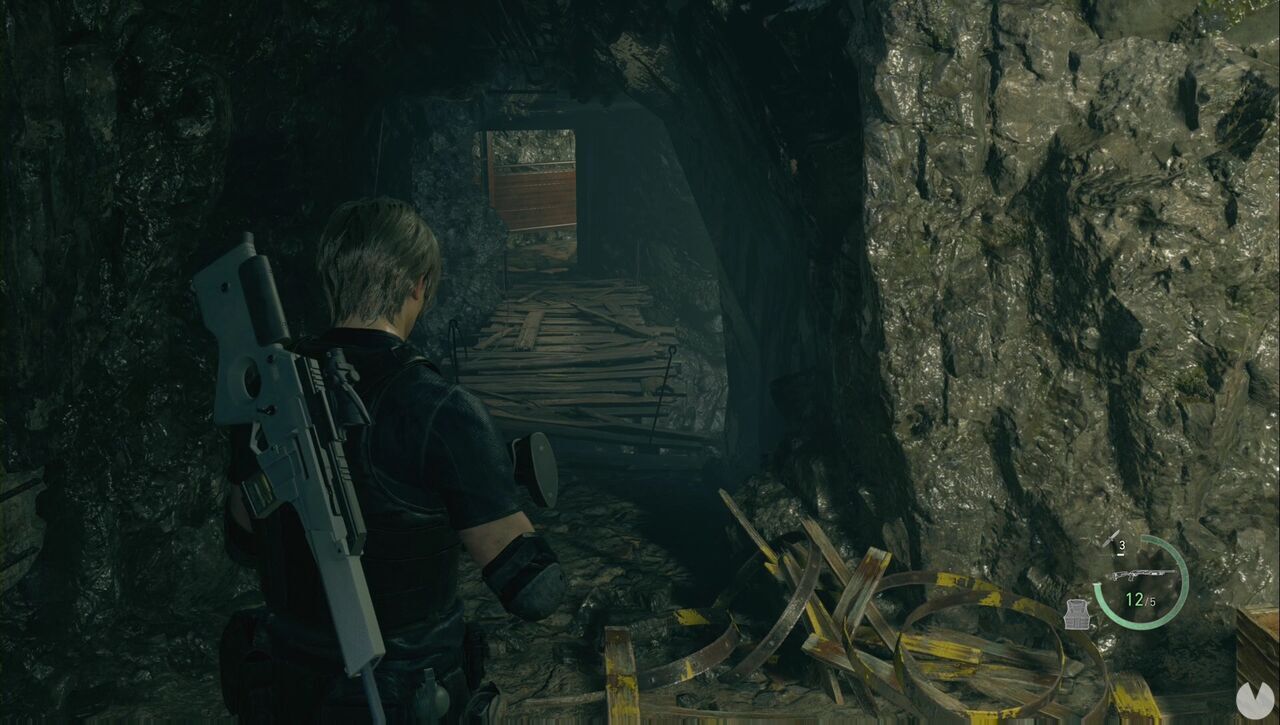
The area reached by climbing the ladder is much easier to clear using stealth. The enemies are positioned extremely poorly—for them—and you should have no trouble stabbing every last one. Make sure to collect the Golden Lynx before continuing. The path ahead is very straightforward, but watch out for the lunatic with the rocket launcher. You can use him to kill his friends, at least. After crossing the next gate, you can eliminate another gunner from the ledge.
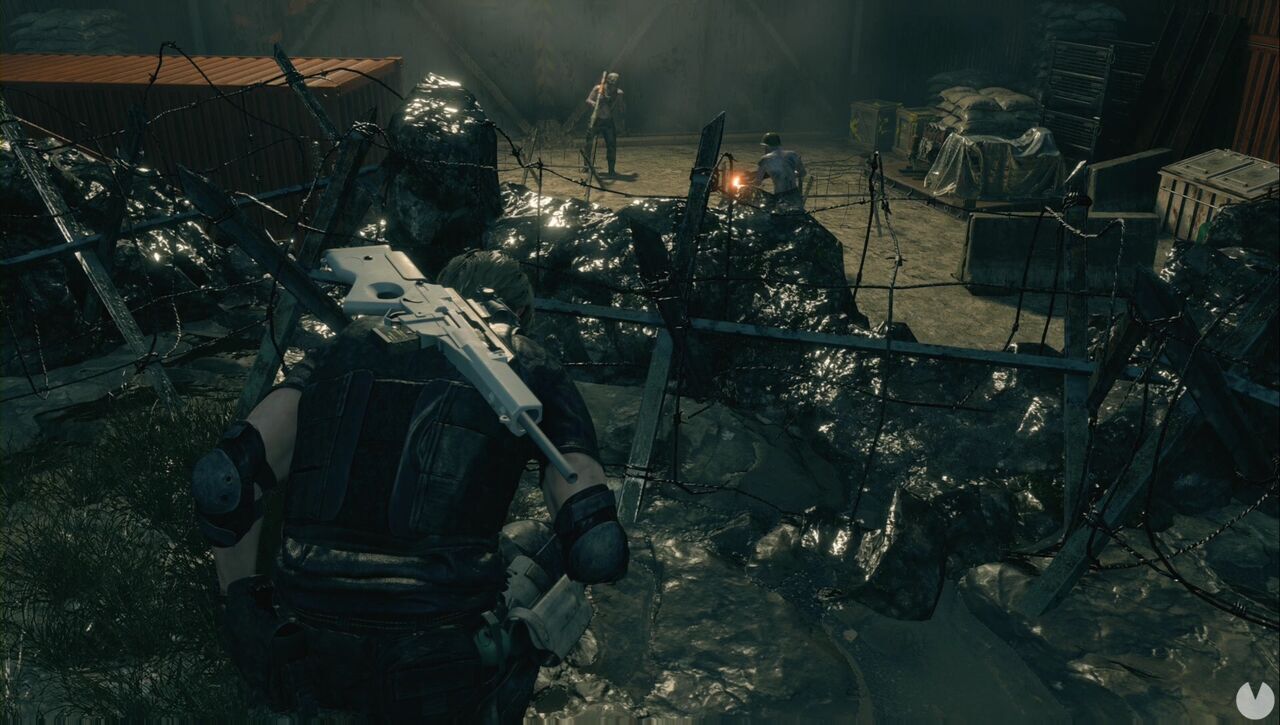
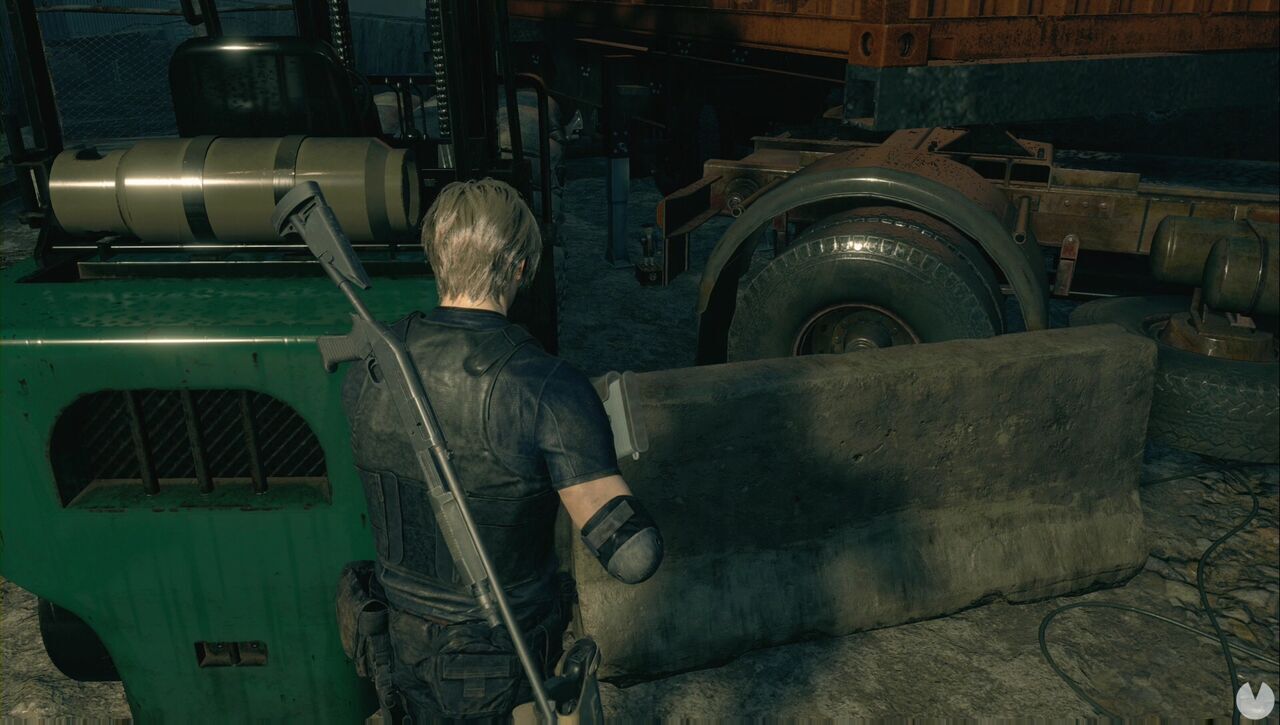
Head down the stairs to the east to eliminate the enemies, collect resources and obtain the Elegant Crown treasure. You can also destroy Clockwork Castellan #13, located between the green forklift and the truck.
Continue west-northwest and disarm the explosive attached to the next door. Once inside the Surveillance Room, collect the Velvet Blue. Ignore the ladder and go up the stairs instead. In a spectacular display of stupidity, the enemies will walk straight into the explosives.
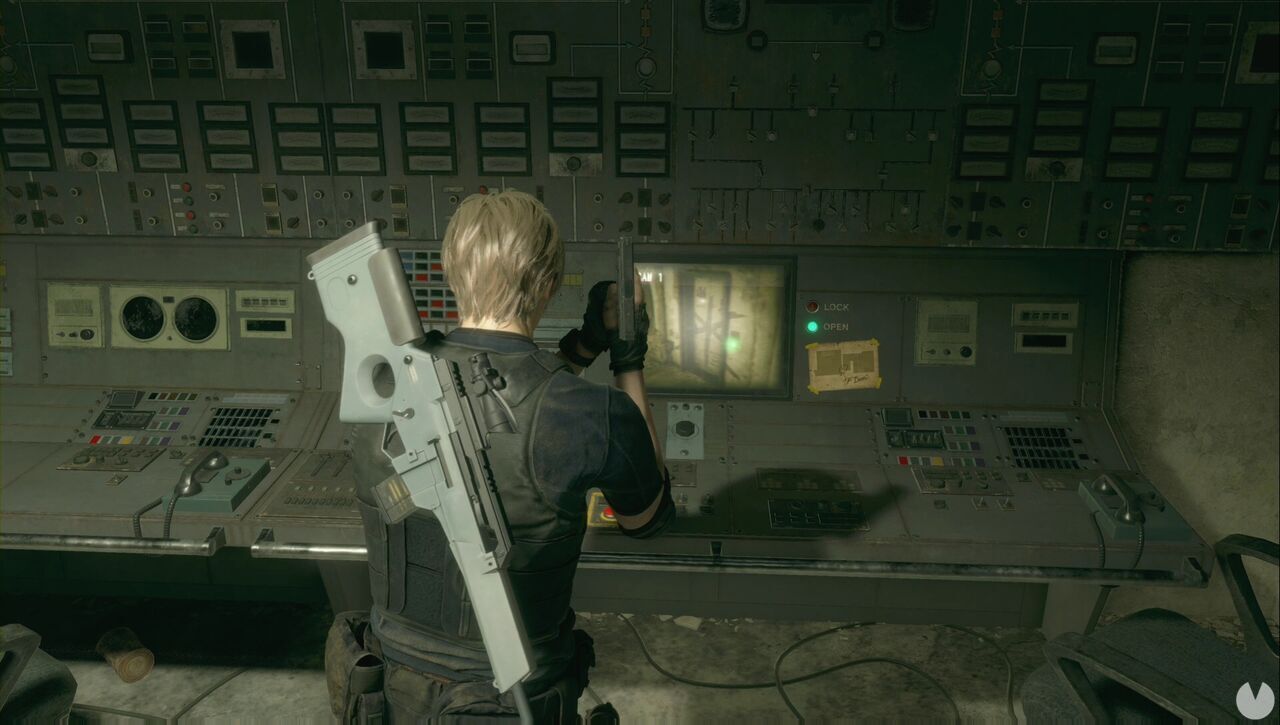
In the next room, press the button on the console to open the door on the lower floor.
A cutscene will play shortly after you cross the door, and you can then climb down along the side. Below, you will find a regular enemy and another wielding a giant hammer. Look for the ladders—the doors are locked—and follow the only available path. When you reach the kitchen area, which is still part of Utilities, collect the second Velvet Blue. Continue until you reach the Merchant, walk past him and head to the northeastern point shown below, where you can restore power and find a note concerning the keycard you are looking for.
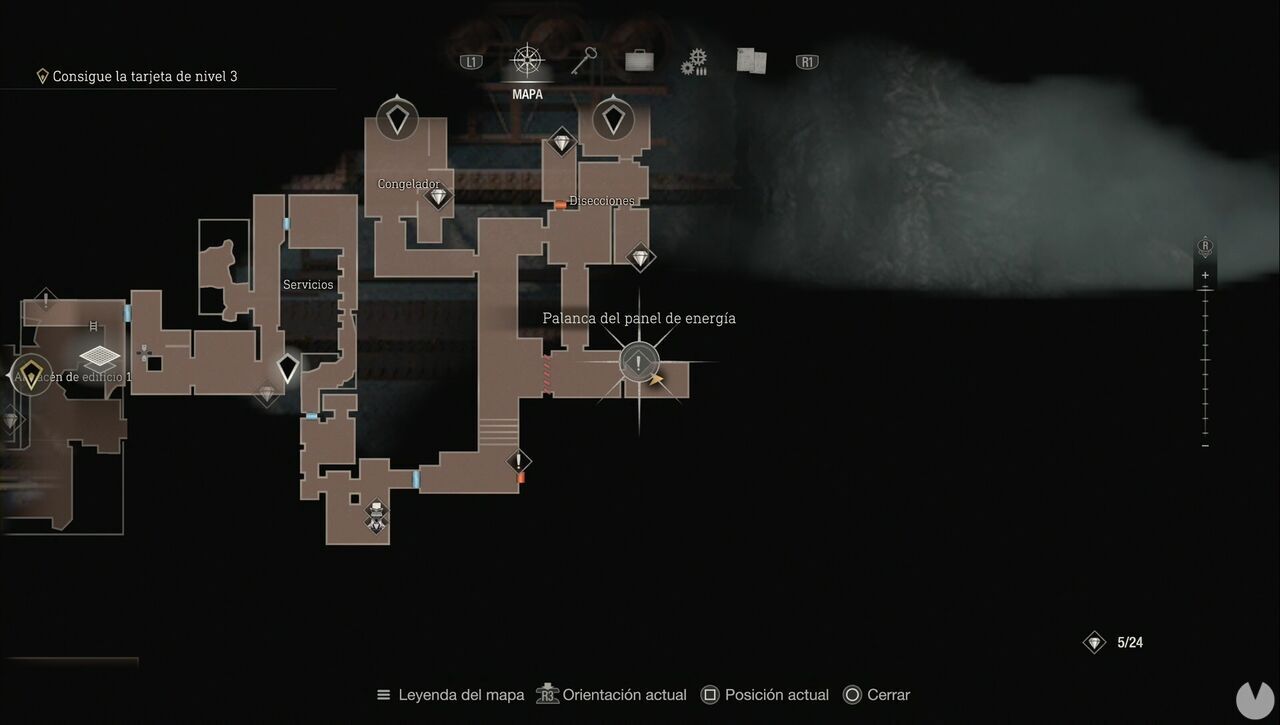
Head towards the Dissection area and collect the Red Beryl—the other treasure cannot be accessed yet. There is a door to the northeast. You must align the symbols so that the line connects every node from top to bottom. If you are having trouble, the solution is shown below.
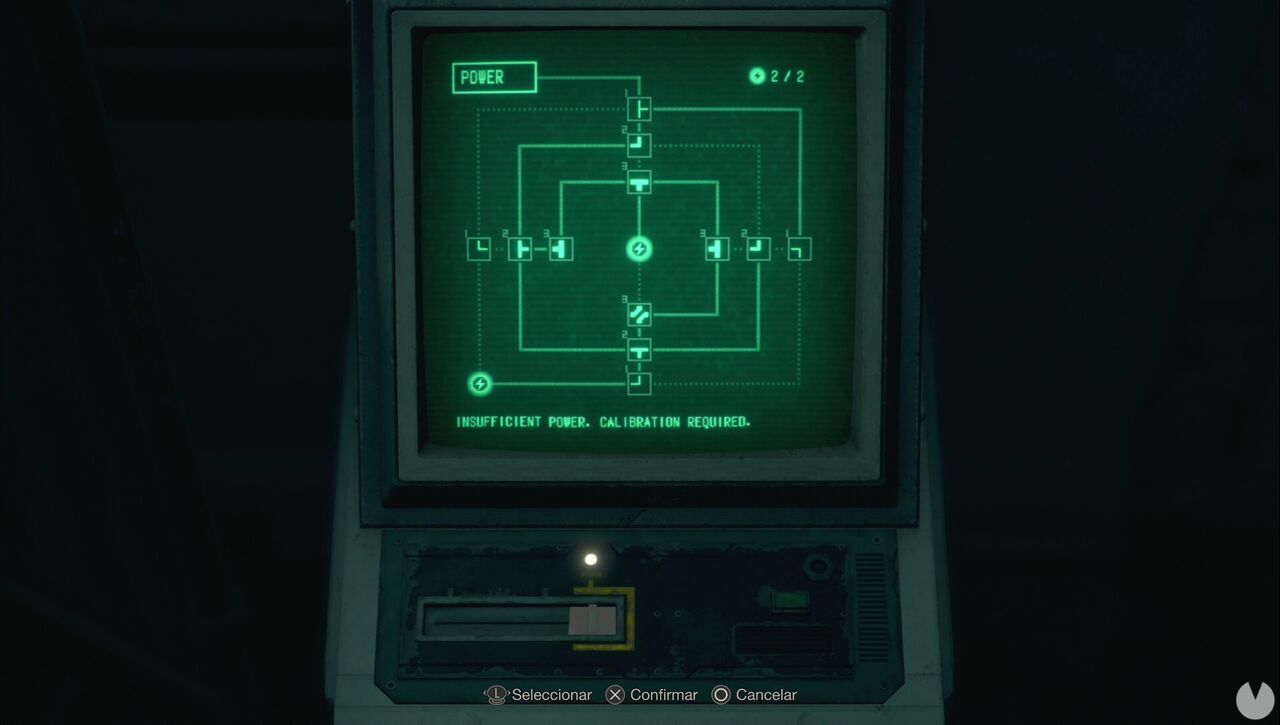
At the far end of the next room, you will find the Level 1 Keycard. When you attempt to leave, the first Regenerador will appear. You do not currently have many options for defeating it, so throw a grenade to cripple it and run. You can now open the southeastern door, where you will find a Gold Ingot.
You must now return to the power control lever, activate it and head to the Freezer. Inside, you will find another power puzzle. The solution is shown below:
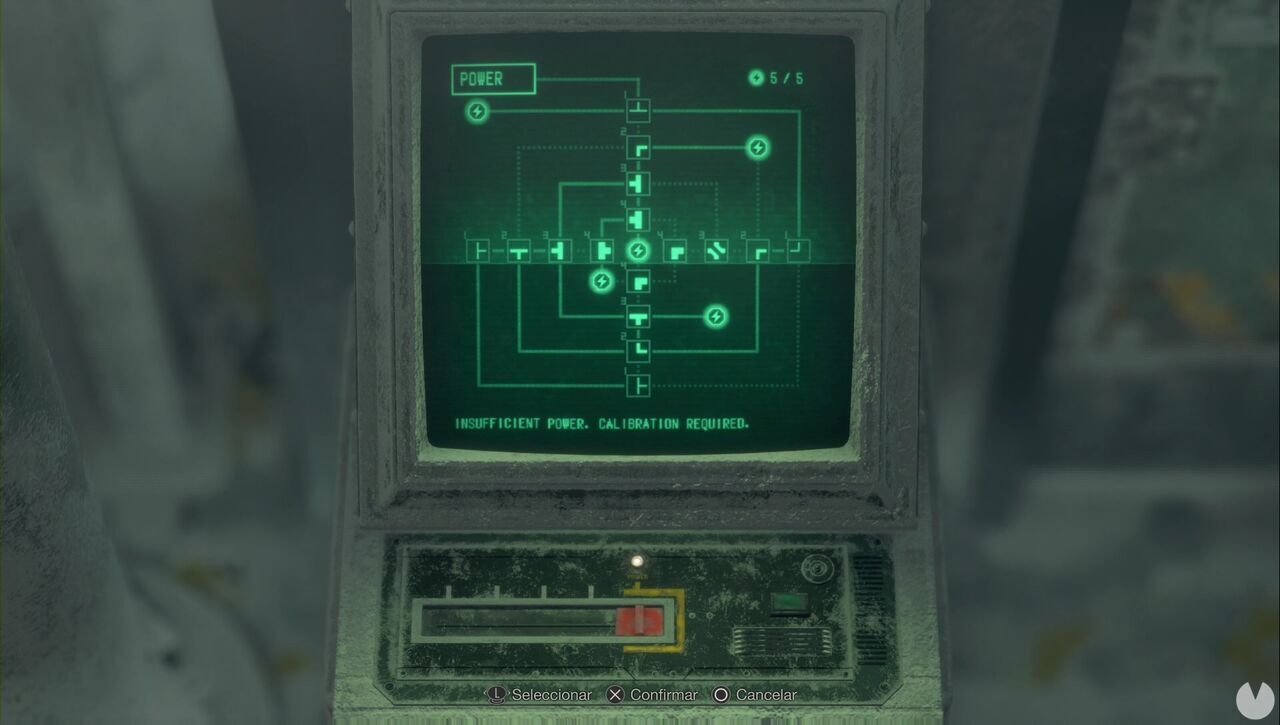
Inside, you will find the LE 5, a submachine gun. You must now insert the keycard into the machine at the back of the room, but bear in mind that another Regenerador will appear and you still cannot do much against it. Blast its legs with the shotgun and wait for the keycard to be ready. Once you have it, head to the southeastern end of the area. Be careful, as the other Regenerador will be waiting along the way. You need to reach the Systems room, where the creatures will stop pursuing you, although there will be regular enemies inside.
Continue to the Incubation Lab. In addition to plenty of resources, you can collect the Biosensor Scope at the far end. Attach it to the rifle or the LE 5 and you will be able to detect the parasites inside the Regeneradors and kill them.
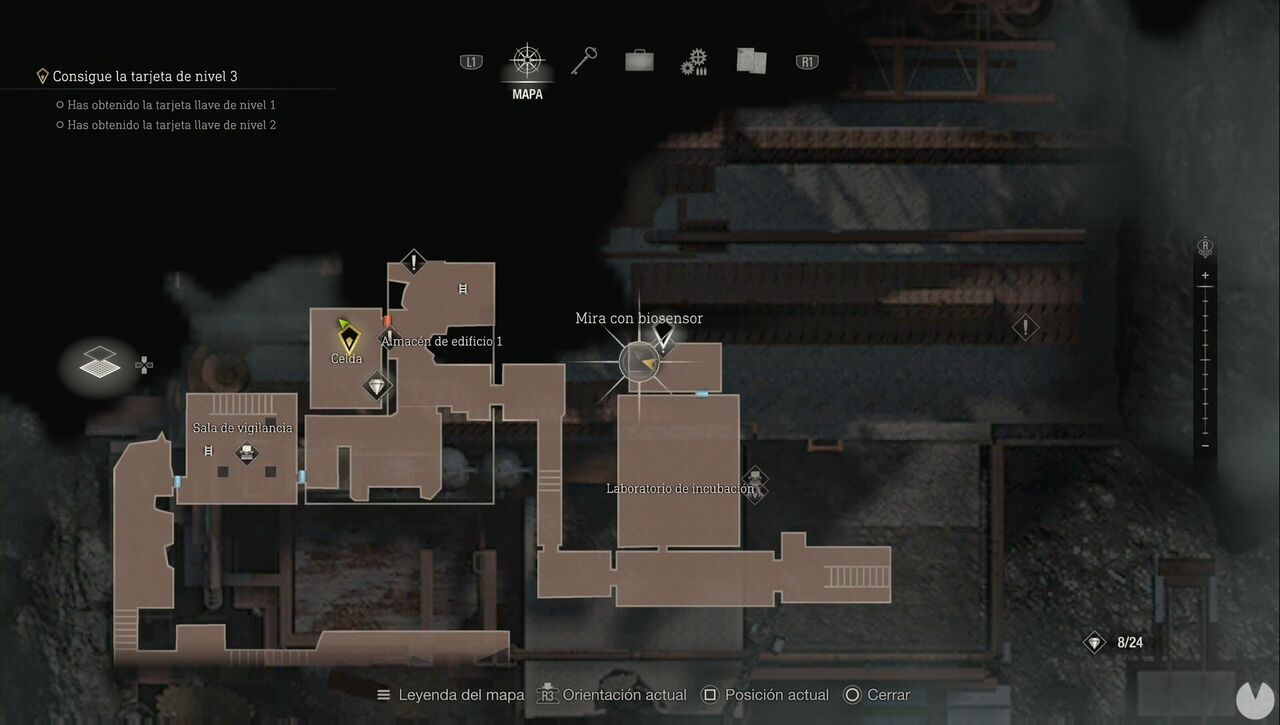
We recommend mounting it on the Stingray because of its penetration power. Aim at the Regeneradors inside the tubes around the room and position yourself so that you can hit at least two parasites with your first shot to make the most of each bullet. In addition to dropping various items that you can sell, one of them will drop the Wrench. You need it to access the Overwriting Terminal in the northern room, insert the keycard and obtain the Level 3 Keycard after eliminating a group of enemies.
Now head west and open a shortcut leading back to Facility 1 Storage. If you wish, before continuing, you can return to the Regenerador area and kill the remaining creatures, as they will drop treasures. Afterwards, head to the objective marker, open the door and proceed to Chapter 14.
