
Resident Evil 4 Remake introduces a series of requests or side missions that weren't in the original game. Each one rewards you with Spinels, which can be exchanged for items in the Merchant's Trade menu.
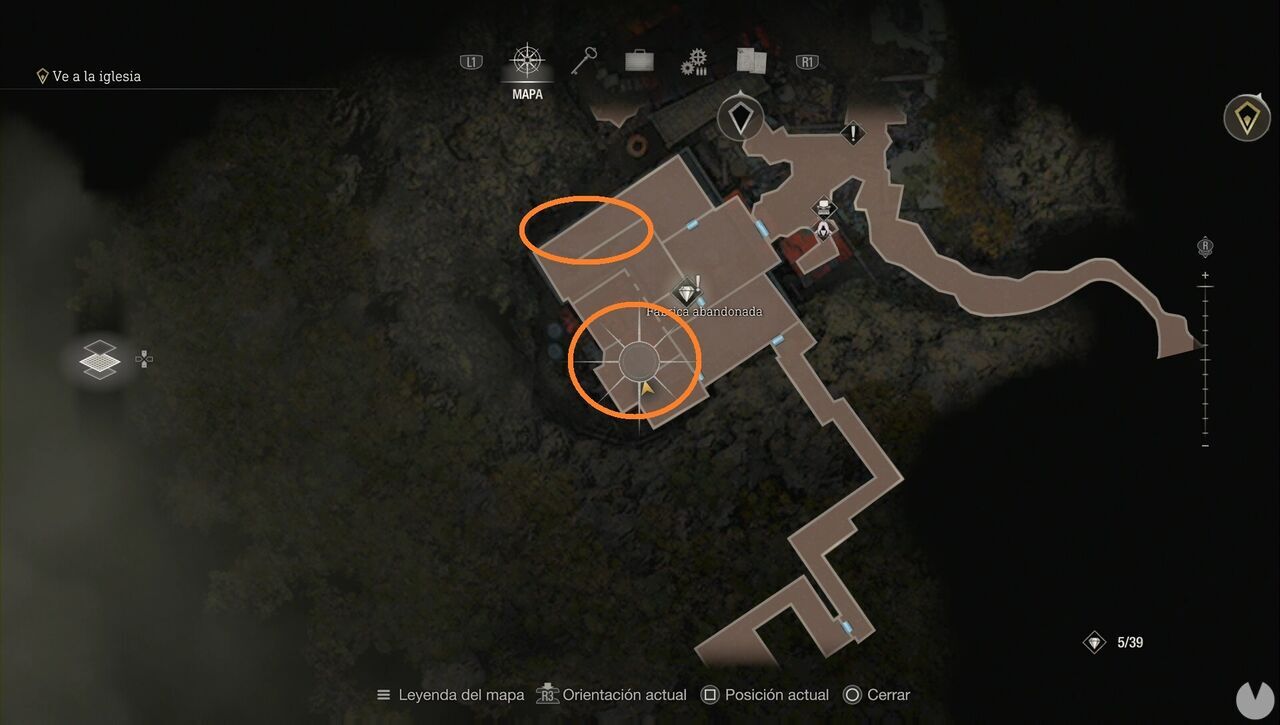
This request is activated by picking up the note next to the Merchant in Chapter 2, just after you first meet him. The rats are in the west-southwest section of the factory. You'll find one in the northern corridor and two in the large room to the southwest.
This mission becomes available during Chapter 3, when you reach the Merchant after passing through the Town Hall. The note is on a wall just before the path leading east.
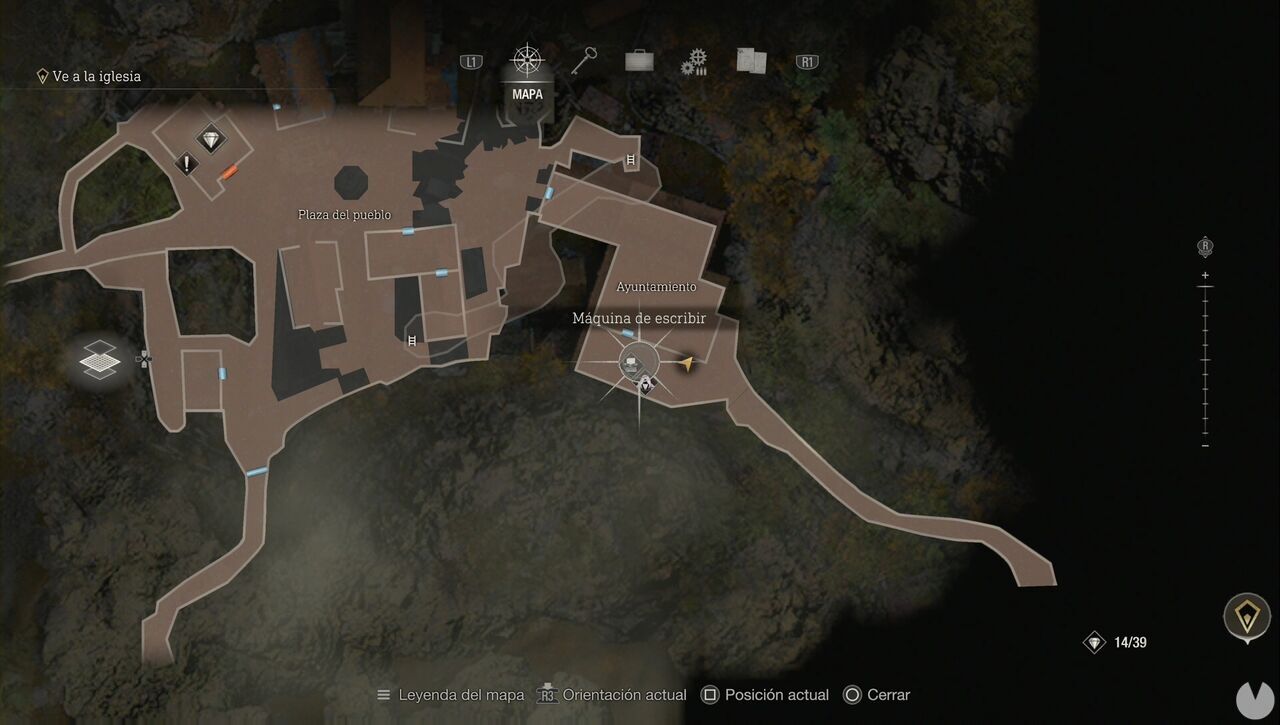
The first viper is inside a crate in the Town Hall, close to the Insignia Key door you entered through. The second viper is on the way to the Lake. You'll find it inside a shed along the path.
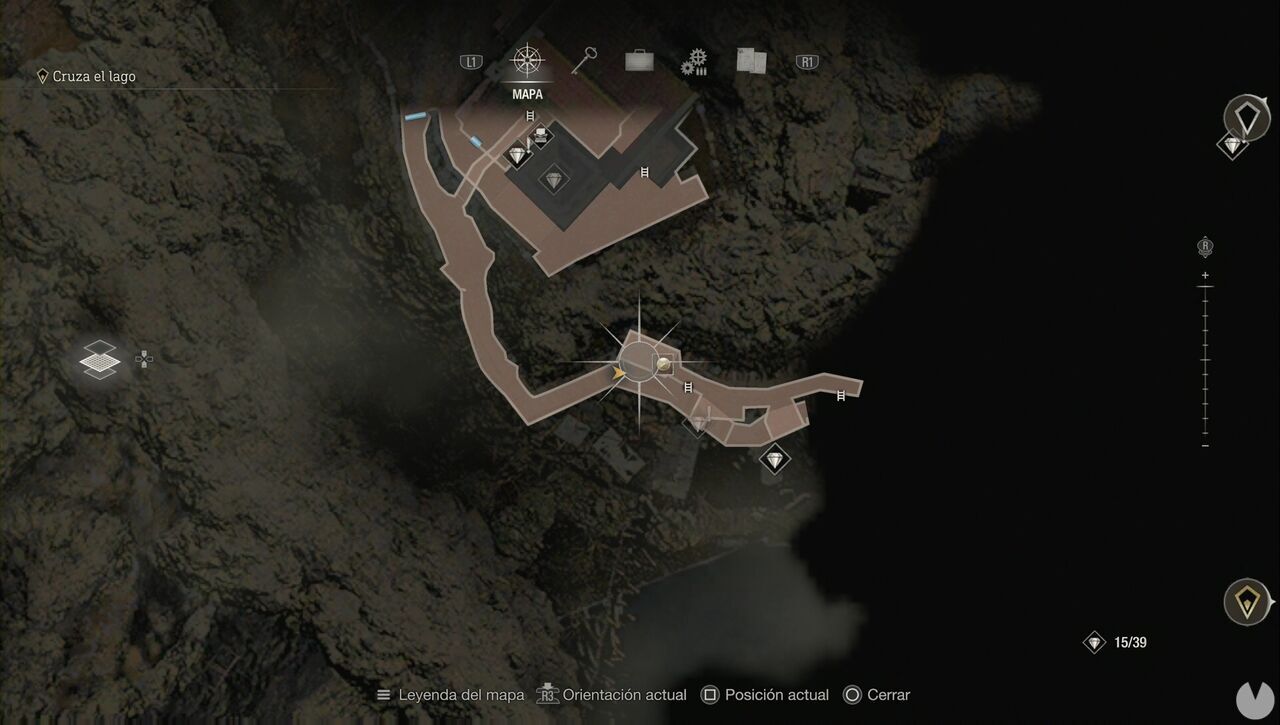
You can find at least one more in the Fish Farm. Simply continue until you reach the Merchant's location in the Quarry, head north and then go west before reaching the Lake. It's hard to miss. Search the water and keep an eye out for the creature moving around.
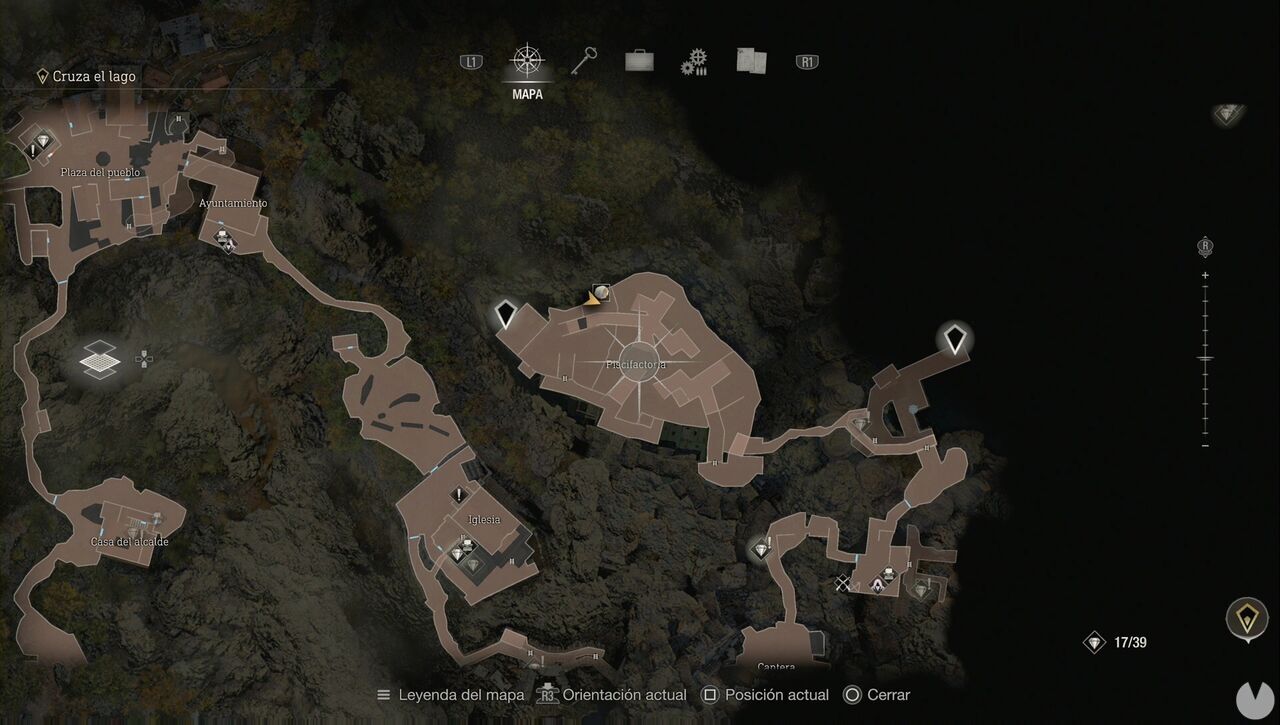
This mission becomes available during Chapter 3. Head to the church and check around the back. You'll find the note that activates the request next to the treasure chest. To complete it, head to the bottom of the hill in the graveyard and look for two adjacent tombstones bearing the same symbol.
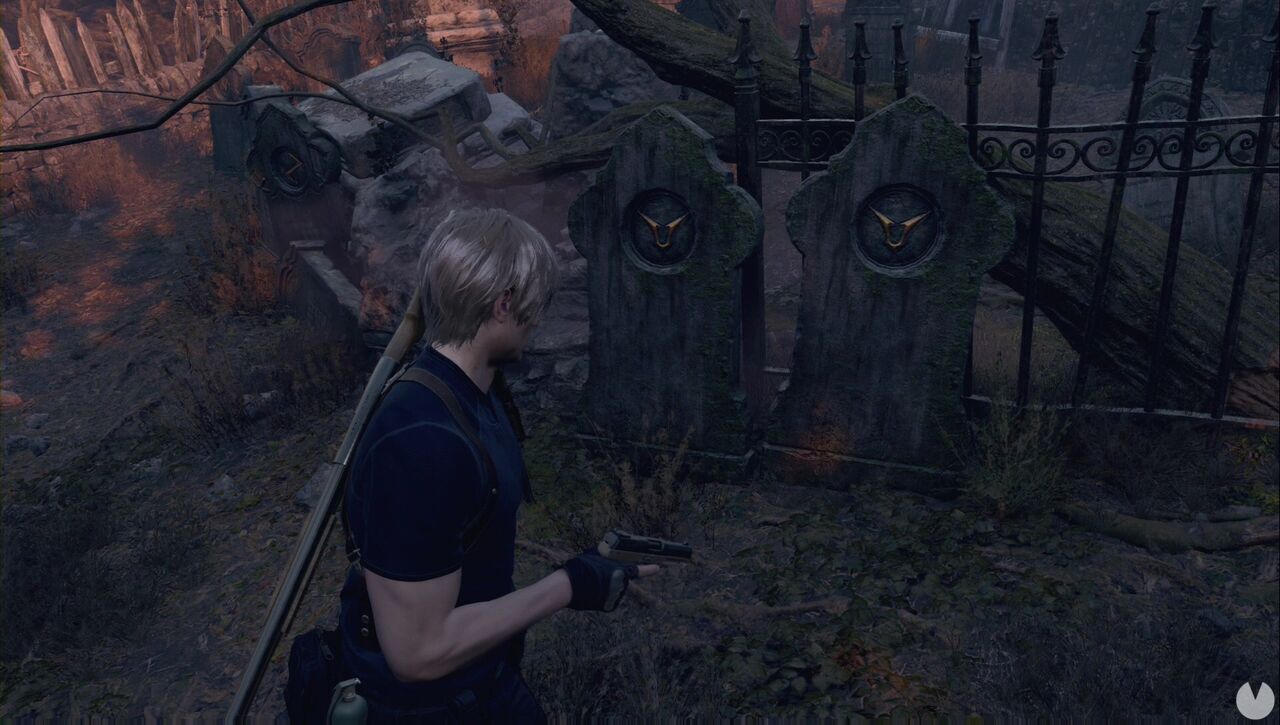
Simply shoot the symbol on both tombstones to destroy them, and you'll be able to claim your reward.
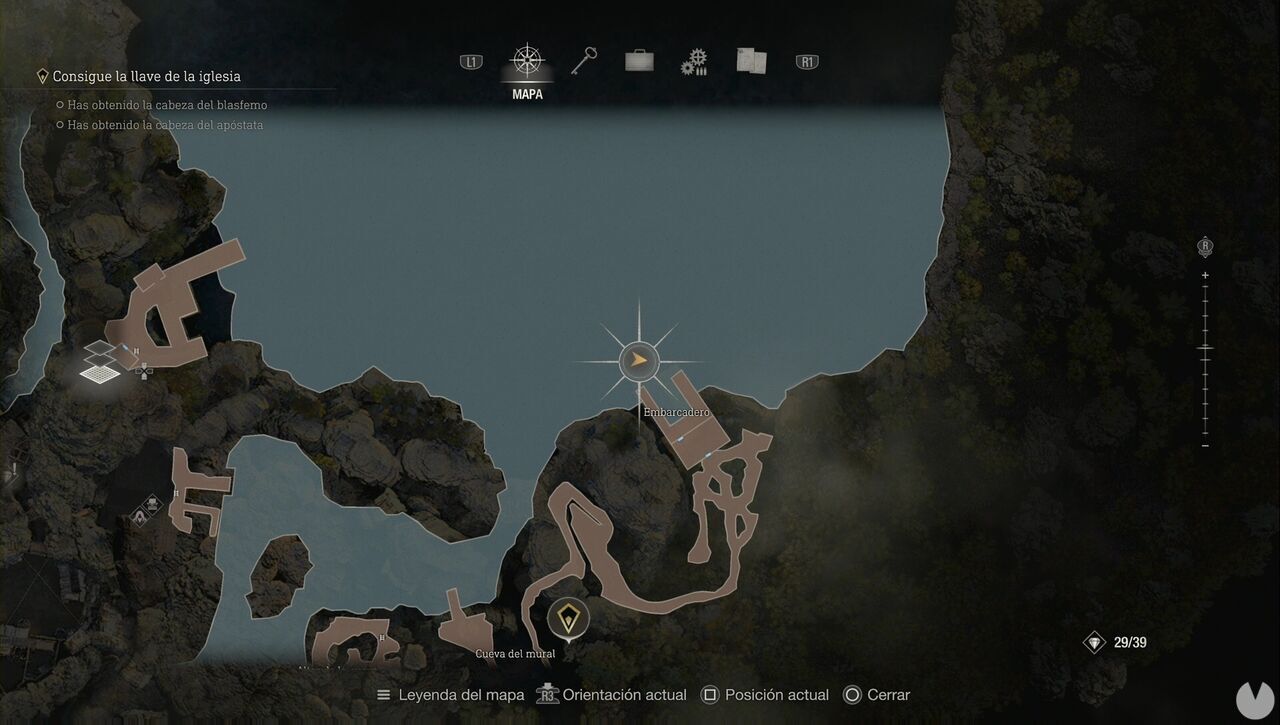
This mission becomes available at the beginning of Chapter 4. You'll find the note next to the dock where the second boat is located.
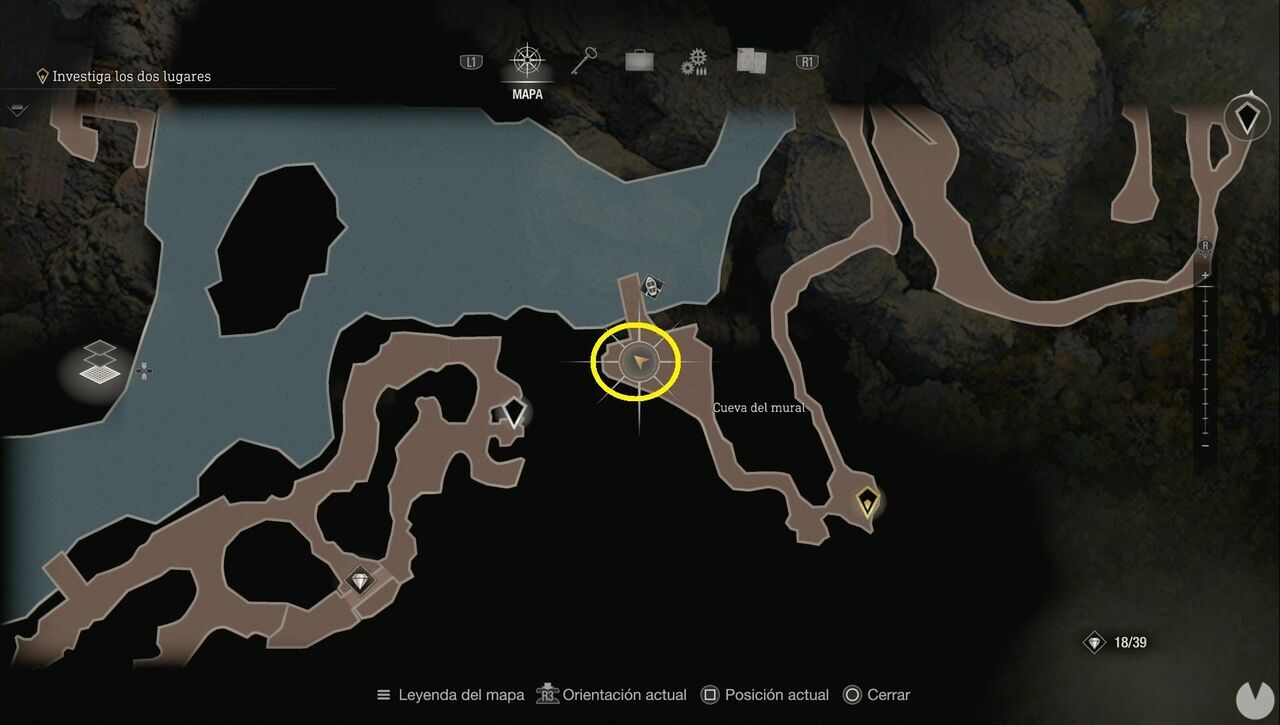
The Gold Chicken Egg can be found in the small land area on the eastern side of the Lake.
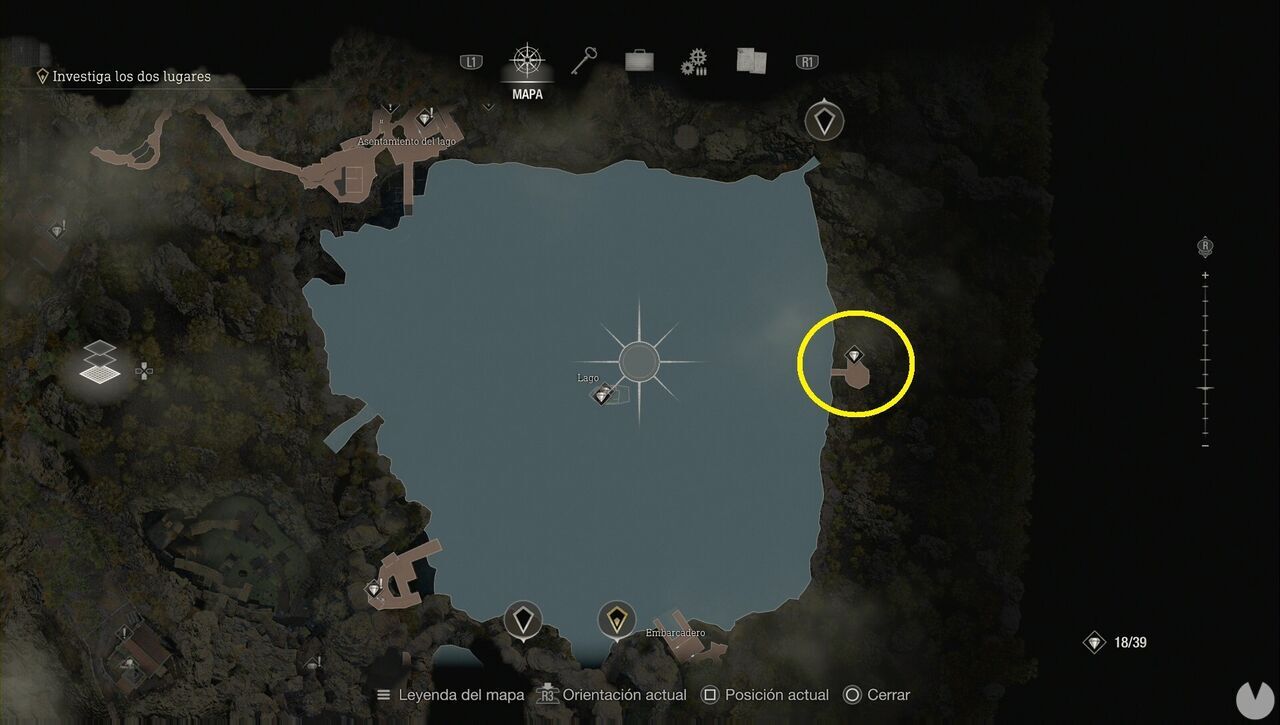
Once you have it, simply sell it to complete the request.
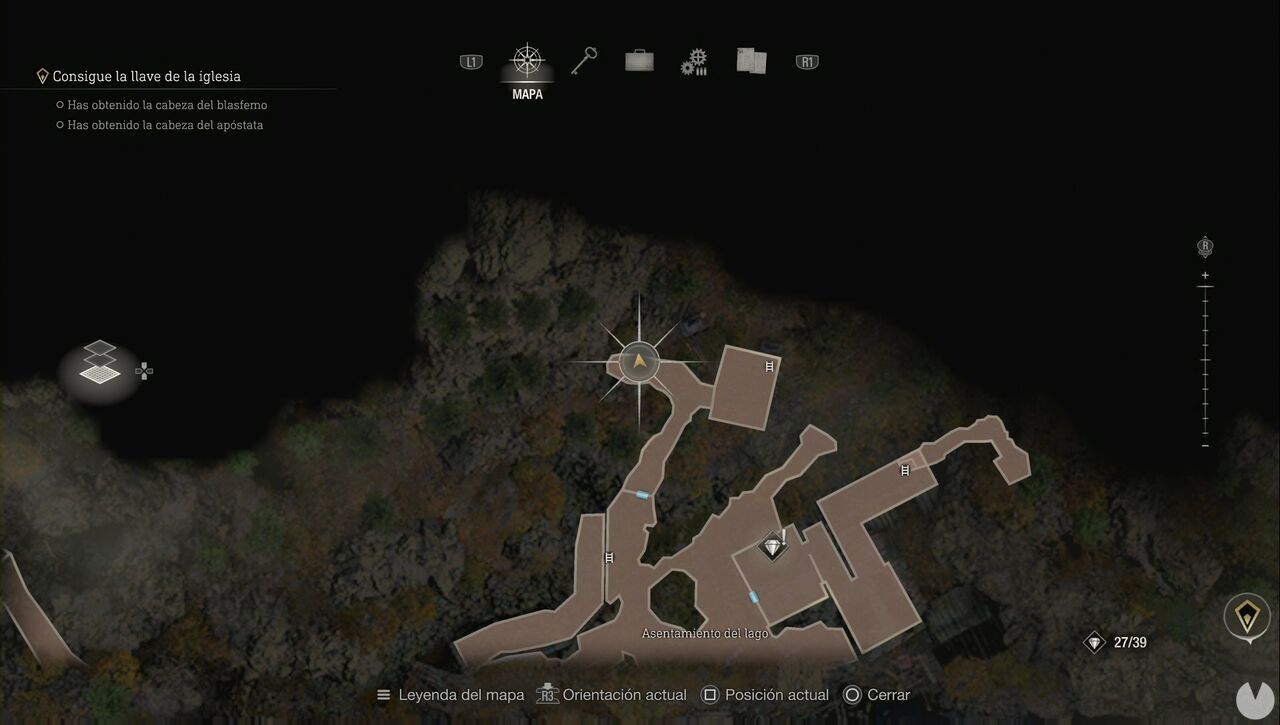
This mission becomes available during Chapter 4. Head to the Lakeside Settlement on the northwestern side of the Lake, disembark and open the northern door using the Insignia Key. Continue to the end and turn left to find the note.
The fish will appear next to the Boat House, in the southeastern part of the Lake. Stay nearby and look for the enormous fish sticking out of the water. It's hard to miss.
This request becomes available in Chapter 5 by collecting the note next to the Merchant beside the Town Hall.
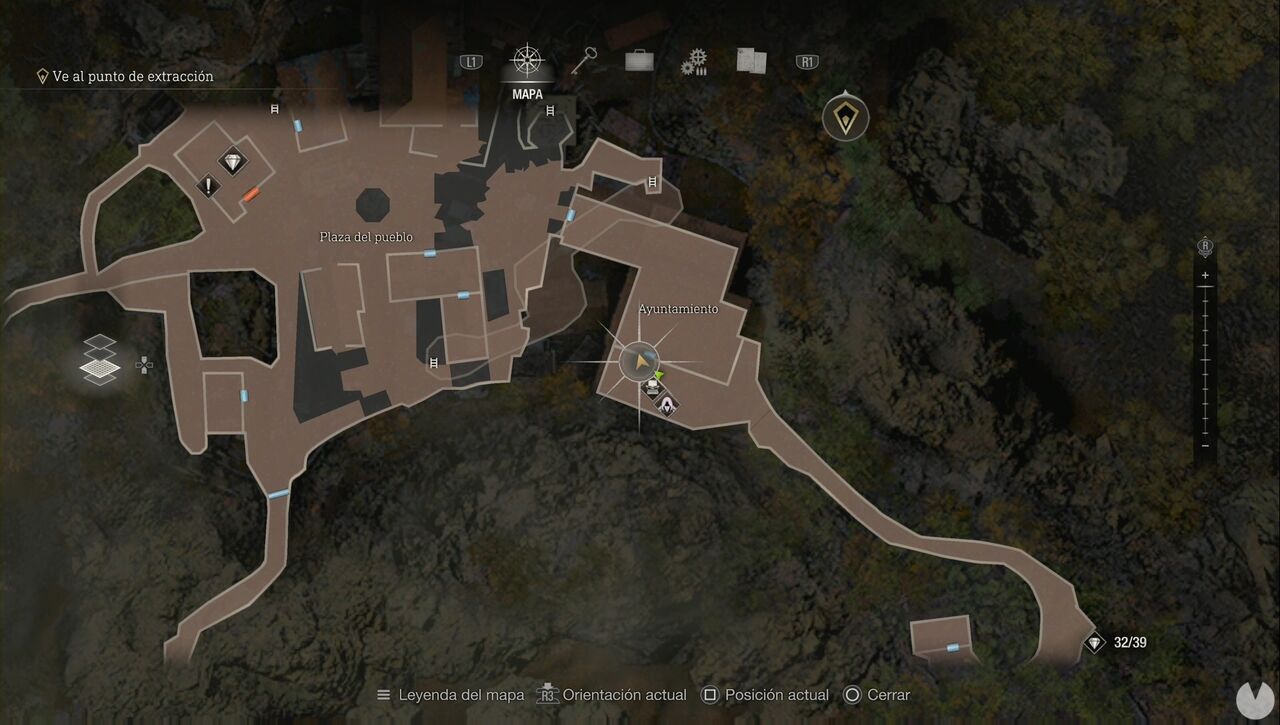
The target is at the Village Chief's Manor, the area south of the Village Square. You'll see a special marker on the map.
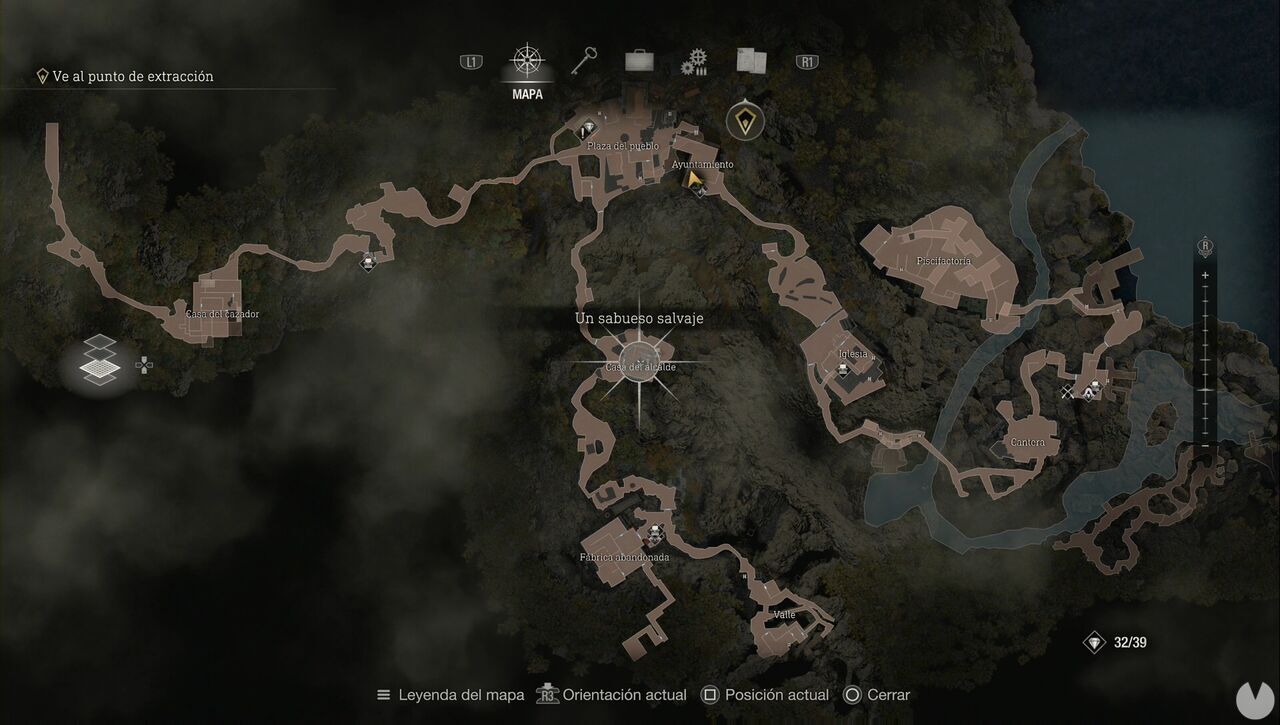
After reaching and inspecting the house, you'll discover that there's no sign of the dog. Check the map and you'll see that the marker has moved to the Village Square. Head there to find the creature, which is a dog carrying a stronger-than-usual Plaga. We recommend shooting it until the tentacle emerges, then using grenades or the shotgun at close range.
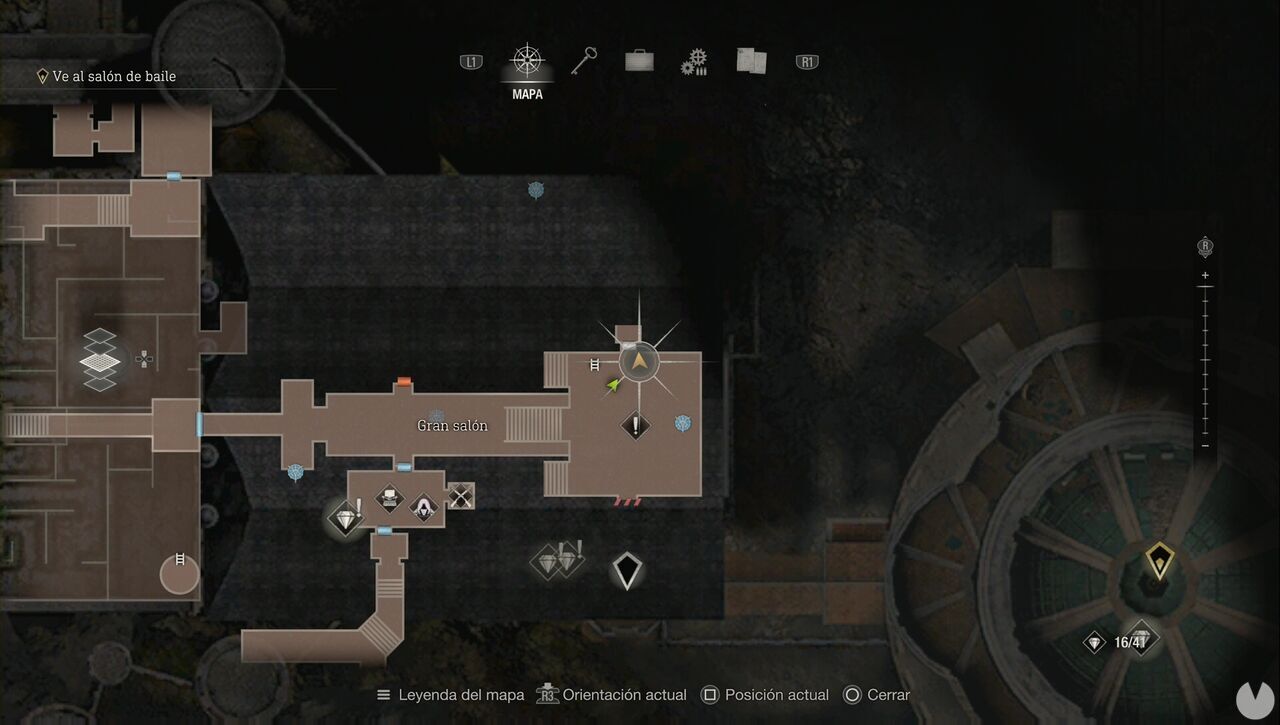
This request becomes available in the Grand Hall, the area you reach during Chapter 9. The note is beside the door north of the incomplete chimera statue, so it's hard to miss.
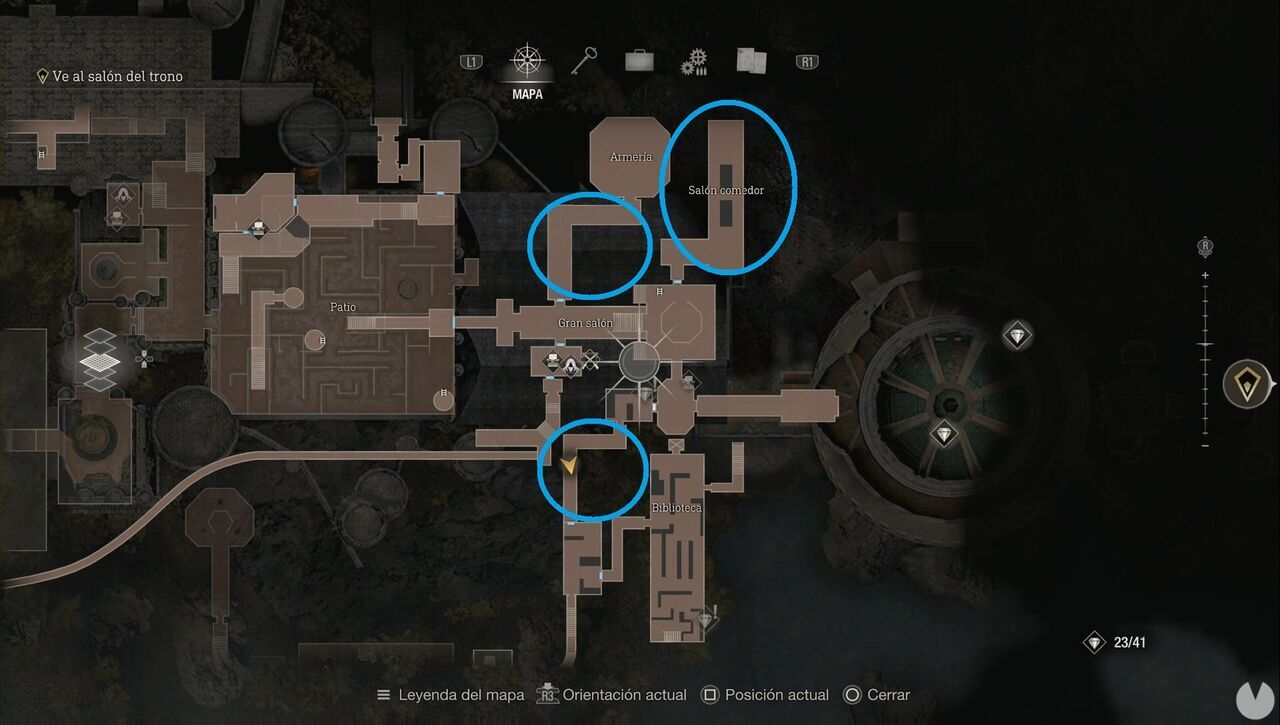
Despite what you might expect, the rats are in different rooms rather than all being in one place. You'll find them in the Dining Hall, in the corridor leading away from the Armory after collecting the Lion Head, near the Cubic Device, and in the Library, which you won't reach until Chapter 10.
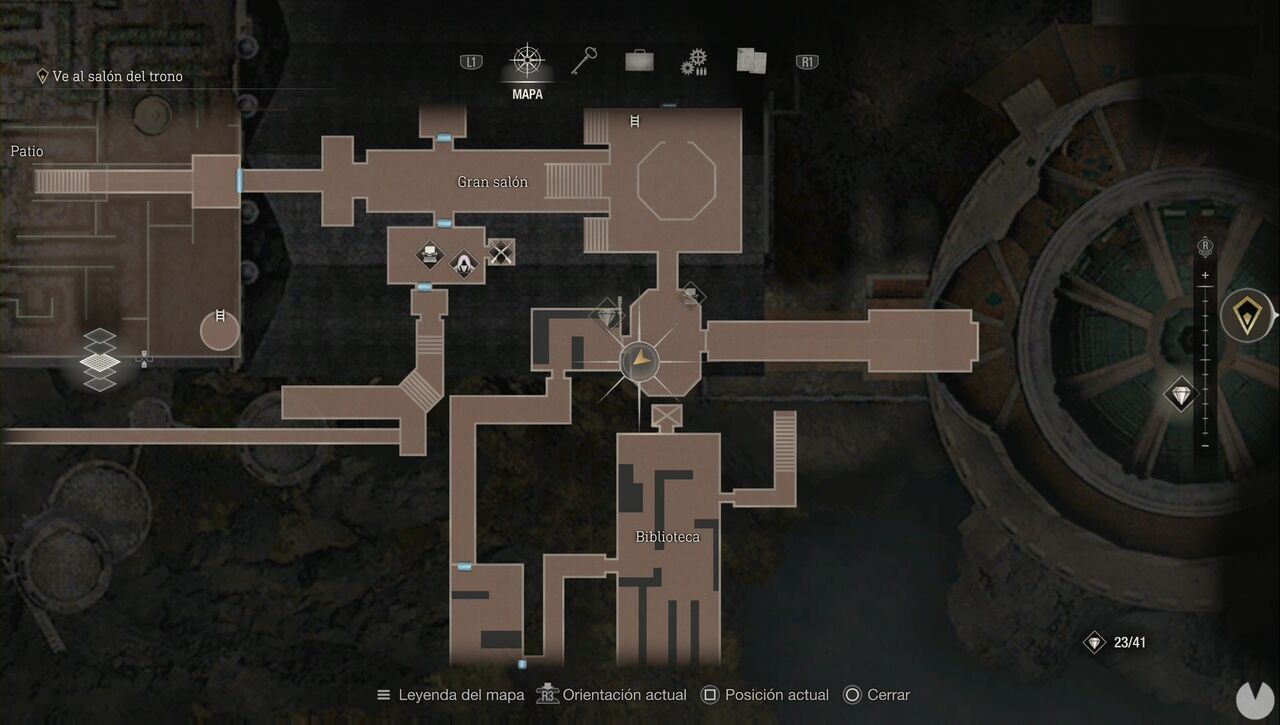
This mission becomes available in Chapter 10, in the first room south of the chimera statue, at the junction.
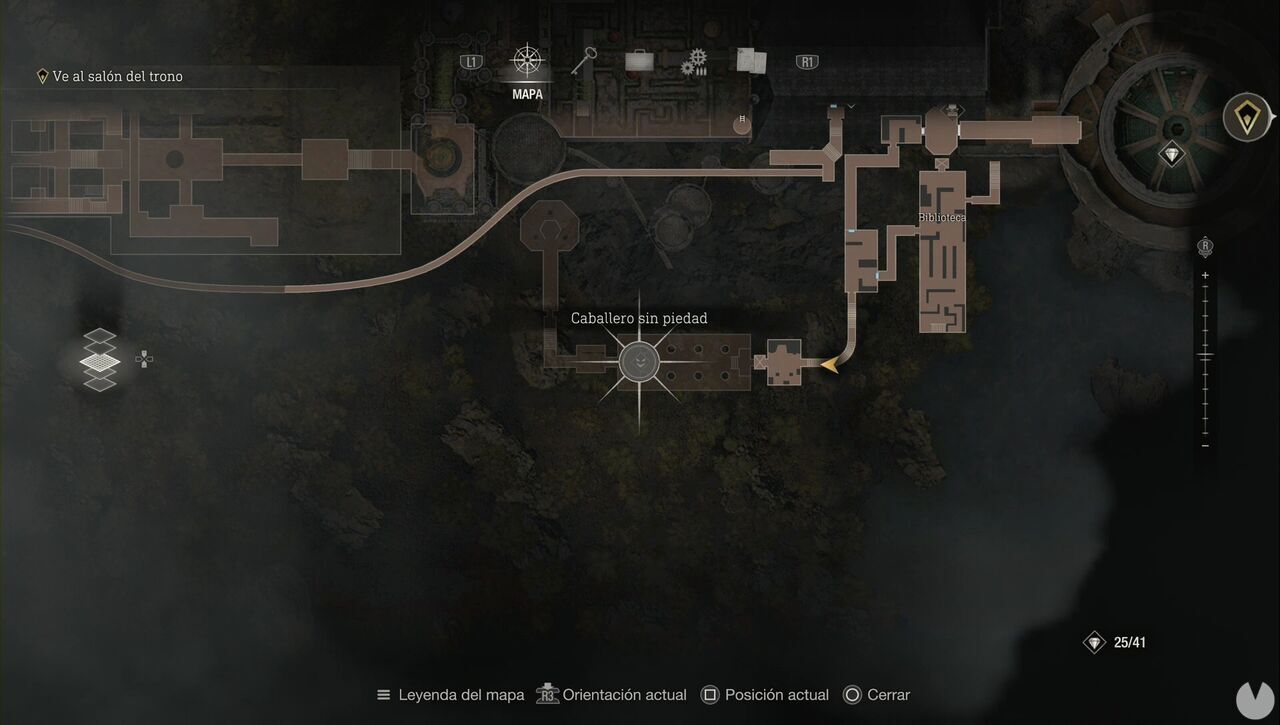
To find the creature, head to the Mausoleum, south of the clock puzzle room. The route is pretty straightforward.
When you arrive, the suit of armor will be accompanied by two regular ones. The golden armor is faster and requires better aim to knock off its helmet, but you can kill it with a flash grenade, just like the others, as soon as the Plaga is exposed. If you're struggling against the golden armor, stay close to one of its sides and circle around with it. It won't be able to hit you.
This mission becomes available during Chapter 11, in a small recess on the east-northeastern side of the Hive area.
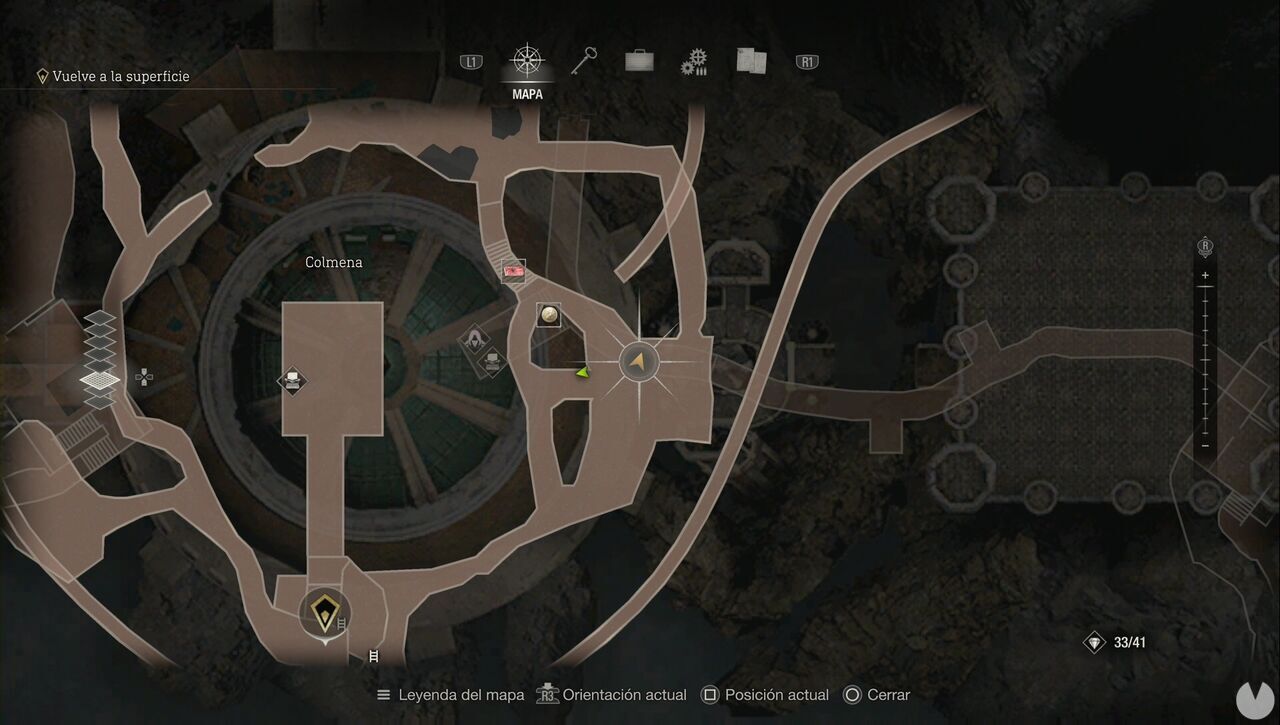
The entrances are the yellow masses visible on the central hive. You can see all of them from the northeastern section. Aim at the brightest, pulsating part to destroy each entrance.
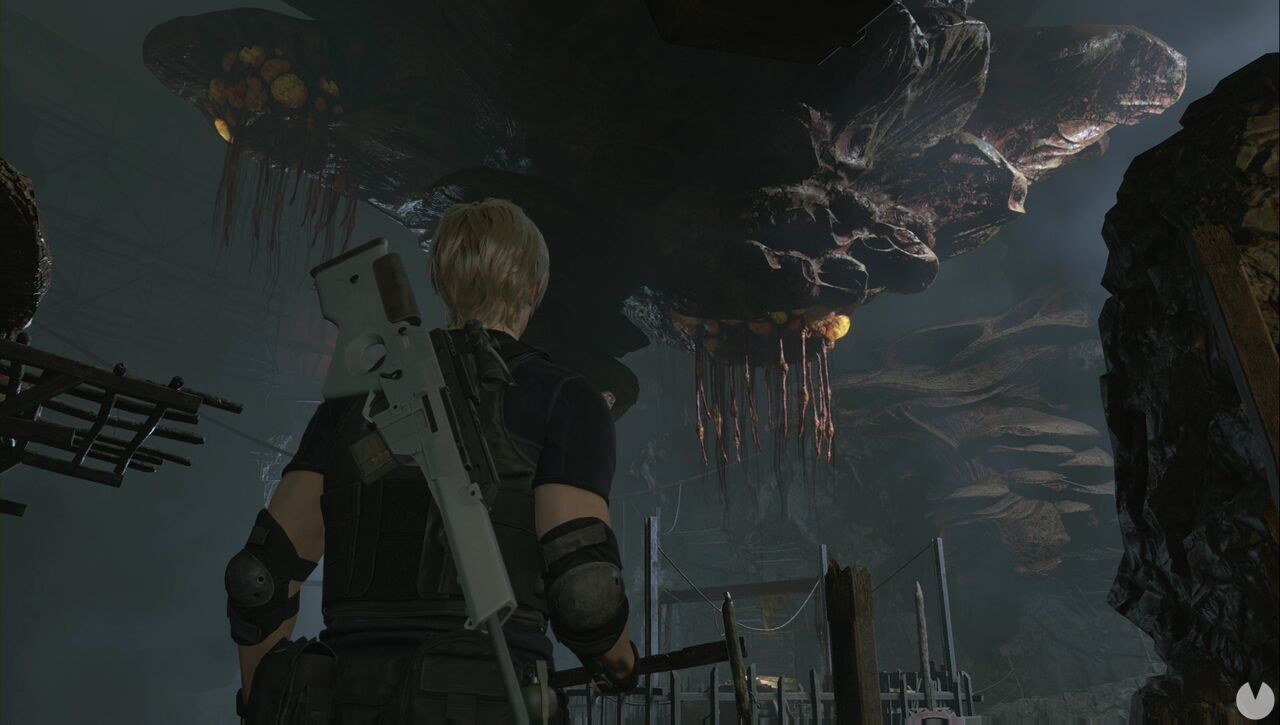
The first three are in plain sight. To find the fourth, simply head to the westernmost edge of the northeastern section, continue past the path leading north and look up.
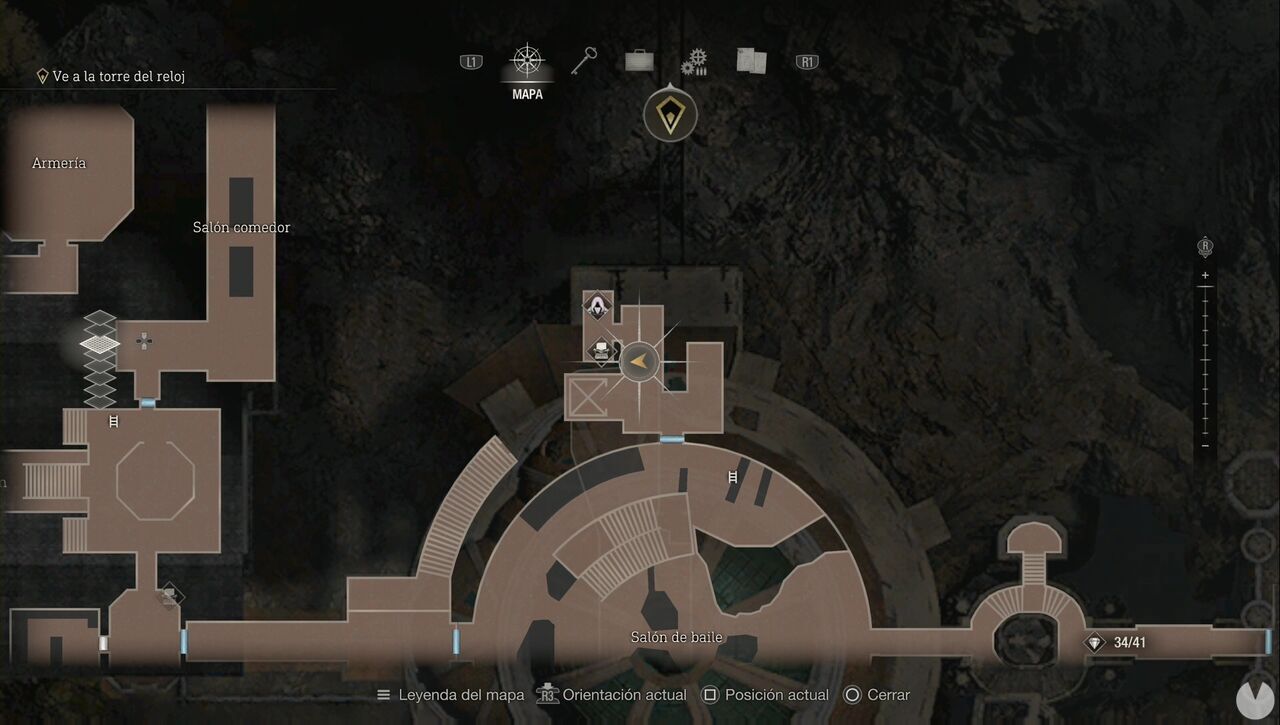
This request becomes available in Chapter 12, in the area beside the Merchant north of the Ballroom.
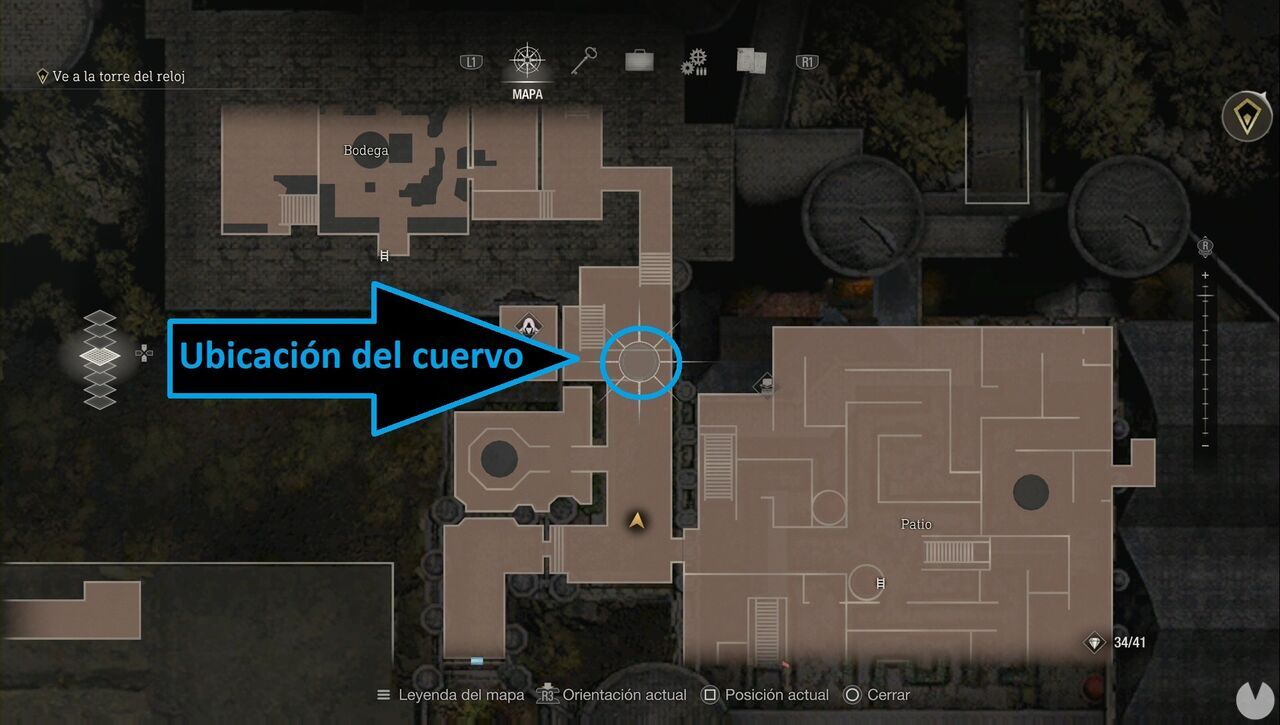
The game is a little misleading because the nest is WEST of the Courtyard, rather than inside the maze itself. Look northeast of the fountain, just east of the Merchant's stall, and you'll see several crows, including one perched on the nest. Shoot the nest to obtain the Scratched Emerald, which doesn't count as Treasure, then sell it to complete the mission.
This request becomes available in Chapter 12, in the same place as the previous one. The objective is in the Throne Room, on the easternmost side of the Castle.
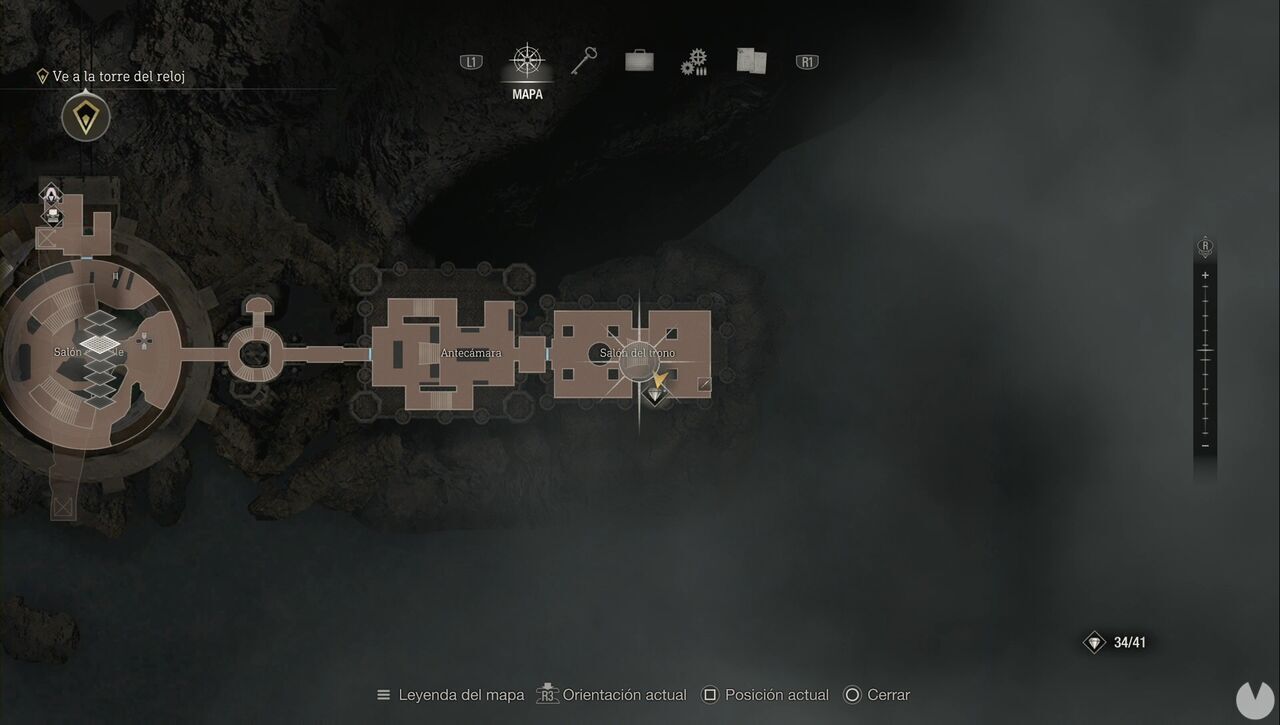
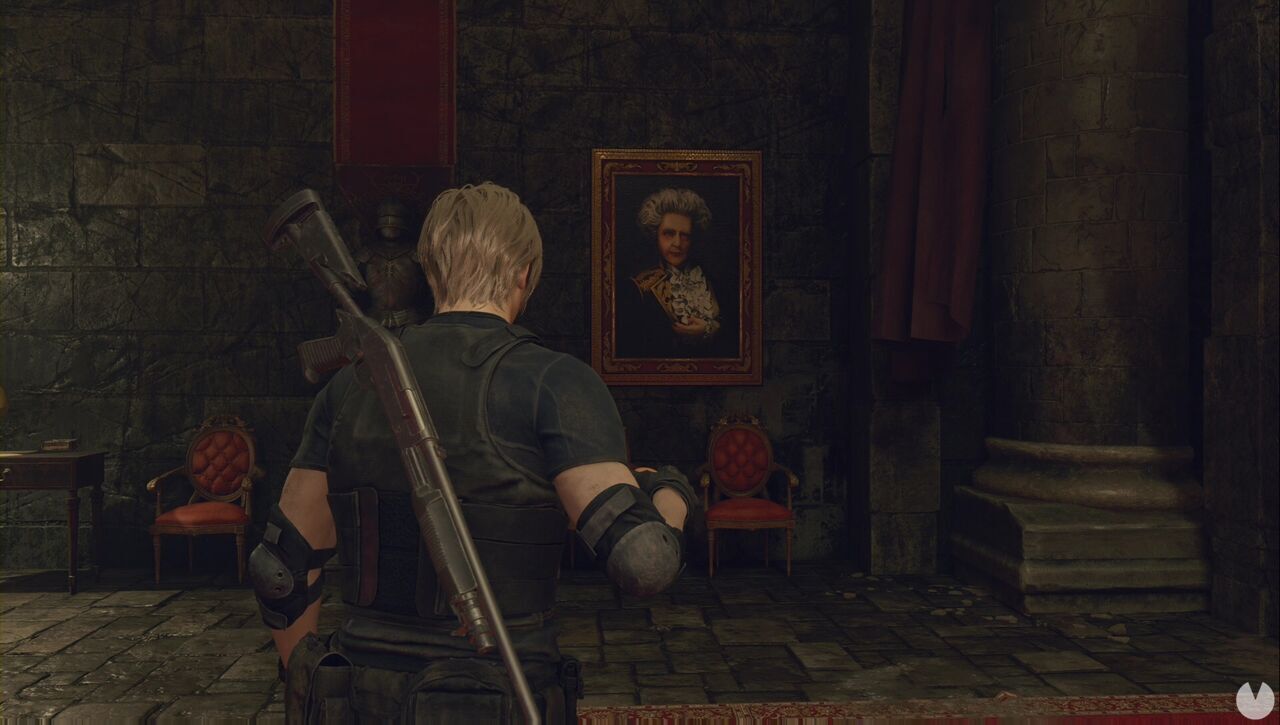
Once there, as well as finding a few resources, you'll see some chickens in front of the throne. Wait for one of them to lay an egg—if you kill them, they won't drop any—and throw it at Ramón's portrait. You can't miss it: he's the short, white-haired fellow whose face you've seen throughout the Castle, and he looks like your aunt after a particularly bad trip to the hairdresser.
This request becomes available during Chapter 14 and can be activated before finding the note. To do so, simply shoot the rats in Waste Disposal:
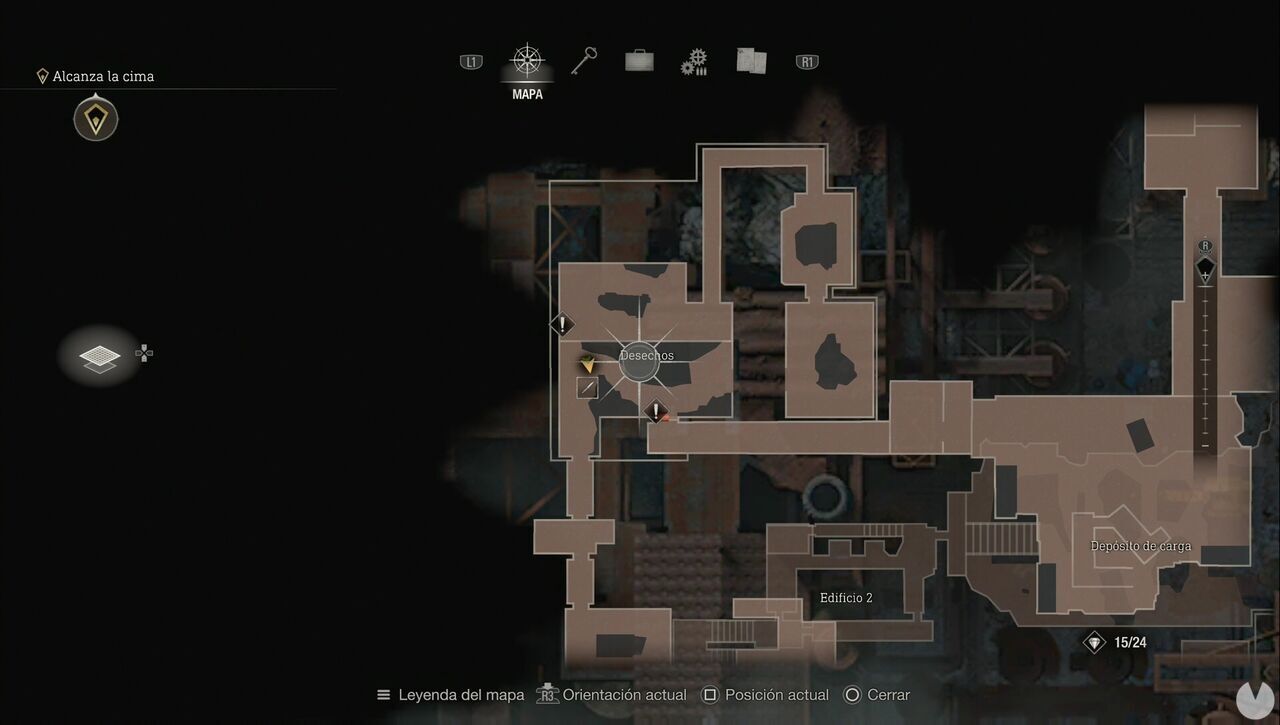
There are two rats in the northern half and two in the southern half.
This request becomes available during Chapter 14, just after the wrecking-ball section. The note will be sitting on a crate after you pass through the wall.
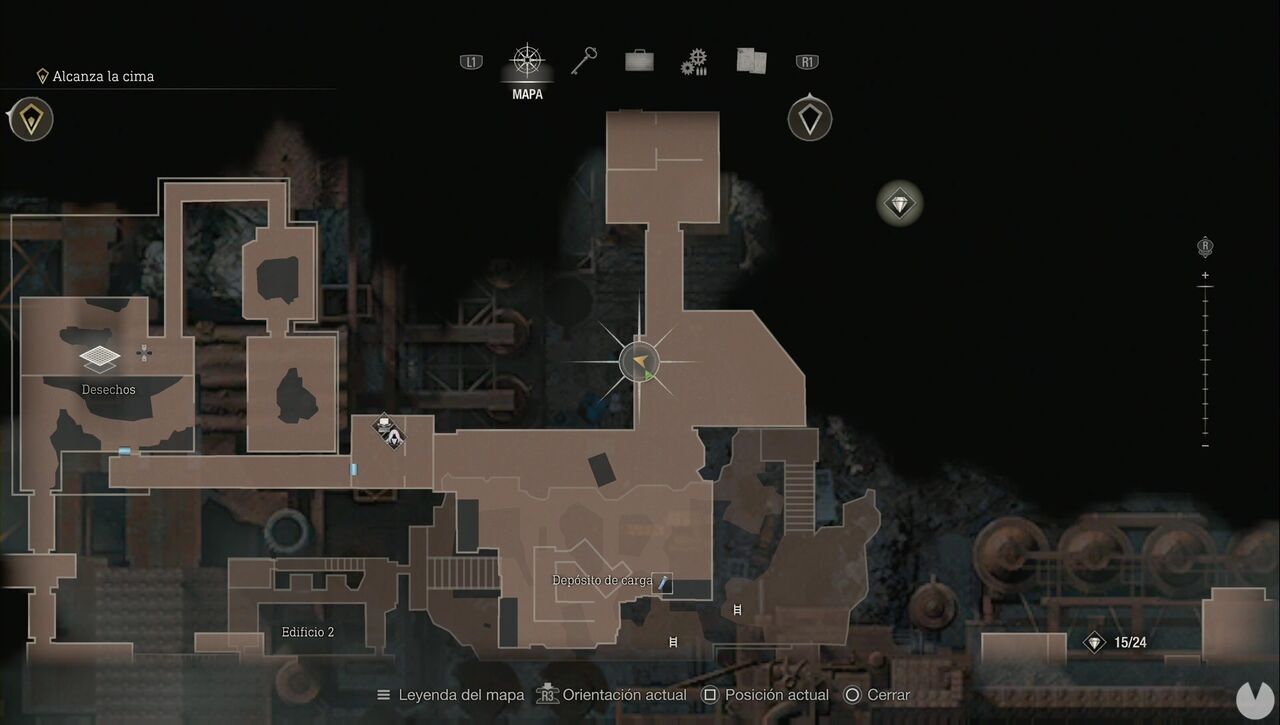
Backtrack to the Incubation Lab, where you collected the Biosensor Scope.
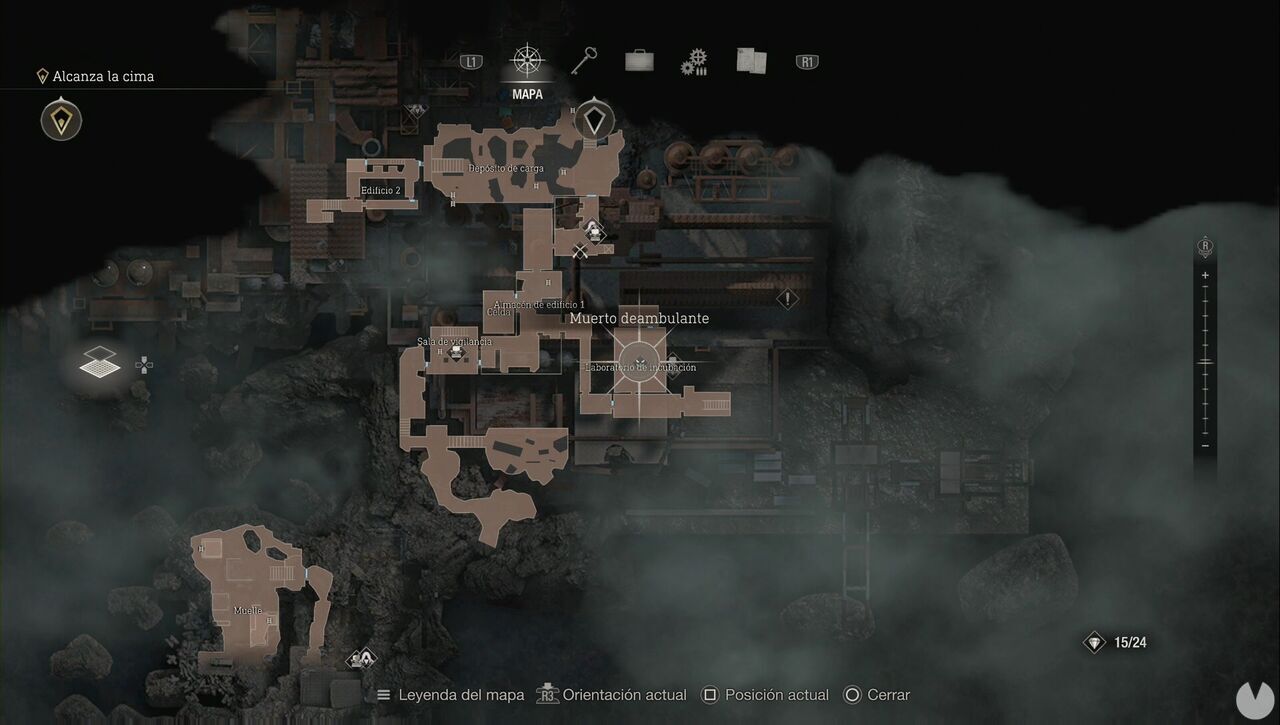
You'll encounter an Iron Maiden that's stronger than usual. You can leave Ashley inside a locker in the western corridor to keep her out of danger.
