
After a brief introduction bringing you up to speed on how Leon went from rookie cop to government agent, the story of Resident Evil 4 Remake begins with Chapter 1, because if it started with the final chapter, it would begin at the end. That would make absolutely no sense, although neither does being out in the middle of nowhere in Spain with the police. When you take control of Leon, you will not have access to many features, including the inventory and map.
Simply follow the only available path. When you reach the barbed wire blocking the way, turn right and continue until you come to an open gate. Well, "open" might not be the right word: it has been ripped off entirely and is lying on the ground.
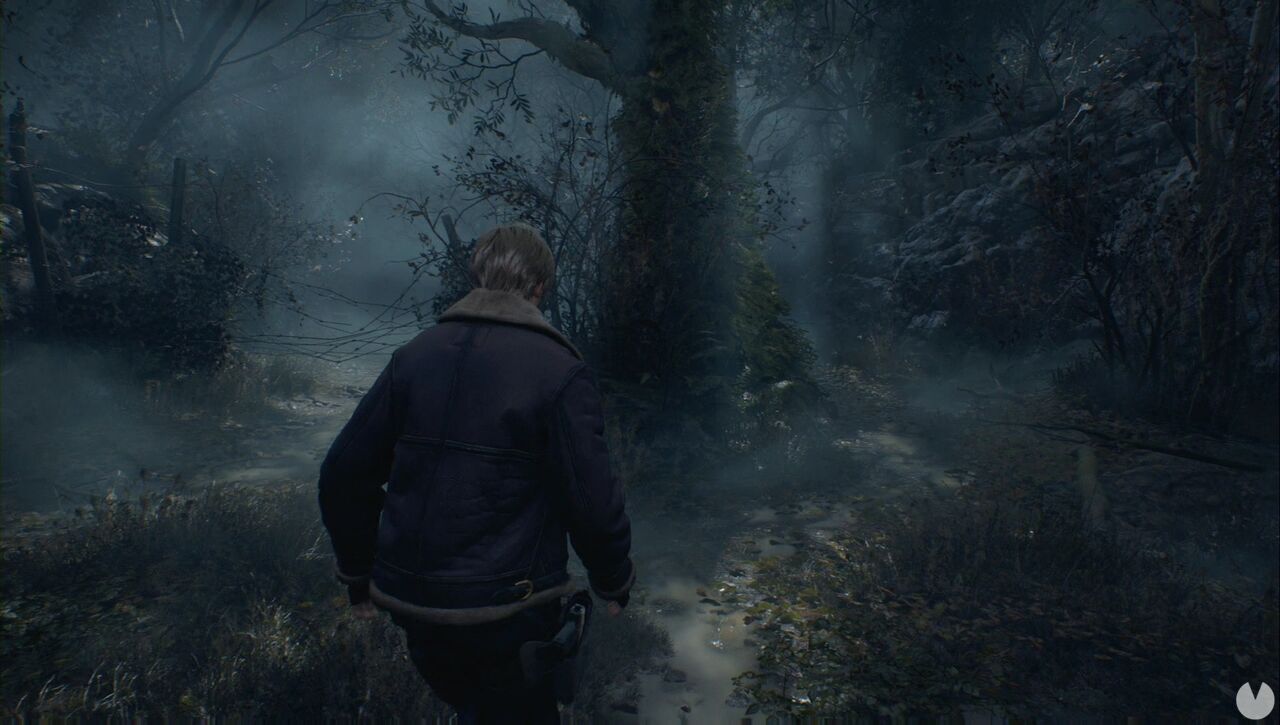
As you continue, you will spot something adorable, probably a local souvenir prepared for tourists. It will not fit in your pocket, so just keep going. SURELY nothing nasty is waiting for you. Shortly after the crouching tutorial, you will reach a house that you need to enter. Once inside, open the door on the right to find a sinister crucifix on the bed.
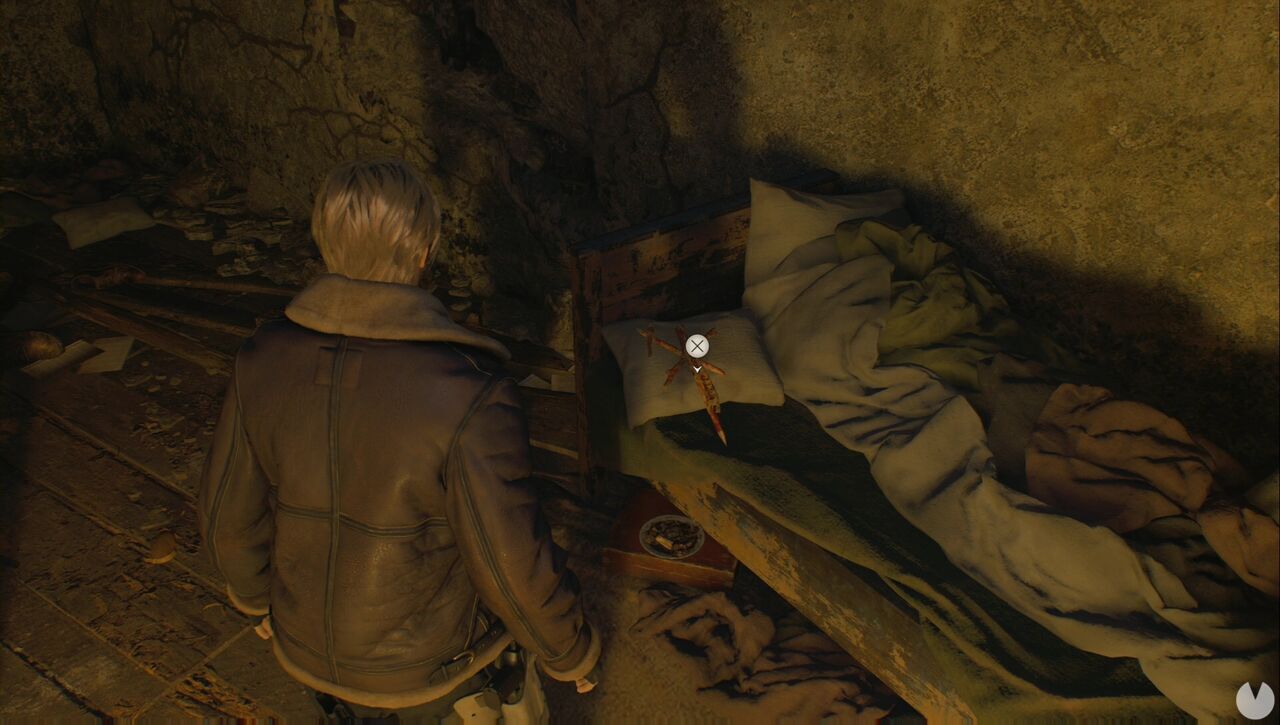
Rotate and examine it to obtain the Crude Charm file. Return to the corridor, take note of the locked door and then go through the other one to trigger a cutscene. You can now access the map, inventory and general options for collected items and other features. Pick up the Hunter's Lodge Key from the body. You can also examine the Officer's Badge on the floor to obtain another file.
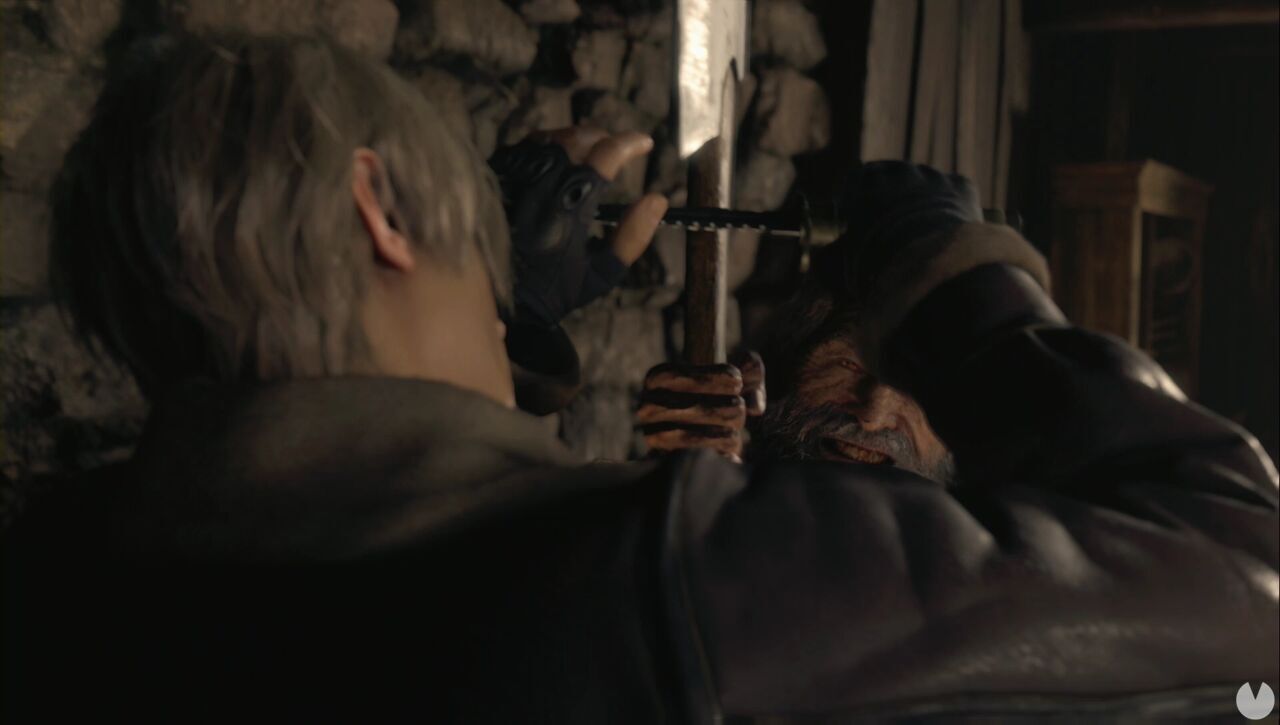
Return to the corridor and use the Hunter's Lodge Key to open the locked door. Follow the only available path until a cutscene plays, after which you will retrace your steps and begin the combat tutorial. Do not worry, as this enemy is stronger than usual. Once you have dealt with it, climb the stairs and head back the way you came. If you crouch, the enemies will not see you. You can either kill them or go through the door they emerged from, in the northwestern corner of the house. From there, you can climb to the upper floor.
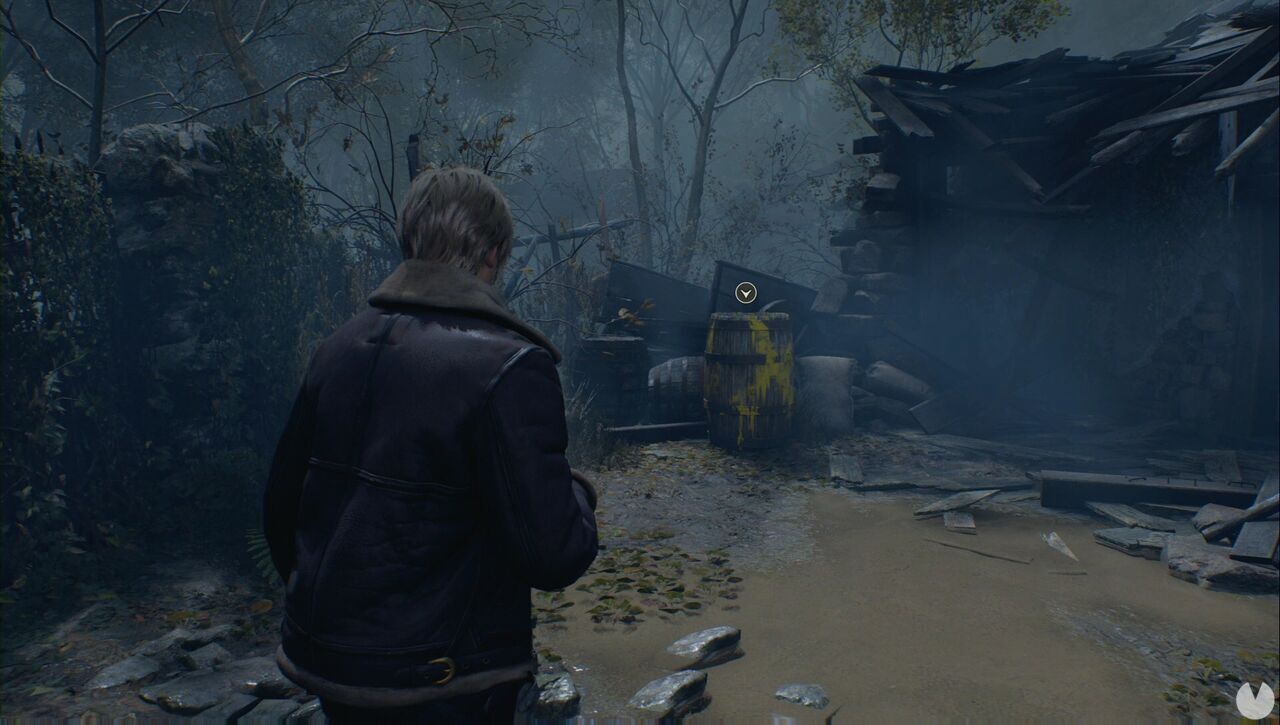
After climbing the stairs and opening the door, you will see another cutscene. Once you cross the bridge, you will spot a crow that you can shoot to obtain a few pesetas. There is also a barrel marked with yellow paint. You can break these barrels by approaching and interacting with them, and they will usually contain resources. Bear in mind that this guide will not show you the location of every common item, only key items and treasures. You will have to fend for yourself in that regard.
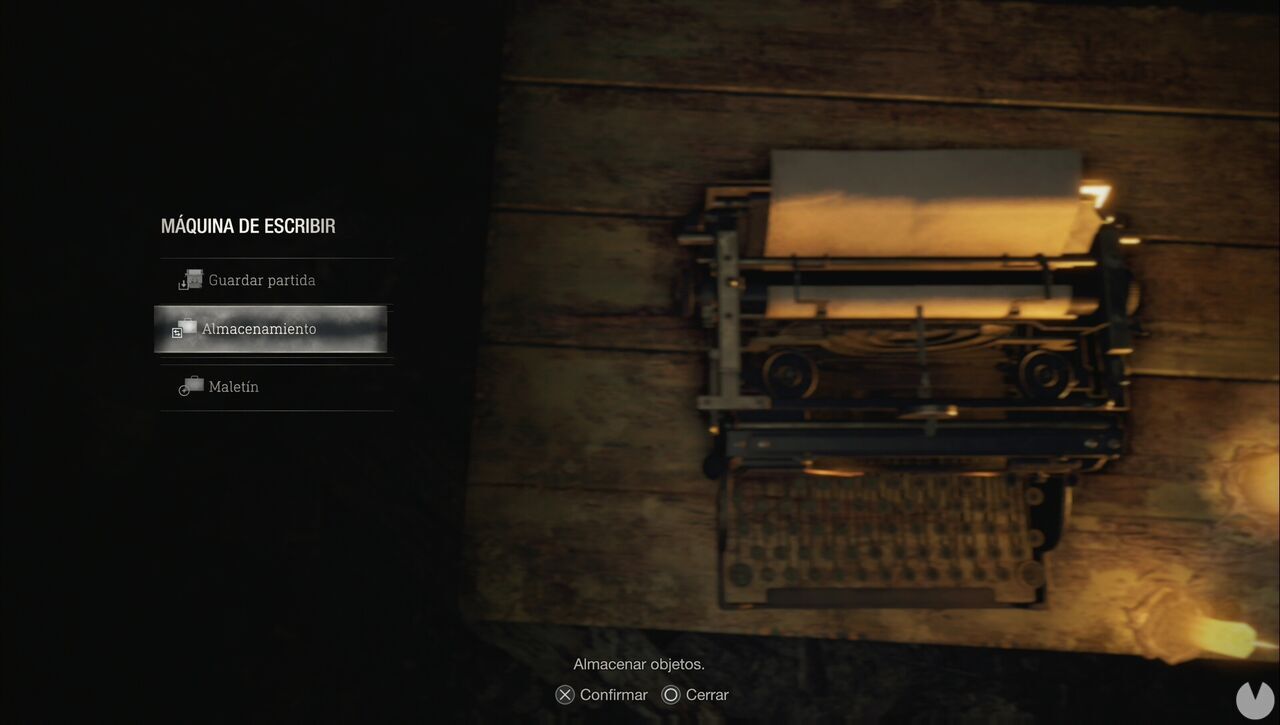
Inside the building, you will find a typewriter. Typewriters allow you to save manually and manage your inventory, as well as change your attaché case and charms, although we will cover those features later.
Continue along the only available path and be careful when you reach the abandoned vehicle. Immediately after passing it, two enemies will attack you, including one from behind. This is a good time to explain that if an enemy begins convulsing on the ground, you should approach and finish them off by pressing the button indicated on-screen. Otherwise, they will get back up like the enemy in the basement and become much more difficult to kill.
Keep an eye on the ground as you move forwards, since there are several bear traps. After passing through the gate, you will witness a disturbing scene. It seems the local police are not especially efficient.
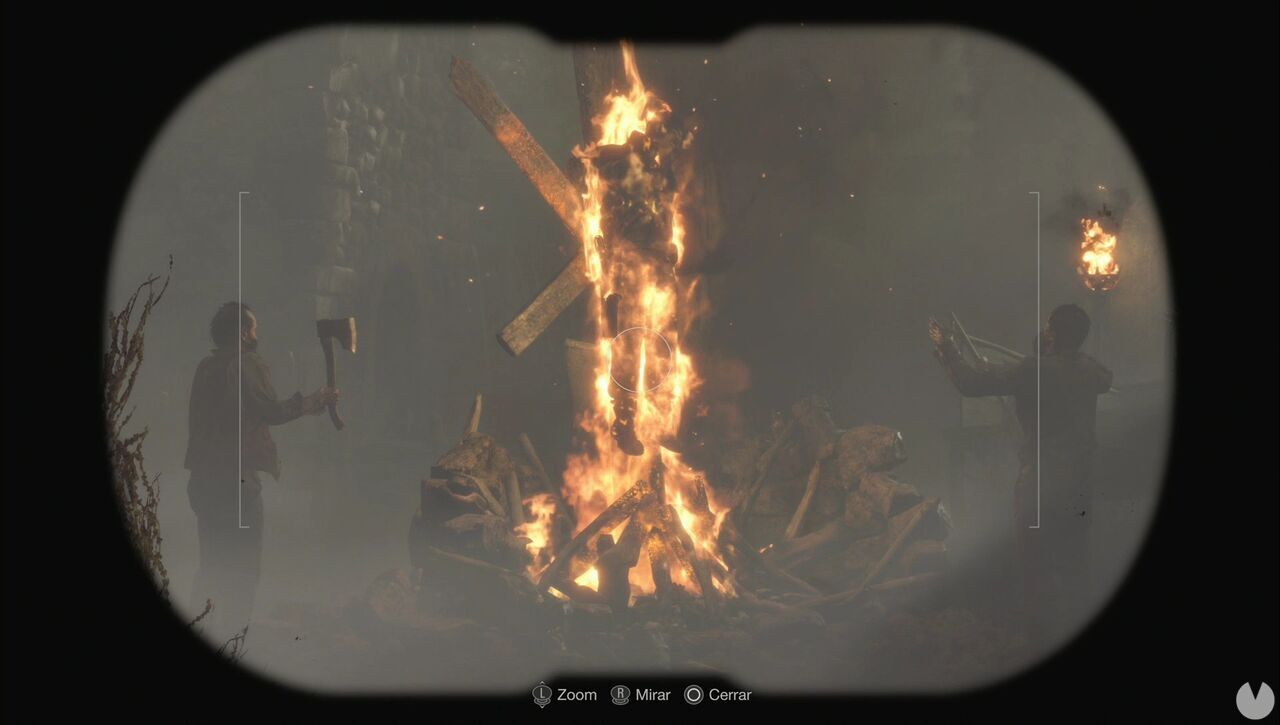
If you head left from the binoculars, you can avoid detection for a while and search some of the houses for items. If you crouch and approach an enemy without being spotted, you can perform a stealth kill with your knife, although bear in mind that it will eventually break. No matter what you do, you will eventually be discovered and forced to fight.
After a few minutes, a cutscene will play and Dr. Salvador, the chainsaw-wielding enemy, will appear.
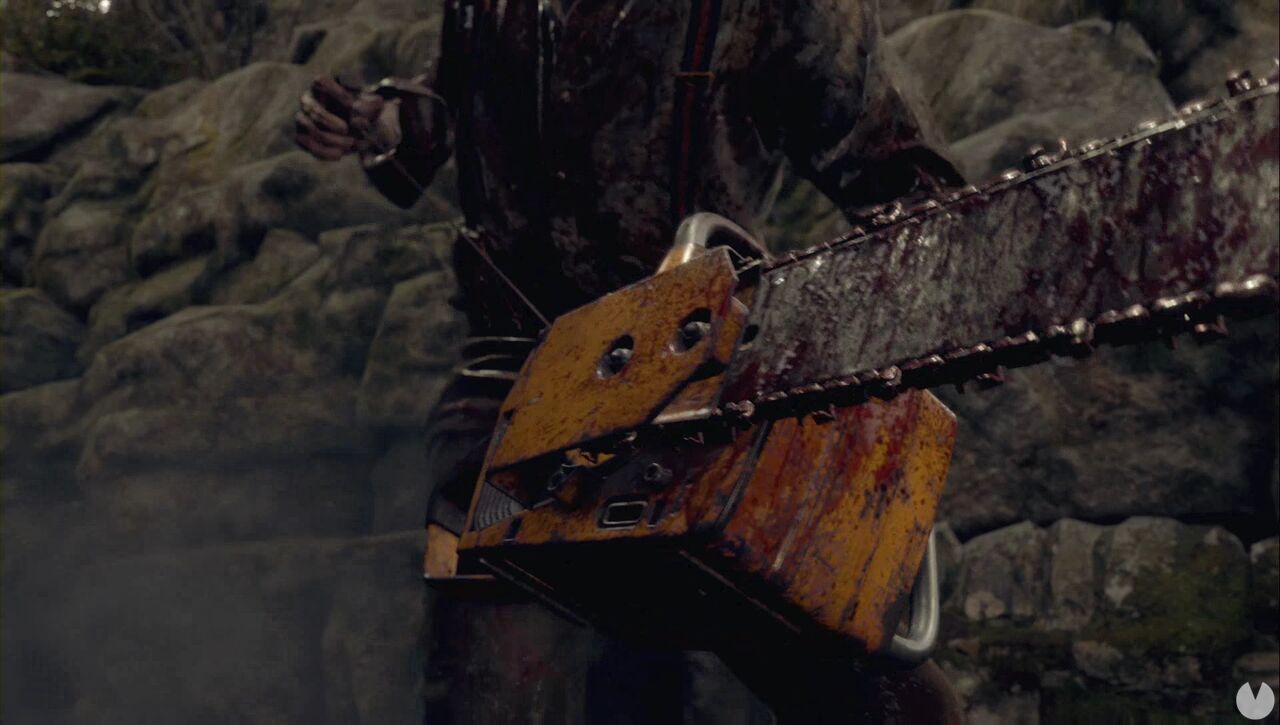
Here is a useful tip: the gate through which you entered is the perfect place to keep the villagers at bay. You will have some room to retreat, land headshots and take advantage of melee follow-ups to kill as many enemies as possible without too much trouble. Simply survive until the enemies leave. Now that the area is clear, you can search the entire Village for items and find a locked drawer that you cannot open yet. Be careful, as there is still at least one hidden enemy who will attack when you enter a house.
In the northernmost house, just before the northeastern path, you can climb to the upper floor, where you will find the Shotgun hanging on a wall.
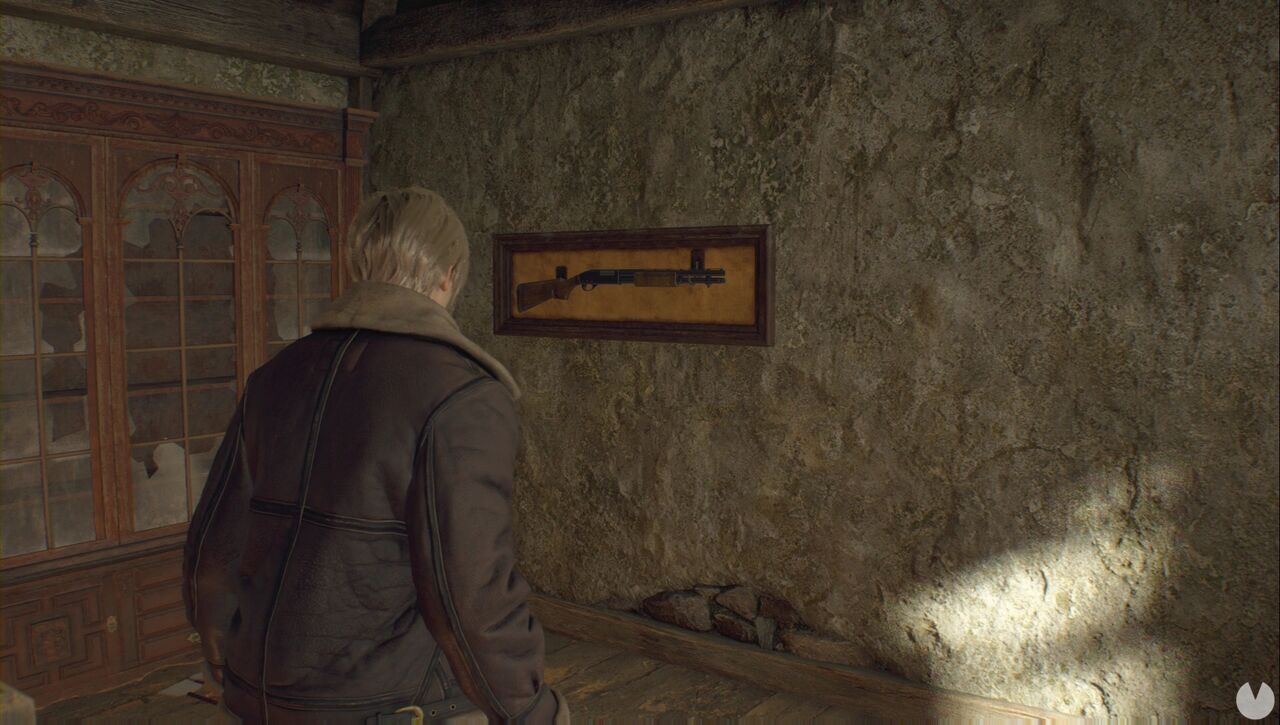
You cannot open the chest or enter the western house yet. The route forwards is along the northeastern path, so head that way once you have finished collecting items. There will be more enemies at the Farm. In addition to killing them and gathering supplies, make sure you destroy the Farm's five Blue Medallions. You will be able to claim a reward for doing so later.
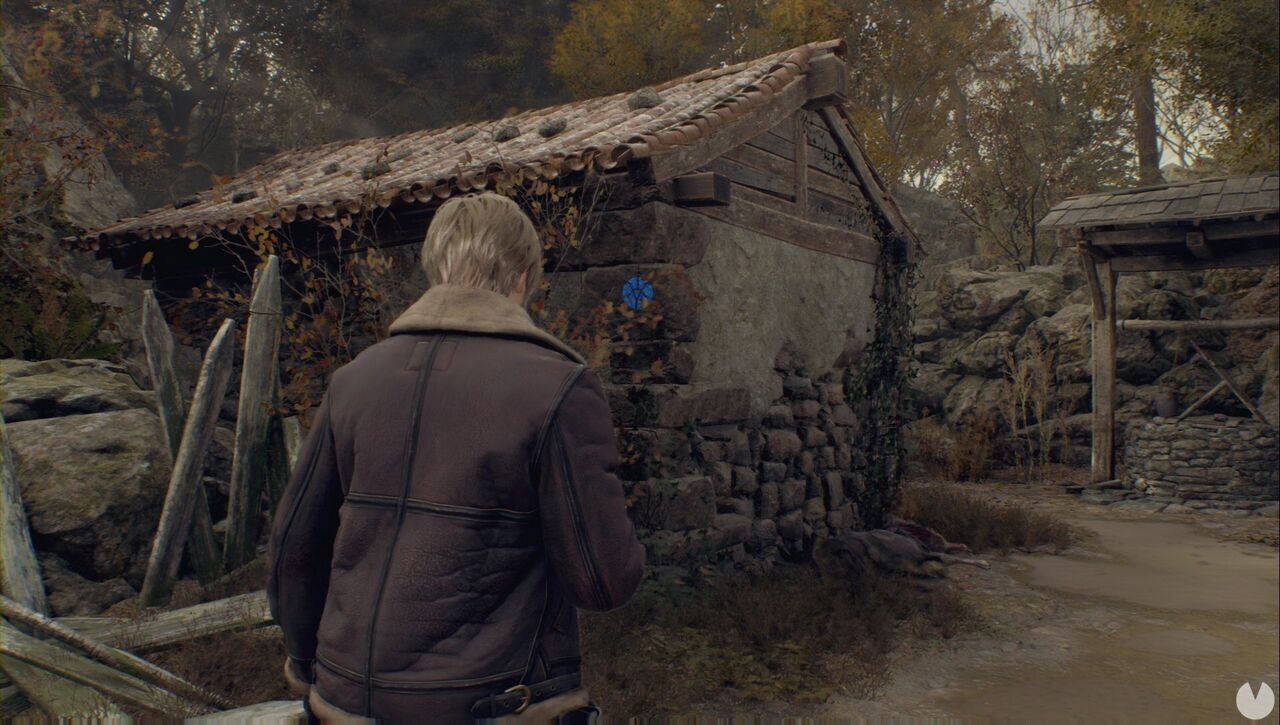
You cannot open the barn to the northeast or the chest at the northern end of the area. You will also see another chest behind the wooden fence, but you cannot reach that one yet either. Head north and go through the door on the right. You will hear the persistent beeping of a rather obvious explosive trap.
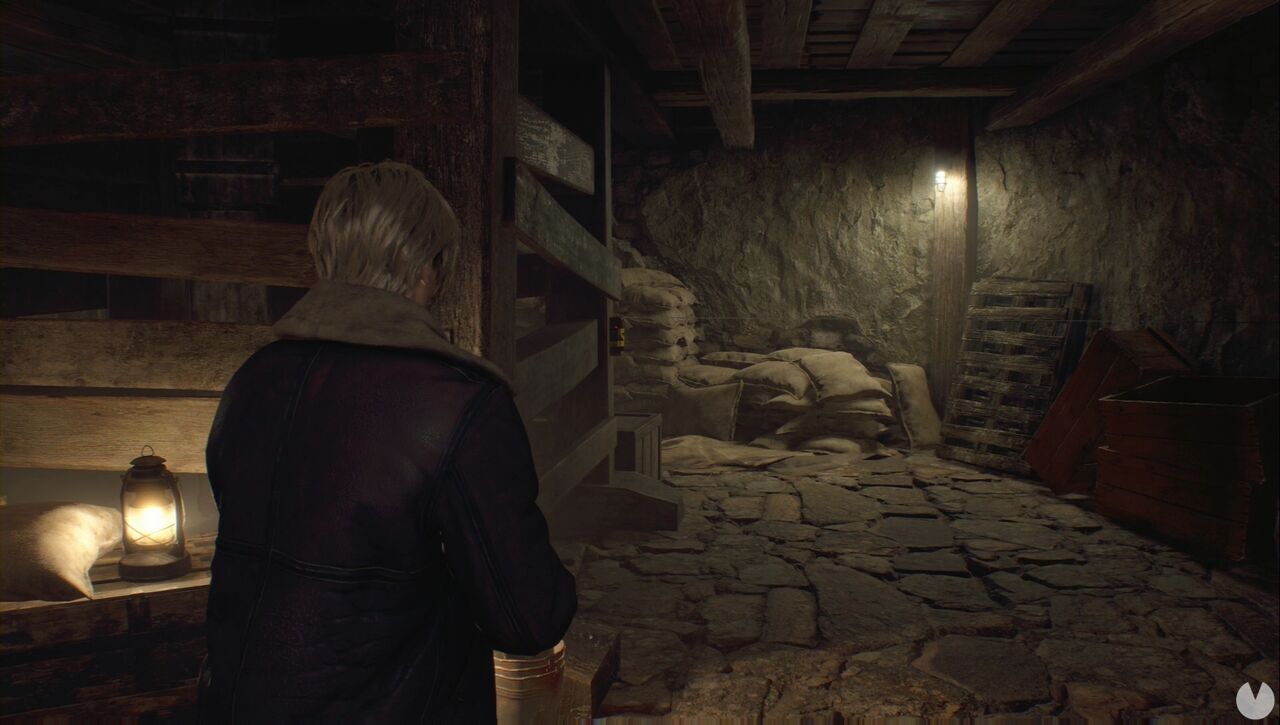
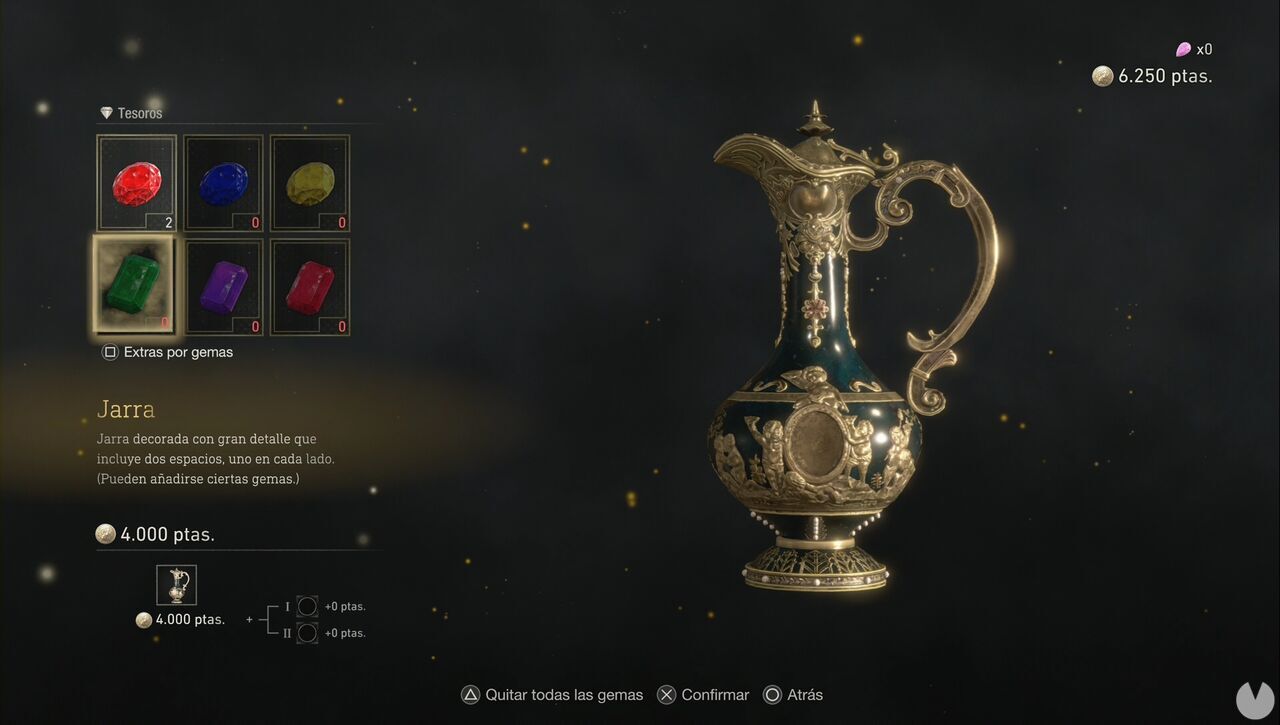
You can shoot the explosive from a distance or approach it while crouching and interact with it to disarm the trap. Depending on whether there are any enemies nearby, remember that you can use these traps to your advantage by luring Ganados into them. Pick up the Yellow Herb and climb the ladder to find a lever that does not work. There are two exits: an opening in the wall and a door. Go through the latter to drop down behind the wooden fence and reach the red chest you saw earlier. Inside, you will find a Flagon, your first treasure.
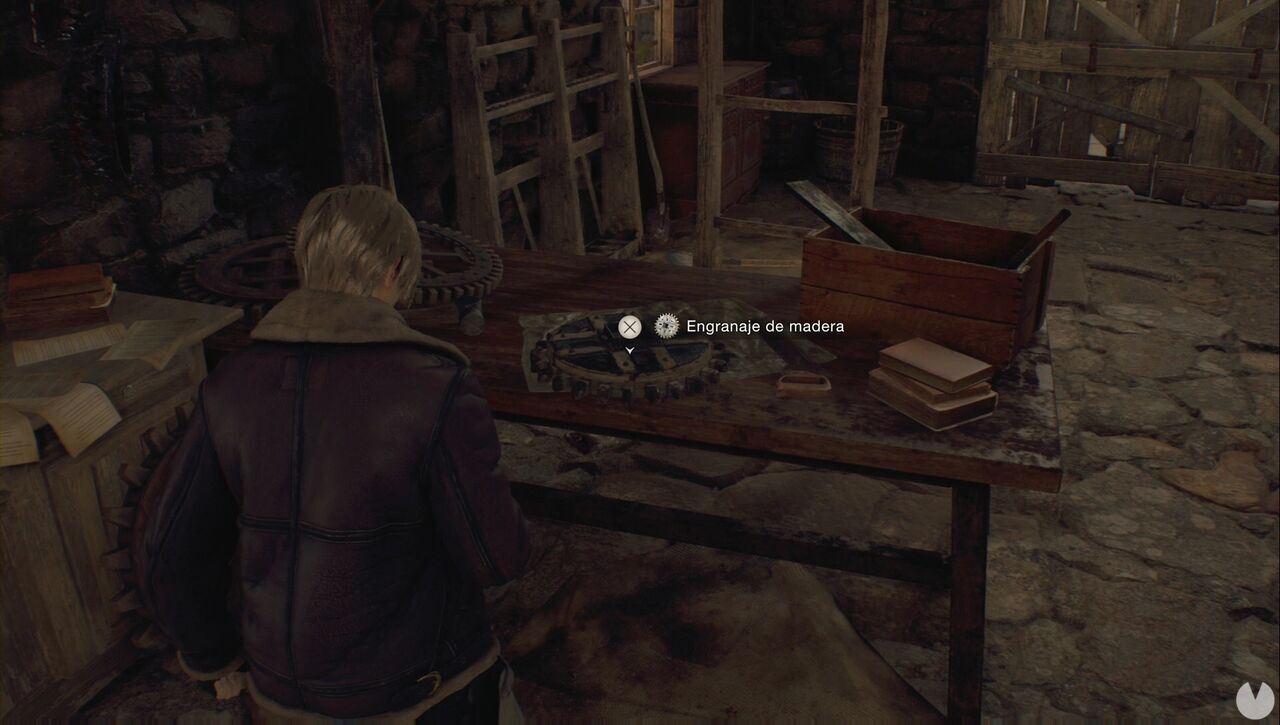
You can now continue and open the door ahead, which leads into the barn. The opening in the wall near the windmill would also have taken you there. In addition to some resources, you will find the Wooden Cog, which you need for the windmill mechanism that was not working earlier.
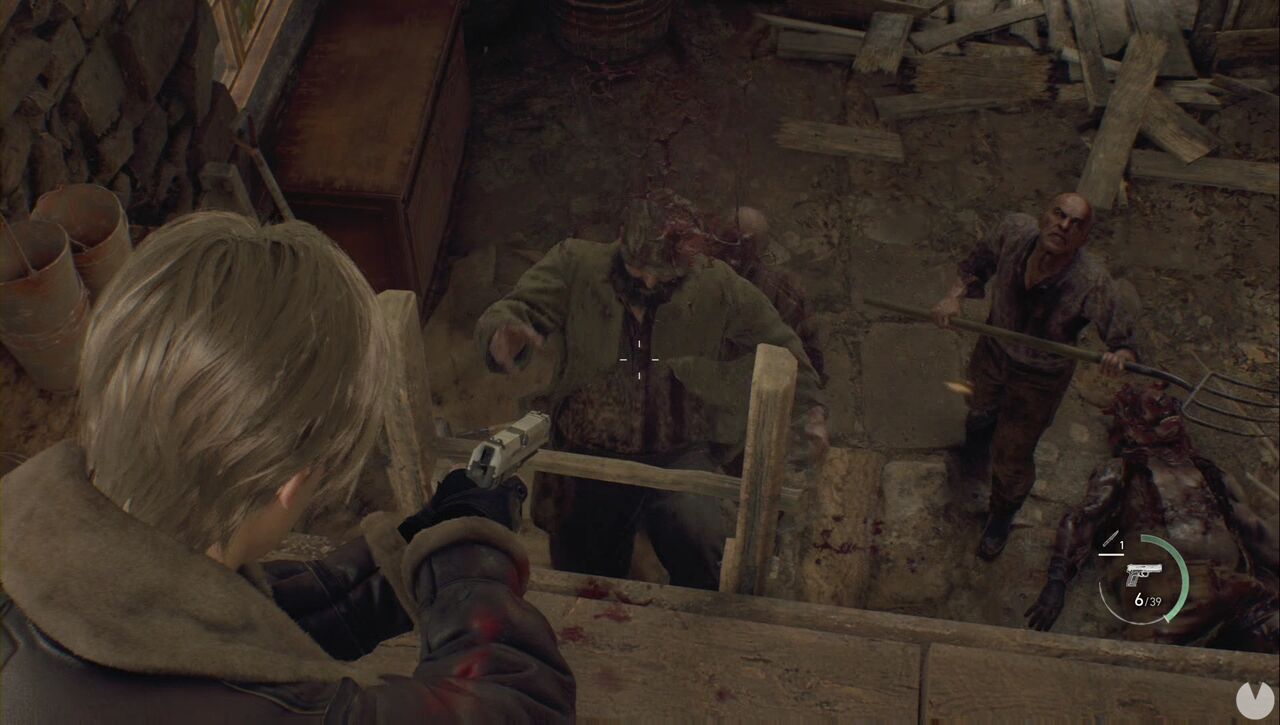
As soon as you approach the cog, an enemy wielding a hammer will appear. This Hammer Brute is extremely dangerous, and the best strategy is to stay close and blast him with the Shotgun until he falls. Bear in mind that he is accompanied by several regular enemies. An easy way to deal with them is to climb the ladder, wait for them to follow you and shoot them before they reach the top, sending them tumbling back down. Alternatively, wait for them to climb up, shoot them in the head and then follow up with a kick.
Once the area is clear and you have the cog, return to the windmill and activate the mechanism. Go through the gate and cross the bridge. You cannot enter the house ahead, while the northwestern path only contains a few resources. Move the cart blocking the path to the east and continue in that direction. Be careful, as you will be attacked from above, while more enemies will approach from both behind and ahead as you advance.
When you are about to pass through the tunnel, crouch before reaching the exit. You are entering an area containing several enemies, and you want to delay being detected for as long as possible. If you can, stealth kill one or two of them for obvious reasons.
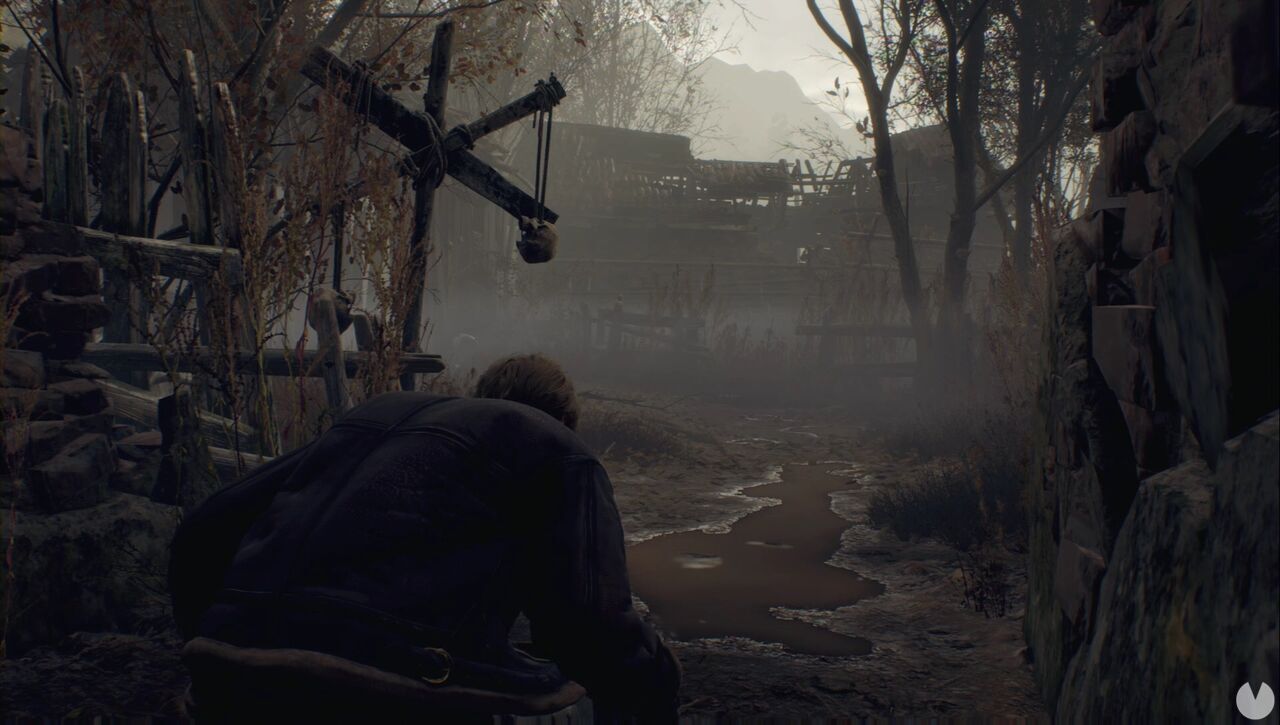
Be extremely careful, as you will hear a hissing sound: dynamite. Several enemies, most of whom are inside the house in the central area or on top of the nearby wooden structure, will throw explosives. If you prevent them from throwing the dynamite after lighting it, it will eventually explode in their hands. Needless to say, any other enemies caught within the blast radius will also be blown to pieces. Once the area is clear, enter the house through a window and look for the first Clockwork Castellan.
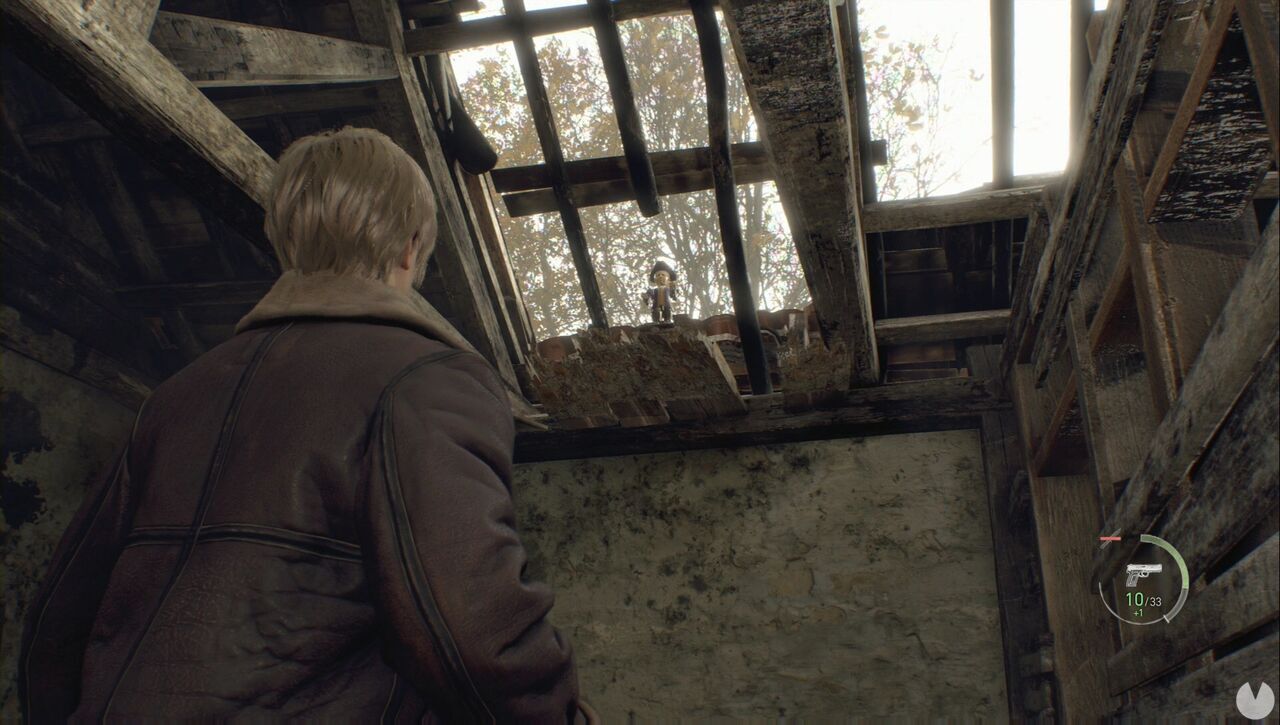
Do not forget to explore the area before entering the northeastern house, which is your objective. There are several items to collect, as well as locked chests and doors that will be marked on your map for later: one chest to the northeast and one door to the north. When you are ready, enter the house, where you will find another locked drawer. Collect the available resources, move forwards while watching out for explosives, kill the enemy and interact with the floor. Once you are down below, it will be perfectly clear what you need to do to reach Chapter 2.
