
Resident Evil 4 Remake separated our hero from his objective at the end of Chapter 7, and did so with its usual sinister tone. In other words, things have become seriously nasty. On the bright side, you will not have to worry about Ashley for a while, so there is that. Continue until you meet the Merchant, who has two new items: the Body Armour and the Matilda, a handgun with great potential.
Whether you buy them or not, continue north until you reach a Wine Cellar containing a rather disturbing scene. The door will be locked, so jump over the railing to the west, crouch down and you will see an enemy wearing a red robe through the planks. Shoot him from here. It will take several hits from the Stingray to kill him, but it is worth it.
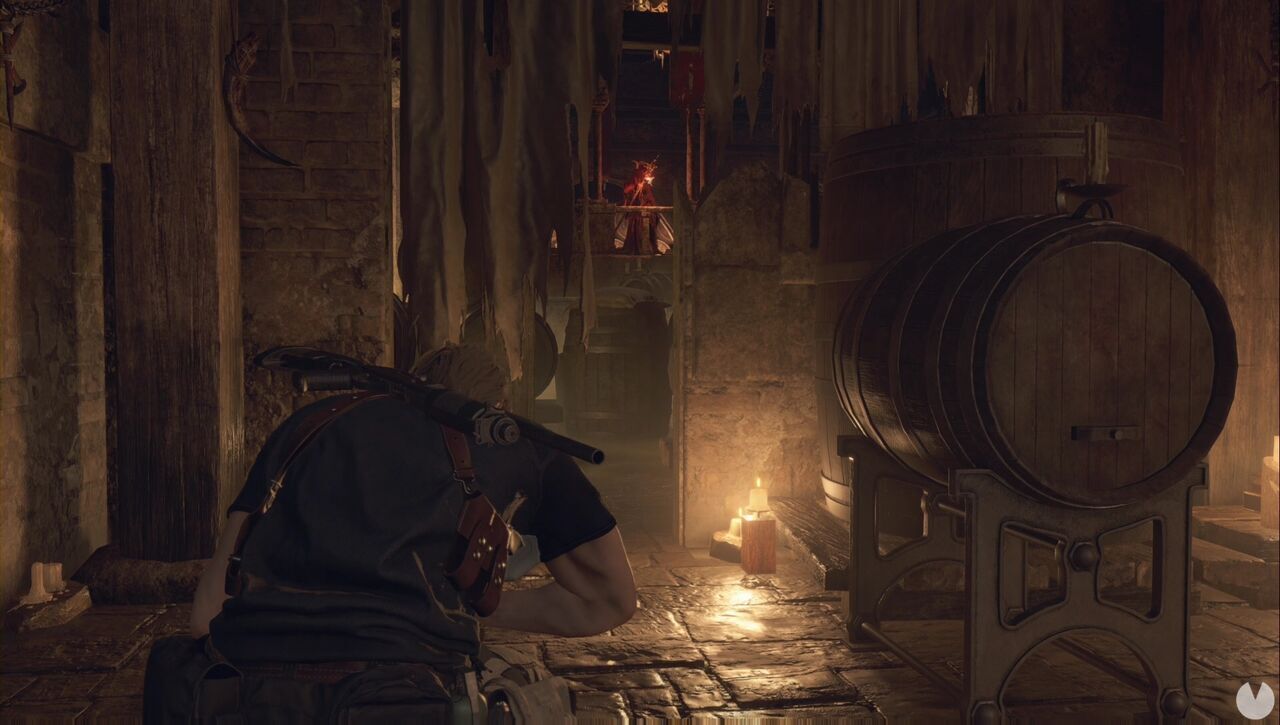
The area will fill with enemies. If you did not kill the man in red, every time you hear "the sound", the Plagas will activate, making the situation even more dangerous than usual. Remember that any Plaga can be killed with a Flash Grenade, even when several are grouped together. Once the situation is under control, the man in red will drop the Crimson Lantern, a key item. On the western side of the Wine Cellar, you will find the Mirror with Pearls & Rubies treasure.
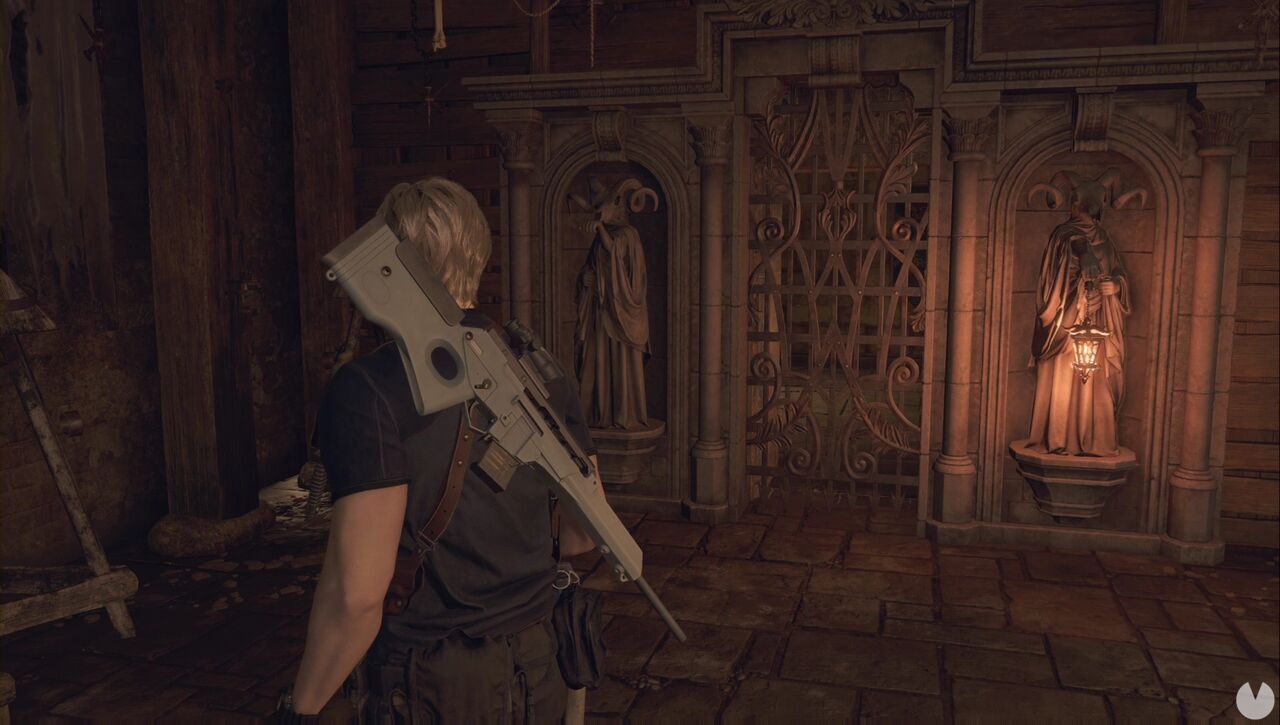
Although it is not marked as a treasure, if you go to the wooden walkway and pull the lever on the northern side, the chandelier will fall and you will find a Yellow Diamond beside it. Return to the previous room and place the Crimson Lantern on the statue to the left to open the gate. You cannot reach the treasure because you need Ashley, so simply follow the only available path.
Follow the only available path until a cutscene plays. Afterwards, collect Lithographic Stone C from the southern side of the Bindery. In the same room, there is a locked drawer and a chest containing the Extravagant Clock.
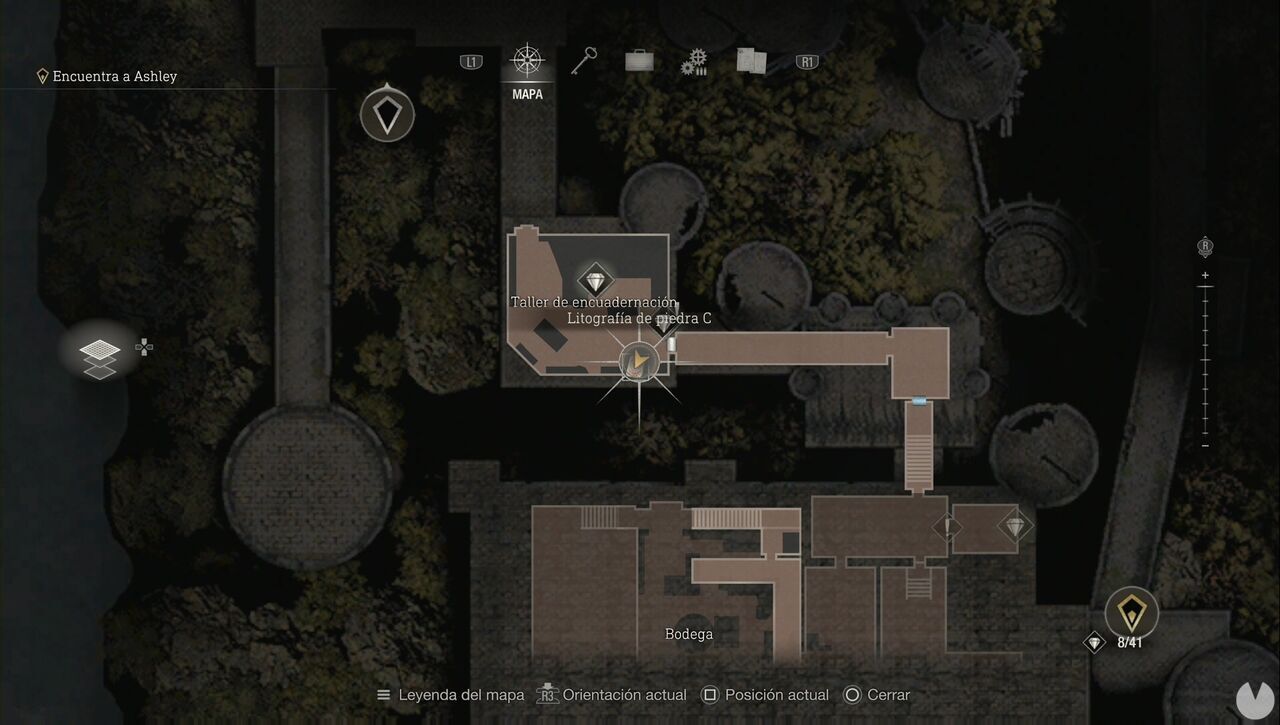
In the southwestern and northwestern corners of the room, you will find Lithographic Stones D and B, respectively. Place all three stones in the northern door and then solve the puzzle. Notice that each stone has two sides, and each side bears a symbol with a colour and either a square or hexagonal border. To solve the puzzle, arrange the pieces as follows:
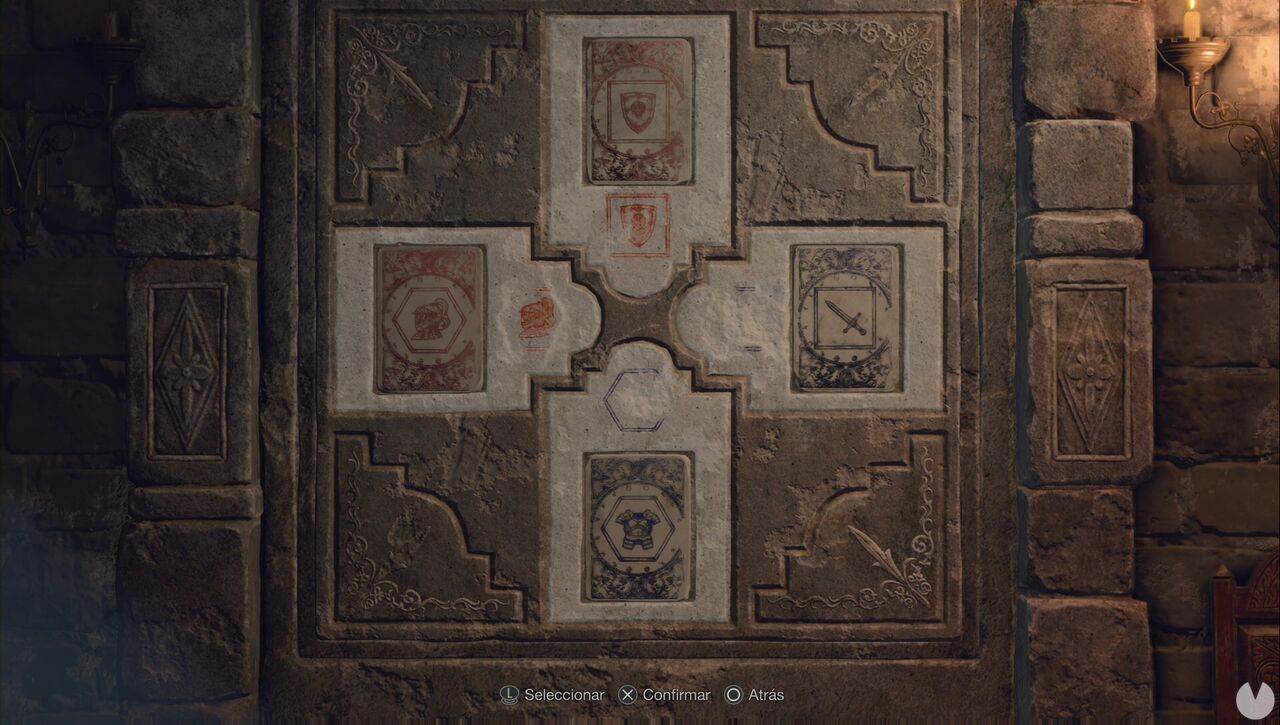
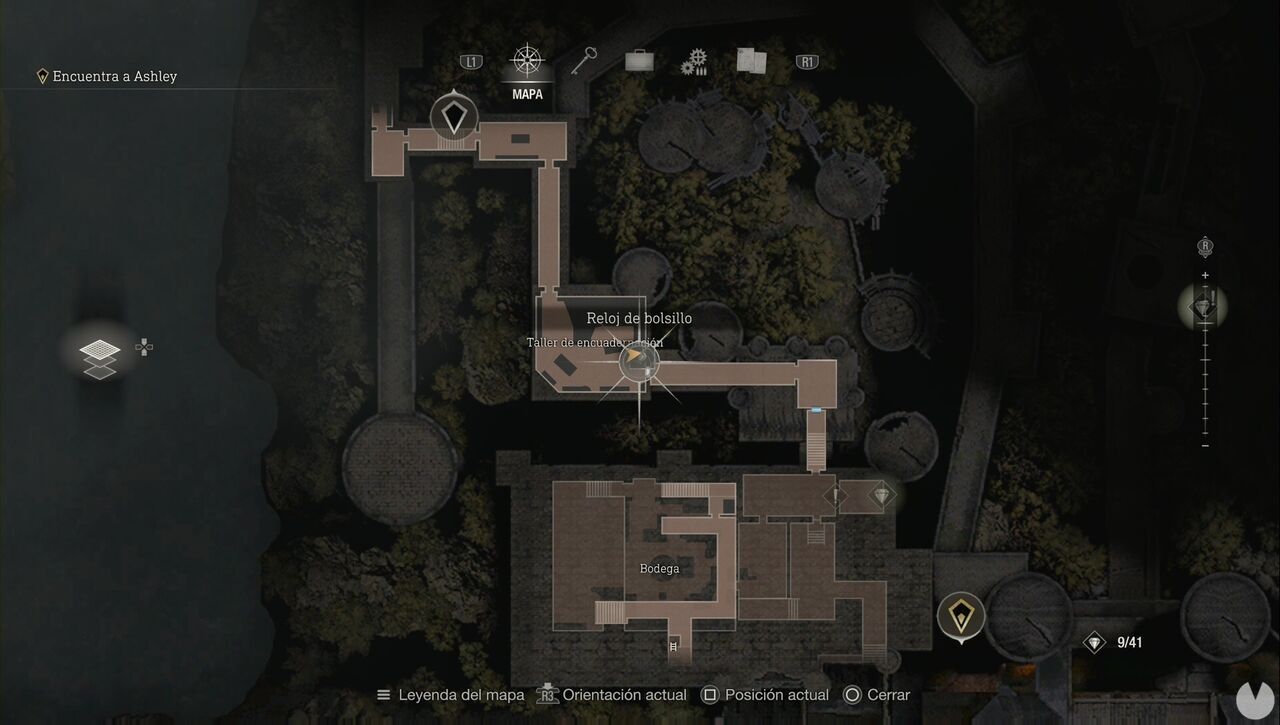
Continue along the only available path. After seeing "something", you will find a Small Key in the northwestern corridor. Return to the Bindery and use it to open the drawer and obtain the Brass Pocket Watch treasure.
Before continuing by moving the bookcase in the northwestern corridor, have something powerful ready. After moving the furniture aside, you will see a cutscene in which a new type of Plaga takes control of a Ganado, causing it to move at tremendous speed without staggering. Shooting it with the shotgun or rifle will damage the parasite and make things easier. If several of them appear, use a Flash Grenade or you will probably end up dead. Bear in mind that the parasite and the Ganado can act independently. In other words, if a shot knocks the parasite loose, you will have two enemies to deal with.
Follow the only available path and destroy the counterweight beside the Merchant to raise the portcullis. Without crossing to the other side, you should be able to eliminate the crossbow-wielding enemies in the tower ahead. You should be able to hit four enemies from here.
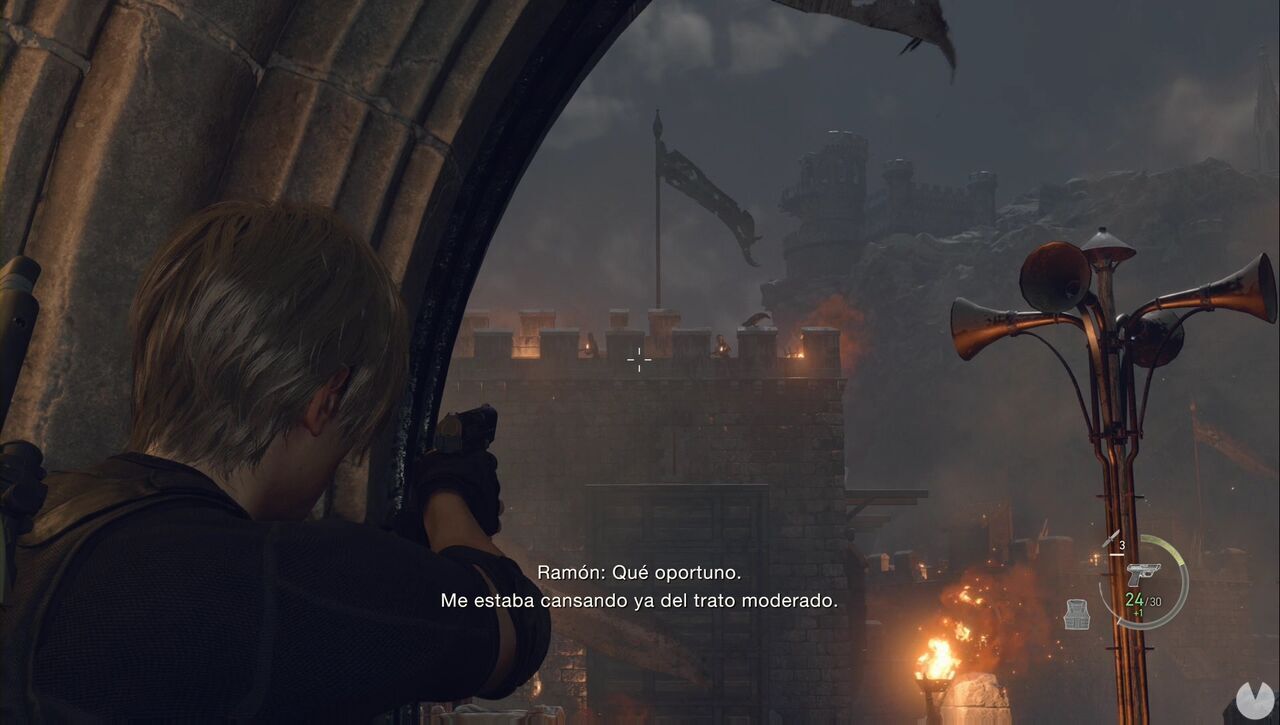
Continue to the drawbridge and shoot the counterweight on the left to lower it. Be careful, as enemies will be waiting to rush you. Once inside the tower, watch out for the parasites and Ganados: there is a parasite on the left near the spiral staircase, as well as a Ganado-parasite pair upstairs. Collect the items and return downstairs. Pull the lever to open the gate, climb the ladder and activate the second lever. Now climb back down and you will be able to continue northeast by dropping down.
As soon as you land, head west, directly behind you. Pull the lever and go through the adjacent door, which will now be open. This will allow you to reach and climb a small ramp.
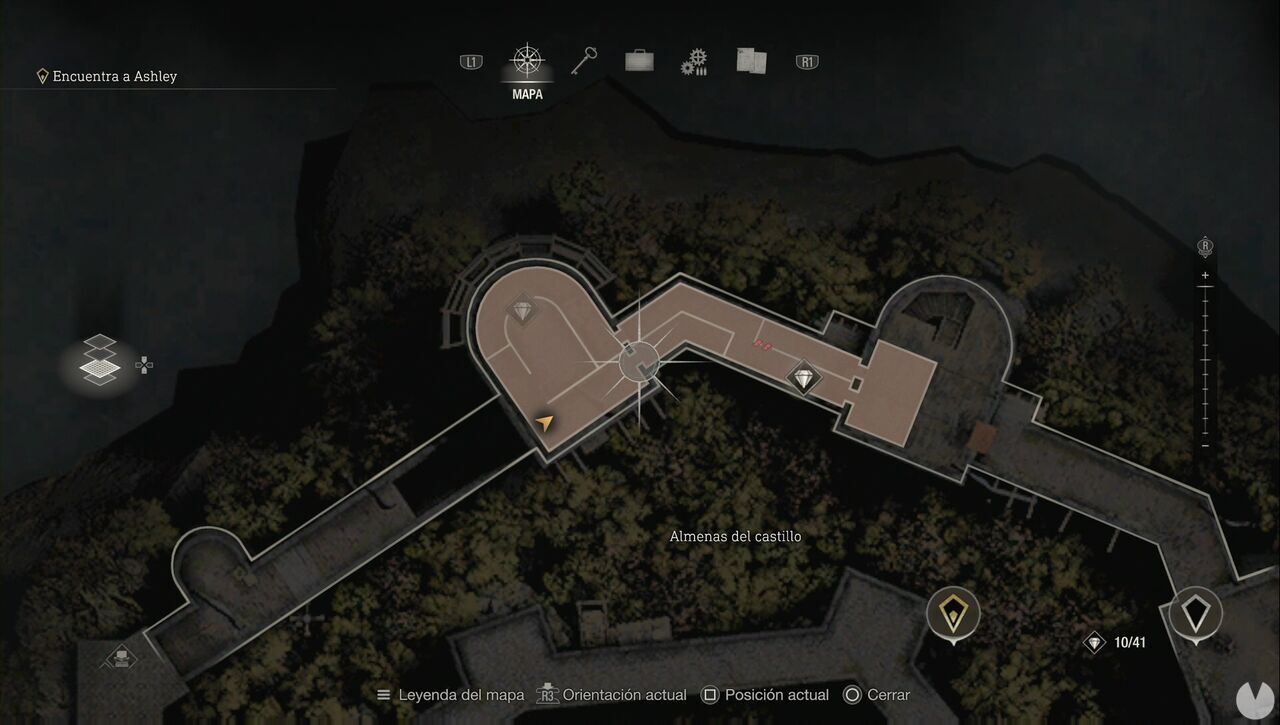
Do not pull the lever. Instead, go straight ahead, climb onto the ledge and drop down on the left. You will be on the other side of the gate in the lower corridor, but the moon door will be open, allowing you to reach the easternmost end and collect the Ornate Necklace treasure. Now climb the ladder to reach a point from which you can ascend to the top of the tower, watching out for enemies along the way. Make sure the lever is set to the "moon" position, as you will need it later. Once you reach the top and the cutscene ends, run west and jump over the edge of the tower. Remember that you can avoid the showers of rocks by crouching behind an obstacle.
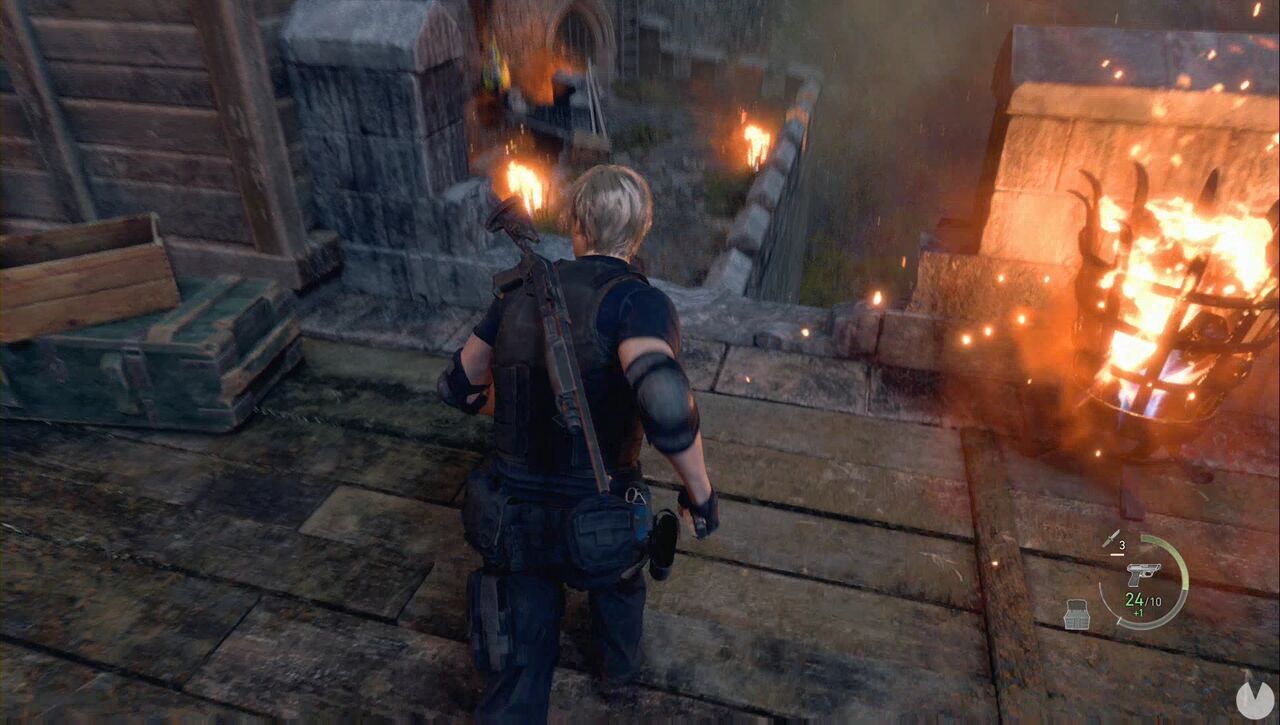
Continue west until you return to the previous tower. There is a counterweight to the left of the gate that you can shoot to raise it, as well as a ladder on the right. Climb to the top of the tower to find resources and an Emerald. Now circle around the tower to the west and then north, without going down, to find Clockwork Castellan #08.
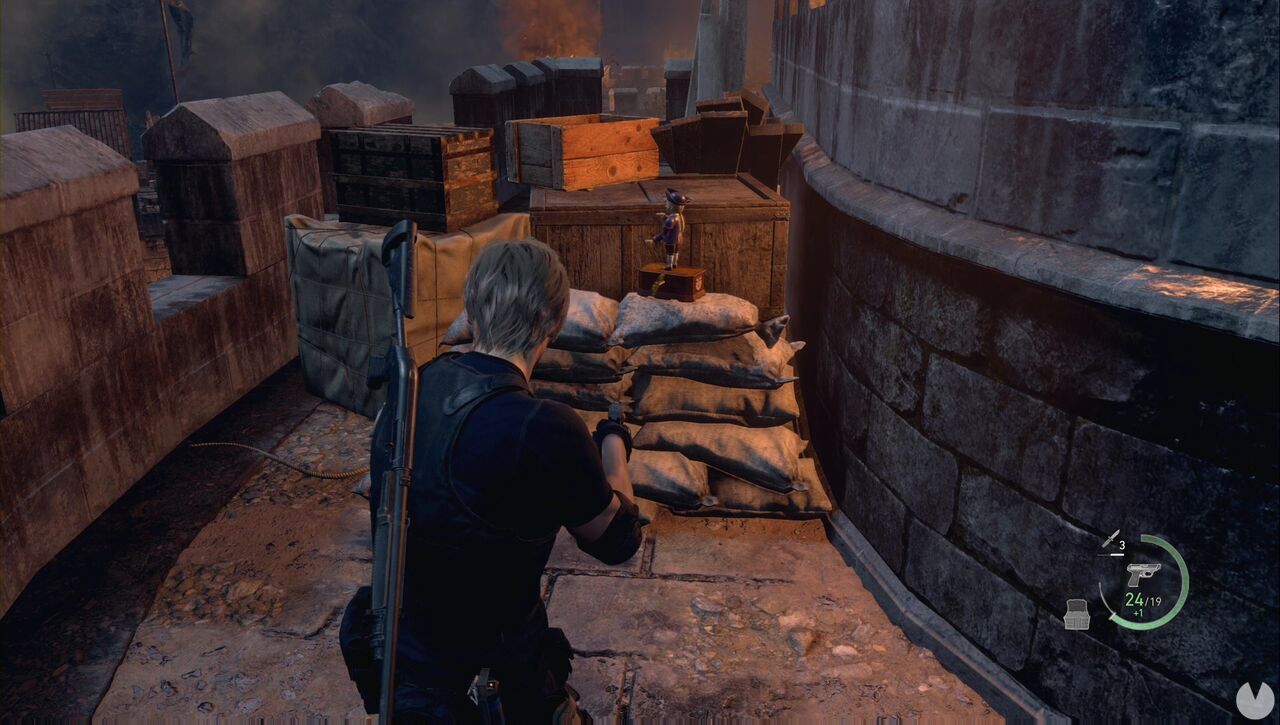
Return to the second tower—the counterweight that opens the gate will be on its right—and climb to the top. This time, head east and continue onwards, allowing the troll to kill the enemies for you. At the end, you will have to eliminate two crossbow-wielding enemies and drop through a ruined section of the wall. If you turn around, you will see an enemy and, directly behind him, a moon door, which should be open.
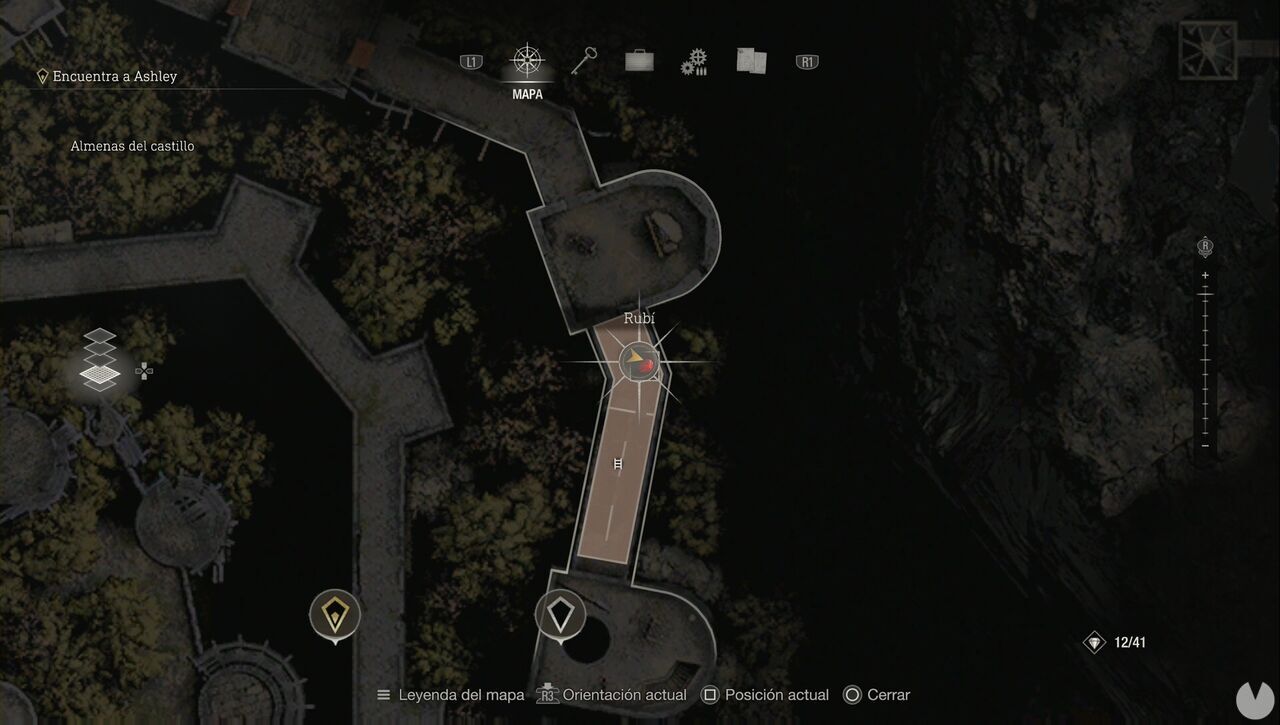
Go inside and pull the lever to open another door, then drop down to reach the location of the Ruby (2) treasure, which is hanging inside a lantern.
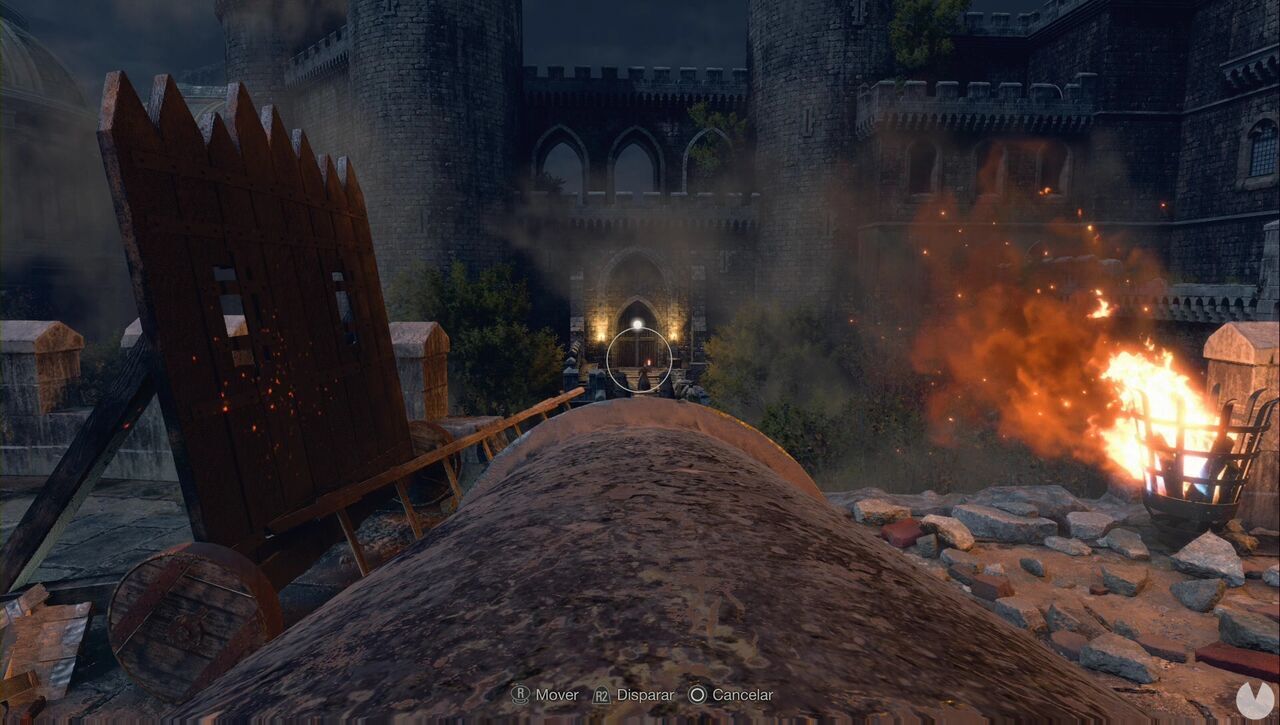
Now climb the ladder. You will reach an area containing a locked drawer and another cannon. Shoot the counterweight to raise it. There is another counterweight on the floor above and, once you reach the roof, simply use the cannon to kill the monster. Afterwards, aim to the left of where the troll was standing to find a gate that you can blow apart.
Follow the only available path until you pass through a door and a cutscene plays. This section ends here, leading into Chapter 9.
