
Chapter 6 brought our exploration of the Village in Resident Evil 4 Remake to an end. Leon and Ashley have reached the Castle, the game's second major area and the setting for Chapter 7. Continue until you reach the Merchant, who has new weapons and items available. Make sure you replace your rifle with the Stingray and purchase the Castle Treasure Map. If you want a truly powerful weapon for emergencies, you should also buy the Broken Butterfly. Before continuing, go around the southern side of the room to find a chest containing a Vintage Compass.
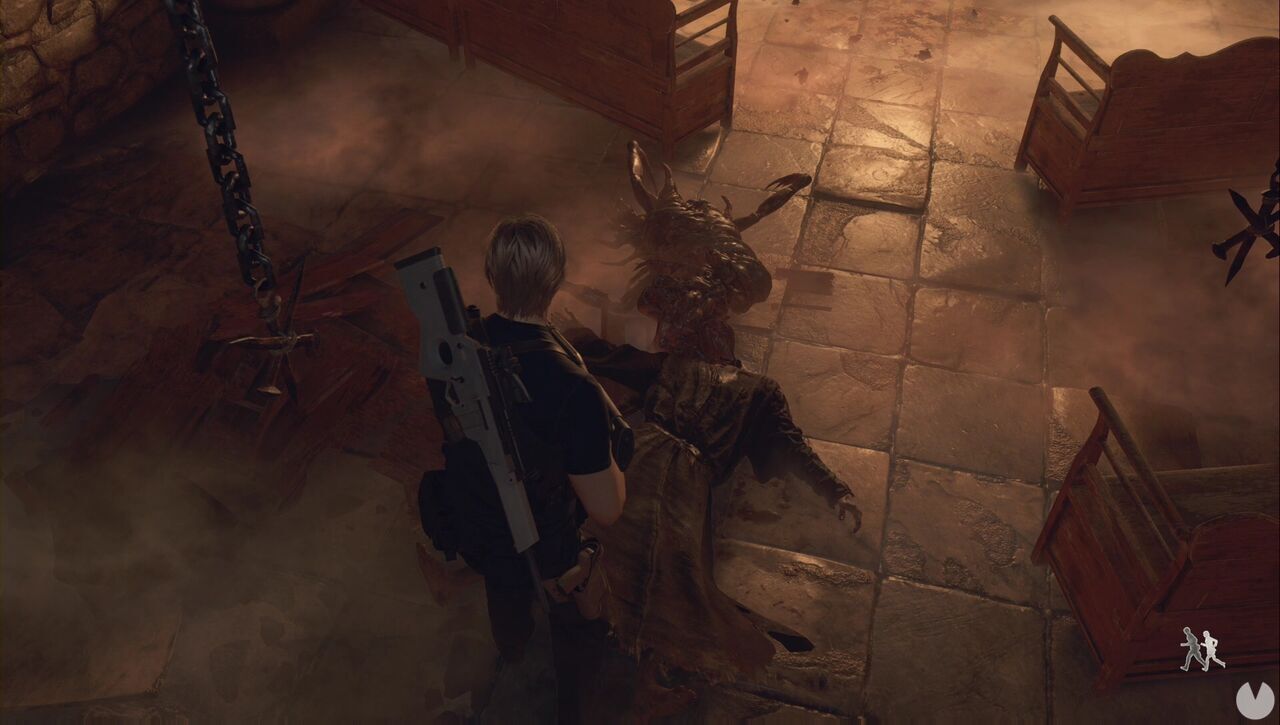
Follow the only available path and, when you reach the small Chapel, you will encounter a Ganado with an enormous Plaga, stronger and tougher than any you have seen so far. Pull out your shotgun and blast it before it can get close.
Continue along the only available path until you reach the castle walls, where a cutscene will play before several enemies begin attacking you from a distance. This looks like a job for your shiny new Stingray, which, when equipped with a scope, will make short work of those bloody crossbowmen.
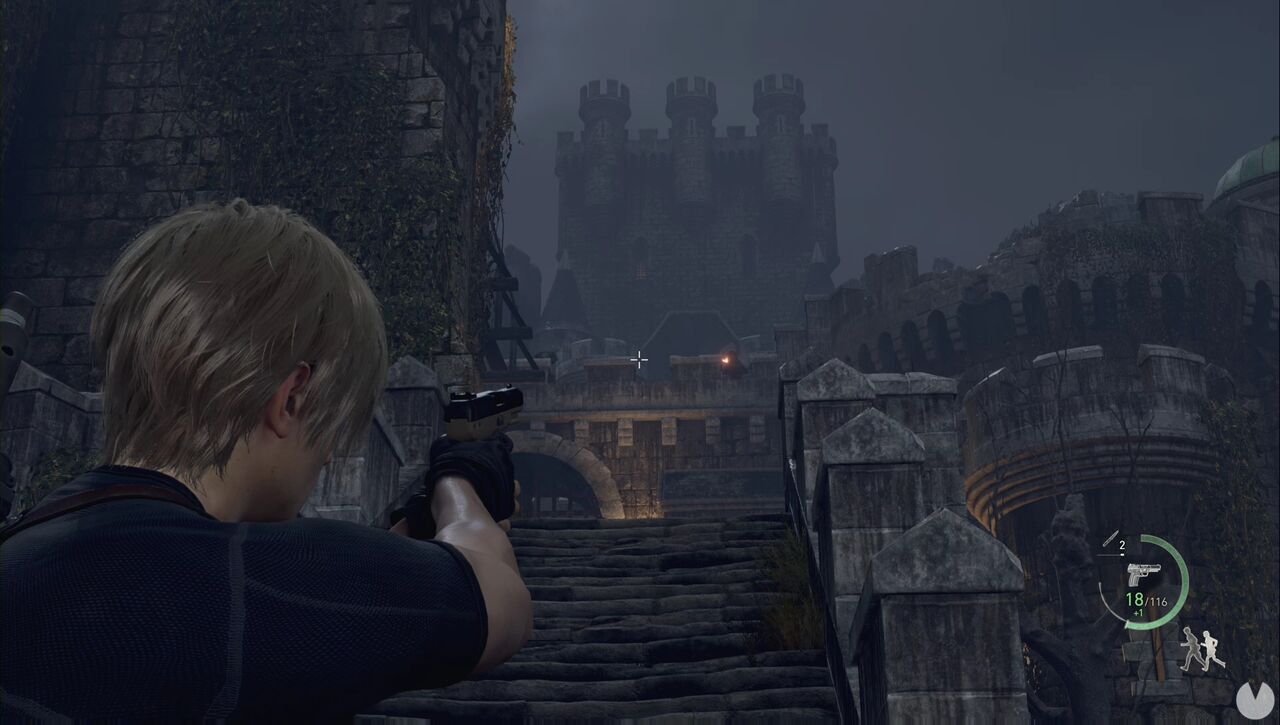
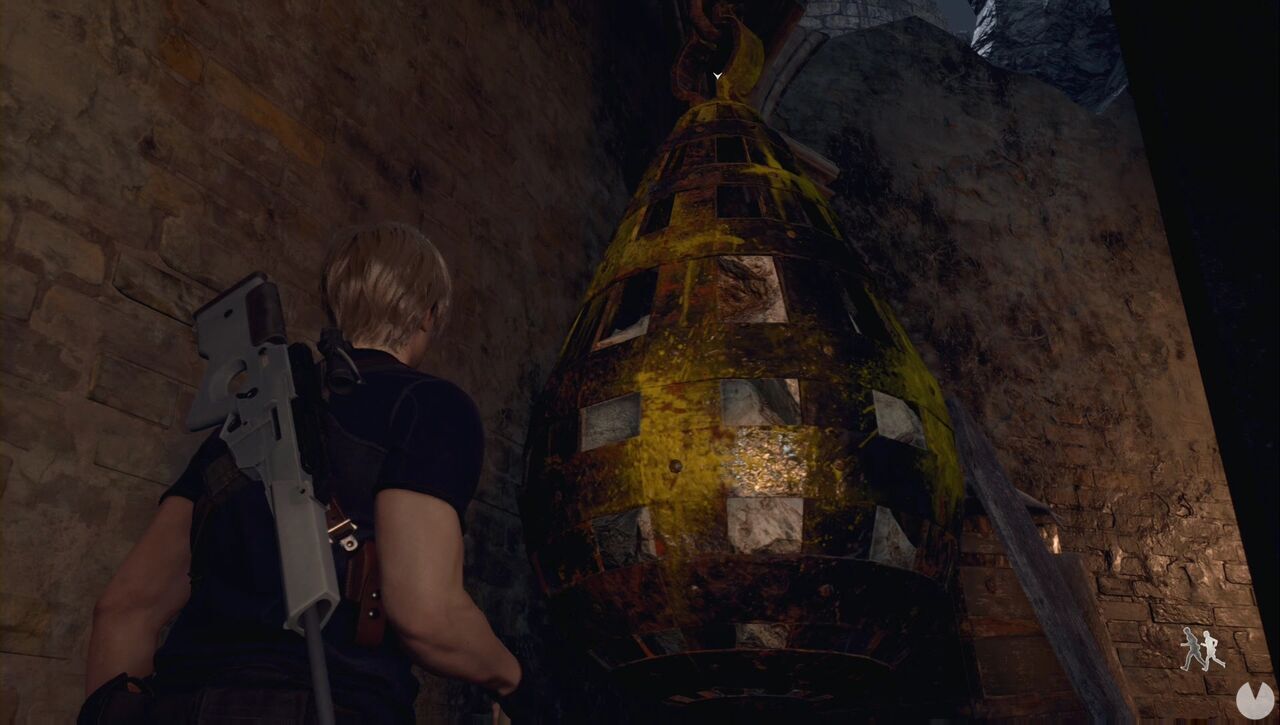
After eliminating the first two, you will encounter more enemies as you climb, so take cover on the left and try to take them out with well-placed headshots. A little farther ahead, you will see that the bastards are using catapults. You can technically shoot the barrel beside the catapult at the top of the wall directly in front of you. Run north and climb the stairs to the east. Once at the top, cross the bridge to the west and then head south. You can drop down inside the cannon tower. Find the metal counterweight on one side and interact with it to raise the cannon.
From there, you can head west to reach the northwestern corner of the area, where you can shoot a red barrel between the battlements of the tower ahead. This will destroy one of the catapults. Look to the right to see the other two; you can find a red barrel beside each of them and shoot these to destroy the remaining catapults.
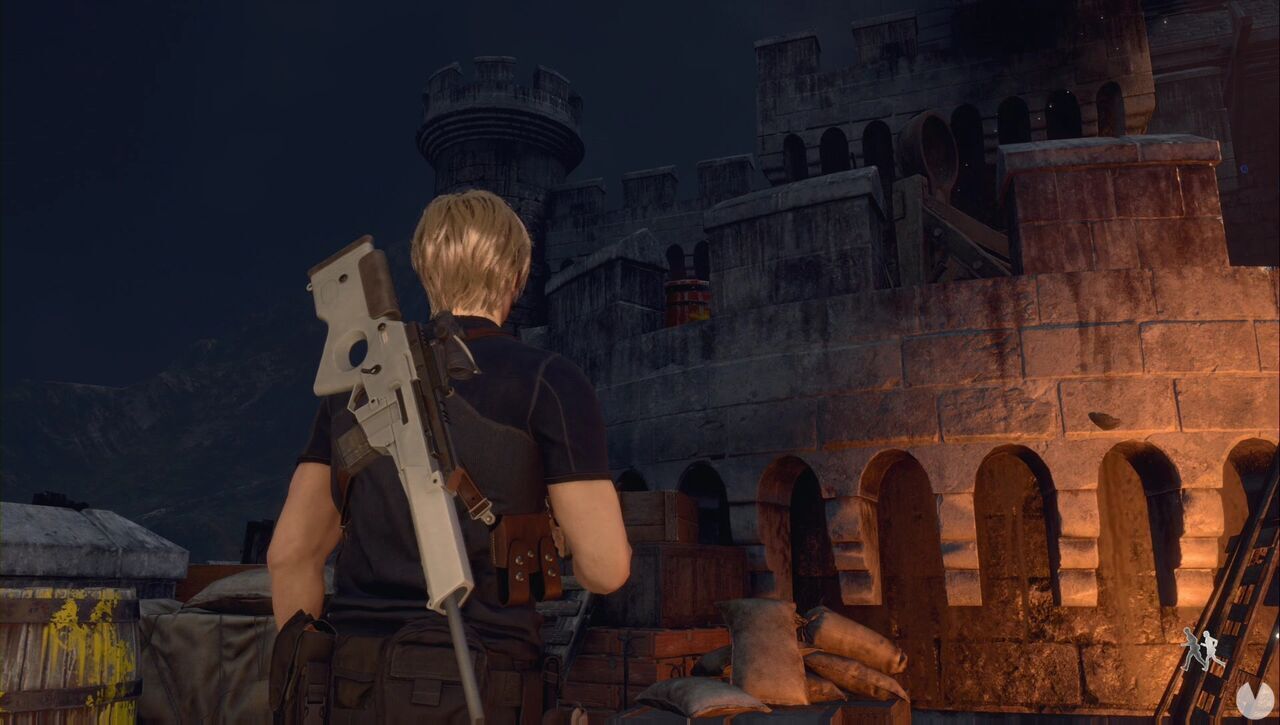
Continue to the northwestern corner from your current position to find a chest containing an Elegant Bangle. You can shoot the Blue Medallion beside it if you wish, although we are going to wait until the area is clear. Open the nearby door and continue east. Your objective now is to reach the cannon. Since you have already taken care of the catapults, this should not be difficult.
Once you reach it, make sure you eliminate one enemy with the cannon to complete the corresponding challenge, then aim the artillery piece at the gate on the right. Blow it to pieces and you will be able to continue.
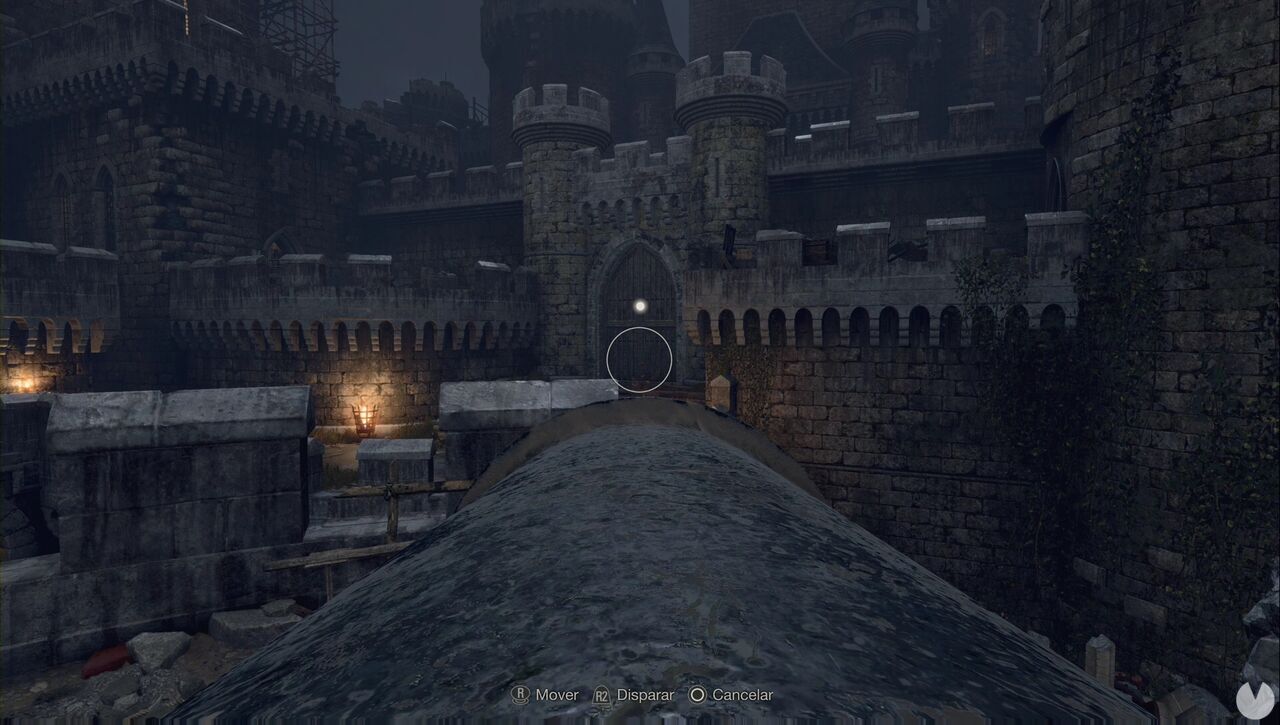
Before moving on, it is time to destroy the Blue Medallions in the area. You can use our guide if necessary and then head east to enter the next area. You will encounter the Merchant and, after continuing a little farther, a cutscene will play. Once it ends, you must defeat several new enemies. Those carrying shields are well protected, but you can destroy their shields with gunfire, pierce them with the rifle or shoot them in the foot.
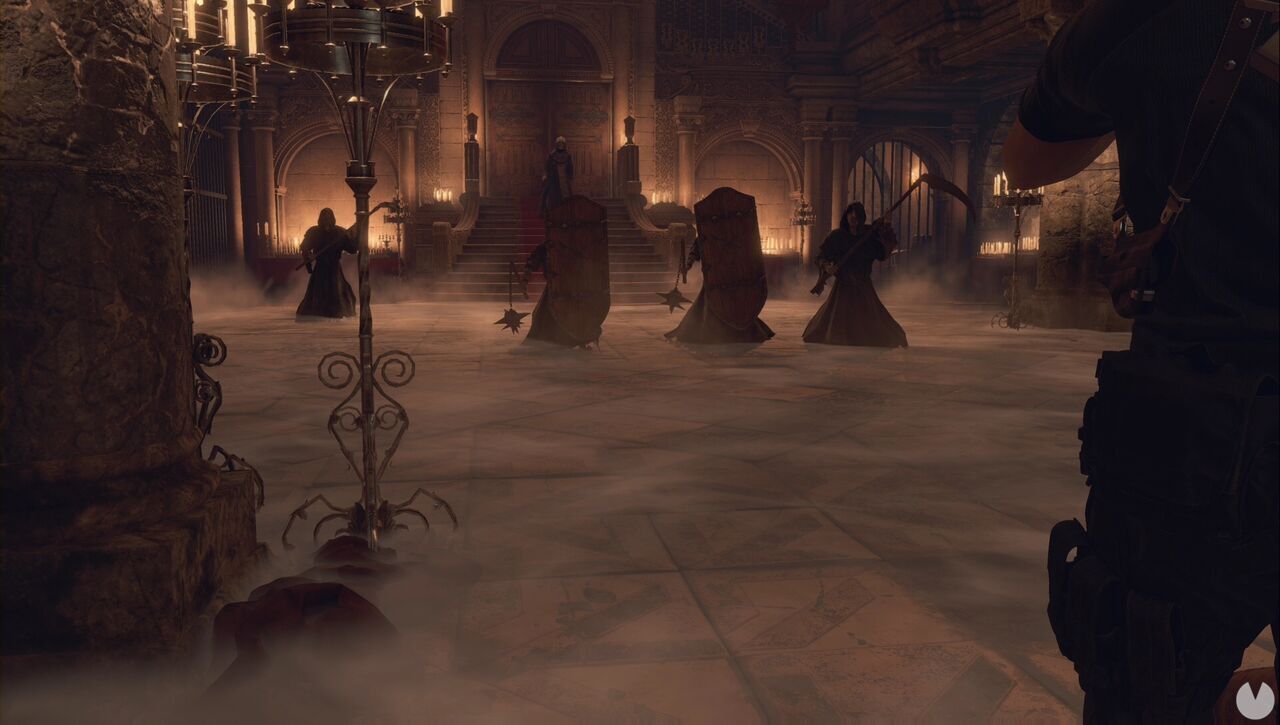
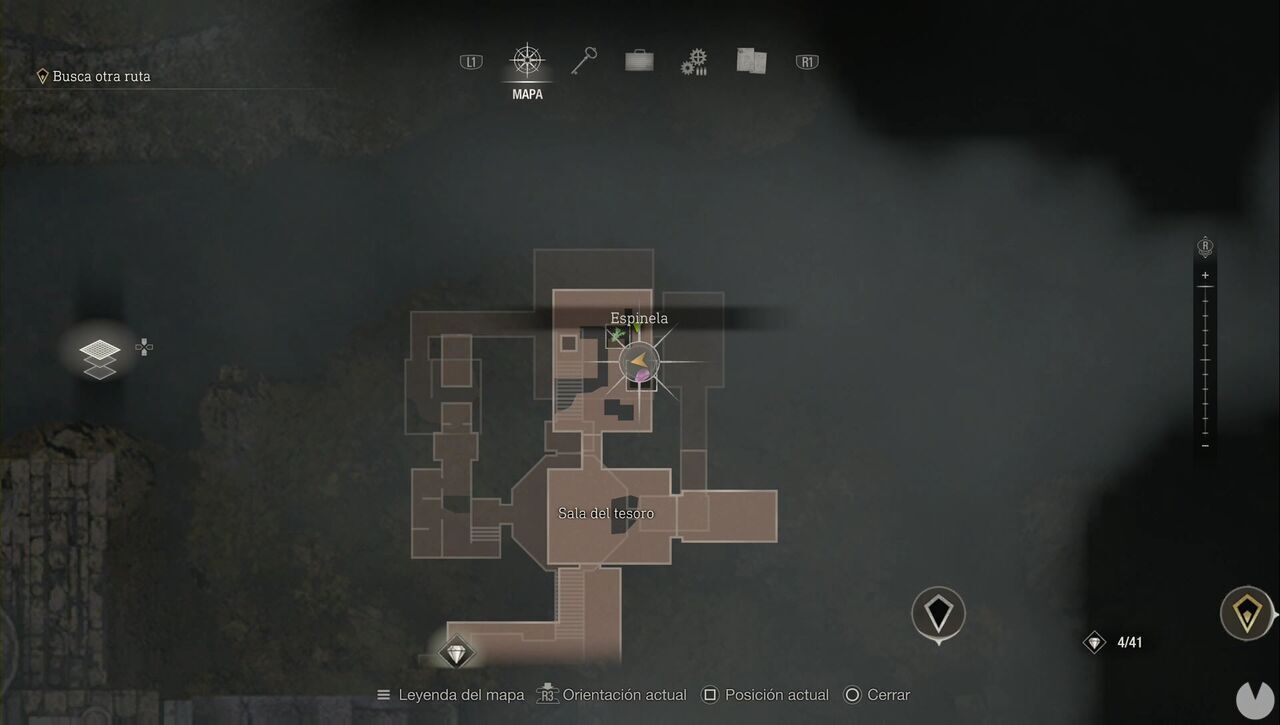
Take a look around the area. There are a couple of vases containing items, a locked drawer against the northern wall, three enclosed corners and a gap for Ashley in the northeastern corner. Have her crawl through it so she can open the door for you. Walk behind the staircase to reach the southeastern corner of the hall, where you will find a chest containing a Perfume Bottle. Do not forget to break the vases on top of the furniture, as they contain more items. Now head north, cross the gap and look to the left. Hanging above you is a lantern containing a Ruby.
Continue until you reach a dungeon, where one door is locked and another is blocked, meaning there is only one available route leading to the Dungeon Key. When you return, a cutscene will play. This enemy is a Garrador, and it is completely blind. Avoid running and, when you return to the central area, crouch down and avoid the chains hanging from the ceiling. Touching them will make noise and alert the creature, but if you avoid them, you will be able to stab it in the back.
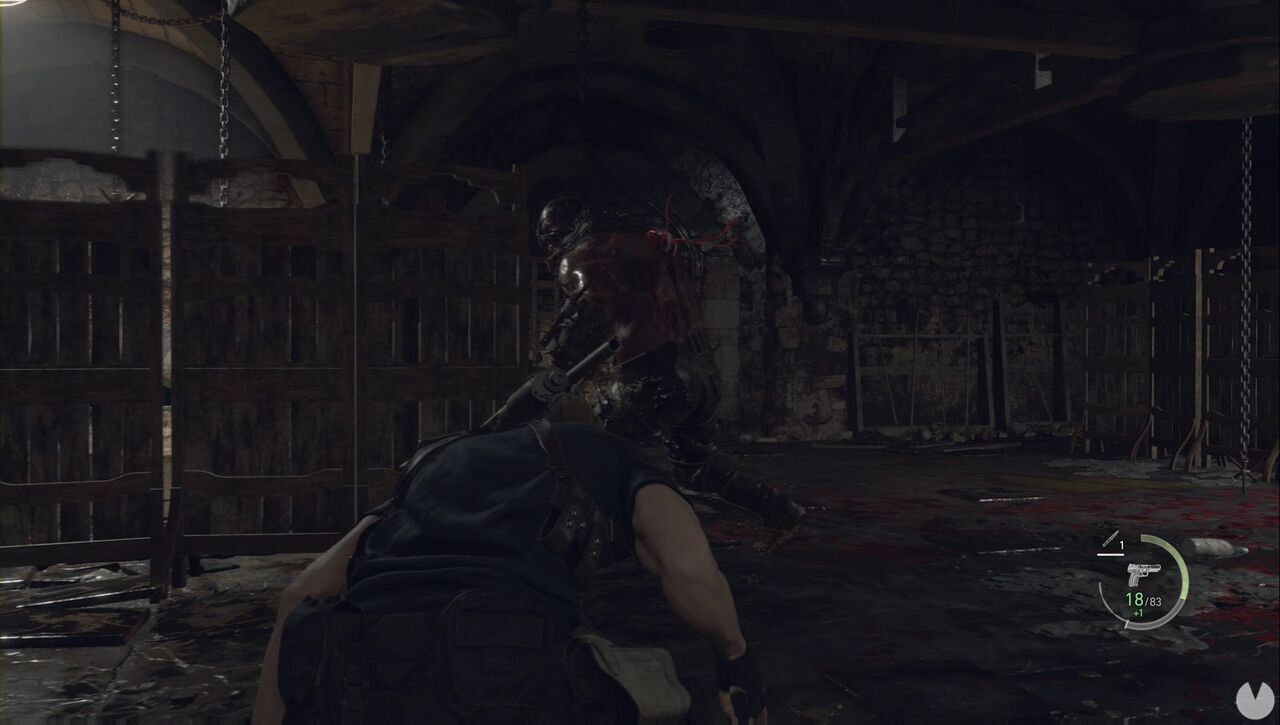
It is technically possible to kill it this way without putting yourself in danger, but your knife will probably break first. Ideally, you should shoot the parasite that emerges after you stab it to maximise your damage. It may lose track of you afterwards, but just in case, hit it with your most powerful weapon. It will drop a gemstone when defeated, although this does not count as one of the area's treasures. Collect it along with the resources in the room, open the door using the crank and return upstairs.
You can now unlock the closed door and enter what appears to be a storage room. Continue onwards to find a couple of items. When you reach the Spinel on the eastern side, look west to spot Clockwork Castellan #07 on top of a shelf.
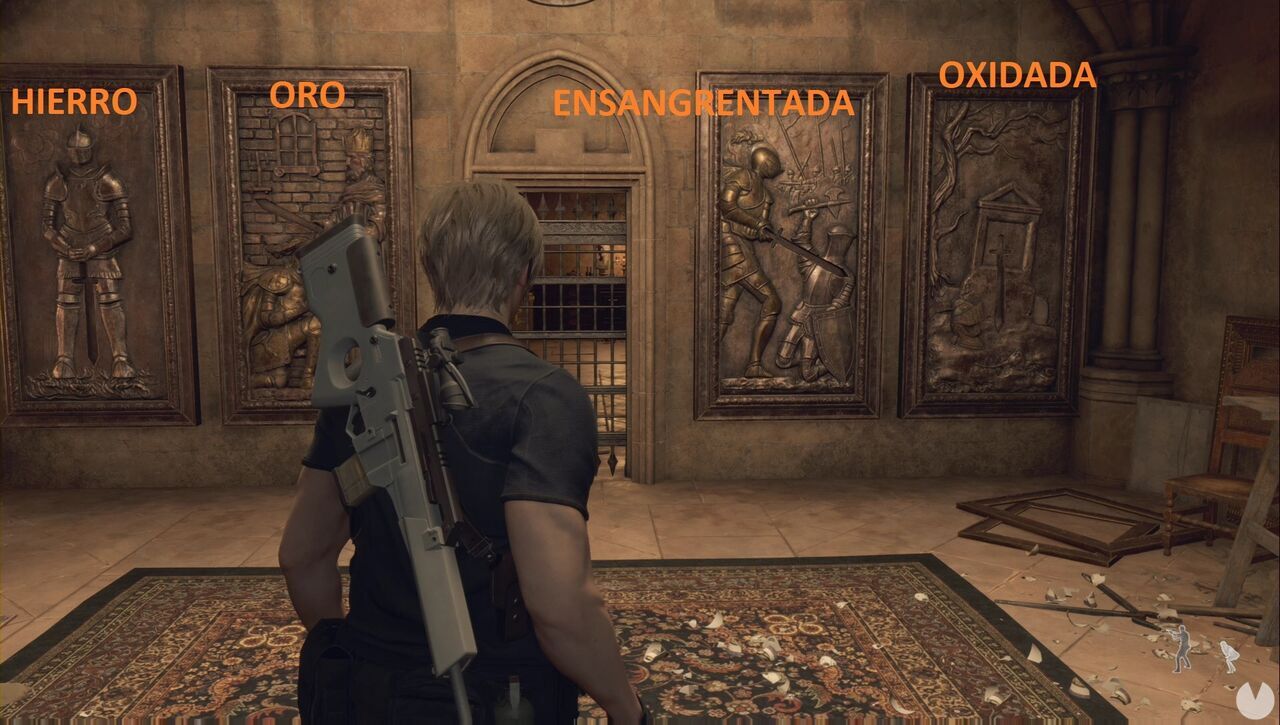
In the next room, collect three swords from the wall reliefs: the Golden Sword, Iron Sword and Rusted Sword. Then look east. You will see a gate bearing three symbols and a cord to its left. Pull the cord to reveal several gongs behind the gate and another above the cord. You must shoot the gongs bearing the same symbols as the ones on the gate. This will allow you to collect the Bloodied Sword.
You must now place all four swords into the correct reliefs. From left to right, the correct order is Iron Sword, Golden Sword, Bloodied Sword and Rusted Sword.
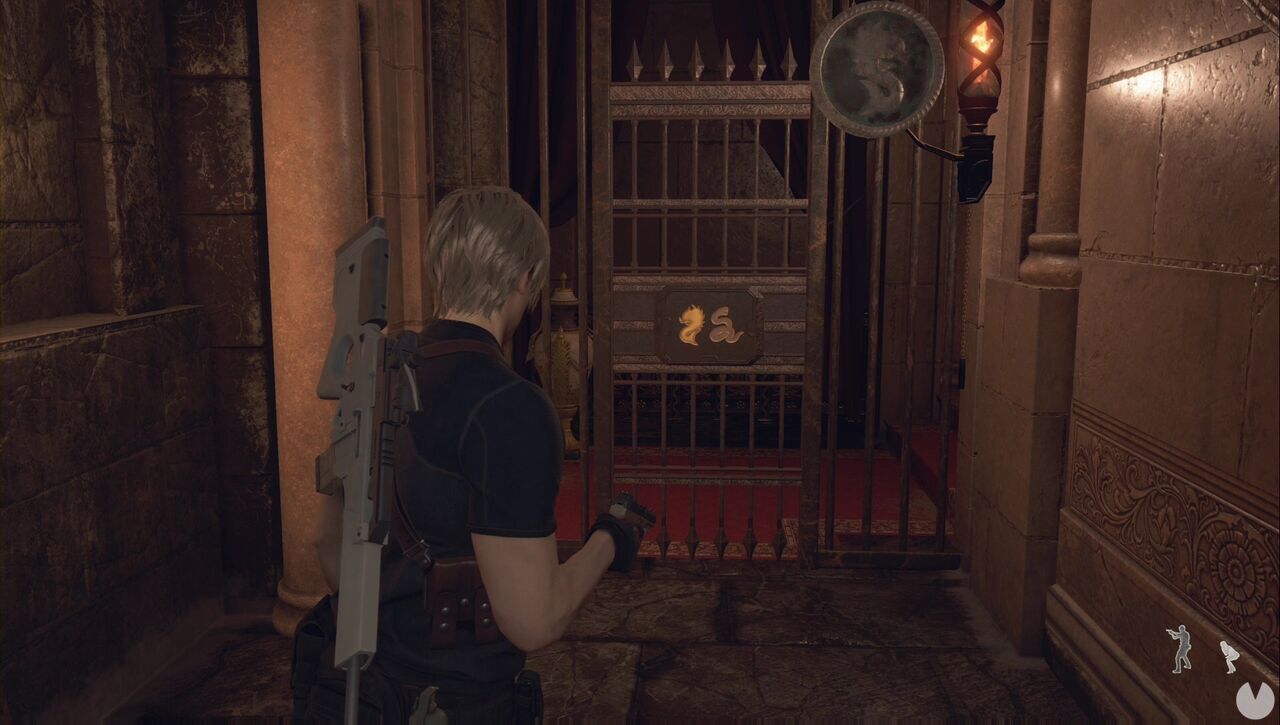
Continue onwards and collect the Golden Bangle in the next corridor before returning to the Audience Chamber, this time on the upper floor rather than the ground floor. In the northeastern corner, you will see a door bearing symbols with a cord beside it, much like the Treasury door. Pulling it will activate the gongs, and you must shoot the two bearing the symbols shown on the gate to open it.
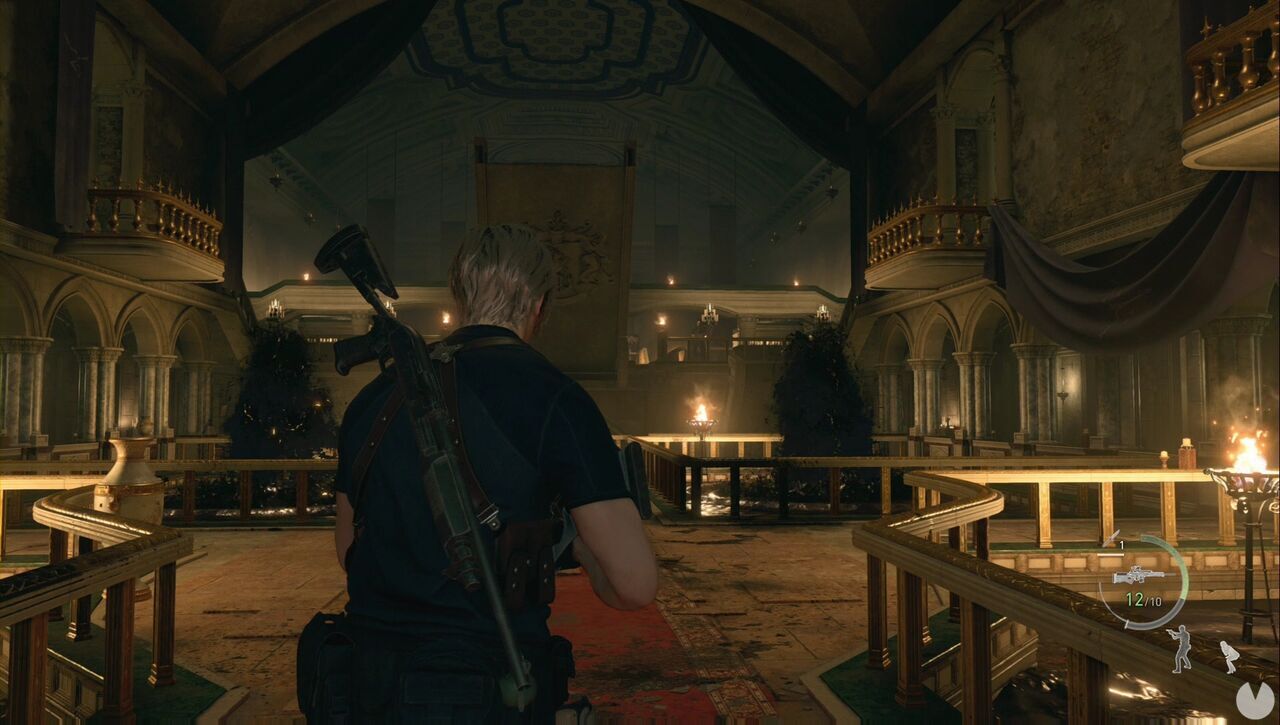
First, lower the ladder on the western side. You can then use the chandeliers to cross to the other side and locate the gongs. If you are having trouble finding them, the ones you need are beside the gate in the northeastern corner and in the southeastern corner. Do not leave through the eastern door. Use the chandeliers to reach the southwestern corner of the upper floor, then drop down to the ground floor. You will land inside one of the enclosed sections of the Audience Chamber, where you can open a chest containing a Golden Hourglass.
Now head east along the upper floor. Open the gate and descend the stairs. There is a safe room below, and you can unlock the western door, but to continue, head east. When you enter the Water Hall, begin by blowing the head off the crossbowman at the far end.
Continue a little farther and more enemies will appear. You must eliminate them quickly before they become a threat to Ashley. Remember that the Stingray can pierce shields and enemies, allowing you to hit several targets at once if they are lined up. If you are having too much trouble, you can retreat the way you came by opening the gate. The enemies will follow you, but they will no longer be able to attack from several directions. Once the area is secure, collect the available resources and head northeast. Before descending the stairs, you can take out the Stingray and shoot the enemies from above.
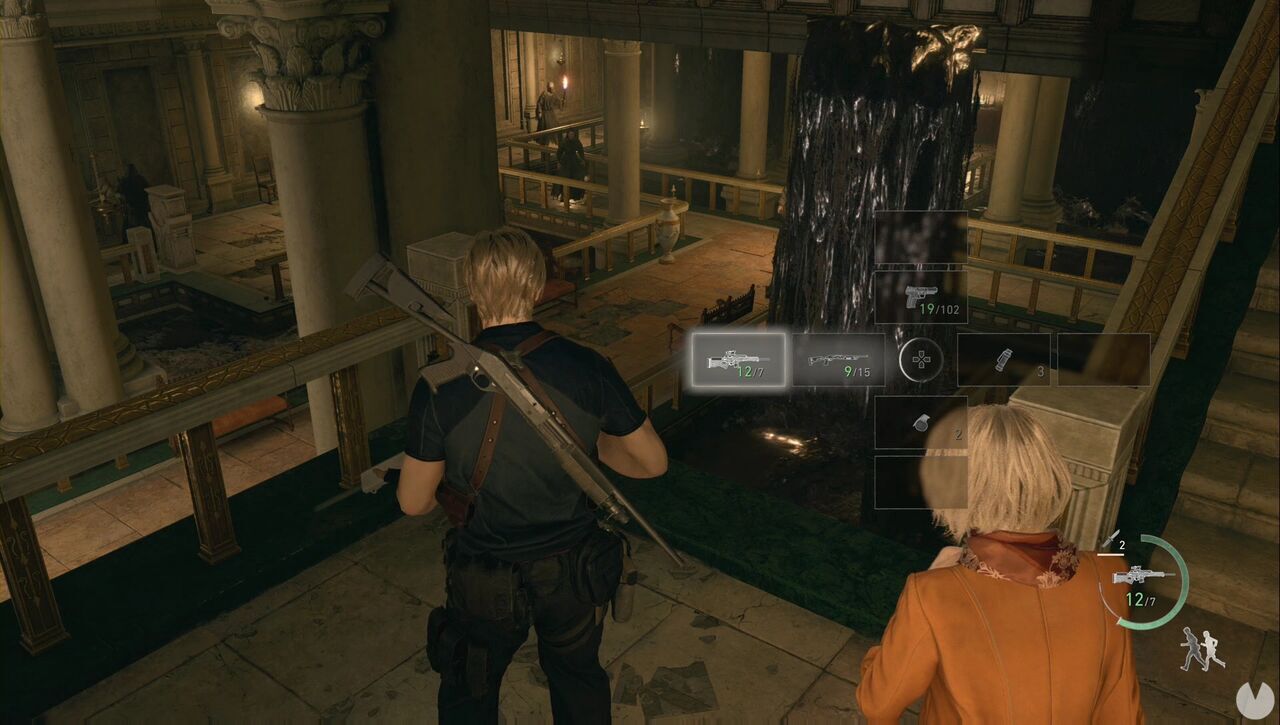
You will not be able to eliminate all of them, but you can kill enough to make the area considerably safer. Head down and finish the job, then collect the Halo Wheel from the statue on the eastern side. Start by using it on the mechanism on the southern side of this lower area to lower a staircase. Be careful, as more enemies will appear when you climb it, including three armed with crossbows. Once the area is clear, use the wheel on the central mechanism.
When you reach the final area, activate the wheel at the far end and have Ashley climb onto the platforms at the sides. You must protect both her and Leon while she activates the other two wheels, allowing you to cross. Remember that there is one wheel on each side, so you must repeat this process twice before you can proceed.
After crossing, you will enter a courtyard where you must have Ashley climb over the northern wall so she can open the door for you. Continue a little farther to begin Chapter 8.
