
The story of Resident Evil 4 Remake allowed Leon and Ashley to reunite at the end of Chapter 9, but not for long. Seriously, this girl needs a tracking bracelet or something, because she gets kidnapped more often than your aunt when you visit your hometown and she insists that you spend the entire day with her and... what? Oh yes, the walkthrough.
As soon as the chapter begins, look south of the cage to collect the treasures you obtained as Ashley: an Elegant Perfume Bottle, an Emerald and a Sapphire.
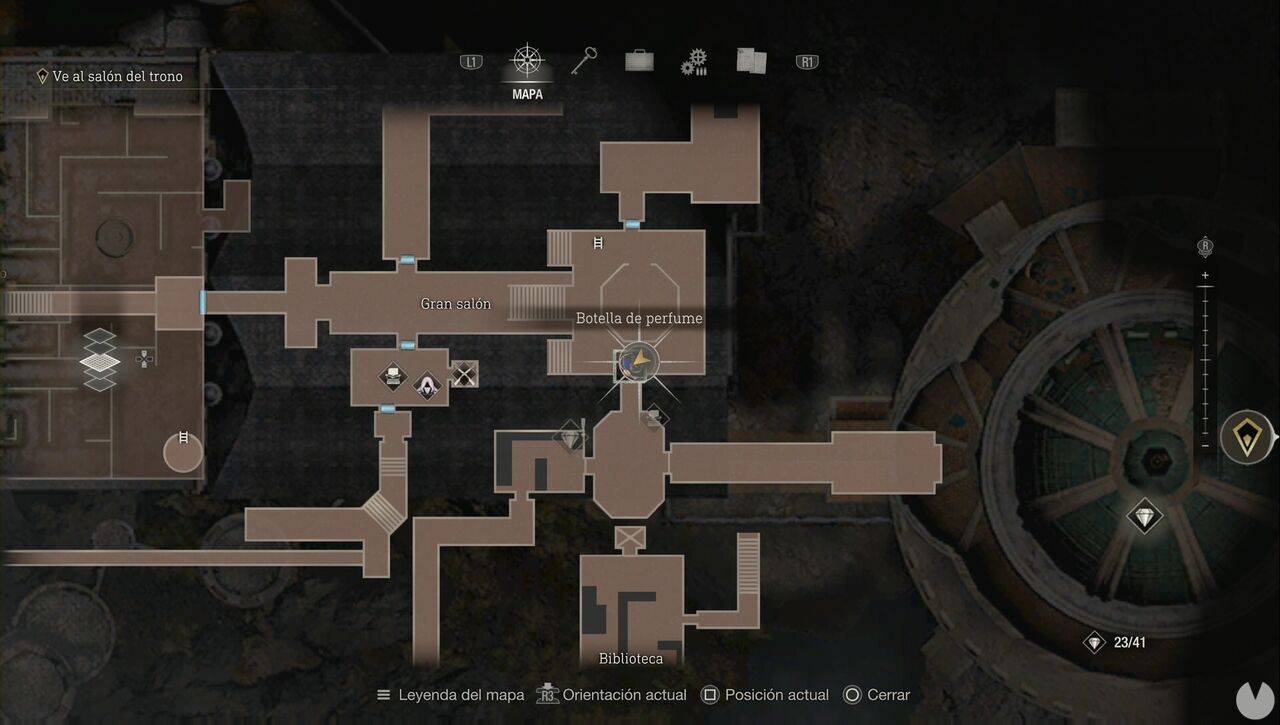
Now enter the room to the south. On a table in the first room, you will find the notice for the Merciless Knight request. Head west. We are going to ignore the main objective for a while so that we can collect plenty of resources and treasures. Incidentally, you will find the third rat for your outstanding request in the corridor before the clock room. If you missed any of them, these are their locations:
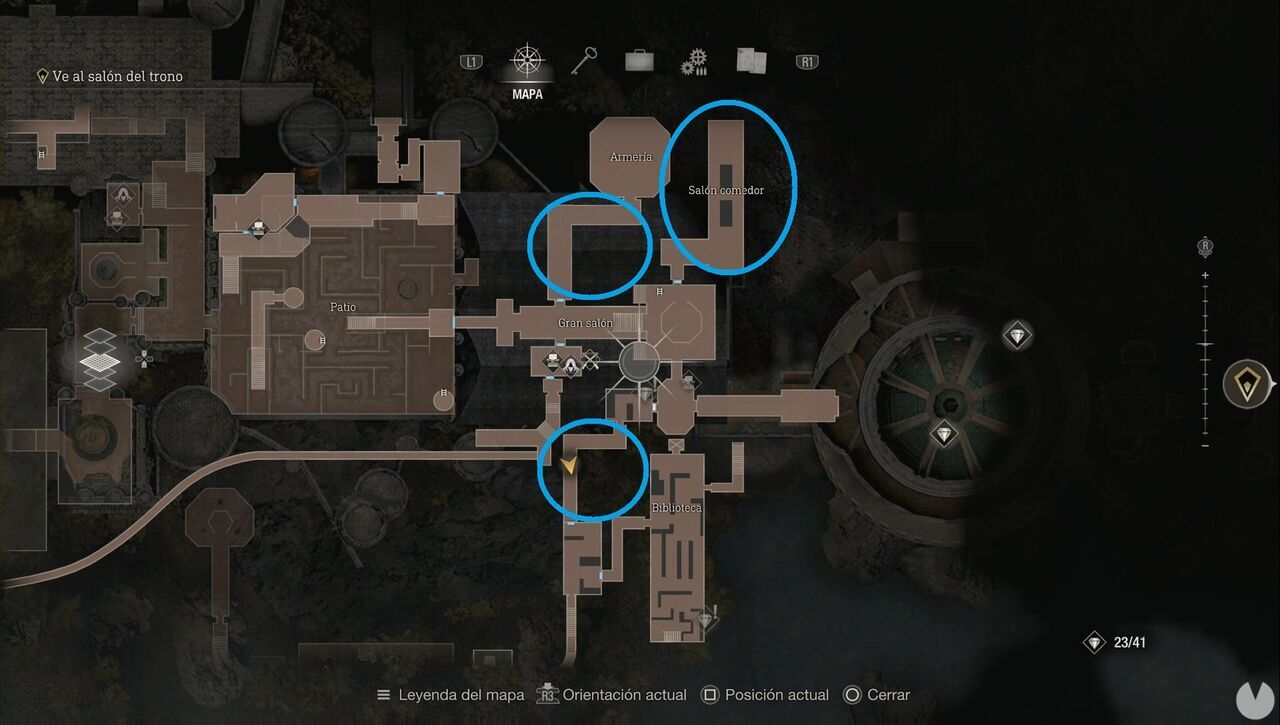
From the clock room, head to the Library, where you will encounter at least two suits of armour. Remember that they drop Spinels, so they are worth eliminating. Now go to the southern end of the room, climb the stairs and open Square Lock Box #03 to obtain the CQBR Assault Rifle. Next, go to the room above and open Square Lock Box #04, which contains a Golden Lynx.
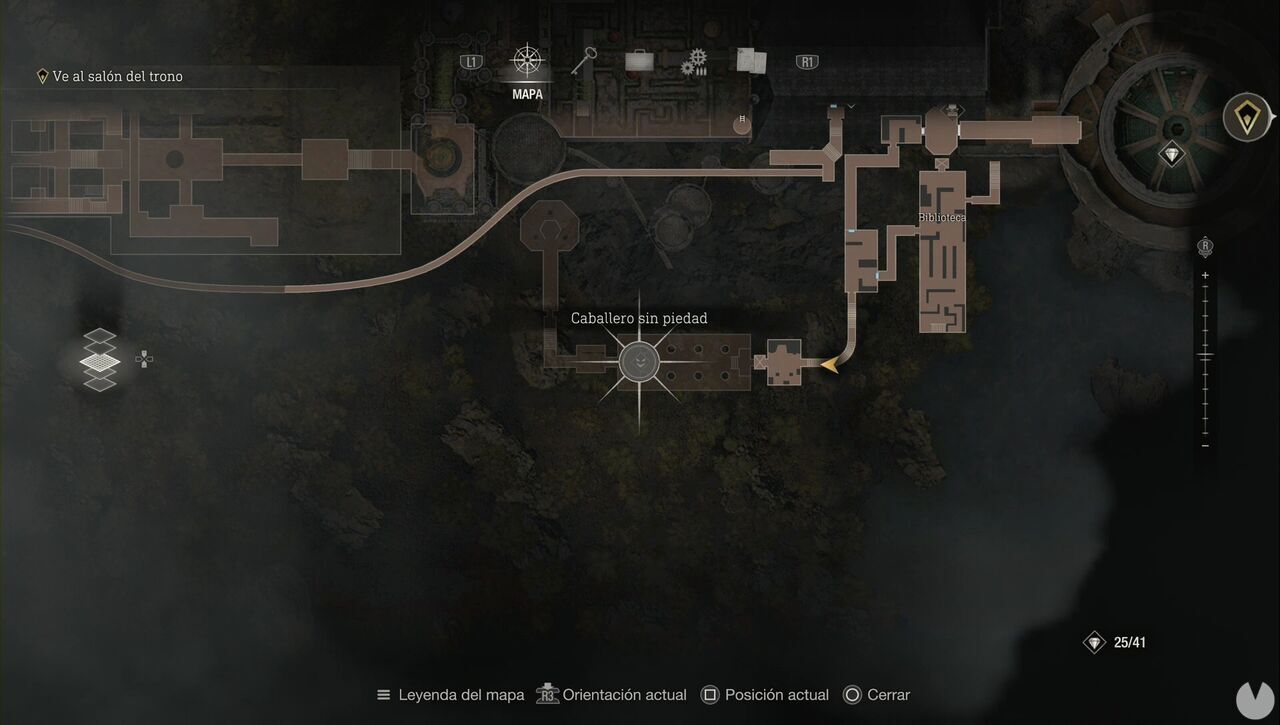
If you wish, go through the gate and you will be able to lower a ladder at the far end, allowing you to return quickly to the Grand Hall. Your objective, however, is to return to the Mausoleum, west of the Library and south of the clock-puzzle room. The Merciless Knight, the target of your other outstanding request, is waiting there. Remember that you can kill it instantly with a Flash Grenade after knocking off its helmet. If the golden armour gives you trouble, stay close to one of its sides and move around it in circles so that it can never hit you.
Return to the Merchant and turn in the requests, as well as selling anything you no longer need. We recommend having 80,000 pesetas available to buy a Rocket Launcher and store it. Trust us: it will be worth it, we guarantee it. You can now head east. The first Novistadors will attack you in the corridor containing the mushrooms. They are essentially giant insects. They are weak but extremely fast and, like Plagas, die instantly when hit by Flash Grenades.
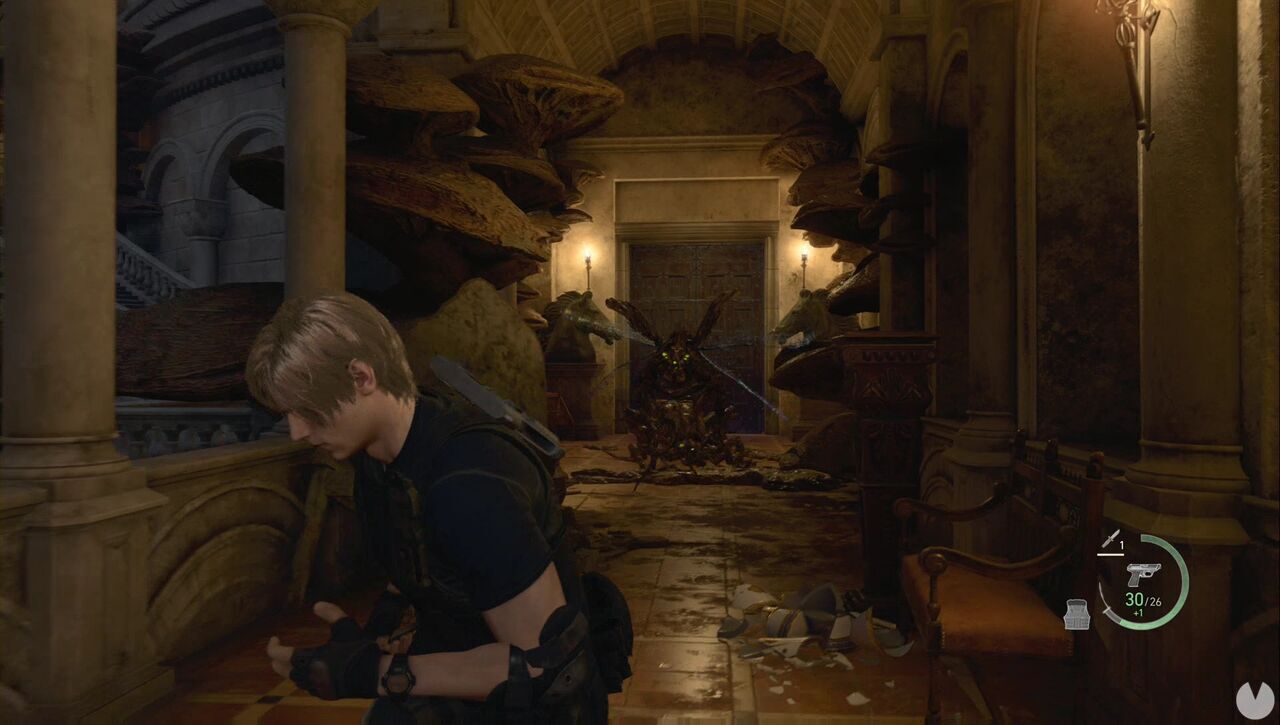
The gate is locked, so jump over the railing on the left, eliminate another couple of enemies and climb the stairs. The room above contains several resources and a note. In the next room, descend to the ground floor while watching out for the insects. Be careful, as some of them change colour and camouflage themselves. It is worth killing them all because they often drop ammunition and treasures. Now open the map and you should see two treasures on the ground floor: a Ruby and an Ornate Beetle.
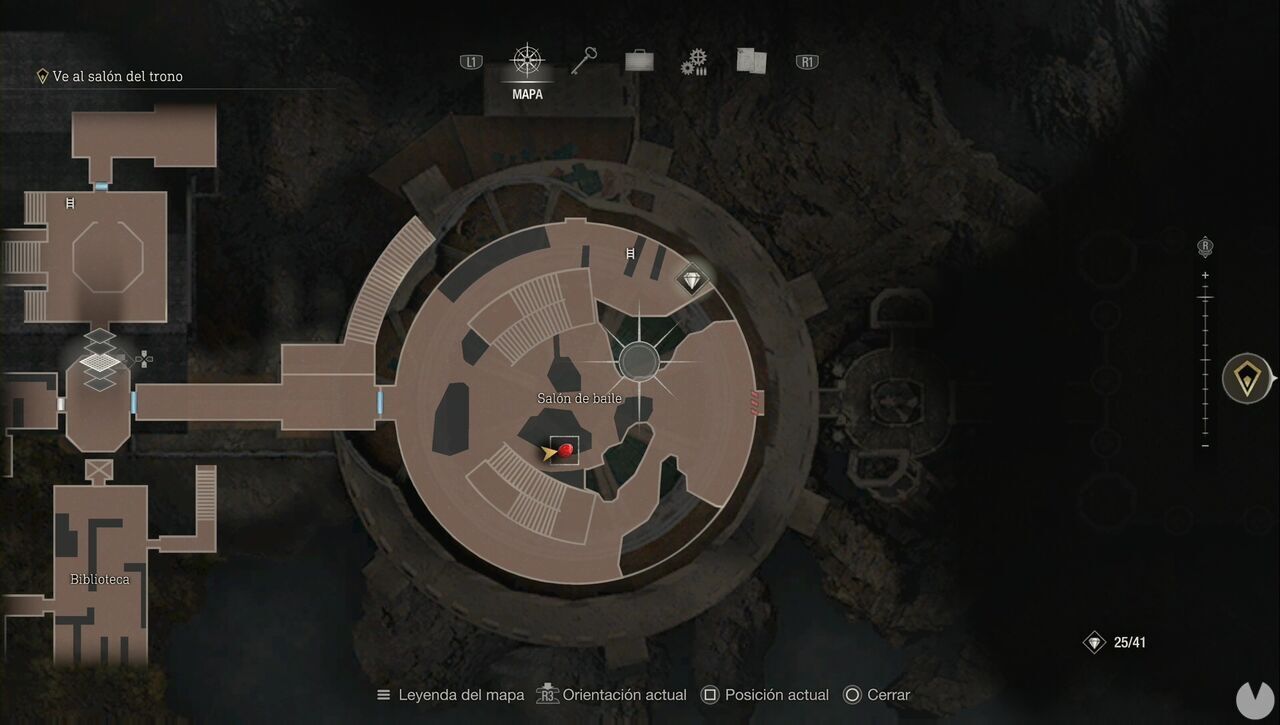
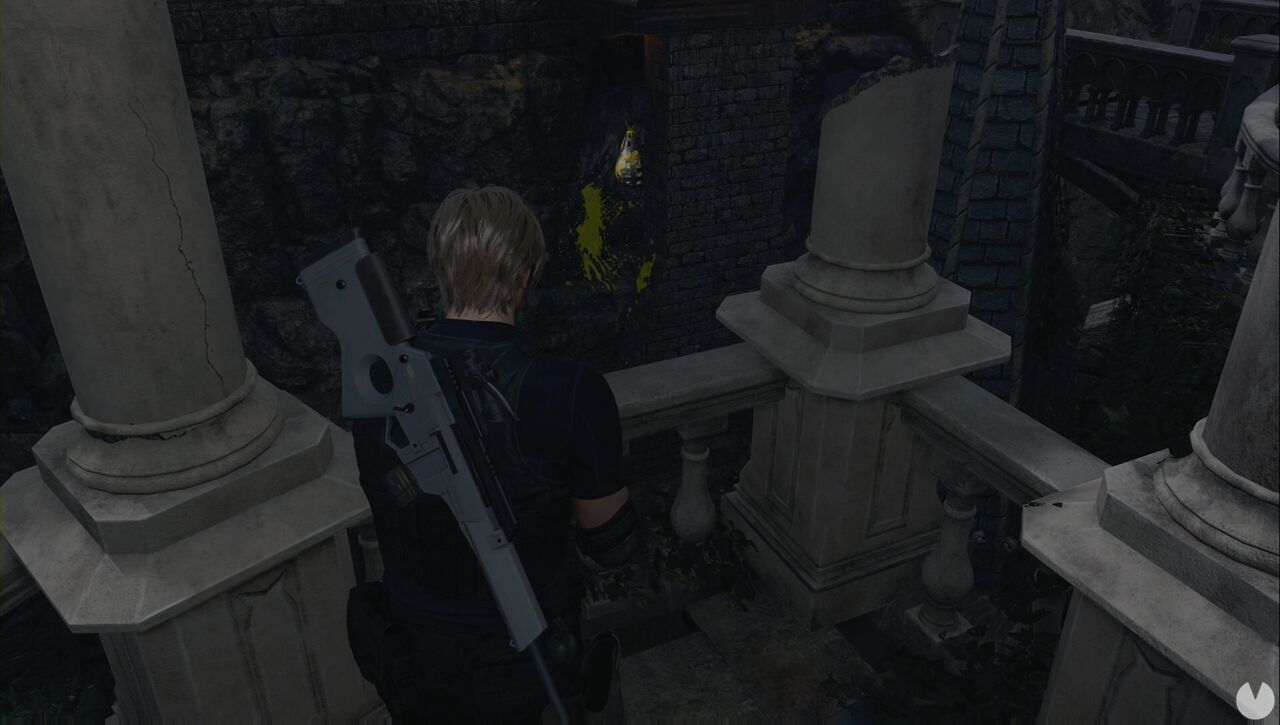
After collecting them, climb the ladder beside the beetle's chest in the northeast. You will encounter some enemies and a lever that you must activate. Return to the ground floor and climb the southern staircase. Besides enemies and resources, you will find another lever that must be activated so that you can pass through the portcullis to the east. Upon reaching the bridge, shoot the counterweights on the left and right to lower it. The one on the left is quite low, so you must move to the northern balcony before you can shoot it.
After passing through the door, you will find yourself in a room containing Ganados and two Garradors. As you may remember, these creatures are completely blind. We first recommend waiting for the Ganados to reach the bottom of the staircase, then throwing a grenade to eliminate them. Crouch and the Garradors will be unable to locate you. More Ganados should descend from the upper floor, so dispatch them quickly before the Garradors catch you. Now look for the bells scattered around the area.
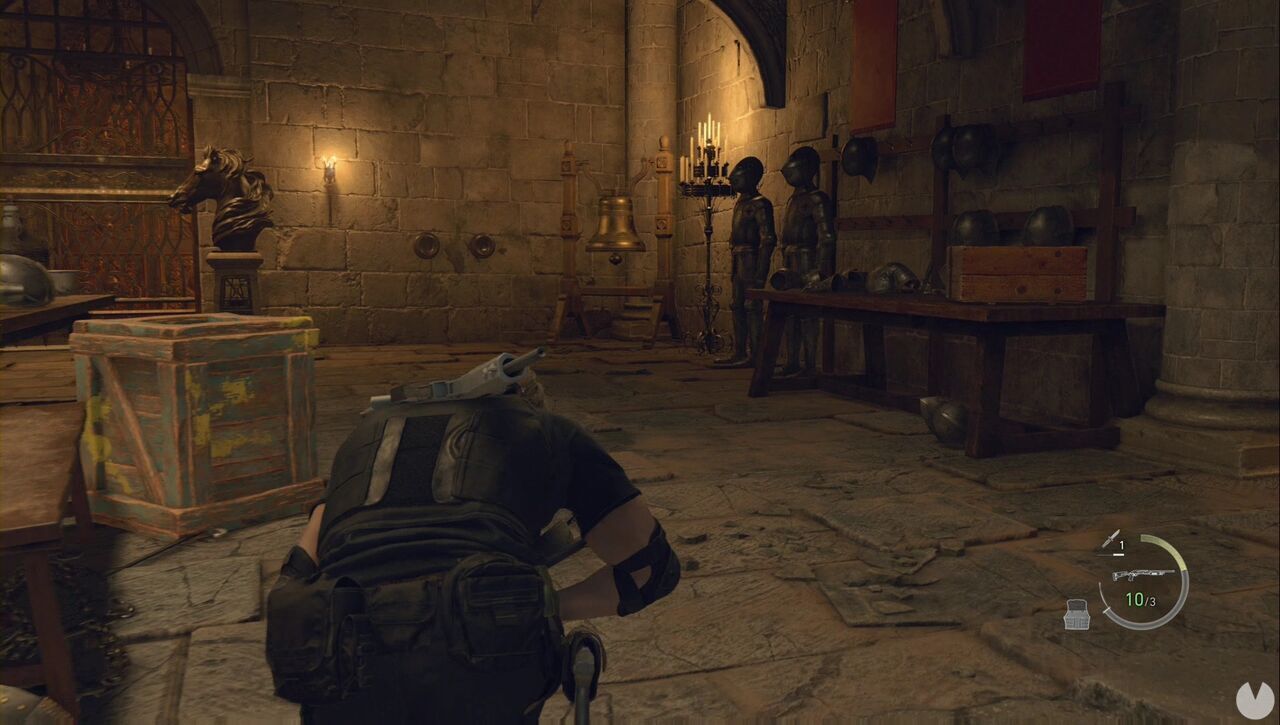
The idea is to strike a bell with your knife or shoot it with a handgun, then move away. This will attract one of the Garradors, which will become stuck against the bell and allow you to shoot it several times at close range with a powerful weapon such as the shotgun. Another option—and honestly the one we recommend—is to wait until both Garradors are together and throw any Heavy Grenades you have. Once you have killed one of them, the other will not pose as much of a problem. Bear in mind that the Ganados will continue to appear, although the Garradors can kill them.
Once the area is clear, collect the two Unicorn Horns and use them to open the door. Continue until a cutscene plays. Cross the cave and, after crouching beneath an obstacle, pay close attention to the water: Novistadors are hiding beneath it. You can detect them by watching for ripples and their glowing green eyes.
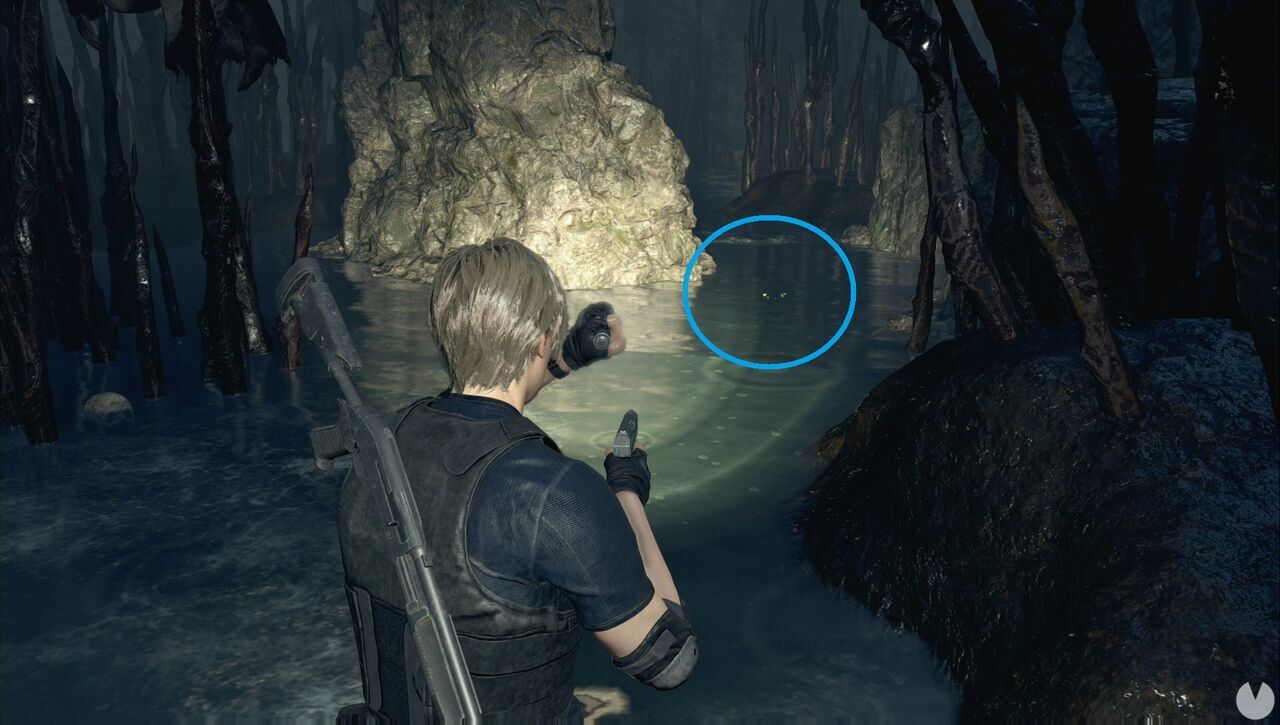
Use the map to navigate, as the area is too confusing to explain clearly. Upon reaching the northwest, circle around the structure to find a corridor on the northern side that leads to an Elegant Crown. This crown can be sold for 108,000 pesetas if you inlay it with three Red Beryls and two Yellow Diamonds, so you should either have those gems ready or wait until you obtain them. Now interact with the wall to open it and climb into a sewer. Look out for the Red Beryl hanging inside a lantern along the way, as well as the resources you can collect.
Continue onwards until you meet the Merchant. If you did not do so earlier, now is the time to buy the Rocket Launcher and keep it in your inventory. You can sell the Elegant Crown. If you do not have enough room, store the shotgun or rifle, as you will not need them.
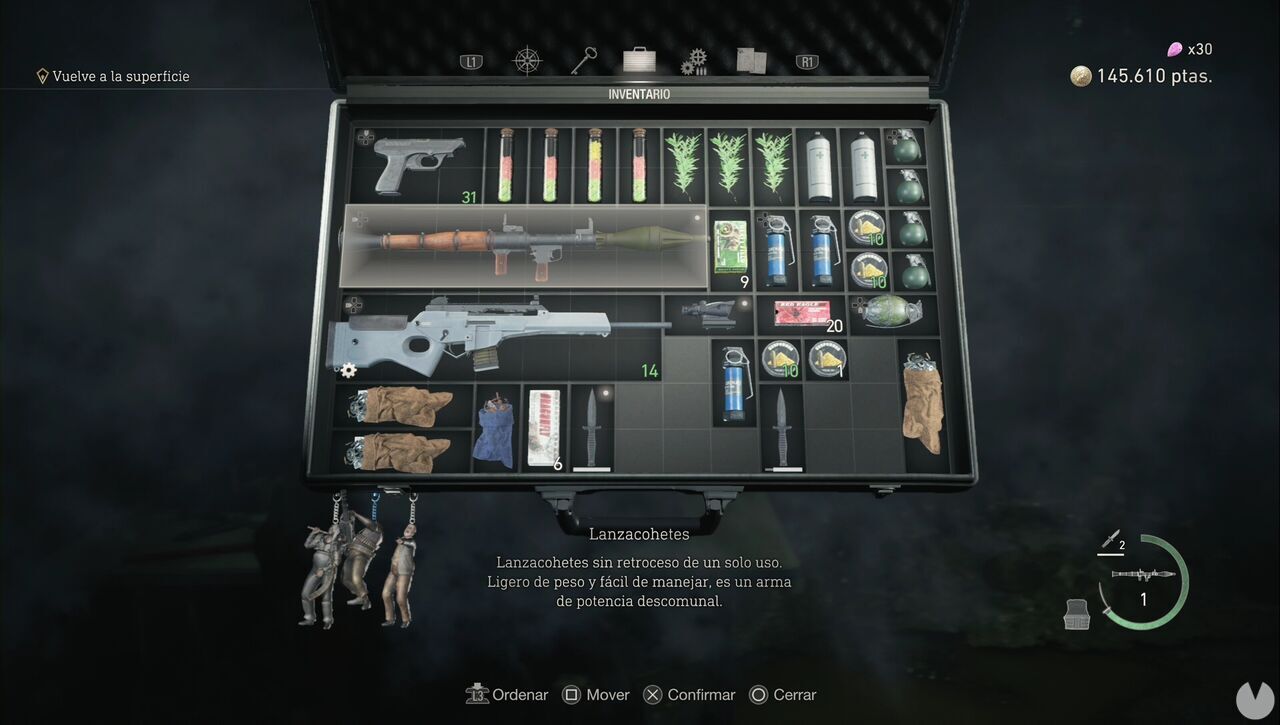
Before continuing, destroy Clockwork Castellan #10. You will see it behind some bars if you look northeast from the junction.
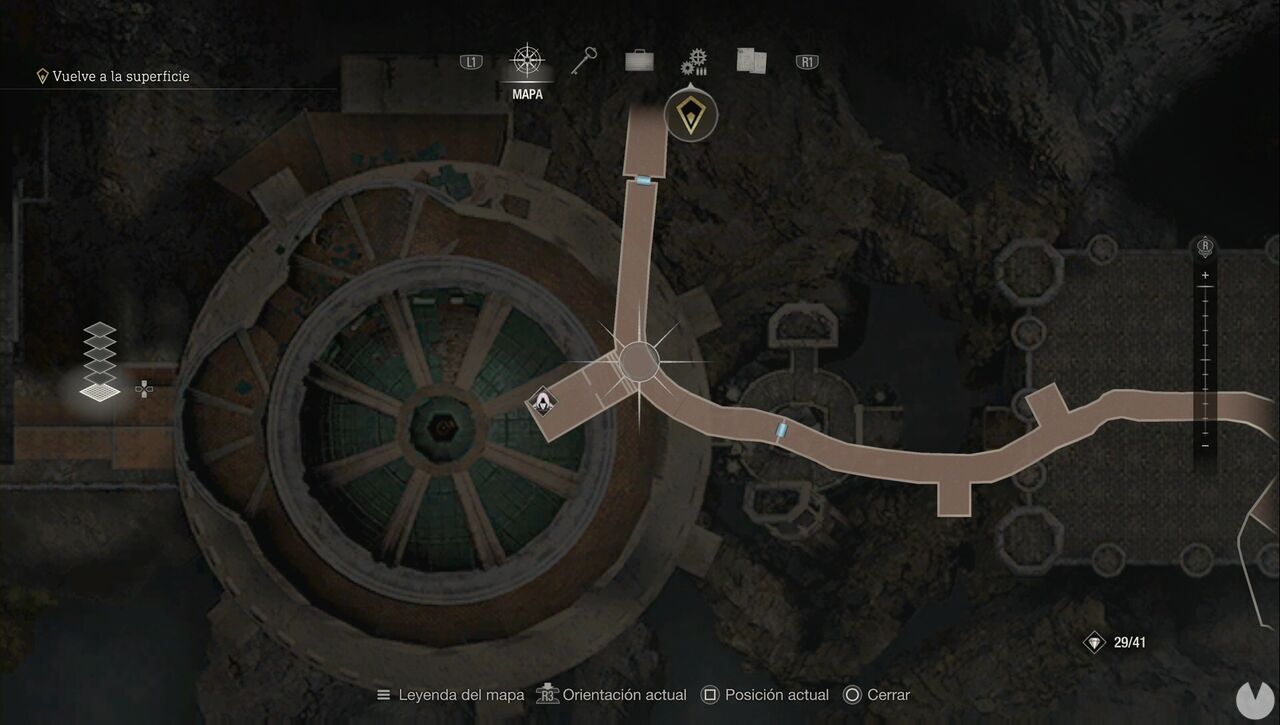
As you continue along the next corridor, take note of the green-lit switch on the right. This button activates a liquid nitrogen shower, so make sure you remember its location.
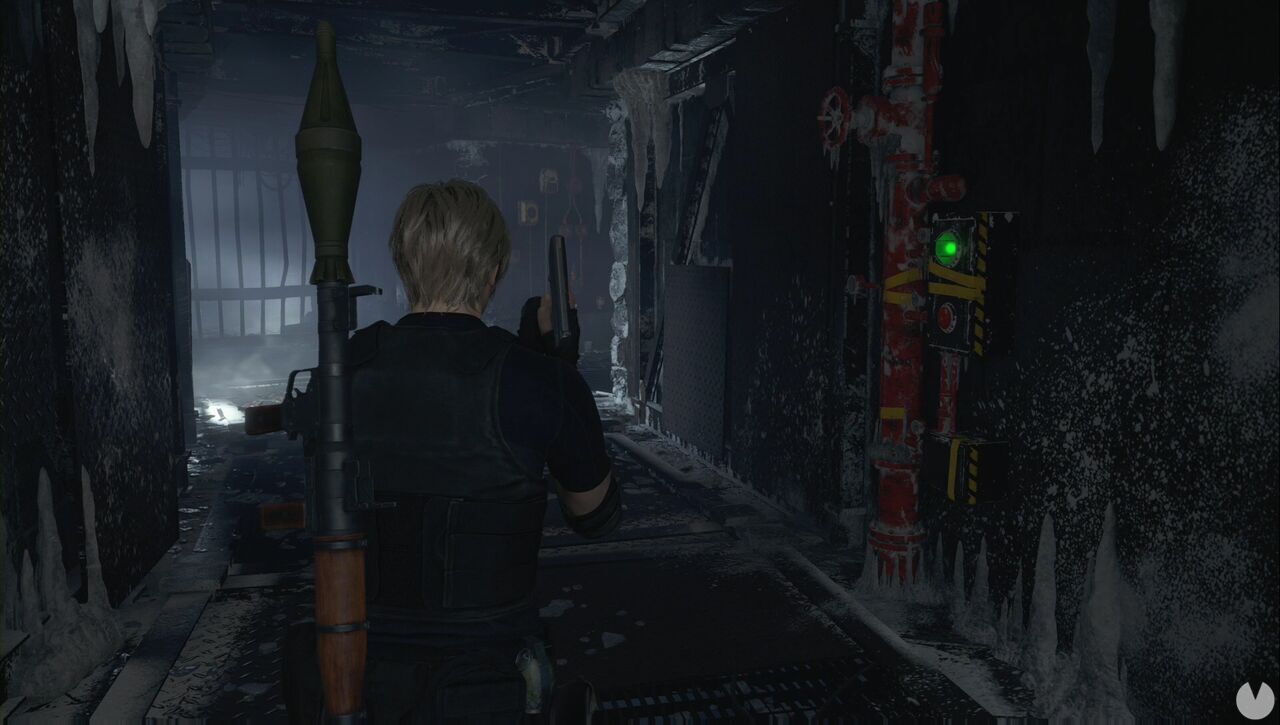
Follow the only available path until a cutscene plays. Continue onwards and, when you reach the blast doors, head north and activate a switch. This will open the doors. Continue to the northern end, avoiding the monster's attacks whenever its tail appears. At the end, you will find another switch. After activating it and turning back, Verdugo will appear. Turn around: there is a liquid nitrogen shower in this same room. Activate it when Verdugo is nearby to freeze it.
Without wasting a moment, take out the Rocket Launcher and kill it before it thaws. The creature will drop the Gold Monocle, which does not count towards your treasure total but can still be sold as one. Using the Rocket Launcher to kill the creature may seem expensive, but it is one of the most dangerous enemies in the game and would otherwise consume an outrageous amount of ammunition. All the rooms will now be open, allowing you to collect resources and the Yellow Diamond from the tunnel.
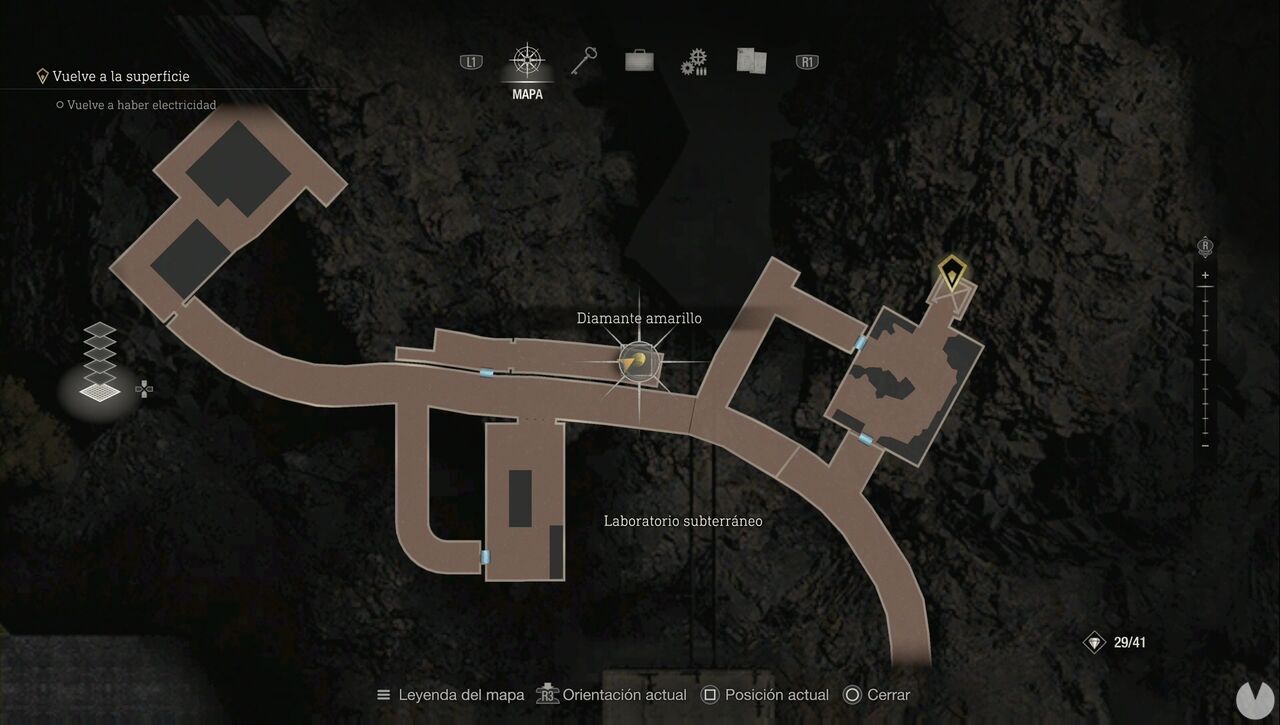
You can now enter the lift room and travel upwards. Once the cutscene ends, you will proceed to Chapter 11.
