

The Hospital Underground has led us directly beneath the city. The deeper we go, the stranger everything becomes. What secret is Umbrella trying to hide beneath Raccoon City? The answer lies inside the NEST 2 laboratory.
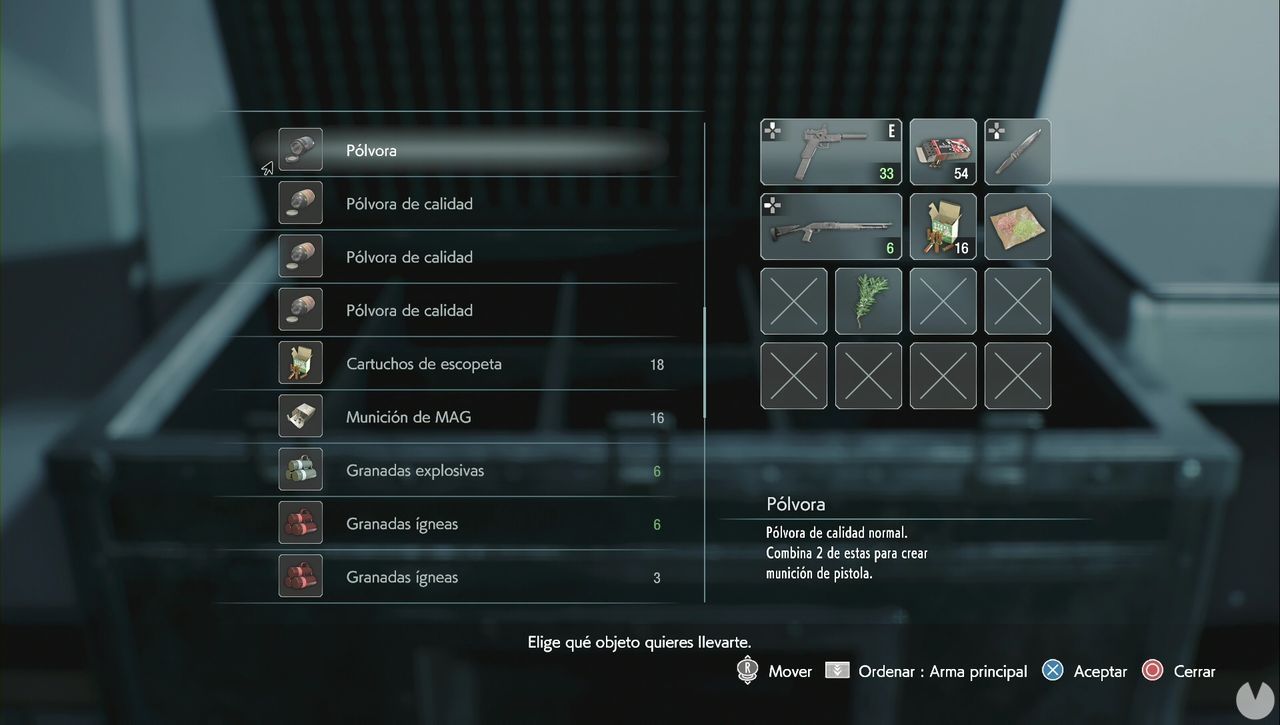
Follow the only available path. The door to your right is locked, but the room at the end is a safe room. Inside, you will find High-Grade Gunpowder, a Green Herb, and the NEST 2 Employee Regulations document. Picking it up will also give you the NEST 2 Map. Personally, we recommend that you start using your stockpiled Gunpowder if you haven't already done so. In other words, start crafting ammunition for the magnum—prioritize using High-Grade Gunpowder for this instead of Shotgun Shells—as well as Handgun Ammo and as many Flame Rounds as possible by combining Explosive A with Explosive B. You should have enough supplies to use the Shotgun if you want.
Go up the stairs beside the room and turn left, heading west. The corpse beside the door is a zombie. At the end of this dead end, there will be another zombie beside a wooden crate and the Isaac Graves' Diary document. Return to the main hallway and open the door. You will find High-Grade Gunpowder in the southeastern corner and Handgun Ammo in the southwestern corner. In the western part of the central area is the machine used to create the vaccine, although we cannot use it yet.
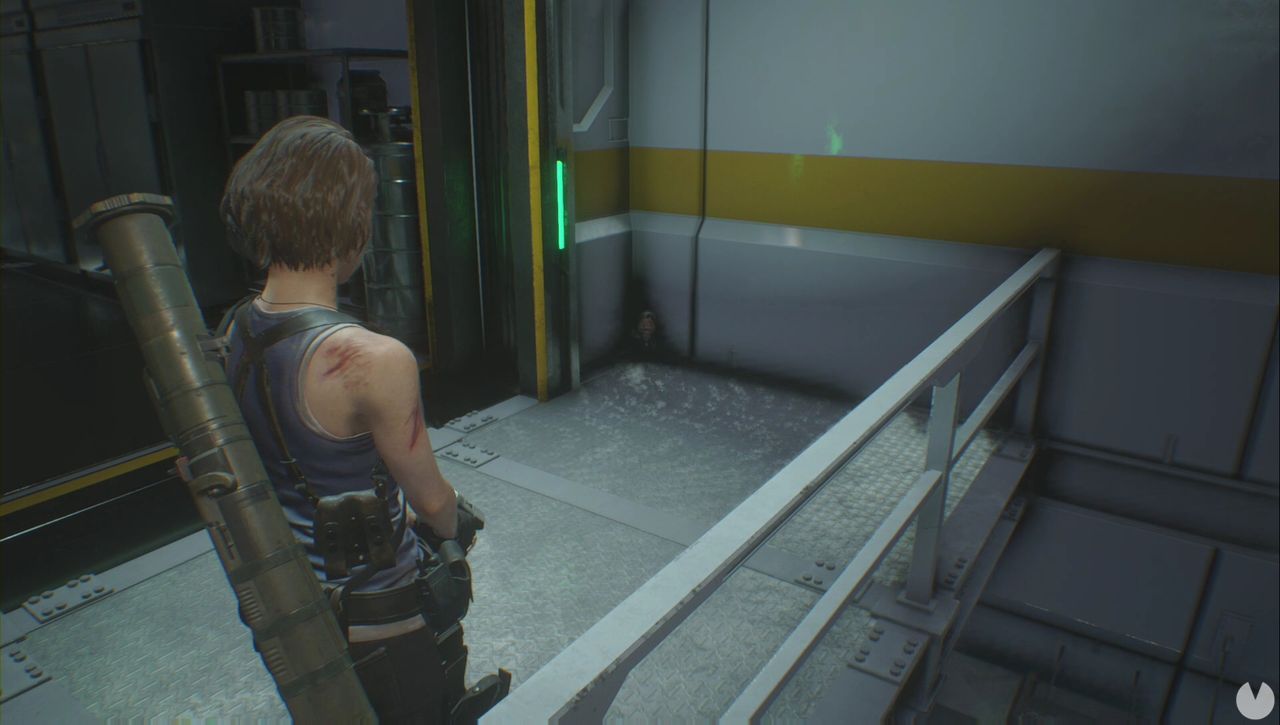
Collect the Essay on Vaccine Synthesis document from one of the stretchers beside the machine. Now interact with the machine with the green screen in the northeastern corner. After a brief cutscene, you will obtain the Override Key. Before leaving the area, destroy the Mr. Charlie on the balcony.
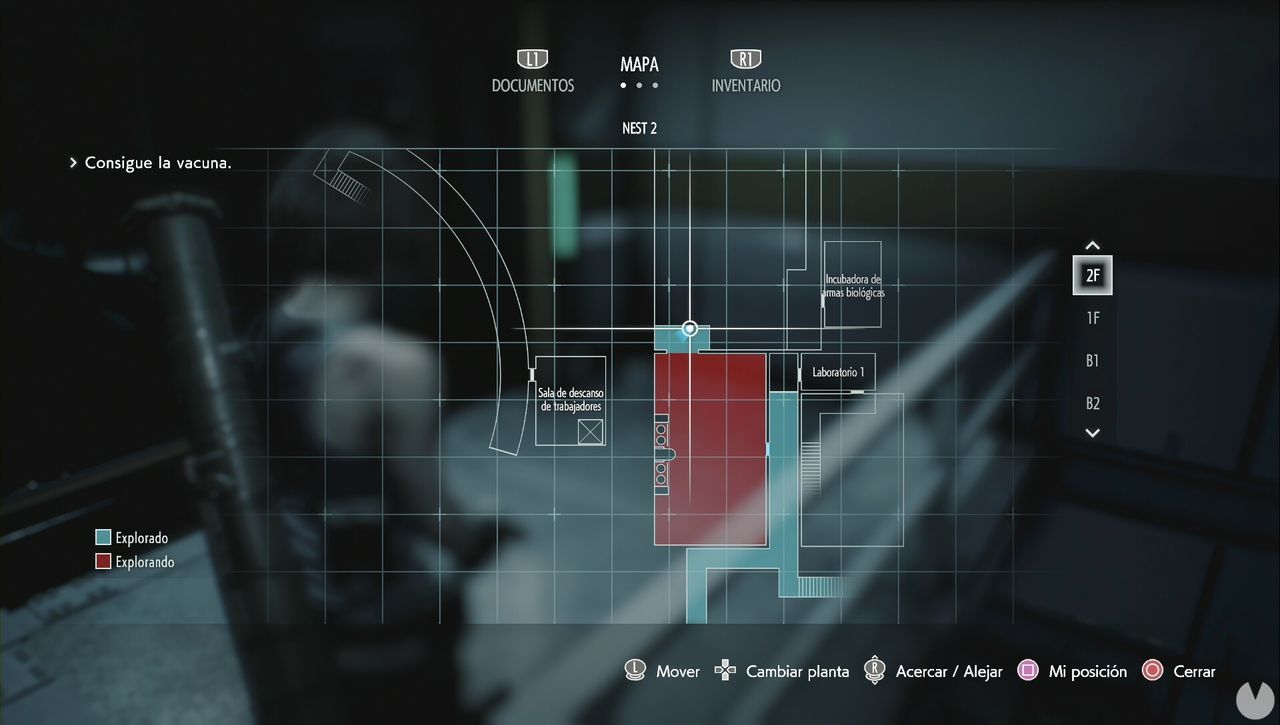
Go back downstairs and use the Override Key to open the locked door in the hallway.
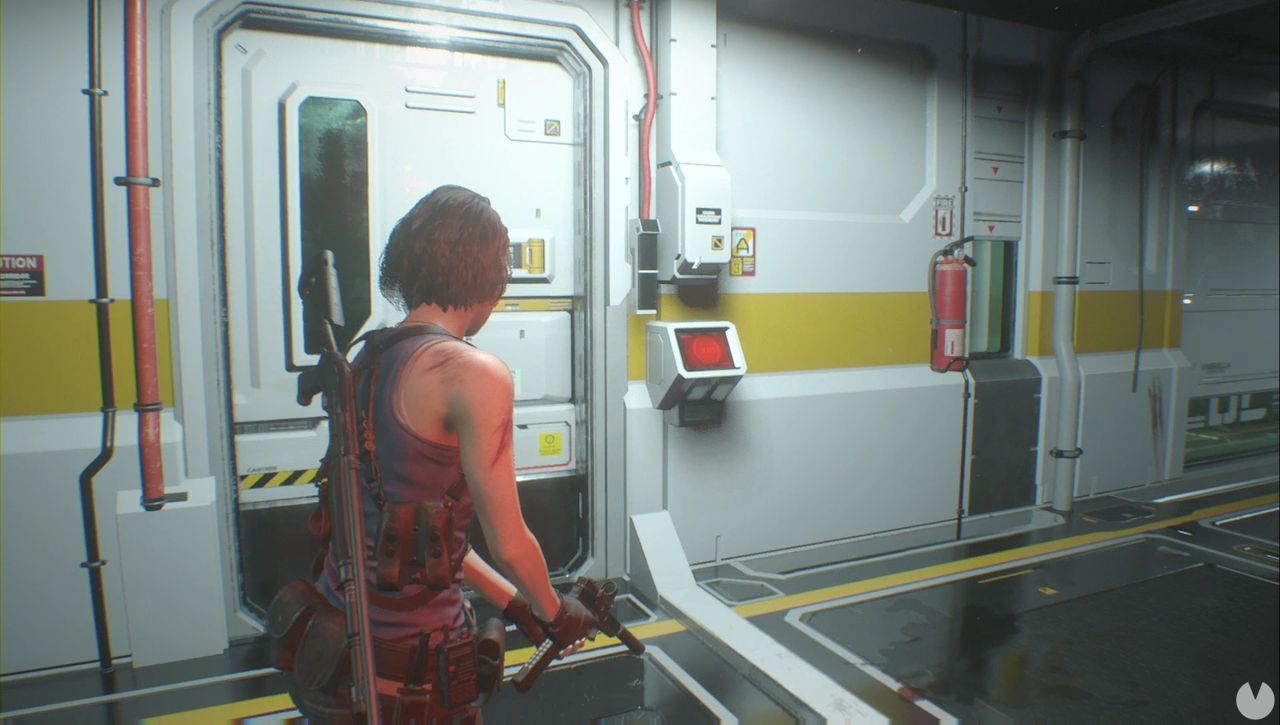
Be careful when you enter: a zombie will attack from the right, but the worst part is that three Pale Heads will also appear. One will crawl from the direction the zombie came from, another will walk toward you from the same direction, and the third will come down the stairs. After killing them, don't go upstairs yet. Collect the Shipping Notice from the table at the foot of the stairs, then go to the opposite end of the ground floor to find Explosive A, Shotgun Shells, a Green Herb, and a door. Immediately after opening it, turn right and collect the Scientist's Dying Message from the corpse.
There is a Red Herb in one corner of this room, with some Gunpowder nearby and Acid Rounds inside a case beside the railing. Go down the stairs. Once you turn the corner beneath them, kill a zombie and activate the machine with the red light. Before continuing, turn around to find a case containing a First Aid Spray. Then go through the door you just unlocked.
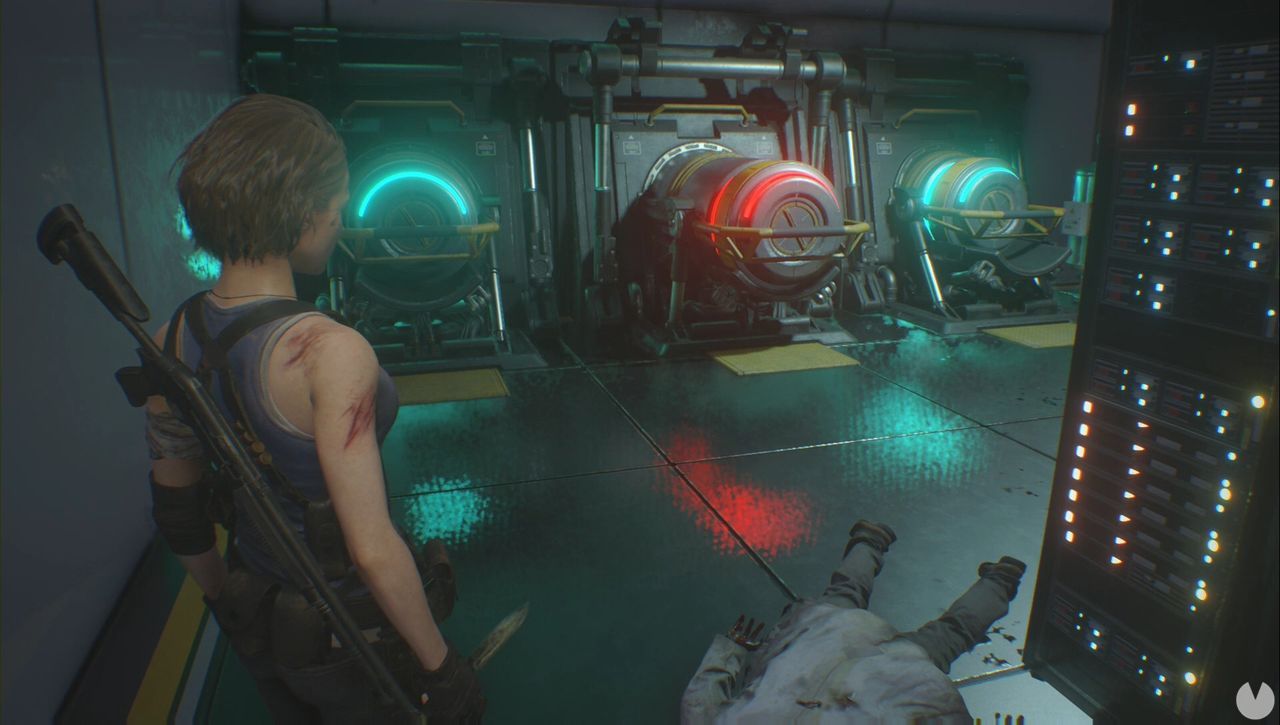
There is a case containing Explosive B behind the first cylinder. Use the elevator at the far end to go upstairs. Near the railing by the door at the end, you will be attacked by one zombie, one Pale Head, and two tentacle zombies, so be careful. The case you probably noticed at the far end contains more Explosive B. Enter the small laboratory and kill another zombie. You will find the Expression of Concern on a table. A crate in the corner contains more Explosive A, with some Gunpowder beside it. The cabinet with the green light contains the Adjuvant Sample.
As you return to the safe room to organize your inventory, exactly what you expect will happen. Four Hunters will attack you in pairs inside the hallway containing the specimen tanks. If you have enough firepower, don't try to escape: kill them.
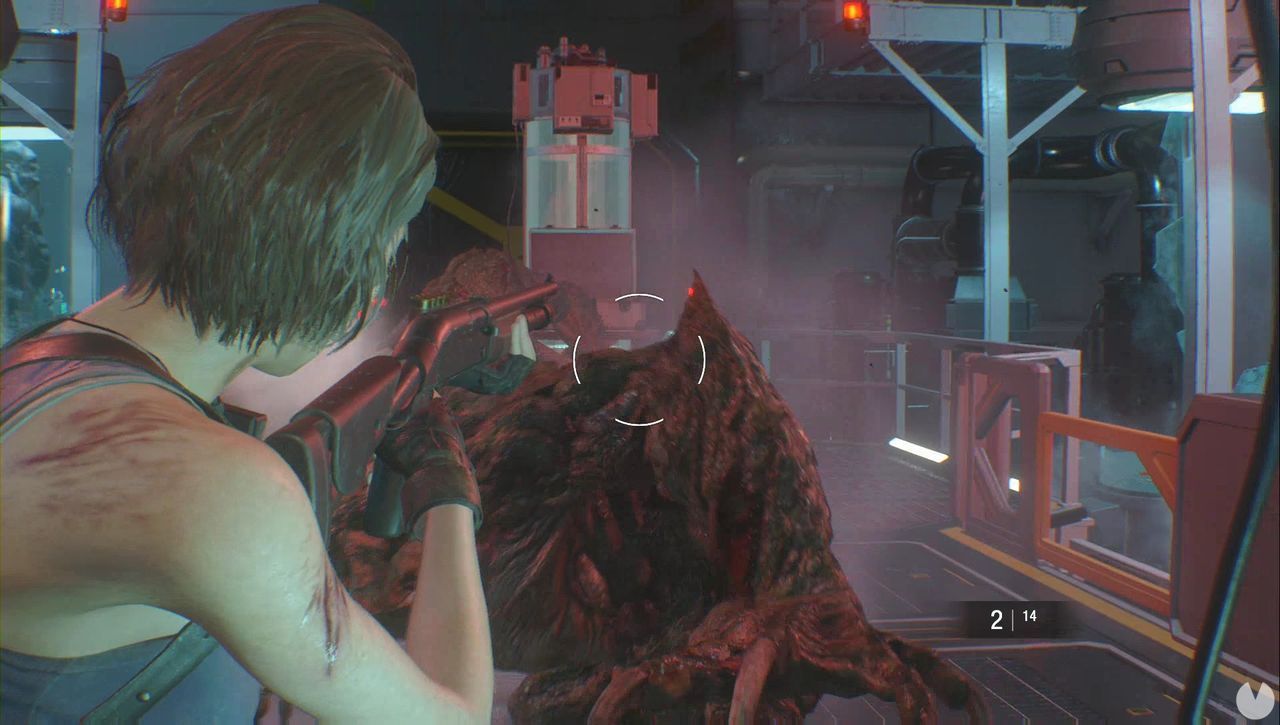
Once you have freed up some inventory space, return to the room off the hallway near the safe room and go up the stairs that one of the Pale Heads previously descended. You will enter a room where the zombie at the far end will get up. Once the area is safe, interact with the machine and collect the Antigen Sample. You will find the Weapon Authorization Request on the table to the left, with some Gunpowder beside it. Open the door to reach the section behind the crates on the upper walkway. In addition to some Handgun Ammo, you will find a Mr. Charlie.
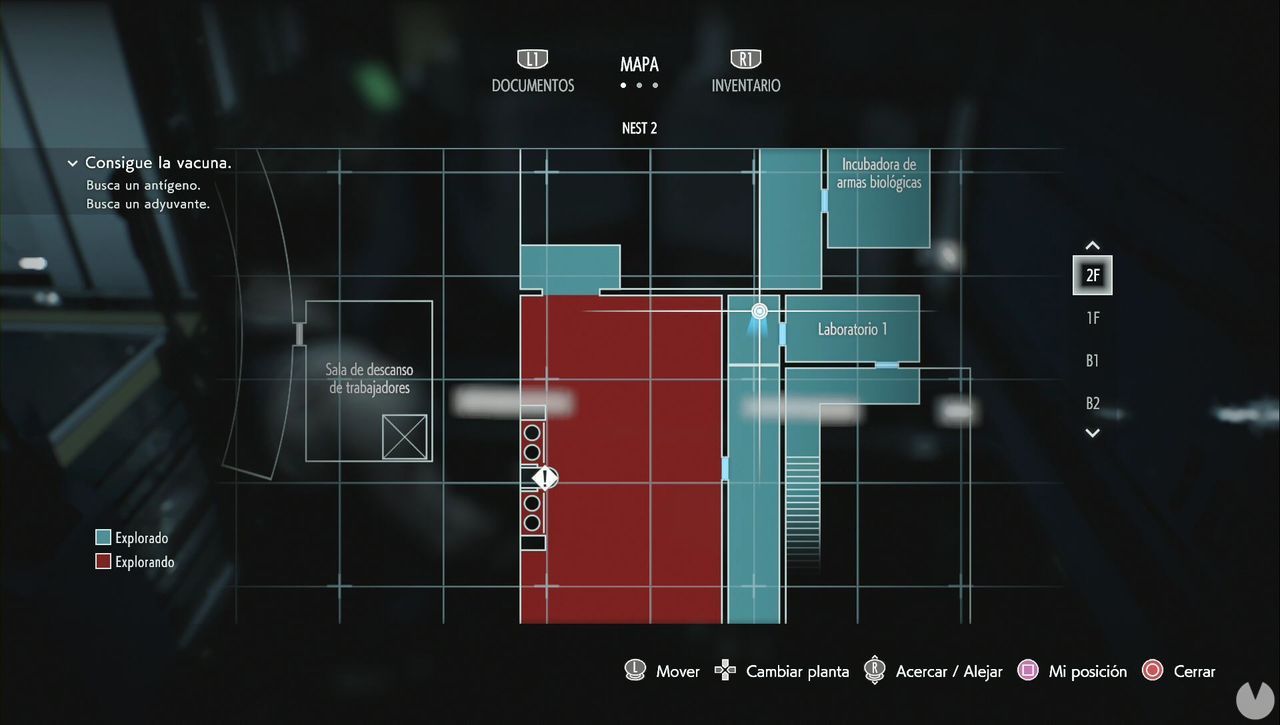
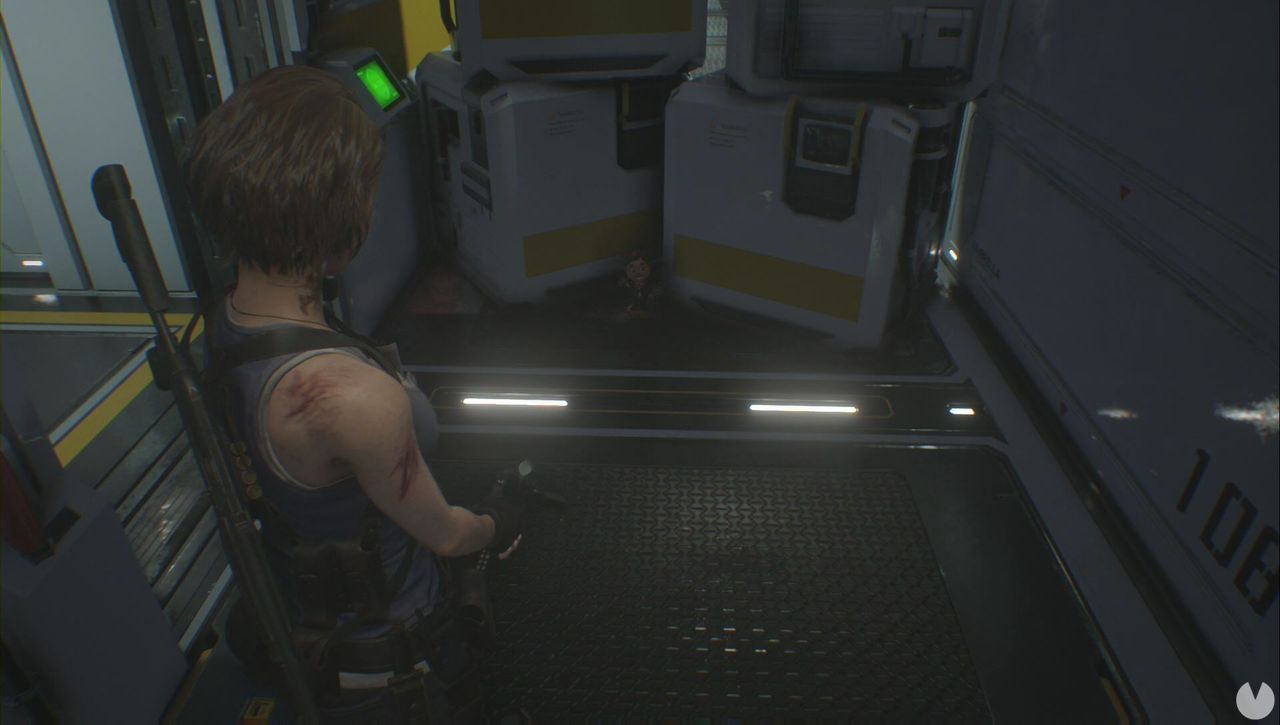
Now that you have the Adjuvant and Antigen Samples, return to the vaccine synthesis room. Watch out for the Pale Head that will attempt to surprise you by dropping through an opening in the room before the hallway. If you move quickly, you can run straight past it. Combine the Adjuvant and Antigen Samples to create the Vaccine Base, then insert it into the machine. You now need to solve a puzzle. Each button changes its corresponding percentage, and you must make all three displays read 50.
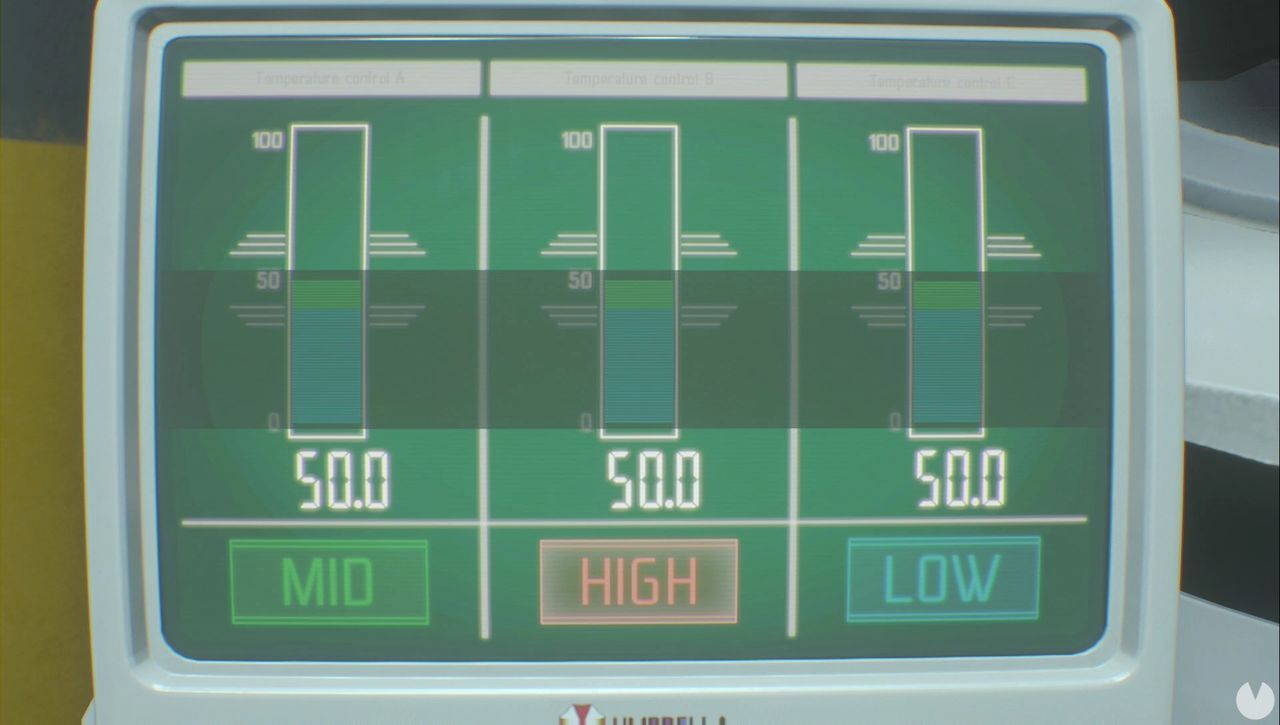
After solving the puzzle, collect the Vaccine.
After the cutscene, follow the only available path. Follow the on-screen prompts to survive. You will reach a safe room containing several items you can collect while preparing for what comes next. Take all the heavy ammunition you have for the Grenade Launcher, but also bring a fully loaded Handgun. You shouldn't need any spare Handgun Ammo. Save your game in case your current preparations aren't enough. You can collect the Disposal Center document beside the door. Now go through it.
There is a case containing Flame Rounds on the walkway to your left. Then go down the stairs to trigger a cutscene.
Once again, we must fight Nemesis. His attacks are the same as during the Clock Tower battle. Shoot him several times to trigger a cutscene. Your first priority now is to kill the two zombies and wait for Carlos to tell you the number of the tank Nemesis is hiding behind. Once you know the number, take out the Handgun and shoot the red light or lights on that tank. This will knock Nemesis down, giving you an opportunity to shoot his heart.
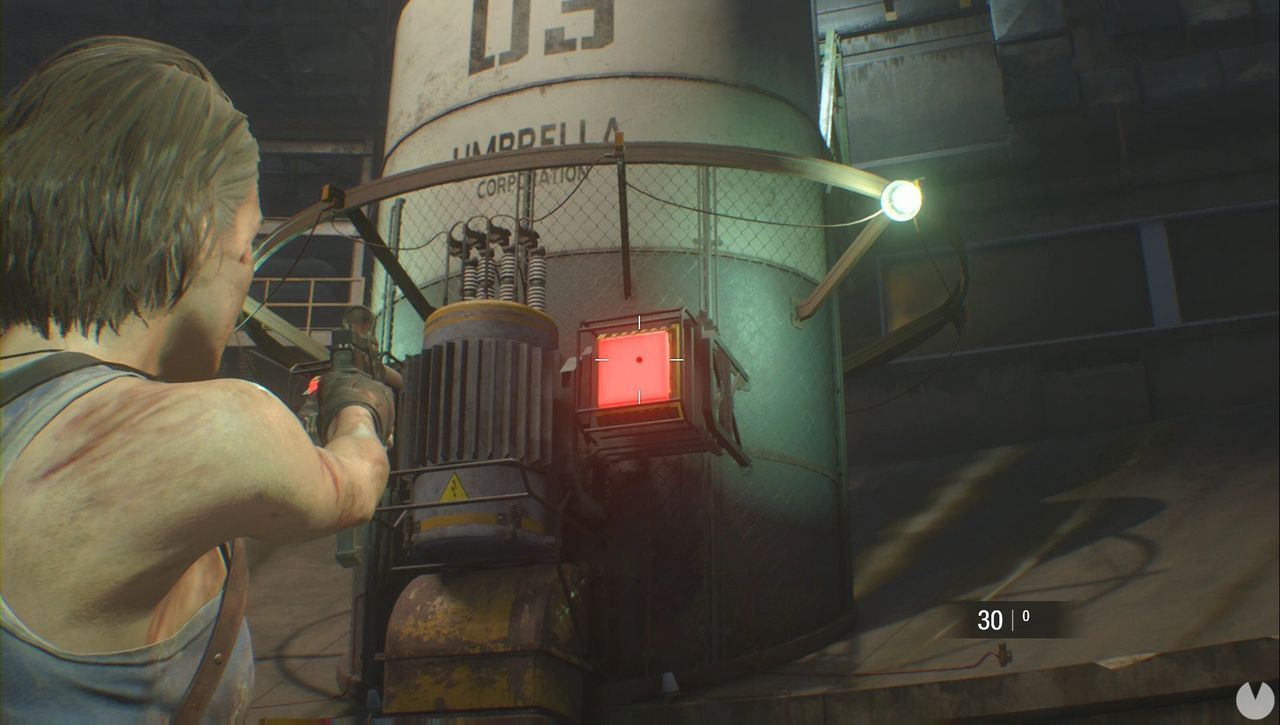
After dealing enough damage, Nemesis will remain in front of the tanks instead of hiding behind them, and you won't have enough time to kill the zombies. Focus on the red lights. Carlos will handle the rest, while Nemesis will also kill the zombies himself. Pay attention while he runs along the walls: if Carlos shouts "Watch out!" Nemesis is about to leap directly at you without stopping on a tank. If you see him raise his tentacle while on the ground, fire a grenade at him. Otherwise, he will perform a multiple tentacle attack that is extremely difficult to dodge. Keep attacking until he falls.
Follow the only available path and collect the items inside the safe room. Pick up the Weapon Spec Sheet from one of the shelves. Take out the magnum and all the ammunition you have or can craft for it, then continue until a cutscene begins: the creature is back.
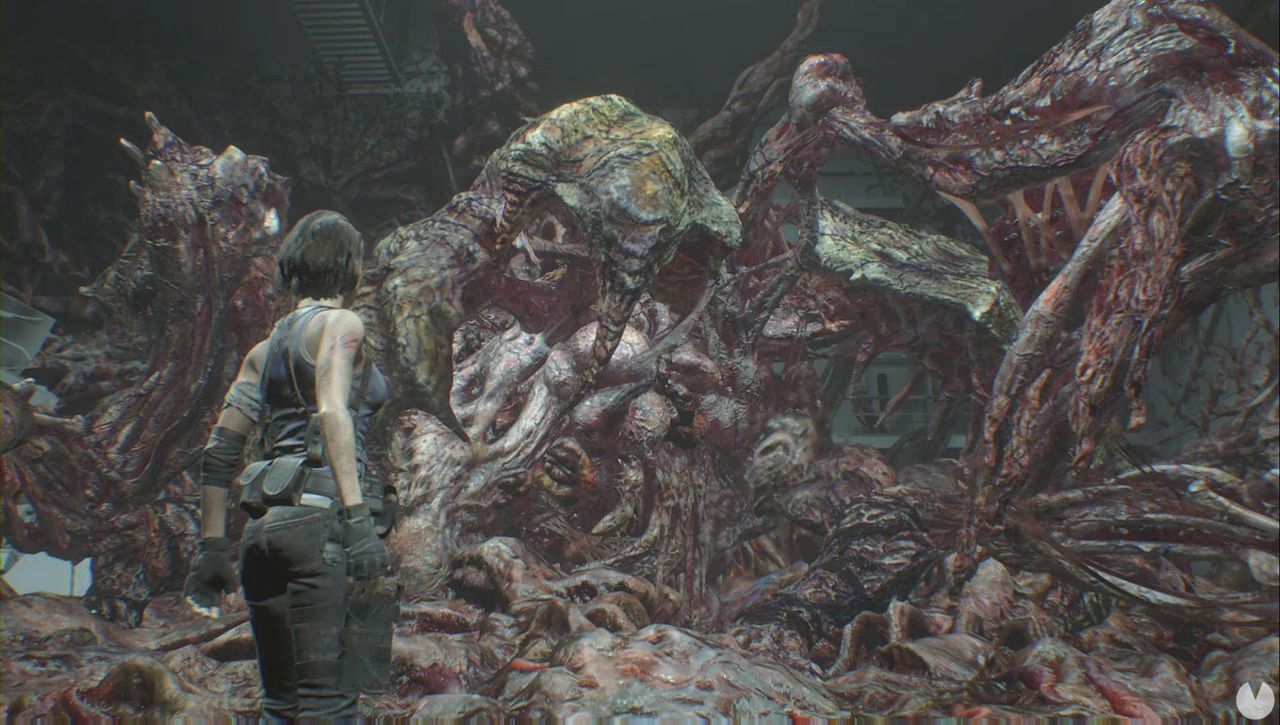
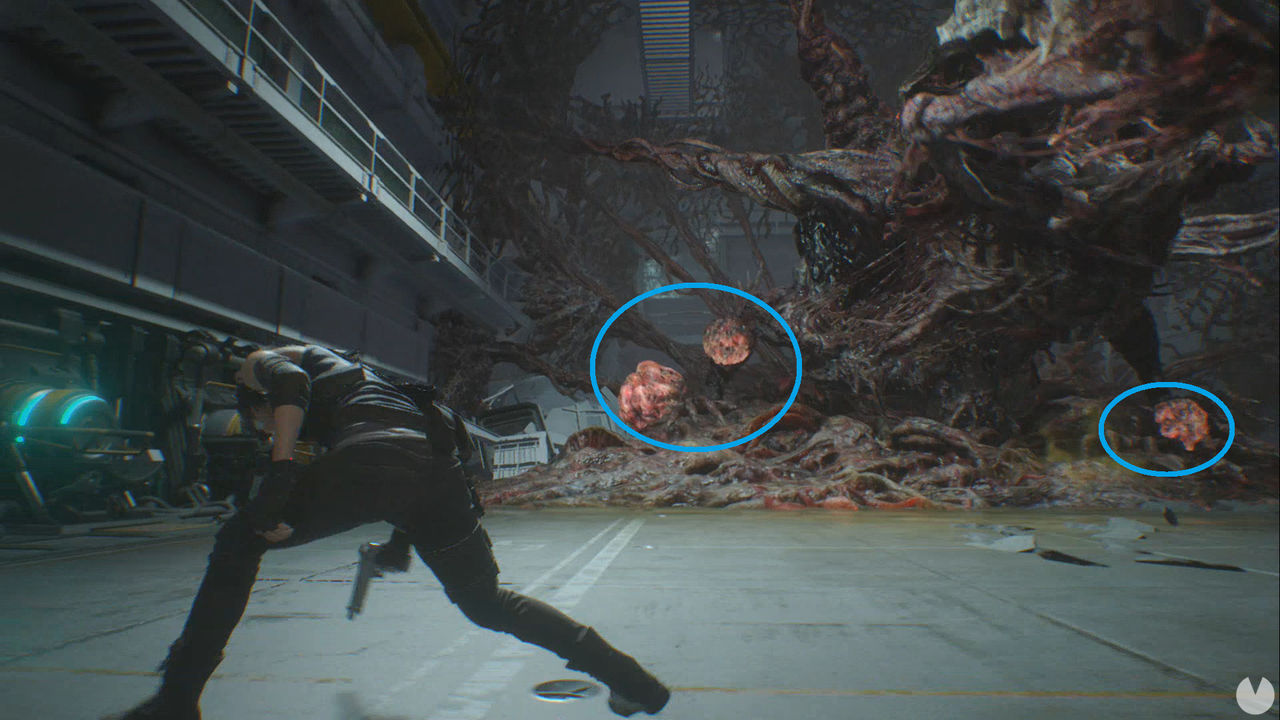
Turn around as soon as the battle begins and pick up the FINGeR to give Nemesis one hell of a blast. You will then need to shoot the lighter-colored growths on both sides of his body. Destroying them will make him collapse, giving you enough time to push the power cells back into place without having your head crushed.
Once the FINGeR has recharged, fire it again and follow the on-screen prompts to finish the monster off once and for all. Walk across the creature's remains and turn right to reach a ladder. After climbing it, look at the floor before going through the door. Right beside it, you can read the Suspicious Contract Memo, the final document in the game. Follow the only available path to watch the game's ending. Make sure you shoot when prompted.
