

Vyssa Hills will be the third area you explore during Act I of the story in Hell is Us, after leaving the Acasa Marshes once you’ve obtained the information you need from Victor. As usual, this walkthrough will help you complete every section 100% without missing anything along the way. Since the game has no maps, objective markers or anything of the sort, we’ll also help you work out what you need to do while keeping spoilers to a minimum... although the lack of guidance means it’ll be difficult to avoid revealing a few details.
Well, we don’t really know what we’re looking for yet, beyond the fact that it’s a statue, so we’ll begin by taking a look around. Start by examining the fence running alongside the road in front of the APC. You can’t follow the road because a fallen tree is blocking it, but you can continue alongside the fence for a while.
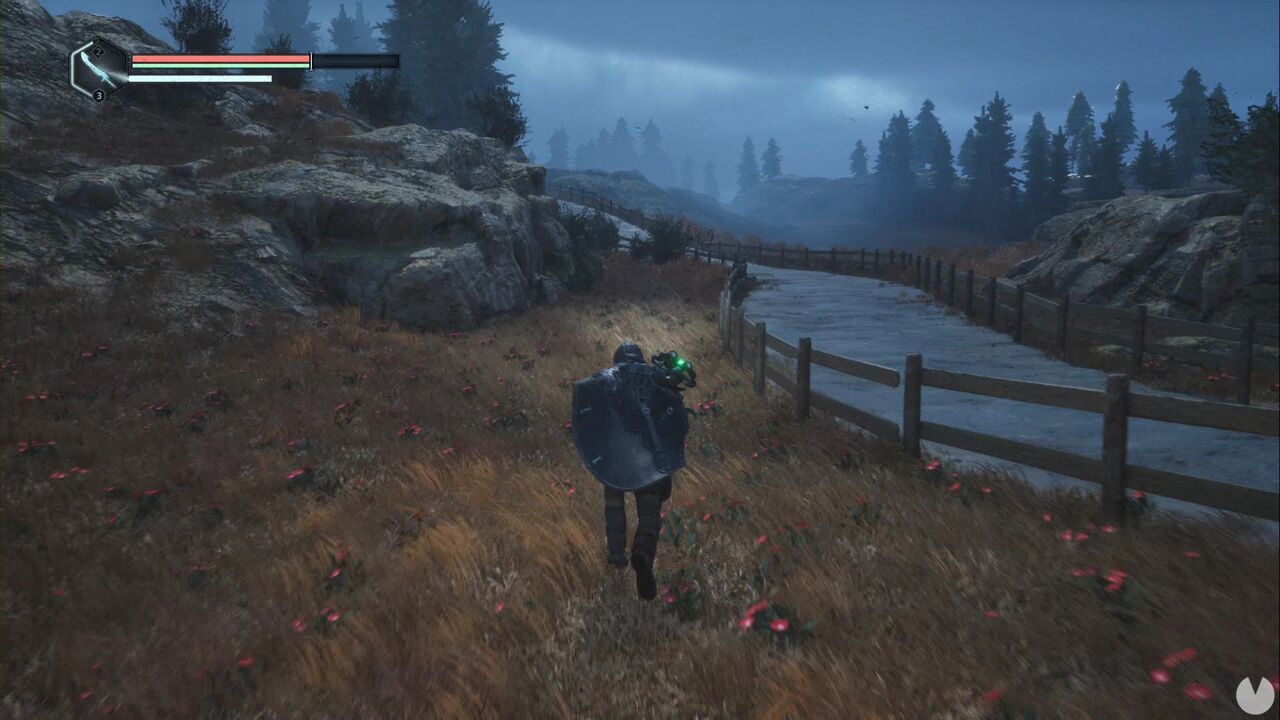
At the end, you’ll find a body with a glowing item: the Syringe. Wandering around aimlessly will only get you into trouble with some new enemies, so return to the APC and follow the stone path on its left for a while.
It won’t take long to reach the grieving knight statue. Approach it and speak to the OMSIF soldier sitting in the illuminated area at the knight’s feet.
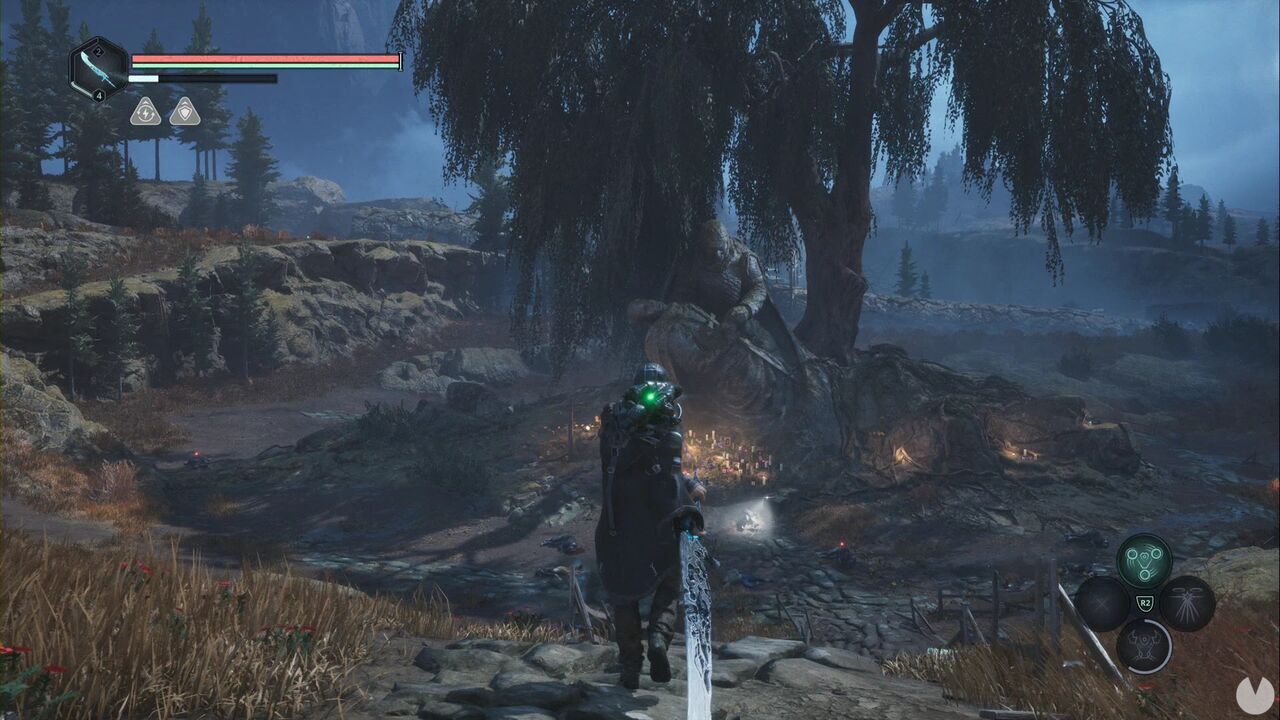
After speaking to her, go around the right-hand side of the statue and head towards the makeshift checkpoint on the road. You’ll hear gunfire as you approach.
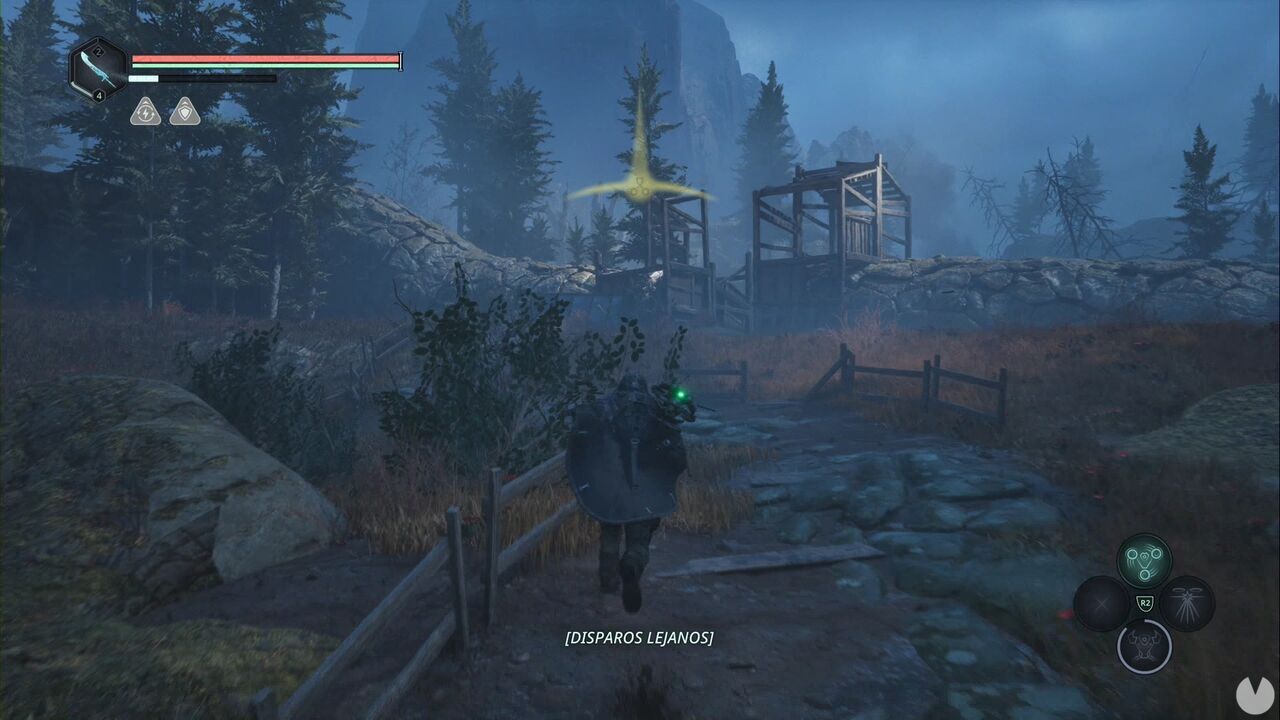
Just beyond it, beside the flames, you’ll see the Unknown Man.
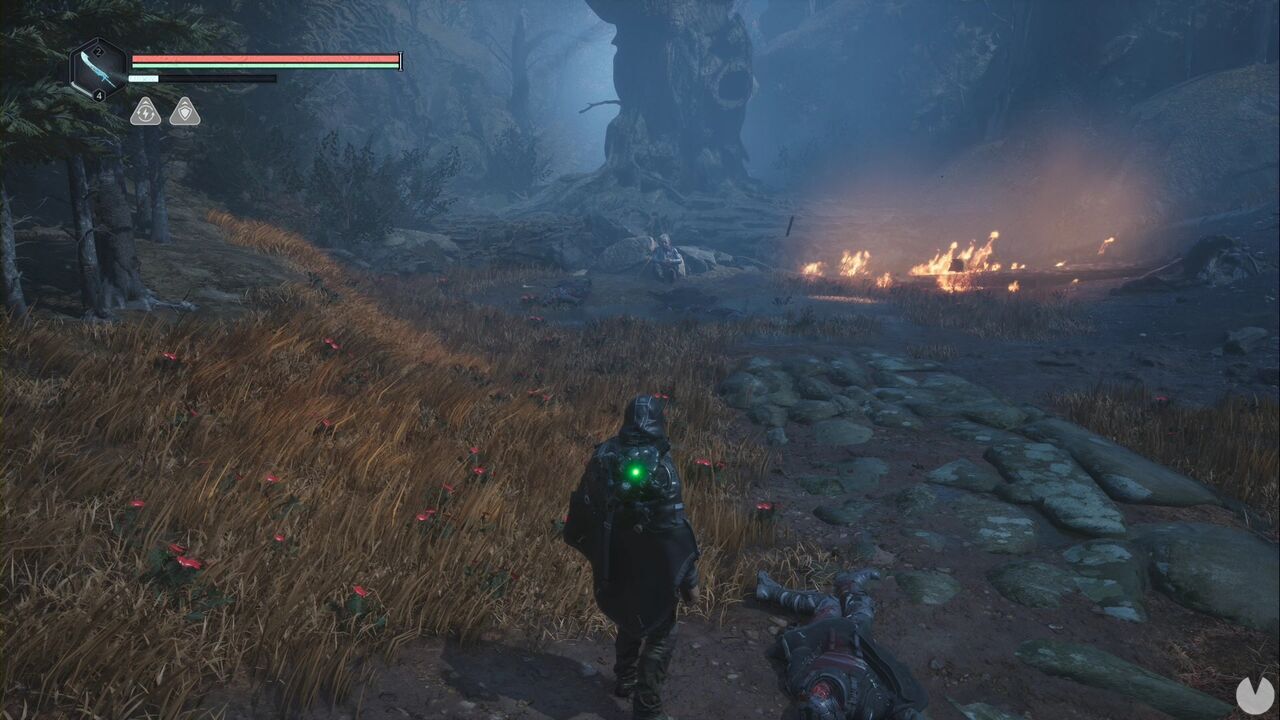
After the conversation, you’ll receive the Keystone of Grief. You must now find the journalist you heard about earlier.
From your starting point, look towards the area west of the tomb—if you’ve lost your bearings, it’s north of the grieving knight statue, uphill—and you’ll see another Timeloop dome.
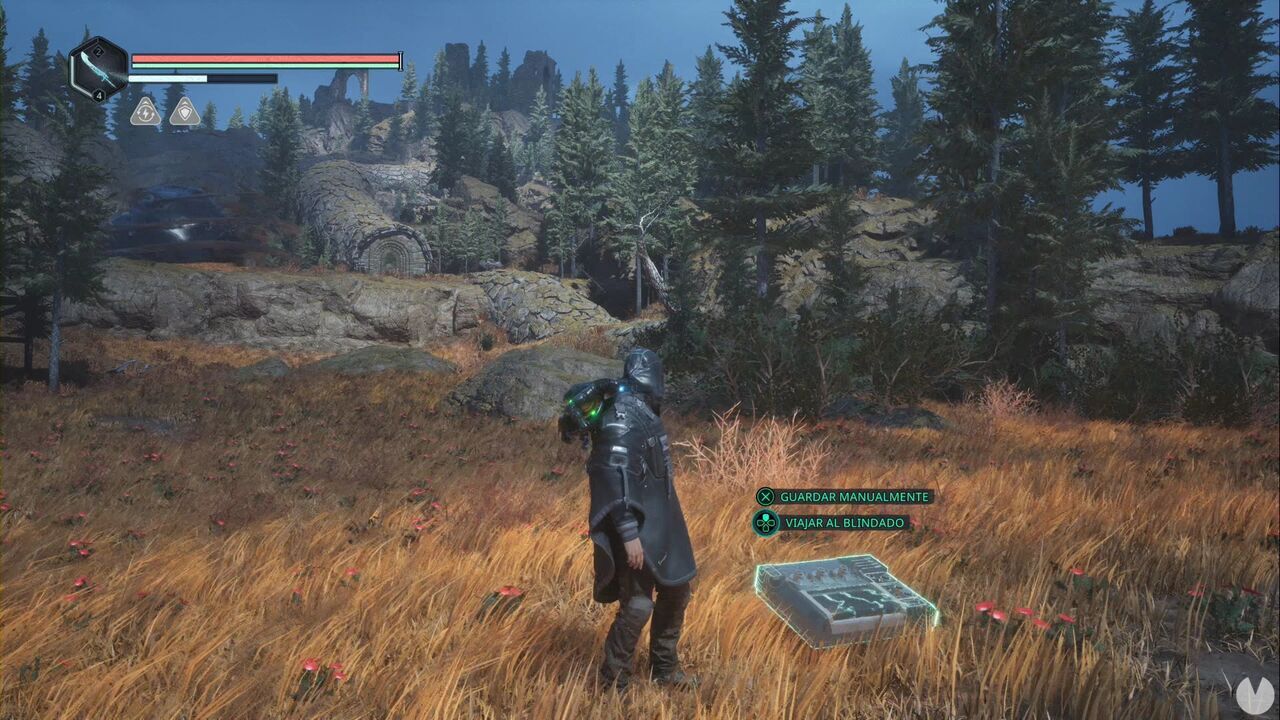
Head in that direction and turn right as soon as possible to climb a hill. Once you reach the top, turn right. Between the rock wall and the strange "cracked column" embedded in the ground, you’ll see a yellow glow. This is the Pill Bottle - Atenolol, which begins the Death’s Door Good Deed. Head towards the Timeloop dome and take the path to the northwest, climbing the hill to the right of the dome as you approach it.
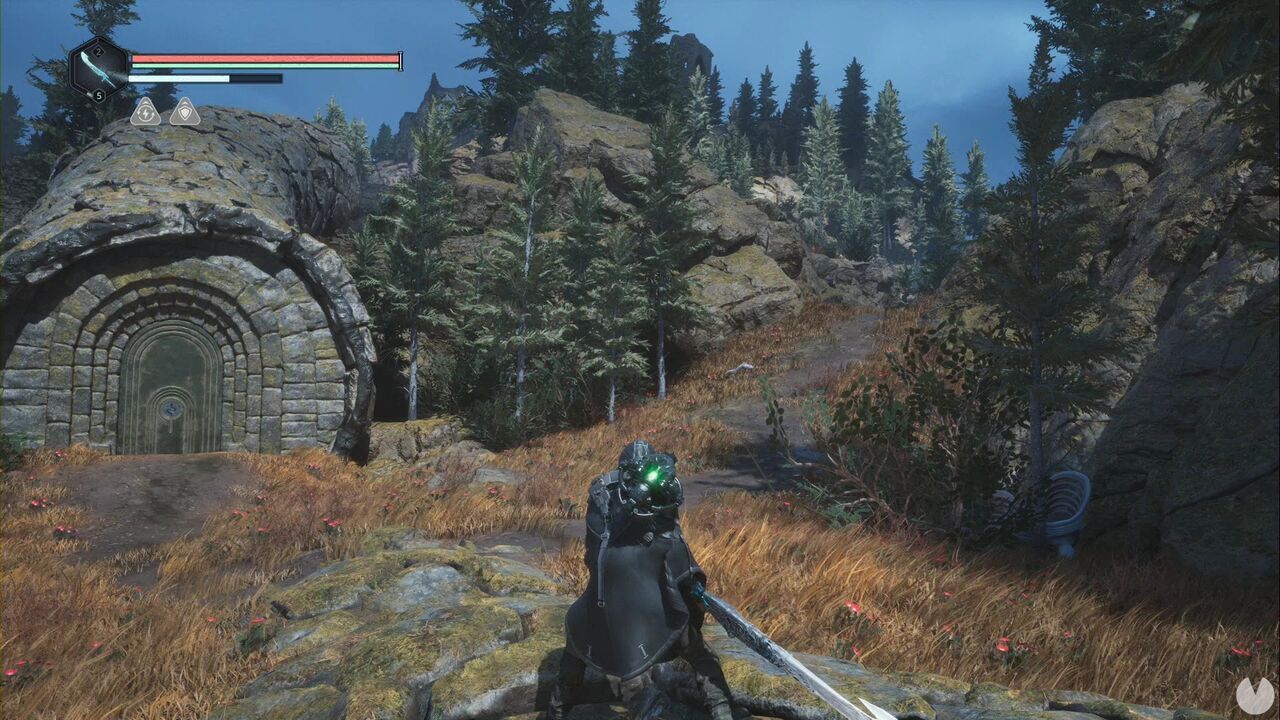
Follow the only available path until you reach a camp. You’ll find Diana Kos sitting on one of the benches. Give her the pill bottle to complete the Good Deed you just started. If you want, you can enter the mine beyond the save point. There are a few consumables at the end of the explorable path, although a locked door prevents you from going much farther. Retrace your steps to the Timeloop dome, then head southwest towards the makeshift wooden huts.
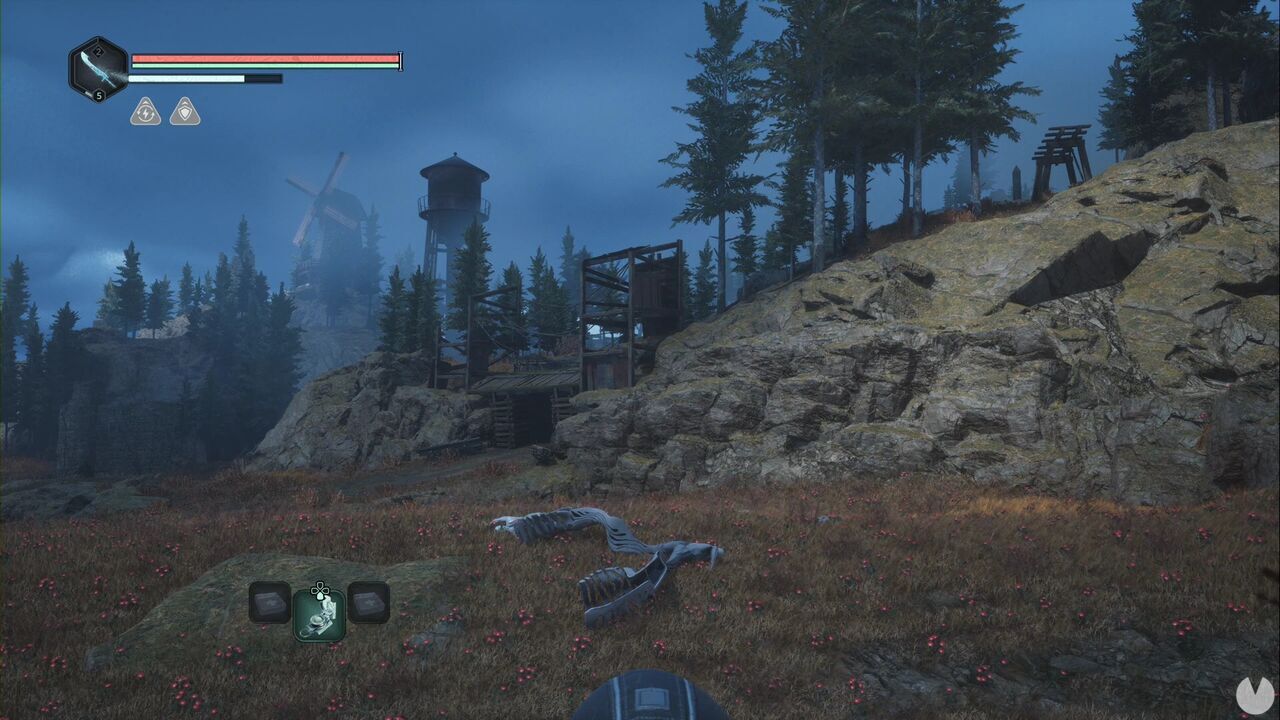
Continue until you reach a junction, then turn left. Beside the save point, you’ll find Tania Alver. Exhaust all her dialogue options. You’ll receive the Emblem - Candle, a key item.
Return to the junction northwest of Tania and this time take the path on the left, where an enemy is firing projectiles at you from an elevated position. Continue straight ahead until you see the glow of a green item. This is the Aerial Execution module.
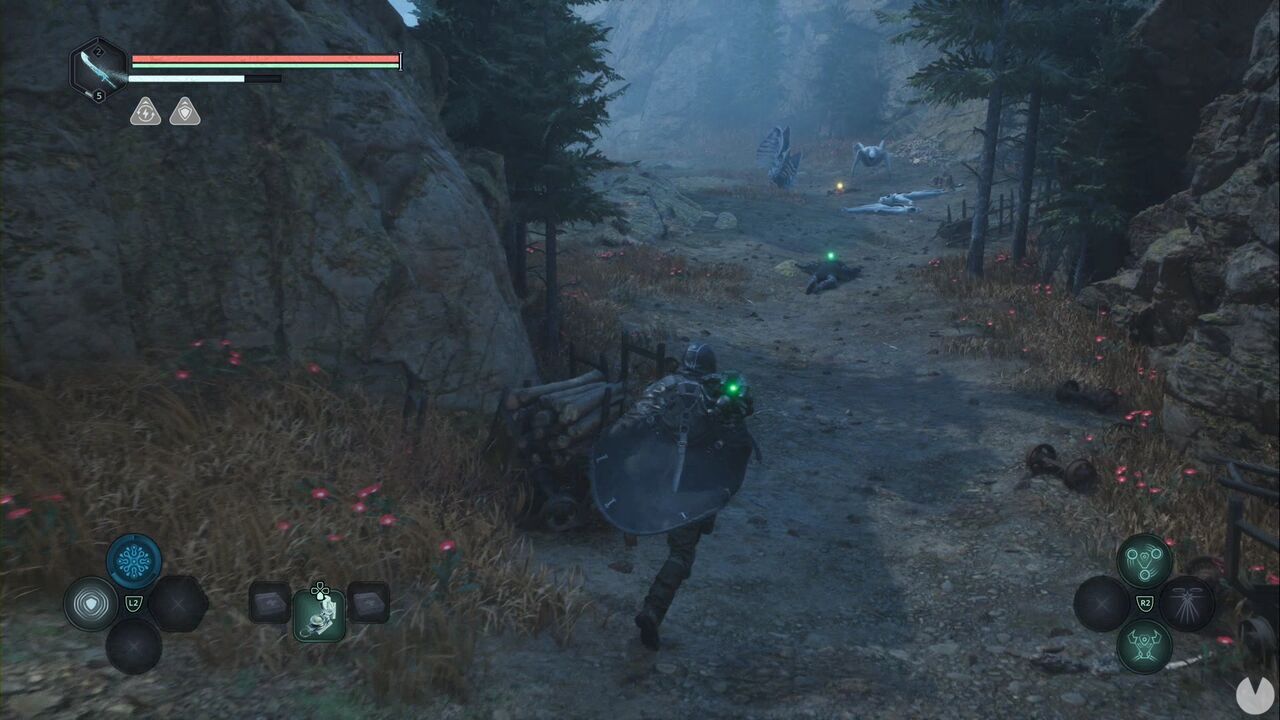
Just beyond the body, where the two enemies are standing, you’ll see a yellow glow. Kill the creatures and collect the Ethnic ID Card - Agatha Maren and the Emblem - Book. It looks like things didn’t end well for Agatha.
Retrace your steps. Before reaching the junction, you should see a ladder leading up to some wooden scaffolding.
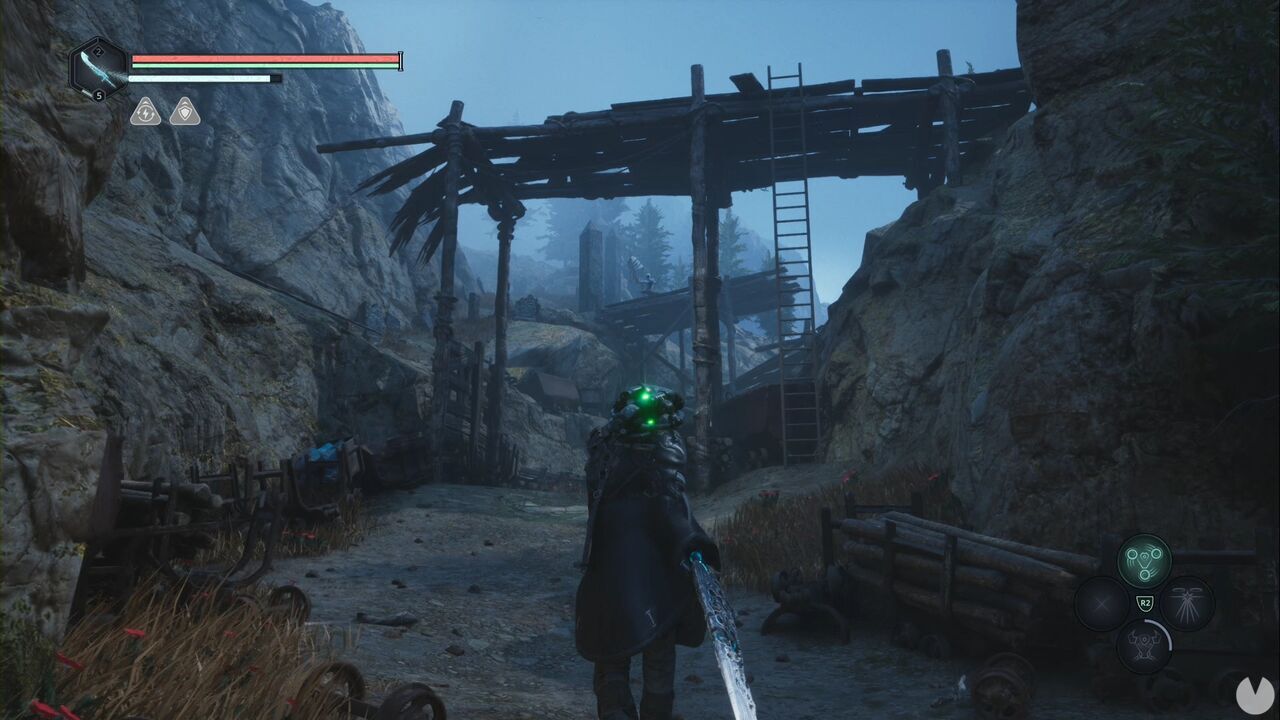
Once you’re at the top, there are enemies to your right and a ledge to your left that you can drop from to reach the nuisance who kept firing projectiles at you while you crossed the ravine. Kill it and continue northwest, up the hill. Keep going until you reach a junction, continue straight ahead to the second junction and you’ll see a character down to your left.
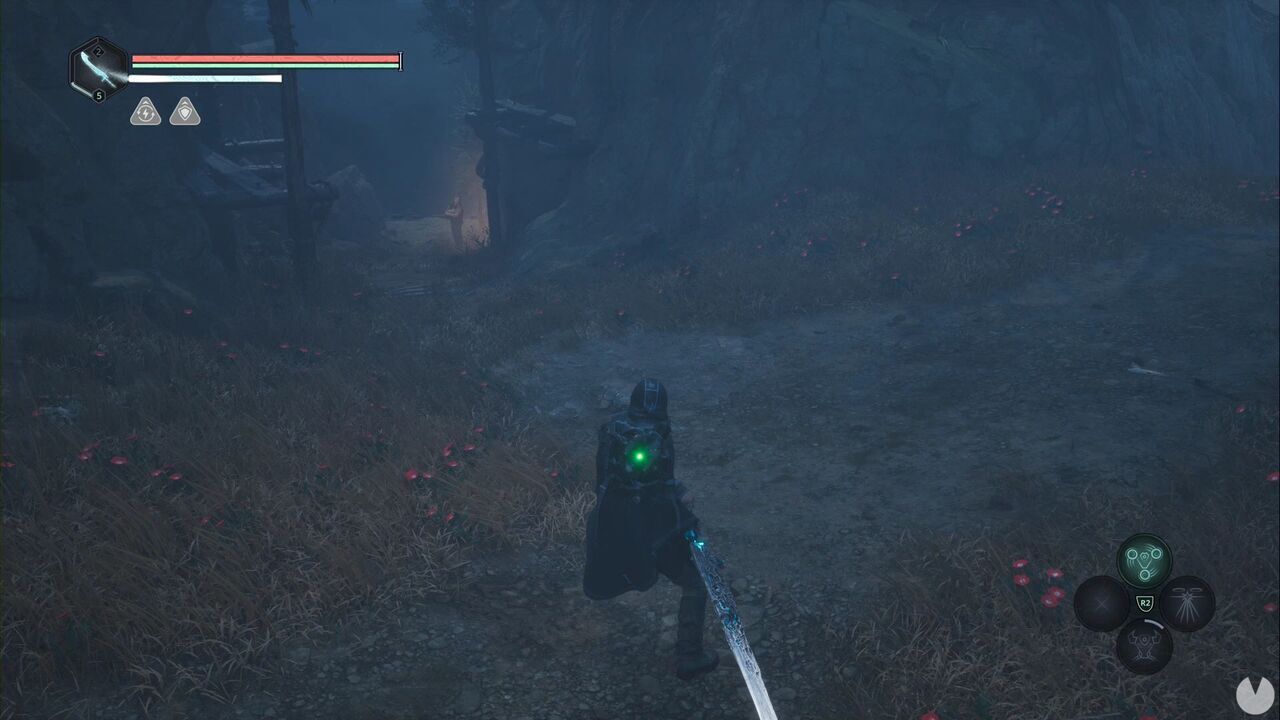
This is Atticus, another important NPC whose dialogue options you must exhaust. Retrace your steps and take the left-hand path at the junction, heading uphill. Kill the creature and examine the gate. Obviously, you need to place the Emblem - Book on the right and the Emblem - Candle on the left to open it.
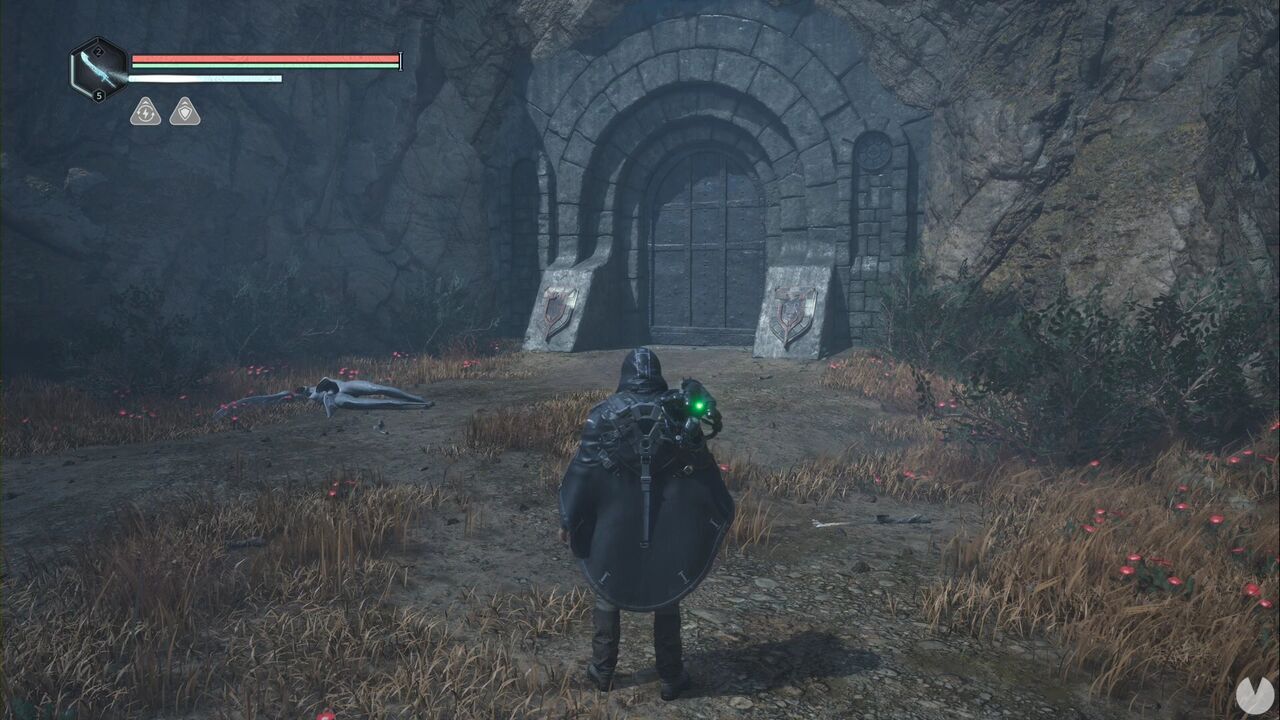
Continue through the tunnel and collect the Note - Wall Reliefs along the way.
Well, things are about to get interesting, because you’ve probably noticed that there are a gazillion slots in the walls. Continue to the save point and climb the stairs. You’ll find a computer you can interact with to learn a few things. Beside the computer is the Recording - The Key. The Recording - Treason and Recording - Pentos are also scattered around this room, along with several consumables.
At the back of the room is a hole in the wall and another computer. You can see its glow to the right of the opening.
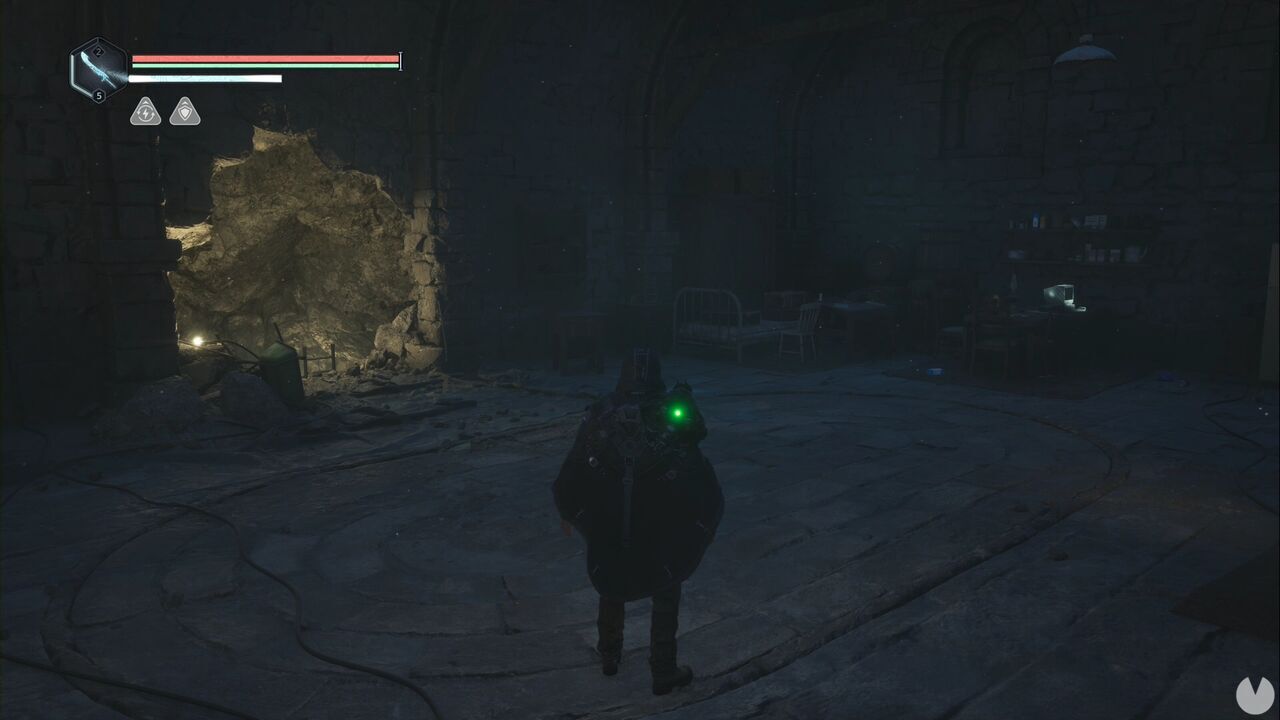
The computer password is 241244. Once you’ve entered it and read the files, you’ll have both started and completed the Eternity Mystery. Wonderful. Now go through the hole in the wall, descend through the tunnel and collect the Ceramic Flowers—there are four—on top of the sarcophagus. Obviously, you must place them in the slots in the previous room. Before doing that, look directly behind the sarcophagus for the glow of the Lymbic Rod - Grief, Z.
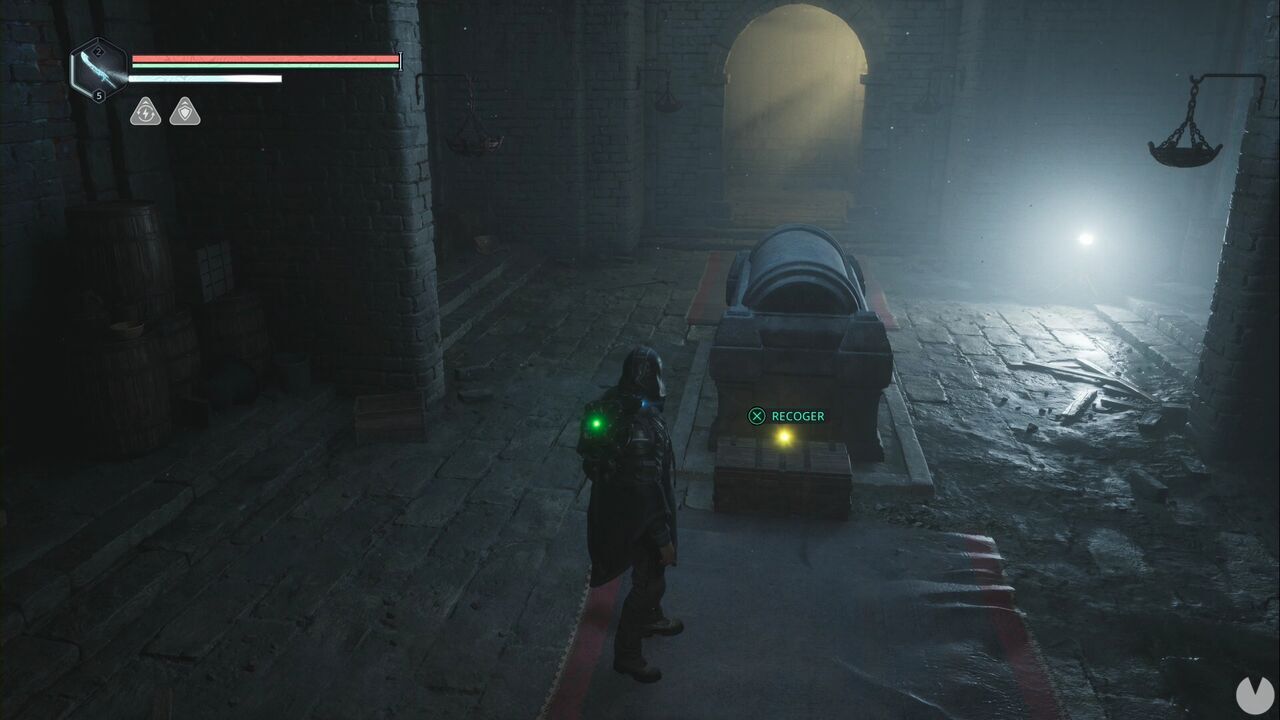
Collecting it begins the Lymbic Door - Mount Senedra Mystery. Now return to the previous room and place the flowers in the following slots:
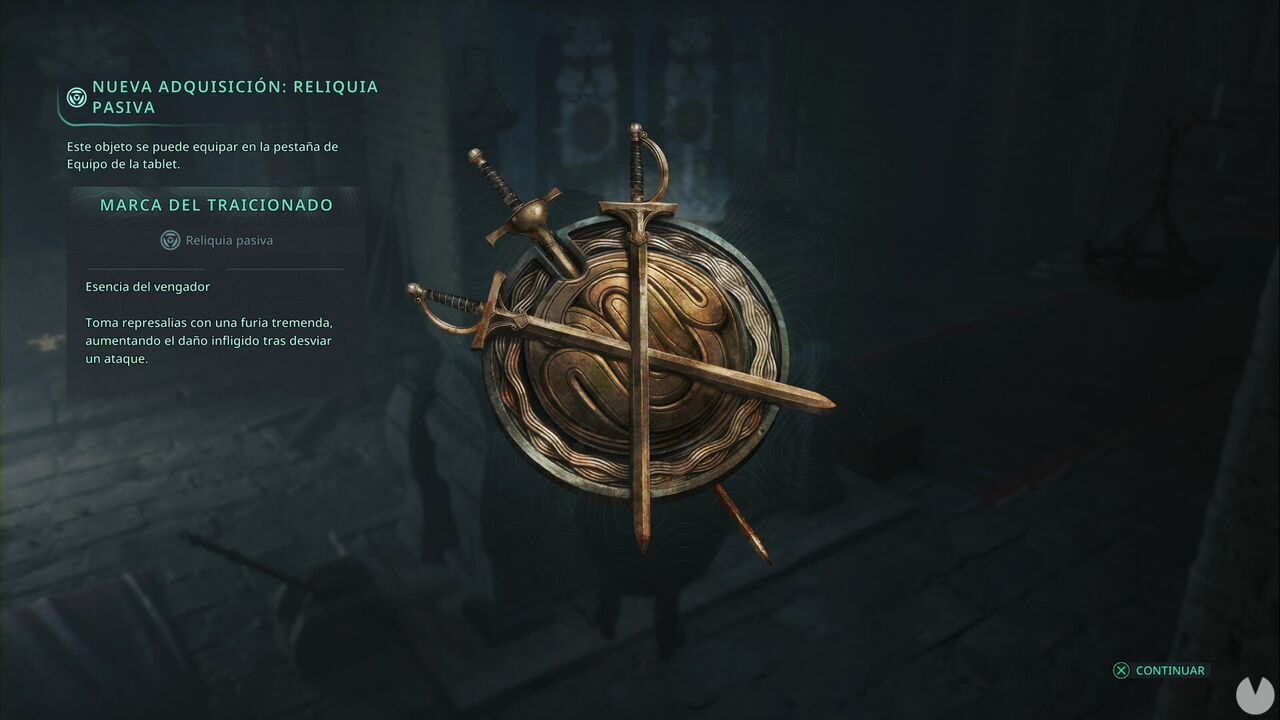
Return to the sarcophagus chamber through the hole in the wall. You can now interact with a lever beside the sarcophagus to open it and collect the Mark of the Betrayed relic, your first Relic. You’ll also receive the Blue Flower Scroll and watch a cutscene.
Obviously, we’re not returning to the APC just yet, although that is technically your next main objective. When you return to the main chamber of the Watcher’s Nest, you’ll meet Gildas Brom, another NPC you need to speak to. Exhaust all his dialogue options.
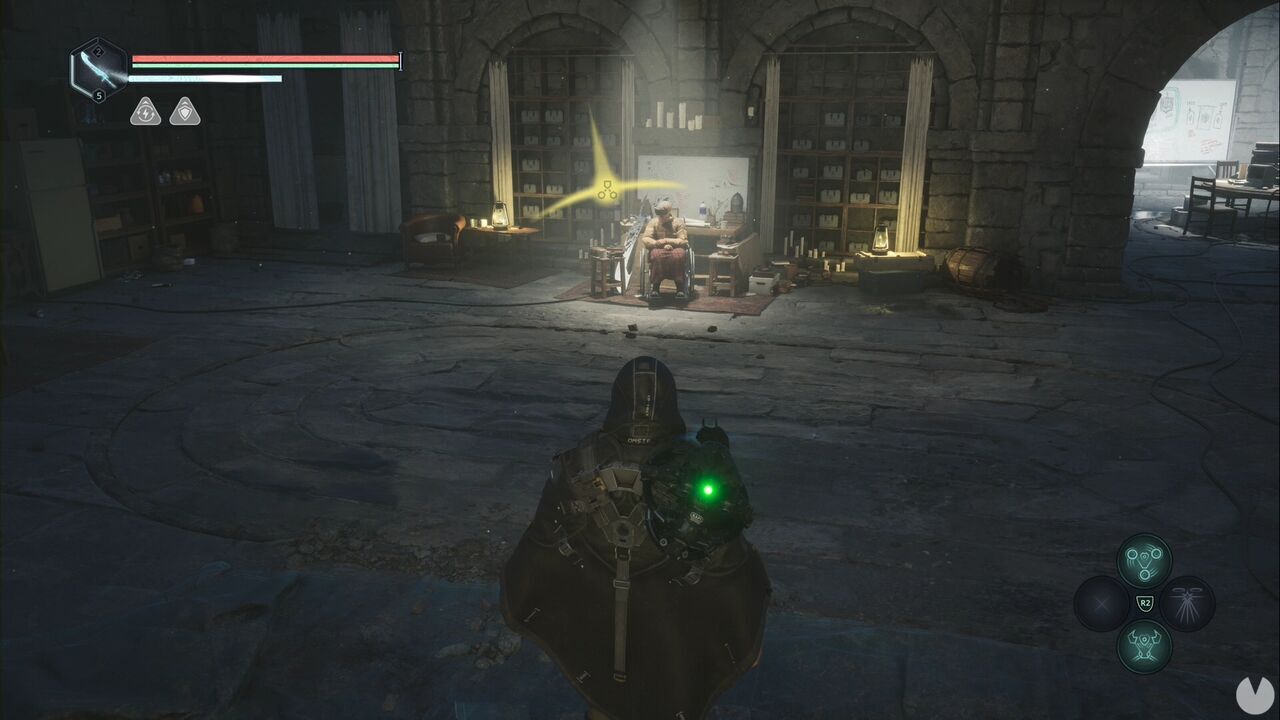
You’ll receive the Guardian Detector and an Amine Prism - Sigma, two essential items for... something we’re going to show you very soon. He’ll also give you the Note - Collapsing Timeloops. Make sure you speak to him about the Good Deeds you’ve completed to receive several rewards in the form of consumables and equipment.
Technically, you could return to the APC, speak to Tania and continue with the main mission. But if you were going to do that, you wouldn’t be following this walkthrough for lunatic completionists, would you? Exactly. Begin by heading to the grieving knight statue. We’re not going to do anything with the Timeloop on the hill just yet. The reason is to eliminate any possibility of making a very serious mistake. It’s up to you whether you want to risk it, but Captain Obvious intends to remove that possibility entirely.
Return to the grieving knight statue and look towards the Timeloop. Directly beneath it, you’ll see a tunnel entrance. It’s located below the red sign shown in the following image.
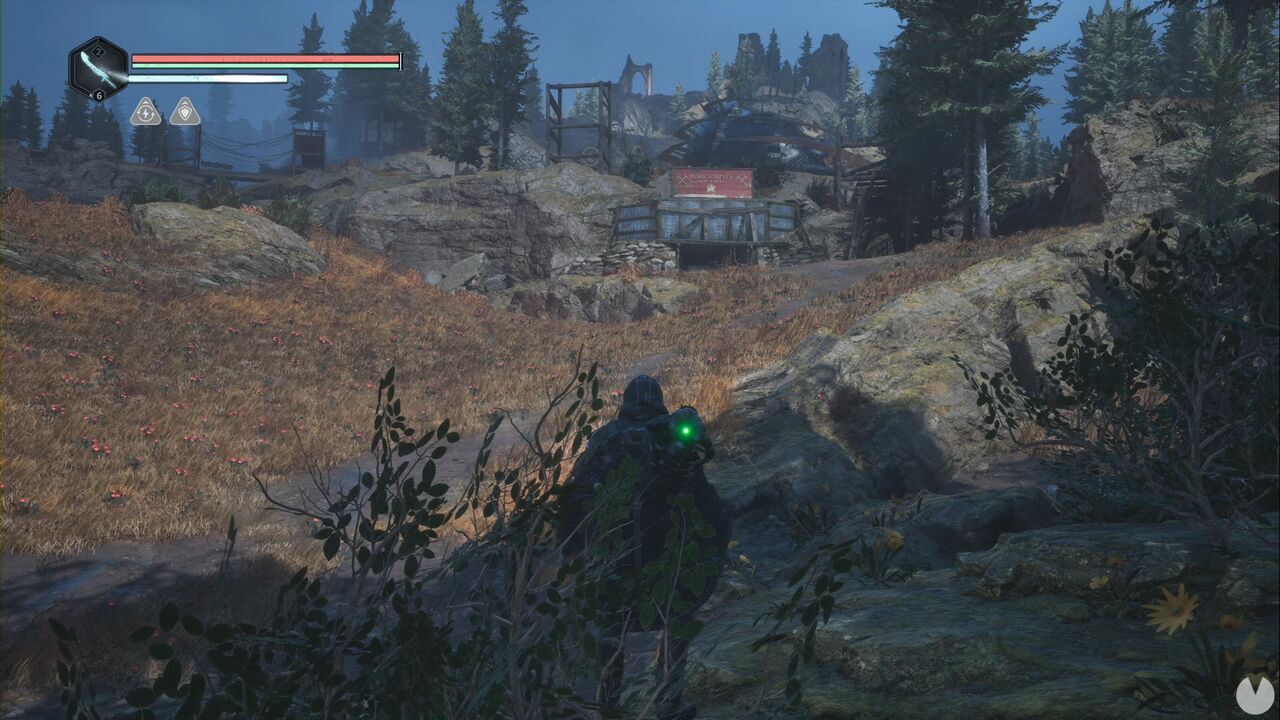
Enter and you’ll discover that this is another entrance to those bloody mines that seem to extend beneath the entire region. Once inside, continue onwards and always take the left-hand path until you find the Rusty Key at the end of a tunnel containing several enemies. This begins the Lucky Break Mystery. Continue along the track to the end, watching for a turn-off on the right, which leads to an extra room containing enemies and consumables. Kill the enemy, open the door and continue to the ladder at the end to unlock a shortcut to the hill south of the statue.
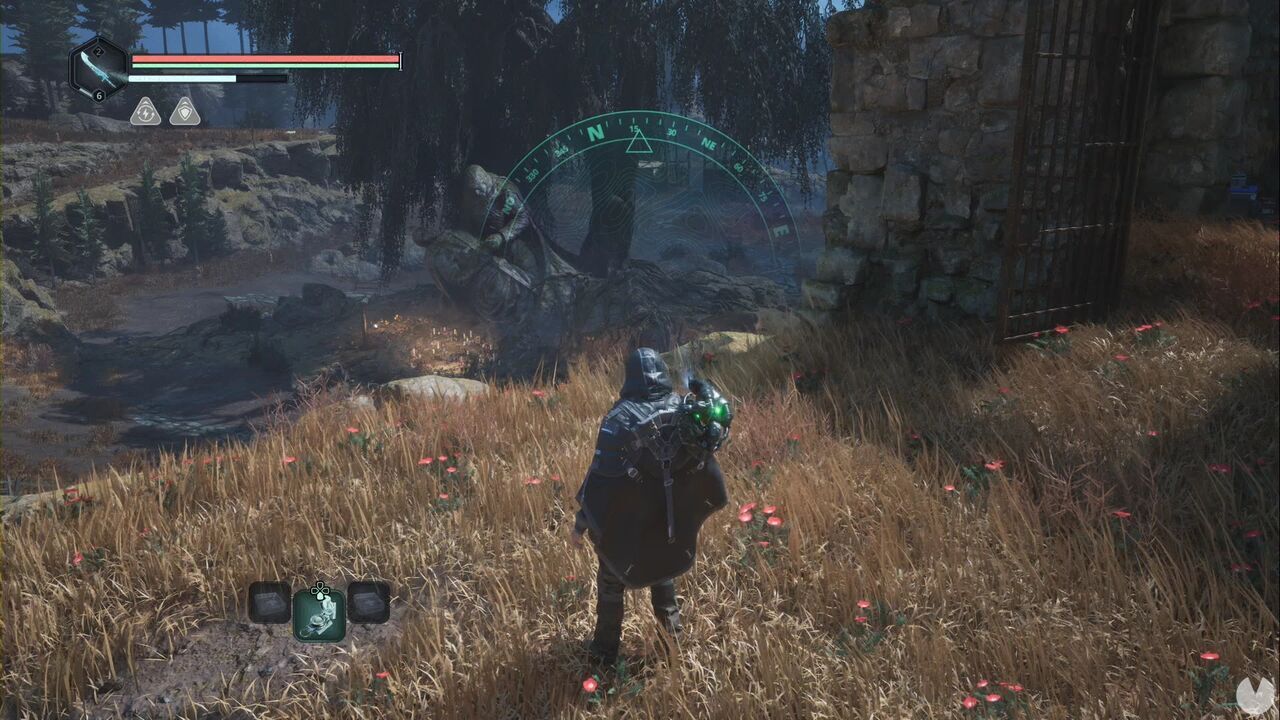
If you look southwest from here, you’ll see a hill you can climb to cross above the waterfall in the stream near the APC. Do so.
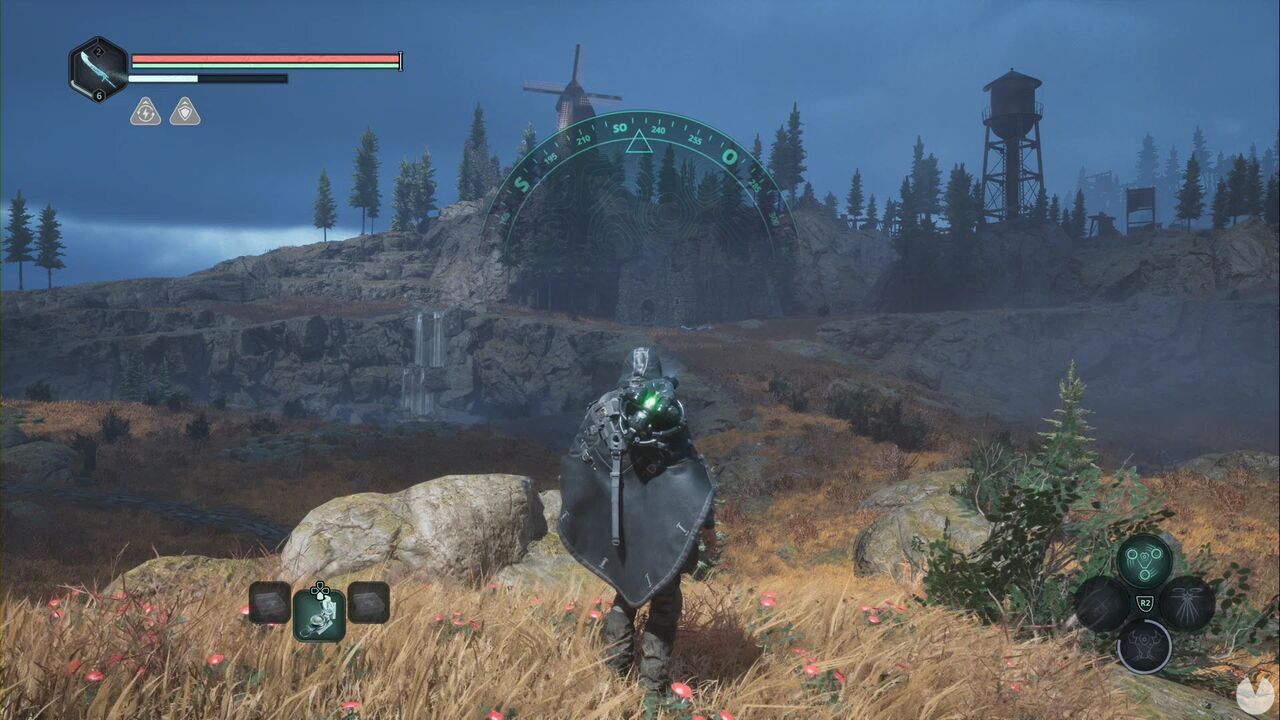
You need to cross above the waterfall and continue along the right-hand side until you reach the remains of a small building. Here, you’ll find a chest that can be opened with the Rusty Key. It contains a Lymbic Polearm and the Floral Medallion, completing Lucky Break.
Now climb the hill southeast of the statue to find a box containing the Sheet Music - Losilus Dreaming, part of the Performance of a Lifetime Good Deed. We’ll remind you to complete it later.
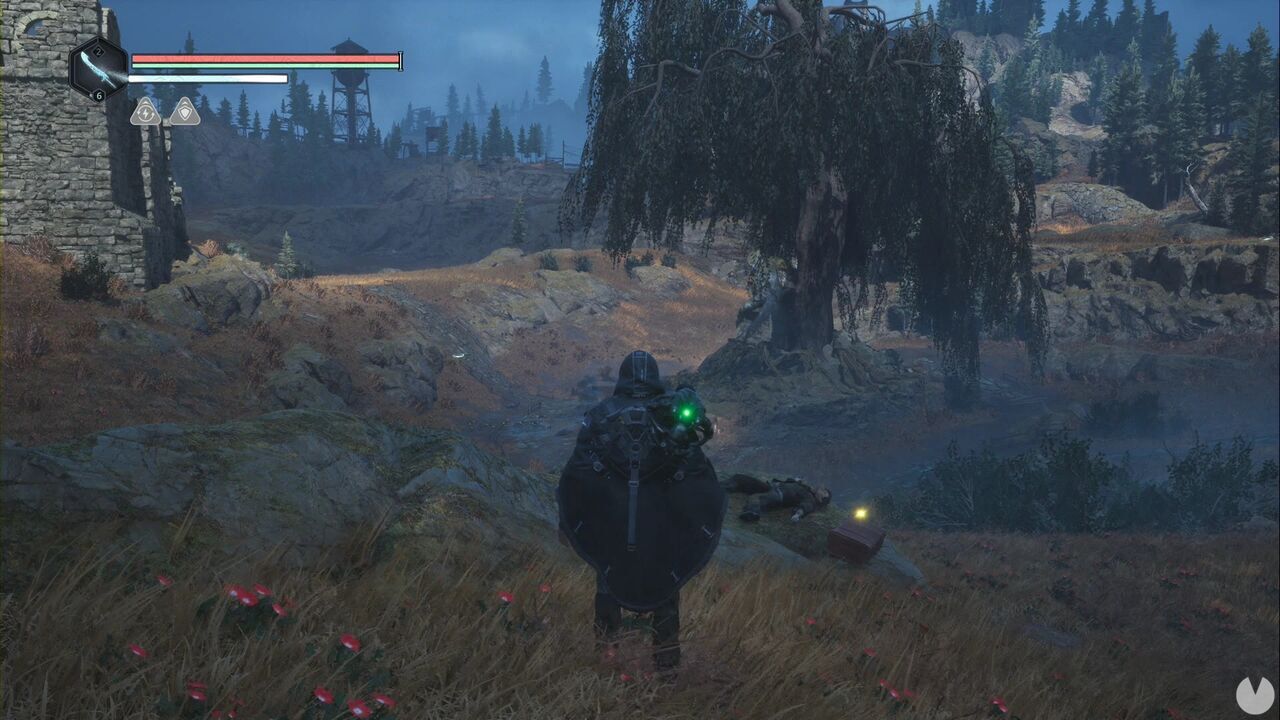
Go and clear the Vyssa Hills Timeloop and collect the ON Vehicle Keys. Doing so begins the Heart of Gold Good Deed, which you MUST NOT COMPLETE UNDER ANY CIRCUMSTANCES. To avoid doing so, DO NOT speak to Atticus again, as he’ll take the keys. Doing so would lock you out of two future Good Deeds, and we obviously don’t want that. Make sure you return to the Watcher’s Nest and speak to Gildas about the Timeloop to receive several rewards for closing it.
Return to the APC to trigger a cutscene.
Don’t worry about the Vaults of Forbidden Knowledge for now. We’ll soon be heading out to open every one currently within your reach. For now, speak to Tania at the APC and exhaust her new dialogue options.
Technically, all you need to do to continue is speak to Ernest Cadell in the basement of his farm in Senedra Forest. However, we’re going to complete quite a bit of side content first, now that we can. Begin by travelling to the Acasa Marshes and entering the ON convoy tunnel, which you can reach by following the road east of the Timeloop and then heading north.
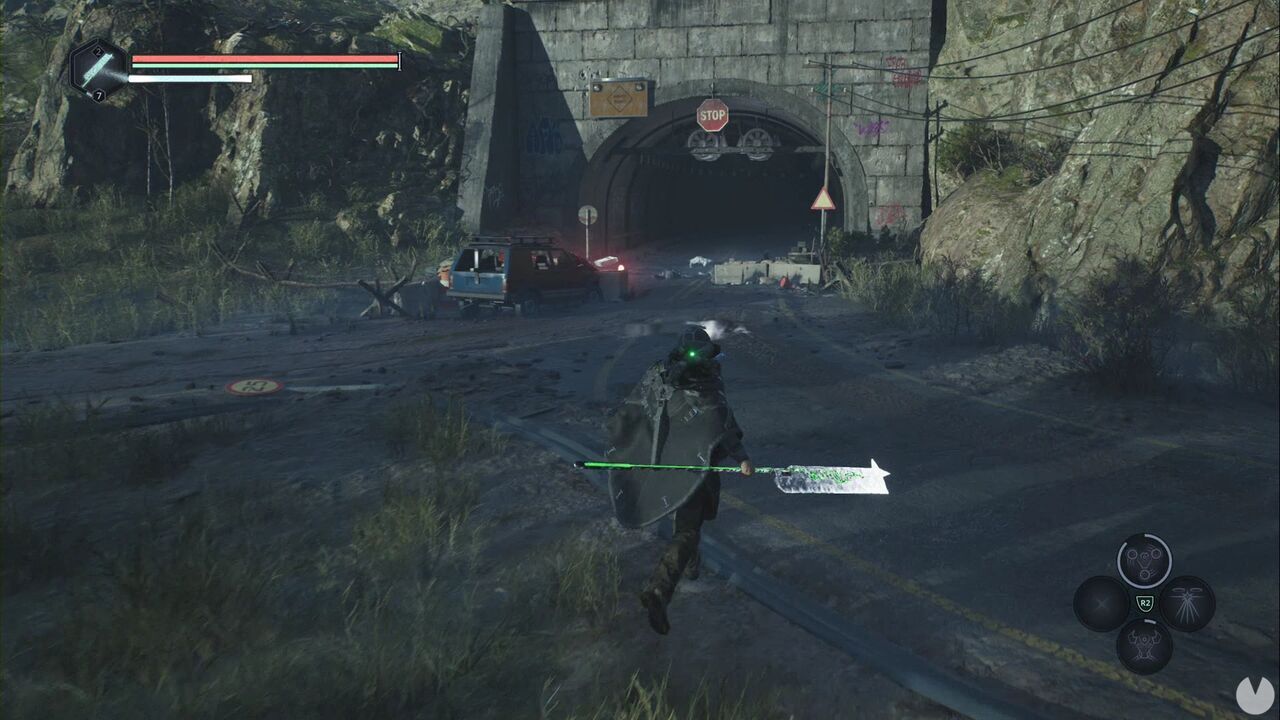
Clear the tunnel of enemies. This time, you’ll notice that the convoy is no longer burning. You can approach it and collect the Photograph - Girl, which begins the Where the Heart Is Good Deed. If you want, you can also start hunting the Timeloop Guardians. Although we don’t have the required Amine Prism yet, the Timeloop Guardians don’t respawn, so it’ll save you some trouble later.
When you return to Jova, find Lieutenant Zao Ru near Victor’s forge, at the ON base. You can’t miss it: it’s the building with "ON" written on its roof.
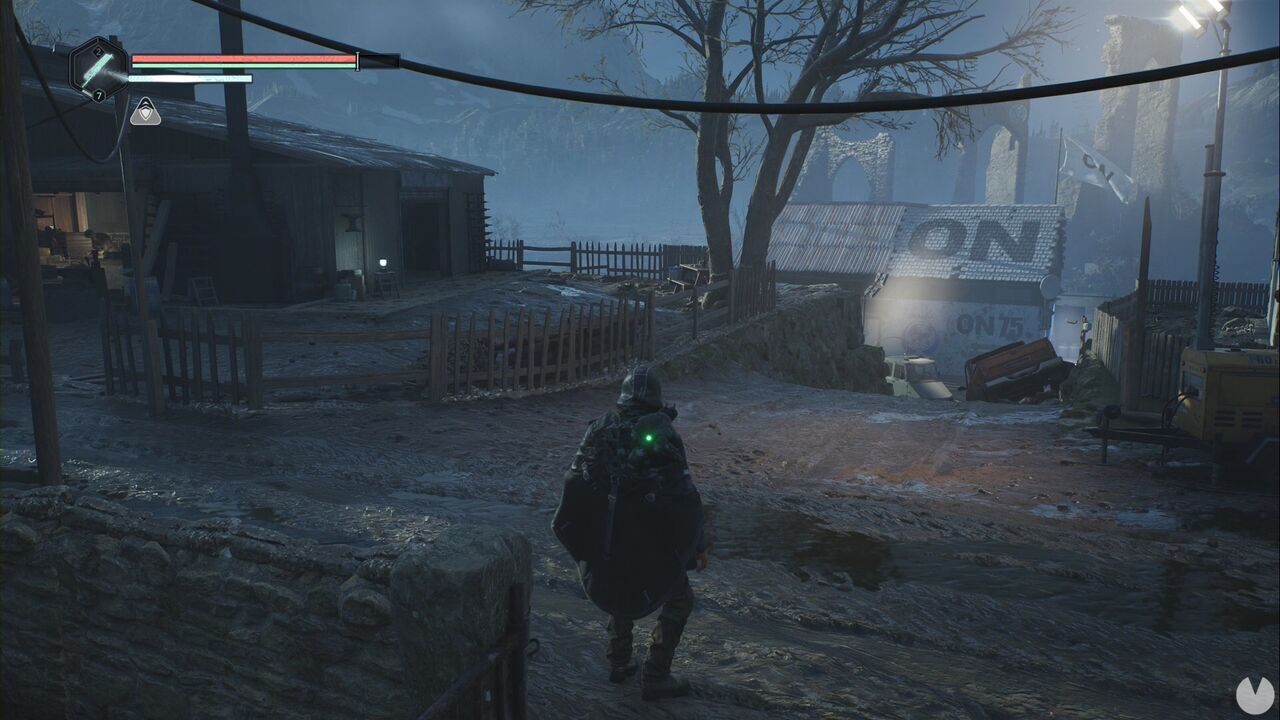
Give Ru the photograph to complete the Good Deed. You should also speak to the violinist near Captain Vaas and give him the second sheet music to complete the Performance of a Lifetime Good Deed. We’re now going to open the three Vaults of Forbidden Knowledge currently within our reach:
After everything you’ve done, you should return to Victor in Jova and upgrade your equipment. While you’re there, ask Abbot Jaffer about the blue flowers. He’s to the right of Victor’s forge, in case you’ve forgotten. You can ask other NPCs as well, but speaking to Victor is enough to let you use the APC and travel to Lake Cynon.
