

The Senedra Forest will be the first area you explore during Act I of the story in Hell is Us. As usual, this walkthrough will help you complete every section 100% without missing anything along the way. Since the game has no maps, objective markers or anything of the sort, we’ll also help you work out what you need to do while keeping spoilers to a minimum... although the lack of guidance means it’ll be difficult to avoid revealing a few details.
For now, simply follow the path beside you. As soon as you reach the river, turn around and look upstream to see a waterfall with a glowing item beside it.
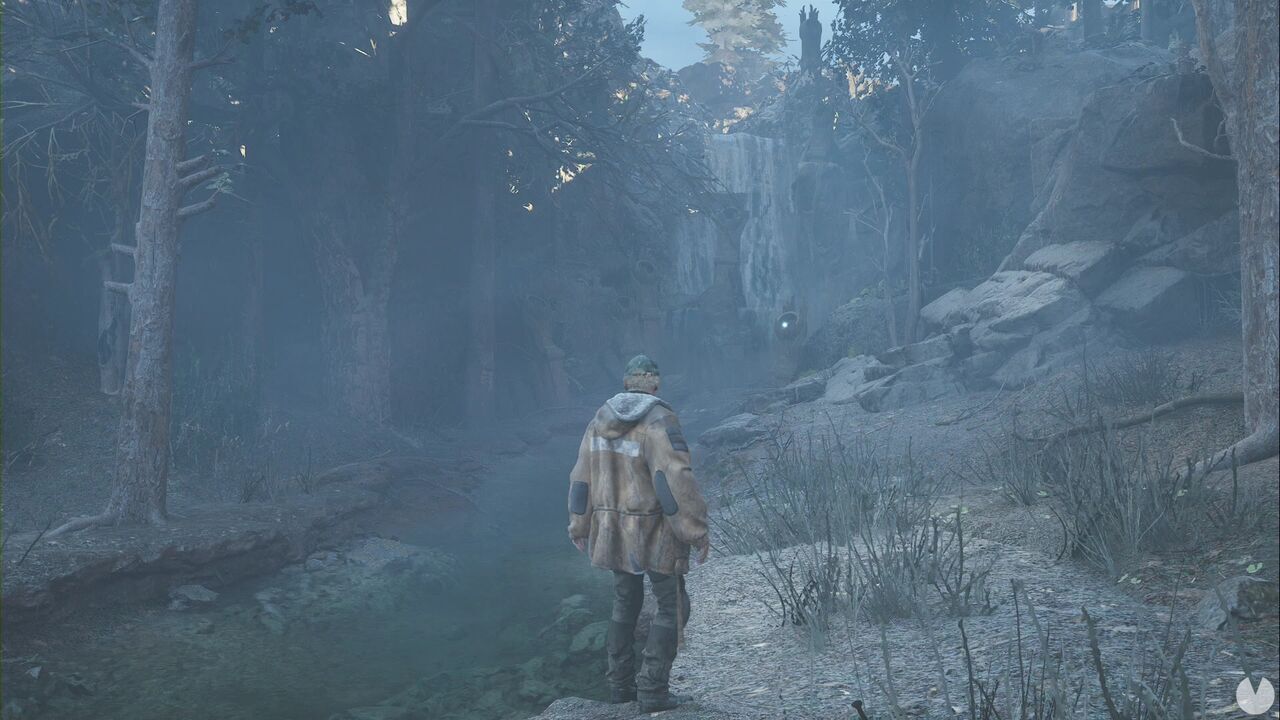
Approach it to collect the Gold Medallion, your first Research Item. These collectibles have a special purpose that we’ll explain later, once you unlock the ability to make better use of them. You’ll also see a plaque nearby, but you can’t do anything with it yet. Continue along the path.
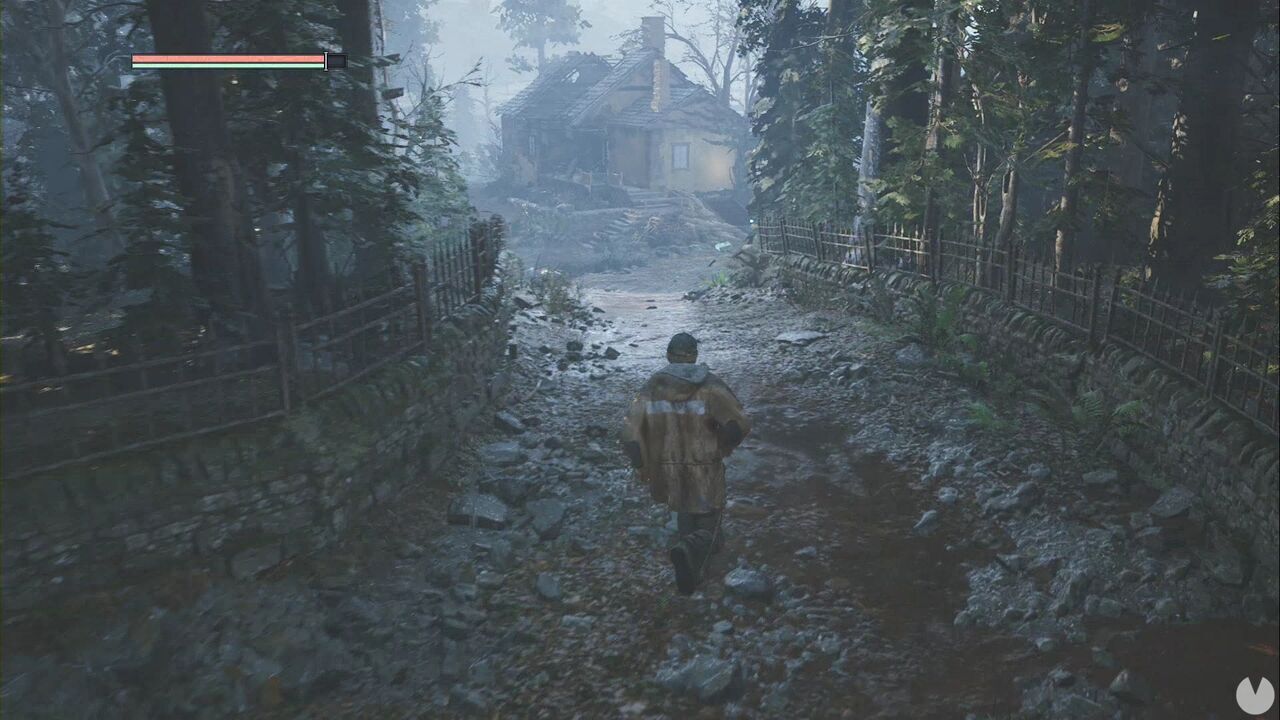
It won’t be long before you see a house. Approach it to find a save point and the entrance to a basement.
Downstairs you’ll find Ernest Cadell, the first of the NPCs you must speak to for a specific achievement/trophy and to obtain more information about your surroundings.
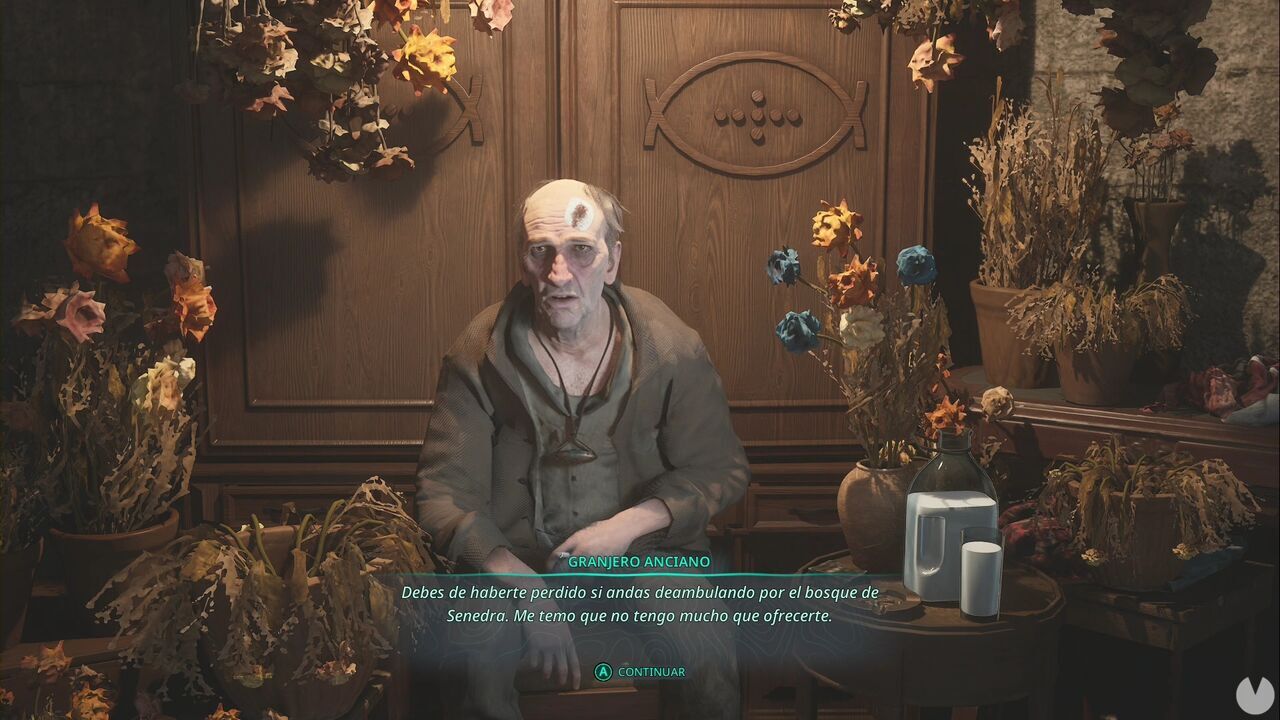
Exhaust all his dialogue options to receive the Key - Cadell Farm. You’ll also find the Recording - Atticus’s Call, a minor collectible, in the basement. Leave the basement and go around the house to find a cow and a gate to its right. Use the Key - Cadell Farm to open the gate and continue.
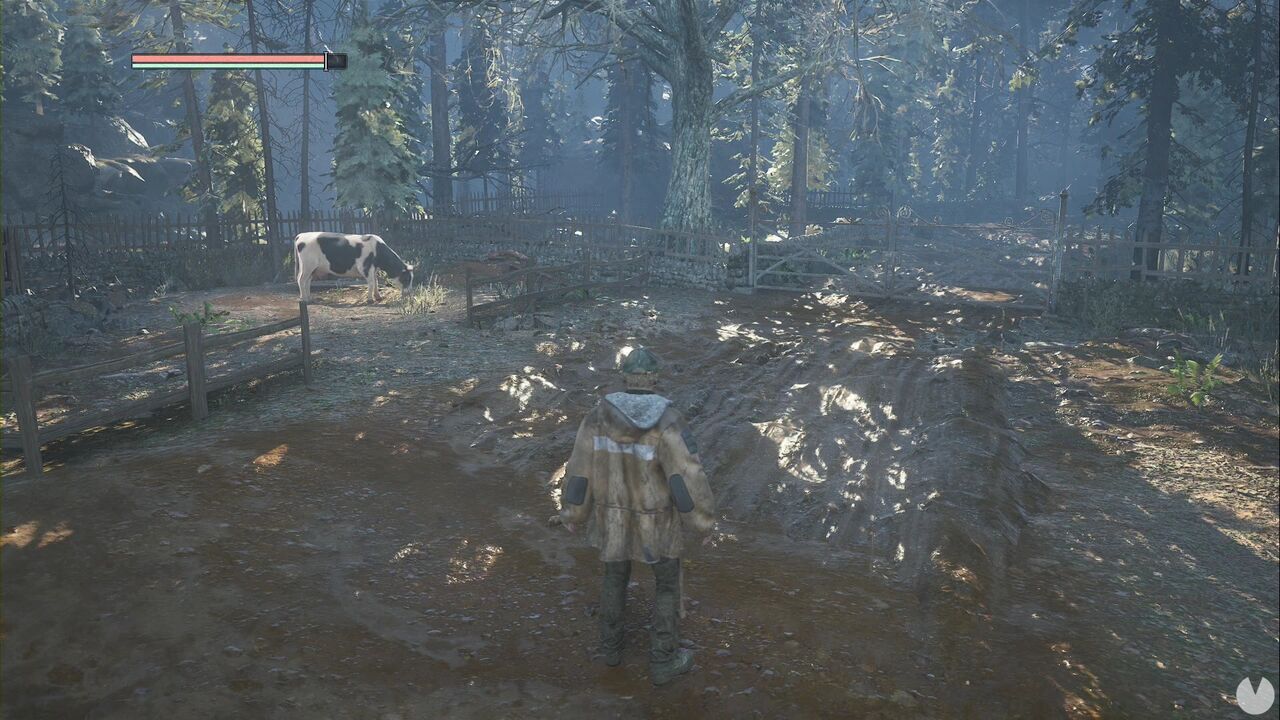
Once you open the gate, you’ll be shown how to open the tablet. This is essentially your inventory, where you can view your equipment, items and more.
Cross the fence and always take the left-hand path whenever you need to leave the road. It shouldn’t take long to reach what looks like a ruined stone building.
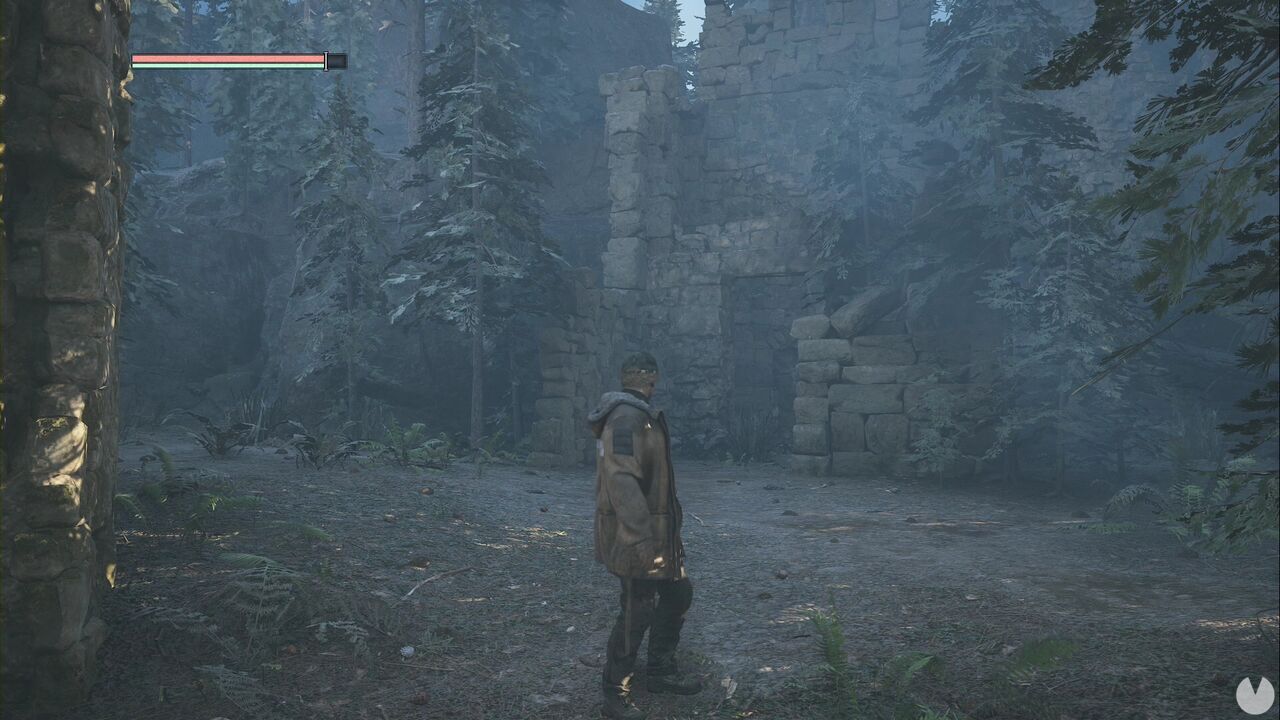
Go through the doorway in front of you to find the Burnt Bell. With the entrance to the ruins behind you, continue straight ahead until you return to the road you used to leave the farm. If you turn around and look up, you’ll see the chimes Cadell mentioned.
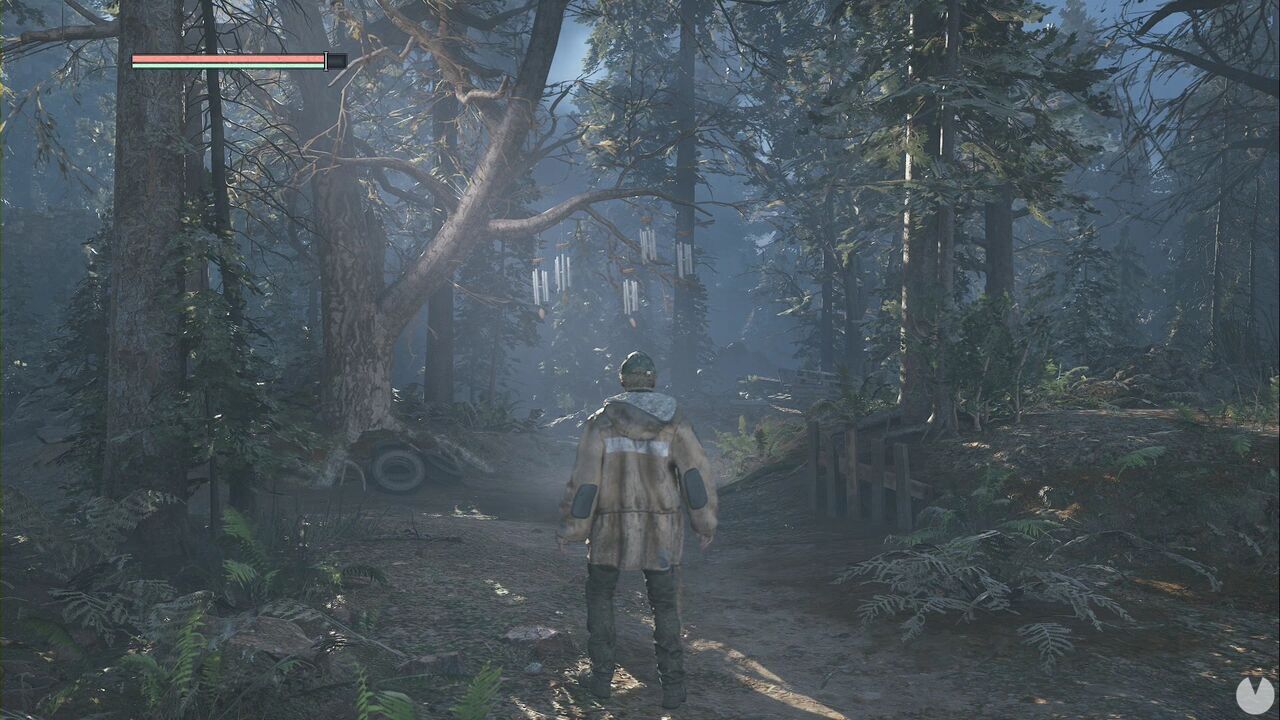
From the chimes, turn right to see a few more on your left. Continue straight ahead until you reach a fence, then turn left to see more chimes hanging from the trees at the junction. Carry on until you reach a broken-down tractor and some more chimes along a path slightly to your left. Follow this path.
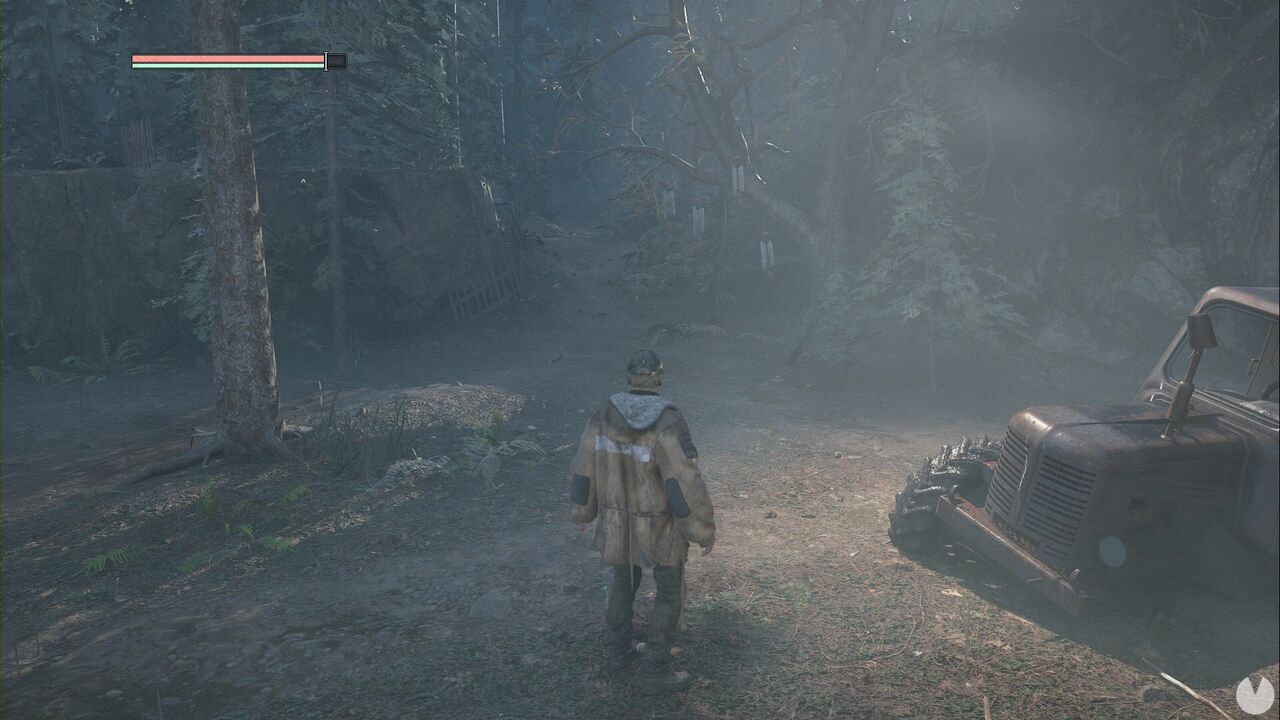
Continue along the only available route and you’ll soon reach the APC. Look directly behind it to find the soldier OMSIF 0451. Exhaust all his dialogue options.
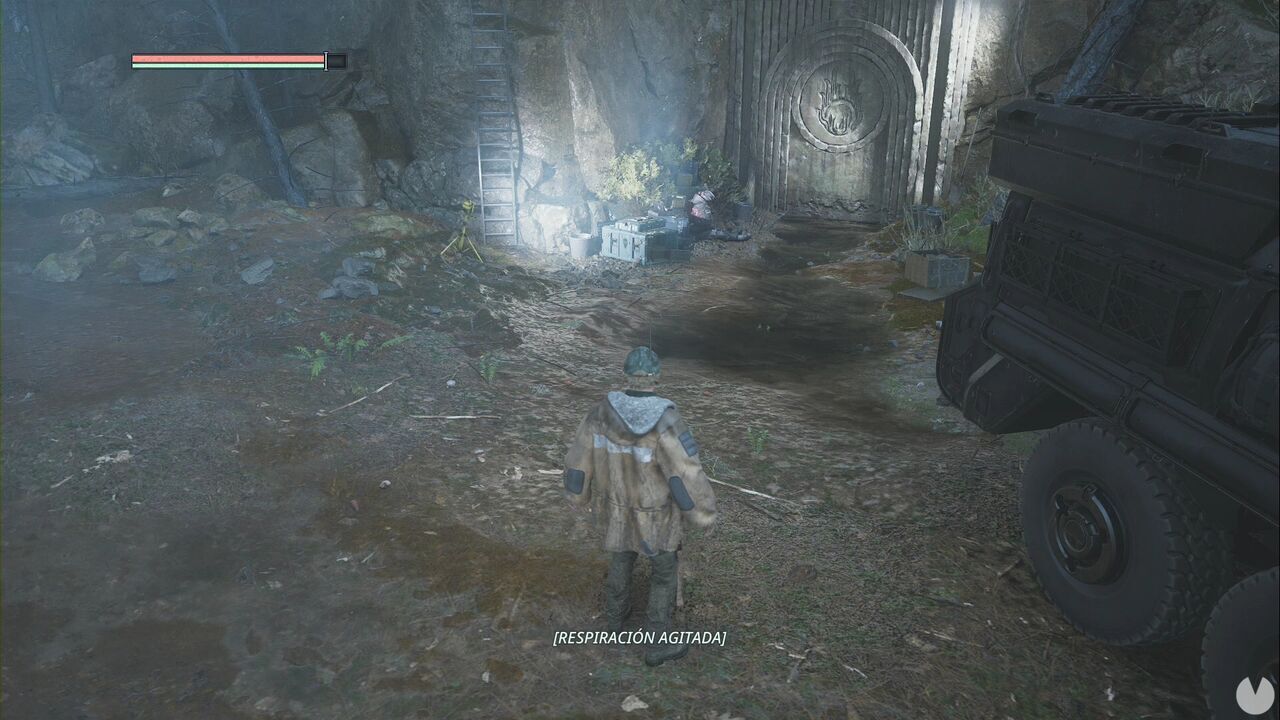
We’re going to look for the medkit while also taking care of another collectible-related matter. Look to the left of the soldier to see a path leading uphill.
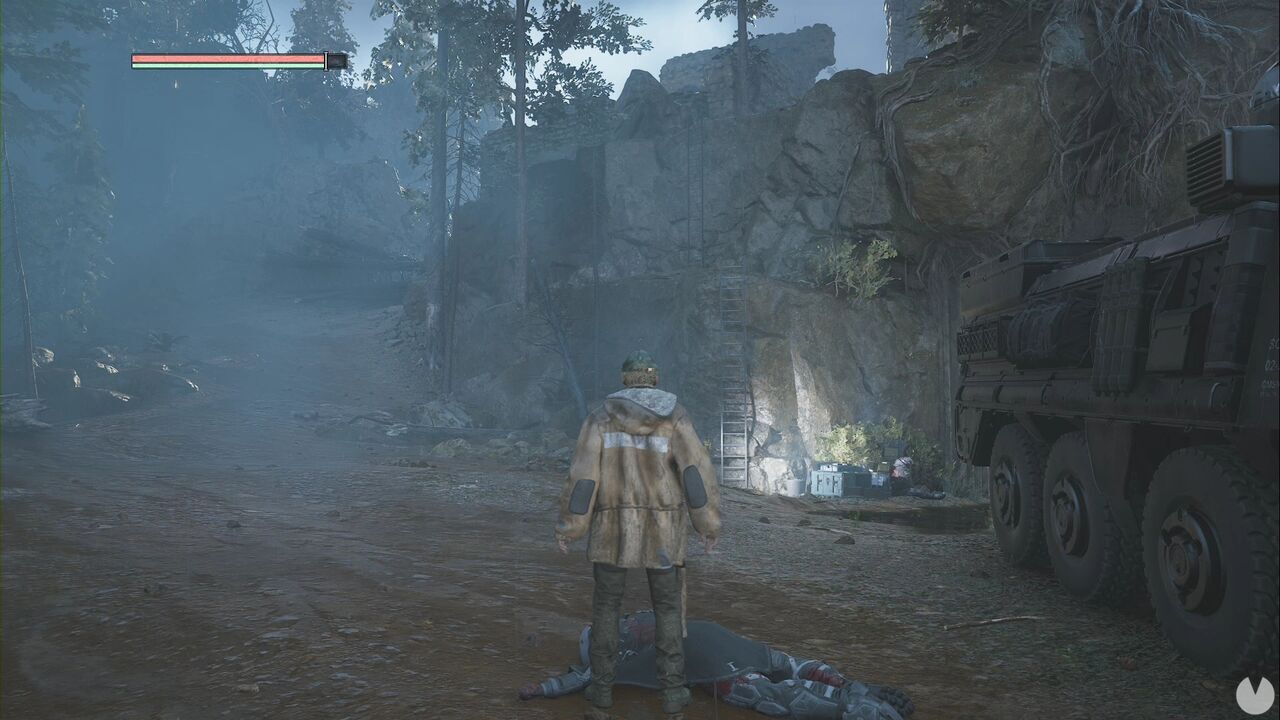
Climb the slope until the path ends at a fence beside a tree marked with an X. From there, continue uphill to the right, stay on the left-hand side of the path and always turn left until you reach a pile of rocks with a yellow glow. Examine them to obtain the Note - Cadell’s Treasure Clue. This activates The Cadell Family’s Treasure Mystery.
From the note, turn around, go left and then right. You should see another tree marked with an X in front of you.
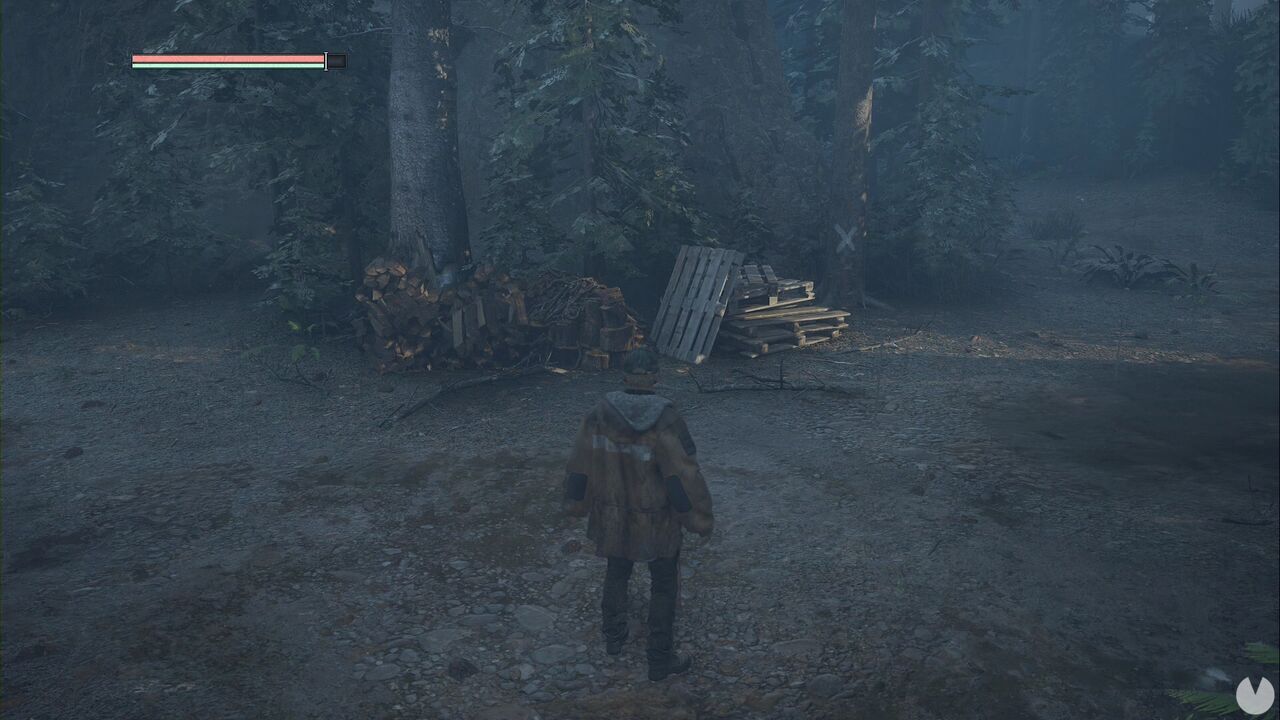
Follow the path immediately to the right of that tree and continue straight uphill. You’ll see several more trees marked with an X. Turn right at every junction until you spot a tent.
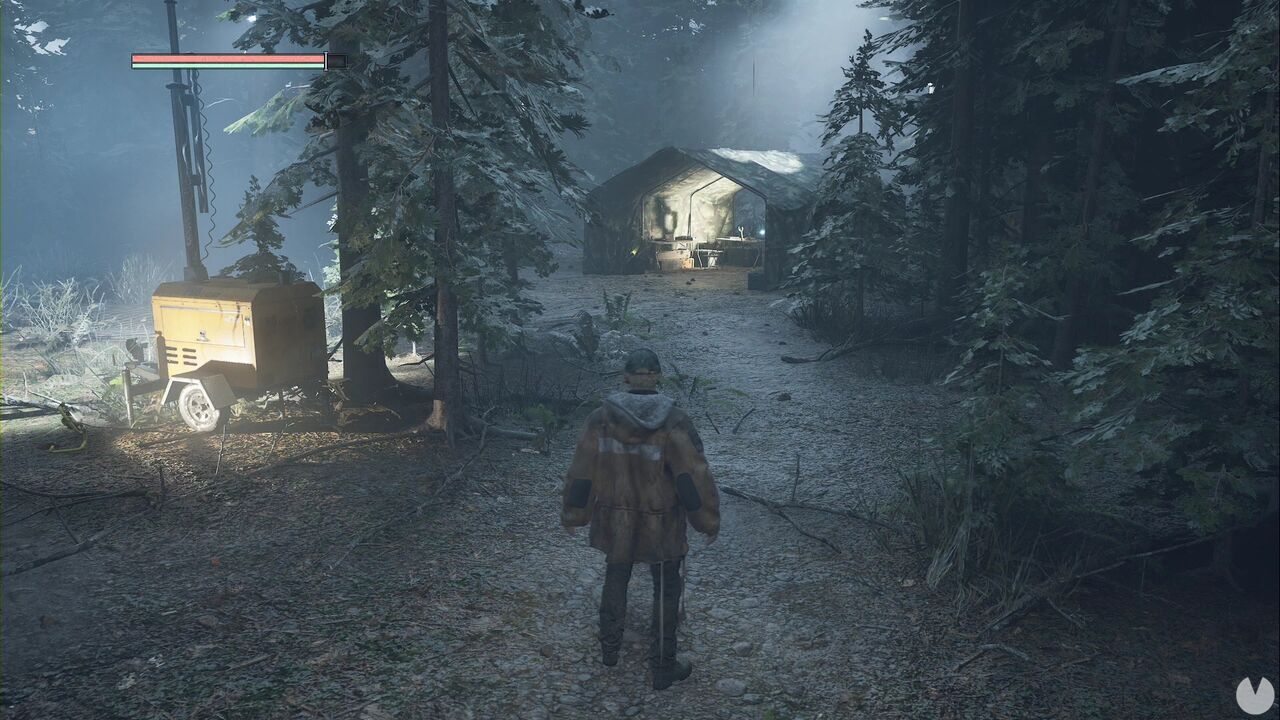
Inside the tent, you’ll find a Strange Substance Jar, the OMSIF Report - Field Research and the OMSIF Medkit required to continue the story. Now turn around and, from the generator with four lights above it, look left. Follow that path and you’ll soon see another small spotlight on your left, a tree marked with an X and an uphill path in front of you.
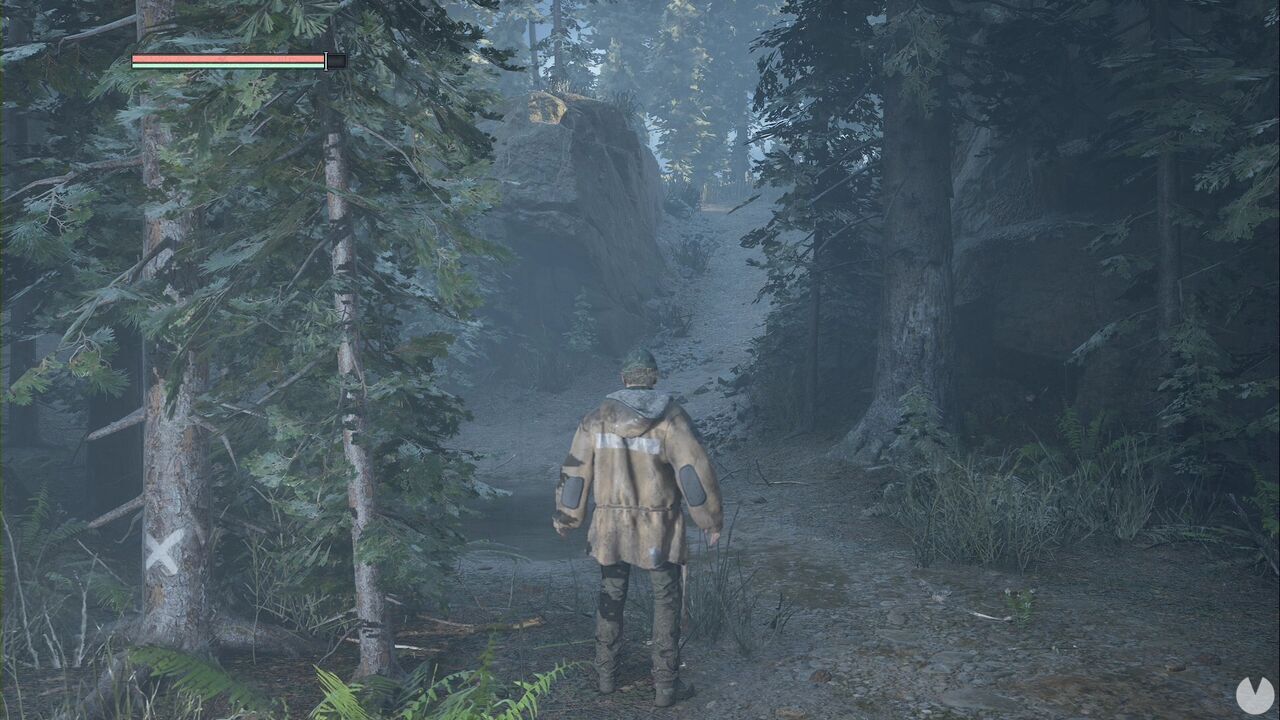
At the top, you’ll reach a small field enclosed by a fence. Continue to the far end to see some red rocks with a yellow glow. Approach them to collect the Rusty Key. Go back down the slope, return to the generator with four lights and look left to see a path between the trees.
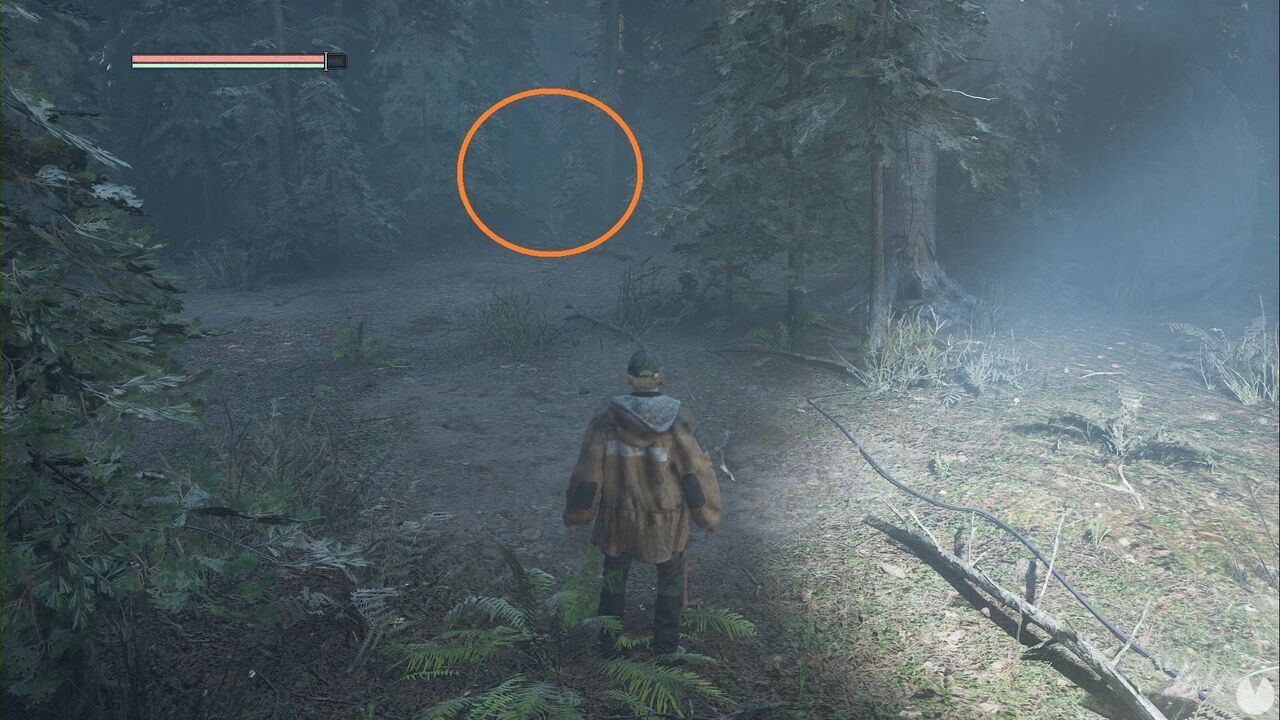
Follow it and continue straight ahead at the junction. You’ll reach a ledge, so drop down and continue straight until you find some blue rocks and a chest. Open it to obtain the Note - Cadell’s Treasure and the Ecstasy Bracelet - Indiscriminate Destruction. You can equip it from the tablet’s Equipment menu. Now return to the soldier and give him the medkit using the Trade option. In exchange, he’ll give you the Ancient Mechanism, a key item required to continue.
You can speak to the soldier again to exhaust his new dialogue options. Afterwards, climb the ladder beside him.
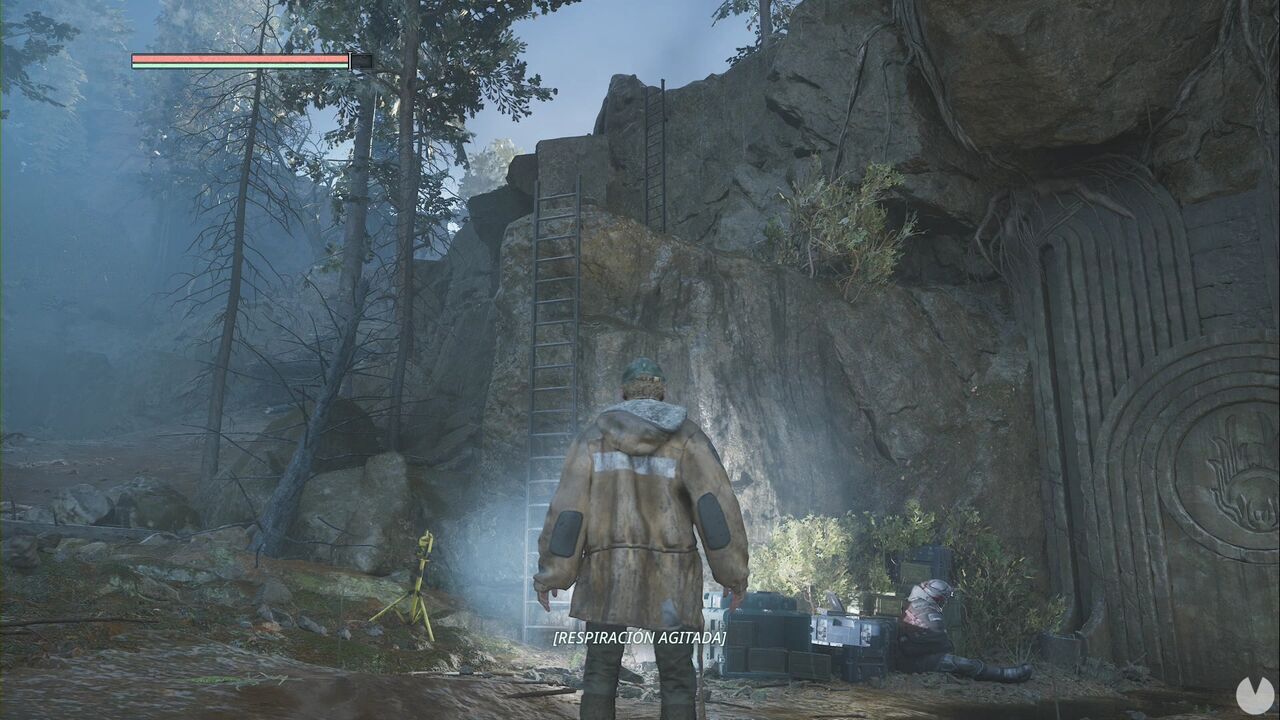
Proceed through the ruins until you see a pedestal on your left. Place the Ancient Mechanism on it to raise three pillars. Rotate them so that, from left to right, they show the flames, the eye and the beak.
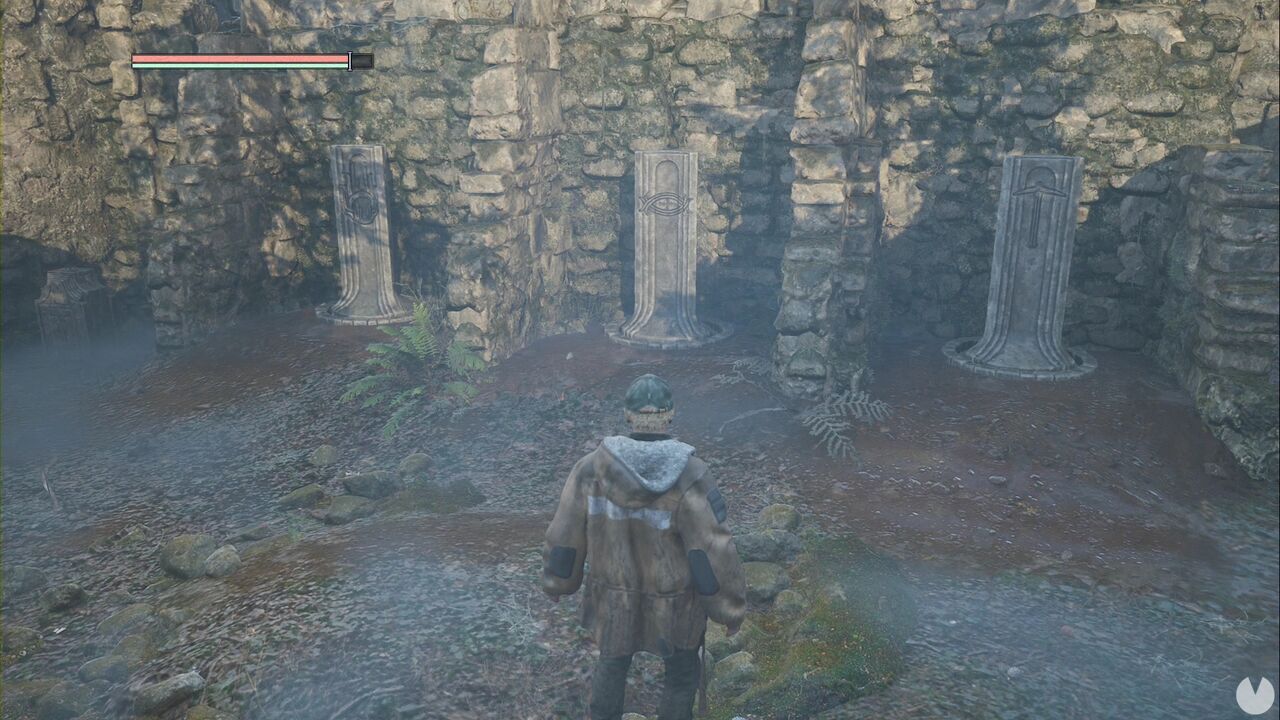
This opens the door beside the soldier. Go back down the ladder and pass through it.
Follow the only available path until you see a tutorial about saving. You can collect the Reconnaissance Operation Report - OMSIF Epsilon 11 from the table on the left. Continue a little farther to trigger a cutscene. You’ll receive the Lymbic Sword and a drone, followed by the combat tutorial. Defeat the enemy and enter the room at the back. The red glows indicate consumables you can collect. There are also two doors you can open in this room. They lead to small chambers containing enemies and stone tablets on the walls, which you can now examine with the drone to uncover more of the game’s lore.
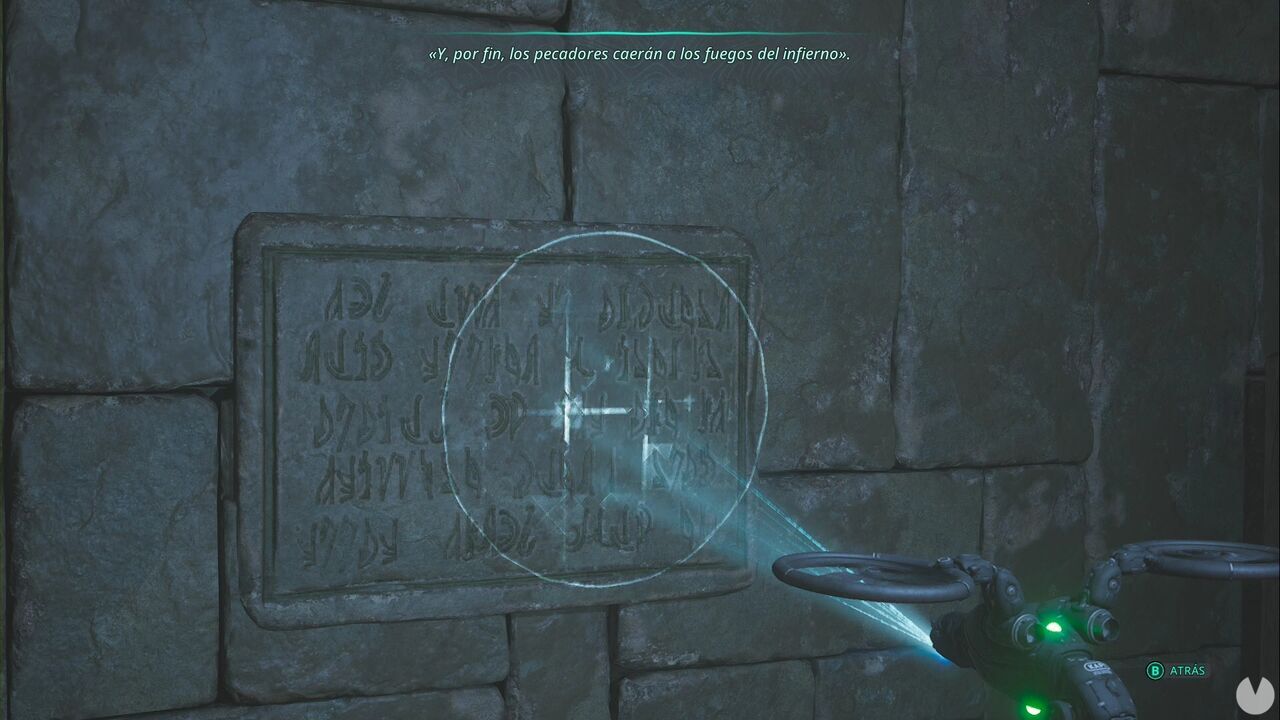
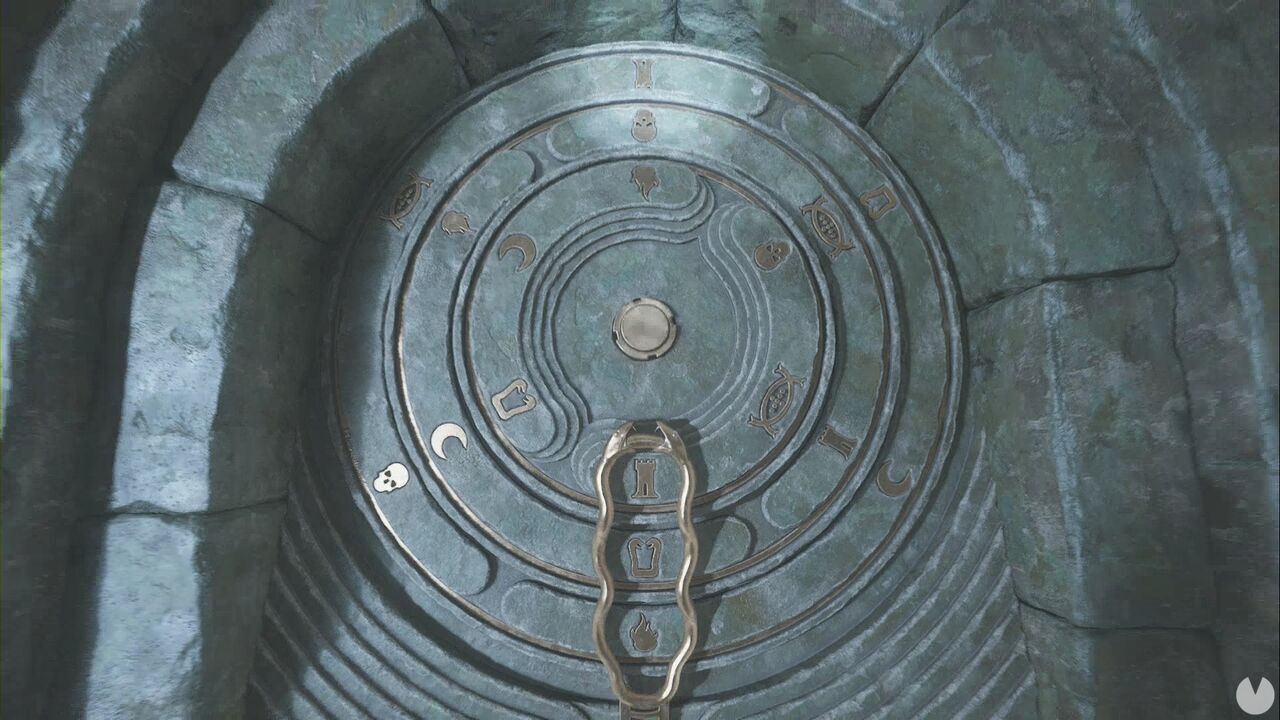
Return to the previous room and look for the large gate at the top of the stairs. This is another puzzle. To open the door, arrange the symbols from top to bottom as follows: the tower, the two-headed serpent and the flames.
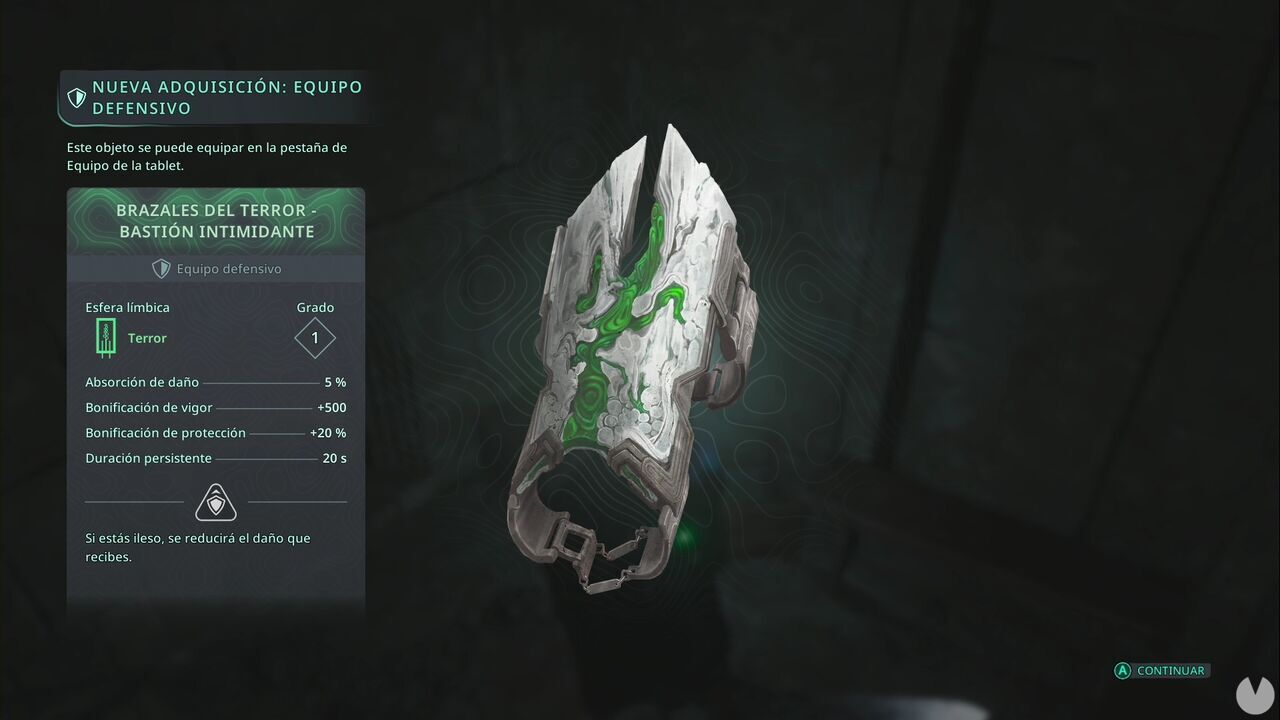
You’ll soon reach what looks like a prison. Defeat the enemy, climb the ladder and make your way around the area—one of the cells contains the Guard’s Journal—until you find a Small Lymbic Capacitor. This consumable allows you to restore Lymbic Energy, represented by the white bar beneath your health and stamina, which is used to perform your weapon’s special attack. Climb the ladder right beside it and begin making your way around the third floor. You’re looking for a cell containing the Dread Bracers - Intimidating Bastion.
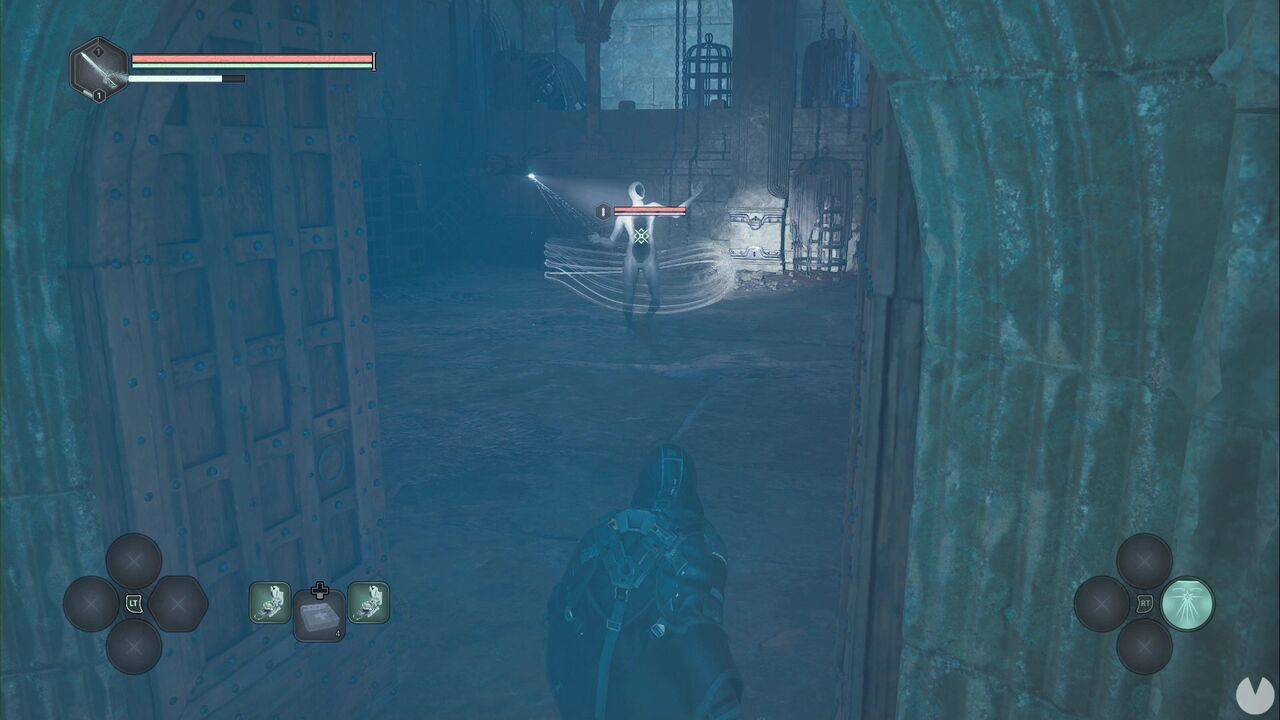
Continue around the area, defeat the enemy if you haven’t already and open the door. Follow the only available path, defeating monsters and completing a couple more tutorials, until the game teaches you how to use your drone’s Distraction module. It’s important to learn how it works: as in any game of this kind, fighting more than one enemy at once will usually get you killed.
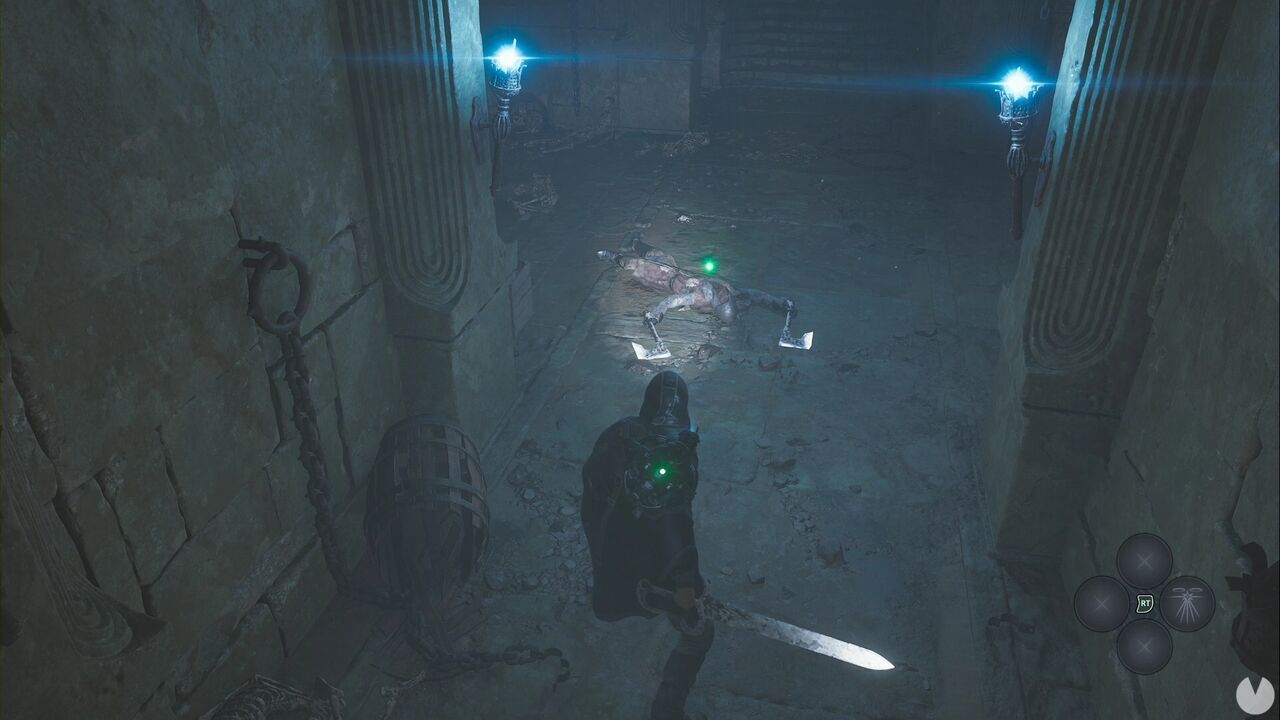
Continue down the corridor on your left and you’ll see a body in your path with a green glow. It holds the Lymbic Twin Axes.
Continue onwards and you’ll eventually receive the parry tutorial. Bear in mind that you cannot parry every attack, only those performed when an enemy changes colour. In the second room containing two enemies, look to one side to see a yellow glow on the floor. This is the Emerald Ram Head Medallion, which activates The Ram’s Secrets Mystery.
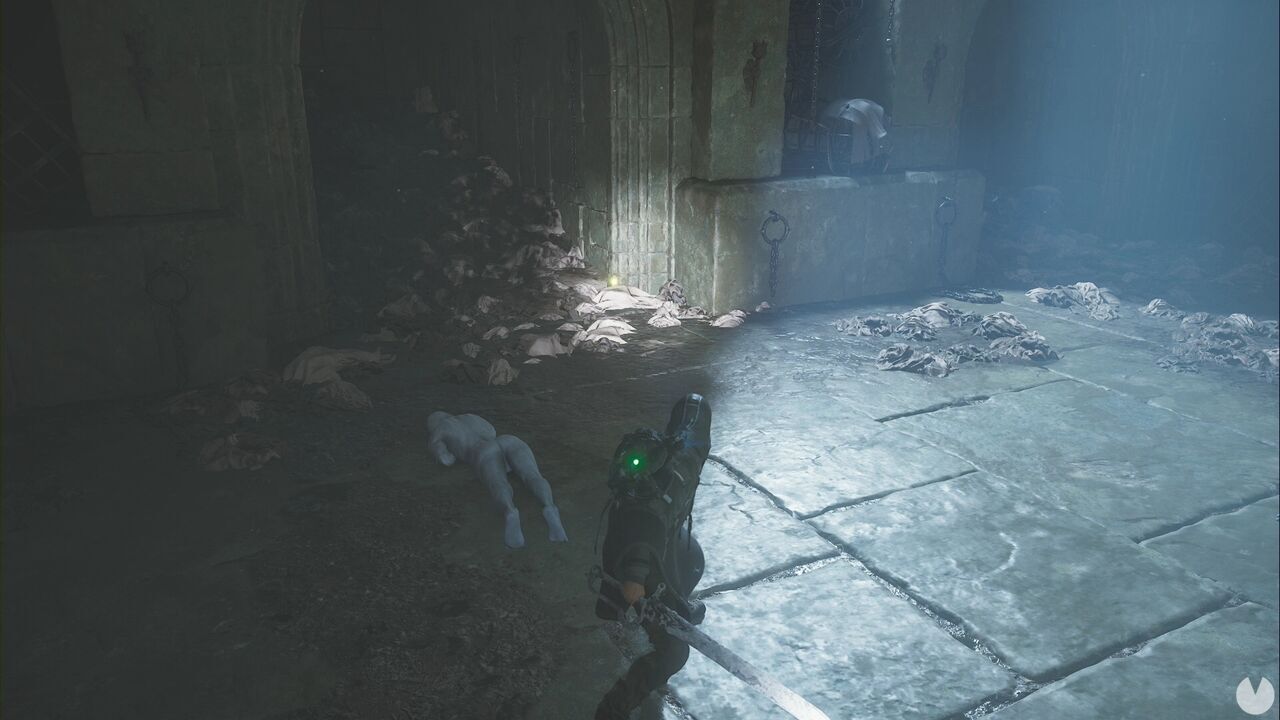
If you were paying attention along the way, you probably noticed a door with two circles on either side. This clearly belongs there, but since there are two slots, you’re still missing another key item. Don’t worry about it: we’ll need to retrace our steps near the end of the area, and we’ll let you know when it’s time. Continue through the door at the end of the corridor, beyond the tunnel. After defeating a new type of enemy, pull the lever beside the door to open it.
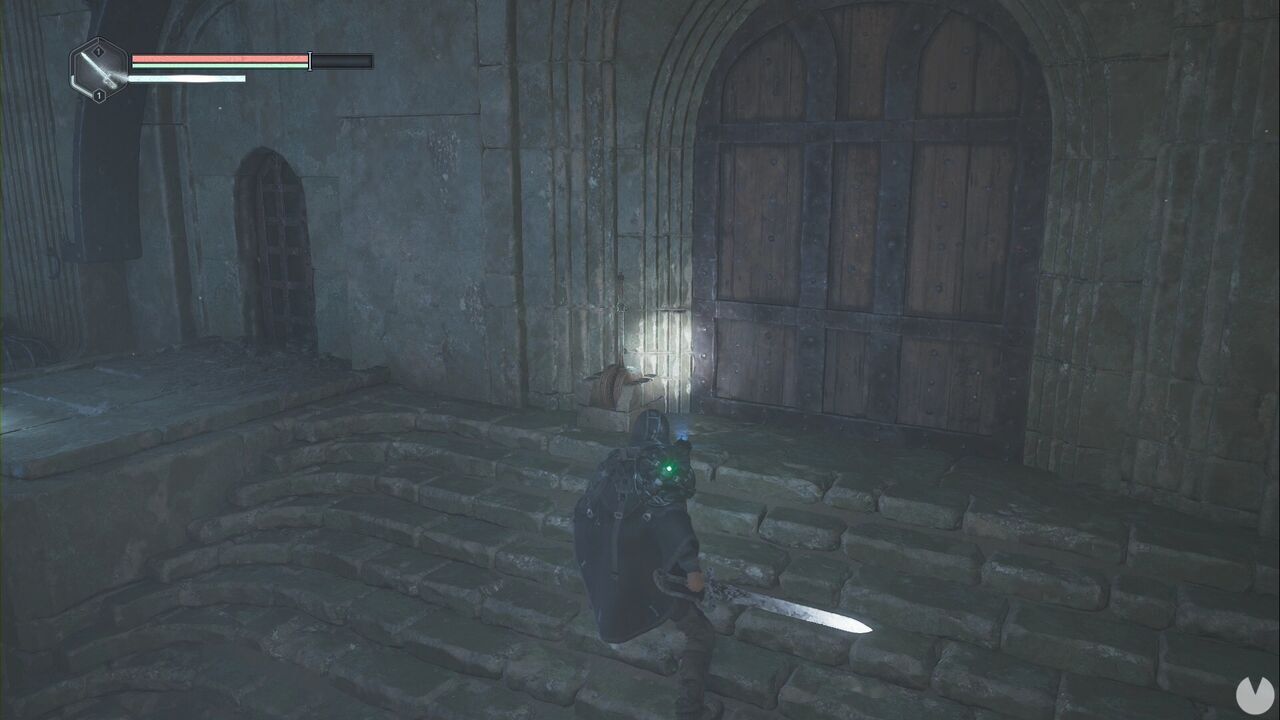
You’ll emerge into a trench. On your left, you’ll find the Letter - Sabinian Superstition and an Individual Drone Bypass on the ground. The latter is a consumable that resets the cooldown of your drone’s abilities. You’ll also find the Key - APC and OMSIF Deployment Order - Senedra on the same body.
Continue until you reach a junction. On your right, you’ll find the Letter - Sabinian Front and the Gold Watch, which is connected to the first Good Deed. We’ll explain how these work shortly.
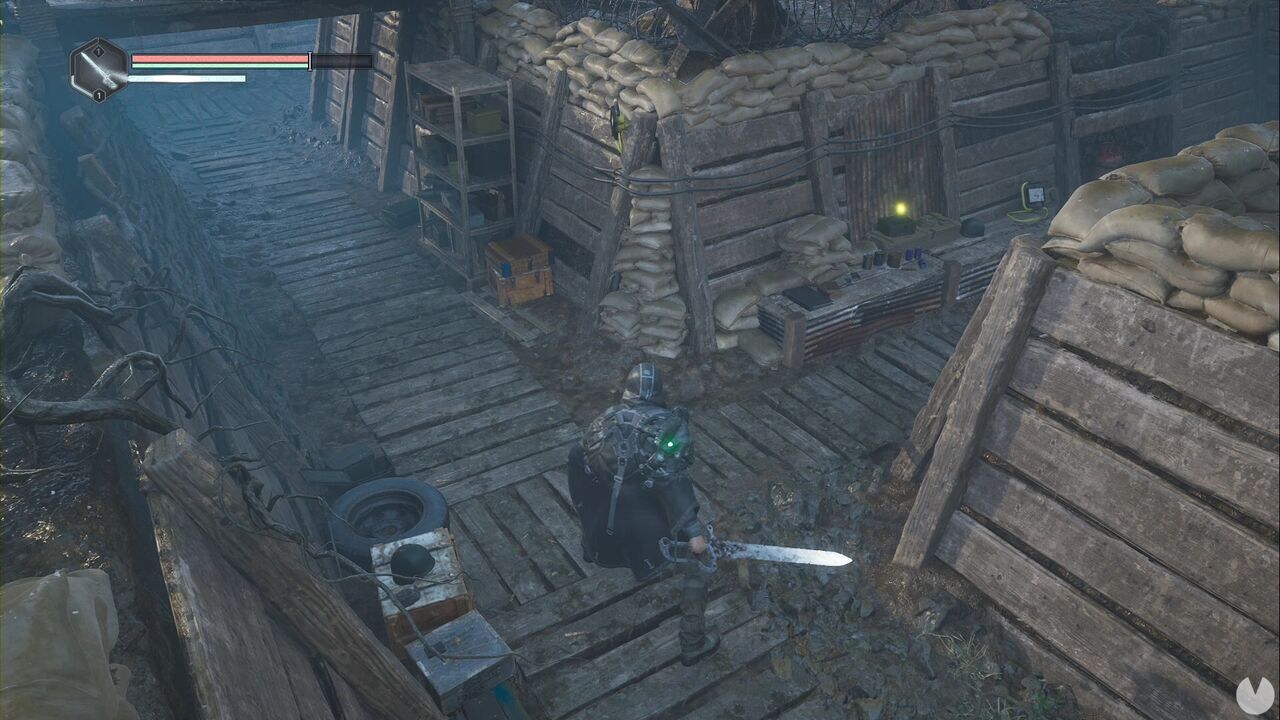
Follow the only available path—all the others are blocked—until you reach a save point. On the nearby table, you’ll find a Small Basic Ration, a new type of consumable that restores stamina, along with some medkits. Beyond the save point, the game explains how linked enemies work. You essentially need to eliminate the Haze—the orb that emerges from the smaller enemy—and then the Hollow Walker—the humanoid—before the Haze respawns. Continue uphill, collecting more consumables along the way, and look to the right when you reach the top to see a yellow glow.
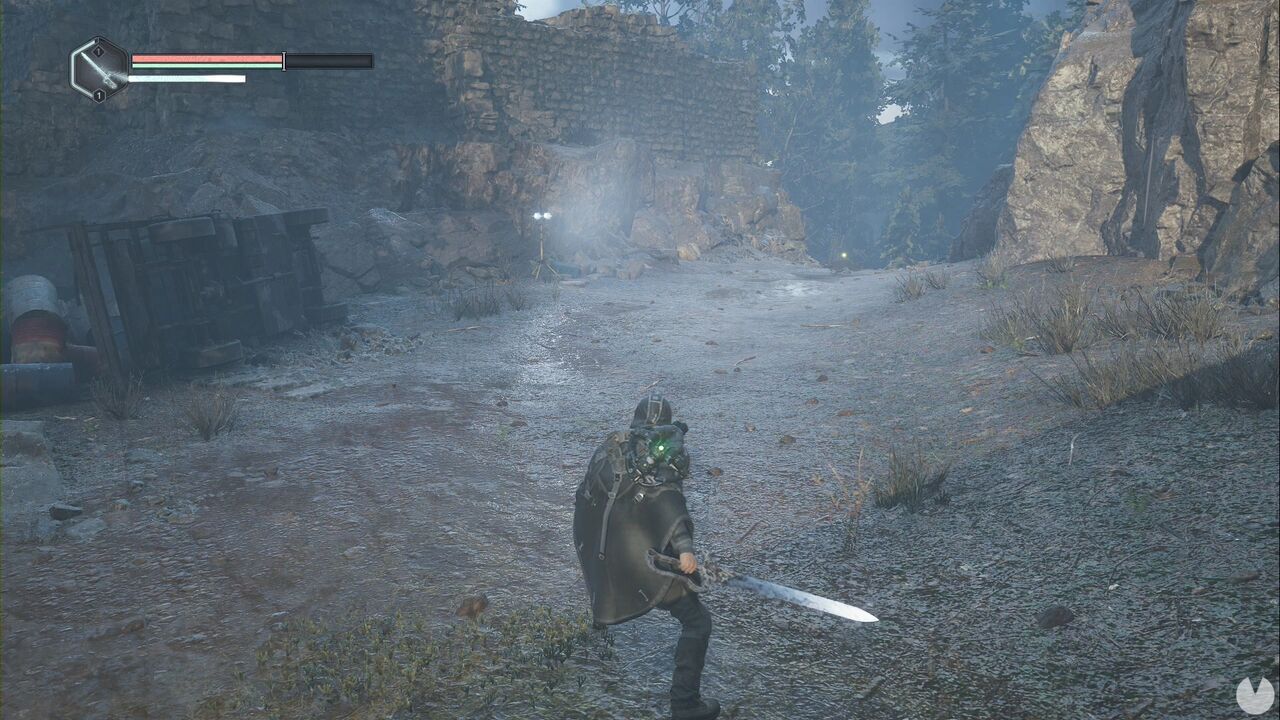
This is the Crimson Ram Head Medallion, which you need for The Ram’s Secrets Mystery. We’ll soon turn around and complete it on the way back. You’ll also collect the OMSIF Report - Ram Head alongside the medallion. Do not continue downhill, as this would take you back to the APC. Instead, turn left and continue straight ahead, leaving the ruins behind you and to your right. You’ll know you’re going the right way when four smaller enemies appear. Shortly afterwards, after killing one of the winged creatures, you’ll receive a message stating that "a Timeloop Guardian has been eliminated".
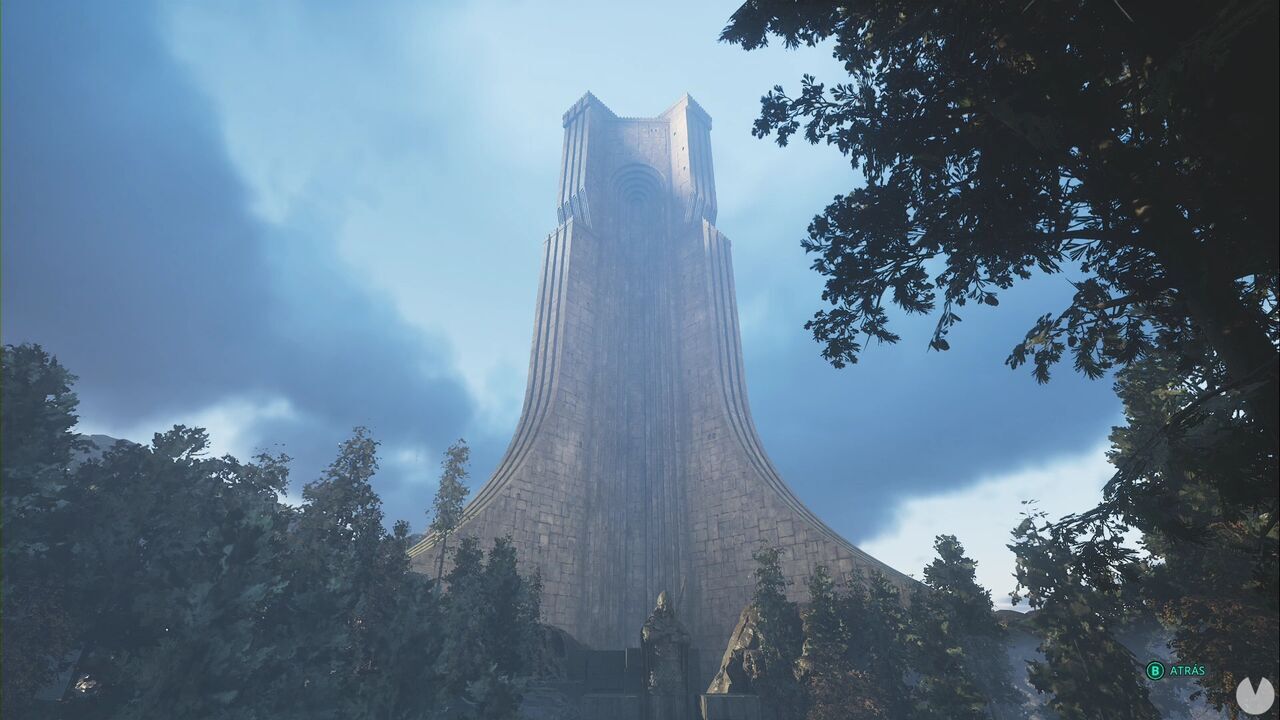
Continue past the creature to reach some stairs with an observation point, which confirms that the tower is... well, the Tower.
Go down the stairs, defeat the enemies and turn around to look beneath the steps. You’ll see a tunnel running underneath them.
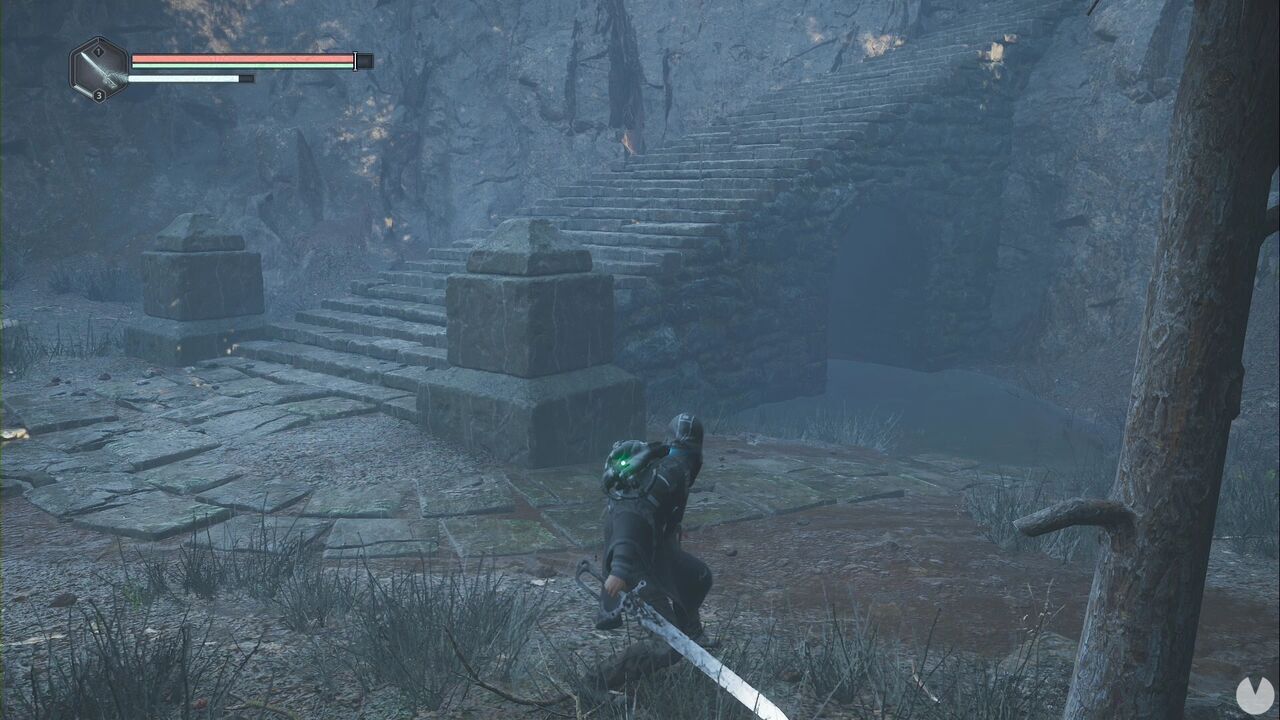
Inside, you’ll find Hostility, your first Glyph. These are essentially another type of accessory that can be equipped directly on weapons, although you must upgrade them first and can’t do that yet. Retrace your steps, enter through the trench and, when you reach the save point before the cells, continue a little farther to find the ram door on your right.
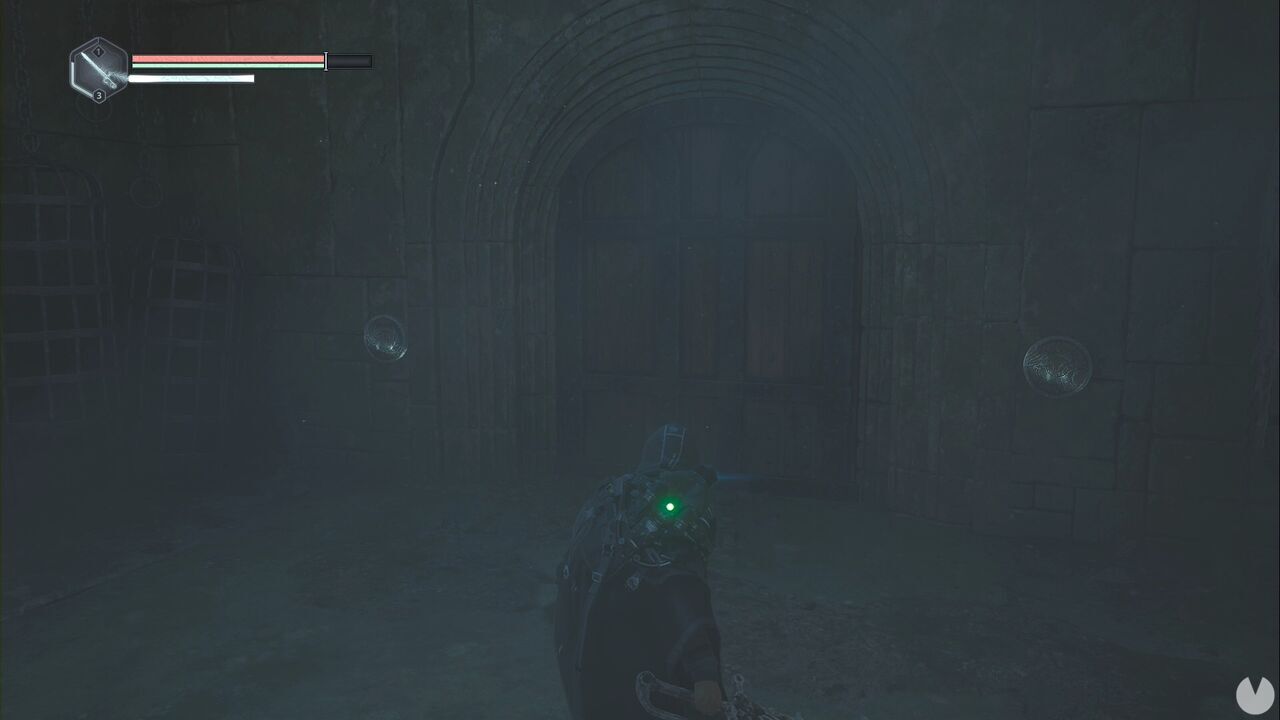
Place one medallion on either side to open the door, causing an enemy to appear. Inside the locked room, you’ll find the Journal - Queen’s Decree and the Retraction Glyph.
You’re finished here, but we’re not leaving just yet. Return to the trench and climb the slope again, but this time continue straight ahead. You’ll return to the APC, but don’t interact with it. Instead, go all the way back to Ernest Cadell’s house and trade with him to give him the Gold Watch. This completes The Gold Watch Good Deed.
You can exhaust Ernest’s new dialogue options if you wish. Now return to the APC, use the key you obtained earlier to open it and climb inside. Look to the right and interact with the map on the dashboard to travel to the Acasa Marshes.
