

Besides the usual collectibles, Hell is Us features a handful of side activities to complete as you progress through the game's story. These include Mysteries, which are essentially treasure hunts that take place in specific locations and usually involve finding a key to open a door or chest. This section of the guide covers every Mystery, how to complete it and the reward you'll receive for doing so.
You can solve this Mystery in the Senedra Forest. Once you've found the APC, look to its left to see a path leading uphill, beside the wounded soldier.
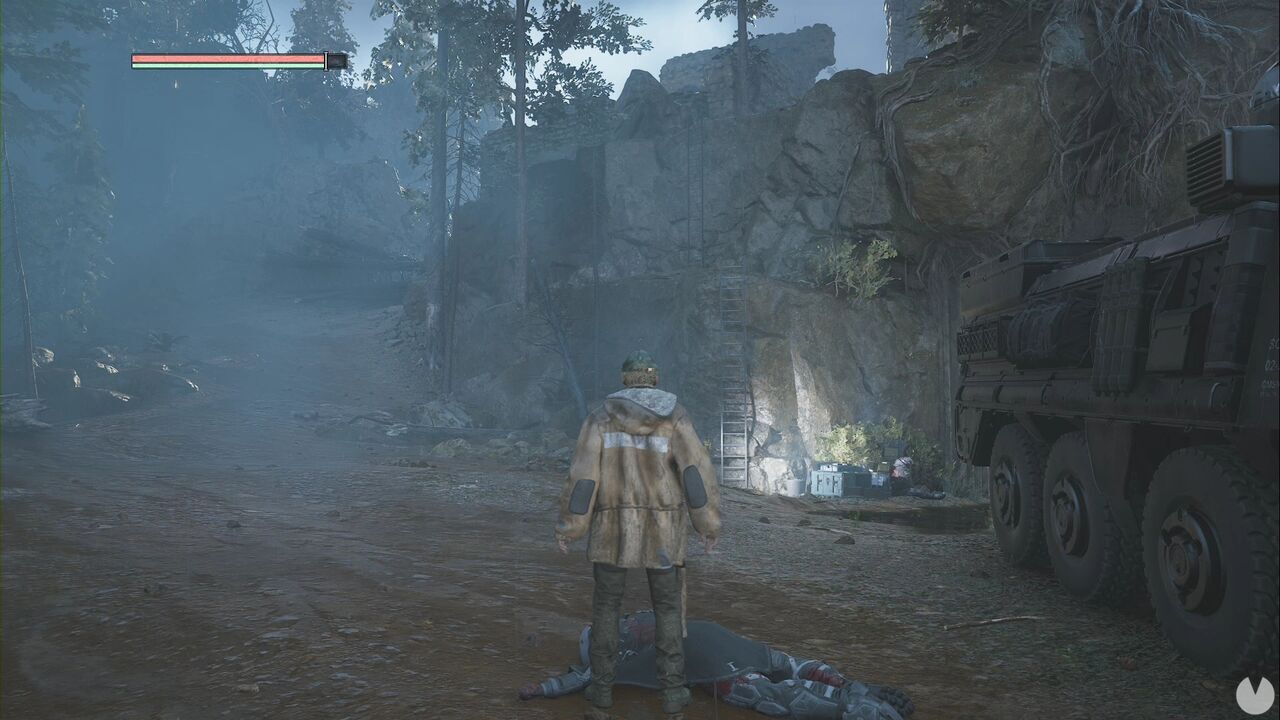
From there, continue up the path on the right, sticking to the left-hand side, and always turn left until you reach a pile of rocks with a yellow glow. Examine them to obtain the Note - Caddell Treasure Hint. This activates the Caddell Family Treasure Mystery.
From the note, turn around, go left and then right. You should see another tree marked with an X directly ahead.
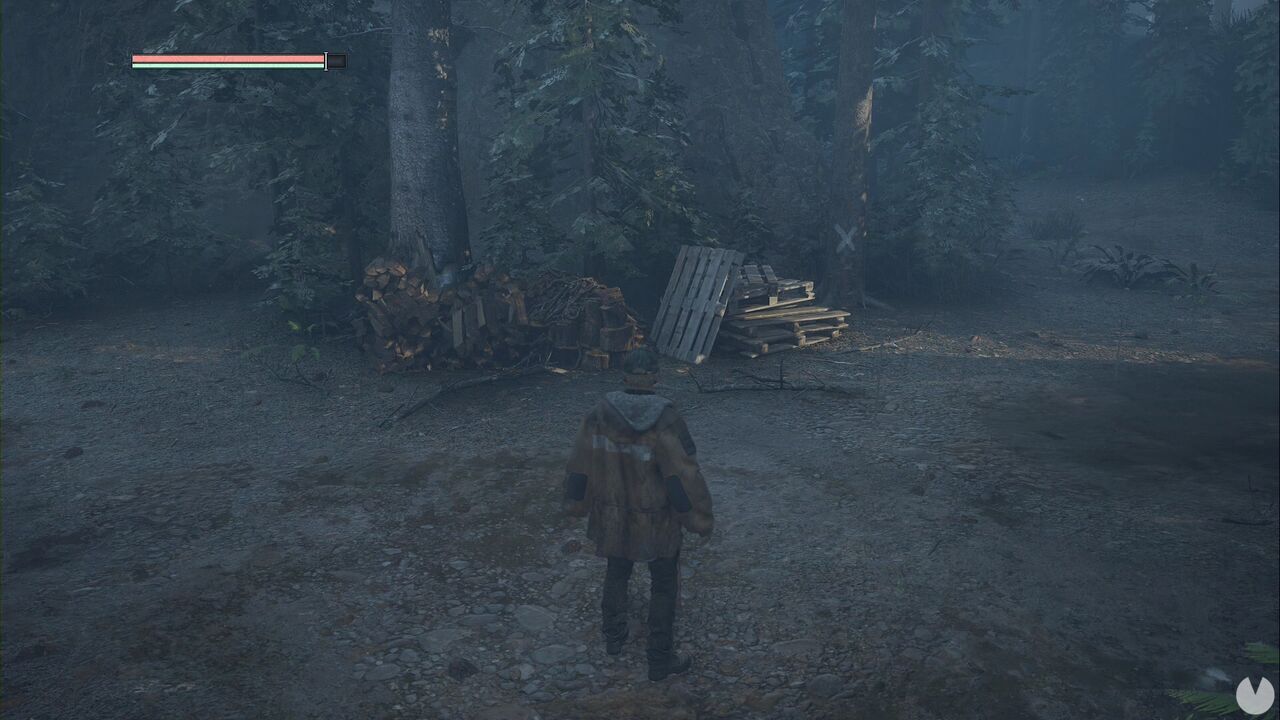
Follow the path immediately to the right of the tree and continue straight uphill. You'll see several more trees marked with an X. Turn right at every junction until you see a tent.
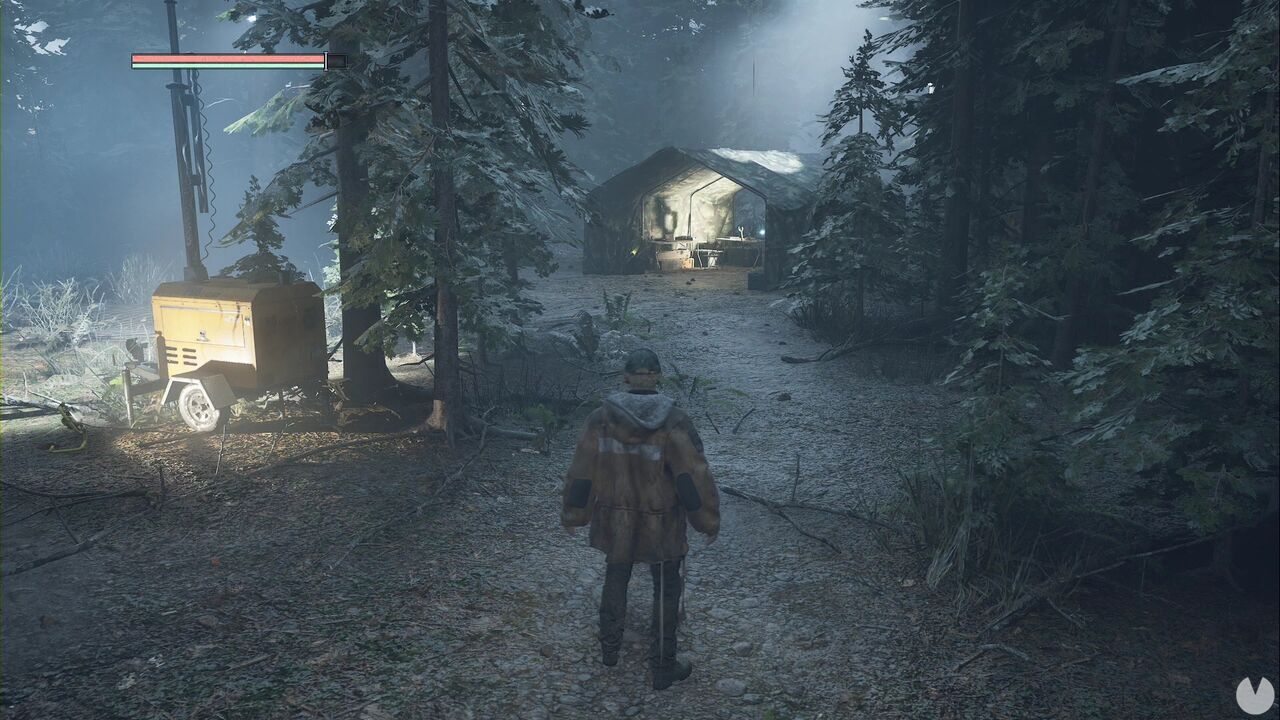
Inside the tent, you'll find a Vial of Strange Substance, the OMSIF Report - Field Research and the OMSIF Medkit required to continue the story. Now turn around and, from the generator with four lights above it, look to the left. Follow that path and you'll soon see another small spotlight on your left, a tree marked with an X and an uphill path directly ahead.
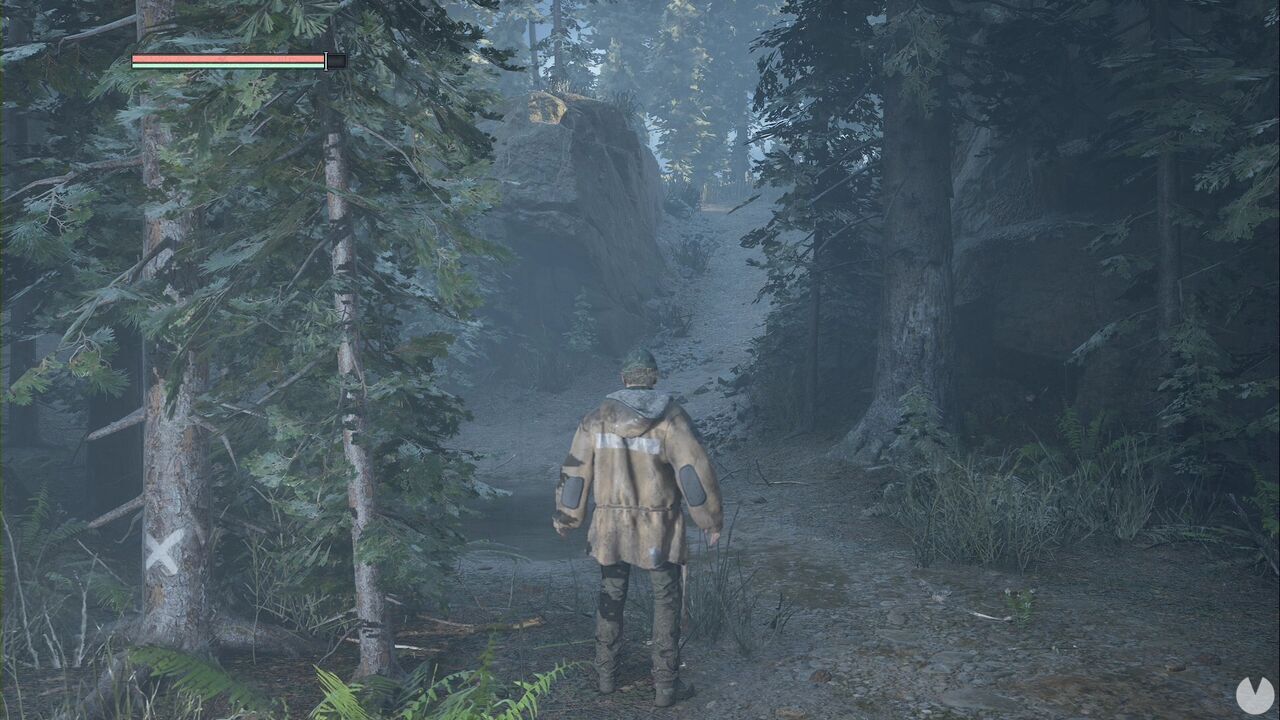
At the top, you'll find a small field enclosed by a fence. Continue to the far end to see some red rocks with a yellow glow. Approach them to collect the Rusted Key. Head back down the slope, return to the generator with four lights and look to the left to see a path through the trees.
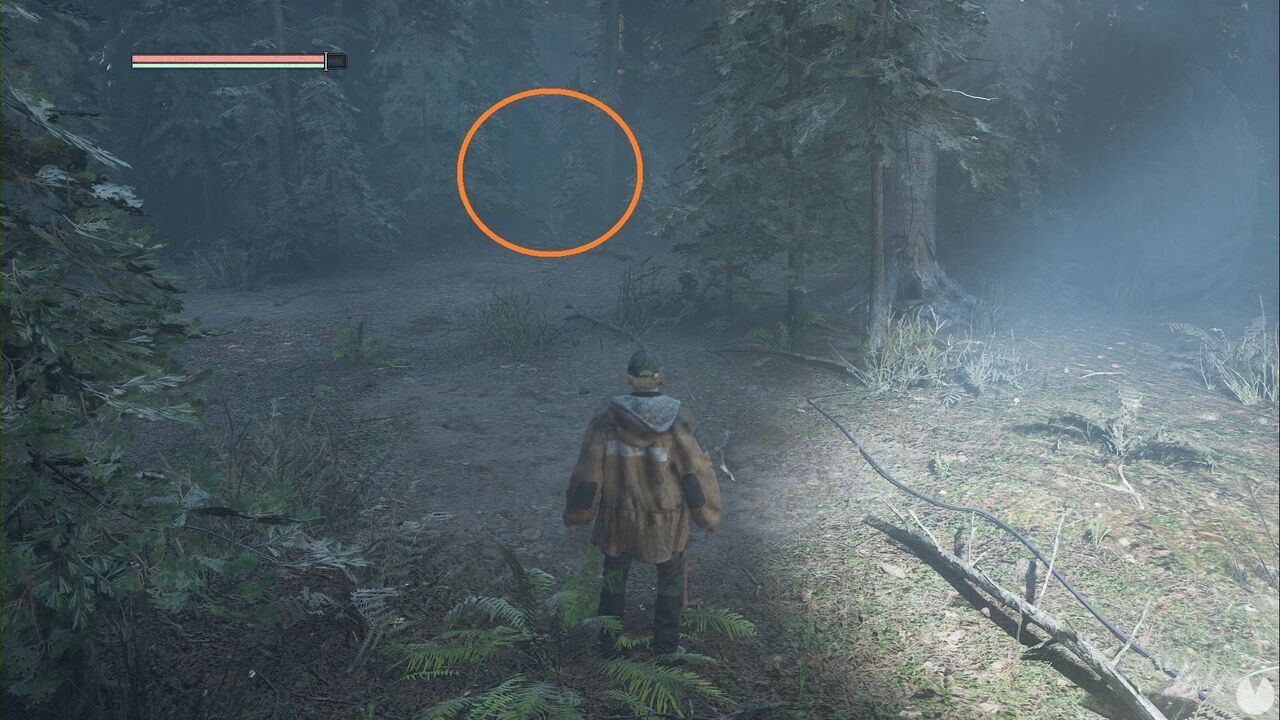
Follow it and, when you reach the junction, continue straight ahead. You'll come to a ledge, so drop down and keep going until you reach some blue rocks and a chest. Open it to obtain the Note - Caddell Treasure and the Bracelet of Ecstasy - Wanton Destruction.
You can solve this Mystery in the Senedra Forest, while making your way through the cells. After obtaining the Lymbic Twin Axes, you'll pass through several rooms. In the second room containing two enemies, look to one side to see a glowing item on the floor: the Ram Head Medallion - Viridian.
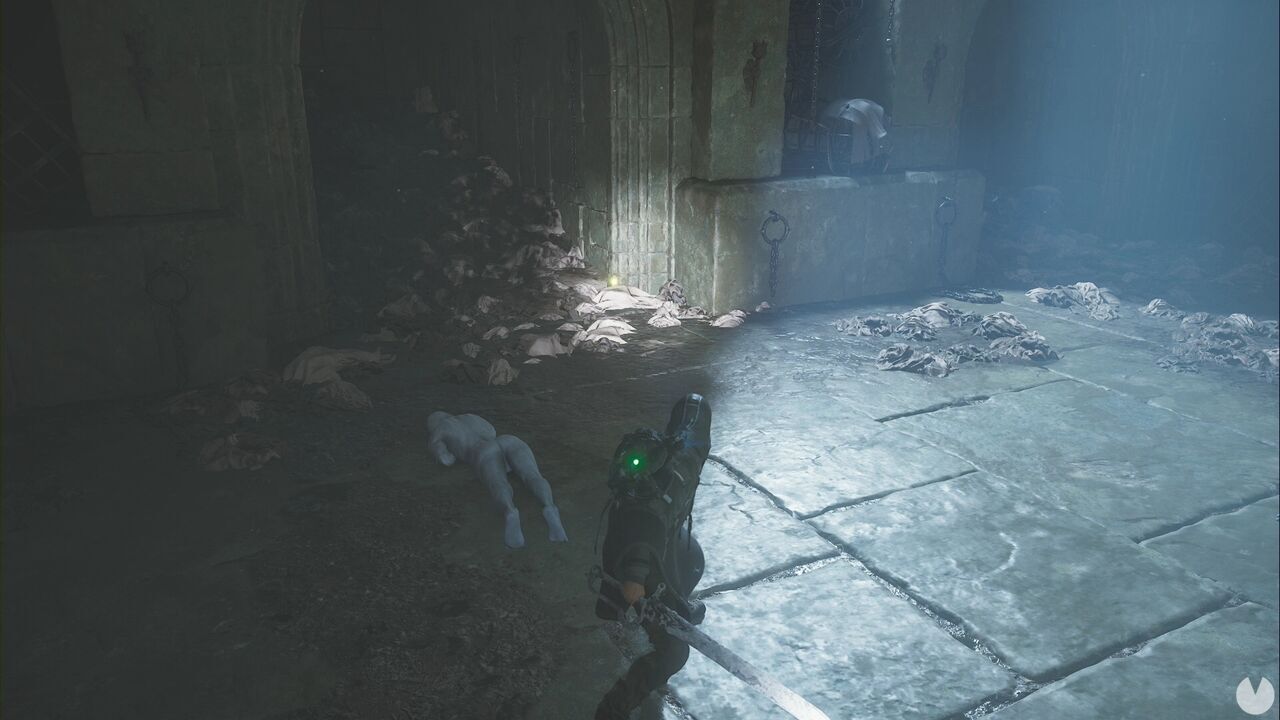
You'll need to find another medallion. To do so, continue until you reach the trench area. After the save point, you'll need to head up a slope as you leave the trench. Go all the way to the top and look up and to the right to spot the second medallion's glow.
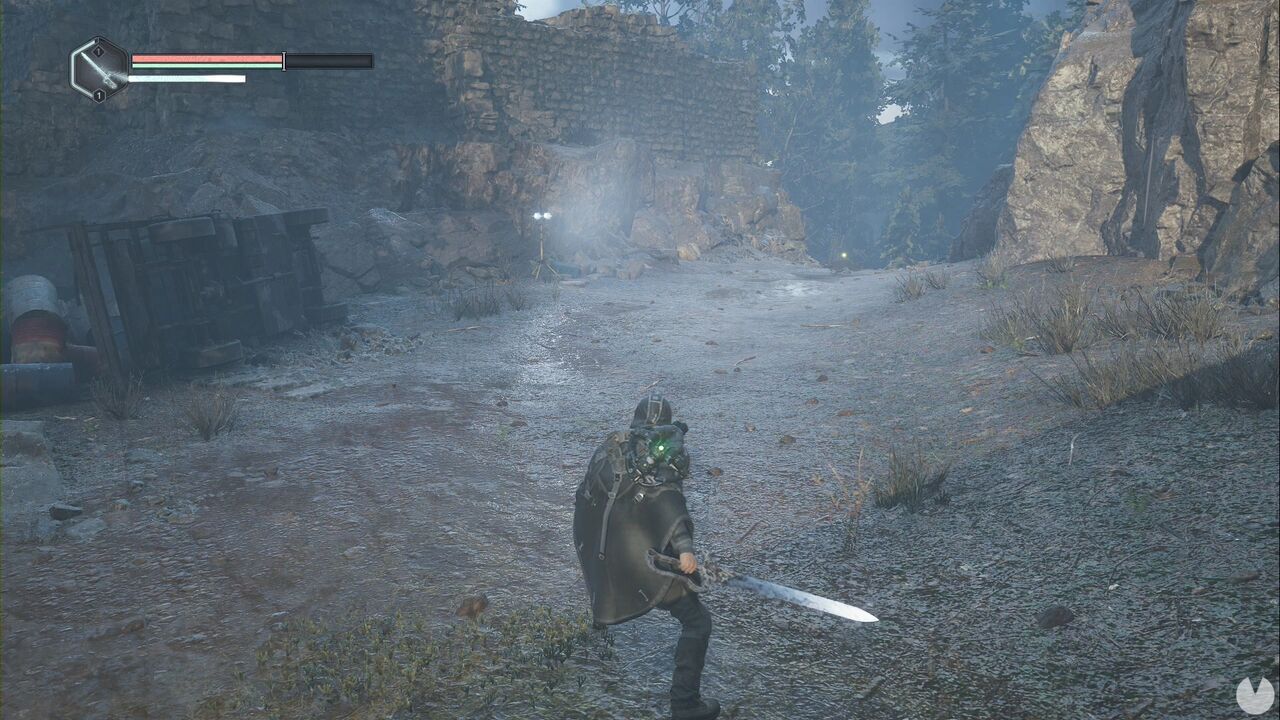
Head back to the prison tunnel through the trench. Shortly after the tunnel's save point, you'll see the door on your right. Place one medallion on each side.
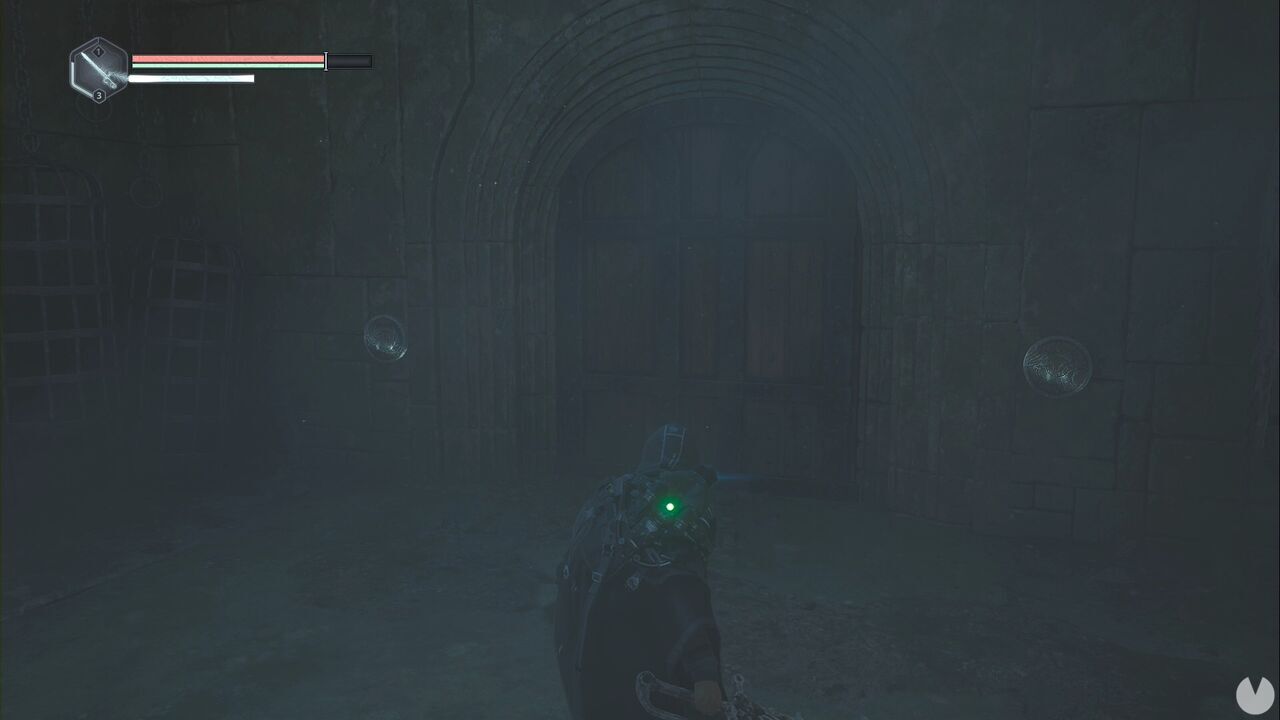
Inside the locked room, you'll find the Journal - Queen's Decree and the Recoil Glyph.
This Mystery begins in the Acasa Marshes. Head to the village of Jova and climb the ladder to the left of Captain Vaas to reach the village square. Once there, look for the "death to all Sabs!" graffiti.
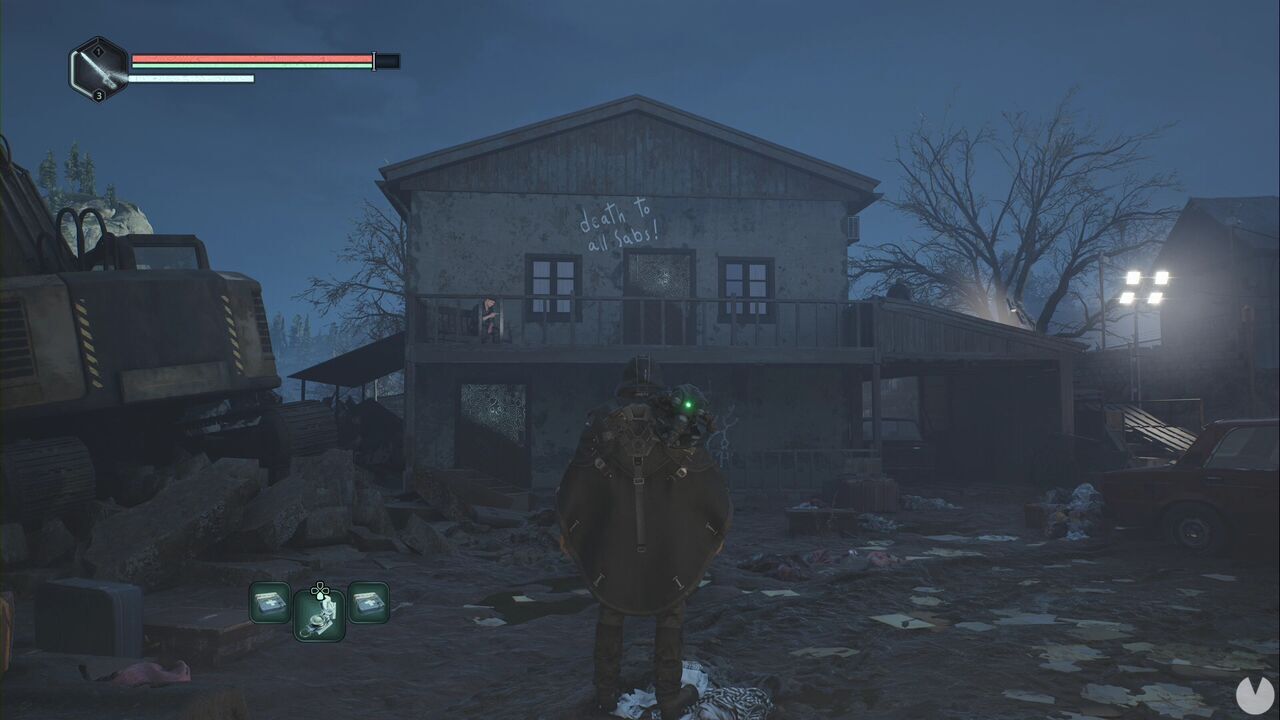
Climb the crates on the right to reach the upper floor. In the first room, you'll see a crib and something you can interact with, although you don't yet have the required item. Go downstairs and check the kitchen refrigerator. Interacting with it gives you the Mead Bottle - Nearly Empty, beginning the Mystery. The bottle must be given to the drunk soldier in the courtyard where the Shattered Good Deed begins, in the upper part of the village.
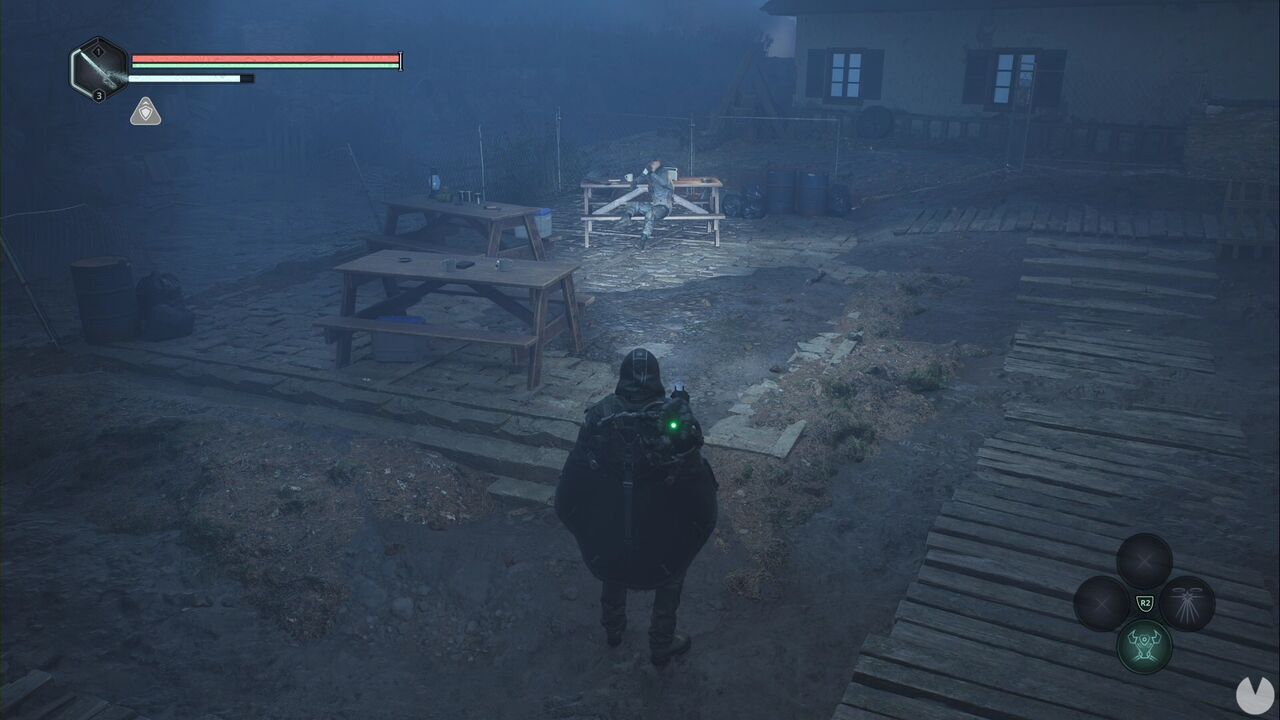
He'll tell you that he wants more alcohol, so you'll need to wait a while before you can complete the Mystery. When you travel to the Lymbic Forge, provided you've saved everyone along the way, you'll find the Mead Bottle - Full in the house northeast of the Lake Cynon reservoir.
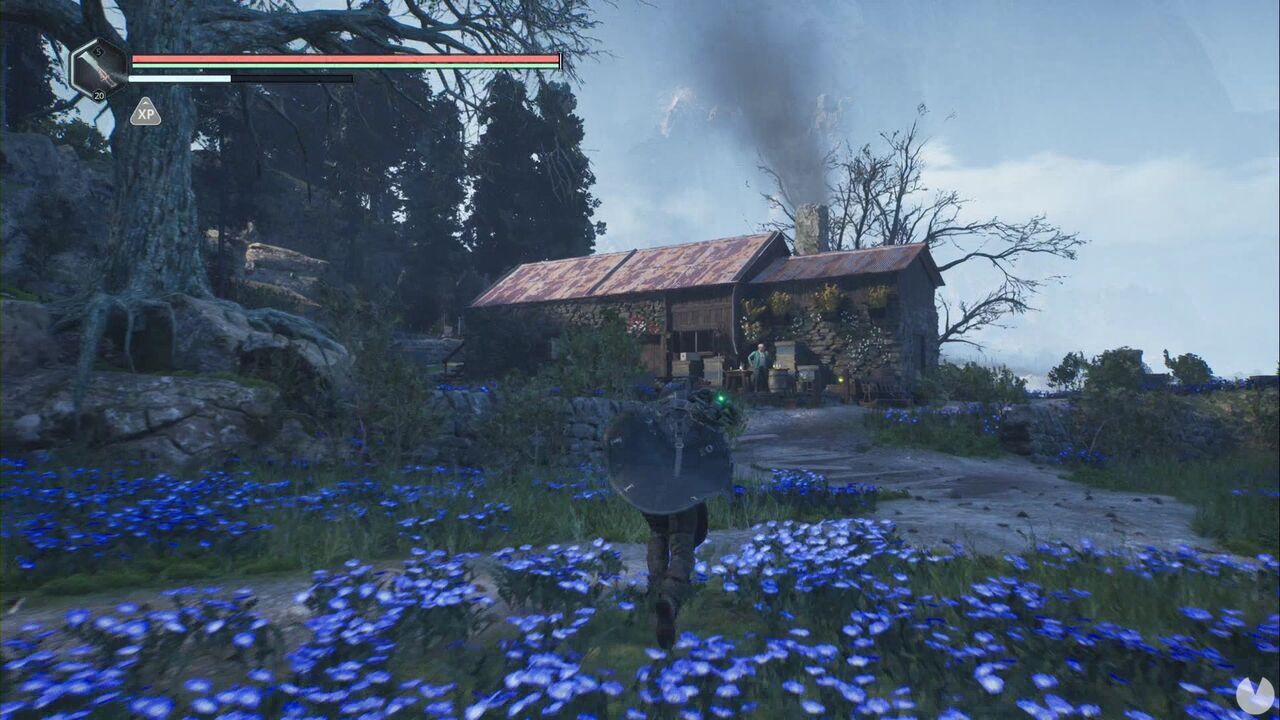
Return to Jova and give the bottle to the drunk soldier. He'll give you the Jova Office Key, which is used on the house beside Vaas's post at the entrance to the village.
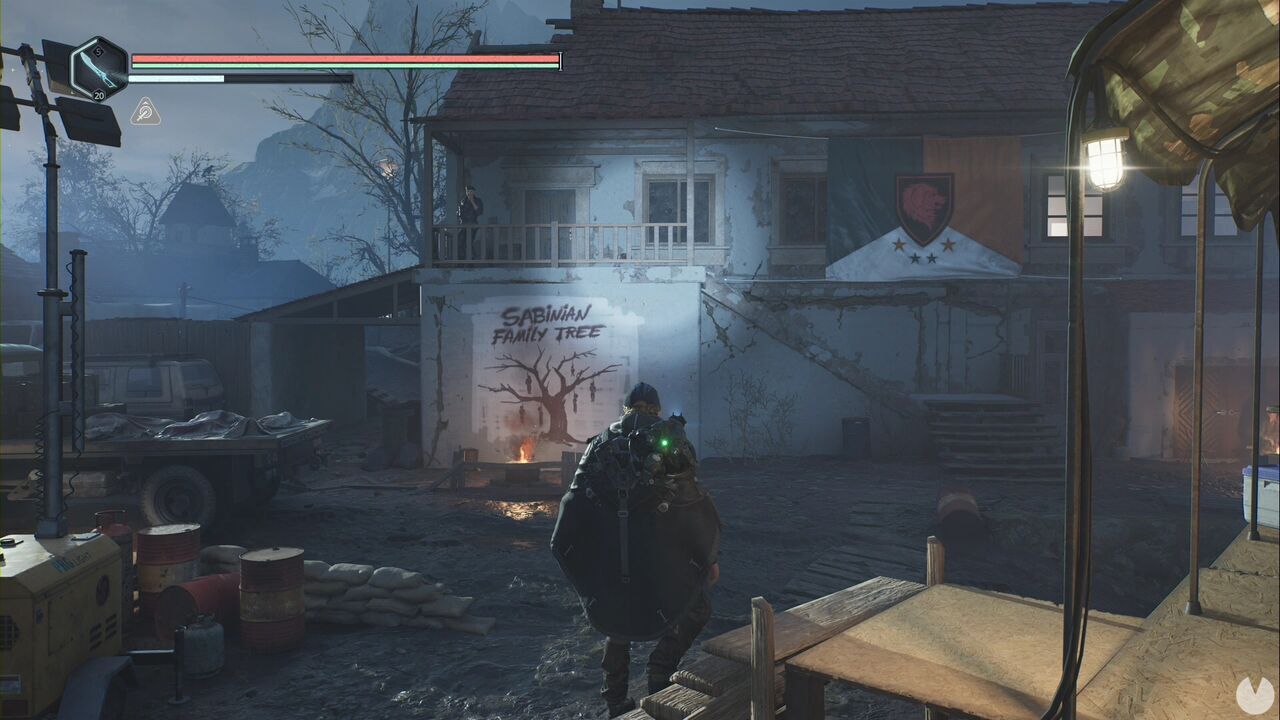
You need to go around the house and climb onto the roof, then enter the attic and drop down to the balcony on the other side. Use the key to complete the Mystery and loot the room.
To begin this Mystery in the Acasa Marshes, first find the house covered in graffiti with a save point in the southwestern area of Jova.
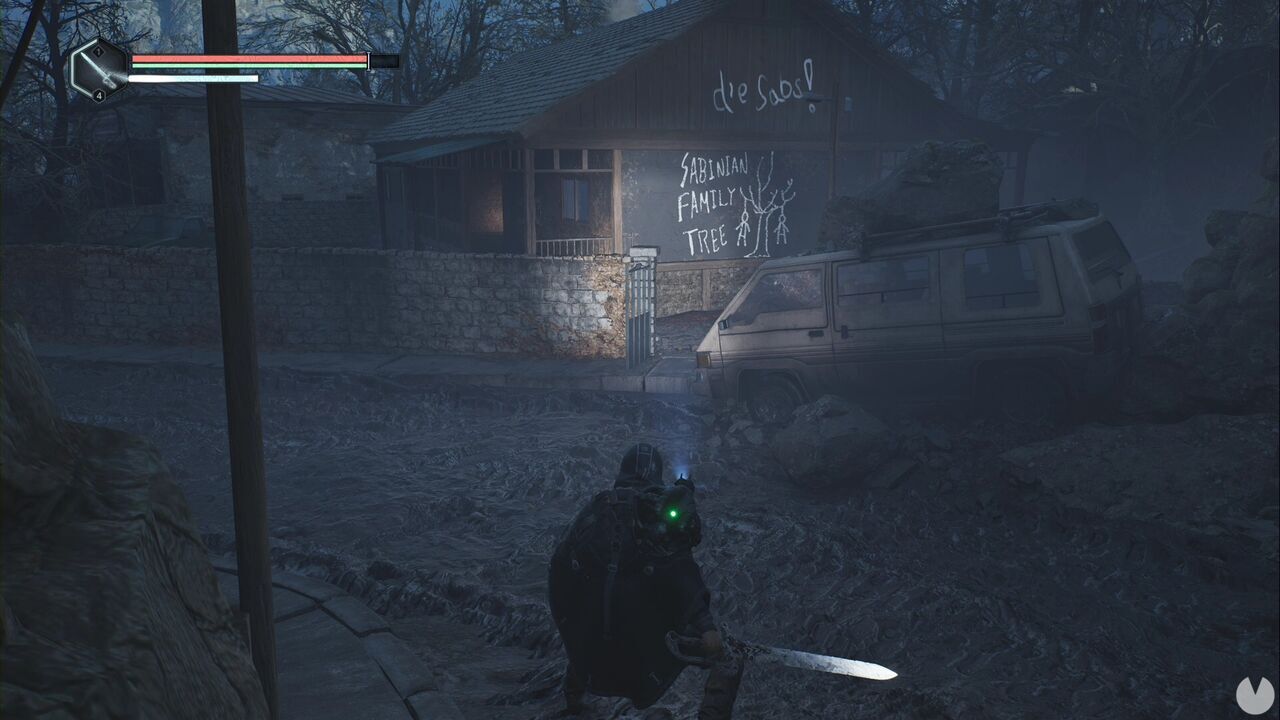
Look for the basement entrance on the right-hand side of the house, climb down the ladder and turn left at the junction. You'll pass through a couple of rooms containing enemies and discover that the tunnel is considerably longer than expected, although the route itself is straightforward. At the end, you'll find a ladder beneath a light.
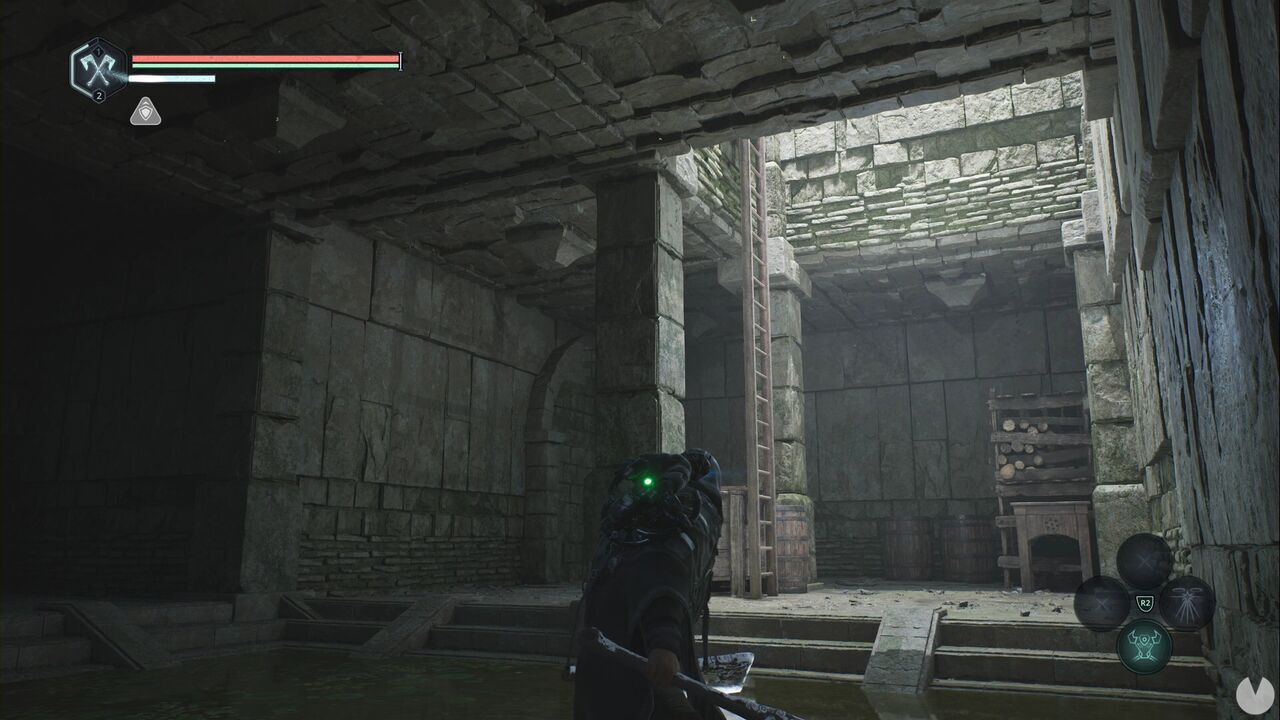
Climb it, turn left, defeat the enemies and look down the corridor opposite the door leading to the road. Turn right in that corridor to see the glow of the Lymbic Rod - Neutral, Z. Picking it up begins the Mystery.
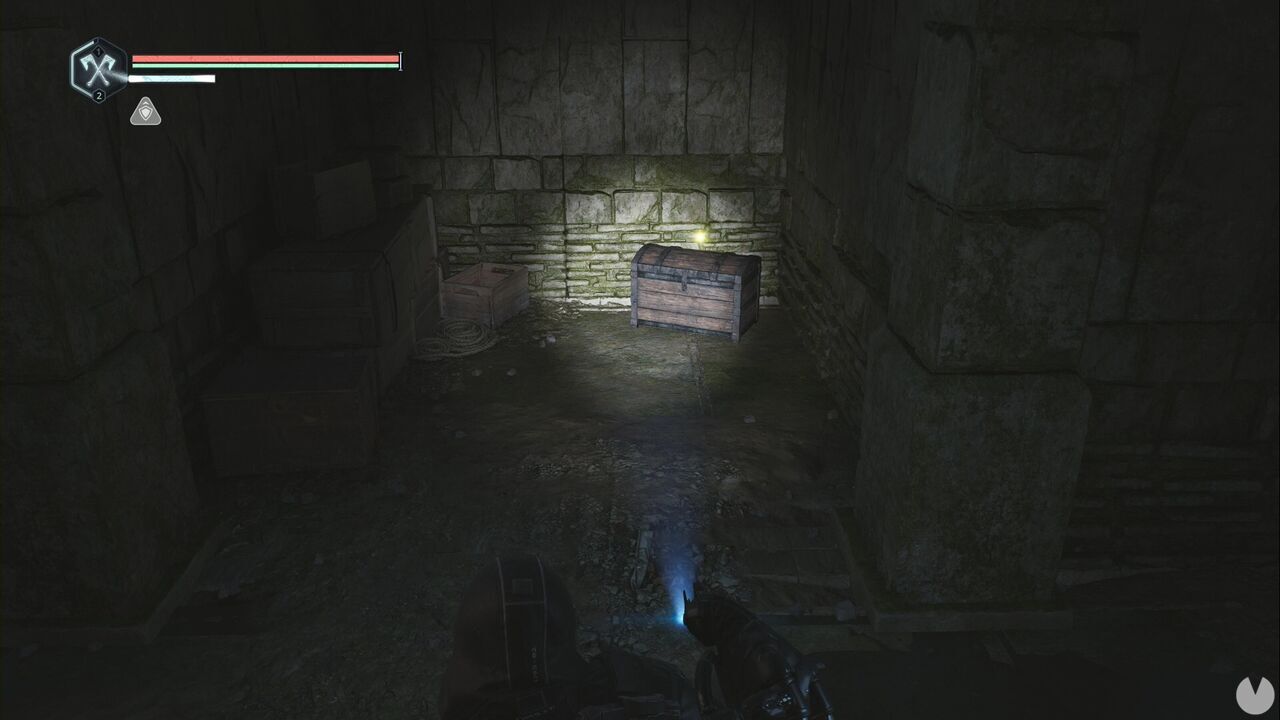
From the black dome of the Timeloop, head north, pass the hanging tree and look for the small ruins to the right of the larger ruins, where you'll encounter a group of enemies. The Lymbic Rod - Neutral, X is in the middle of the ruins.
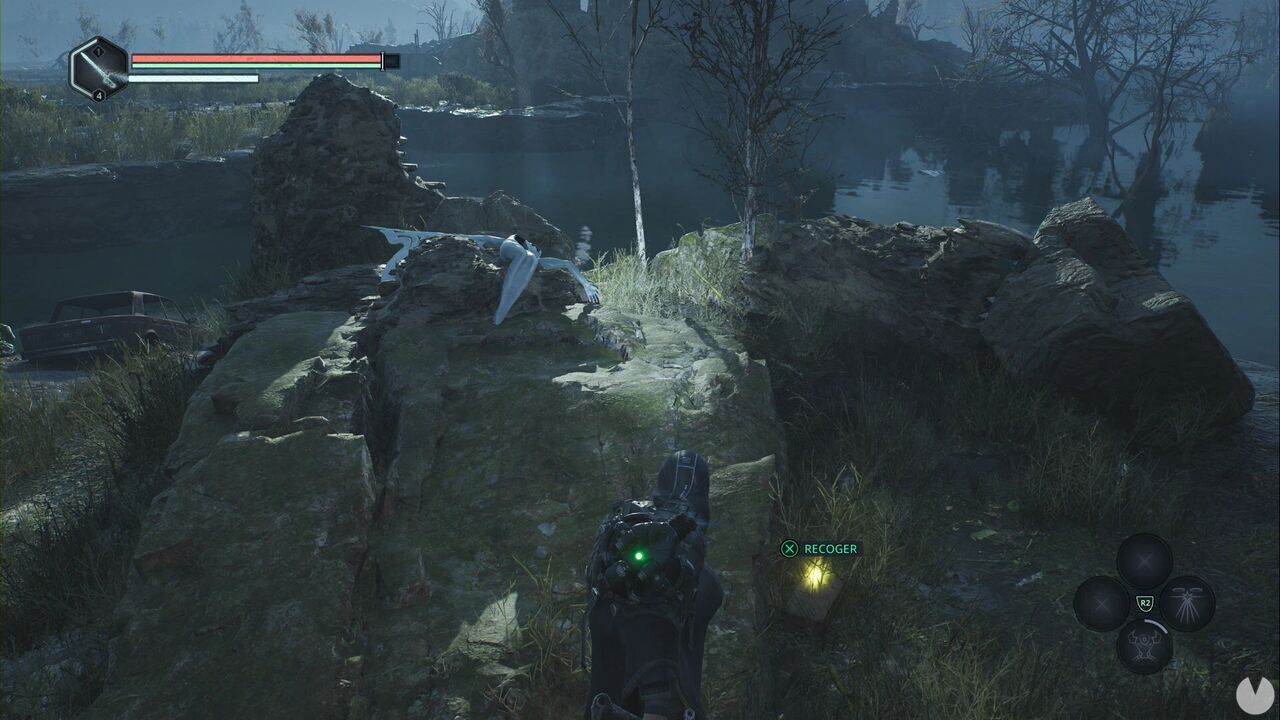
With both artifacts in your possession, head southwest of Jova and look for a large vertical slab with an oval-like shape at the top.
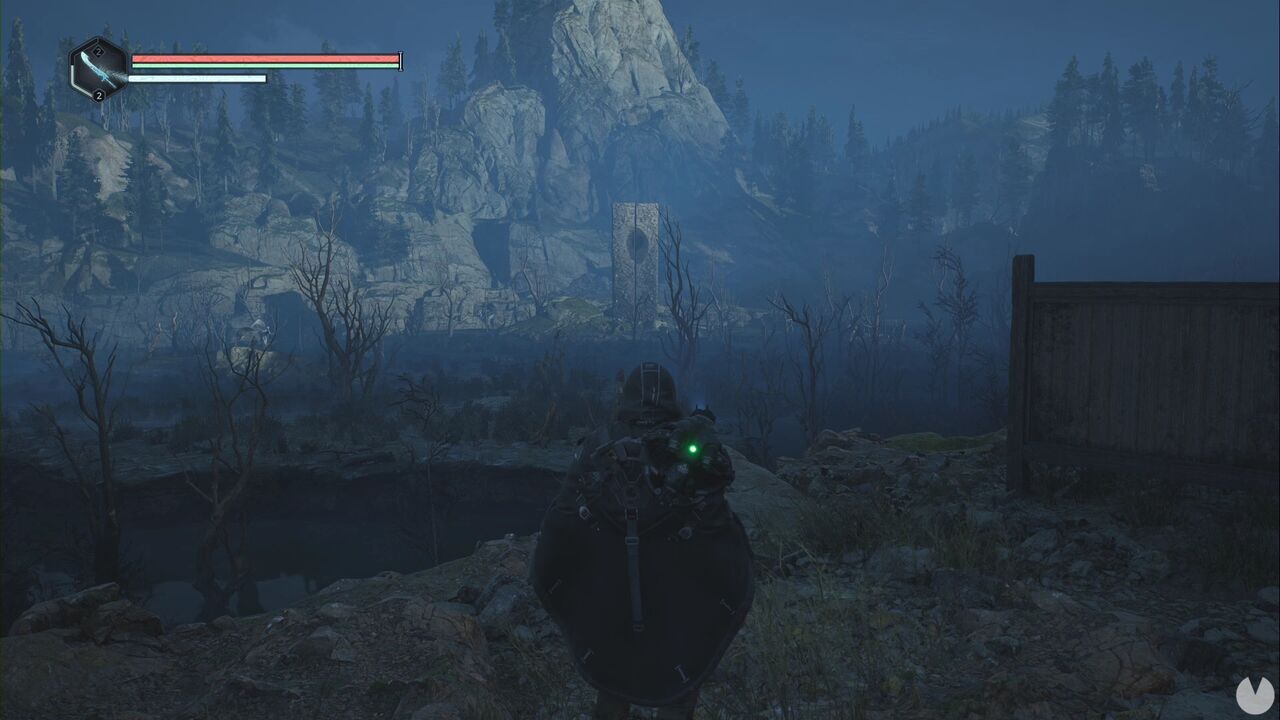
Reach it by following the road west-southwest and crossing the planks. Once there, look behind the monument to find some stairs. Go down, turn left and place the Lymbic Rod - Neutral, X in the upper slot and the Z rod in the middle slot. Opening the door completes the Mystery. Behind it, you'll find the Faded Blueprints and the Brooch of Ecstasy - Delectable Recovery.
You can activate this Mystery while exploring the area around Jova in the Acasa Marshes. To begin, head to the Timeloop east of the village, the black dome surrounded by monsters. From the dome, head east-southeast towards the broken stone bridge. You can't miss it. Walk towards the eastern end of the bridge's northern edge and you'll soon see some planks leading north.
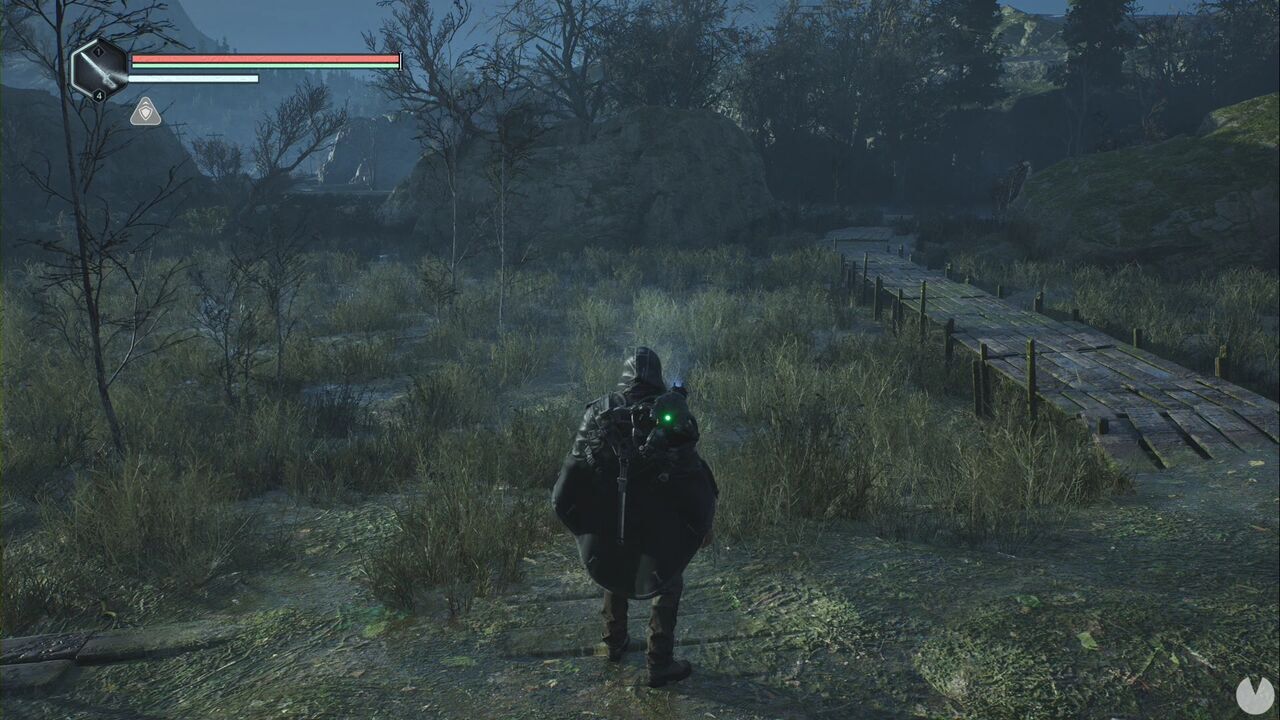
Follow the planks to reach the Hermit's cabin. Interact with the board on the cabin's exterior wall to begin the Mystery. Once you reach Talju, head west from the pharmacy junction and stick to the left-hand side of the street until you see a shop window containing a glowing item. This is a Zoom Lens.
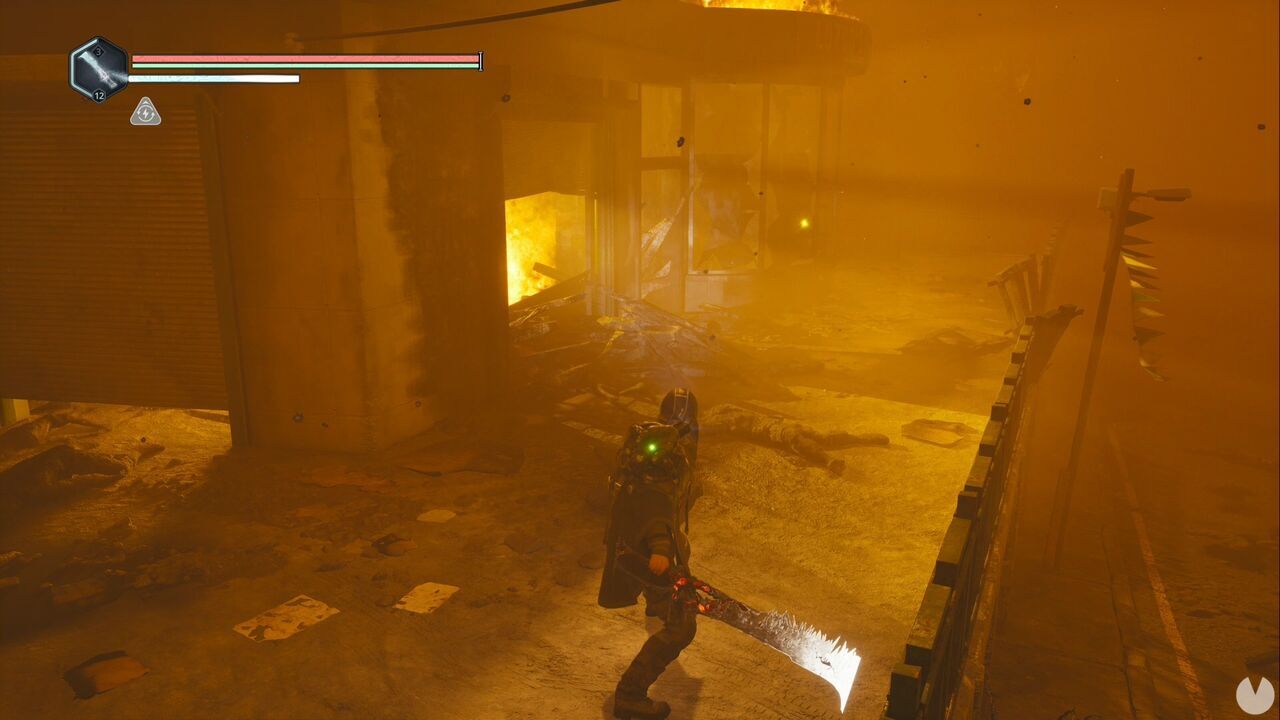
To progress, give the Zoom Lens to the Hermit and return later. He'll explain that he has figured out the code, or something along those lines. Head south to find four pedestals marked with symbols.
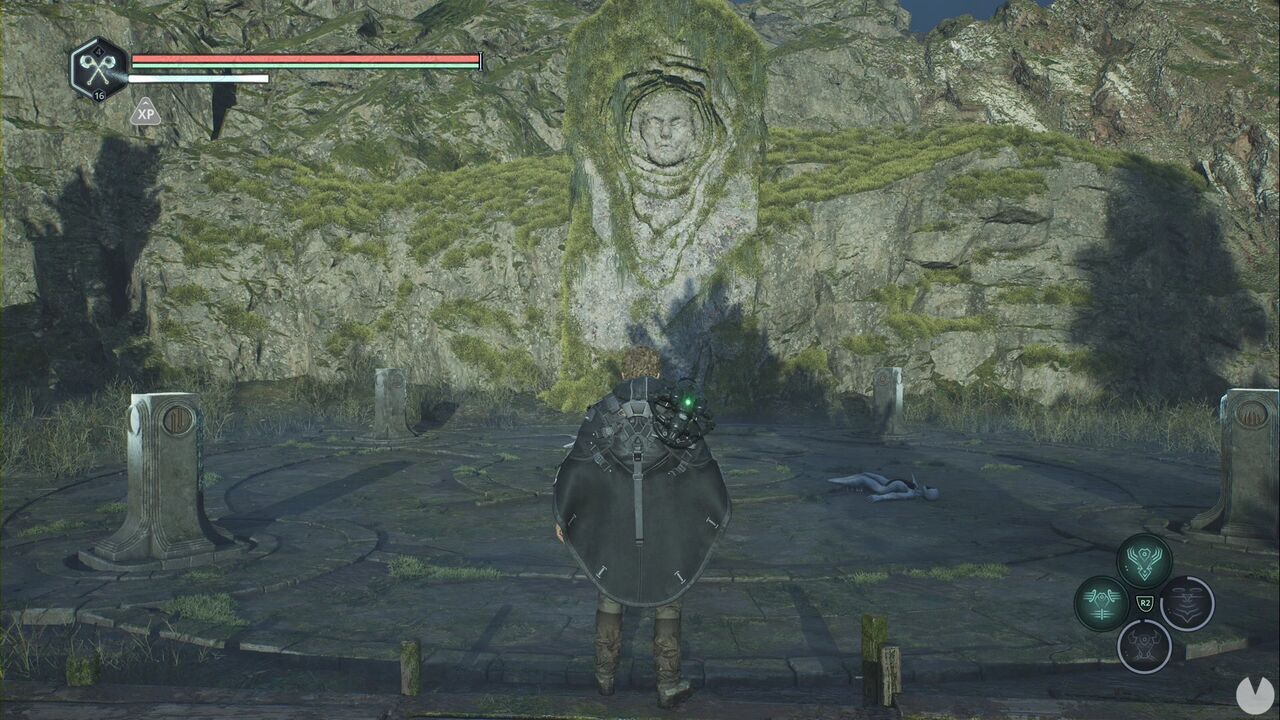
If you treat the side facing the wall as "up", rotate the pedestals so that the following symbols point towards the centre of the platform:
Solving the Mystery allows you to collect Tuning Stone - Steady x5, the Feed on Fear - Enhanced Glyph, the Perfect Guard - Enhanced Glyph and the Aarlon's Last Stand Relic.
You can activate this Mystery in the Acasa Marshes while exploring the area outside Jova. Head to the large ruins east of the village and, when standing in front of them, look southwest to see a plank bridge. You'll spot a glowing item.
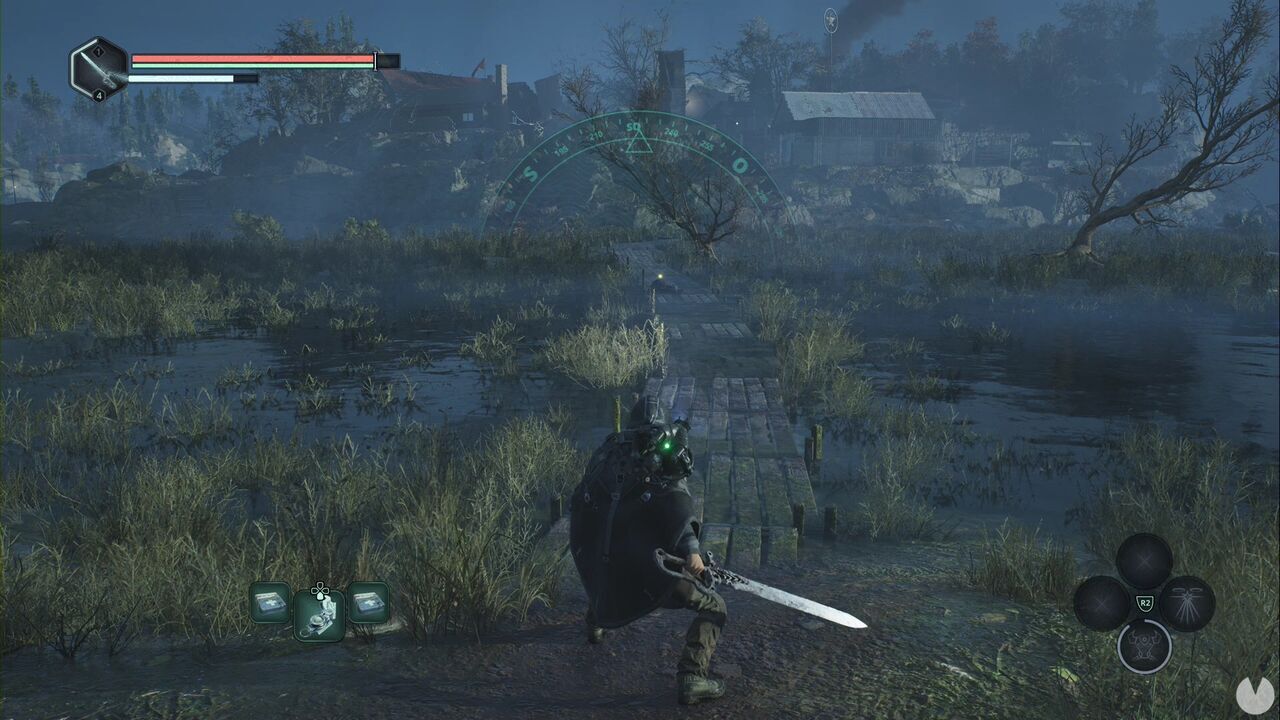
Defeat the enemies that rise as you approach, then collect the Notebook - Symbol Research to begin the Mystery.
To continue, head southwest of Jova and look for a large vertical slab with an oval-like shape at the top.
Reach it by following the road west-southwest and crossing the planks. Once there, look behind the monument to find some stairs. Go down and look to the right to see some torches on the wall. Interact with the left one and leave the right one alone.
Next, you must solve the Martial Lineage Mystery. Enter the room and turn right to see two torches. Once again, light the left one.
For the next part of the Mystery, progress through the story until you can open Observation Outpost 08. Follow the path east and leave through the other side, then continue left along the bank, enter the cave and take the corridor on the right. This leads to a room containing another two torches. This time, light both of them.
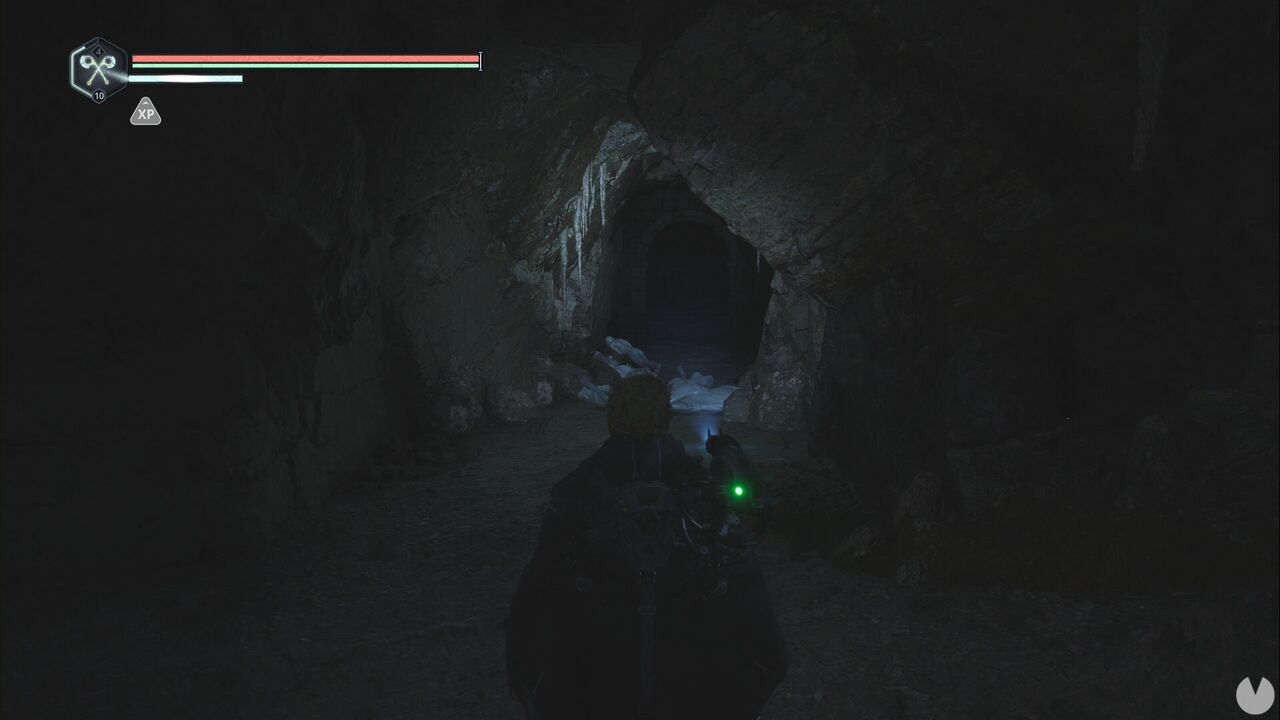
The second-to-last pair of torches is in the sewers beneath Pathem Abbey. From the tunnel entrance, simply continue to the far end. You'll see them just after passing Abbot Jaffer.
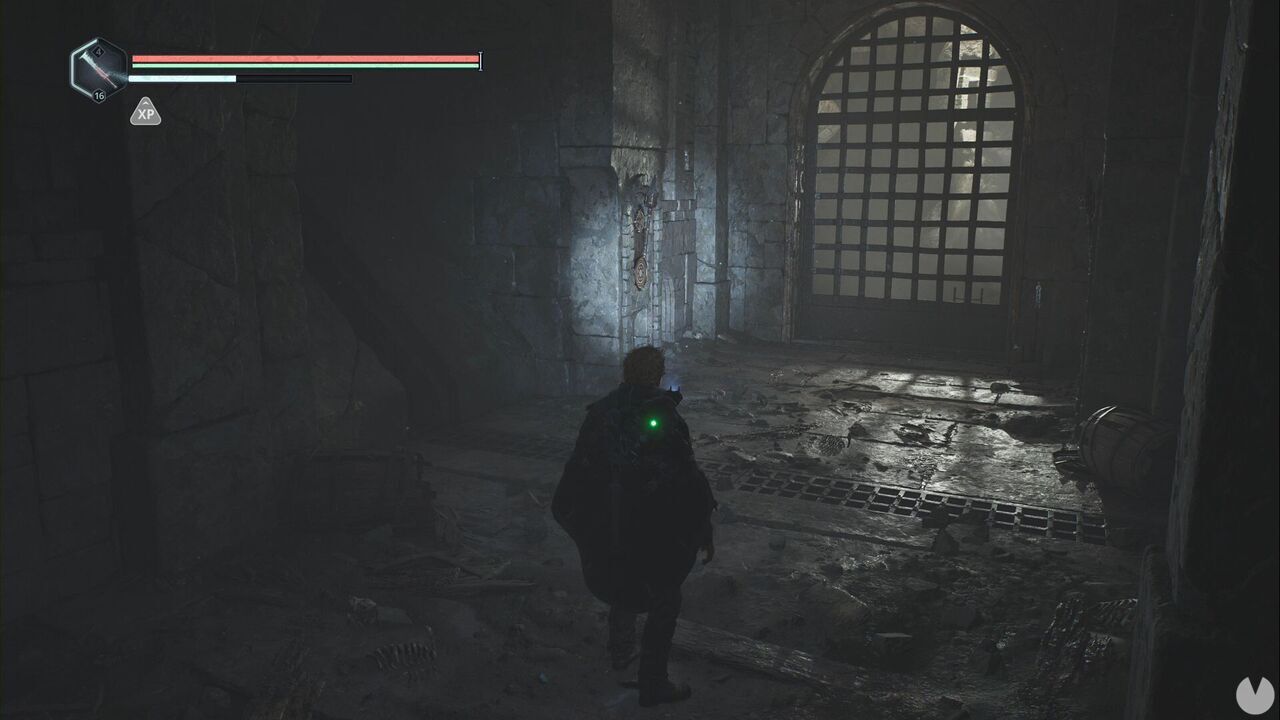
Here, you need to light the right-hand torch, the one directly beside the lever that opens the shortcut. The final pair of torches was actually the first one you could access, although activating it earlier wouldn't have done anything. Head to Jova's well square, southwest of where you originally entered the village and where Captain Vaas was stationed, then climb down the ladder into the tunnels.
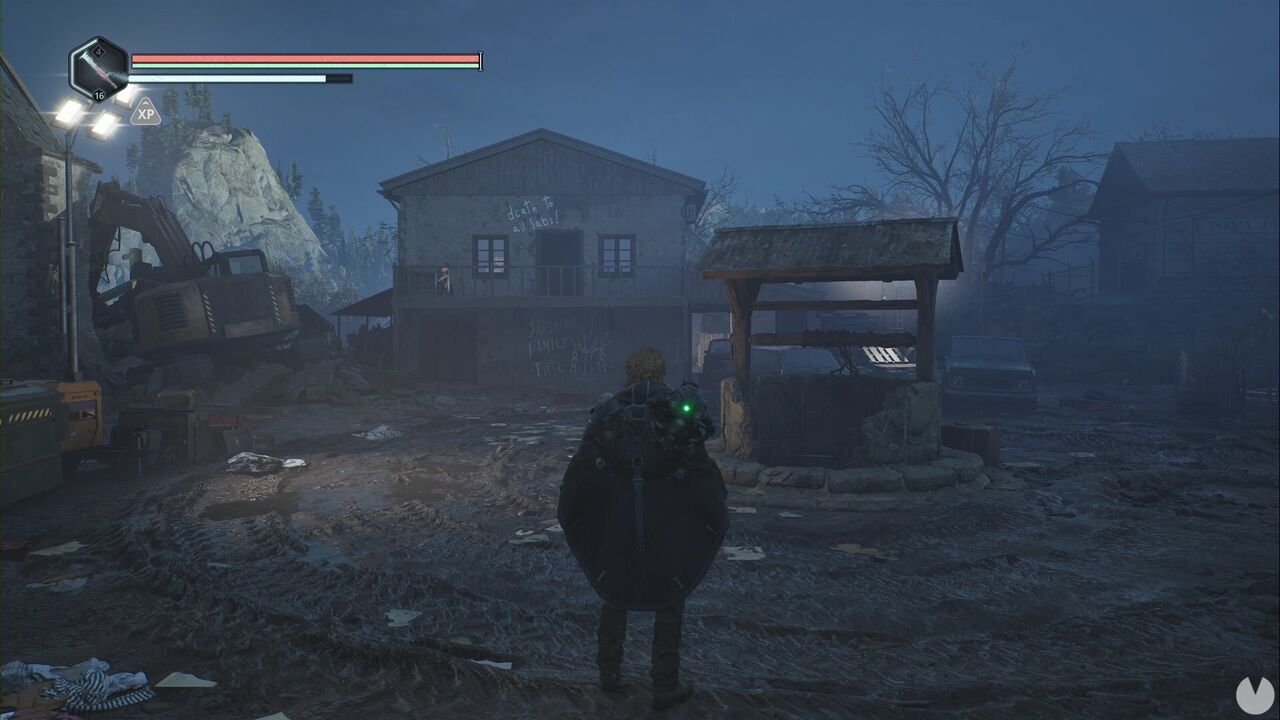
Head northeast through the tunnel to find a locked gate and another ladder leading down. Remember where the gate is, then climb down the ladder. Follow the only available route to reach the two torches in the flooded room. Activate the left-hand torch, then return the way you came to find the previous gate open. Inside, you'll find a Polearm of Ecstasy, some Twin Axes of Grief and The Crucible of Fire Relic.
If you're following the guide, you'll activate this Mystery while searching Vitalis's storeroom in the Acasa Marshes as part of the main story. It's one of several items in the fairly small room, so you'll only miss it if you're deliberately ignoring everything.
The Lymbic Rod - Grief, Y, the second rod you need, is in Victor's blacksmith shop after you search Vitalis's storeroom. When you leave the house, you'll see that Victor has opened his shop.
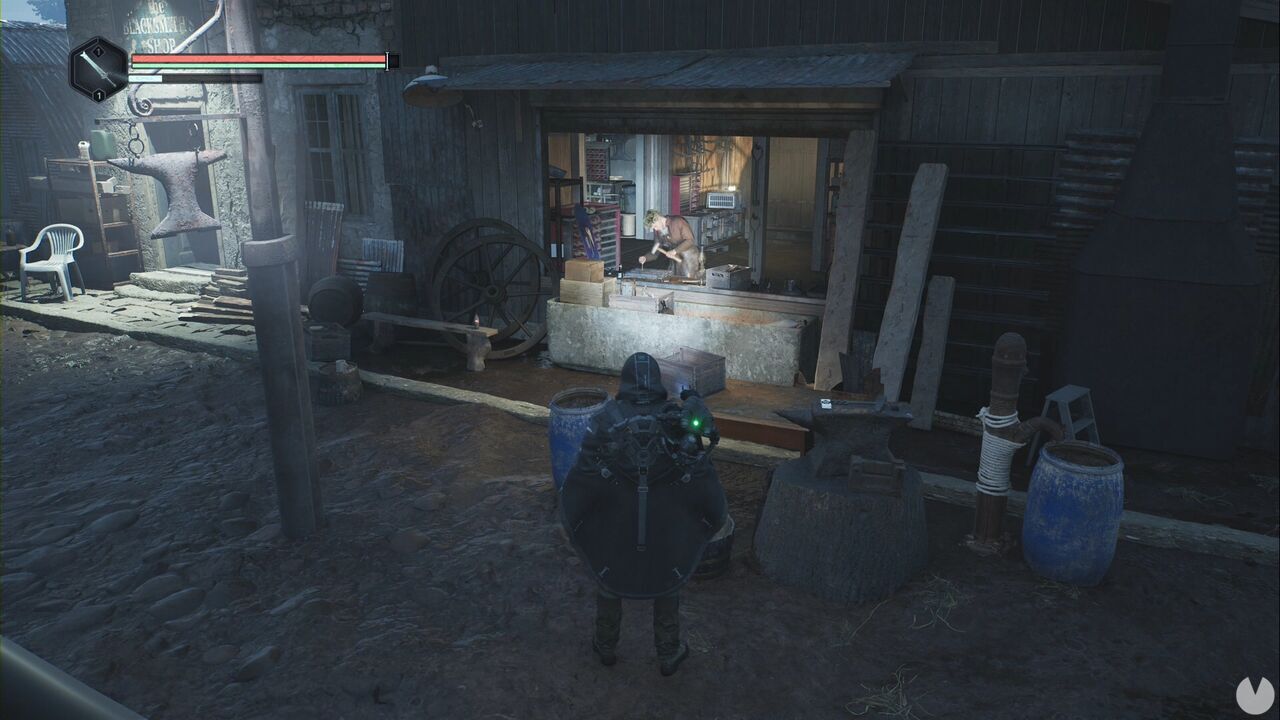
Enter and look behind the red crate beside Victor to find the rod.
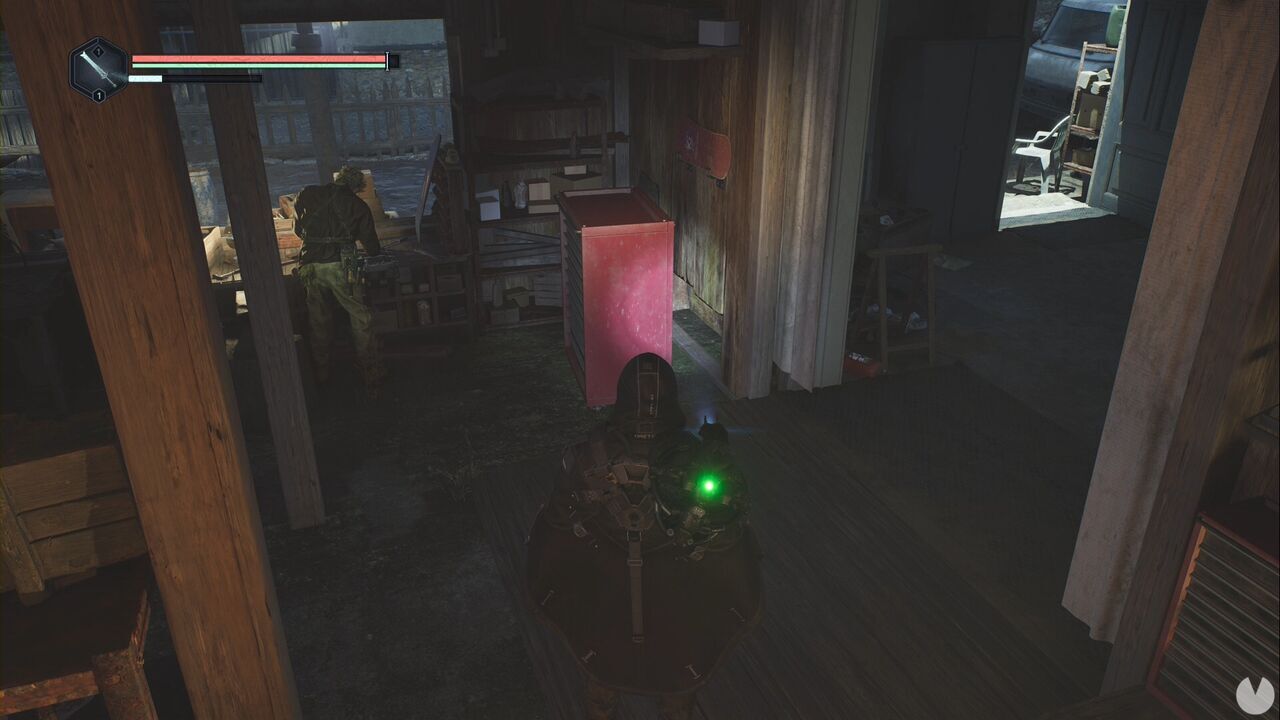
Now return to the basement of Vitalis's house, opposite the blacksmith shop. In the tunnel, look to the right at the second junction to find the chest.
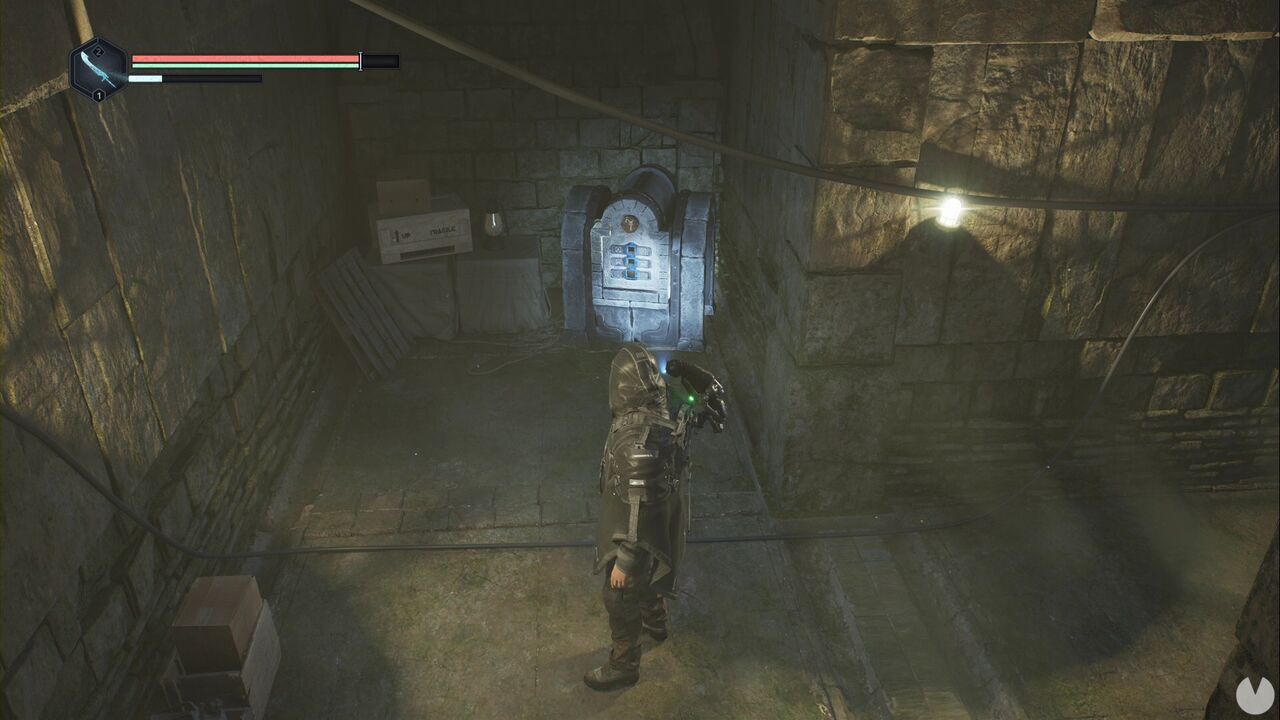
Place the Lymbic Rod - Grief, W in the upper slot and the Y rod beneath it to open the chest. Inside, you'll find the Lymbic Mending Glyph.
Once you've unlocked Victor and his blacksmith shop in the Acasa Marshes, head north from the Timeloop dome, the black sphere east of Jova. After you pass the hill with the hanging bodies, turn right to cross a bridge over the swamp, then go around the next hill on the left, the one with the stone towers. Look ahead and to the right to see some steps, a locked door and a spire-like pillar.
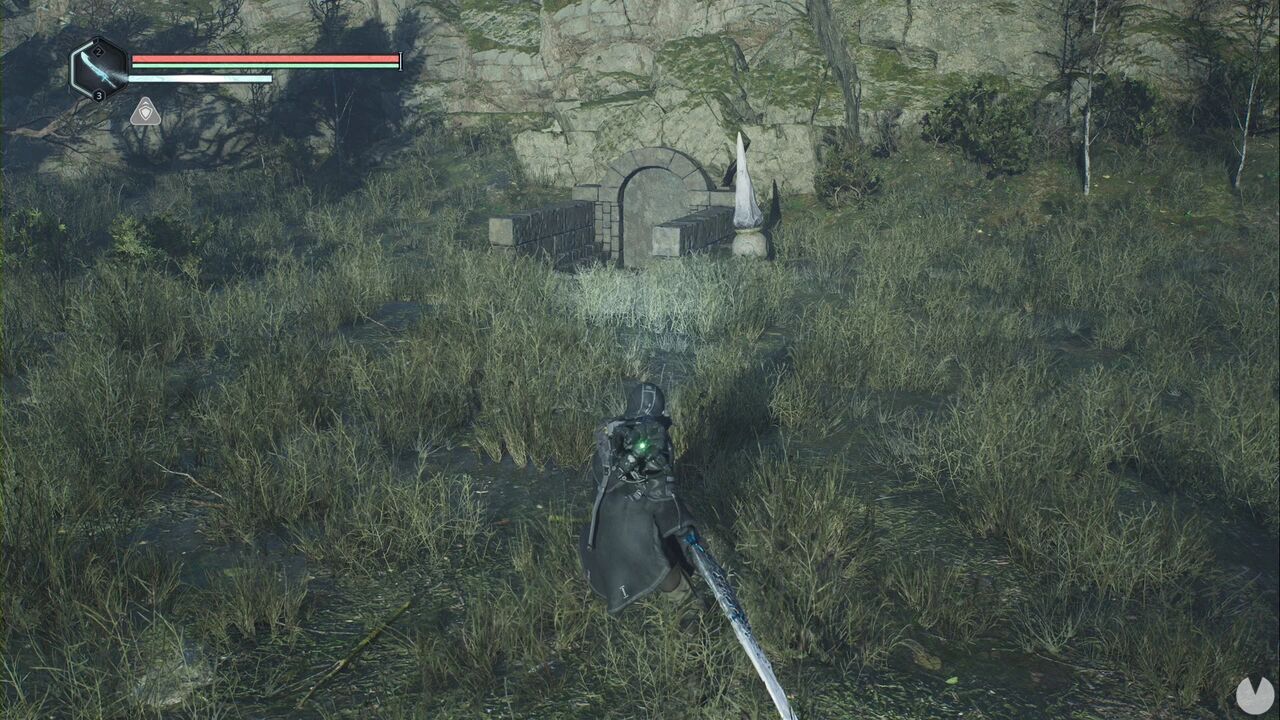
If you treat this spire as the 12 o'clock position, there are pillars at 12, 3, 6 and 9 o'clock. Strike them in the order 9, 6, 3 and 12 to open the door. Behind it, you'll find several consumables, the Brooch of Terror - Dreadful Verve, the Wrapped Candle, the Letter - Proud Father and a Lymbic Greatsword.
You can begin and complete this Mystery immediately. It starts in the Vyssa Hills, inside the Watcher's Nest, the cave shelter you must investigate as part of the story. At the far end of the first room is a hole in the wall with a computer to its right.
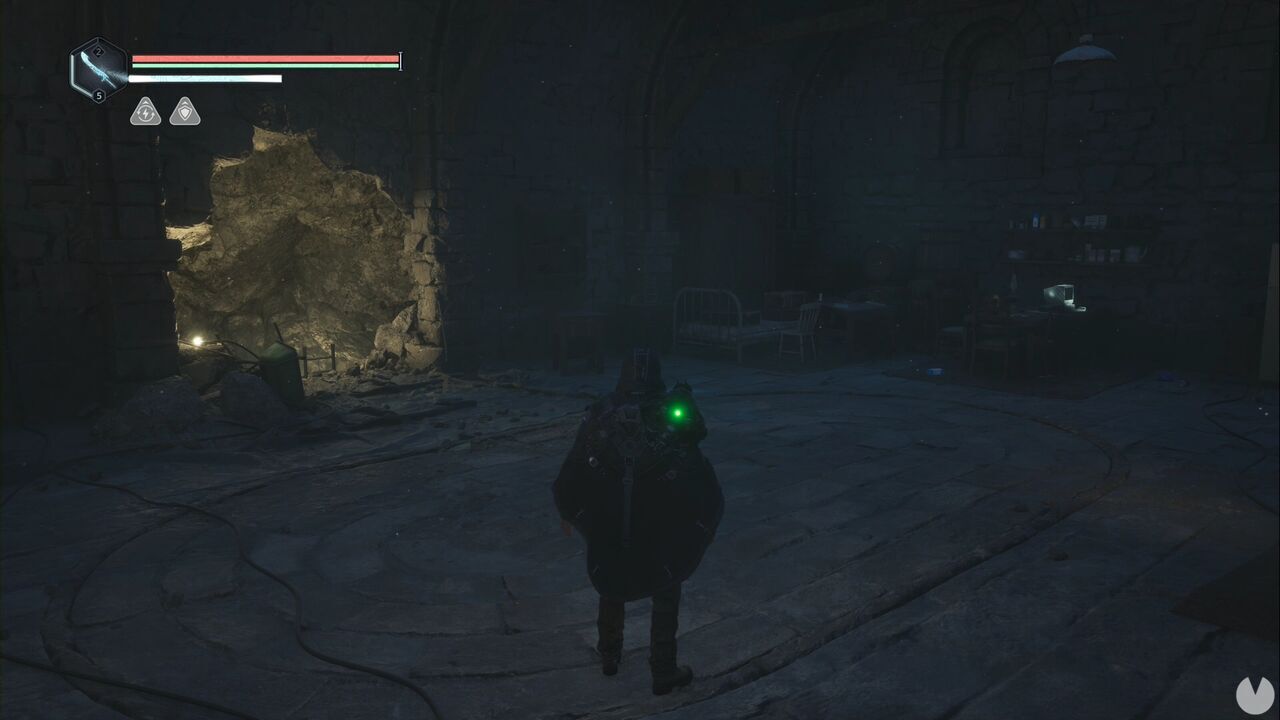
Simply interact with the computer and enter the password 241244. After you read the files, the Mystery will activate and automatically be marked as complete.
You can also begin this Mystery in the Watcher's Nest, in the Vyssa Hills. Go through the hole in the wall from the previous Mystery and continue until you reach a room containing a sarcophagus. Look on the opposite side to see a glowing item.
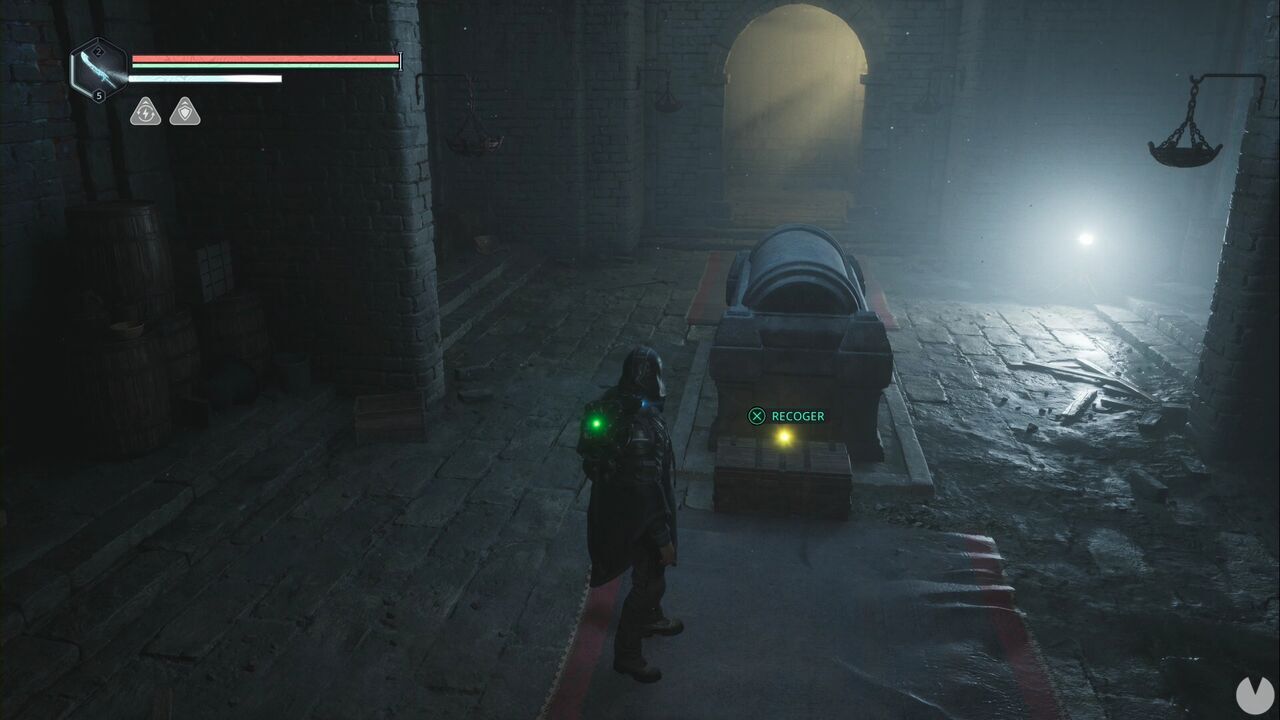
This is the Lymbic Rod - Grief, Z, which activates the Mystery. You'll also need the Lymbic Rod - Grief, V. This rod is found in Serpent's Maw while searching for the Token of the Moon. The area is extremely labyrinthine, so follow that section of the guide to avoid getting lost and find this key item.
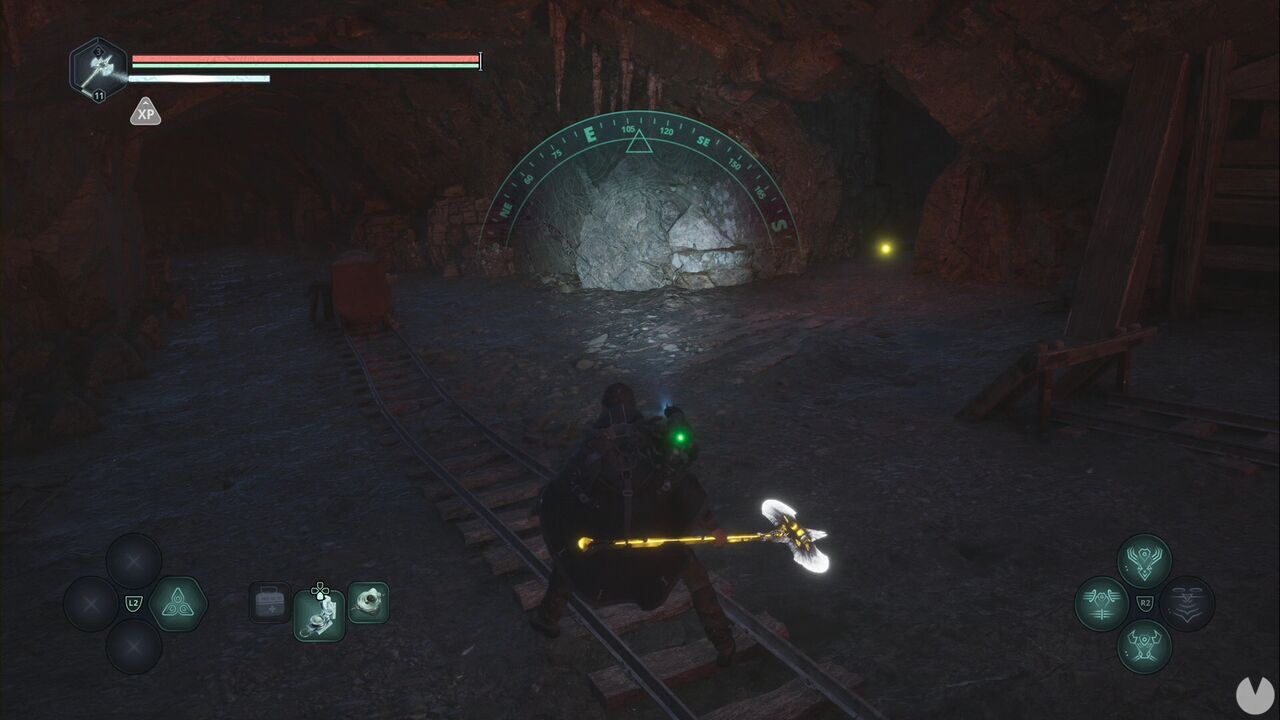
The door is directly above the APC in the Senedra Forest. Head up the slope and turn right to enter the ruins. The gate where the rods are inserted is on the left.
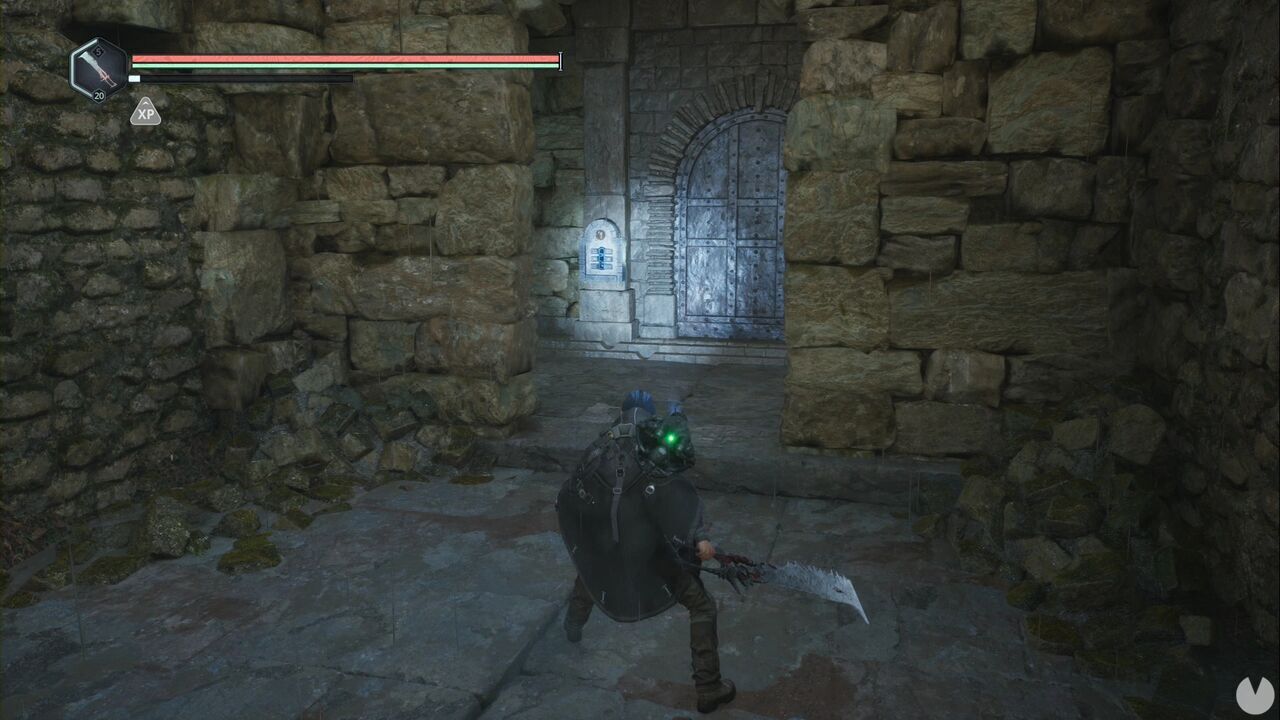
The Mystery is completed as soon as you open the door.
This Mystery is activated in the Vyssa Hills. Begin by finding the mine entrance near the statue of the grieving knight. You'll see it beneath the red sign below the nearby Timeloop.
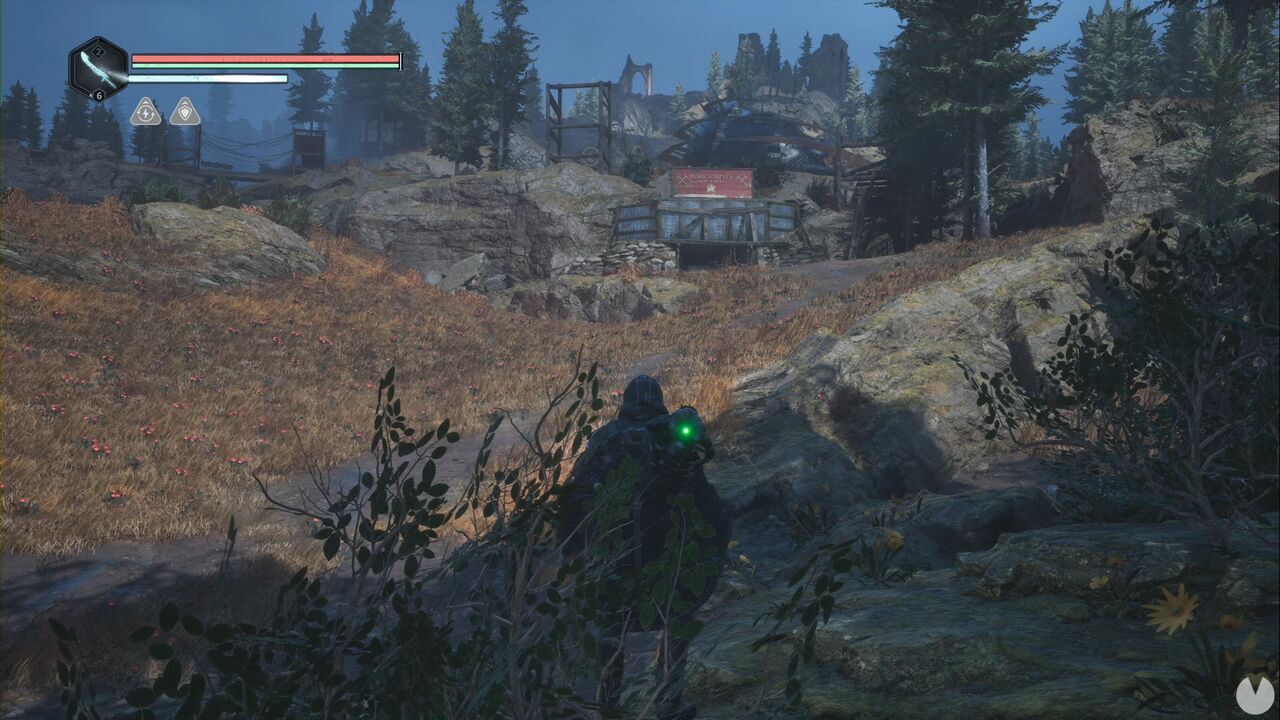
Once inside the mine, continue and turn left at each junction until you reach a tunnel containing several enemies and a Rusted Key at the end. Picking it up activates the Mystery. Continue through the mine to find a ladder at the far end. Climb it and open the door leading to the hill south of the knight statue. From there, look southwest to see a hill that allows you to cross above the waterfall near the APC.
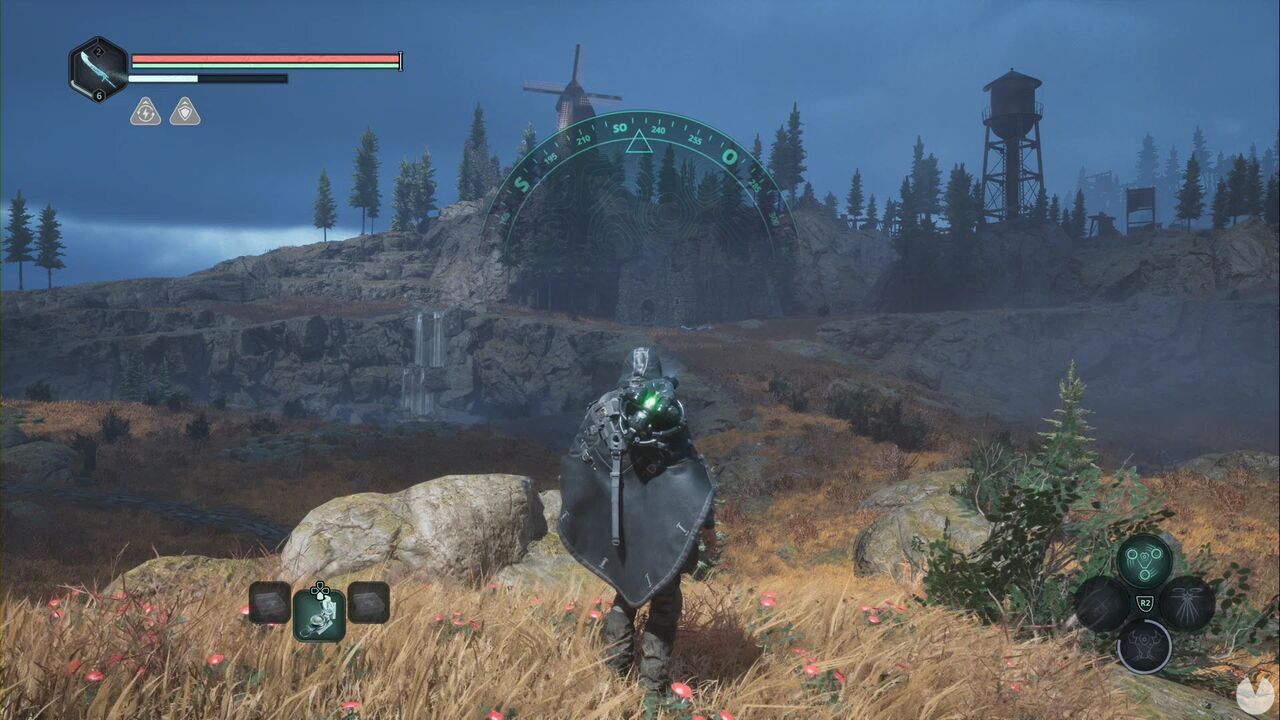
Cross above the waterfall and keep to the right-hand side until you find a small ruined building. Inside is a chest that can be opened with the key. It contains a Lymbic Polearm and the Flower Medallion. This completes the Mystery.
This Mystery can be started in the initial area of Lake Cynon. Follow the path until you see a noticeboard with a yellow glow. Interact with it to collect a note and activate the Mystery.
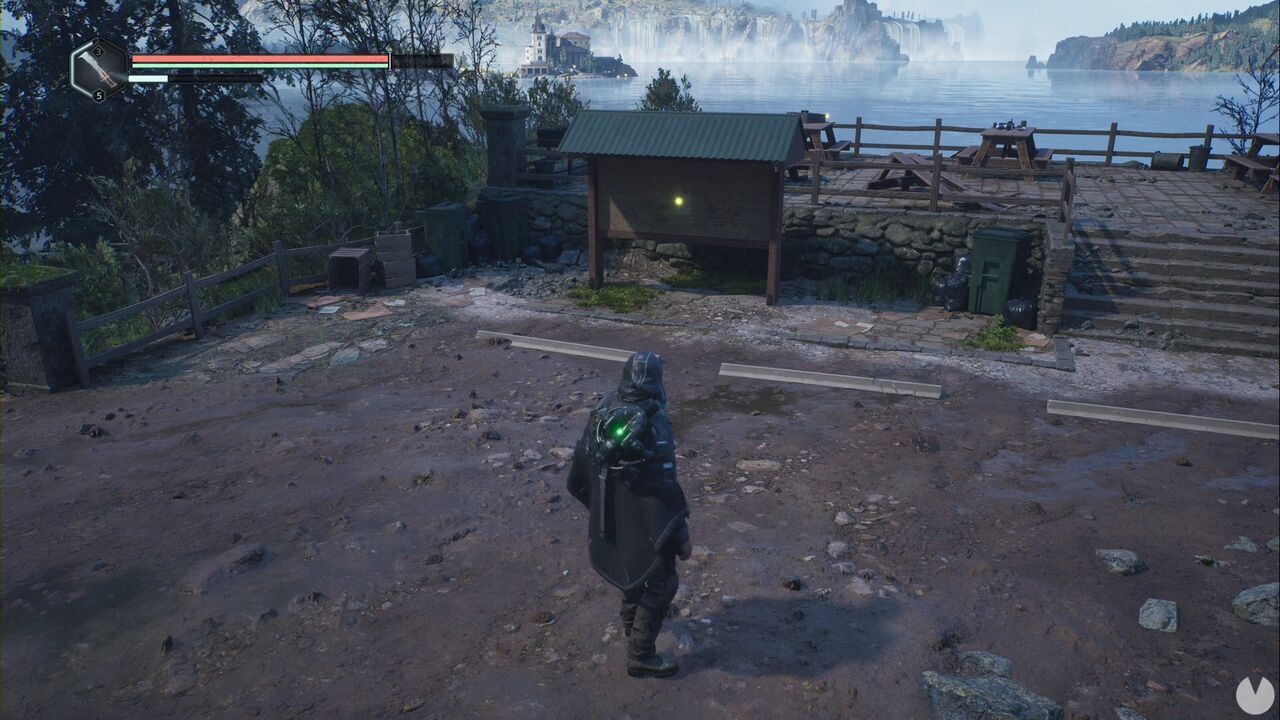
After you've drained all the water from the reservoir and before entering the tunnels, search the corners of the lower area to find the Keys - Algae. For the final step, wait until you reach Marastan. From the APC, take the path to the right of the sign. Continue straight ahead, cross a bridge and turn left at the second junction to climb some stairs.
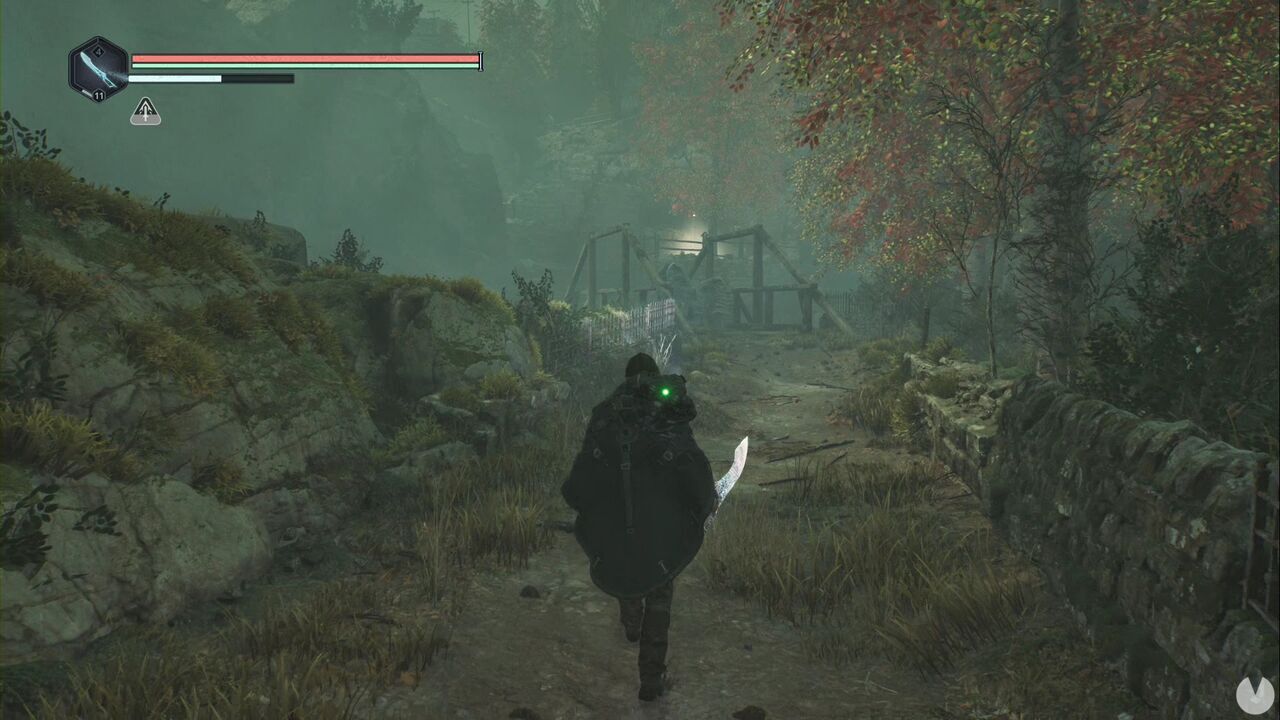
At the top, head left, along the route where you shouldn't see a lit streetlamp, until you reach a building.
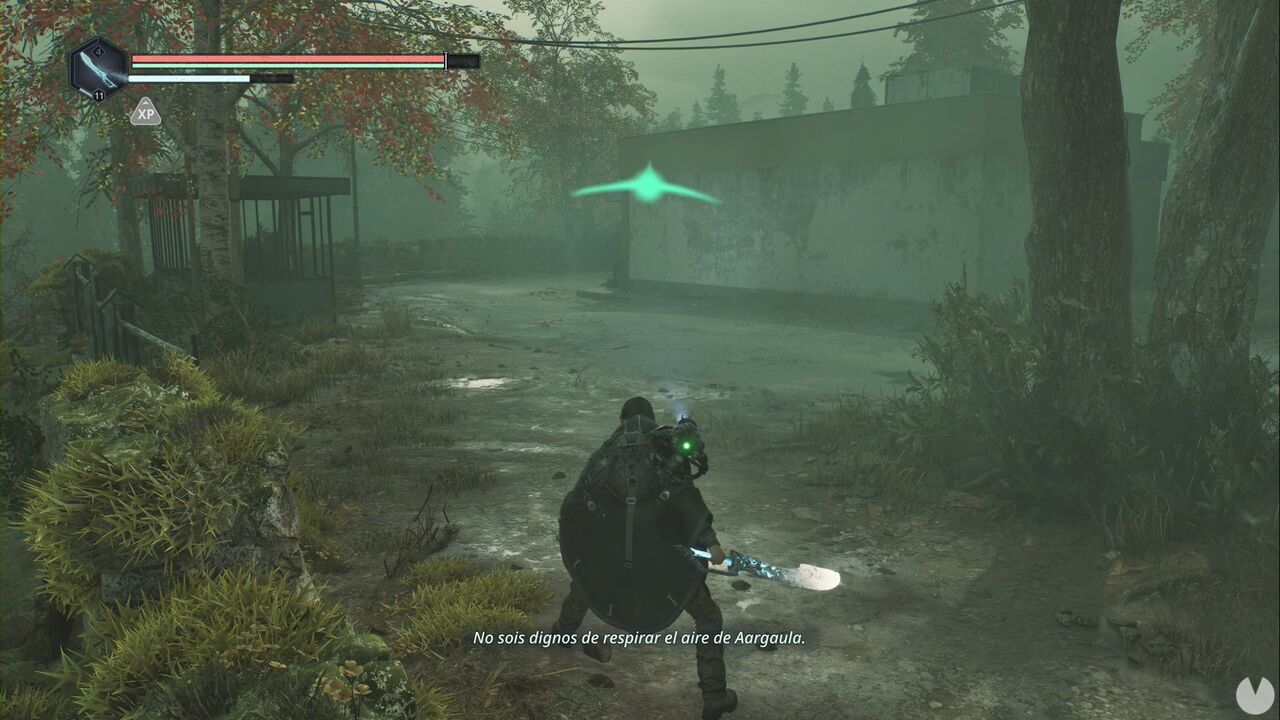
This is Samo's General Store. Search the room at the back to find a chest. Use the keys to open it and obtain the Cap - Terror.
The first step of this Mystery, although it won't activate until you reach Lake Cynon, is to find the Lymbic Rod - Neutral, Y. Leave Jova in the Acasa Marshes and, from the save point near Captain Vaas, head east towards the Timeloop, the black sphere that should be easy to spot. From the Timeloop, head south and cross the river towards the southeast until you reach the road. Follow it to the roadblock to find the Lymbic Rod - Neutral, Y on the left-hand shoulder.
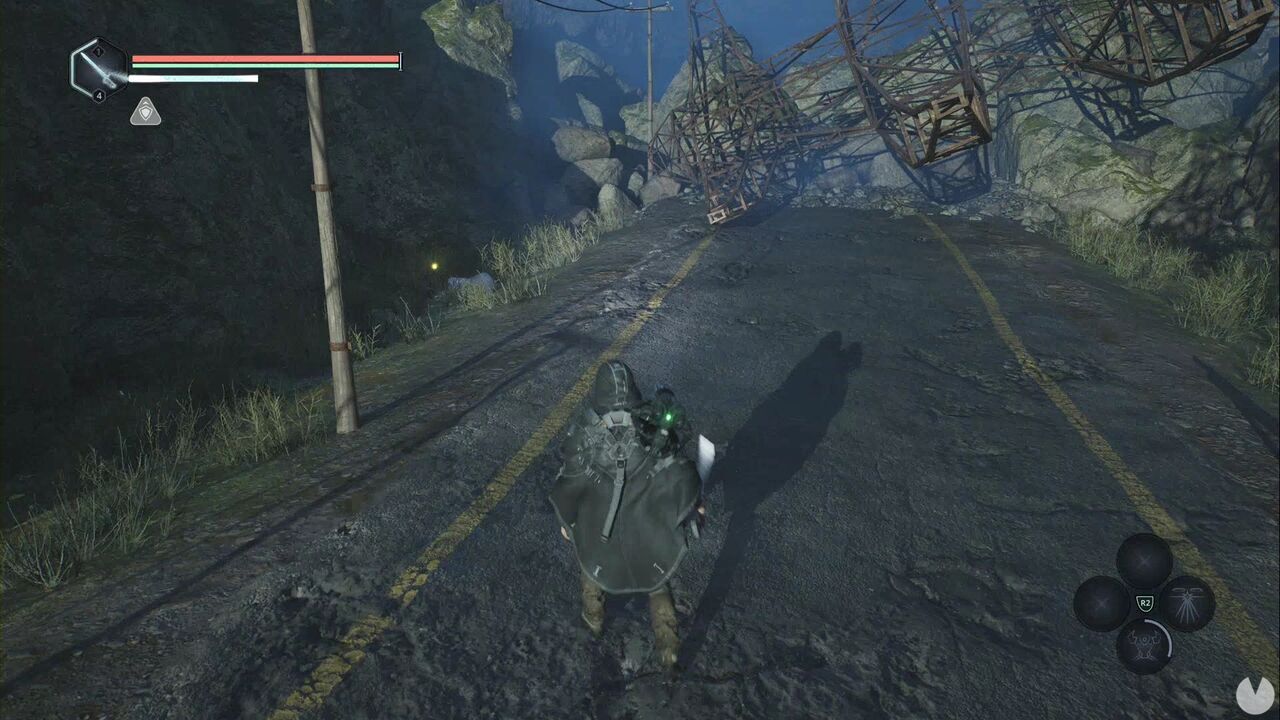
After you've solved the Lake Cynon reservoir puzzle, descend to the bottom and you'll see the Mystery's chest on the steps leading up from the lowest part of the central area.
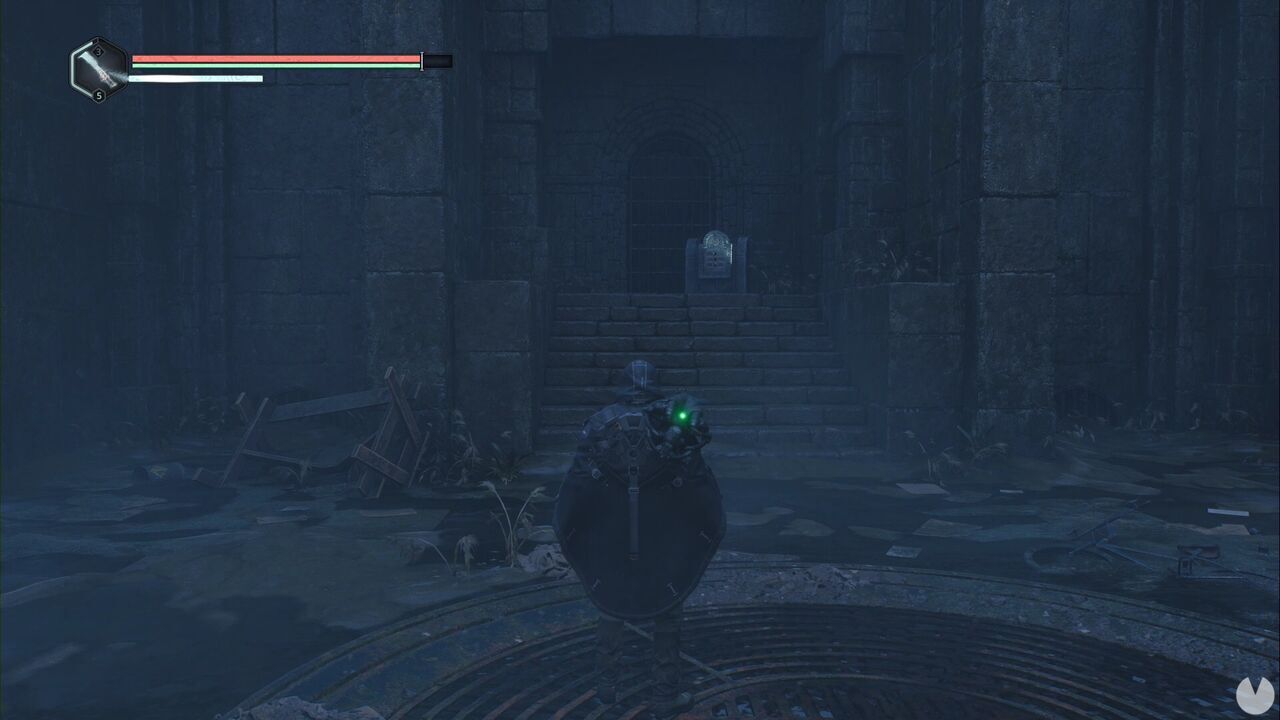
Continue through the story until you can complete the Observation Outpost 08 Mystery and obtain the Lymbic Rod - Neutral, W from one of the tents. Return to the chest and open it to receive the Wave of Wrath - Elite Glyph.
This Mystery is activated at the bottom of the reservoir at Lake Cynon. When you reach the column chamber, just before the first save point in this underground area, head down the stairs in the corners to the lower level. Go to the other side and look down the dark side tunnel connecting both halves to find the Lymbic Rod - Terror, Y, which activates the Mystery.
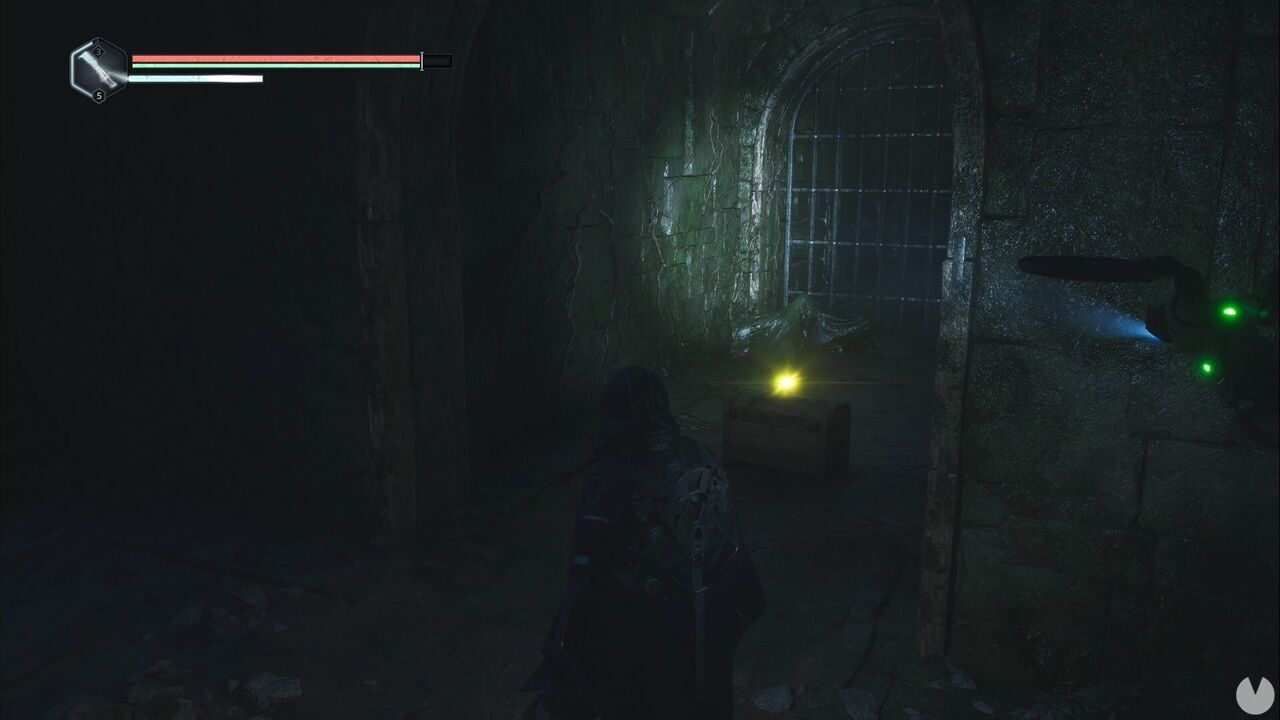
To obtain the Lymbic Rod - Terror, W, wait until you reach the ruins area. Immediately after draining the water, look down to see some scaffolding with an enemy and a yellow glow. This is the rod you're looking for.
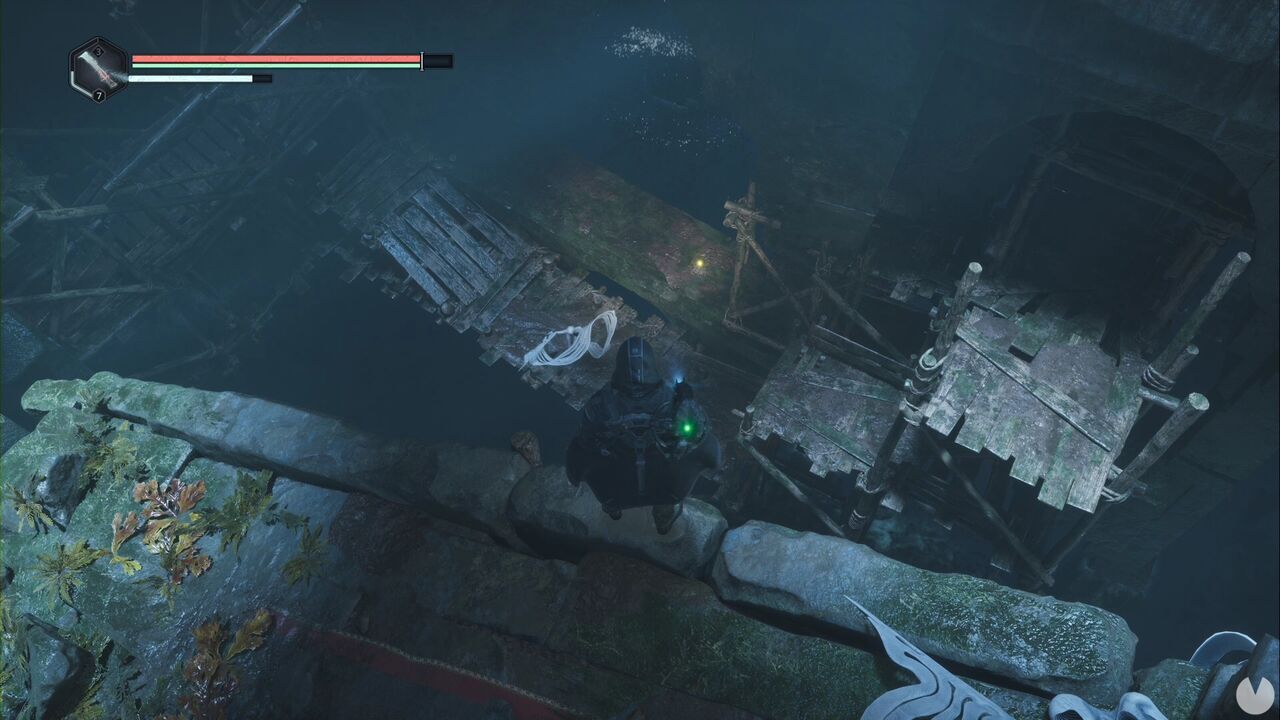
Immediately after collecting that rod, you'll need to climb a ladder and cross the corridor to the west to continue. A gate will fall behind you and a large group of enemies will appear. In the next room, follow the corridor south to find the Lymbic Rod - Terror, X.
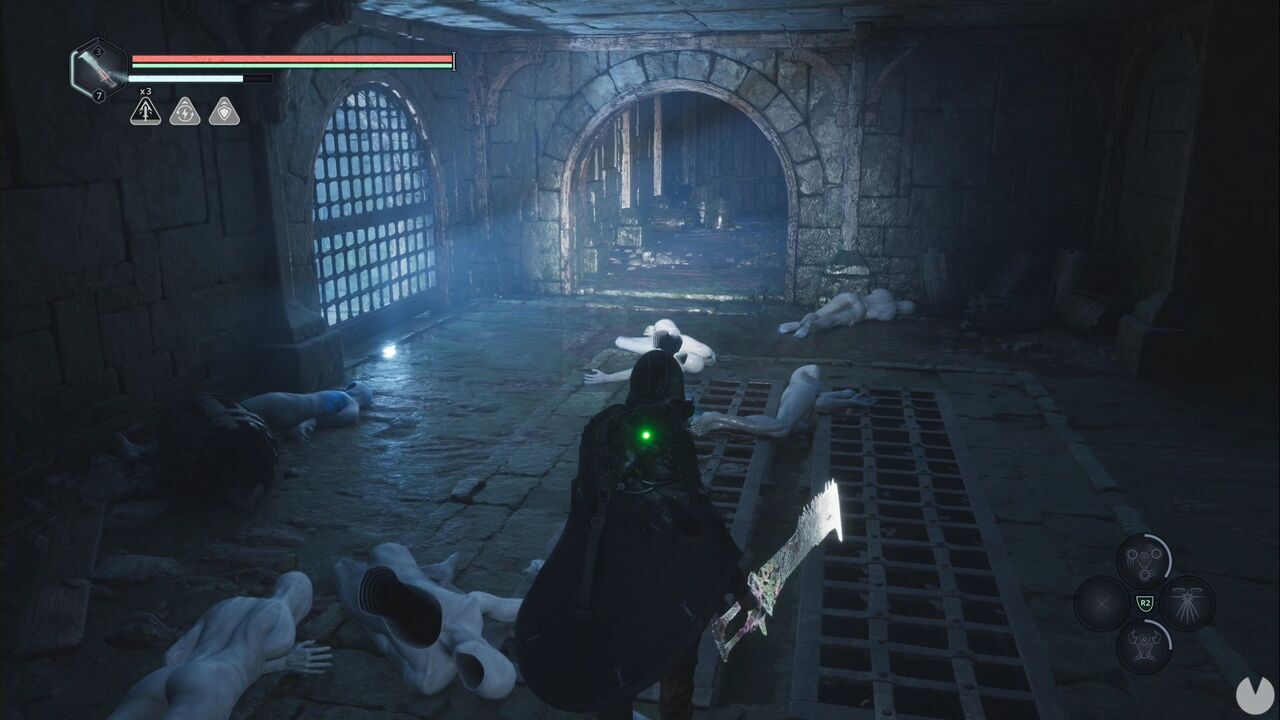
You can use the three Terror rods while descending to the Lymbic Forge. Once you're at the bottom of the reservoir machinery area, look north to see the door with three slots. Open it to find the Gluttony - Enhanced Glyph and the Shriek of Terror Glyph.
This Mystery activates when you collect the Lymbic Rod - Rage, W while investigating the ruins beneath the reservoir at Lake Cynon. It's in the same room as the Large Gear required to progress through the story, so it's difficult to miss.
This rod is used on a Lymbic Chest you passed quite some time ago. Return to the torch room, where you moved four torches to shift a wall. Go through the eastern door, which was opened using the Owl Key, to find the chest.
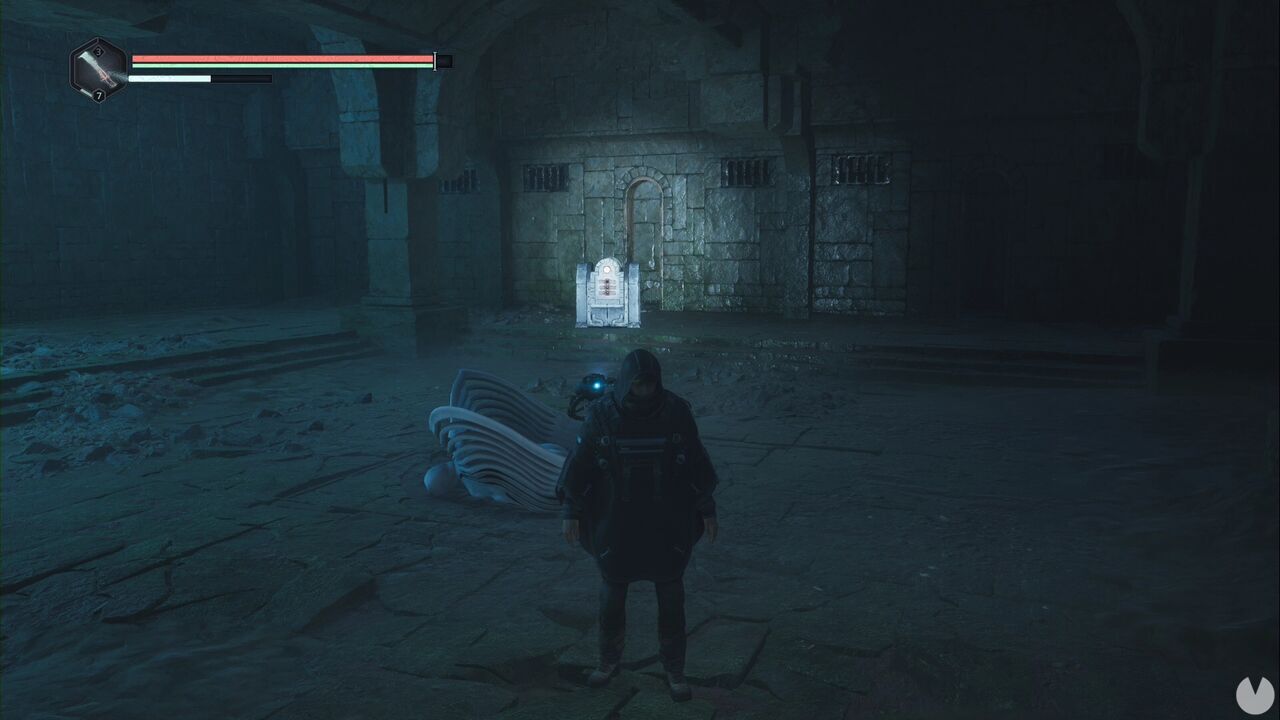
Inside are several consumables and the Nightfade Glyph.
This Mystery is also found in the ruins beneath the Lake Cynon reservoir. Immediately after collecting the Lymbic Rod from the previous Mystery, go through the door in the same room leading to a wine cellar. After defeating the enemy, look inside one of the wine racks to see the glow of the Lymbic Rod - Neutral, V, which activates the Mystery.
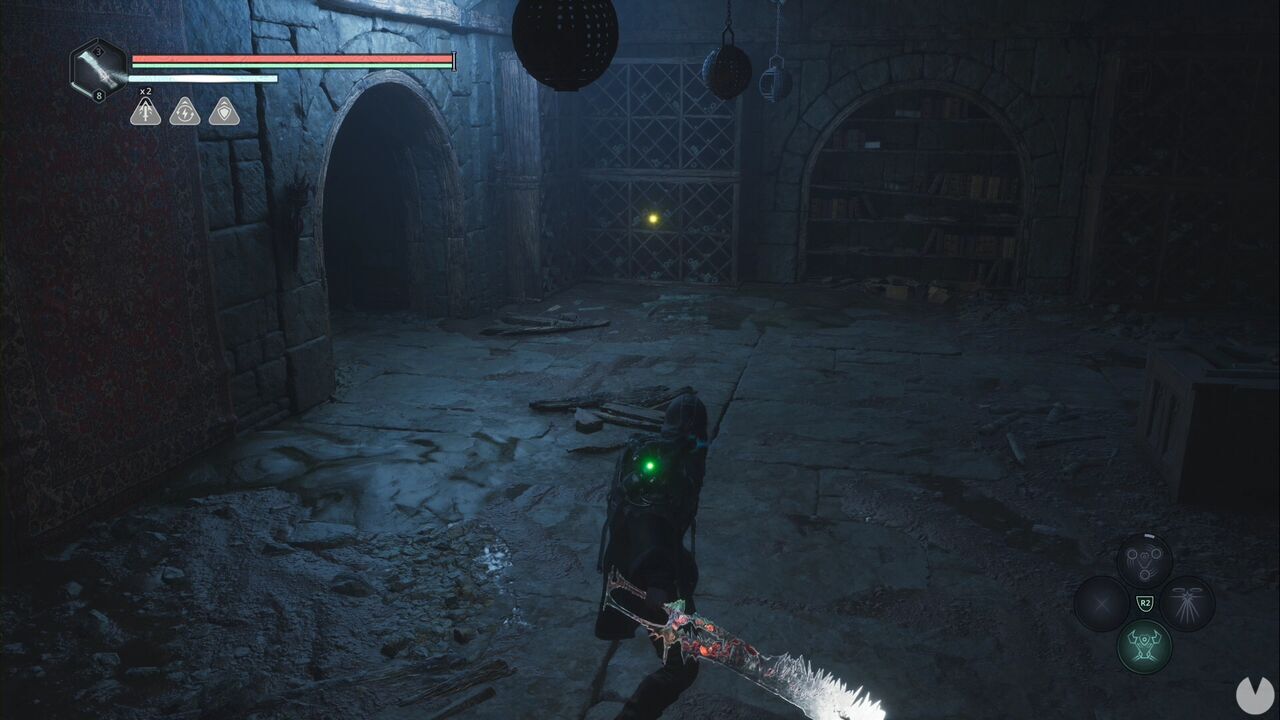
To solve it, head to the door where you placed the two emblems to access the reservoir machinery. Take the northern door in this room.
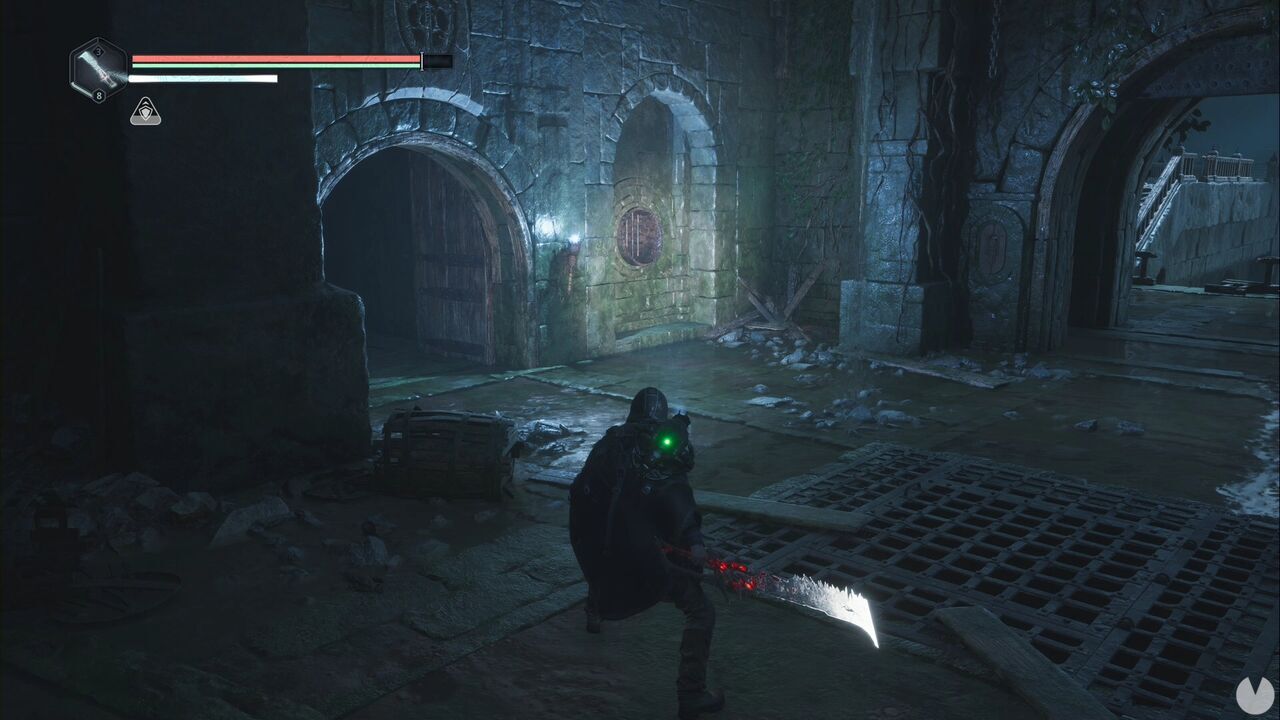
Immediately after passing through it, climb the stairs on the left and then the stairs to the north to reach the dormitories. One room contains an enemy, with the chest that accepts the Lymbic Rod - Neutral, V directly behind it. Inside, you'll find Tuning Stone - Weak x2 and the Void Glyph.
You'll find this Mystery while exploring Talju. From the APC's starting position, look south for some stairs leading up to the railway bridge. Continue to the platform, where you'll see the glowing Journal - Crazy Week, which activates the Mystery.
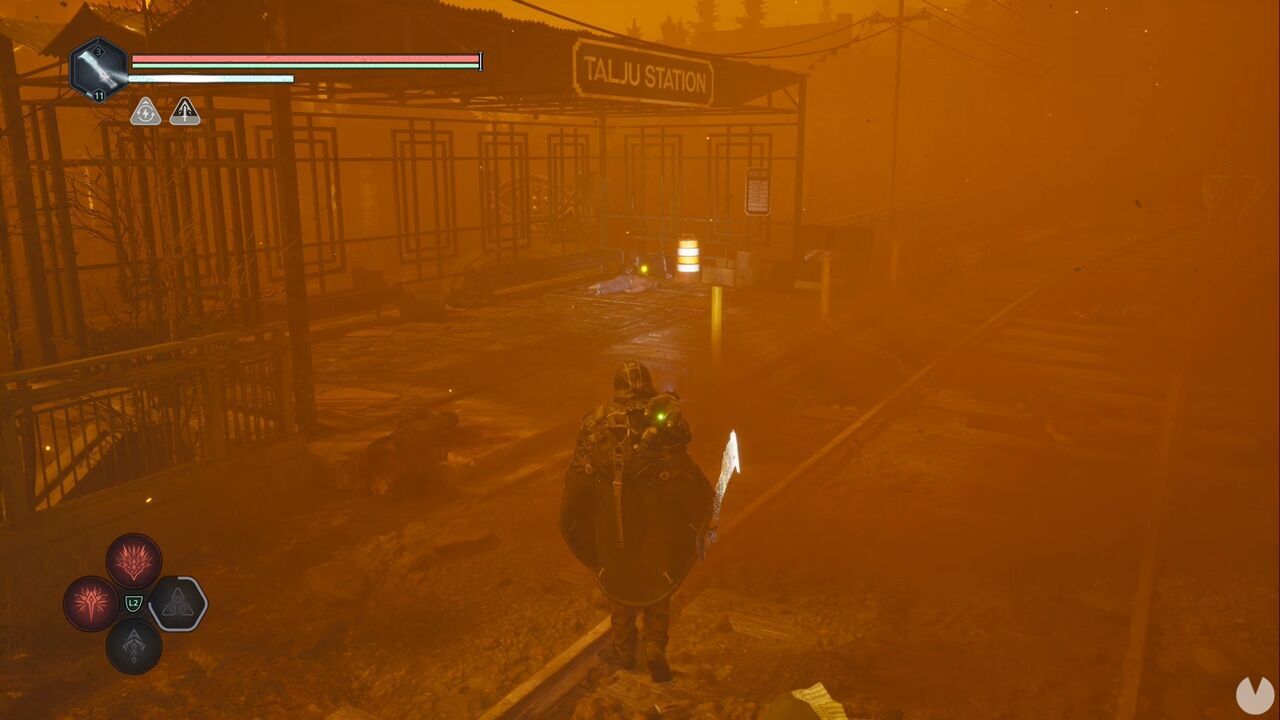
Next, you'll need the Pharmacy Key. Head west from the town hall along the path beside the slope, then turn left and collect it in front of the burning tree. You'll then need to continue through the story until the truck in the parking lot leaves with the survivors. Once it is gone, you can open the pharmacy's rear door, which was previously blocked by the truck.
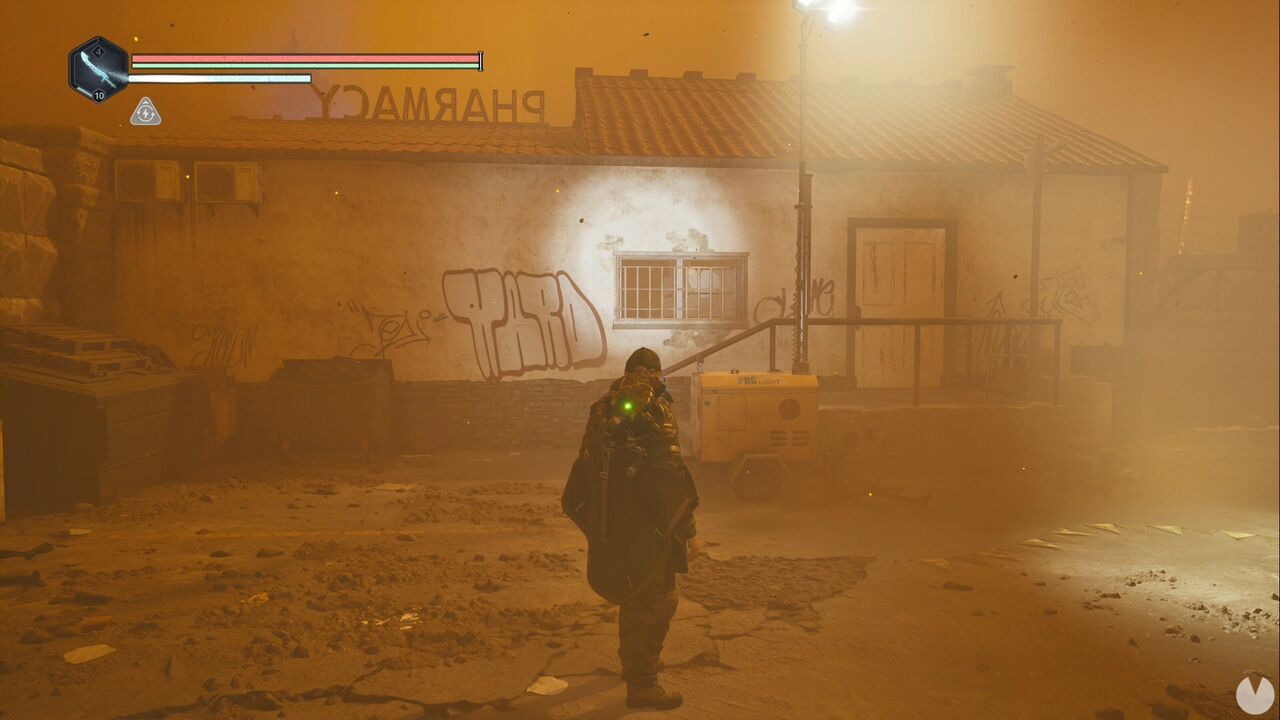
Once inside, find the computer and enter the password 91012. Read the file to complete the Mystery.
This Mystery is solved in Talju. From the town hall, head south and then east at the junction, passing a burning house. When you reach the road, you should see the glow of two consumable items, one on a crate and another down the stairs on a small pier.
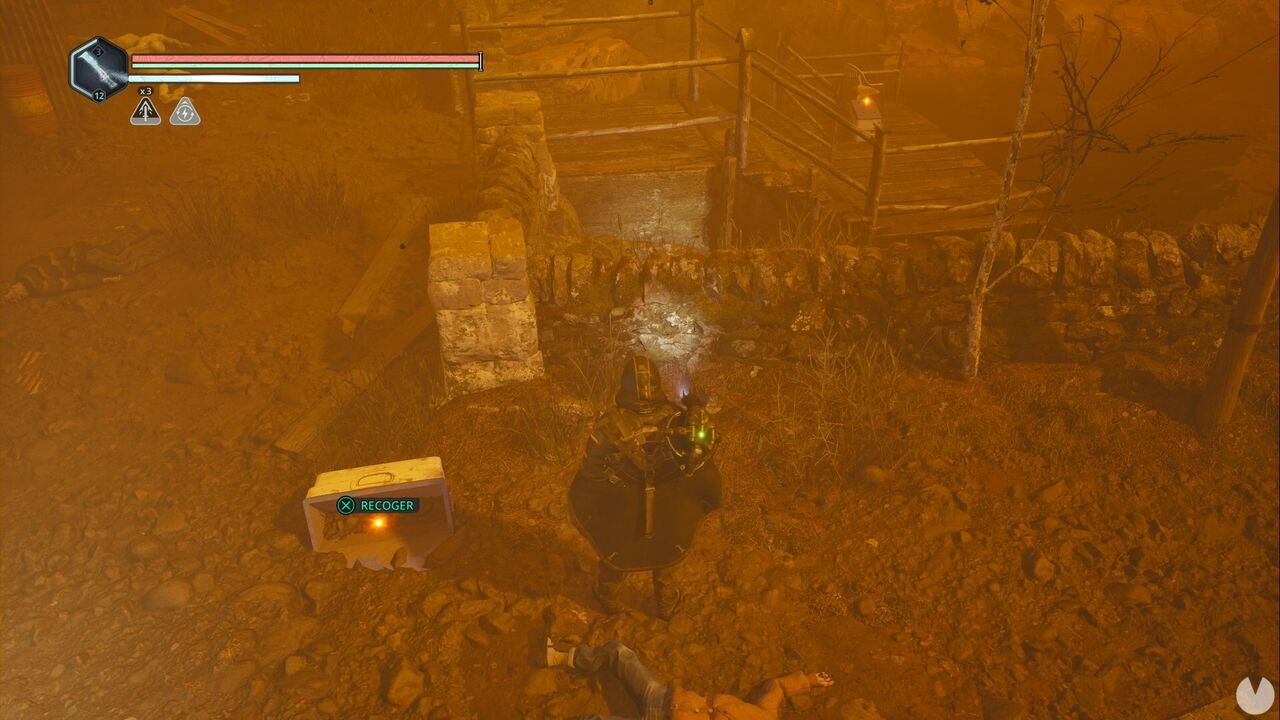
From here, go around the back of the house on your left to find a ramp leading to a ladder, which takes you to the house's upper floor. In the room you enter, you'll see a safe on the cabinet beside the bed. Enter the code 34911 to open it, activating and completing the Mystery at the same time. Inside, you'll find the Recording - Agatha's Diary and the Idol of Rage - Contempt.
You can begin this Mystery while exploring the streets of Talju. Look west from the entrance to the town hall to see a path leading in that direction. Follow it until you can drop down into a park, then look near the swings to the south-southwest to see a glowing item on the ground.
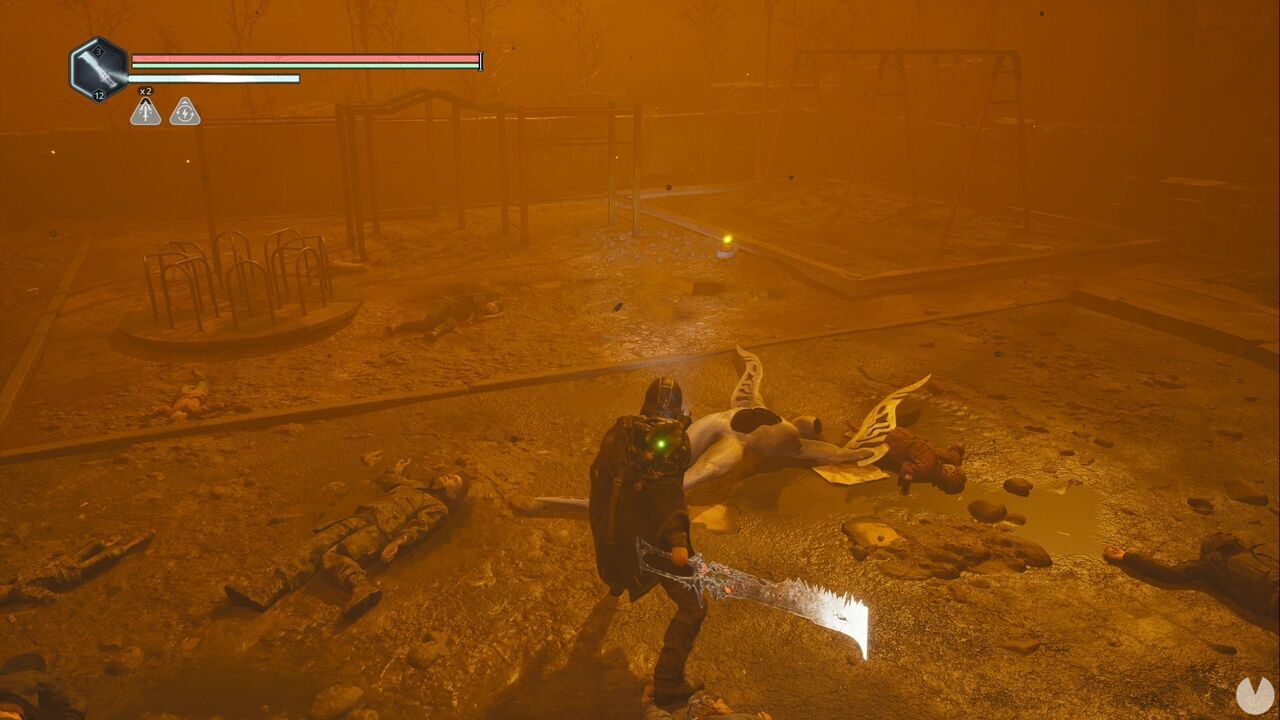
These are the Talju House Keys and the Ethnic Identification Document - Lukhan. Collecting them activates the Mystery.
The key opens the basement door at Caspian Fran's house, one of the two houses at the end of the railway bridge. To reach it, climb the stairs near the APC, follow the tracks and continue along the only available route. It's the house on the left. The door is at the back of the house, down the stairs.
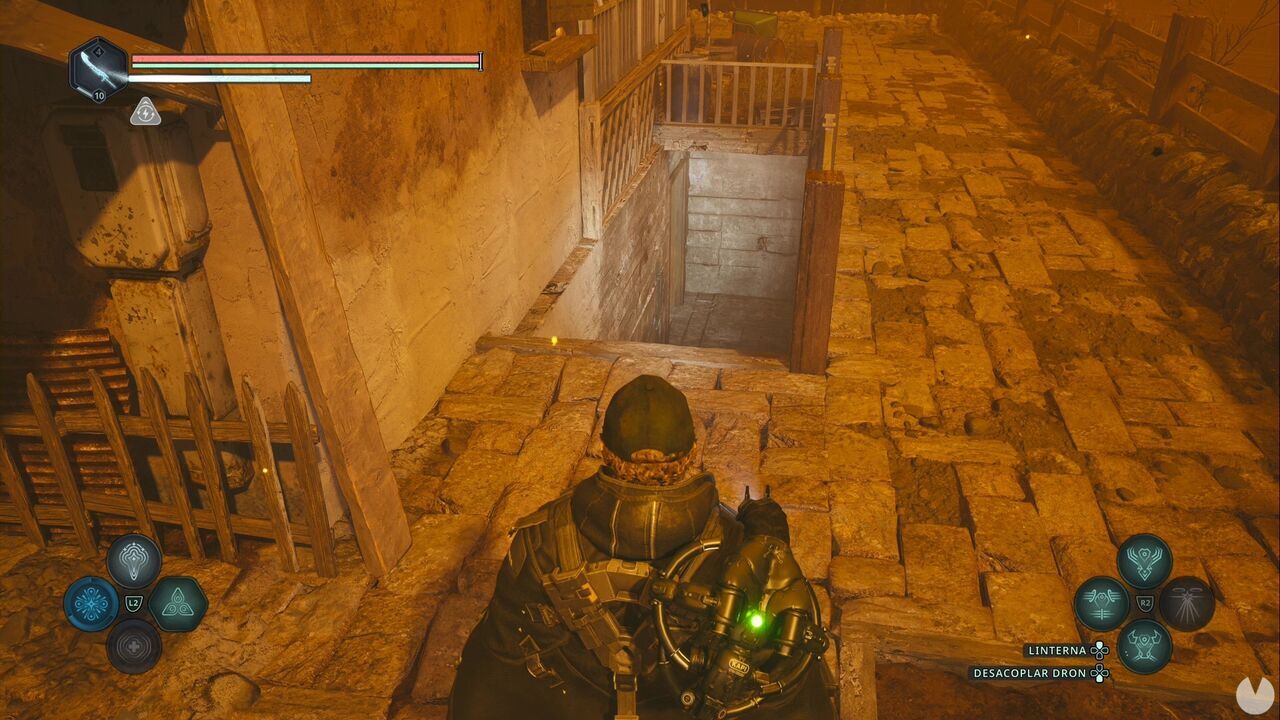
Downstairs, you'll find the Letter - Library Safe, the Lymbic Rod - Rage, Z and a computer containing more information about the Fran family. You must now wait until you reach the Lethe National Library. From the rear entrance where this section begins, look south to see a safe inside a rubbish bin beside the security booth.
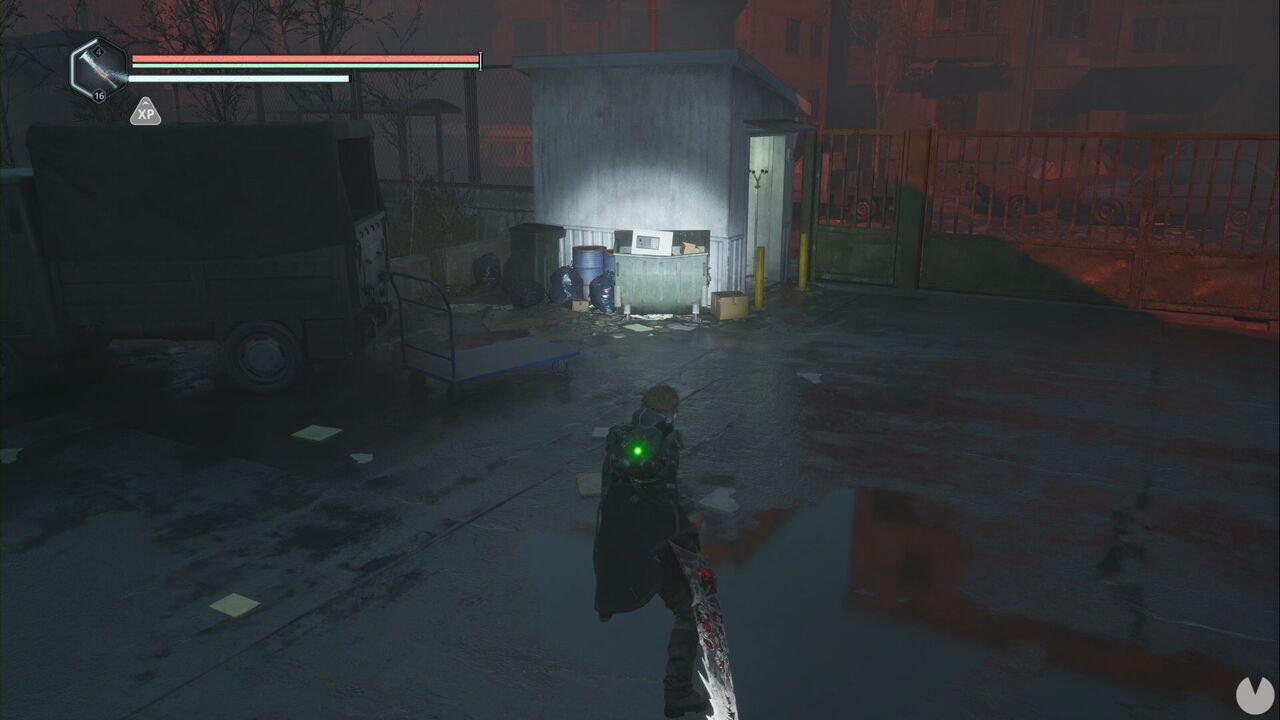
Enter the password 81643 to complete the Mystery. The safe contains an Amine Prism - Rho, the Wooden Mask and the Note - Caspian's Mask.
This Mystery begins when you progress through the History Lesson Mystery, since one of the items obtained during that Mystery is the Lymbic Rod - Rage, Z required for this door. You'll also need the Lymbic Rod - Rage, Y, which can be found beside the Children's Book in the caves beneath Marastan.
After that, complete the Forlorn Fate Good Deed in the Senedra Forest. The Lymbic Door where the rods are used is in the same locked room as the woman you're searching for during that side activity.
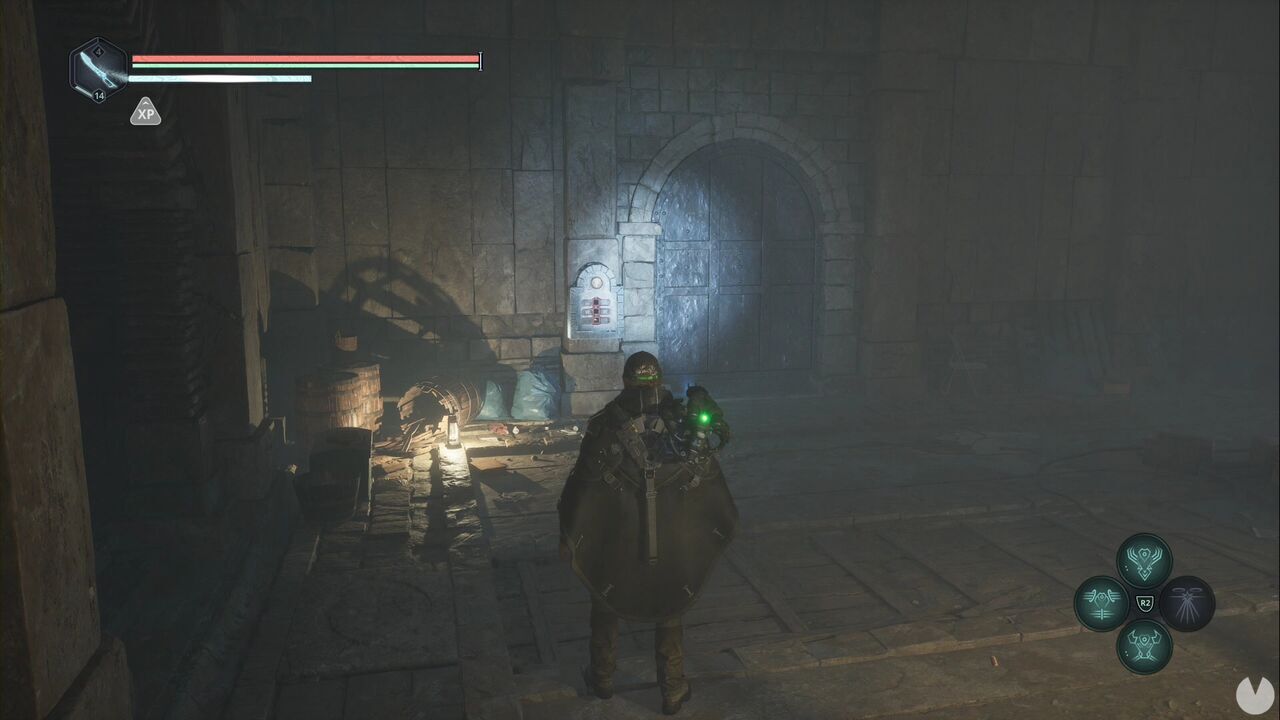
The Mystery is completed when you open the door, but make sure you collect the items behind it: the Rage Spike - Enhanced Glyph and a Sword of Ecstasy.
This is a very simple Mystery that takes place in Marastan. As soon as you arrive, follow the road east from the APC until you see a checkpoint with a security booth.
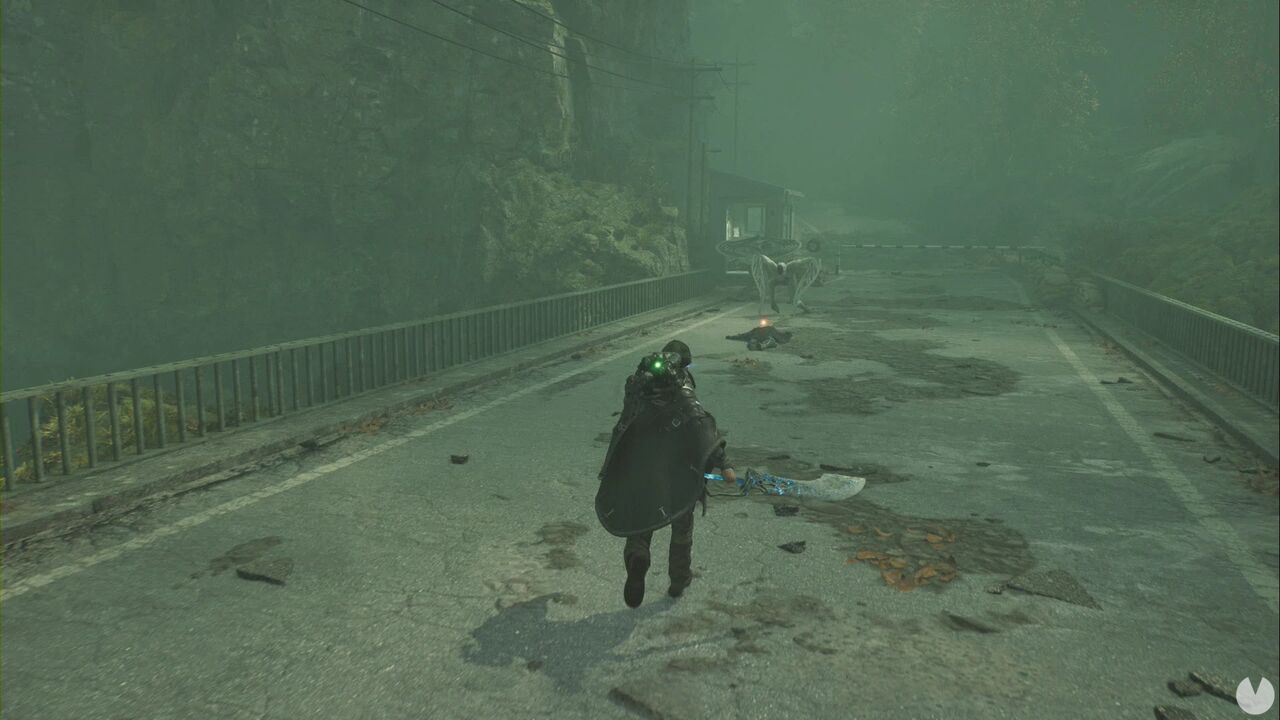
Enter the booth, type the code 4132 into the computer and read the file. The Mystery will activate and be completed in one go.
This Mystery is activated in the village of Marastan. Once you reach the houses, look for the one on the northwestern street. Its door is open, with a van on the left and a military truck on the right.
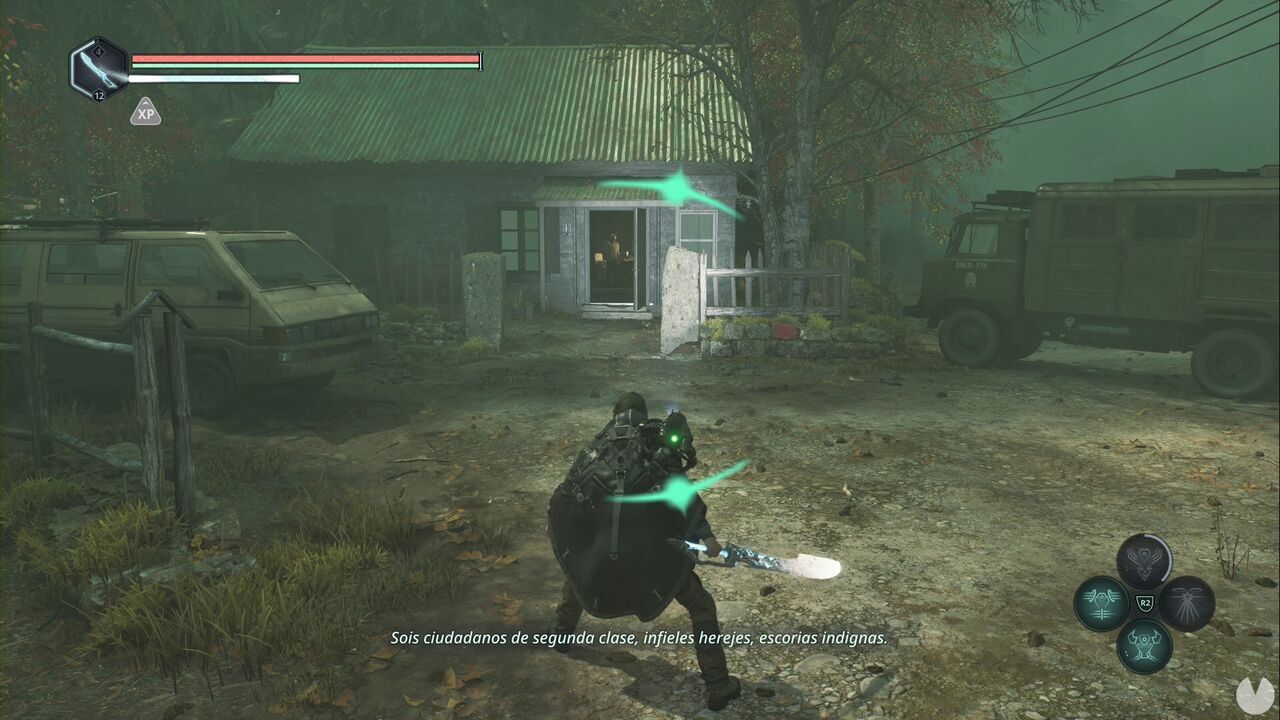
Enter, go down to the basement and climb the stairs leading to the back garden, where you'll see an uphill path. Follow it.
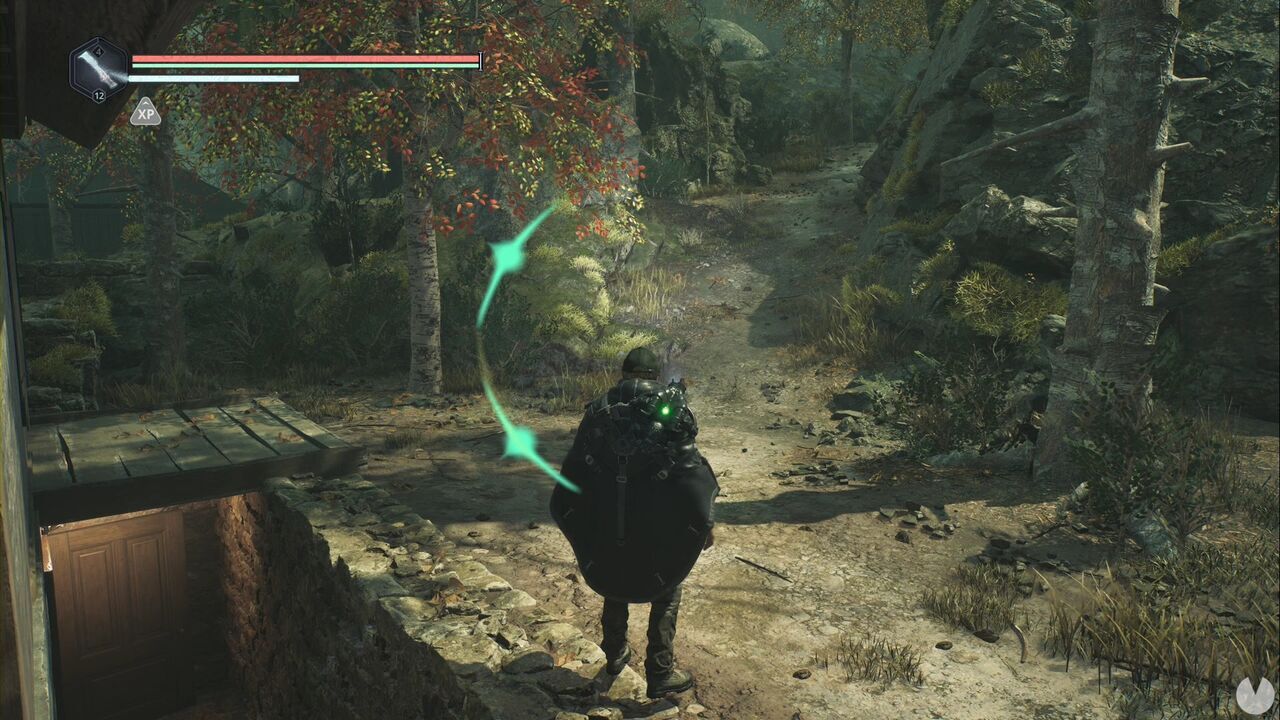
Continue straight ahead, turn left at the second junction and then turn right. After defeating an enemy, drop over the edge of the path to enter a cave containing a save point. Follow the path on the left to collect the Marastan Church Key and the Note - Tithe, activating the Mystery.
The key is used in the crypt where you search for the plate fragments. From the room with stairs to the north and south, head north, turn right once and then go west to find a corridor where the key can be used. The Mystery is completed as soon as you open the door.
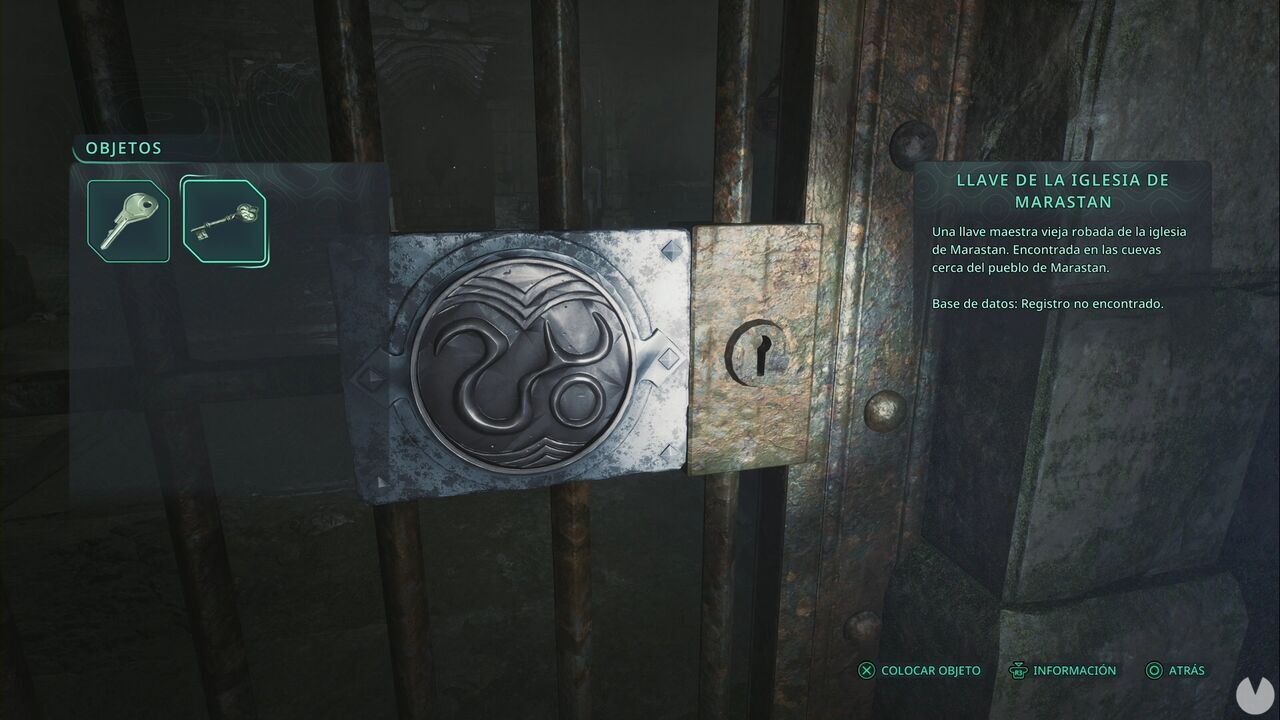
There's an important extra step at the end of this Mystery, after it has technically been completed, so make sure you keep reading.
You'll begin this Mystery in the crypt beneath Marastan, which you'll enter while searching for the tablets required for the statue. You need to force your way inside to continue the story. Once you do, go south at the junction inside the crypt and enter the first corridor on the left to find the Lymbic Rod - Terror, V, beginning the Mystery.
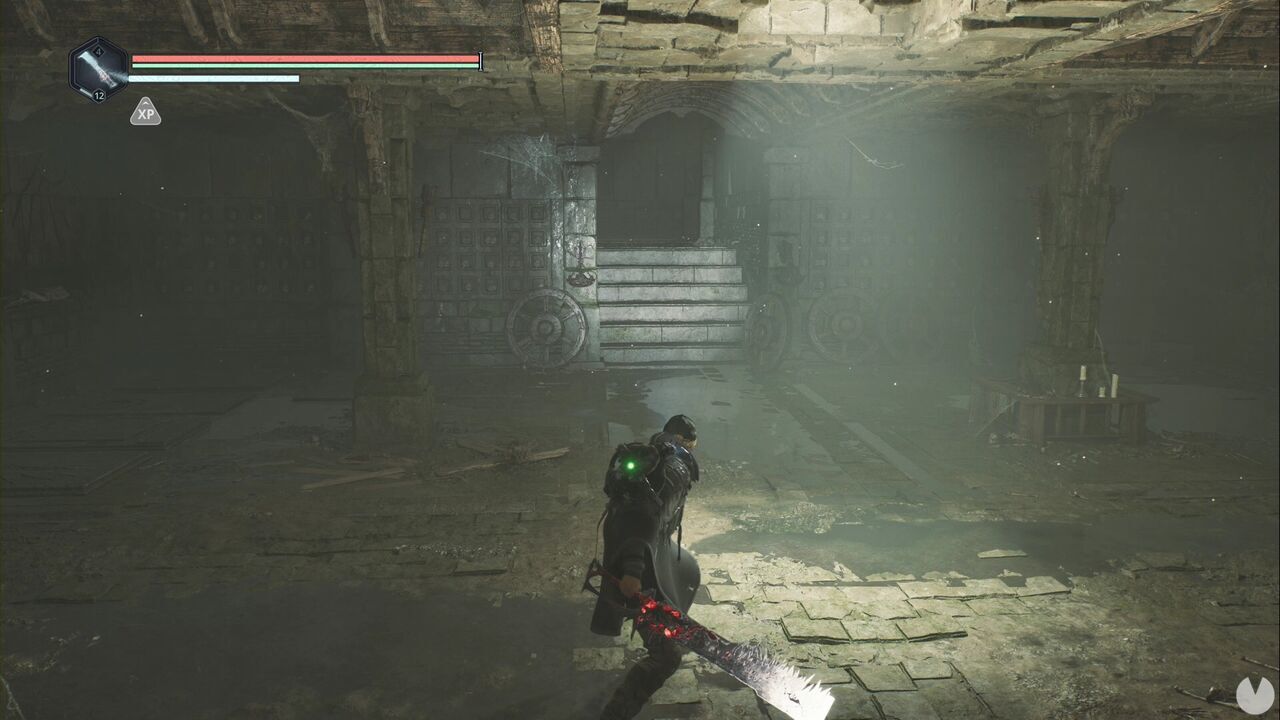
Next, from the APC on the road, continue straight ahead and take the first path leading south through the forest. Follow it for a while until you reach a large clearing containing some ruins and plenty of enemies.
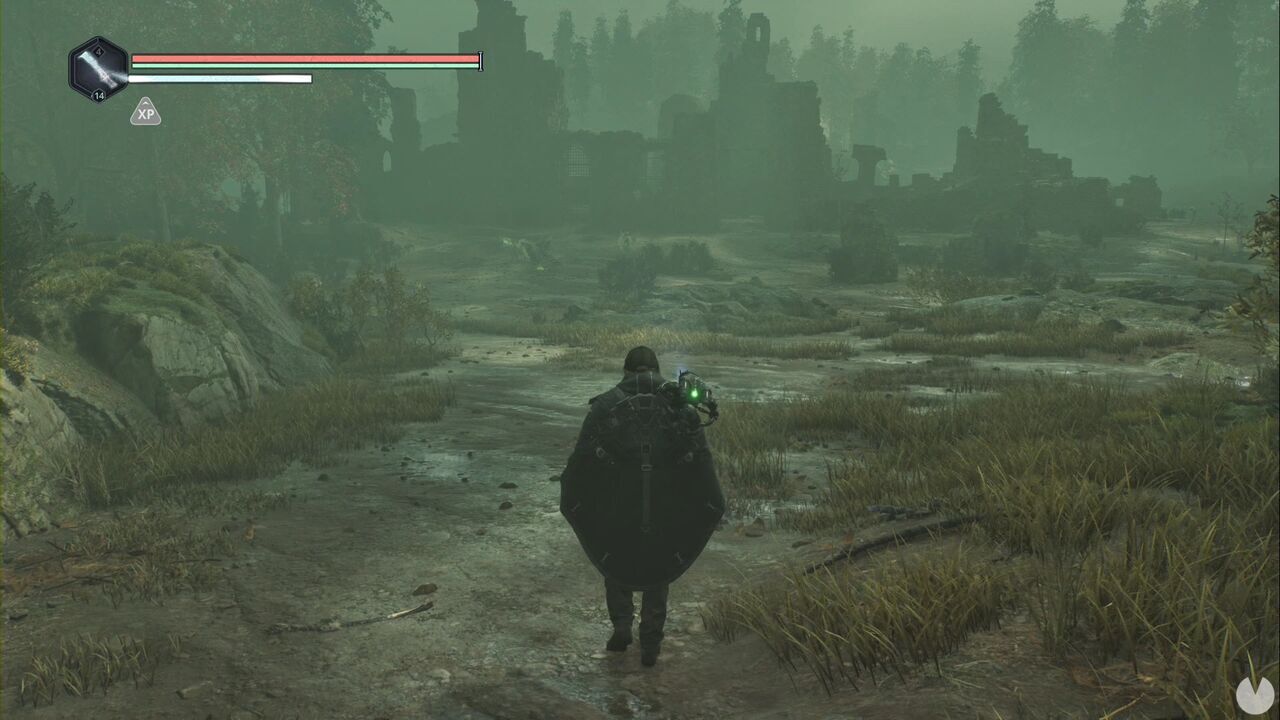
Go around the ruins to find a bridge leading to a tower.
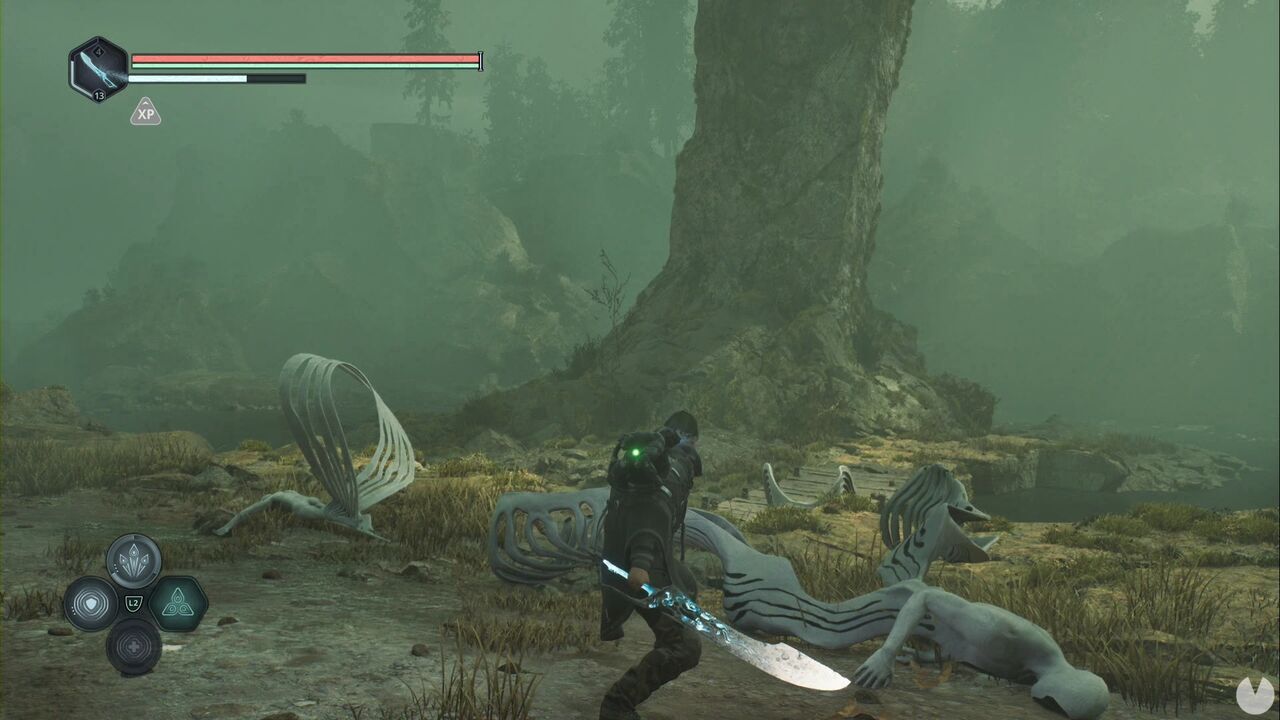
As you approach, you'll see a tunnel. Go through it to reach the inside of the ruins. Climb the wooden stairs and jump into the courtyard containing two enemies.
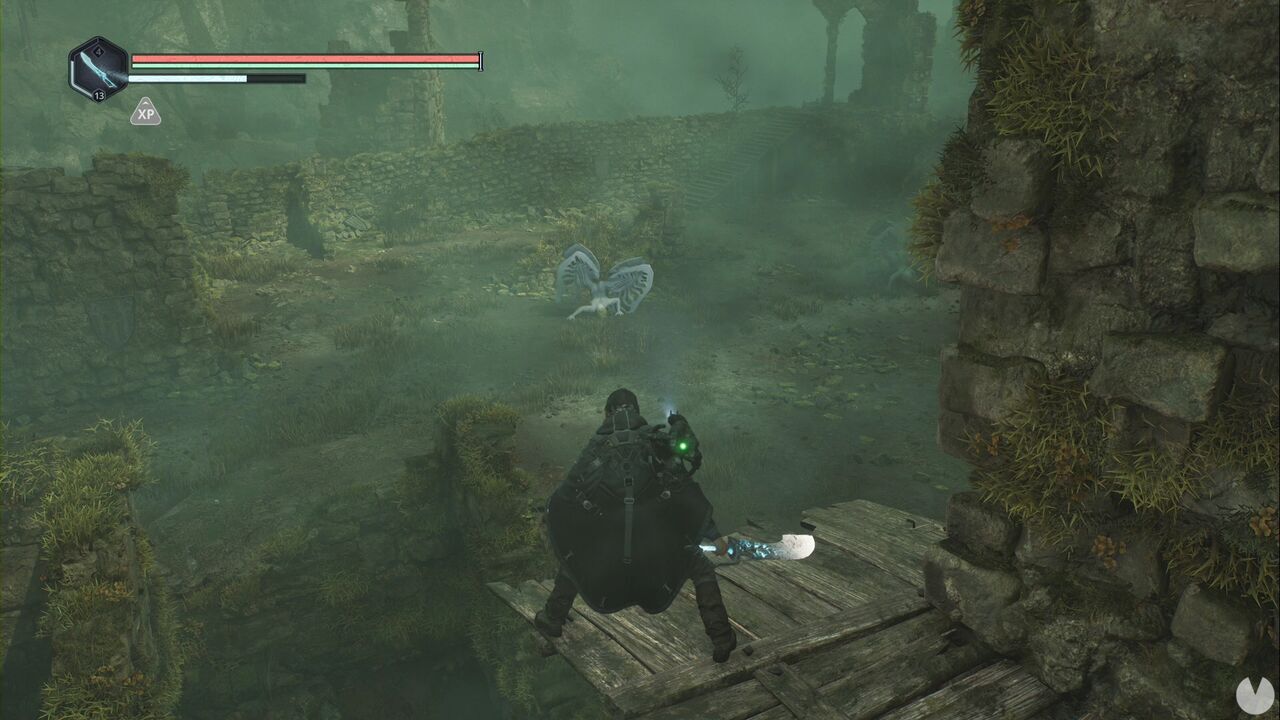
After defeating them, look for another wooden staircase in one corner. This allows you to follow the wall west. You'll see the chest for the Lymbic Rod - Terror, V beneath the next set of stairs.
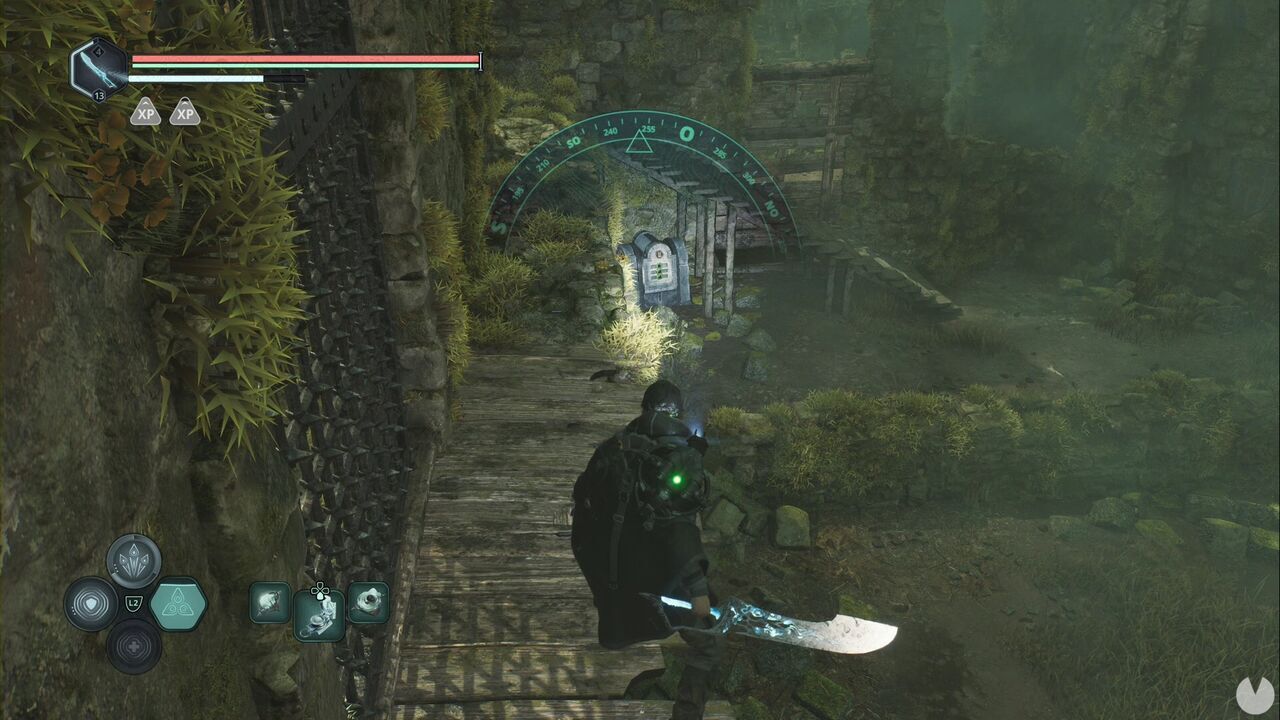
Inside is an Amine Prism - Zeta. As mentioned earlier, the Mystery is now complete, but there's still something else to collect. Go back through the tunnel into the ruins and, when you climb the first set of stairs immediately after leaving the tunnel, look for the section of wall to the northwest that you can drop onto.
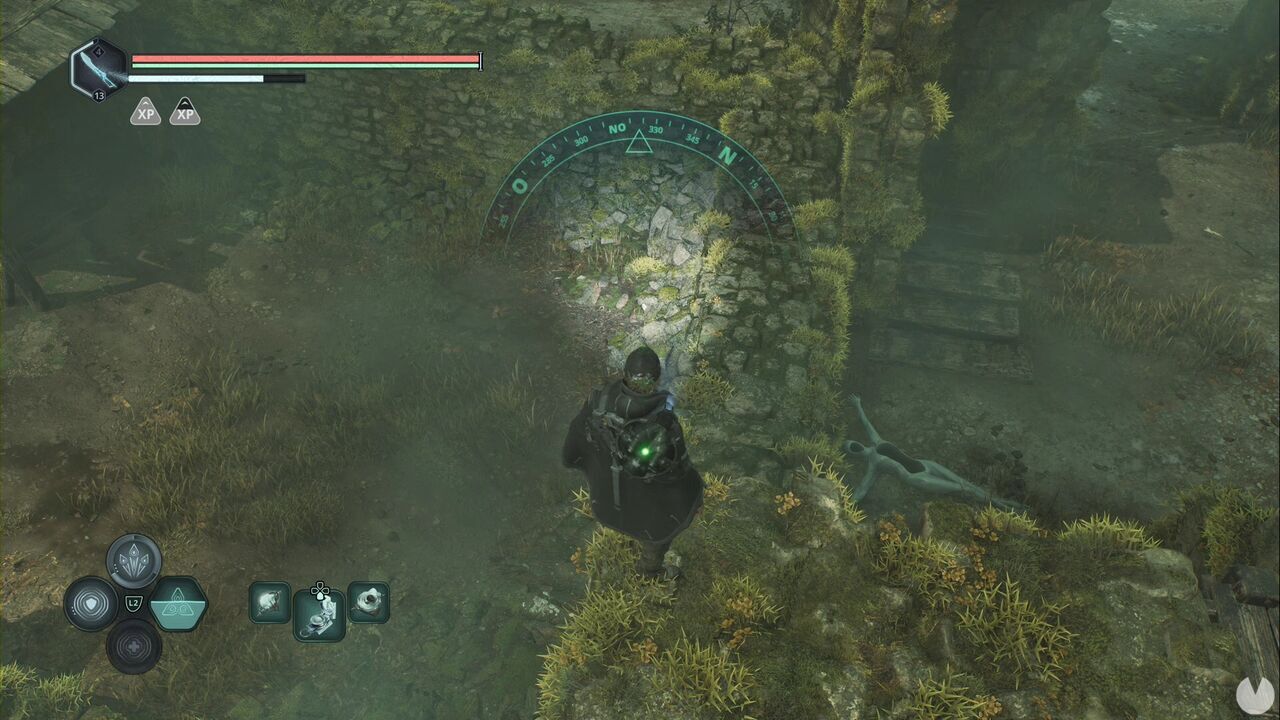
Follow this section of the wall and, in addition to several consumables such as Tuning Stones, you'll eventually see an enclosed courtyard containing a large enemy. Jump down, defeat it and look for the red glow of a consumable: another valuable Amine Prism - Zeta. Two for the price of one—not bad at all.
This Mystery activates while exploring Arcas Spire in the Senedra Forest. Continue until you reach the save point on the wooden scaffolding inside the cave, after descending a couple of ladders from a room filled with enemies. Once there, look southeast to see a cave.
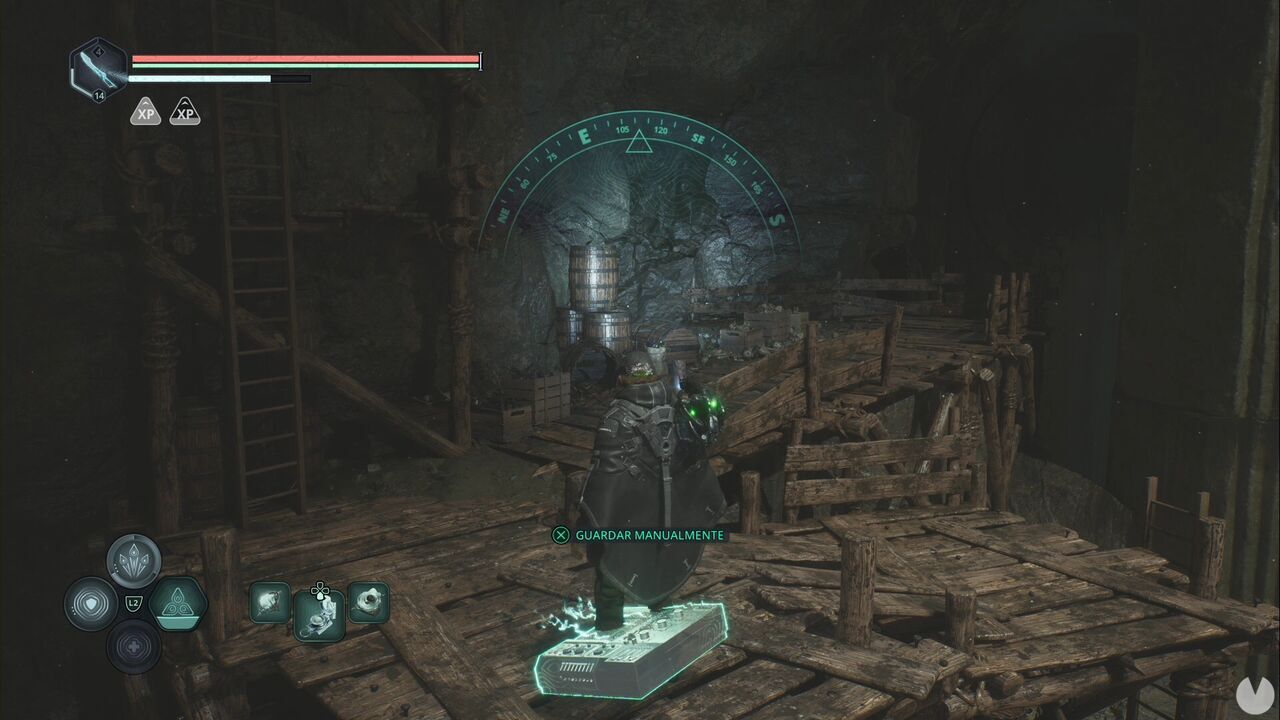
Inside the cave, take the right-hand tunnel at the junction, continue to the far end and climb the ladder to collect a Rusted Key, activating the Mystery. Continue descending through the scaffolding and follow the only available route until you reach a ramp with an opening to its right, shortly before an elevator.
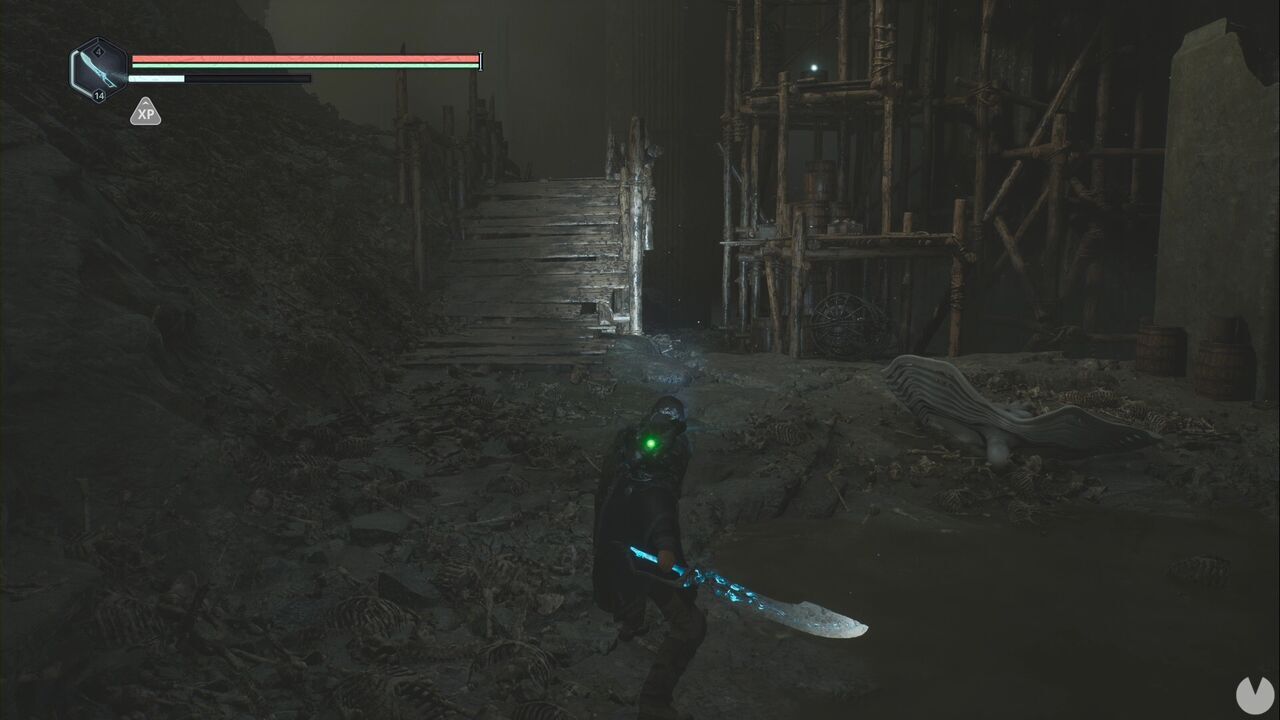
Inside the opening is a ladder. Climb it and follow the path past an enemy to find a chest that can be opened with the key. This completes the Mystery and rewards you with Tuning Stone - Steady x5.
This Mystery takes place in the upper section of Arcas Spire. As you follow the only available route, you'll pass a staircase covered in bodies. Halfway up is a hole in the floor. Drop through it.
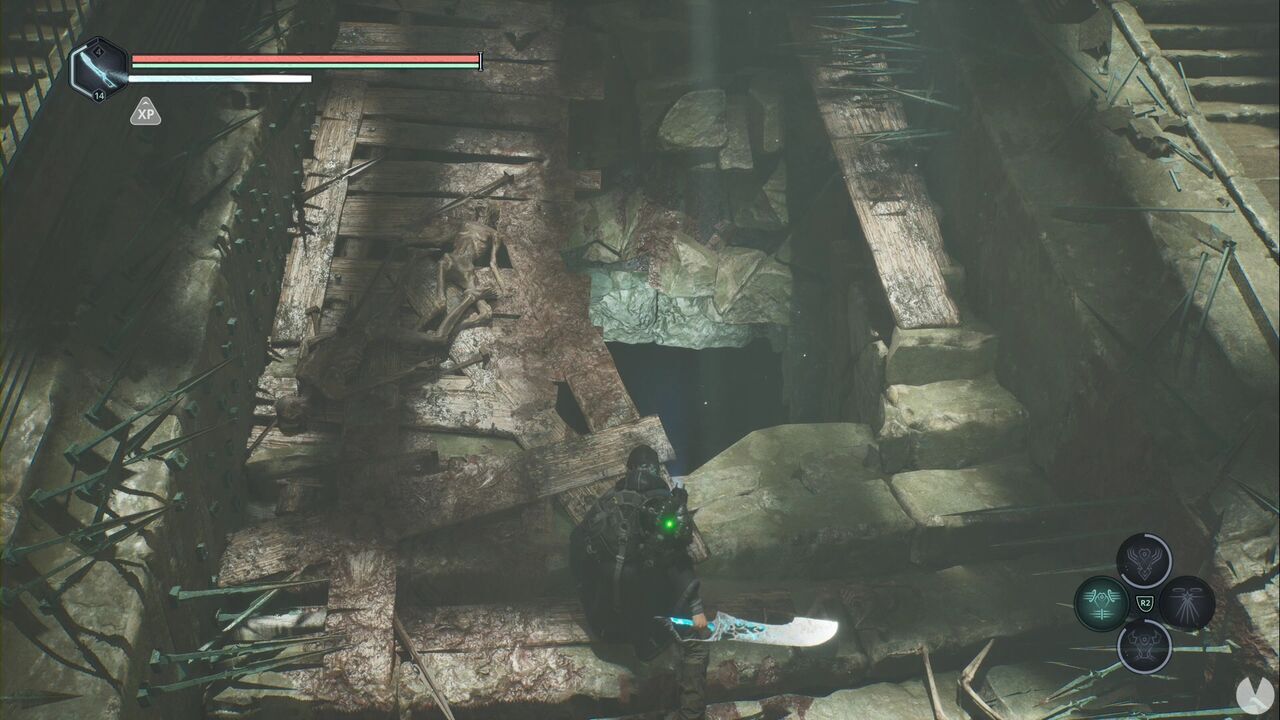
At the bottom, you'll find enemies and the glowing Brass Key, which activates the Mystery. You must wait until you've completed this area and progressed through the tower opened with the Rusted Key as part of the story. Just before using the elevator to leave, search around it to find the chest that can be opened with the key.
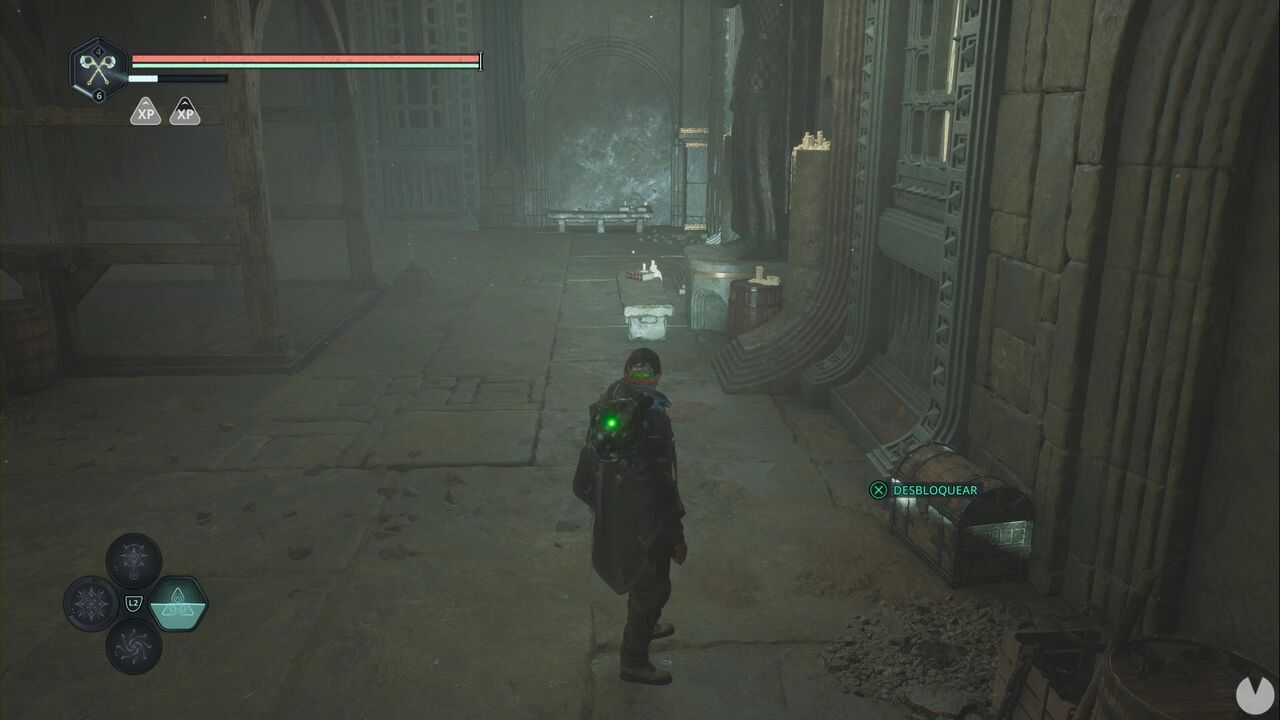
Completing the Mystery rewards you with the Bracelet of Terror - Shadowstep.
To activate this Mystery, wait until one of the sequences that plays while travelling in the APC, when the OMSIF officer reveals her identity. She'll mention a sheet containing codes and say that today's code is "number 14". After watching the sequence, look beneath the right-hand seat inside the APC's cab, not the seat where Tania sits, but one of the seats near the steering wheel. You'll find a drone module and the APC Code Sheet, which activates the Mystery.
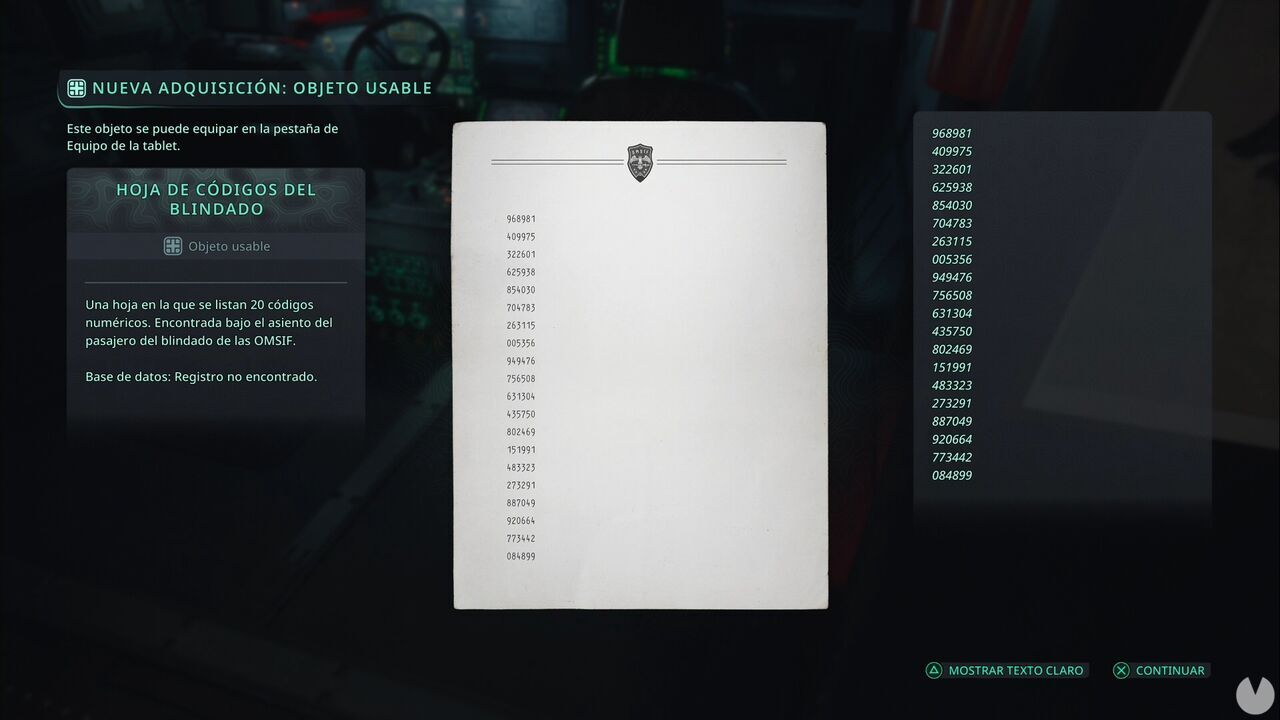
Now head to the large ruins east of Jova in the Acasa Marshes. You'll see a gate with a code device to its left. If your numbers match ours, the code is 151991.
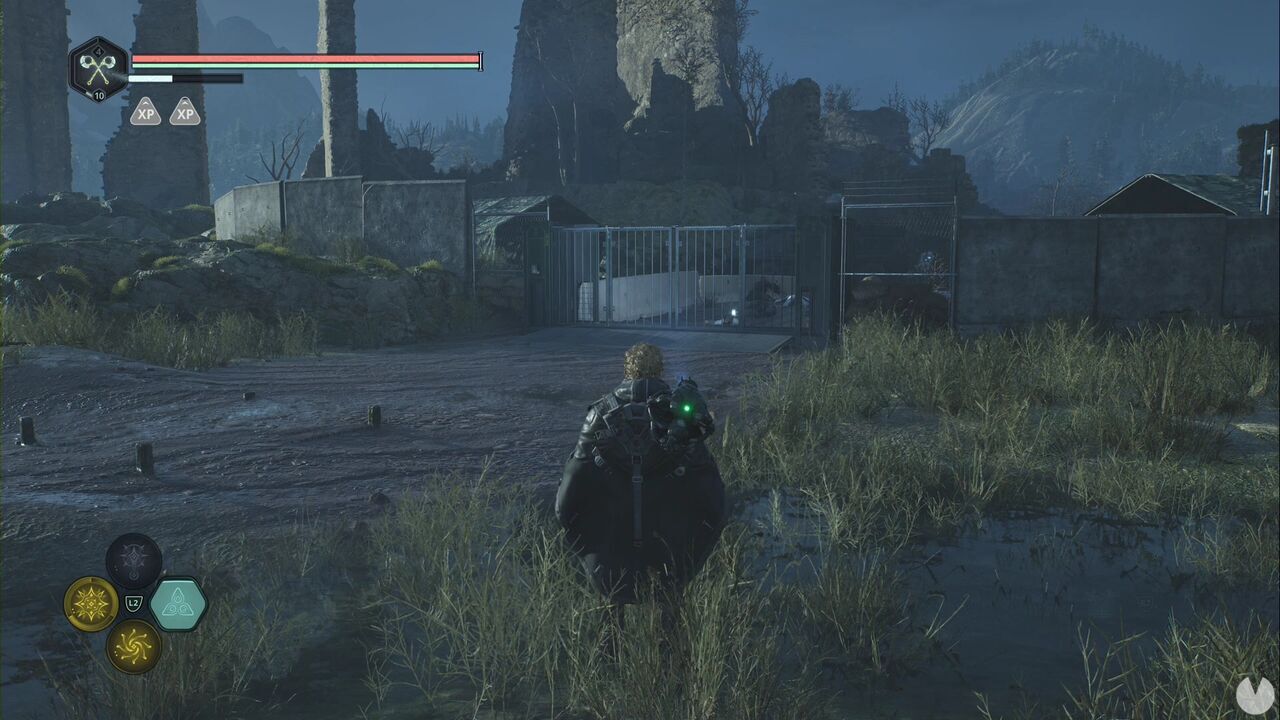
Inside, you'll find enemies, consumables, the Shockwave - Elite module and the Lymbic Rod - Neutral, W, required for the Lymbic Chest - Lake Cynon Reservoir Mystery. The Mystery is completed by examining the computers inside the tents.
This Mystery activates when you collect the Lymbic Rod - Terror, Z in the Pathem Abbey Timeloop chamber. Once you have it, head to the northeasternmost part of the swamp, north of the hill with the stone towers and west of the ON convoy tunnel. You should easily spot some small ruins containing the chest where the rod can be inserted.
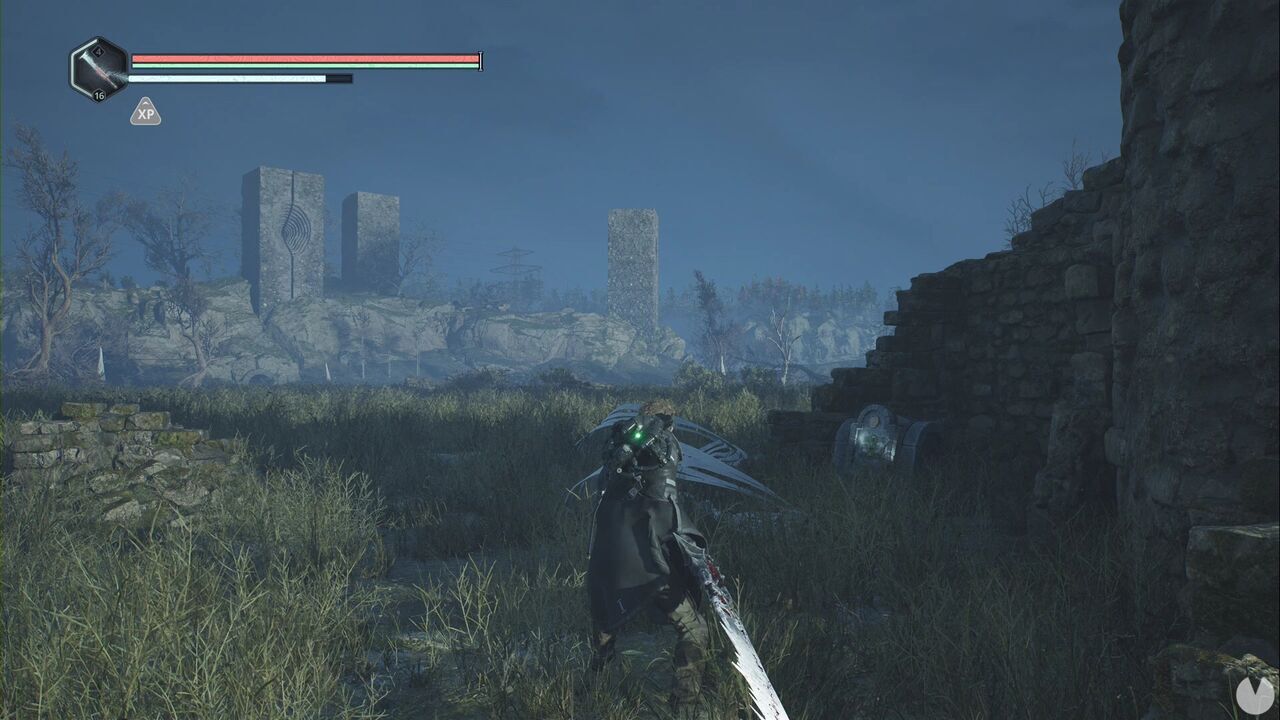
Inside, you'll find the Lingering Pain - Enhanced Glyph.
This Mystery is activated and completed on the second floor of the Lethe National Library. Continue until you see the door to the computer room, then enter.
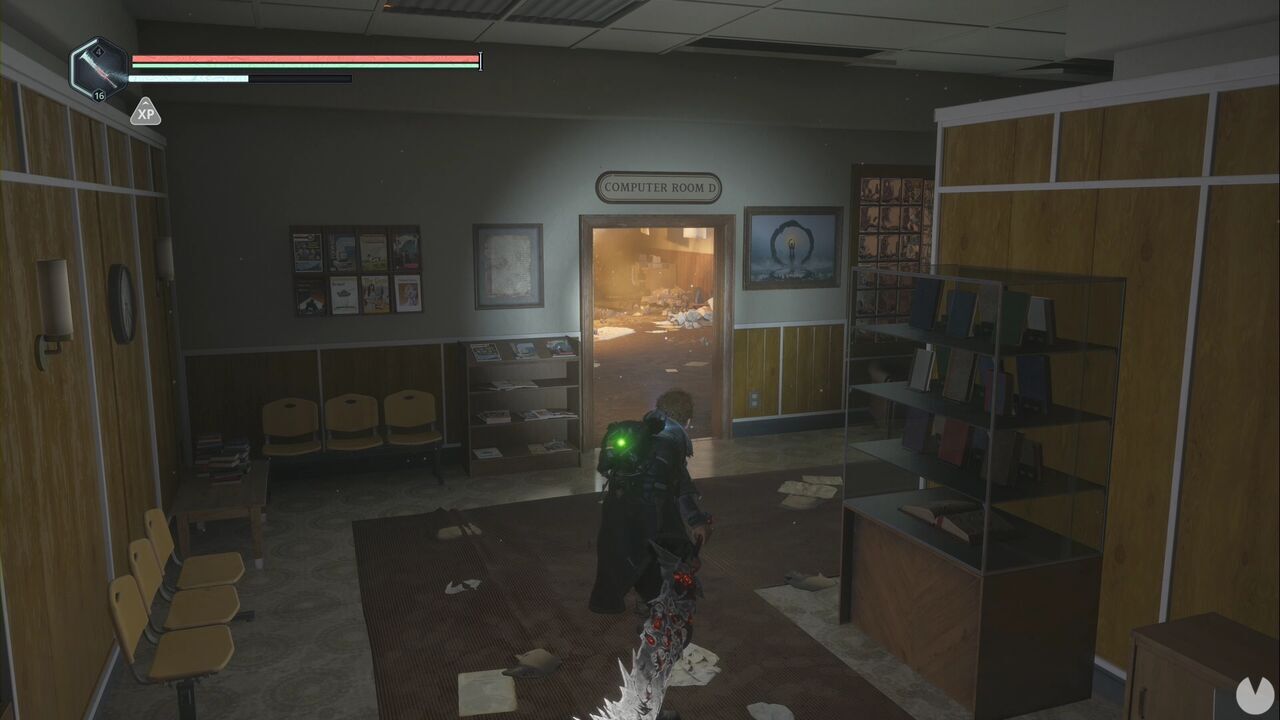
You'll see a computer on the right. Enter the code 731596 and read the files to complete the Mystery.
Immediately after completing the previous Mystery, jump through the hole in the floor to reach a large archive. There's a computer in the centre of the room. Approach it and read the file to activate the Mystery.
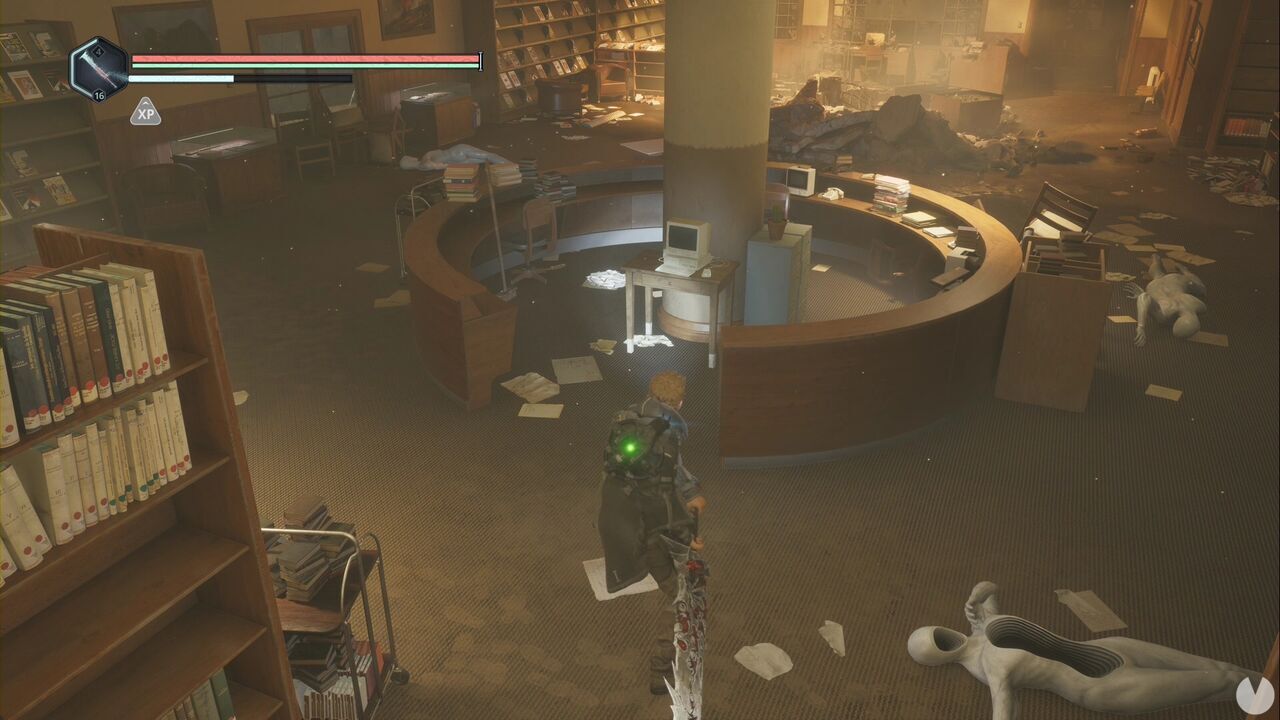
Now head to the staff room with the code keypad. From the storeroom stairs where you entered the library, go up and turn right. Enter the code 5055, collect the Car Keys inside and use them on the blue car in the southeastern corner of the parking lot.
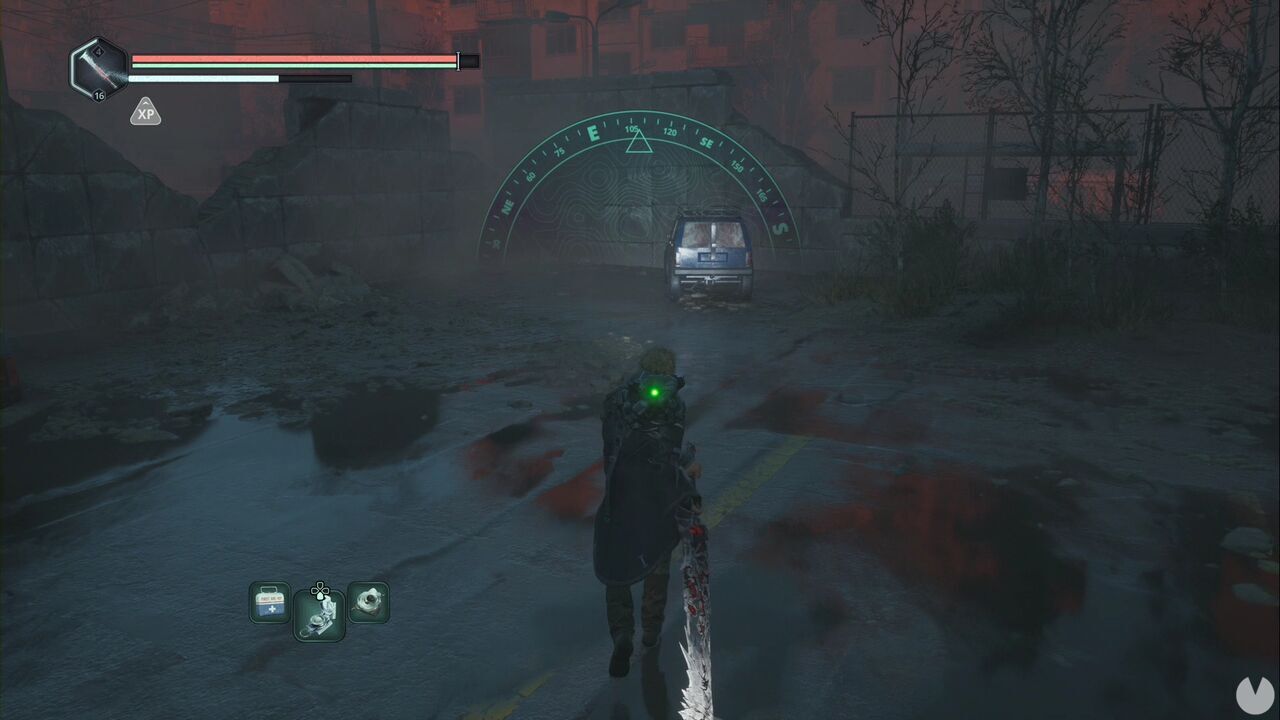
This completes the Mystery and rewards you with the Pottery Fragment and the Cap - Ecstasy.
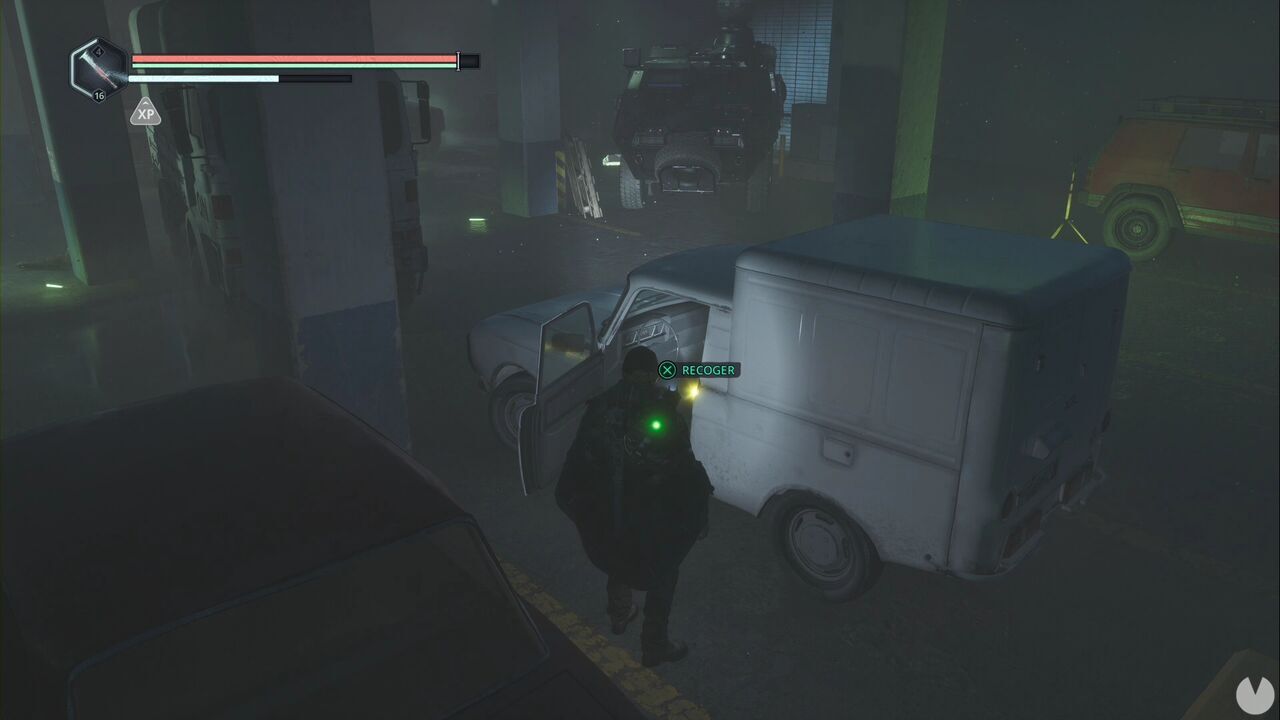
The first step of this Mystery, which oddly enough doesn't actually activate it, can be completed in the parking garage at the Ministry of Cultural Primacy. Directly opposite the APC is a white van with its door open. You can collect the Lymbic Rod - Rage, V from the driver's seat.
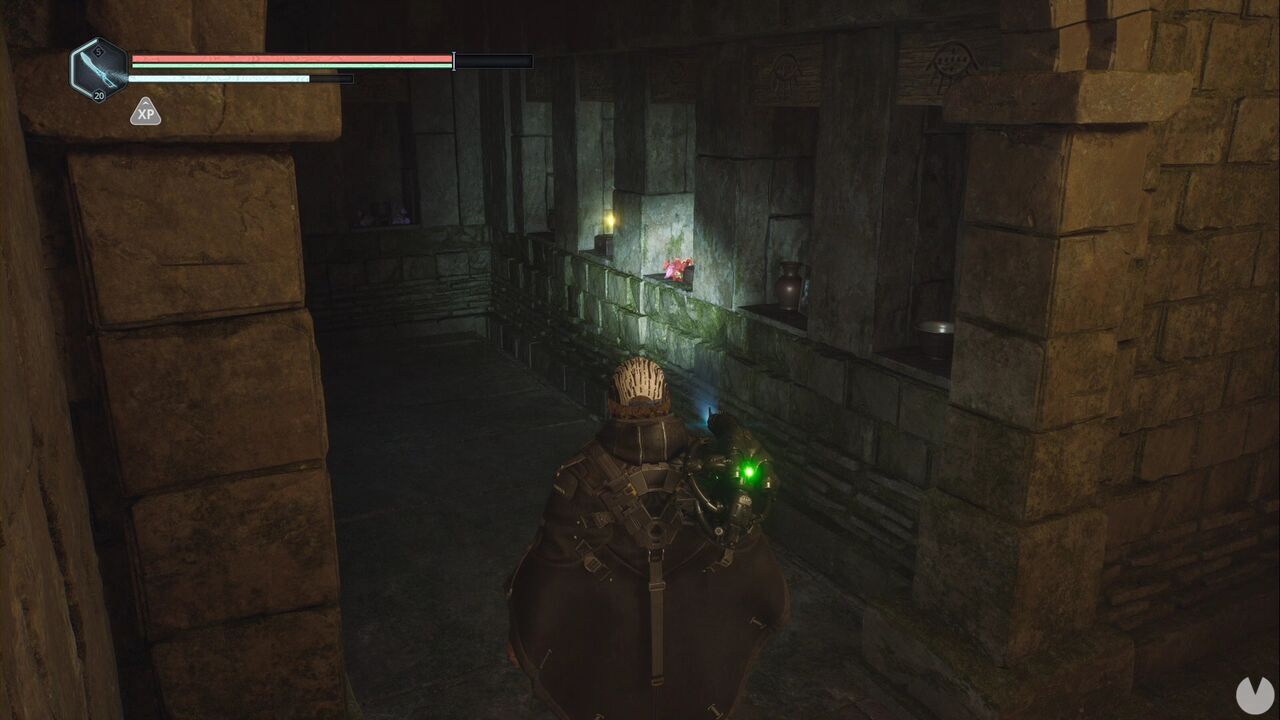
Now wait until you reach Jeljin. At the end of the excavation site, you'll see a save point. Look inside the room to its left to see a glowing item: the Lymbic Rod - Rage, X.
The chest is at the entrance to the excavation site, inside a truck beside the fence.
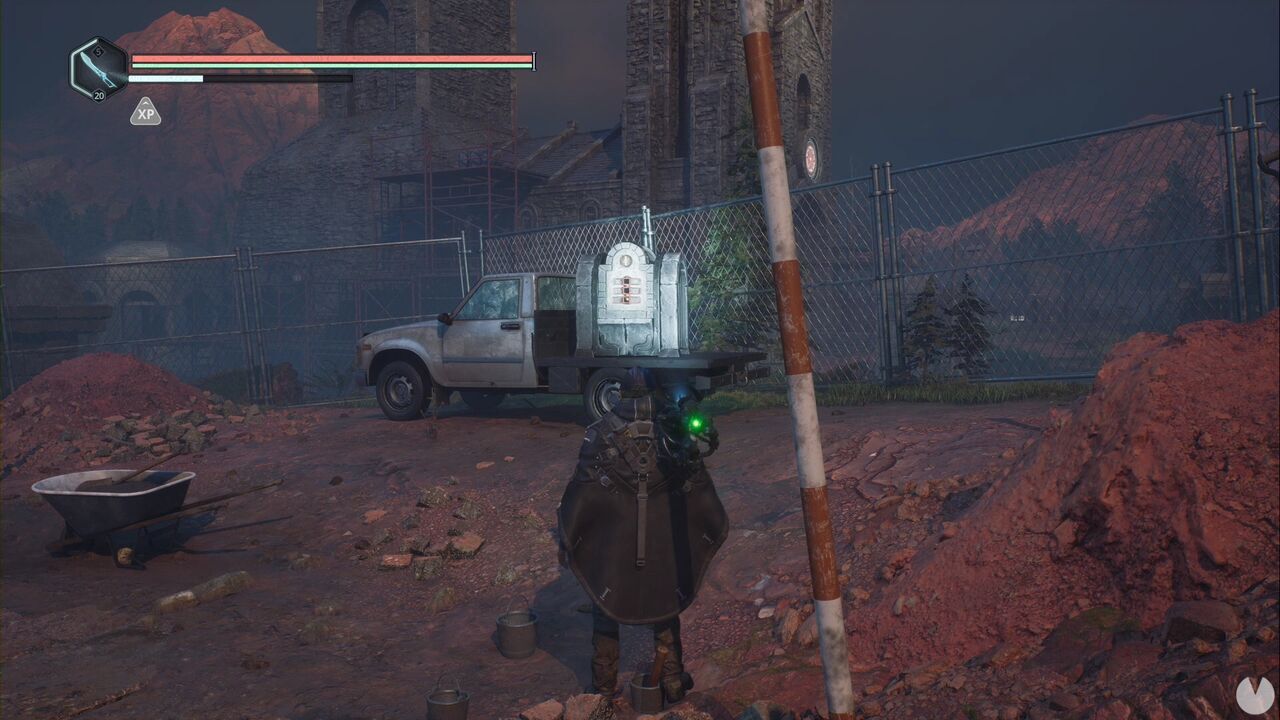
Inside, you'll find an Amine Prism - Zeta.
This Mystery is activated at the Ministry of Cultural Primacy. From Marton's office, where the hanged man is found, take the southeastern exit and turn right to enter the first open office.
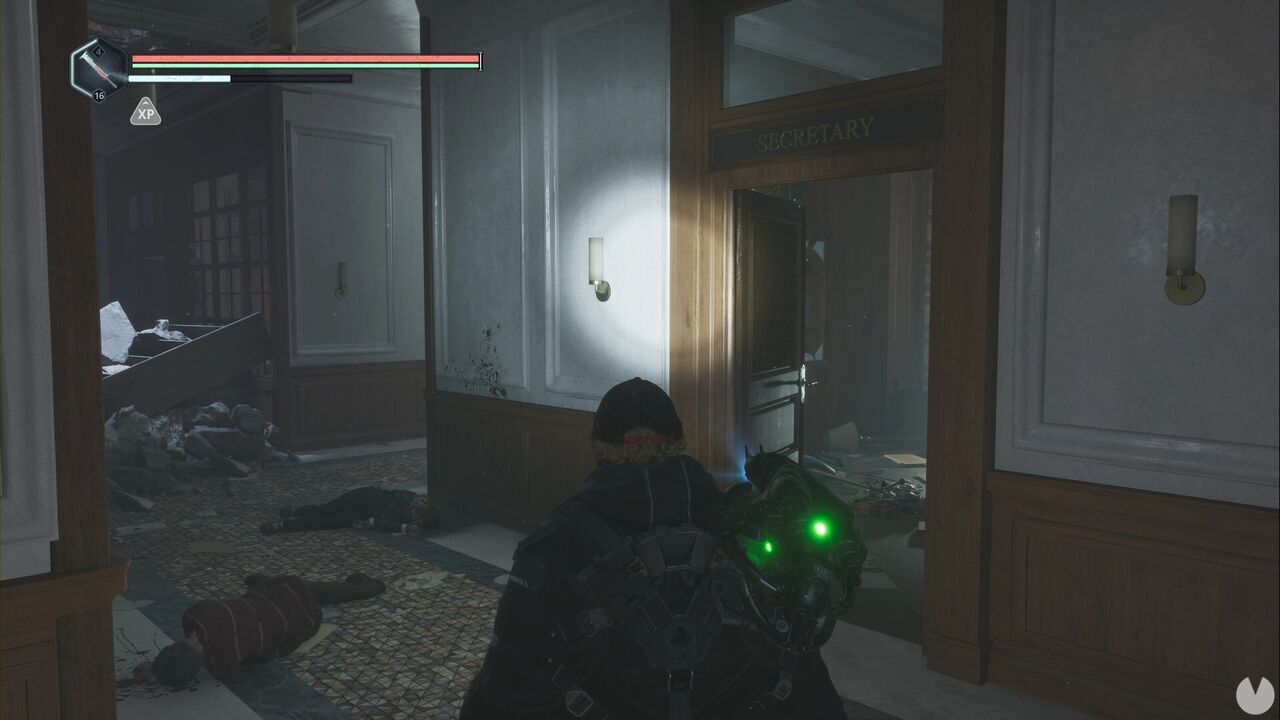
Behind the desk, you'll find the Ministry Car Keys, activating the Mystery. Continue to the exhibition area of the Ministry of Cultural Primacy. After passing the office with the map on the wall, you'll enter a larger room. The Lymbic Rod - Ecstasy, Y can be seen glowing at one side.
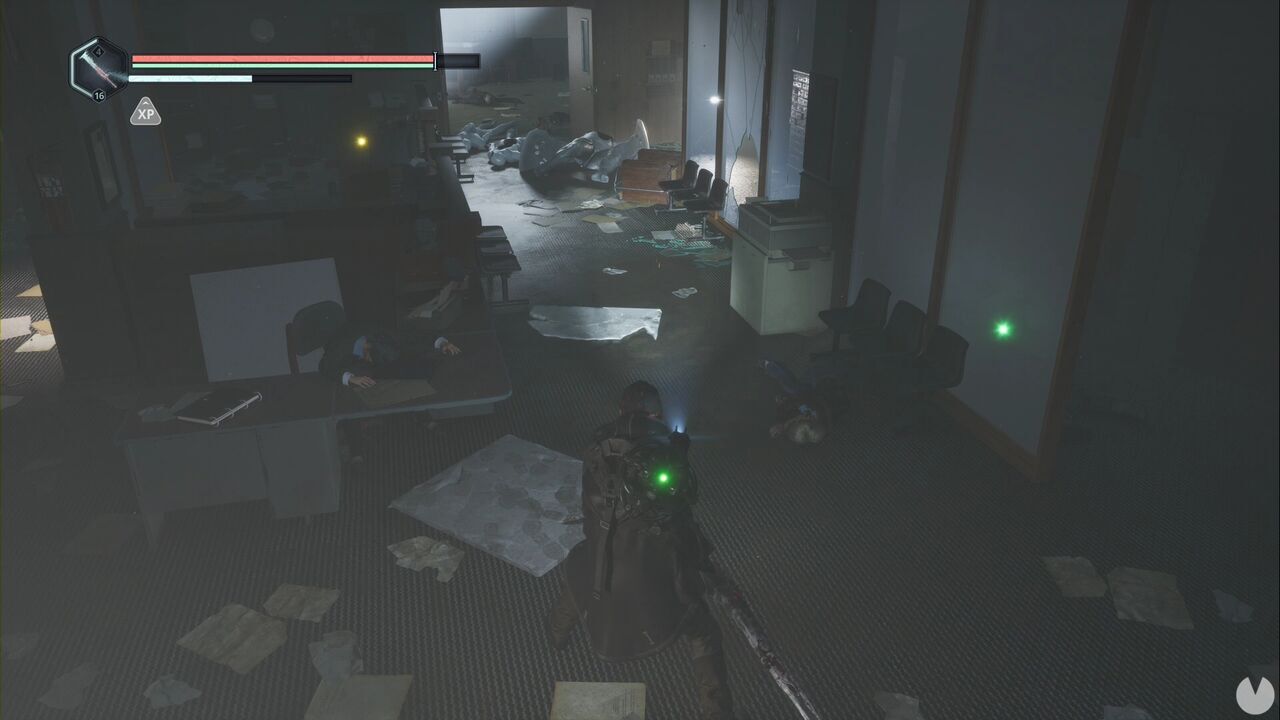
Return to the parking garage and head down the ramp on either side. After passing a stretcher, you'll see a blue car directly ahead. Open it with the keys to obtain the Lymbic Rod - Ecstasy, X.
Once you have both rods, travel to the Lymbic Forge. Follow the tunnel connecting it to the reservoir until you reach the room before the dam machinery, where you lowered the water. Before entering that room, go through the northern door.
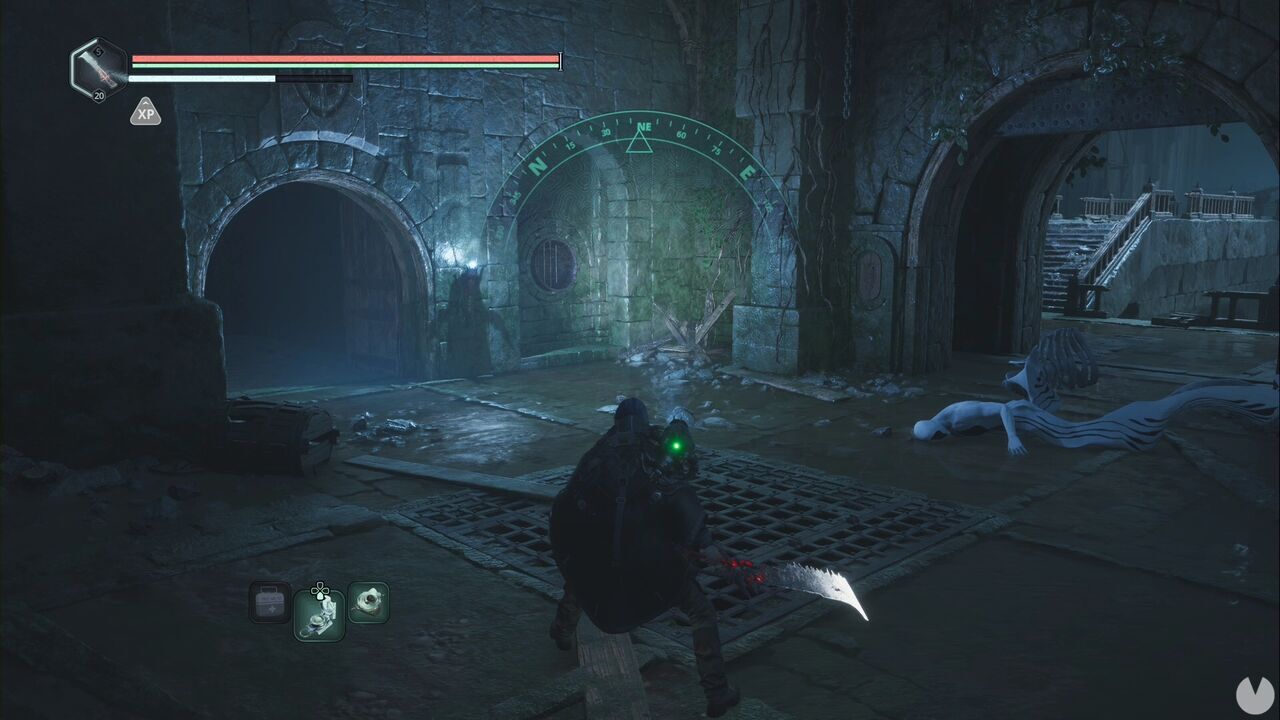
Immediately after passing through the door, turn left and climb the stairs to see the door where the Ecstasy rods are inserted. Don't forget to collect the items inside the room.
You can activate this Mystery while exploring Serpent's Maw. When you reach the Token of the Palm area, where the Timeloop is located, search the steps to the northeast to find the glowing Lymbic Rod - Ecstasy, Z. Picking it up activates the Mystery.
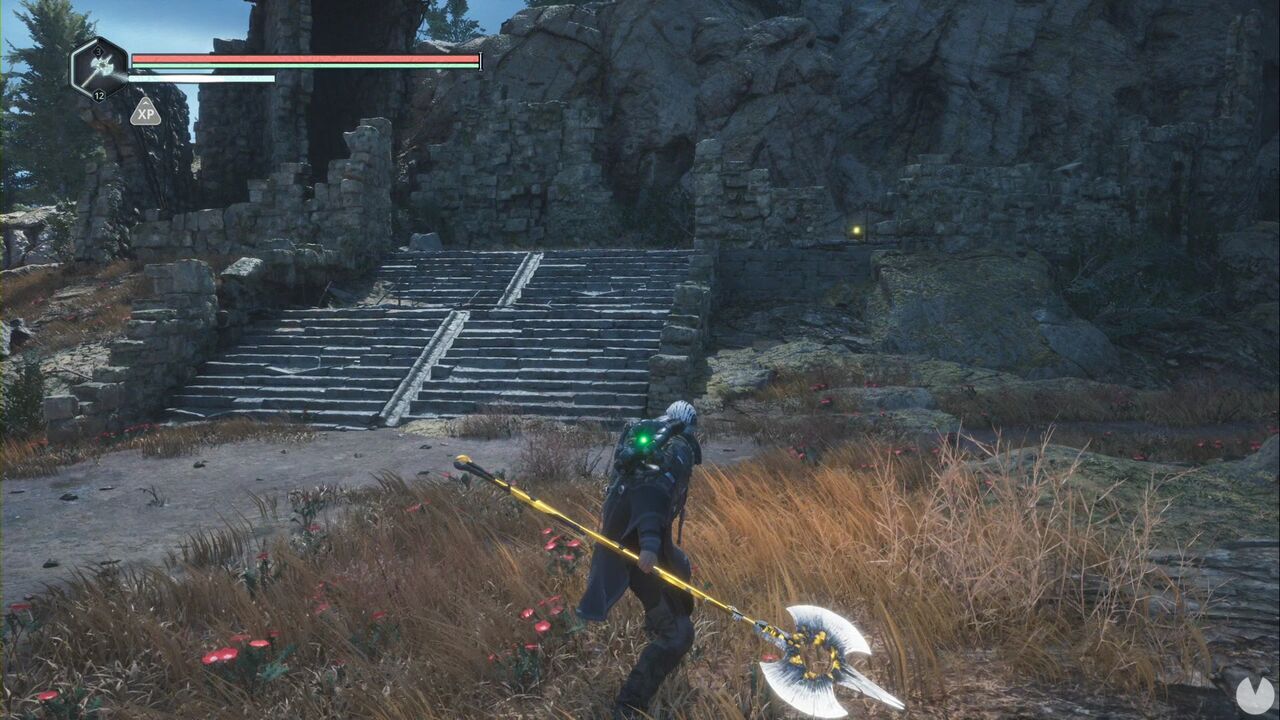
The chest is in the ruins containing the moon symbol, in the area reached from either the Token of the Serpent tunnel or the shortcut through the underground church.
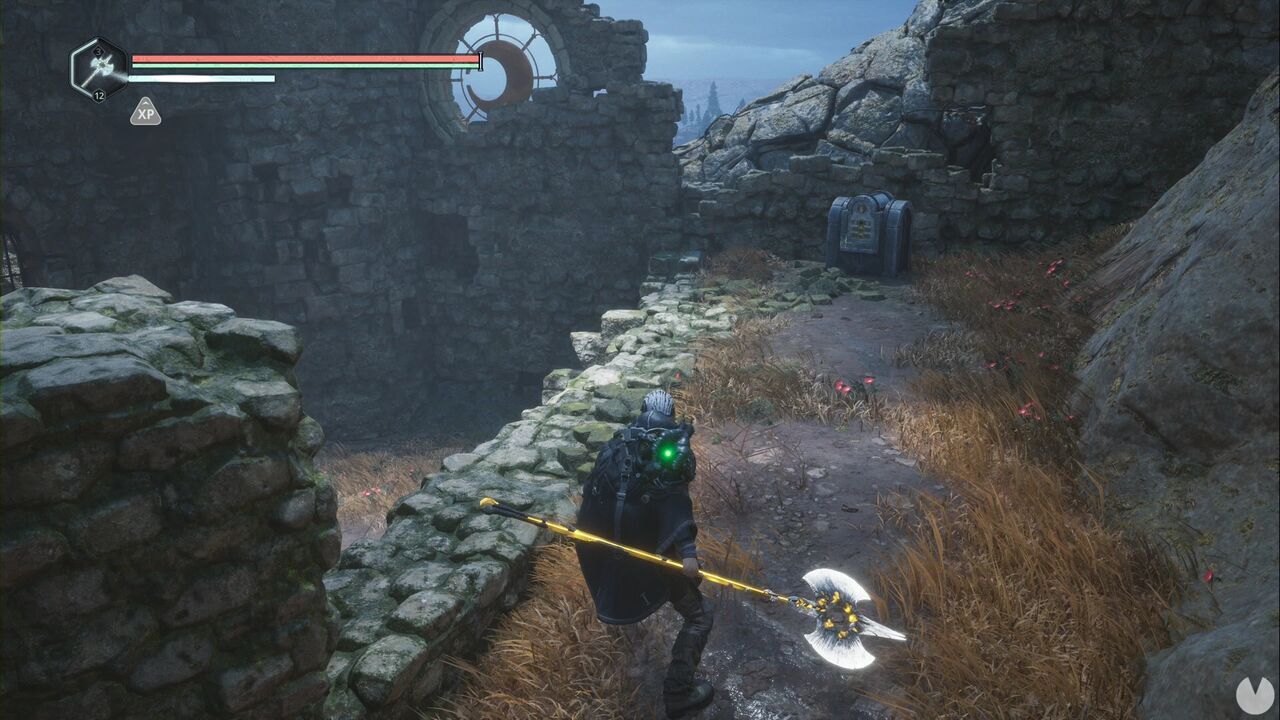
The chest contains an Amine Prism - Zeta.
This Mystery is found in the Plains of Mist. From the APC, climb the wooden stairs to the northeast, immediately to the left of a wooden sign.
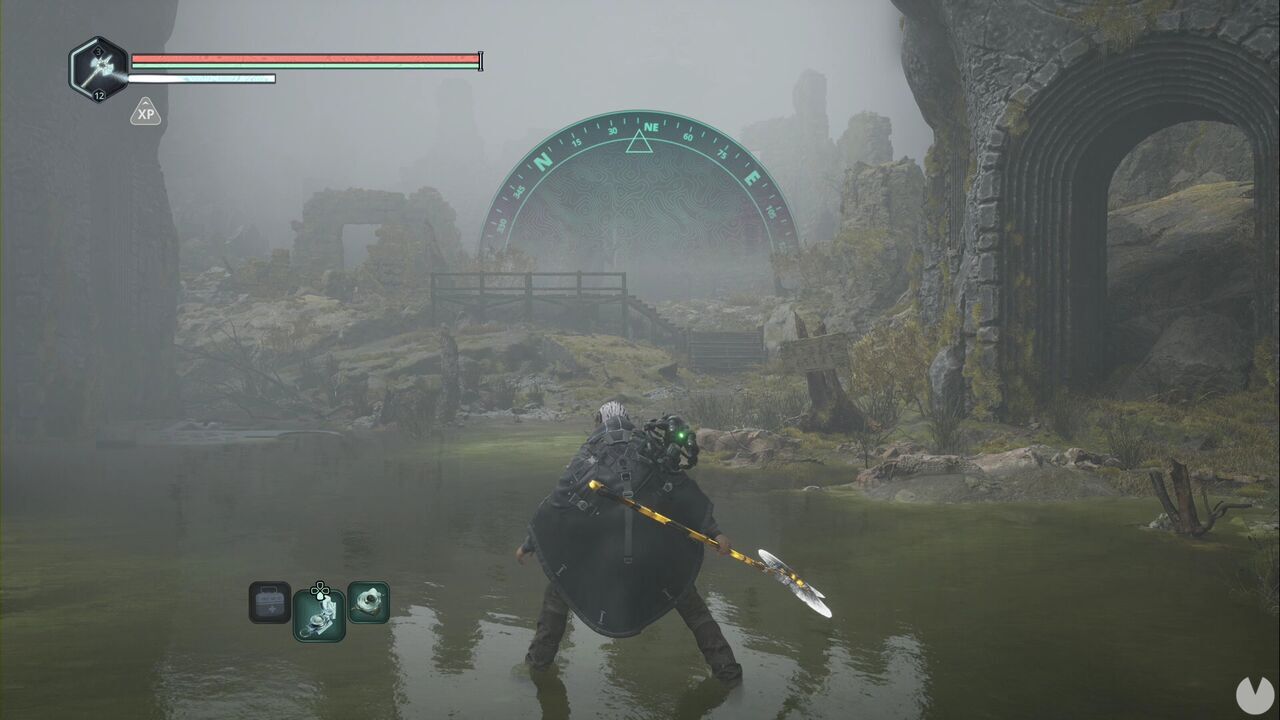
From there, head west across the planks of the broken bridge, then southwest. You'll know you're heading the right way when you encounter a couple of lesser enemies. At the end, you'll find a Timeloop Guardian, confirming that you've reached the correct location. You should see the remains of the ground floor of a house with a fireplace. To its right is a glowing item: Lady Sophia's Journal - Approach.
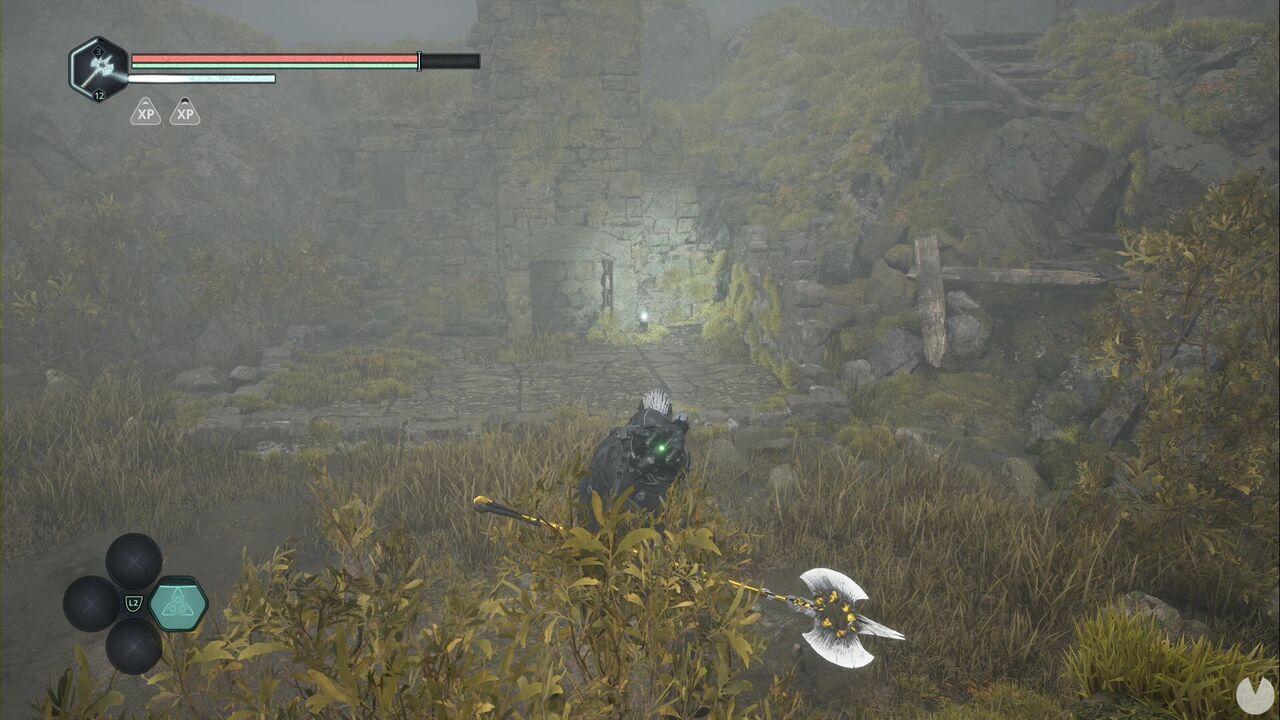
If you turn around while facing away from the fireplace, you'll see some steps leading to the remains of another house, where you'll find the Mossy Key, activating the Mystery. To find where the key is used, go to the right of the nearby staircase, the one with a stone gate at the top that is locked with the Two-Headed Serpent. Look closely to see a kind of corridor heading east, with a stone archway at the end.
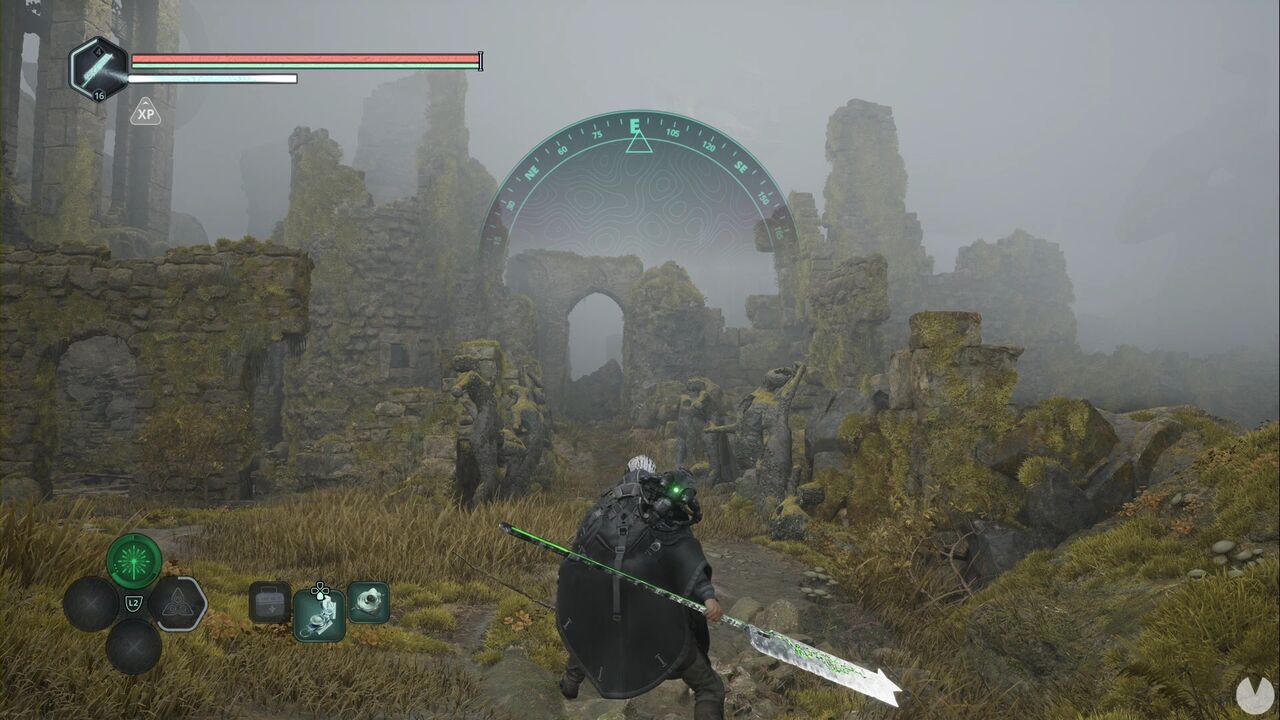
At the end, turn left to enter a house containing a chest that can be opened with the key. This completes the Mystery and rewards you with the Idol of Ecstasy - Battle Trance.
This Mystery also belongs to the Plains of Mist. To begin it, return to the staircase near the location of the previous Mystery. This time, head to the building directly west, go around it and climb the stairs. You'll see that you can drop inside through the opening beside the wooden planks.
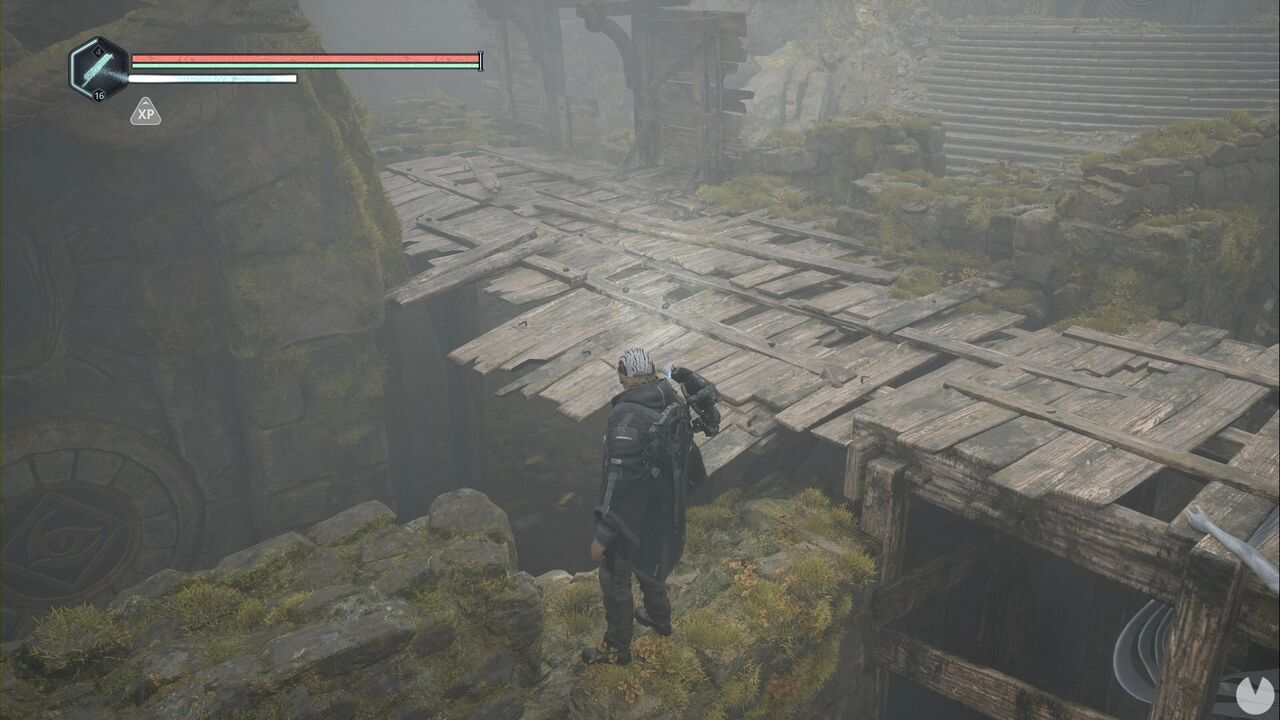
This takes you inside the building, where you'll find the Barrel Key and the Note - Exodus. Now travel to the Vyssa Hills and head to the Francis' Church Timeloop. Once there, search among the ruins near the statues to find a chest.
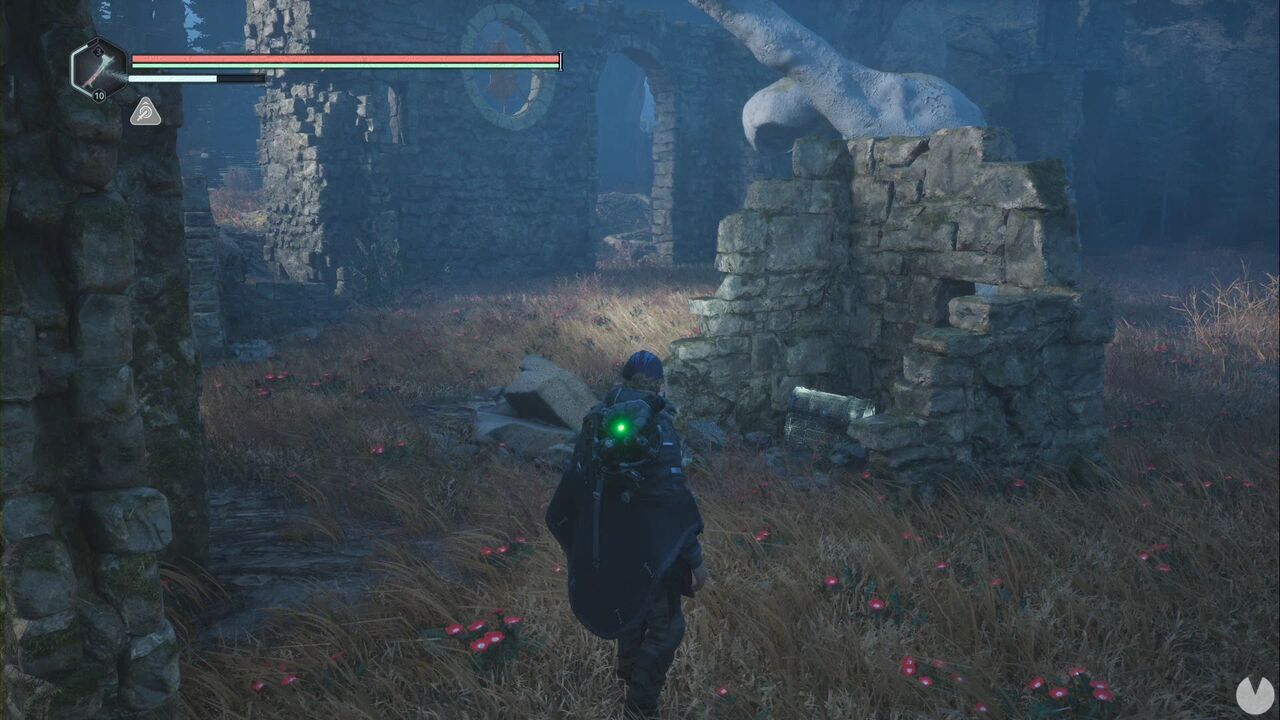
Open it to complete the Mystery and obtain the Lymbic Slivers - Enhanced Glyph.
This chest is found inside the Plains of Mist ruins. Continue until you can go left from the Timeloop chamber, then proceed across the bridge between the lever-operated doors until you reach a room with one door on the left, one directly ahead and another on the right.
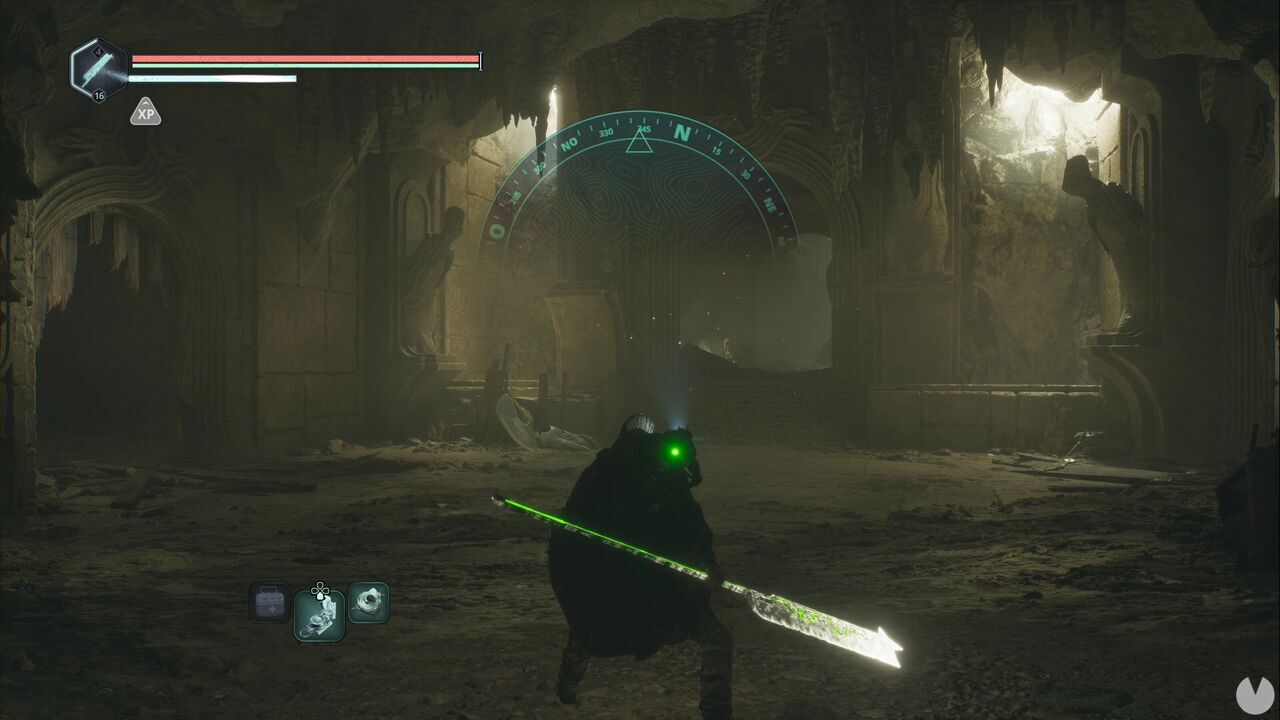
Go through the right-hand door and continue straight ahead until you reach a vertical chamber containing wooden scaffolding that you can use to descend.
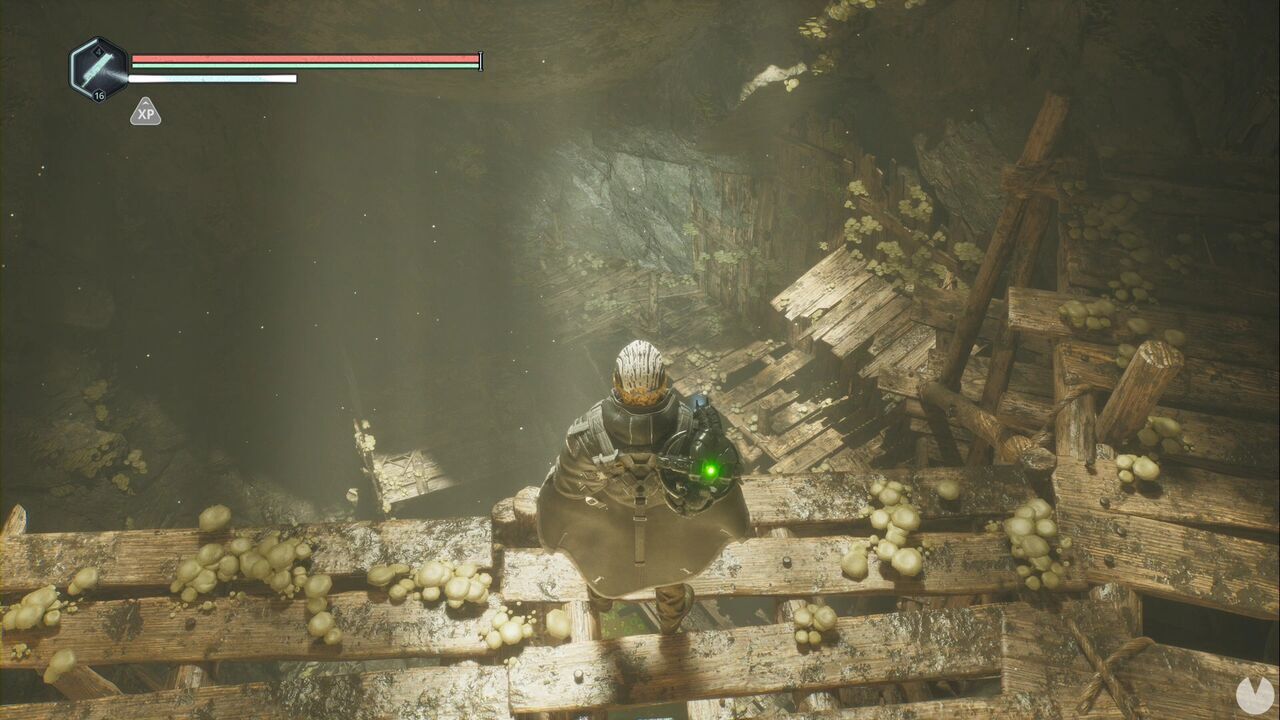
At the bottom, continue through the tunnel to see a glowing item on the far side of a chasm. Go around the room to reach it. This is the Lymbic Rod - Ecstasy, V. Now return to the room with three doors and take the left-hand route. Continue straight ahead until you reach a room containing enemies and an uphill path beside the tunnel at the far end.
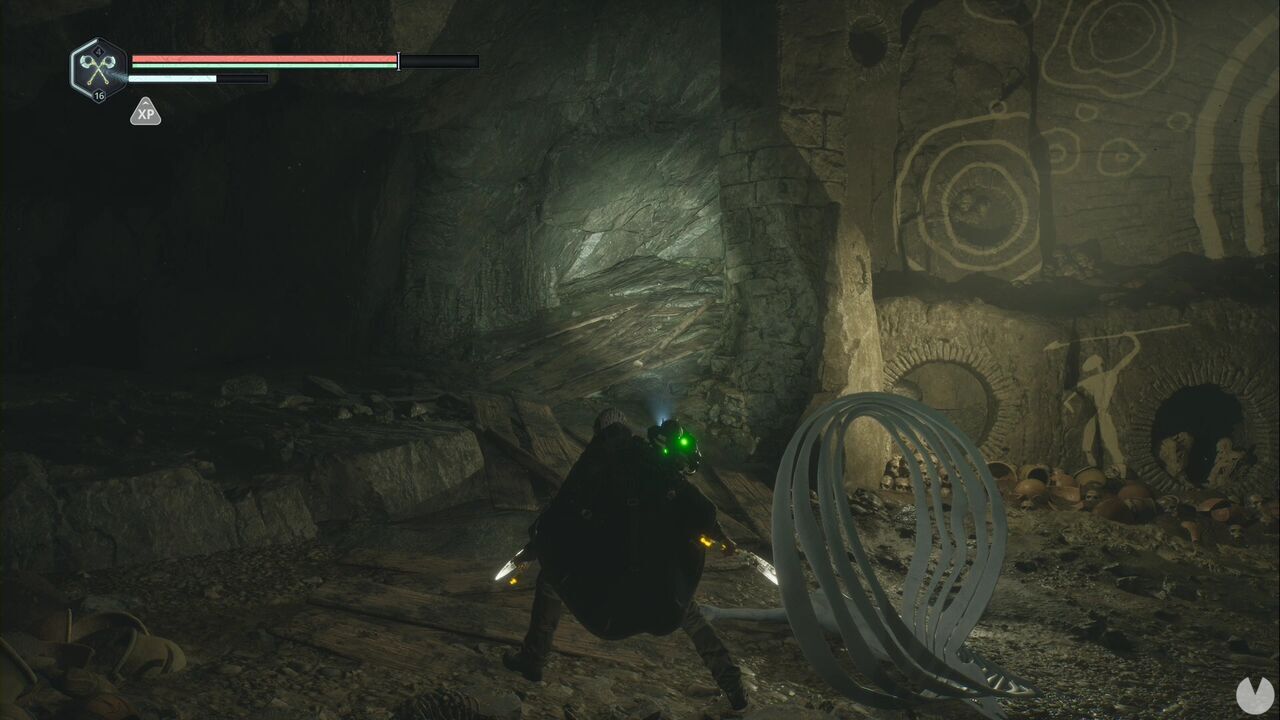
Follow the tunnel to the end to find the Lymbic Rod - Ecstasy, W. The chest is on the path to the final area of the ruins, beside a lever and one of Victor's tomes.
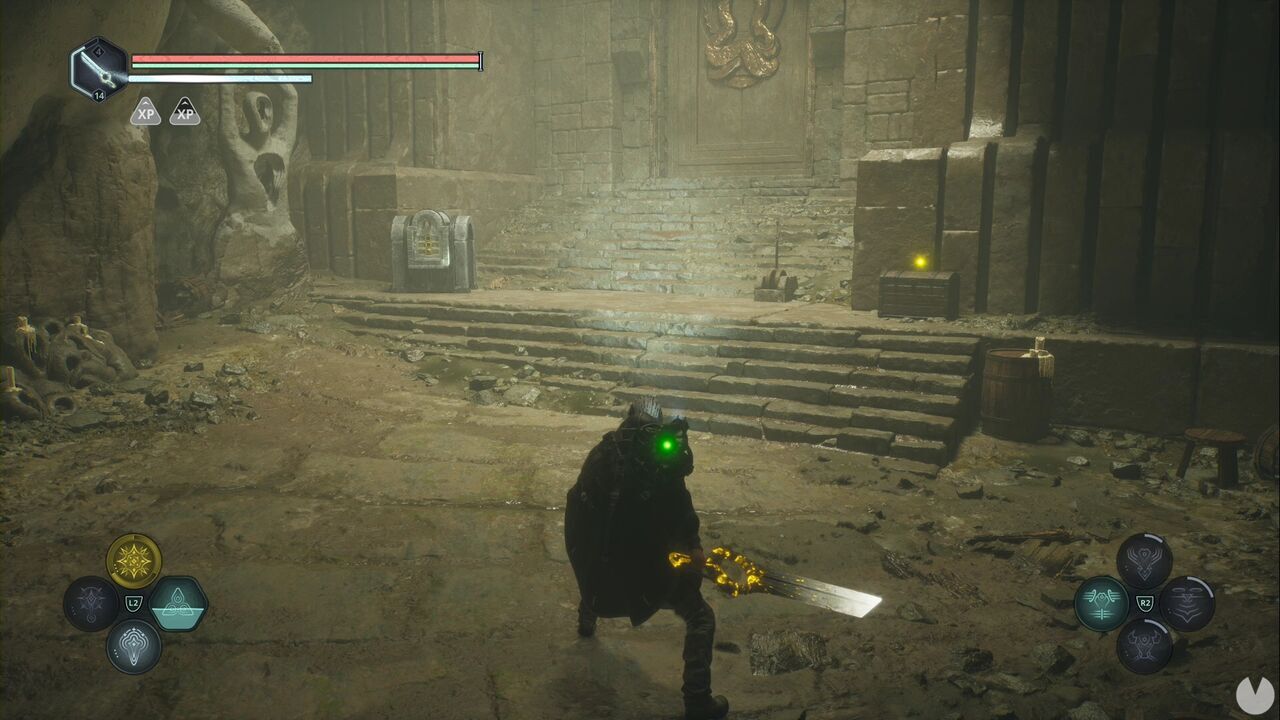
It contains Tuning Stone - Strong x5.
This Mystery takes place after the first plate puzzle in the Plains of Mist. Continue and turn right twice before crossing the bridge. There's a ladder in the corridor. Climb it and activate the lever that raises both the nearby gate and the gate at the far end.
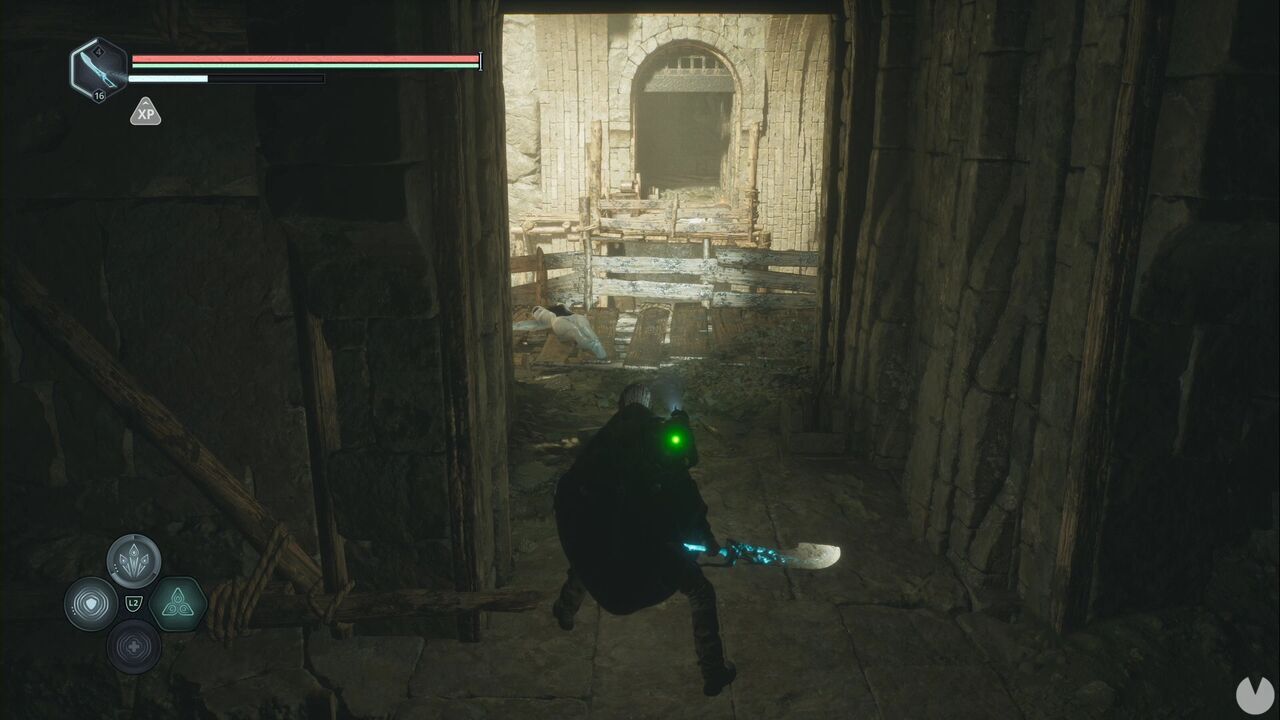
To continue, cross the bridge and follow the only available route. You'll reach the area you opened and must drop down the scaffolding on the left. Continue until you see some stairs with a tunnel to their right, then follow the tunnel.
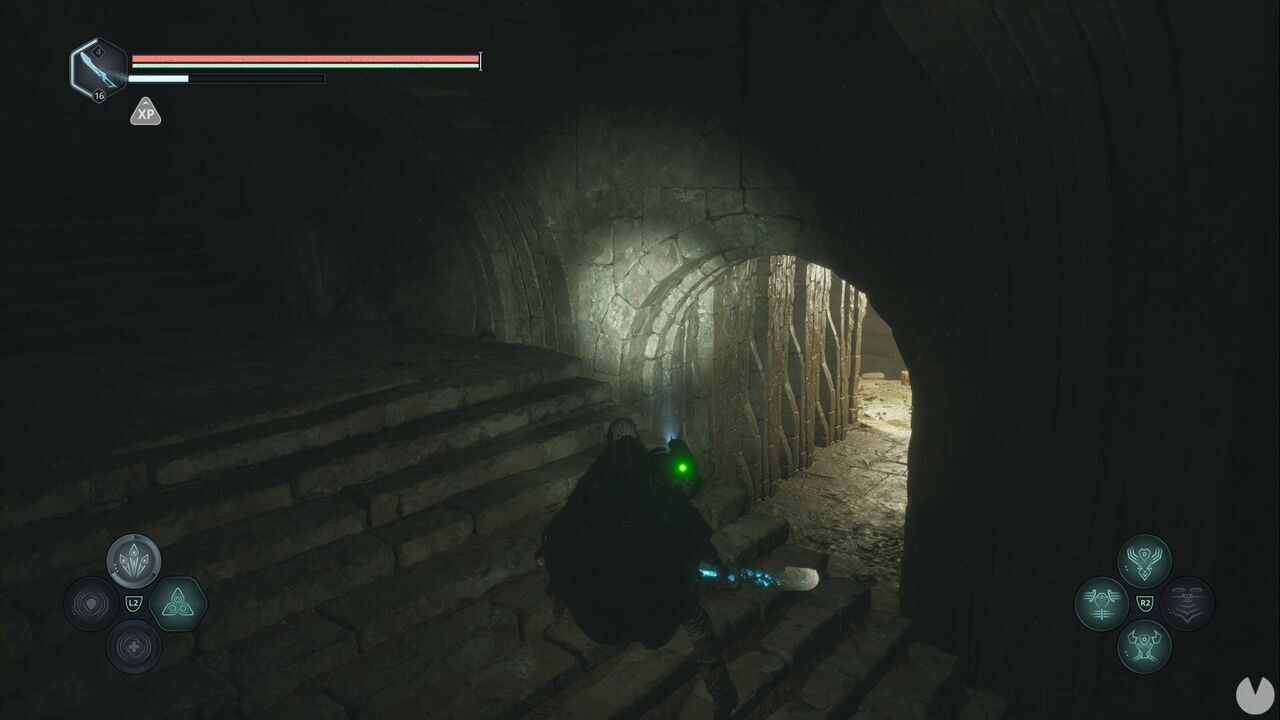
You'll need to cross another bridge filled with enemies. On the far side of the bridge, to the left as you cross, you'll see the glow of a Rusted Key.
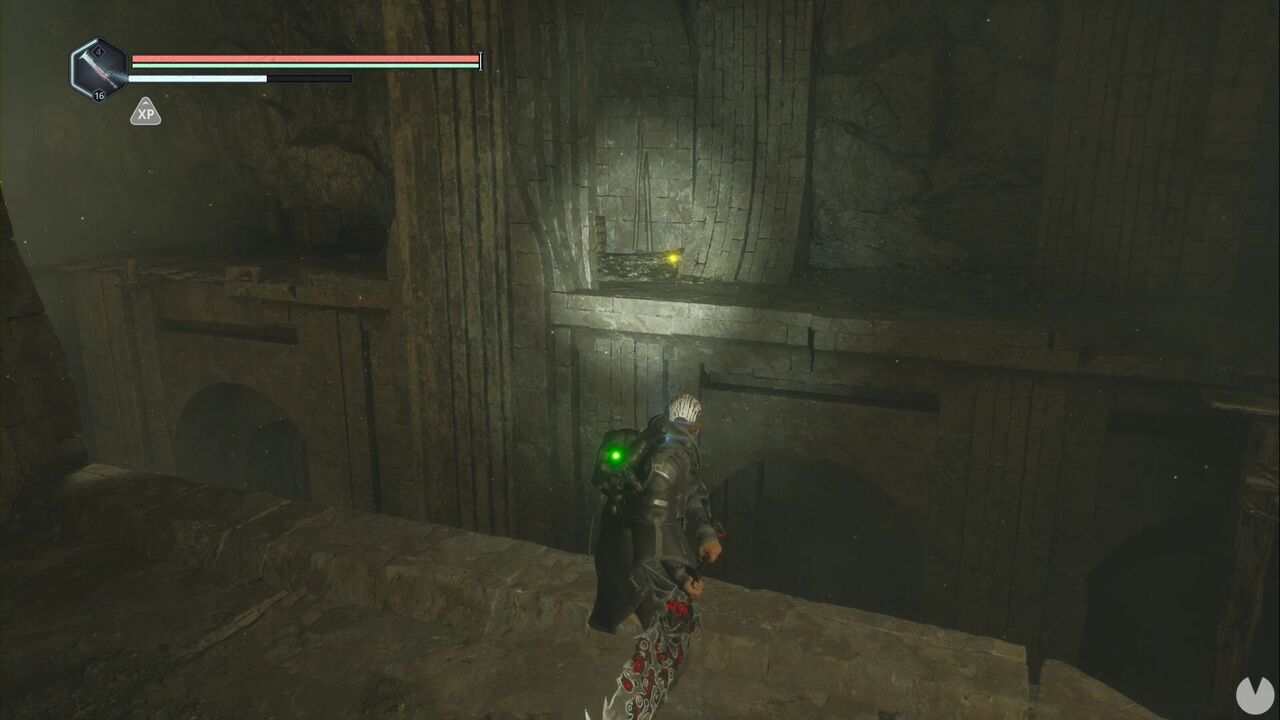
To solve the Mystery, simply head southwest along this side of the bridge and use the key on the locked door in the room containing the Rage Haze. The Mystery is completed when you open it, but don't forget to collect the items inside: Francis' Journal - Queen's Envoy, Lady Sophia's Journal - Francis and the Skull in a Box.
This Mystery is activated and completed while making your way through the Jeljin excavation site. Immediately after heading down the stairs from the save point, you'll see a locked door with a symbol dial on your left.
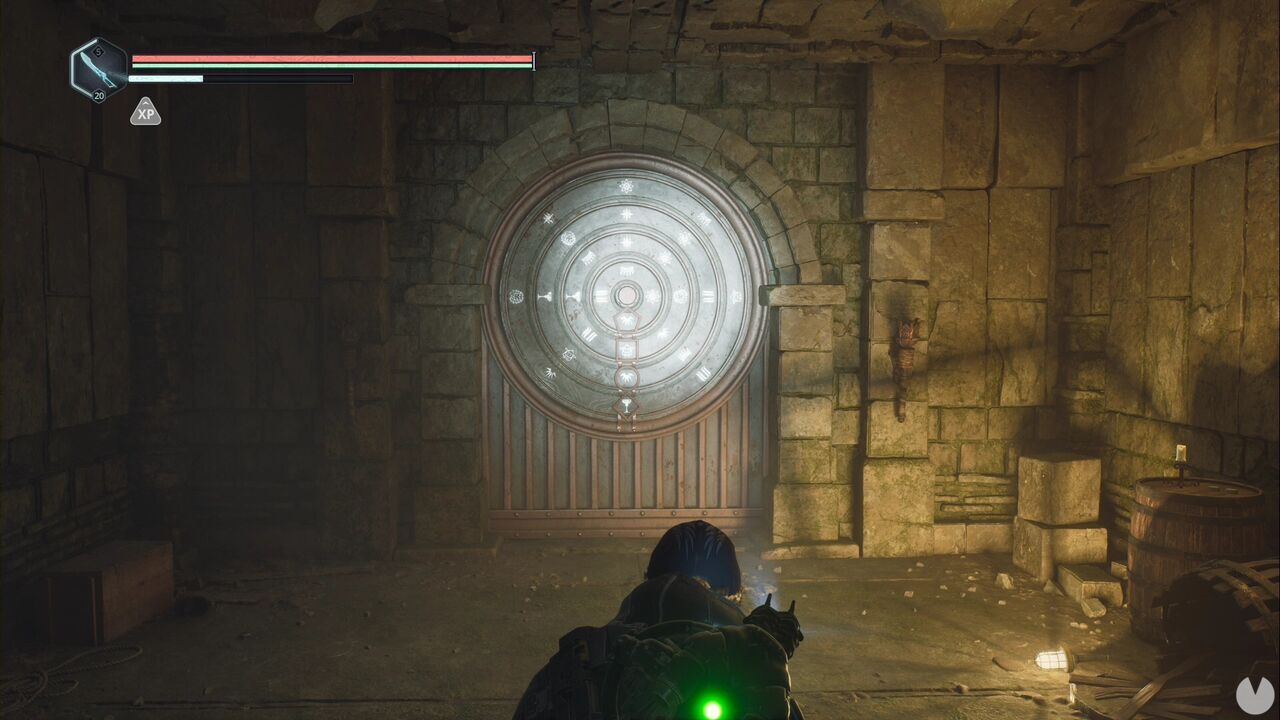
The code, from top to bottom, is crown, lion, flower and sheep. The Mystery is completed automatically, but remember to search the room behind the door.
This Mystery can be activated in the Auriga Museum, on B3. Look for the drone workshop. You'll have to pass through this section of B3 as part of the story. It's behind a blue door with a body smashed against the wall beside it.
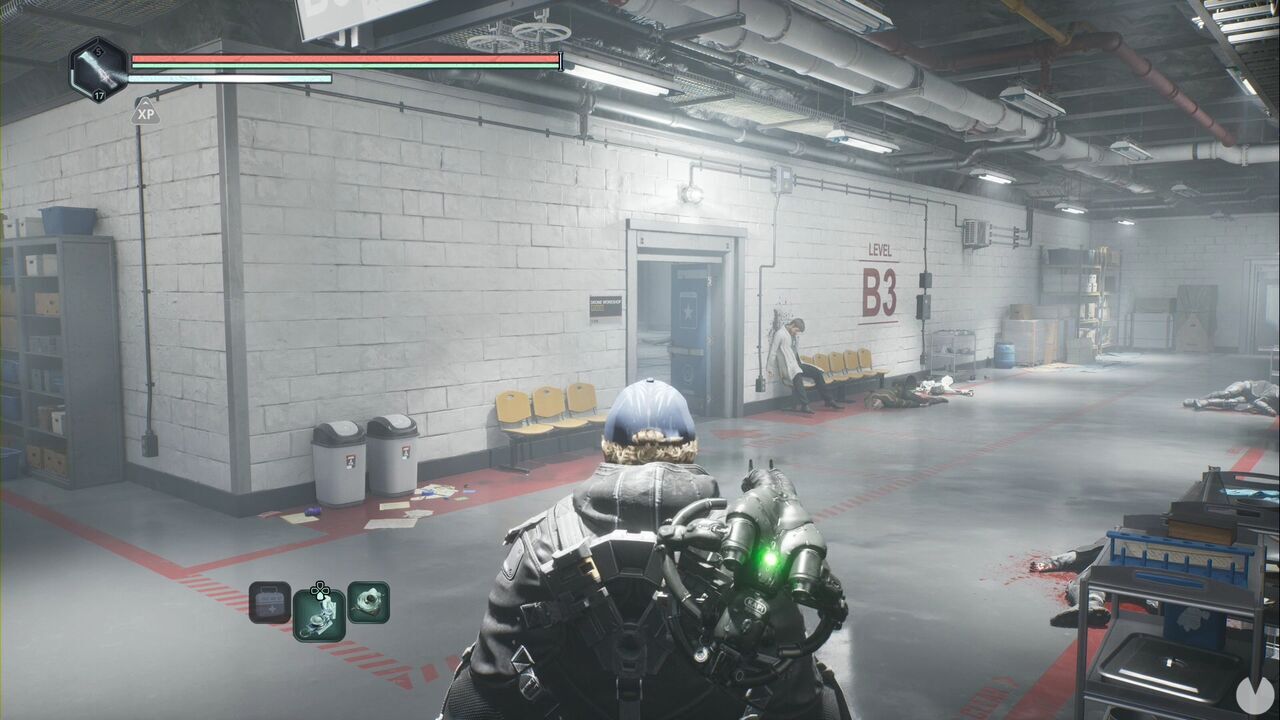
You'll enter a large room containing the Auriga Locker Key on a body in the centre, activating the Mystery. With the key in your possession, return to the locker room on B3, which you must pass through when changing floors, and use the key on one of the lockers. Inside, you'll find the Note - Fear.
Return to B2 and activate the red network. Beyond the red door closest to the switch room, you'll find another door you can open. At the far end of the corridor is a ladder, with a computer hidden inside a cardboard box in the corner.
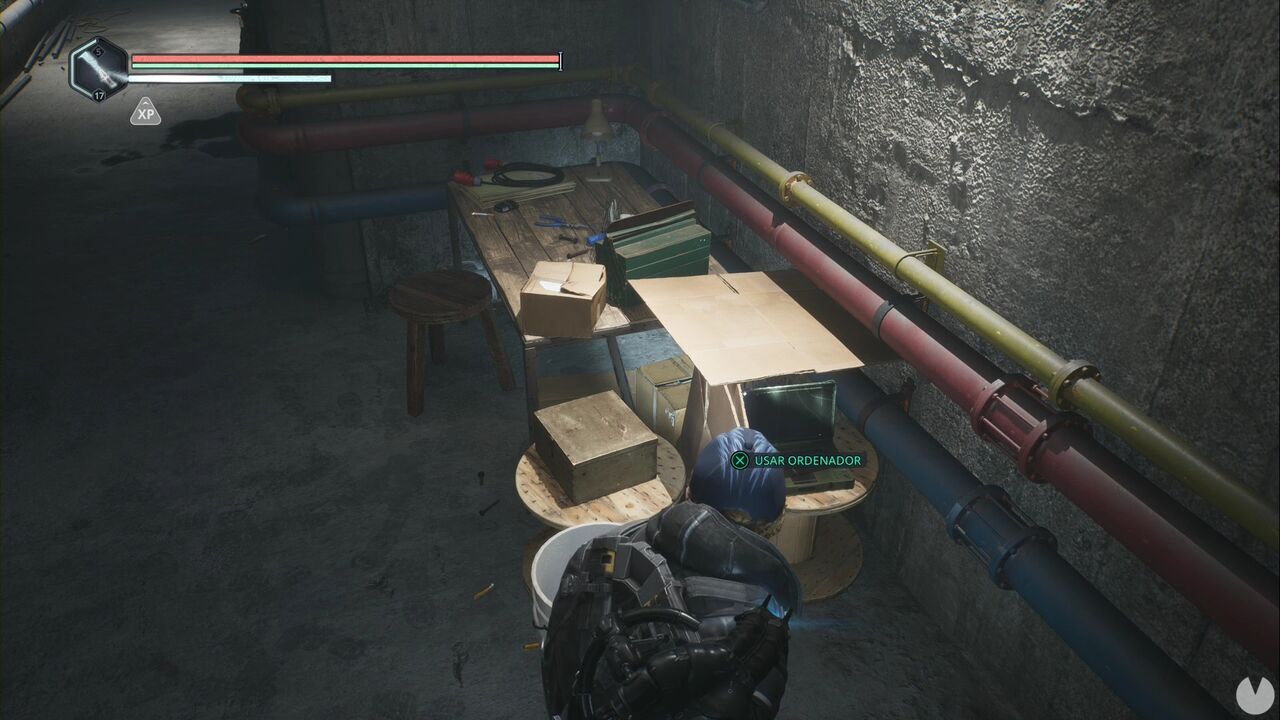
Enter the password 051108 to read the reports and complete the Mystery.
This Mystery activates while exploring the beta security areas of the Auriga Museum. Once you're on B3 and have activated the orange network, look near the maintenance corridor leading to the stairs for the Research Department door. It's part of the orange network, so it will only open while the switch is set to orange.
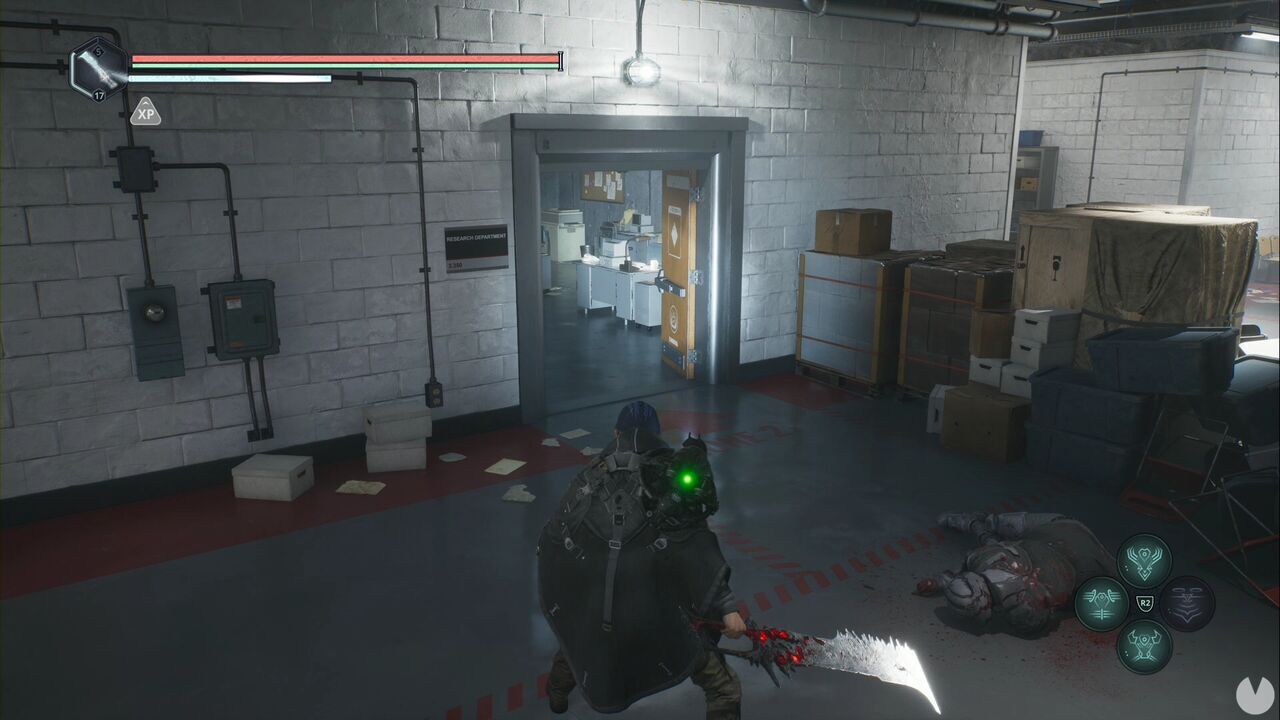
Enter and find the computer at the back. Read the entry about the safe to activate the Mystery. Continue until you reach the training room on B1, where you'll obtain the Alpha Access Card. While still inside the training room, look for the southwestern cell, which has a door leading to the cell corridor.
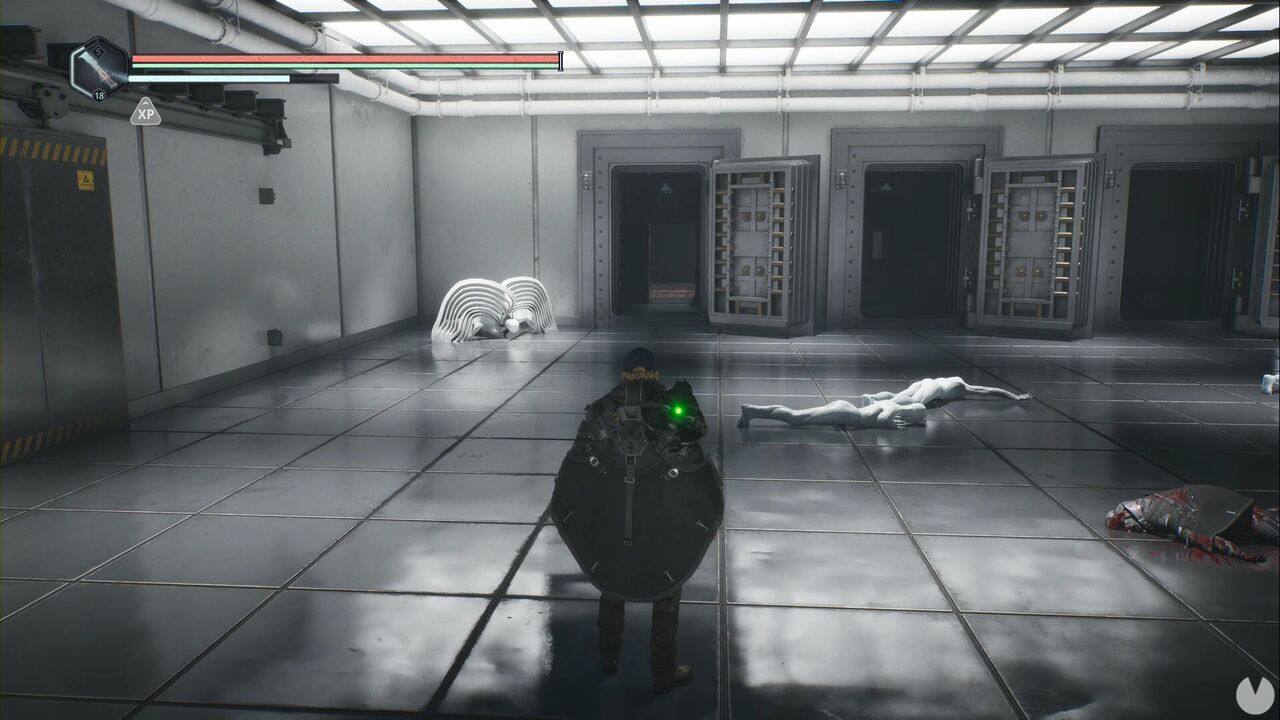
You'll find a door where your new access card can be used. Continue to the room at the far end, where you'll need to use the card on another door to open a shortcut. There's a safe to the left of that door. Enter the code 77777 to obtain an Amine Prism - Zeta, an Amine Prism - Rho and the Distract - Elite module.
To begin this Mystery, first reach the B4 Timeloop at the Auriga Museum. Whether you close it or take the corridor at the far end, you'll eventually reach the Stock Room. Search the shelves to find the Lymbic Rod - Grief, X, activating the Mystery.
With the rod in your possession, return to the Lymbic Forge, where the four Keystones are used in the depths of Lake Cynon. In the room east of the dam machinery, look towards the northern wall to see a waterfall between two waterwheels.
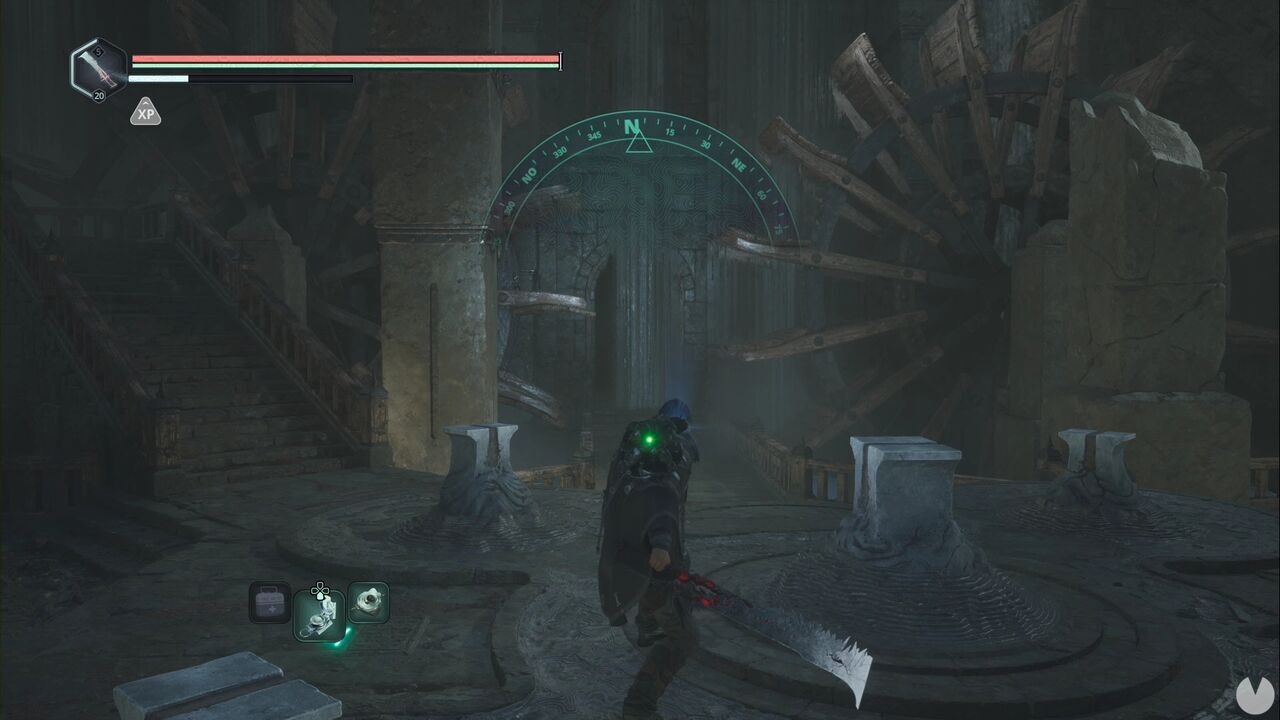
The chest is directly behind the waterfall. Inside, you'll find several consumables and the Delirium - Enhanced Glyph.
This Mystery begins in the same location as the previous one, the B4 Stock Room at the Auriga Museum. A couple of shelves beyond the Lymbic Rod - Grief, X is another glowing item: the Symbol - Iron Crown. Picking it up activates the Mystery.
As you leave, look south from the museum's statue area.
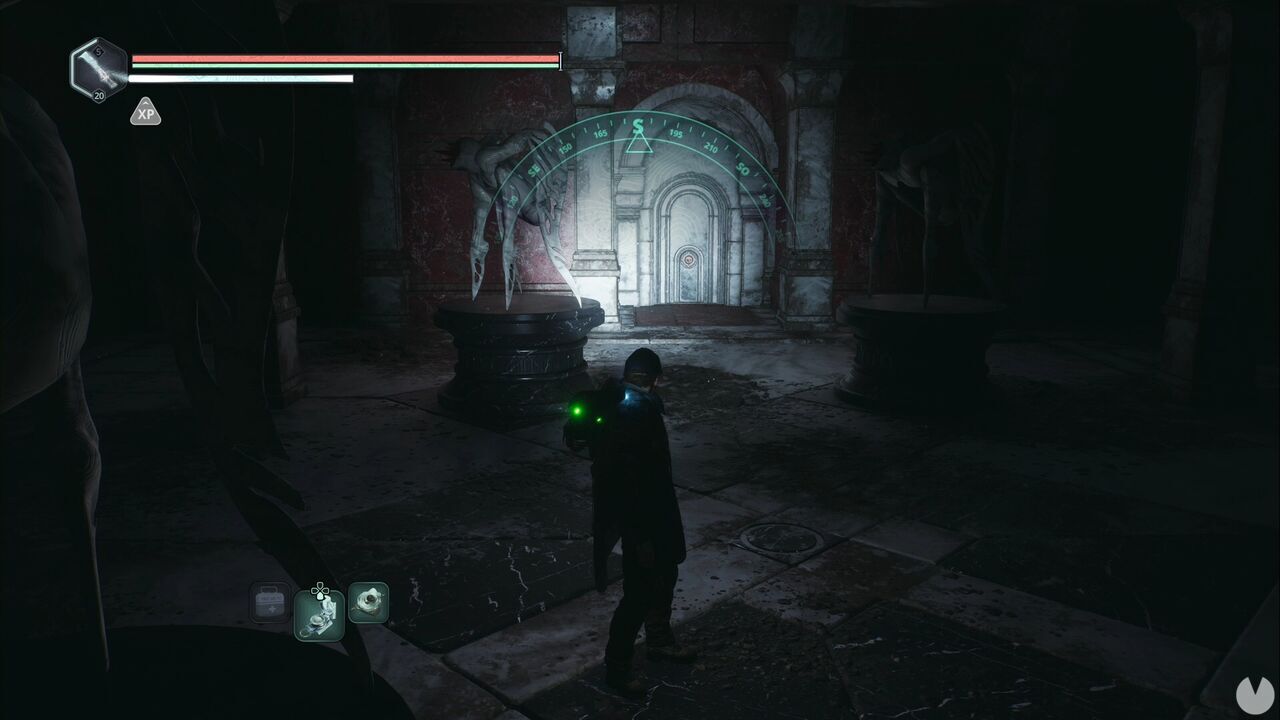
Place the Iron Crown in the slot on the sealed door to complete the Mystery, then loot the room.
This Mystery can be activated at Lake Cynon when you return to open the Lymbic Forge. Head northeast of the reservoir to find a building.
Go around the building to find Rebecca sitting on a barrel beside a shed. Inside the shed is the Rustic Key, which activates the Mystery as soon as it is added to your inventory. To use it, travel to the Acasa Marshes and head to the entrance to the abbey tunnel by following the bonfires. Once there, look northeast, away from the tunnel. You'll see some stairs leading into a small cave.
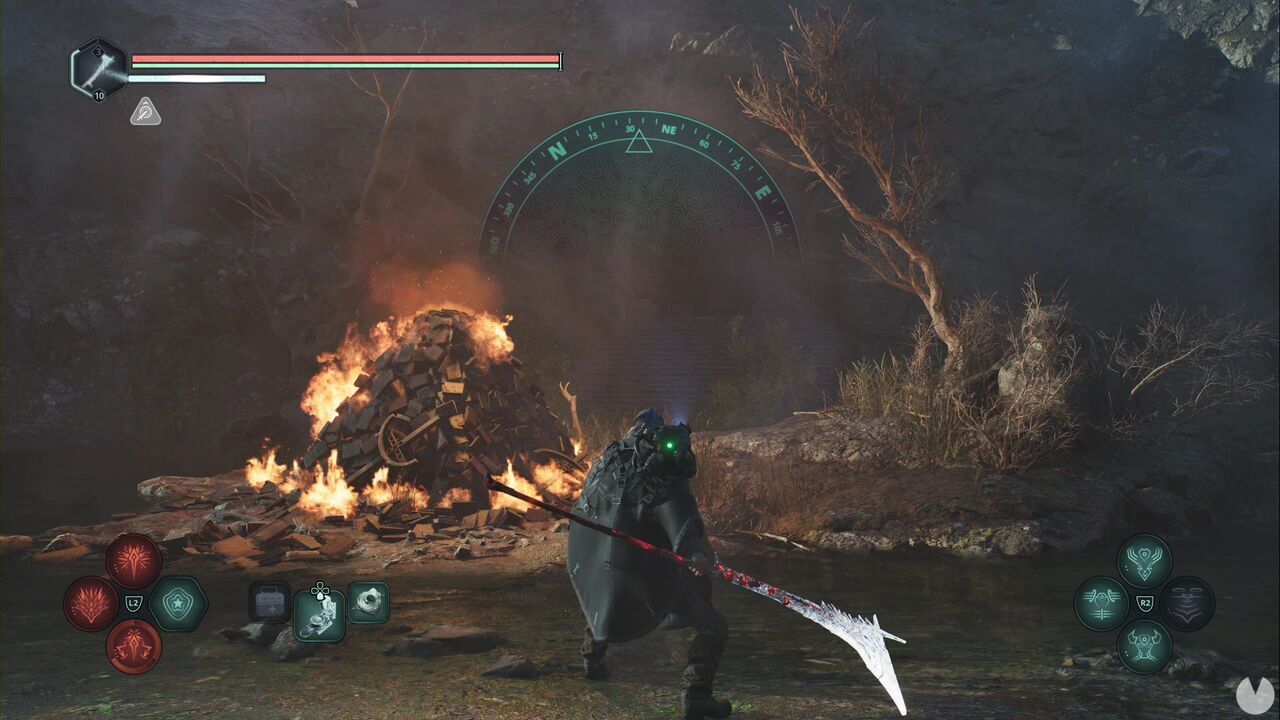
Inside, you'll find a chest that can be opened with the key. It contains The Panoptic Eudemon Relic.
