

The Acasa Marshes will be the second area you explore during Act I of the story in Hell is Us, after leaving Senedra Forest. As usual, this walkthrough will help you complete every section 100% without missing anything along the way. Since the game has no maps, objective markers or anything of the sort, we’ll also help you work out what you need to do while keeping spoilers to a minimum... although the lack of guidance means it’ll be difficult to avoid revealing a few details.
Follow the road and take the path on the right when you reach the roadblock. Continue for a while until you find a sinkhole and an excavator. Approach the character sitting on the ground, then turn the camera to the left until you see the glow of the Box of Bronze Acorns.
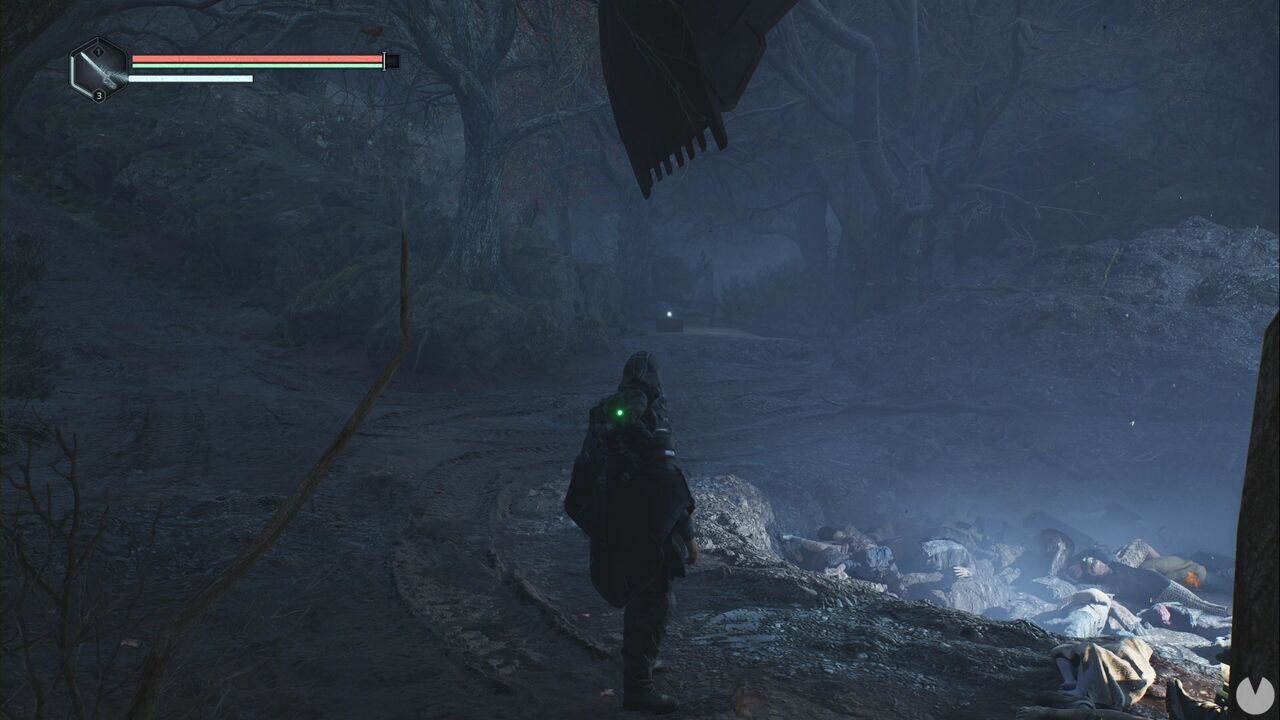
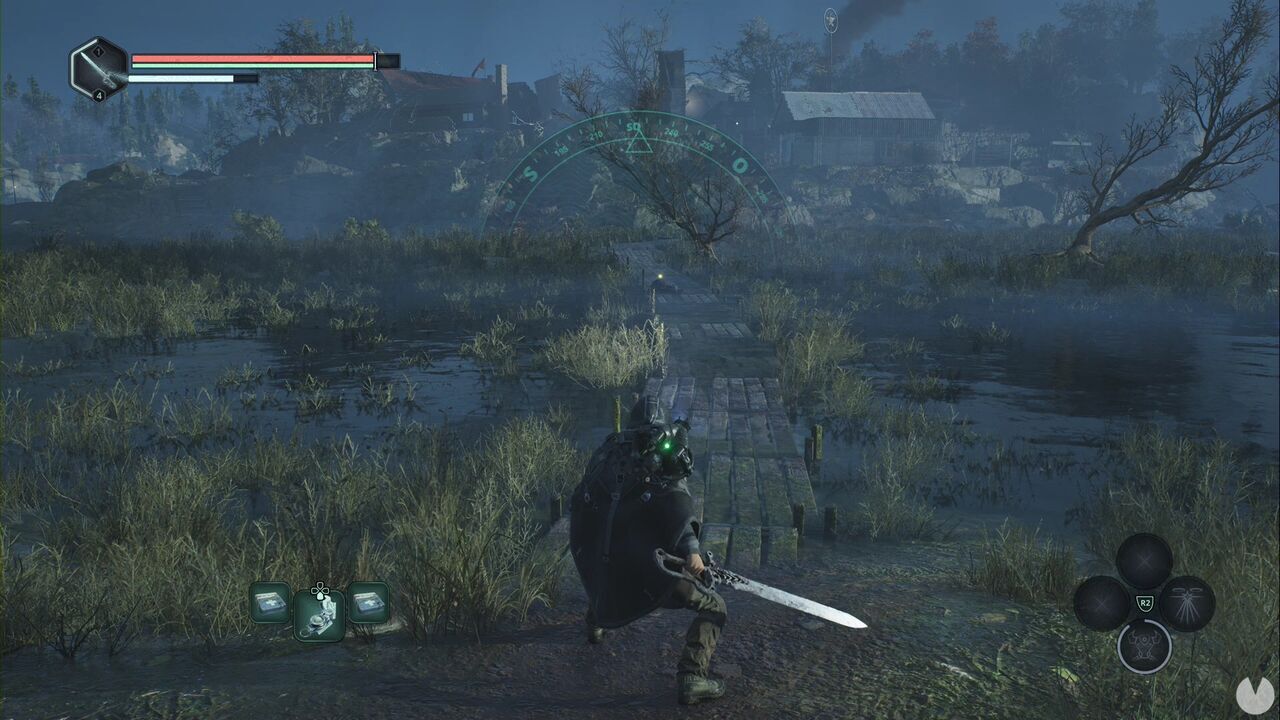
You can speak to the character beside the mass grave, but he isn’t one of the NPCs that count as collectibles. For now, simply follow the path beyond the excavator. You’ll pass beneath a wooden arch, cross a bridge and make your way through the marshes. Don’t stray from the planks.
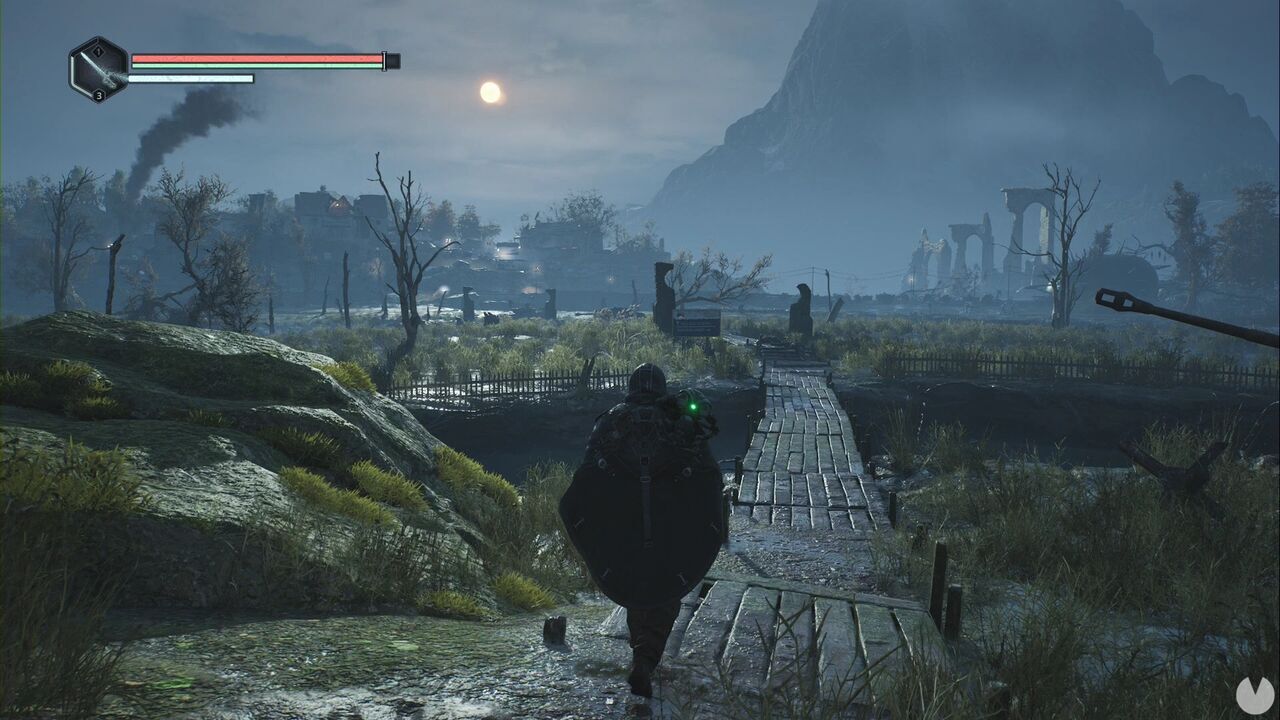
Once you reach the end of the planks, head towards the smoke. You can’t miss it: it’s the huge column of smoke rising from the village in the distance, in the direction the helicopter was flying. After encountering a group of three enemies, you’ll see a glowing item in front of a tank. This is the Note - Sole Survivor. Just beyond it, you’ll spot "something" that doesn’t look like anything you’ve seen before. First, however, look between the two upright stone slabs for a green glow on the ground. This is the Forward Charge module.
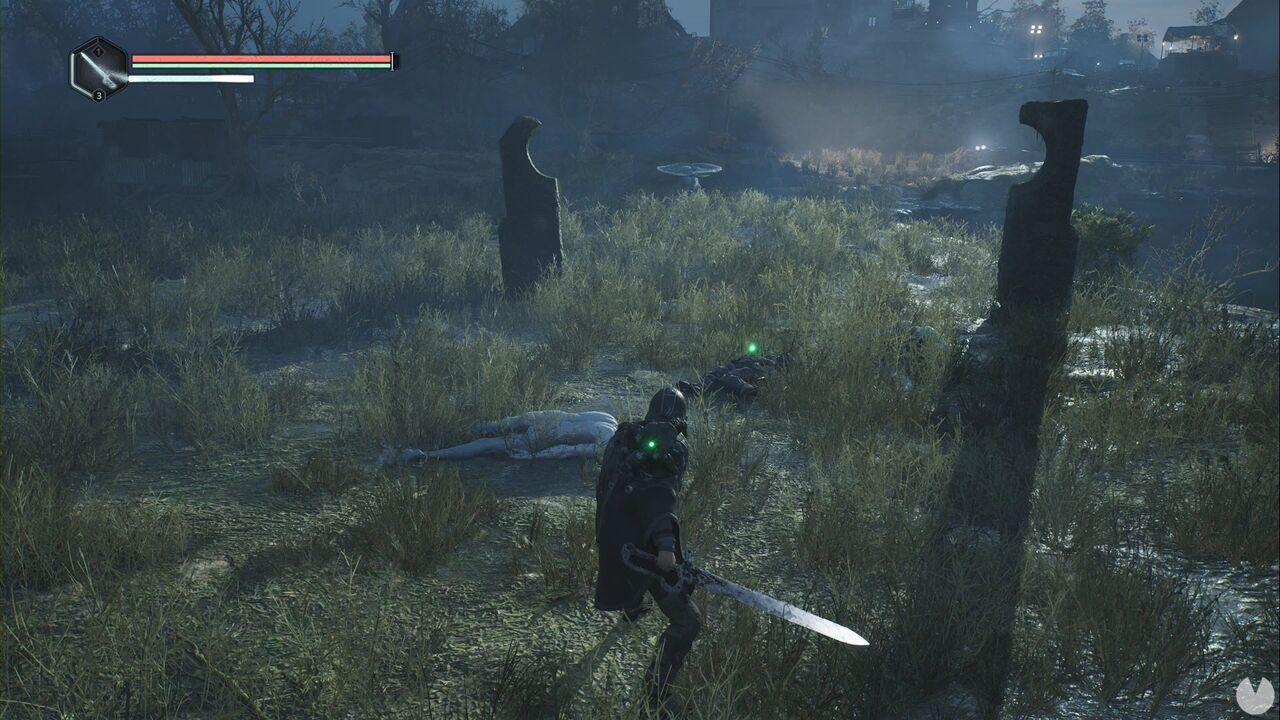
Continue onwards, defeat the new monster and turn right at the save point, heading towards the house with its lights on.
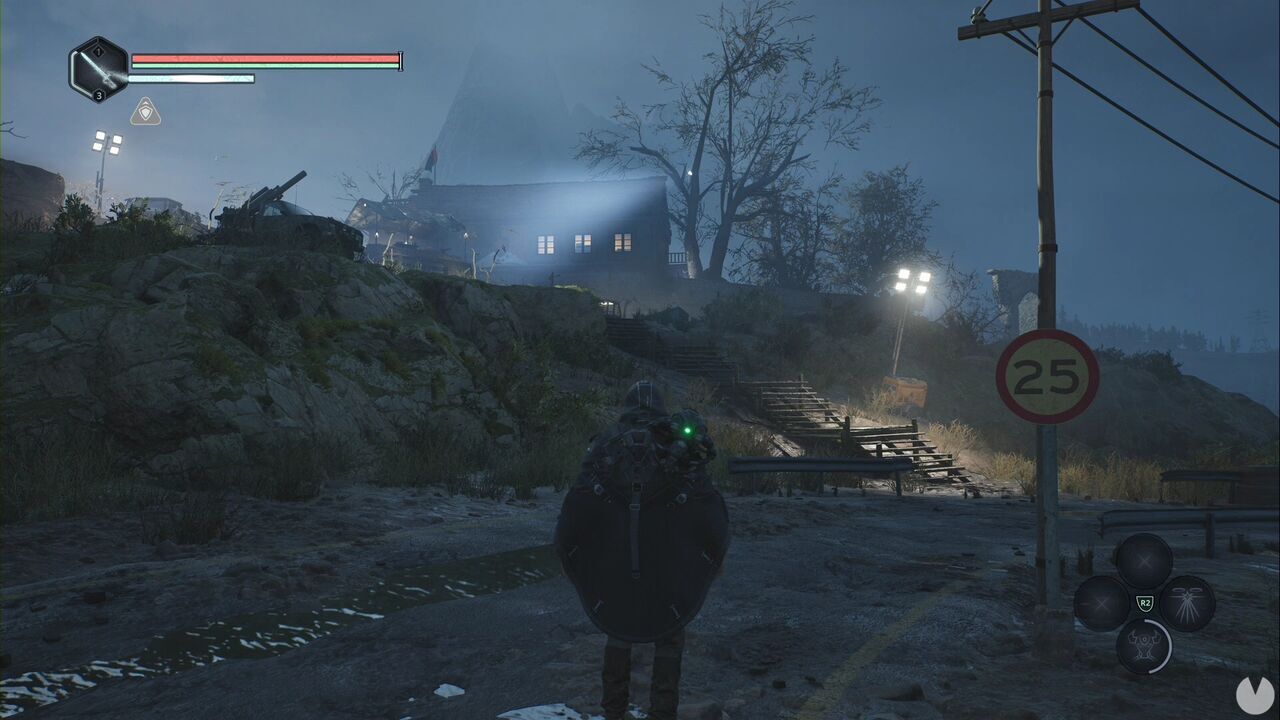
Once you climb the slope, you’ll see several soldiers standing in front of the house. Directly outside it is a small tent or observation post where a soldier is looking through binoculars. This is Captain Vaas. Exhaust all his dialogue options.
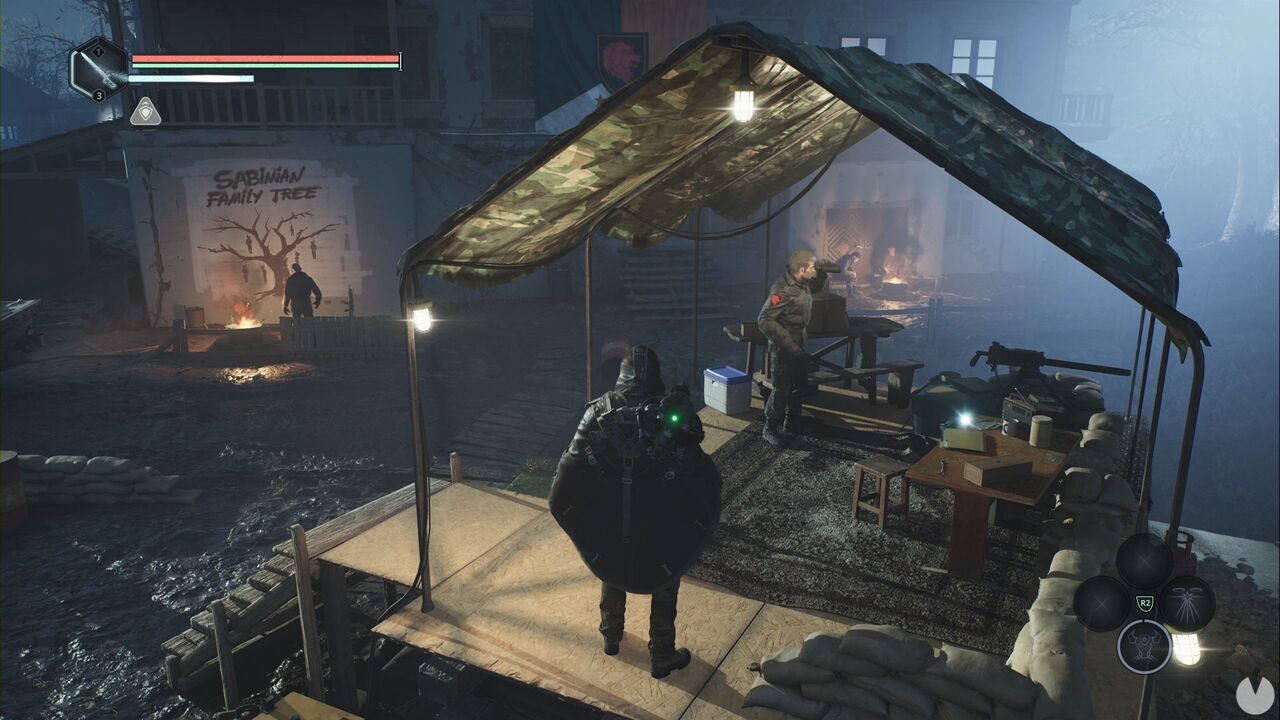
Our supposed objective is the ON outpost, but we obviously need to take a look around the village first. Everyone knows that soldiers, mercenaries and looters always leave plenty of valuables lying around the villages they ransack. Vaas has mentioned several things, including a blacksmith who can upgrade your weapons. All in good time. There’s a table beside Vaas where you’ll have noticed the glow of the AAF Orders - Non-Interaction.
Walk towards the man playing the violin and look to your left just after passing him, towards the tent. Between the tent and the military vehicle beside it—not the tank, the other one—you’ll see the glow of the Ancient Censer.
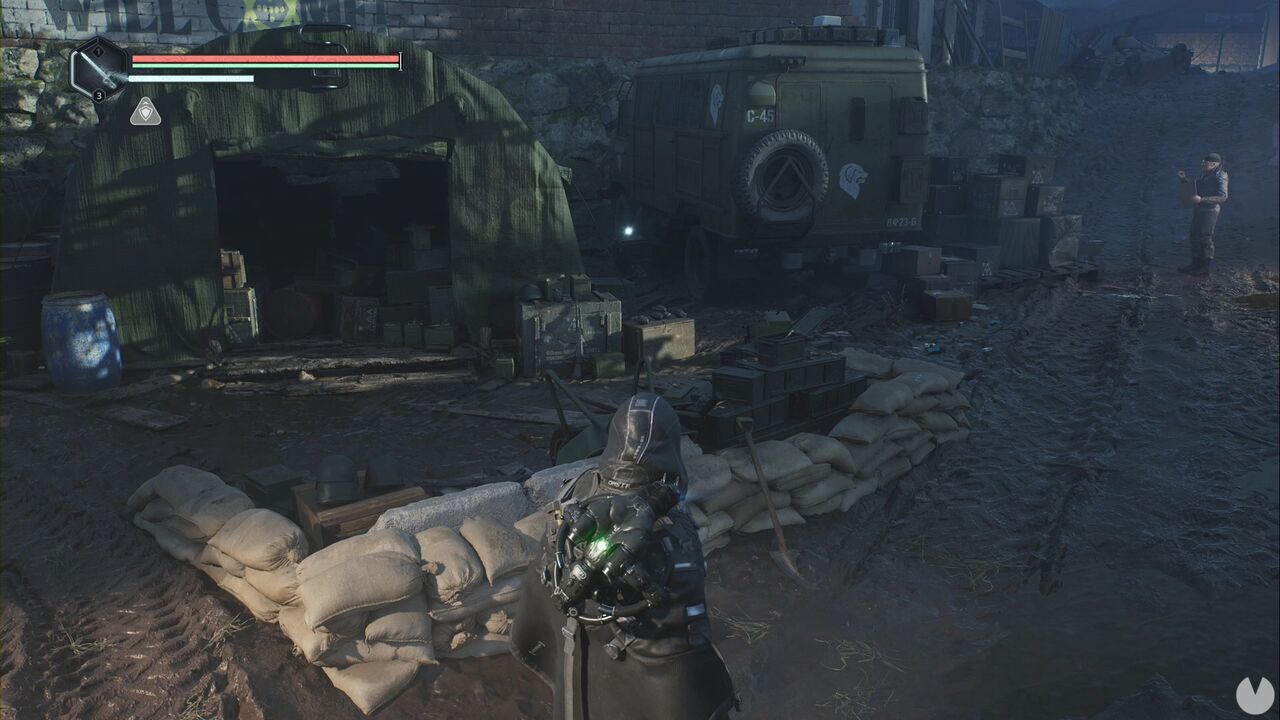
From the item, turn around and go behind the building next to Vaas. You’ll see a ramp leading up to the roof. In the attic, you’ll find an Ecstasy Suppressor - Weak, Rage Suppressor - Weak, Terror Suppressor - Weak and Grief Suppressor - Weak. These are a new type of consumable that reduces damage from Ecstasy, Rage, Terror and Grief attacks. We’ll explain how they work later. Climb down from the roof and continue north—remember that you have a compass—until you find a man tied to a post beside a mural.
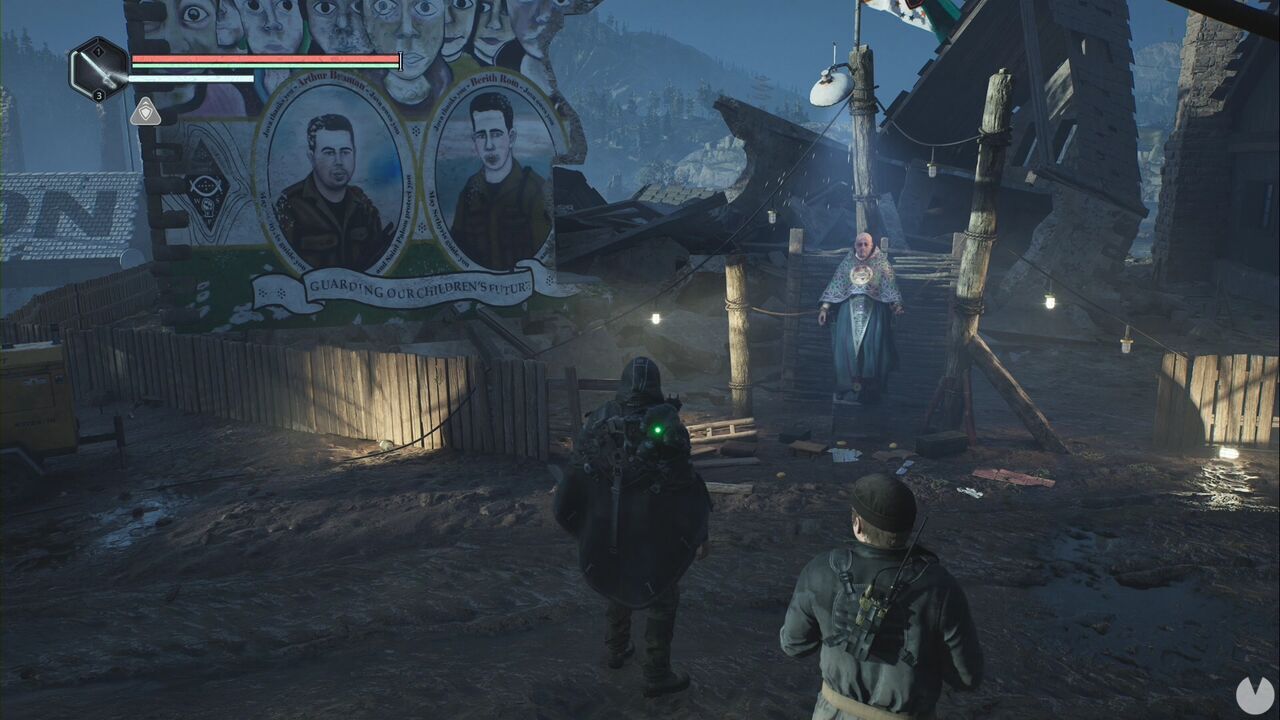
This is Abbot Jaffer. Exhaust all his dialogue options. Afterwards, walk past the priest and look down the hill to your right. You’ll see a building with an "ON" sign on its roof. Approach it and look on the right-hand side for a table containing the Map of Acasa Marshes. At the back of this same courtyard, you’ll find the Letter - Staying Behind.
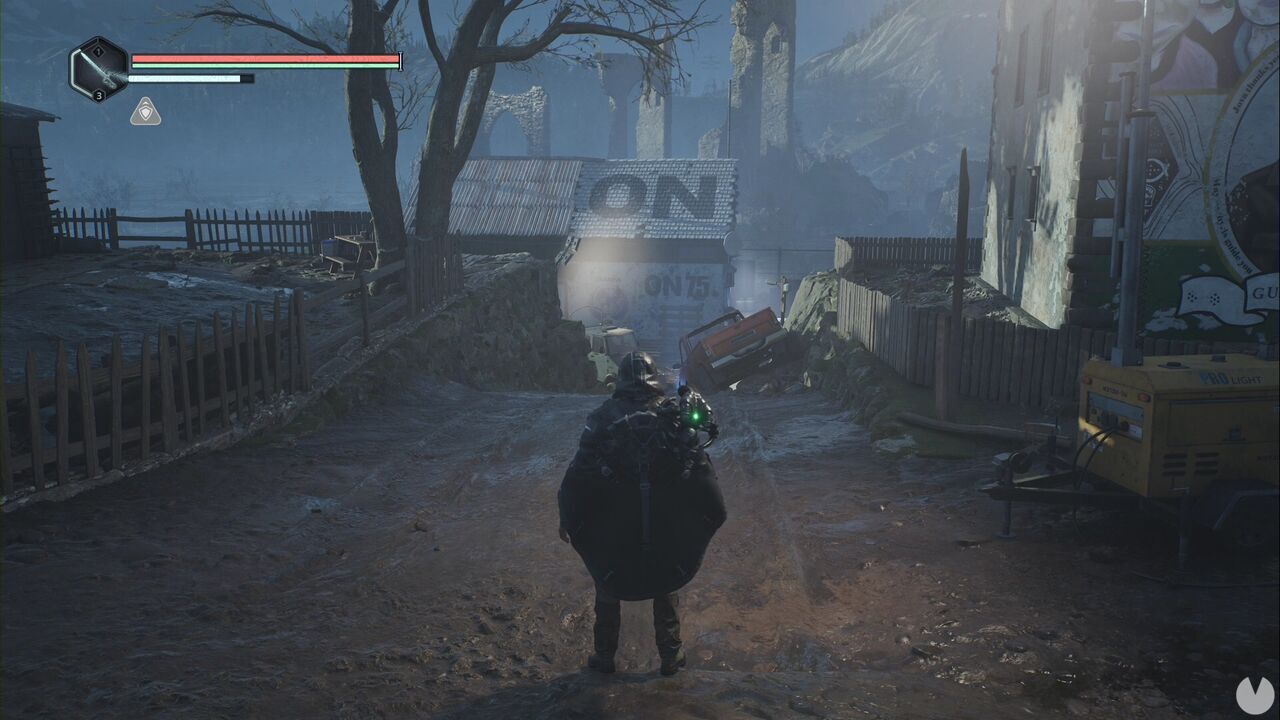
There are consumables on the other side of the building and a few enemies along the road that you can defeat for some additional items. If you want, you can now speak to Captain Vaas about the new subjects mentioned by the priest. On the way, check the courtyard on your left—with the priest behind you, Vaas ahead of you and the building beside Vaas in between—to find a Lymbic Battery - Small, another new consumable that gradually restores Lymbic Energy for a limited time.
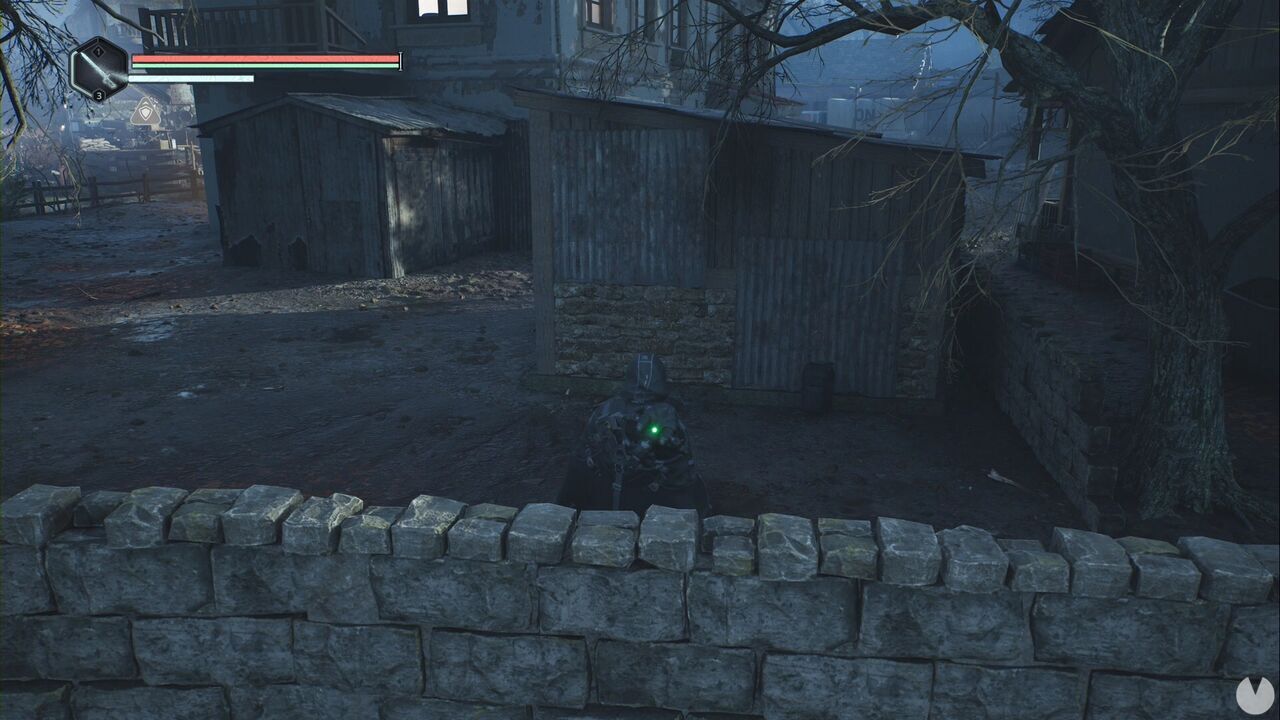
Speak to Vaas about the abbot and the abbey. It turns out that the military and the clergy don’t get along. Hard to believe, we know. We’re now going to head in the opposite direction from the priest. Look south from Vaas’s position and you’ll see a ladder beside the "OUR DAY WILL COME" graffiti. Climb it.
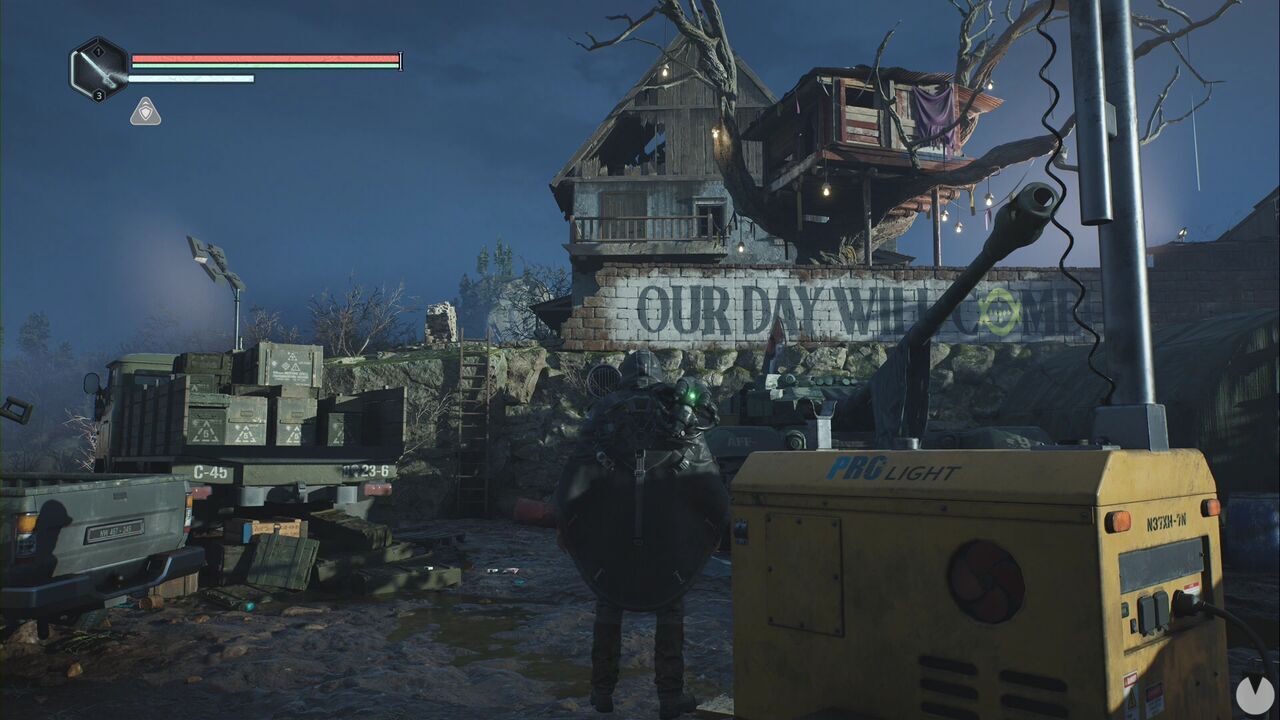
Go around the first building on the left to find an entrance. Head upstairs and collect the Recording - Rebecca’s Diary from one of the rooms near a ladder. In the attic, you’ll find Rebecca. Exhaust all her dialogue options, as she’s one of the important NPCs who count as collectibles.
Leave the building and look for the one with the "death to all Sabs!" graffiti in the square.
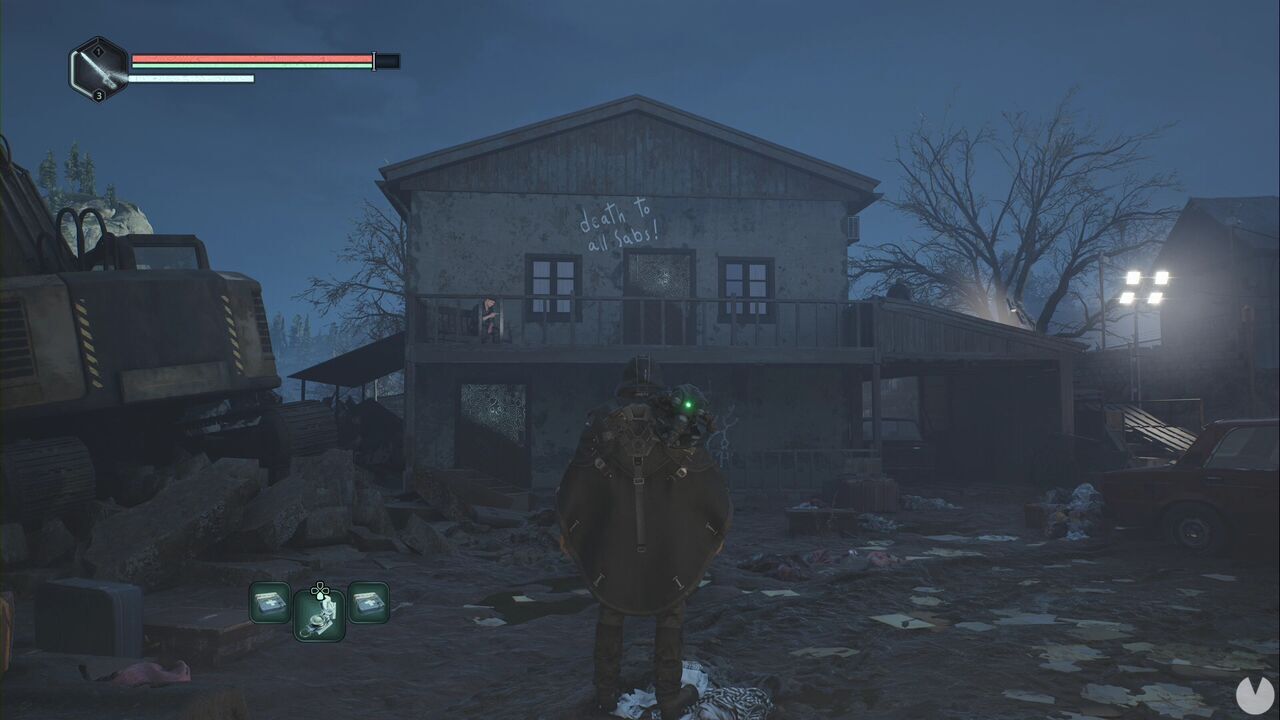
Climb the boxes on the right to reach the upper floor. In the first room, you’ll see a crib and something you can interact with... although you don’t have the required item yet. Go downstairs and find the refrigerator in the kitchen. Interact with it to collect the Bottle of Mead - Nearly Empty, beginning The Captain’s Office Mystery. You can leave the house by opening the door beside you. Now climb the boxes again and jump from the roof to the back of the house. There’s a slope on the right. Climb it and look to the left to see a yellow glow on the Jova Java terrace.
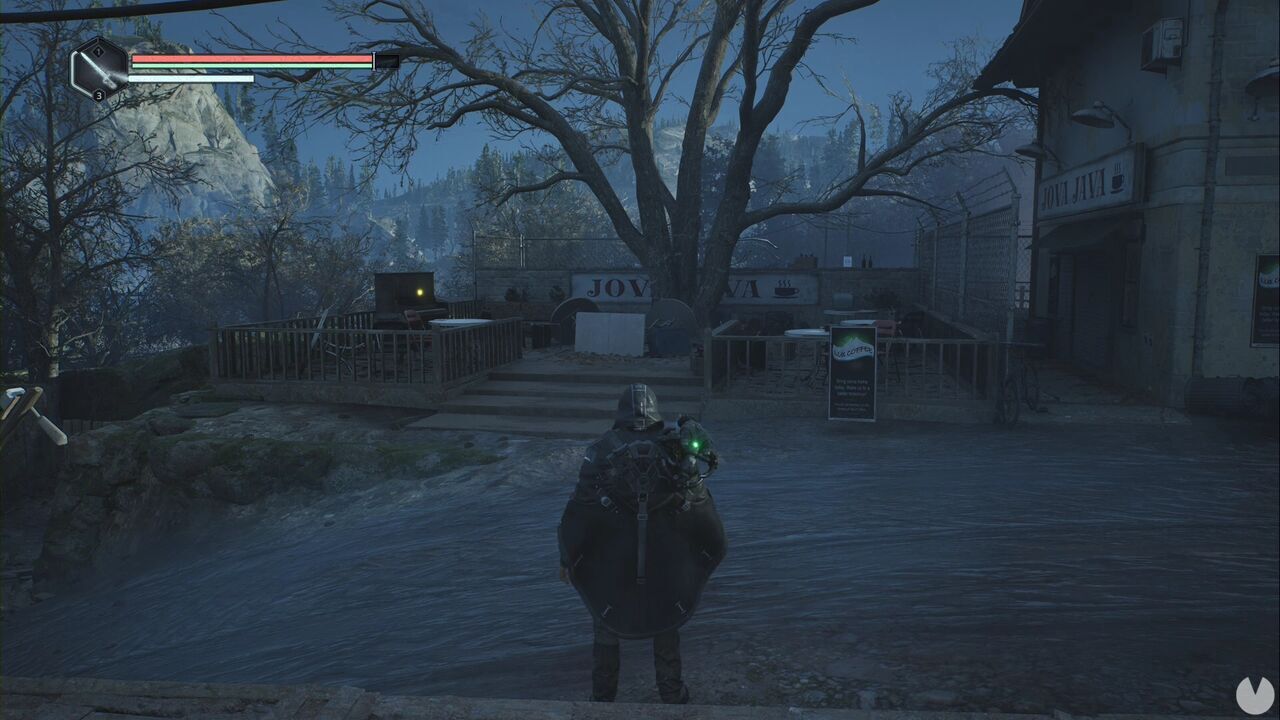
This is the Sheet Music - Our Pride, which begins the Performance of a Lifetime Good Deed. If you continue along the street, you’ll encounter several enemies. You can collect the Leaflet - ON Evacuation Notice from the glowing doorway on your right. Go around the building by following the street the enemies came from and turn right. At the end of the path, there’s a ladder that will take you over the wall. Climb it, then turn right and continue straight ahead into a courtyard containing several tables. Beside the door of the house in front of you is a box containing the Letter - Worried Wife, which begins the Asunder Good Deed.
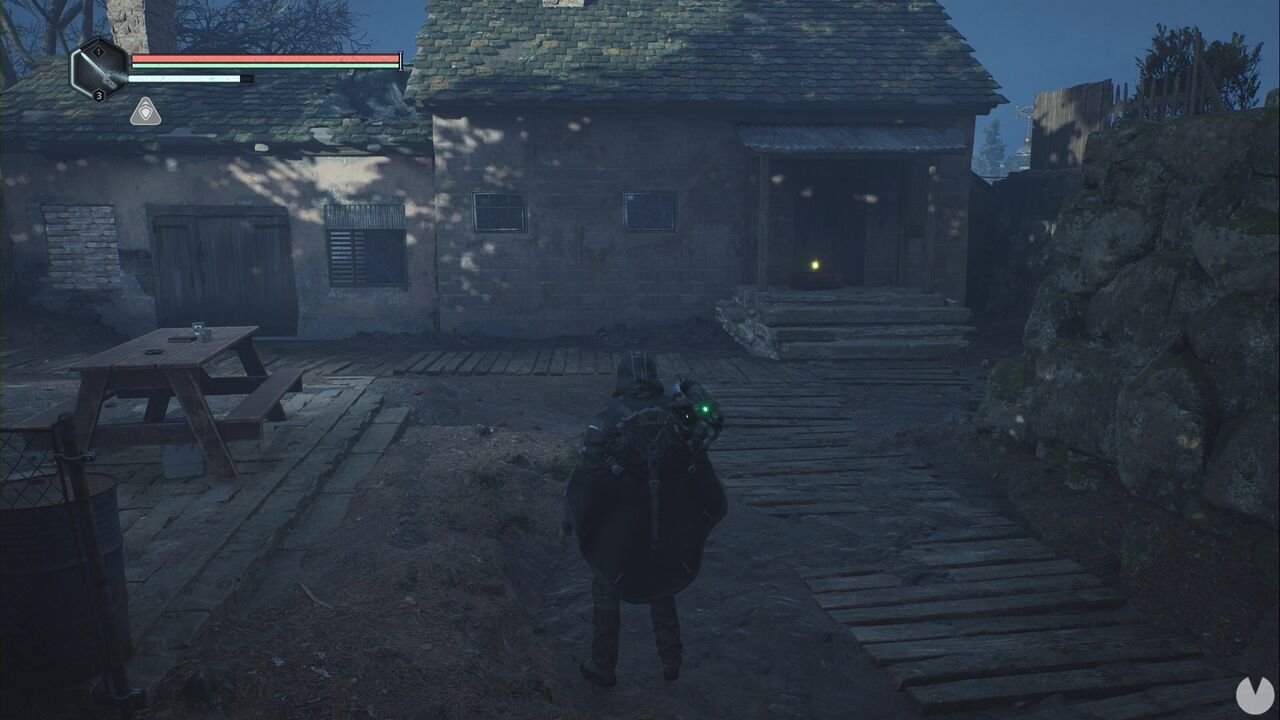
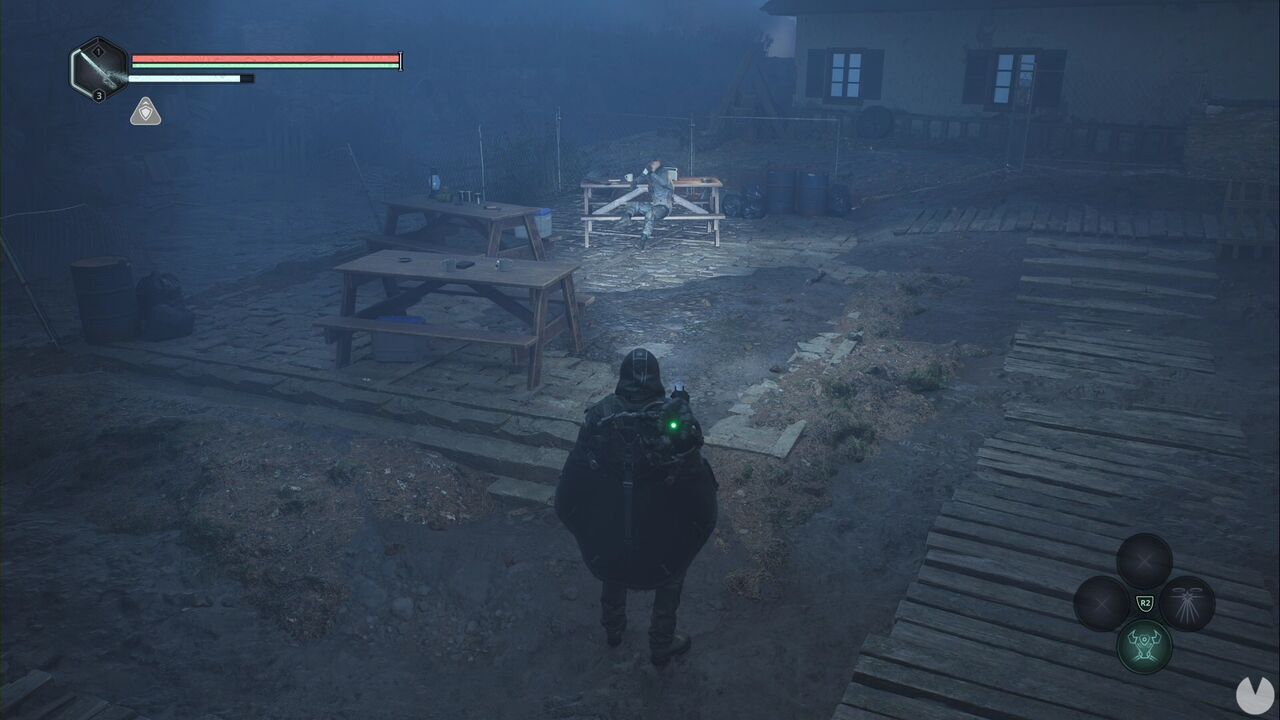
Now look to your left. You can collect the Recording - Mass Grave from one of the courtyard tables. You can also give the Bottle of Mead - Nearly Empty to the drunk soldier sitting at the same table.
Return to Captain Vaas’s area. You can give the sheet music to the violin player, but the quest won’t be completed yet. Return to the Jova Java courtyard and follow the street the monsters came from again. This time, turn left instead of heading towards the wall with the ladder, travelling southwest. When you reach a junction with two downhill paths, take the one on the right to see a building with two pieces of white graffiti.
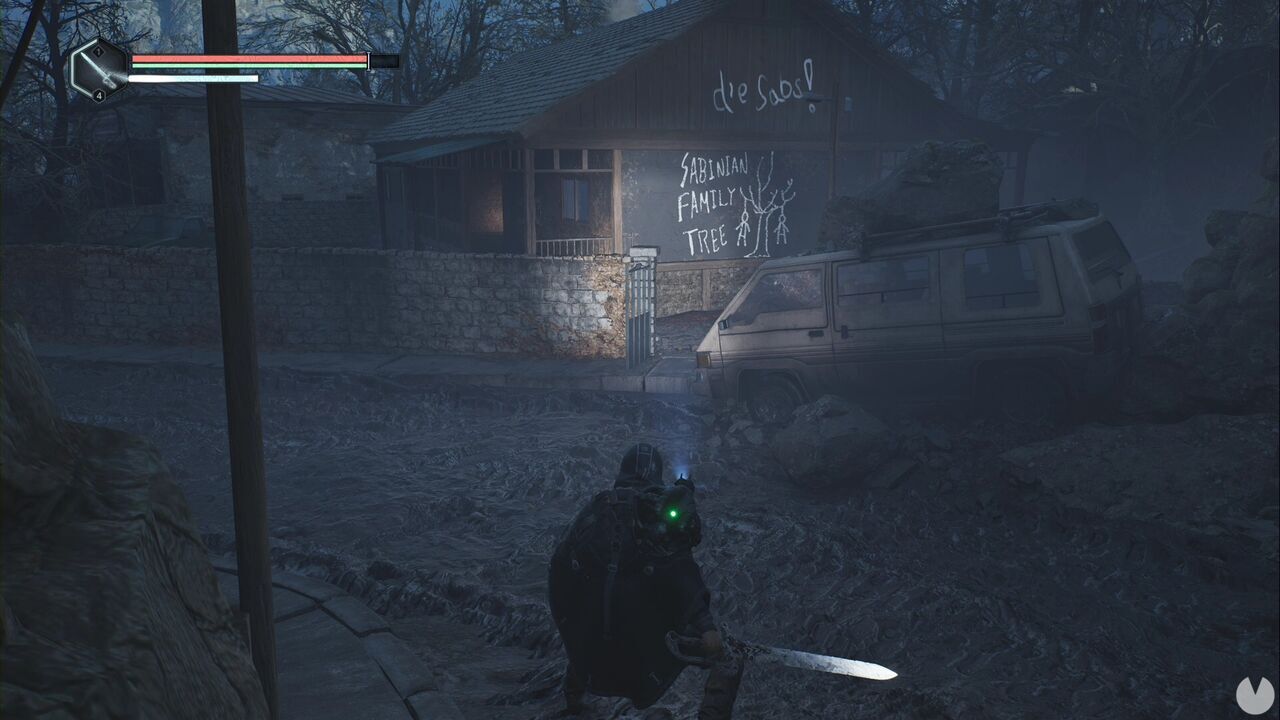
There’s a save point in the courtyard. You should see a green monster nearby, so kill it before investigating. There’s nothing interesting inside the house, but if you go around it, you’ll find some stairs leading down to a basement, followed by a ladder leading into a tunnel. Turn left at the junction and descend another set of stairs to reach a room where a baby is crying.
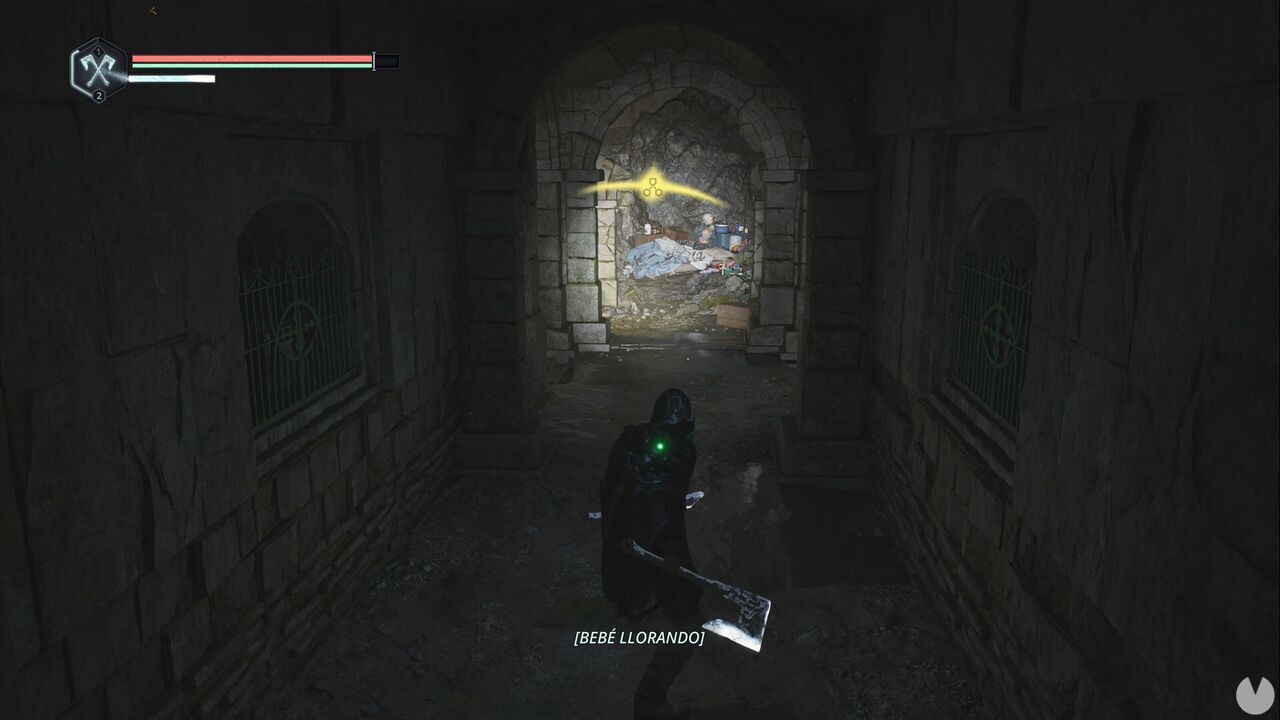
In one corner, you’ll find the Baby Bottles - Empty, beginning the Land of Milk and Honey Good Deed. Retrace your steps, climb the stairs and take the tunnel’s other path until you reach a room containing enemies. Ignore the wall with the mechanisms and continue through the tunnel at the back. There are a couple of branches along the way, but the route is fairly straightforward. You should find the Family Picture and Journal - Tunnel Shelter before reaching a ladder with a light above it.
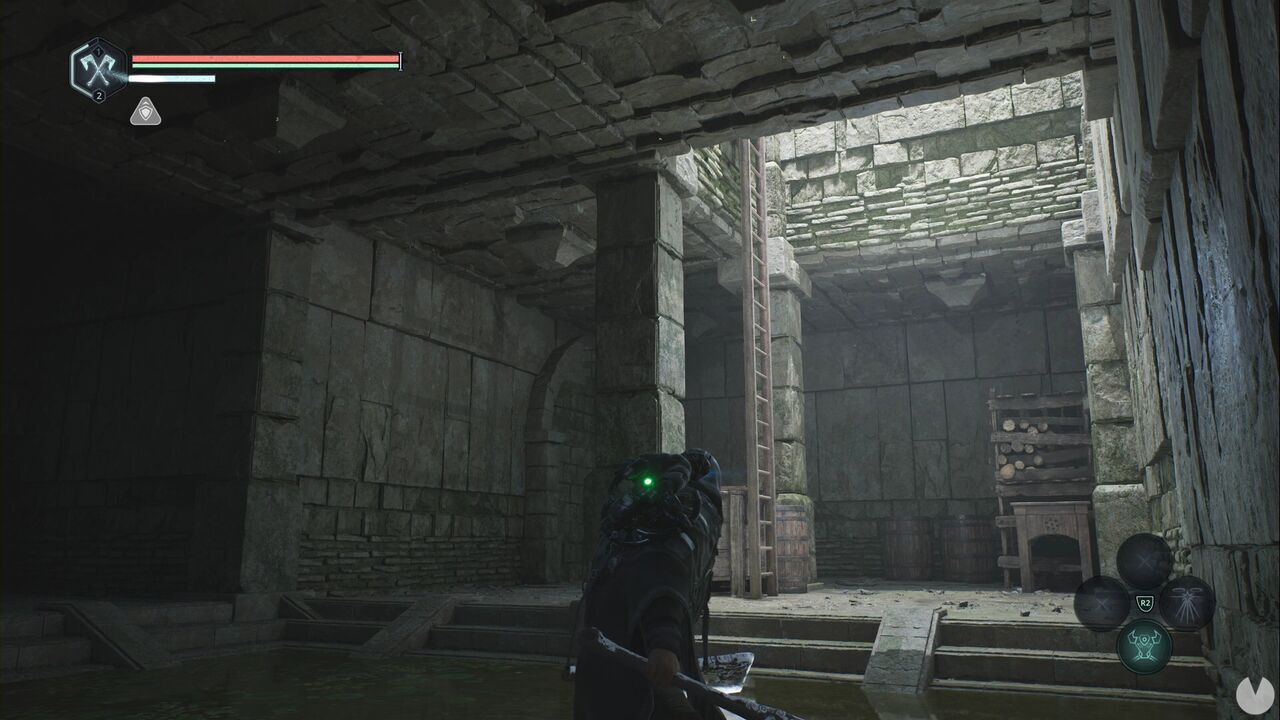
Once you reach the top, there’s a ladder straight ahead that leads back to Jova’s square, but that isn’t where we want to go. Head around the tunnel, defeat the enemies and find the door you can open to create a shortcut to the road outside the village. On the opposite side from the door, you’ll see a small path branching off to the right and the glow of the Lymbic Rod - Neutral, Z, which begins the Lymbic Door - Acasa, Western Monument Mystery.
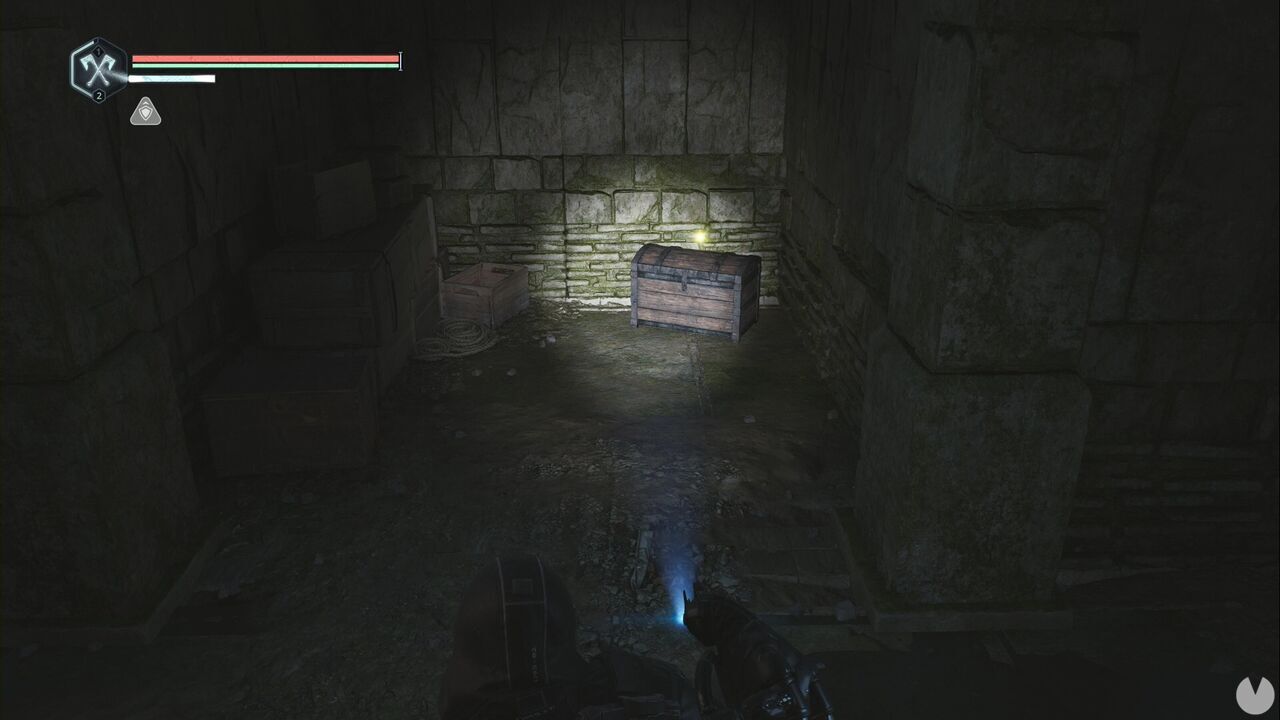
Now, before continuing, we’re going to complete two active Good Deeds. Begin by returning to the starting point of the Acasa Marshes. Remember the man beside the excavator? Trade with him and give him the Letter - Worried Wife to complete Asunder. Now use the APC to return to Senedra Forest and speak to Ernest Cadell in the basement. Select the Trade option and give him the Baby Bottles - Empty to receive the Baby Bottles - Filled. Return to the woman in the tunnel and give them to her to complete the Land of Milk and Honey Good Deed.
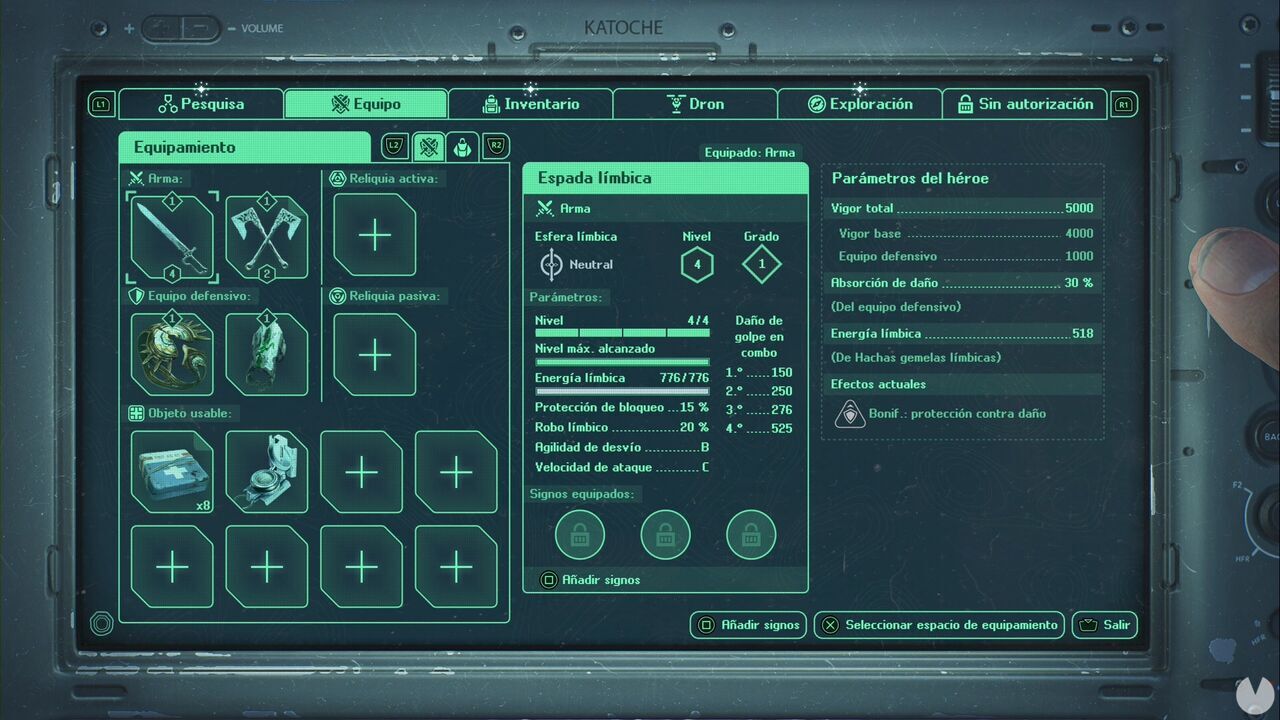
Before continuing, make sure you switch weapons whenever one reaches level 4. It’s important to level them up by defeating enemies with each one.
From the save point at the village entrance, look east. You’ll see one seriously nasty-looking black thing.
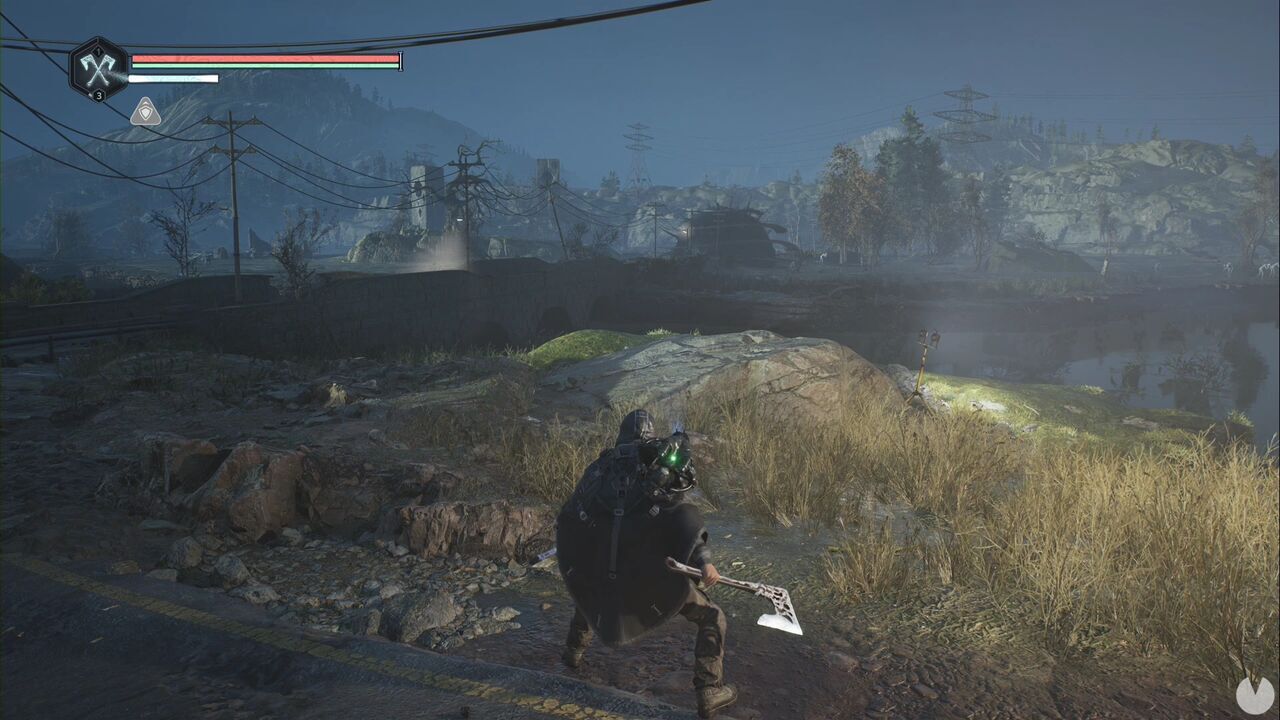
Follow the road to the dome and the game will identify it as a "Timeloop". Defeat all the enemies surrounding it, but don’t bother trying to interact with the Timeloop because you can’t do anything with it yet. From the dome, head south and cross the river using the planks on your left. Continue south until you reach the road, then follow it to the blockade. You’ll see the Lymbic Rod - Neutral, Y on the left-hand shoulder.
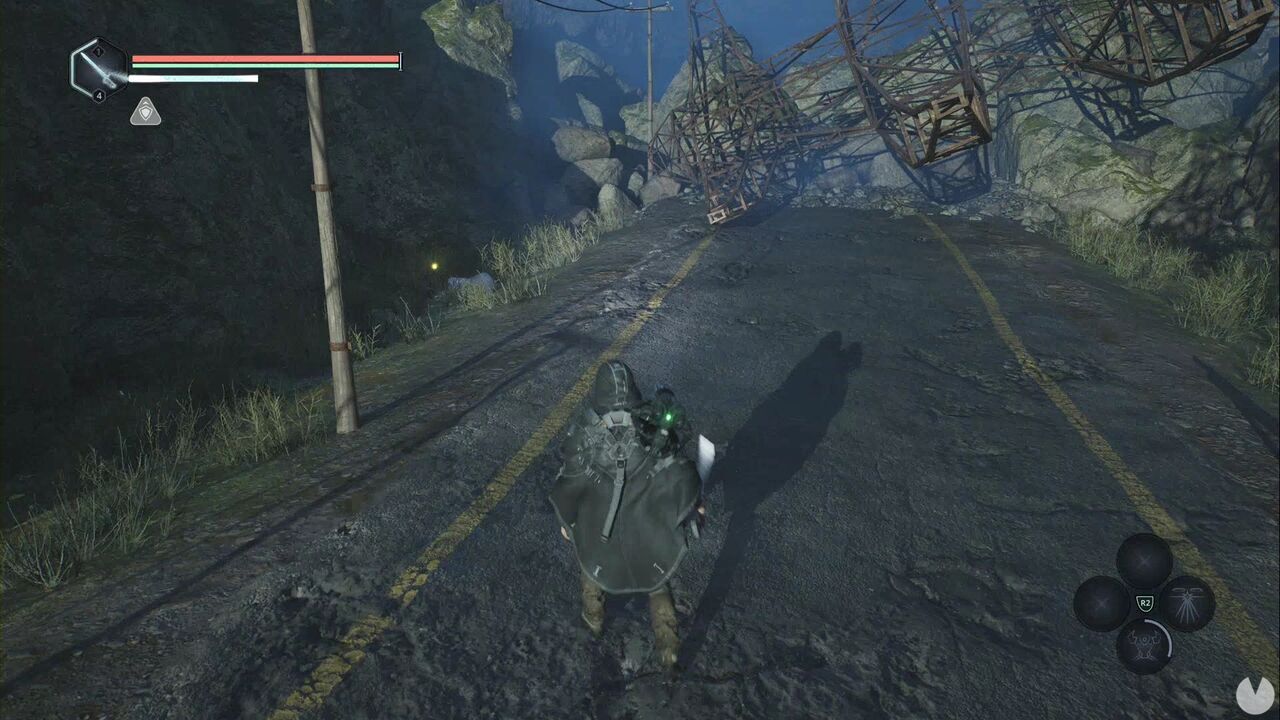
Turn around and follow the road north. Ignore the first turn-off on the right: it leads to the abbey, but you can’t enter it yet. You’ll soon reach a broken bridge. Look down to see a glowing item on the other side. This is the Memorial Ribbon.
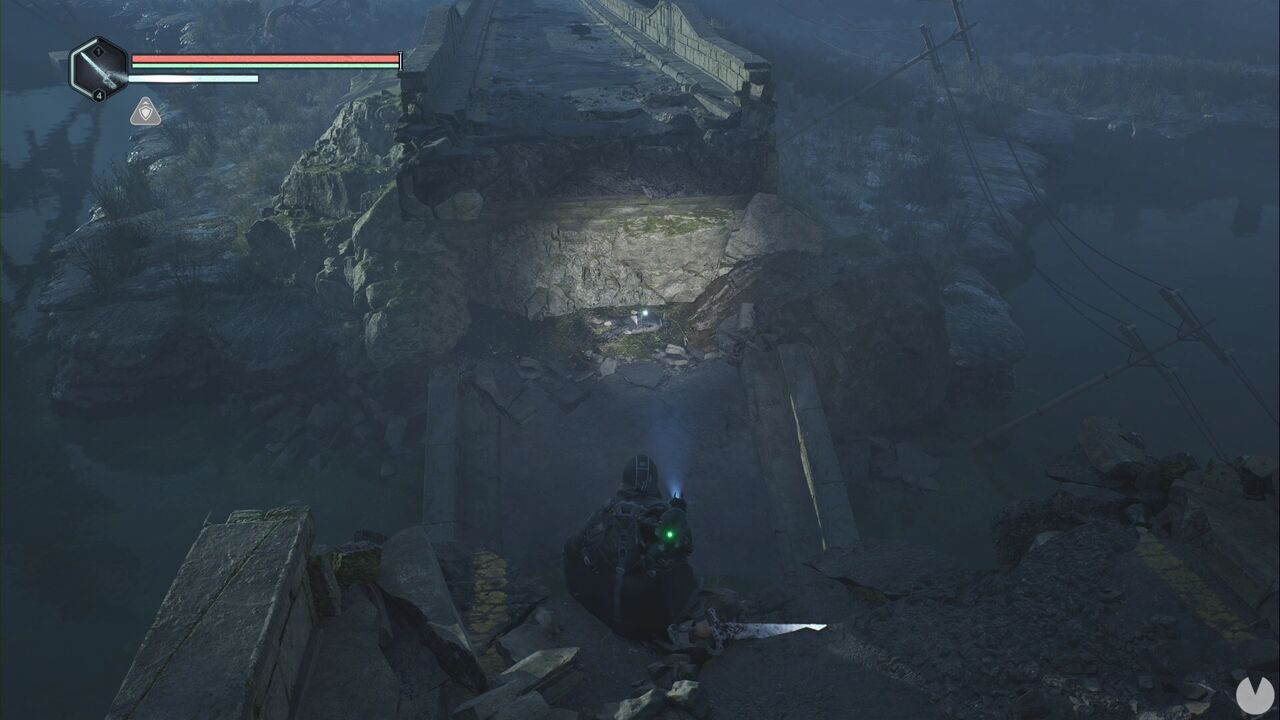
From there, look east to see a save point and a bridge to the south. Cross it and continue straight ahead. You’ll pass through a stream and should soon see some soldiers standing in front of a door on your right. Walk past them until you reach a wooden fence. Look to the right to find the Bronze Eye.
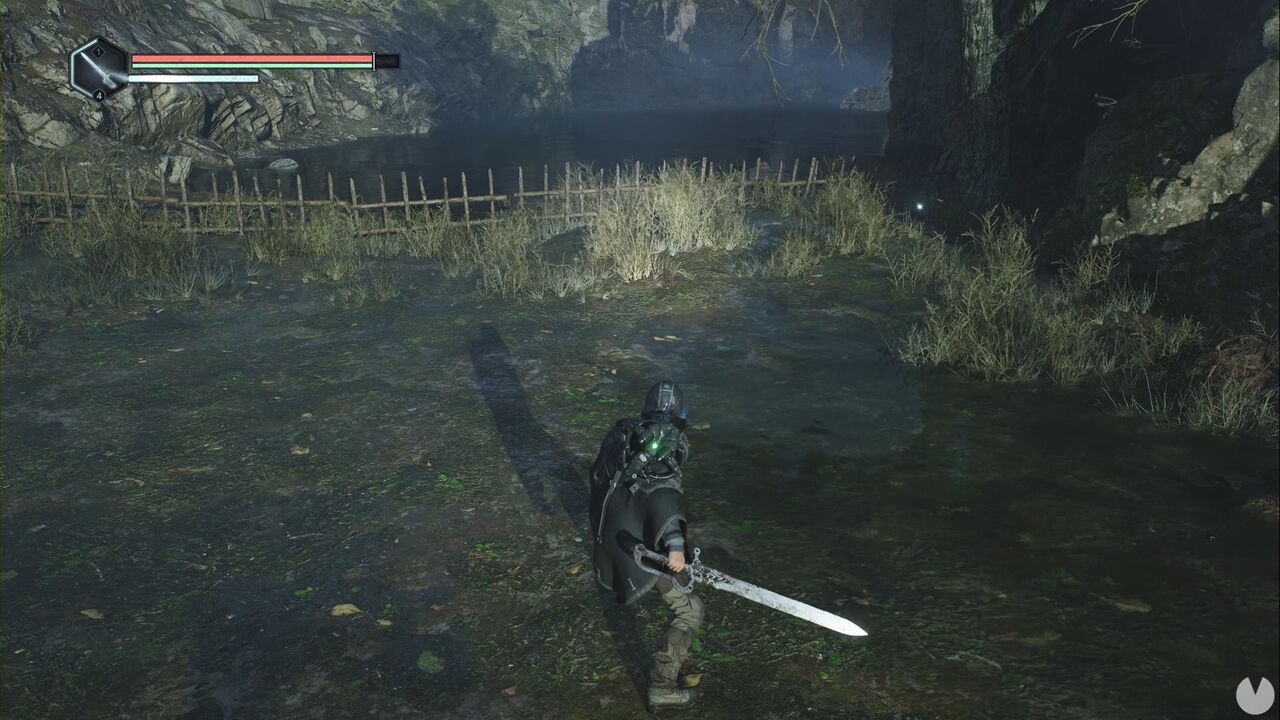
Return to the save point and head directly north. You’ll soon see a wooden walkway in front of Rémi, slightly to the right.
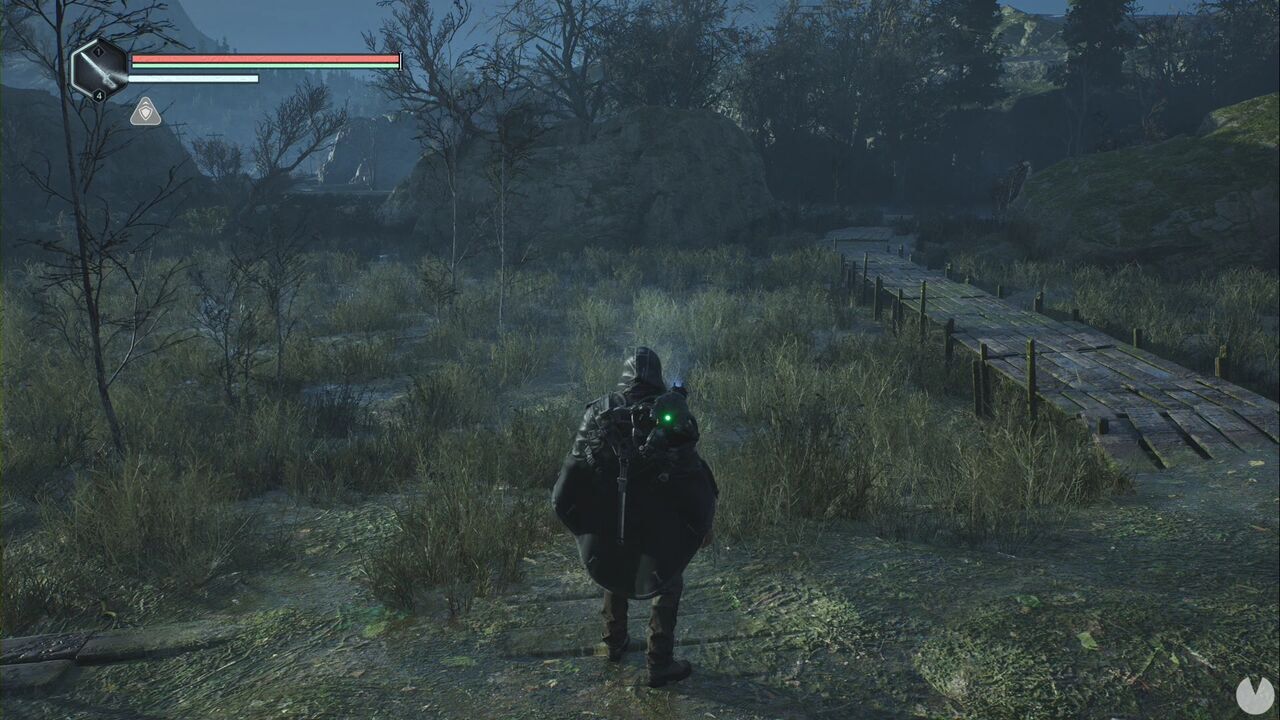
Follow it to reach a hut where you can speak to the Hermit. Examine the board to his right to begin The Hermit Mystery. We’re finished with the region’s southeastern quadrant for now, so it’s time to explore the northeast. From the black Timeloop dome, look north towards the ruins. The tree with the hanged bodies is hard to miss.
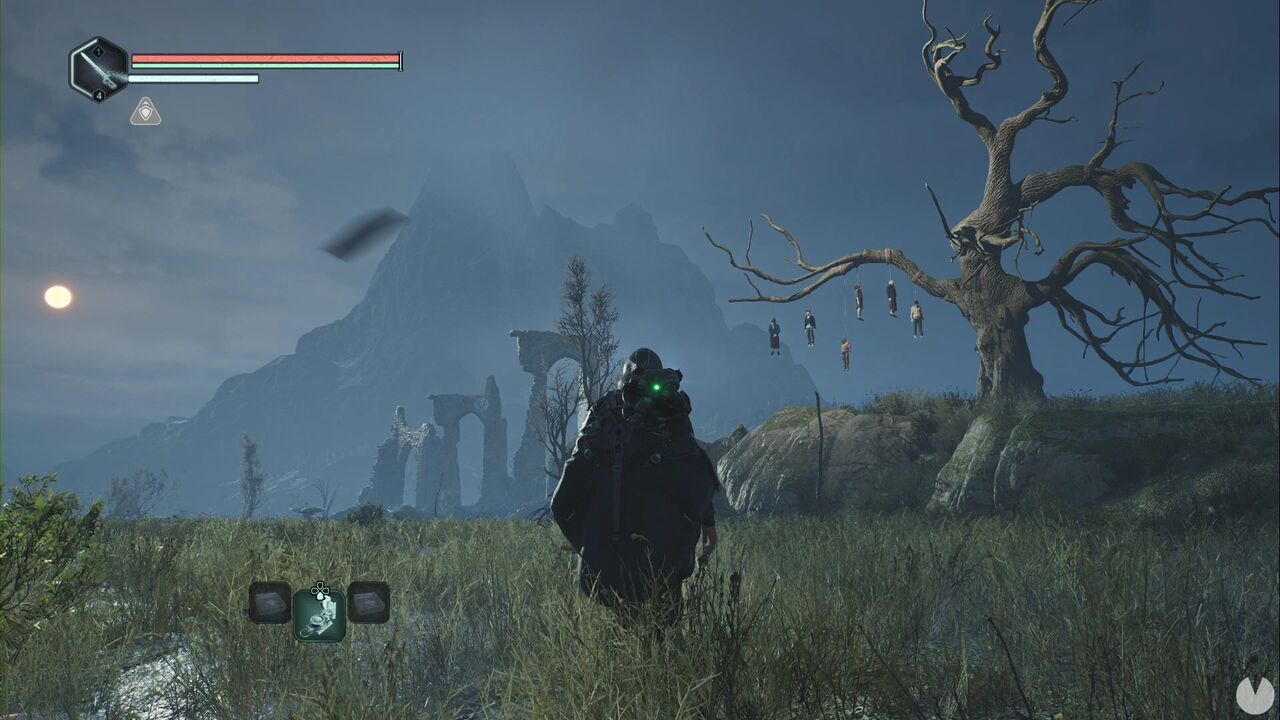
Climb the hill to find a Bloodied Plushie beneath the bodies, beginning the Love Thy Neighbor Good Deed. We’ll deal with that later. Continue north towards the ruins to the right of the bridge leading to the larger ruins. Defeat the enemies and collect the Lymbic Rod - Neutral, X, which is part of the Lymbic Door - Acasa, Western Monument Mystery.
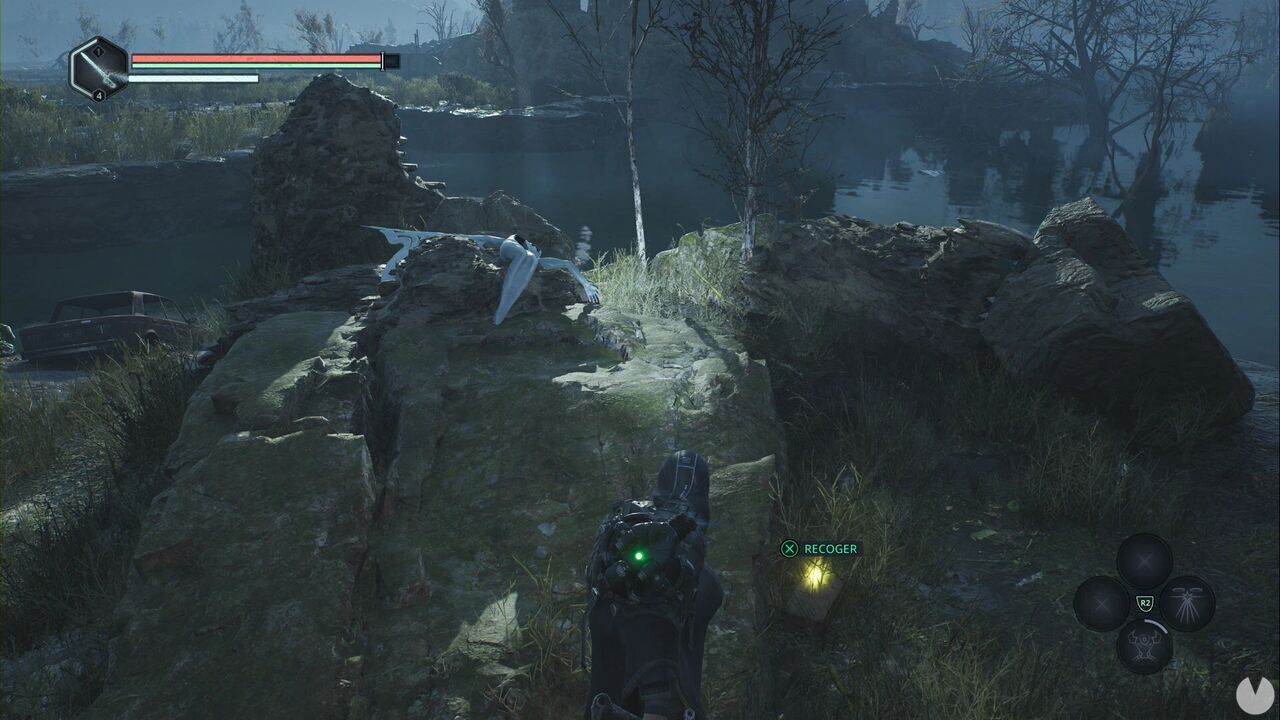
Now cross the bridge to the west towards the large ruins. Once you’re standing in front of them, look southwest to see some planks you can cross and the glow of the Notebook - Symbol Research. Several enemies will rise as you approach it. Collecting the notebook begins the Enlightenment Mystery. Yes, we’ve got quite a few of them active now. Just trust Captain Obvious—we’ll solve everything later.
We’re finished for now, as we can’t complete any of our active objectives just yet... although that will change shortly. From the Timeloop—the terrifying black sphere, in case you’d forgotten—follow the road east and then northeast until you see the entrance to a tunnel. You really can’t miss it: there’s an ominous red light and a tunnel descending into the depths of an already terrifying region... perfectly normal stuff. This is the route taken by the ON convoy, making it the real objective of this section.
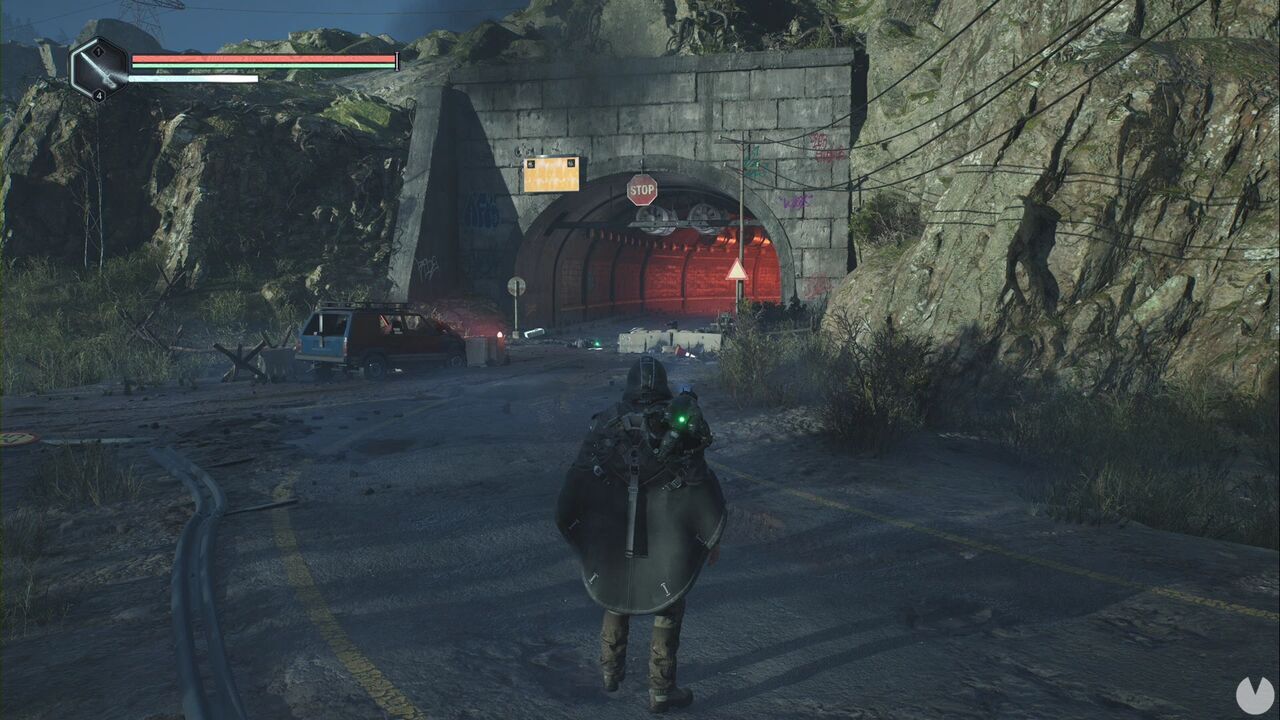
As you approach, you’ll see a green glow on the ground. This is the Lymbic Polearm and the Whirlwind module. Enter the tunnel and eliminate all the enemies. You’ll soon find the convoy... and a man who speaks to you from the room on the side. Approach him.
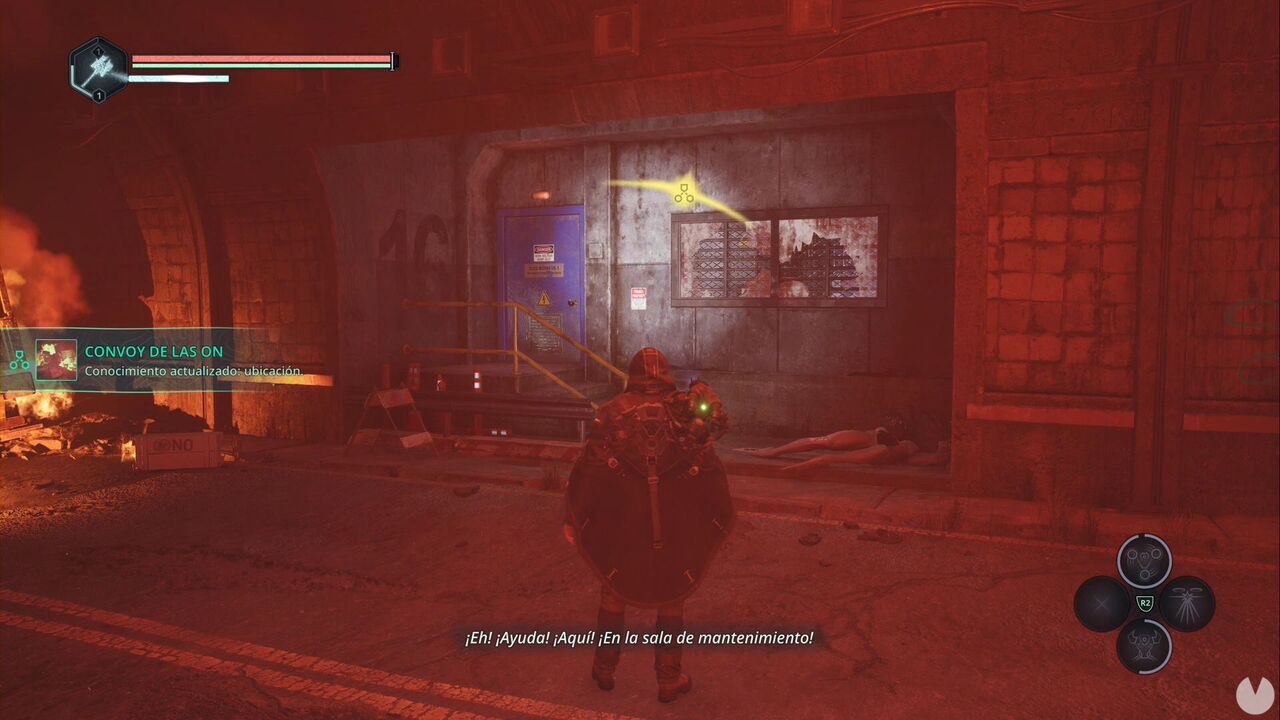
This is Victor Gaz, another important NPC whose dialogue options you must exhaust. During the conversation, you’ll receive the Key - Vitalis’ Home.
You must now return to Jova and find the blacksmith’s house. From the square where Captain Vaas is standing, head north towards the post where the abbot was tied up. Look west to see the house with the blue tyre swing mentioned by Victor, then use your key to open the door.
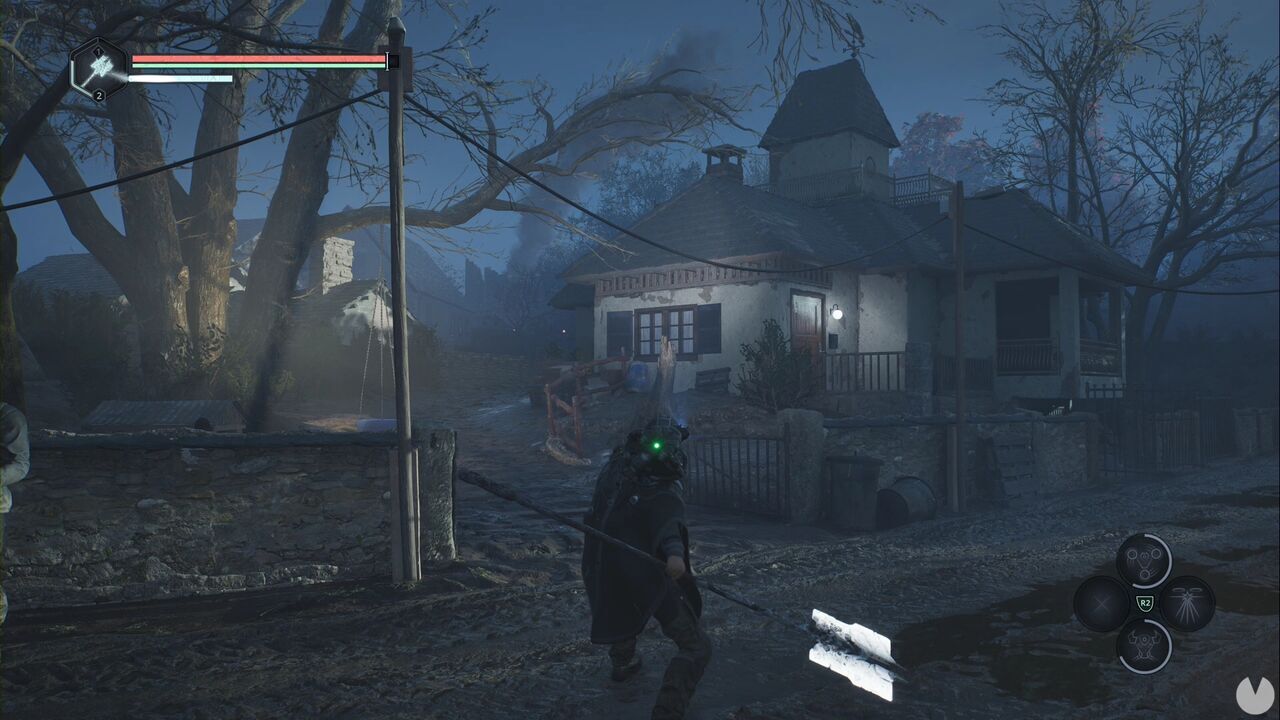
Enter and turn right twice to reach the balcony, where you’ll have noticed a glowing item from outside. These are the Keys - Car, which begin the Victor’s Vigil Good Deed. Now search the ground floor of the house to find two Family Pictures. Afterwards, head down to the basement. You’ll find a chest beside a ladder.
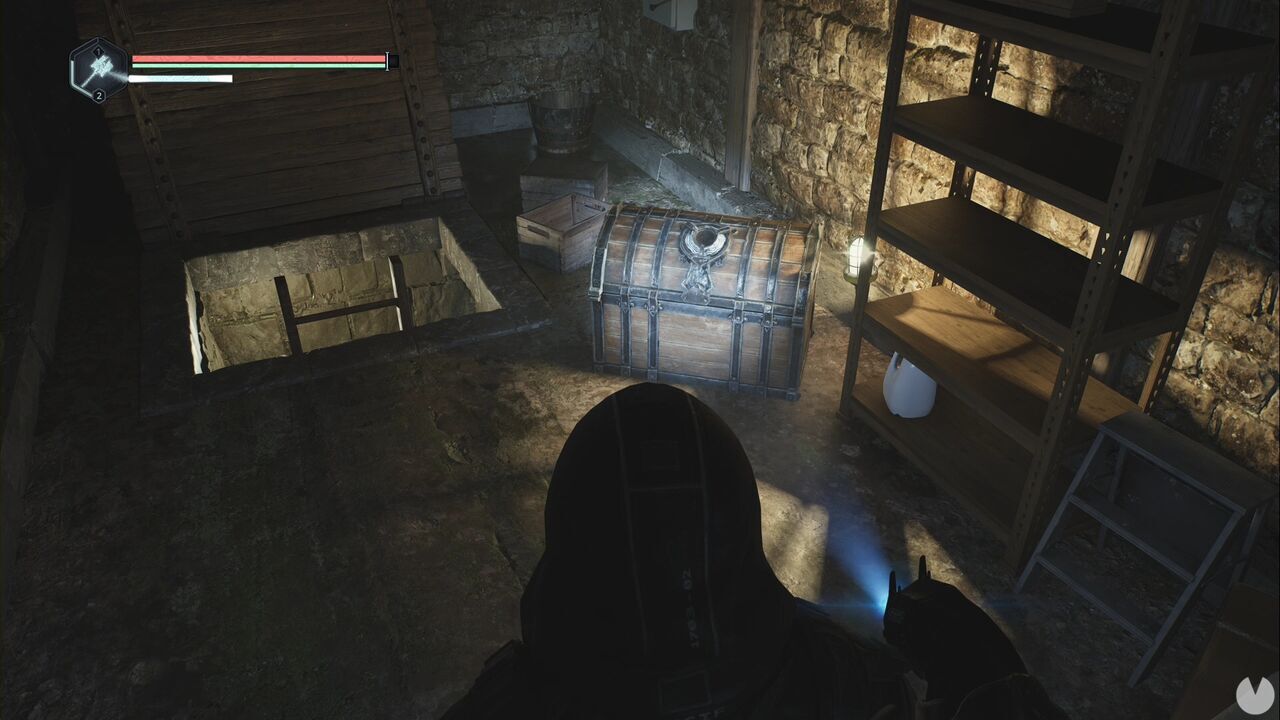
You can open the chest using your Heirloom Necklace. Inside, you’ll find the Note - Revenge and the third Family Picture. Now climb down the ladder.
There’s only one possible route. Ignore the locked chest in one of the corners, as you can’t do anything with it yet. You’ll eventually reach a door locked with a numeric keypad.
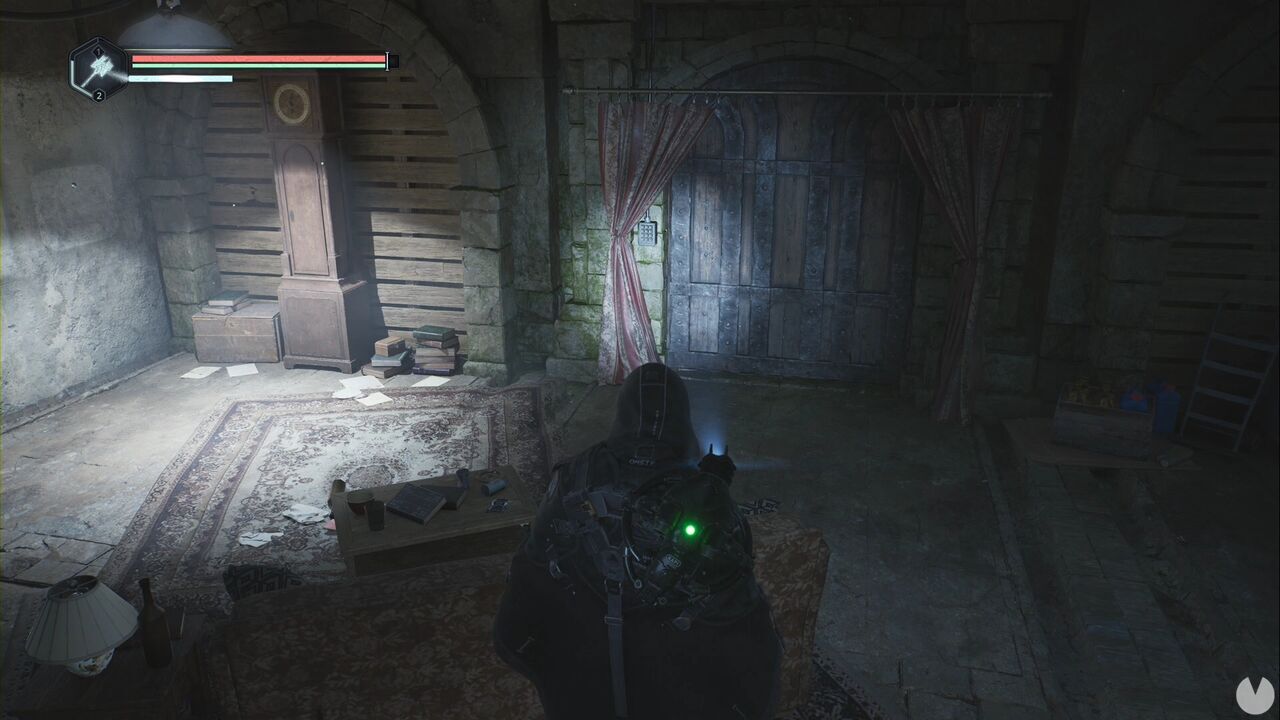
The intended solution is to place the pictures on the wall to the left. The shape of each space tells you where the corresponding picture belongs. There are two numbers in each picture except the third. For that one, you must examine the toy car box to discover the missing numbers. If you just want the answer, the keypad code is 32-17-13.
Once you’re inside the storeroom, collect the following items, all of which are in the same room:
Retrace your steps. When you leave the house, you’ll see Victor standing outside Vitalis’ home, having opened the blacksmith’s forge.
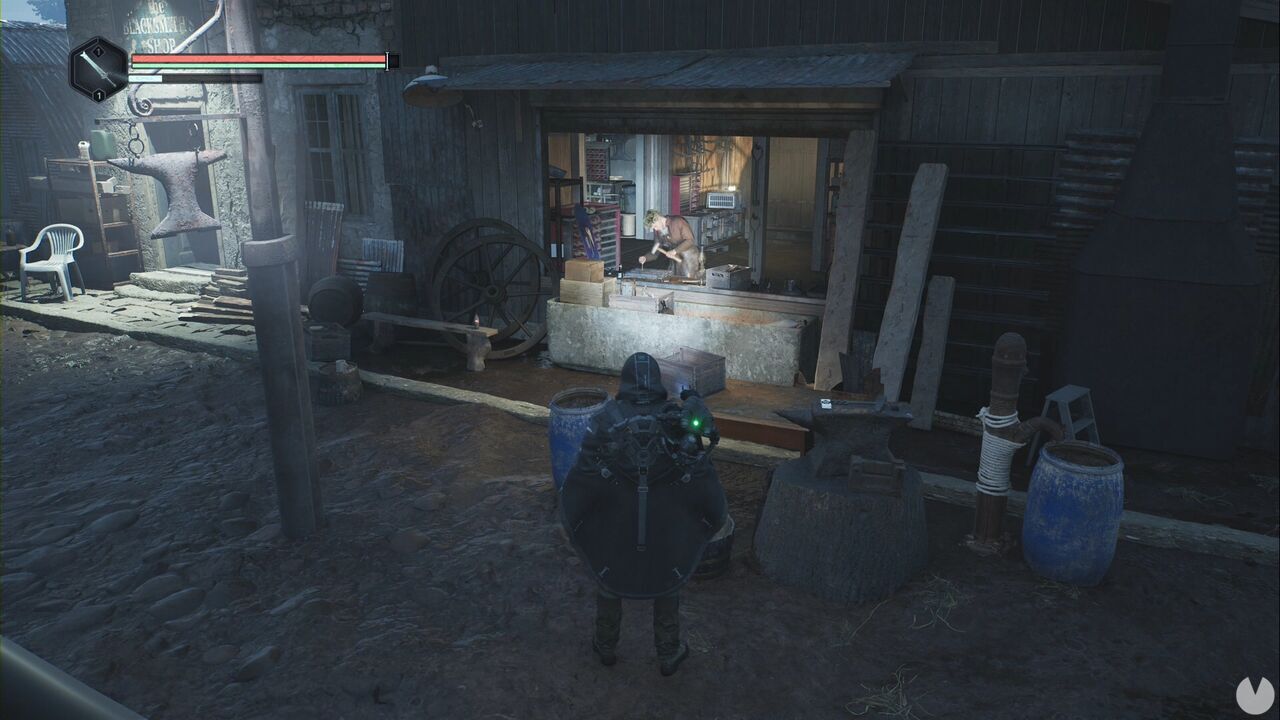
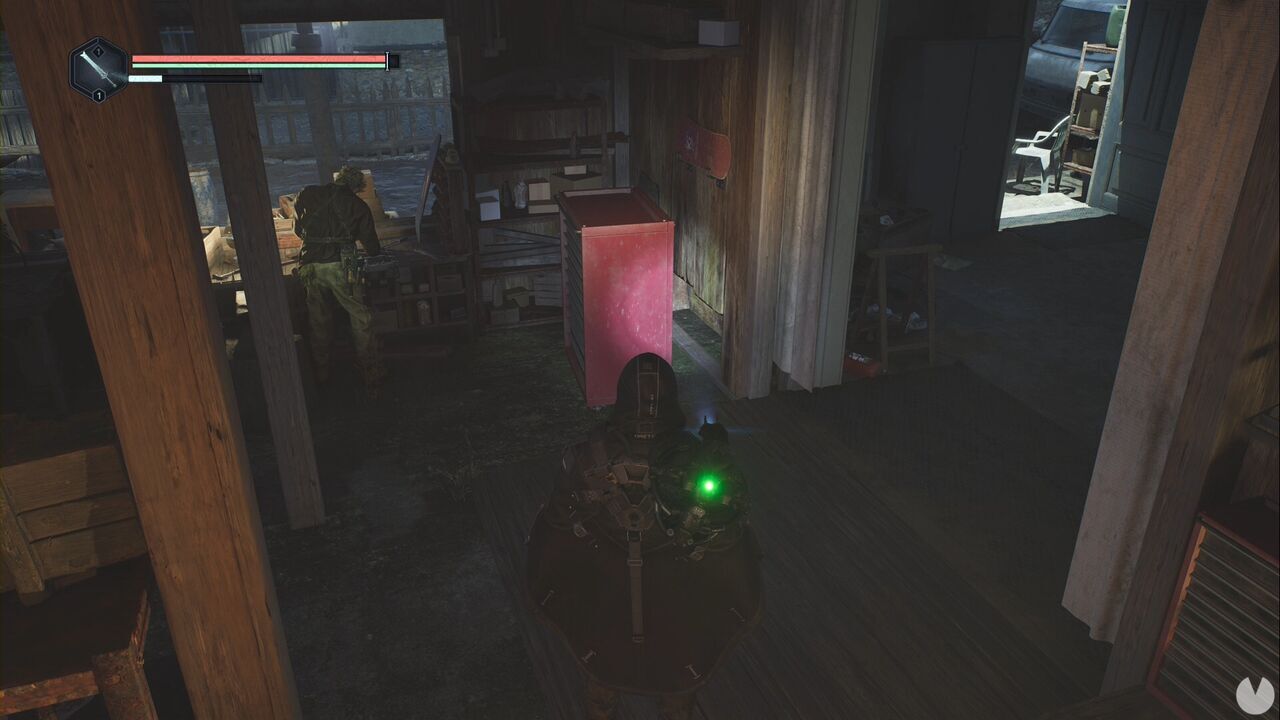
Go inside and collect a second Lymbic Sword and the Note - Training Ground. Make sure to exhaust all Victor’s dialogue options. Afterwards, look behind the red tool cabinet beside him to find a Small Neutral Shard and the Lymbic Rod - Grief, Y.
After upgrading your weapons—remember that you can now equip Glyphs and take advantage of their effects—we’ve technically finished the main objectives. However, there are still a few things we can do in this region.
If you want, you can head straight to the APC and move on to the next region, but bear in mind that we’re about to complete several side activities, prepare others and collect a ton of additional items. Don’t say we didn’t warn you if you later find yourself asking, "Wait, Captain Obvious never told me I’d need this. Where did he pick it up?" As one of my teachers used to say: forewarned is forearmed.
We’ll begin by returning to the basement of Vitalis’ house. Once you’re in the tunnel, look to the right at the second junction to see a locked chest.
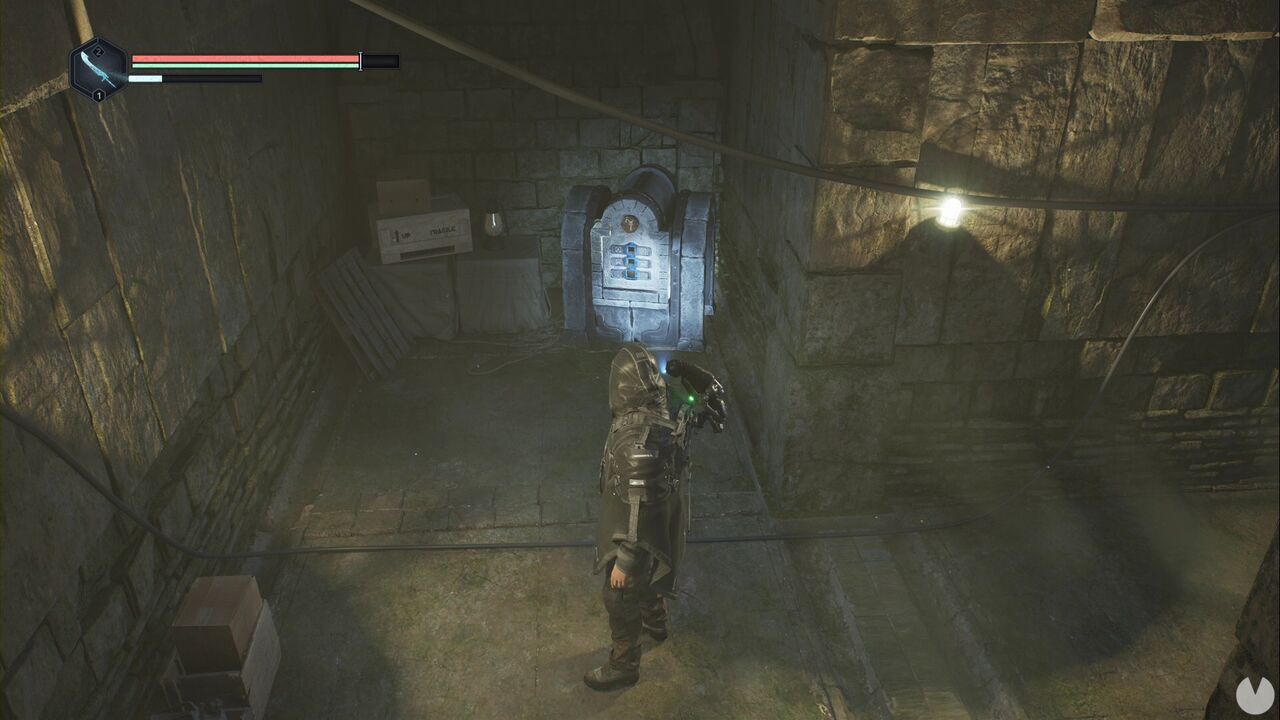
Place the Lymbic Rod - Grief, W in the upper slot and the Y rod in the middle slot to open the chest and collect the Lymbic Mending Glyph. Now return to the house in southwestern Jova, where you found a save point and the stairs leading to a basement on the right-hand side of the courtyard.
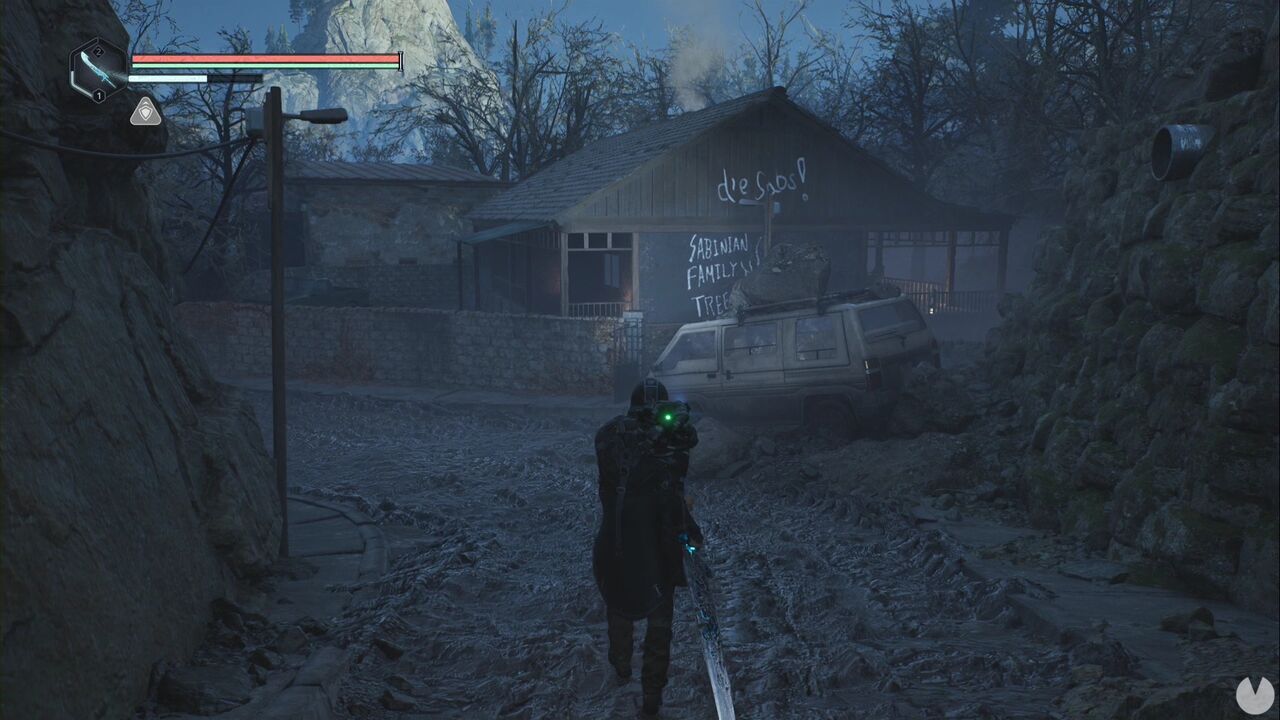
Enter the house and give the Bloodied Plushie to the drunk man sitting on the sofa. You’ll receive the Classroom Picture. What a sad story. Seriously. Now head to the northern side of the village and look for the house with the open door to the right of the abbot.
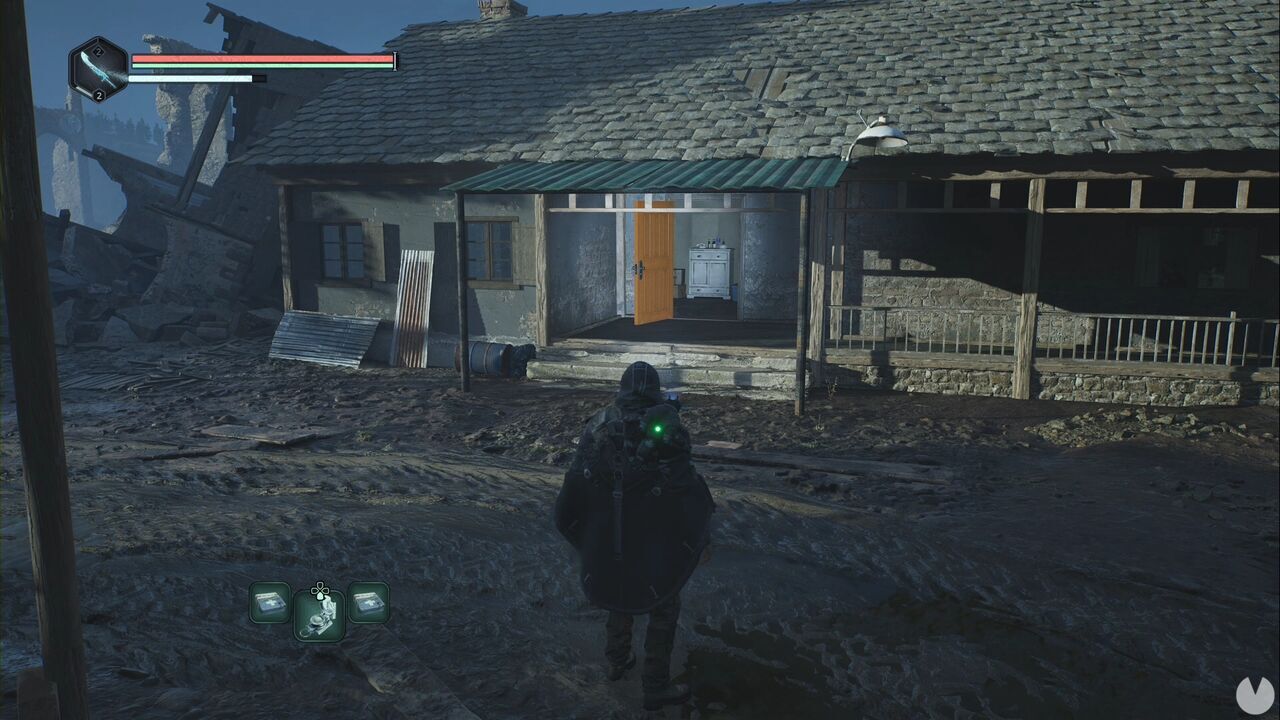
Inside, you’ll find a woman who can be given the Classroom Picture, completing the Love Thy Neighbor Good Deed. Now leave the village and follow the road southwest around Jova. On the far side of the village, towards the mountains, you should see what looks like an upright stone slab with an oval at the top.
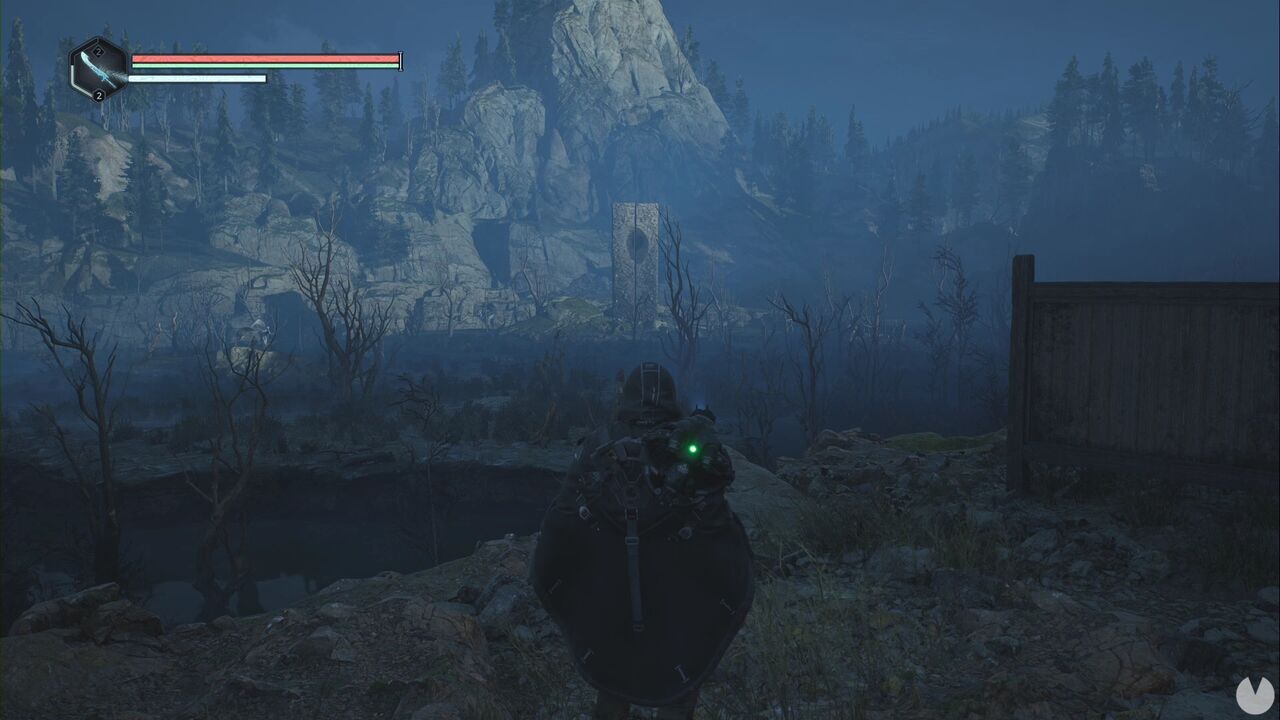
This is where we’re going to solve the Lymbic Door - Acasa, Western Monument Mystery. Follow the road, descend the stairs and cross the planks to reach it. There are stairs behind the monument. Head down and turn left to see a panel where you can place the Lymbic Rod - Neutral, X in the upper slot and the Z rod in the middle slot. Beyond the door, you’ll find the Faded Blueprints and the Brooch of Ecstasy - Delectable Recovery.
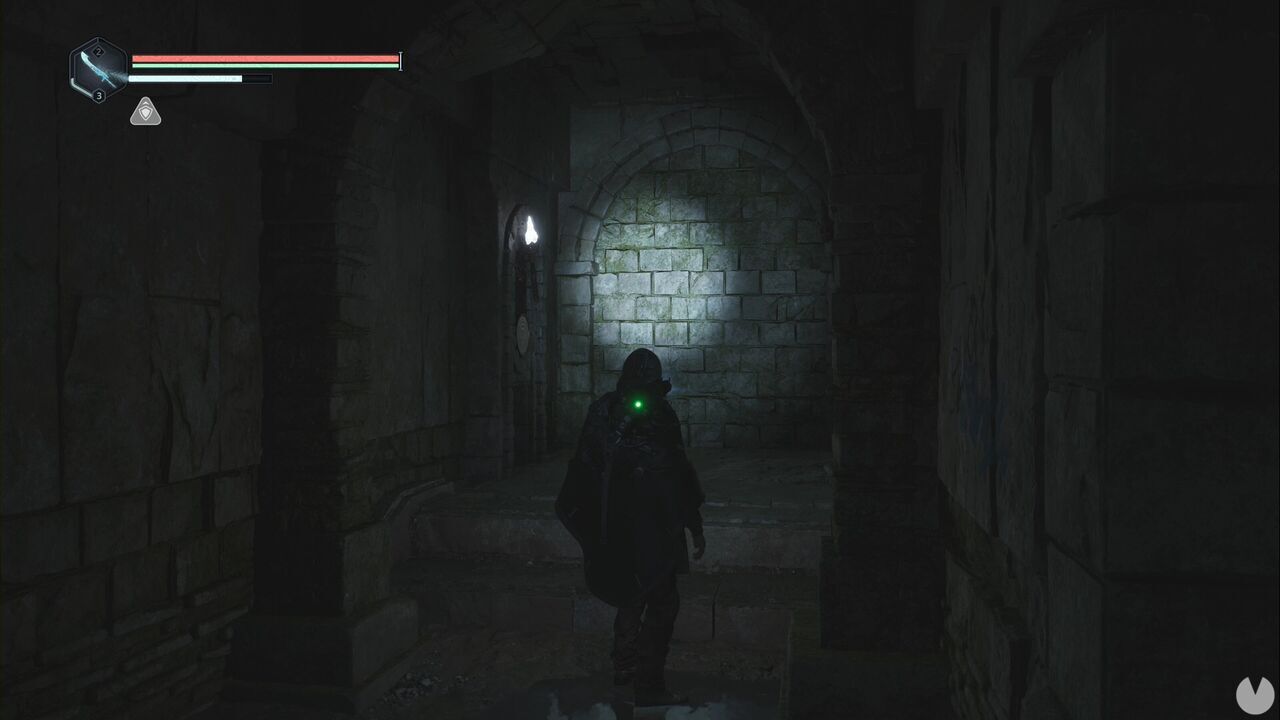
On the other side of the corridor are two torches you can interact with. Light the one on the left and don’t touch the one on the right. This is part of another Mystery, Enlightenment.
We’re now heading northeast of the Timeloop dome, following the clue from the note in the blacksmith’s forge. From the dome, head north and turn right after passing the tree with the hanged bodies to cross a wooden bridge over the marsh. You’ll see a hill with several towers ahead of you. Go around its left-hand side, then look ahead and to the right to see a locked door with a stone spike beside it.
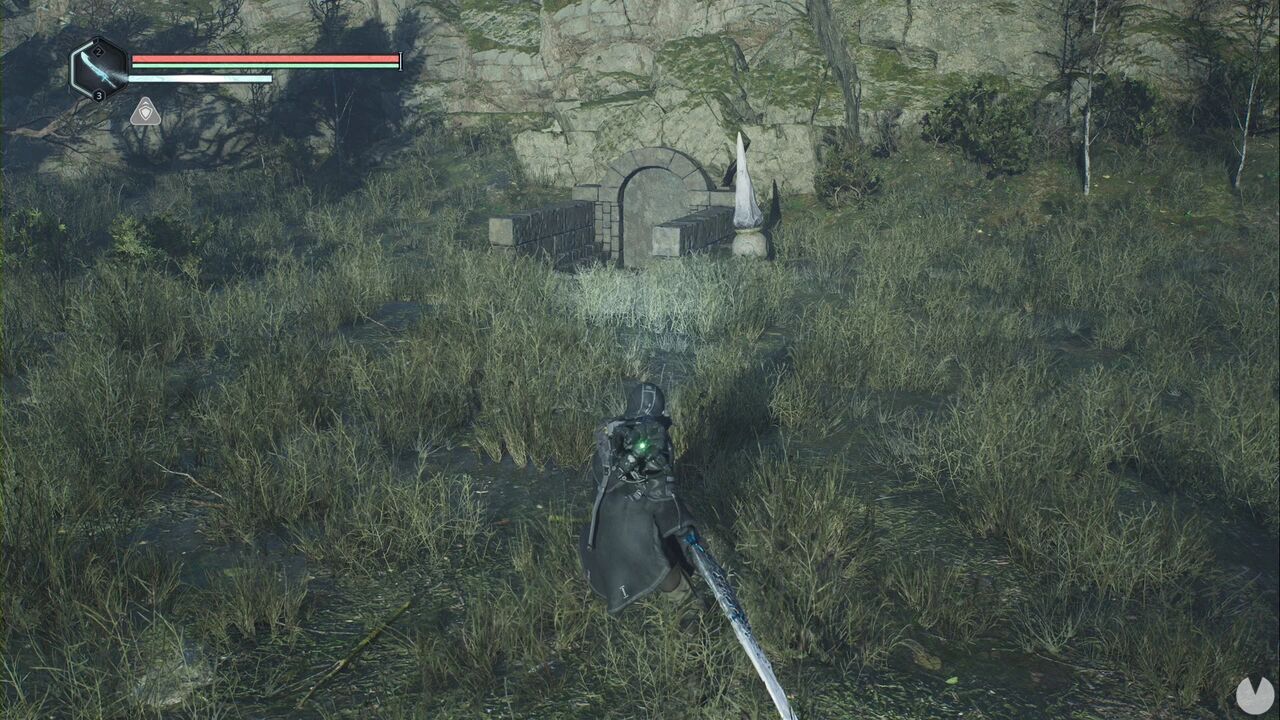
Strike the spike to begin the Martial Lineage Mystery. However, the spikes must be struck in a specific order. If the door represents 12 o’clock on a clock face, there’s one spike at 12, 3, 6 and 9 o’clock. Strike them in the following order: 9, 6, 3 and 12. This opens the door. Inside, you’ll find the Brooch of Terror - Dreadful Verve, the Wrapped Candle, the Letter - Proud Father and a Lymbic Greatsword.
There are another two torches connected to the Enlightenment Mystery in this chamber. As before, light the one on the left. Leave the chamber and return to the area north of the tree with the hanged bodies, as if you were heading towards the large ruins to the north, which are enclosed by a fence. Before reaching them, you’ll see a partially submerged car on the bank to the right of one of the bridges.
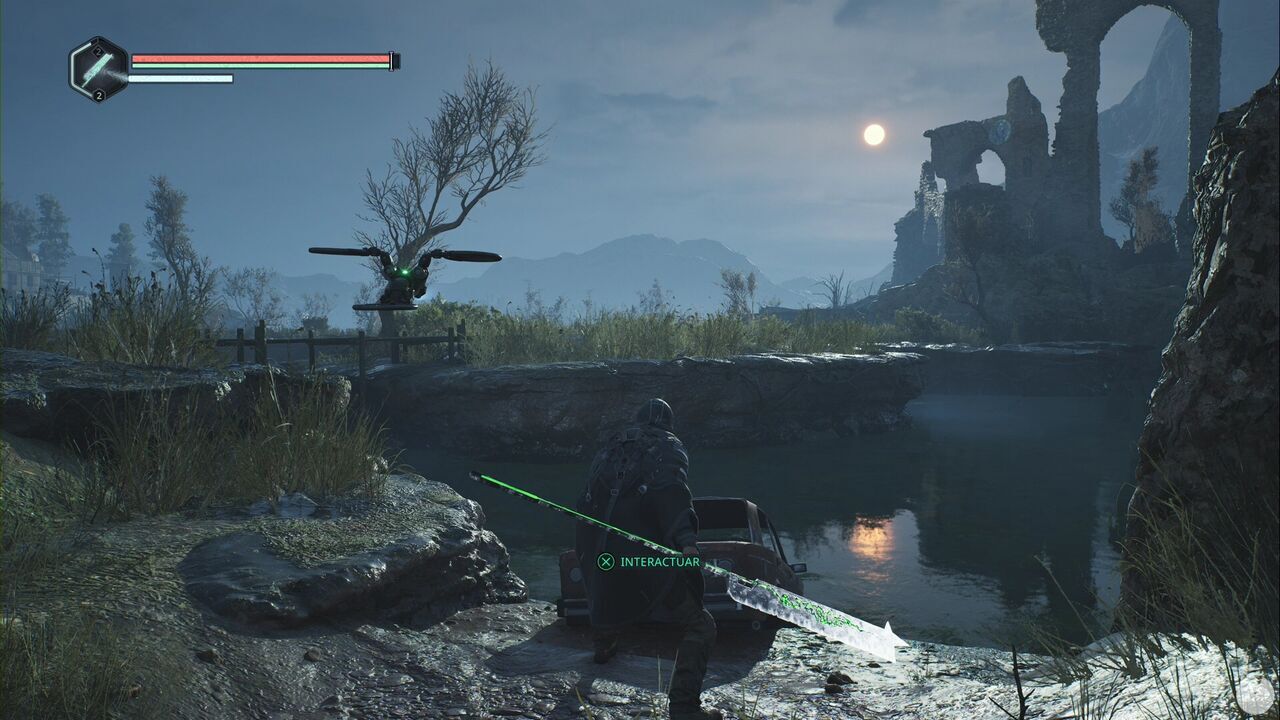
The trunk can be opened with the keys from Victor’s Vigil. Inside, you’ll find the Recording - Vitalis’ Departure, the Necklace, a pair of Lymbic Twin Axes, the Chromatic Shielding Glyph and the Tome of Lymbic Imbuing. Return to Victor in Jova and give him the Necklace to complete the Good Deed. Don’t forget to speak to him and select Study to hand over the book.
After several hours spent exploring the region, there’s nothing else you can do in the Acasa Marshes for now. Head to the APC—you can fast travel there from any save point—climb inside and travel to the Vyssa Hills.
