

Lake Cynon will be the fourth area you explore during Act I of the story in Hell is Us, after leaving the Vyssa Hills. Once you’ve learned more about the blue flowers, this region will appear on the APC’s map and you’ll be able to travel there. As usual, this walkthrough will help you complete every section 100% without missing anything along the way. Since the game has no maps, objective markers or anything of the sort, we’ll also help you work out what you need to do while keeping spoilers to a minimum... although the lack of guidance means it’ll be difficult to avoid revealing a few details.
While hunting for those fancy blue flowers, we’ve ended up at a lake. Follow the path until you see a glowing item on a noticeboard. Interacting with it gives you the Note - Lost Keys and begins the Lost Keys Mystery.
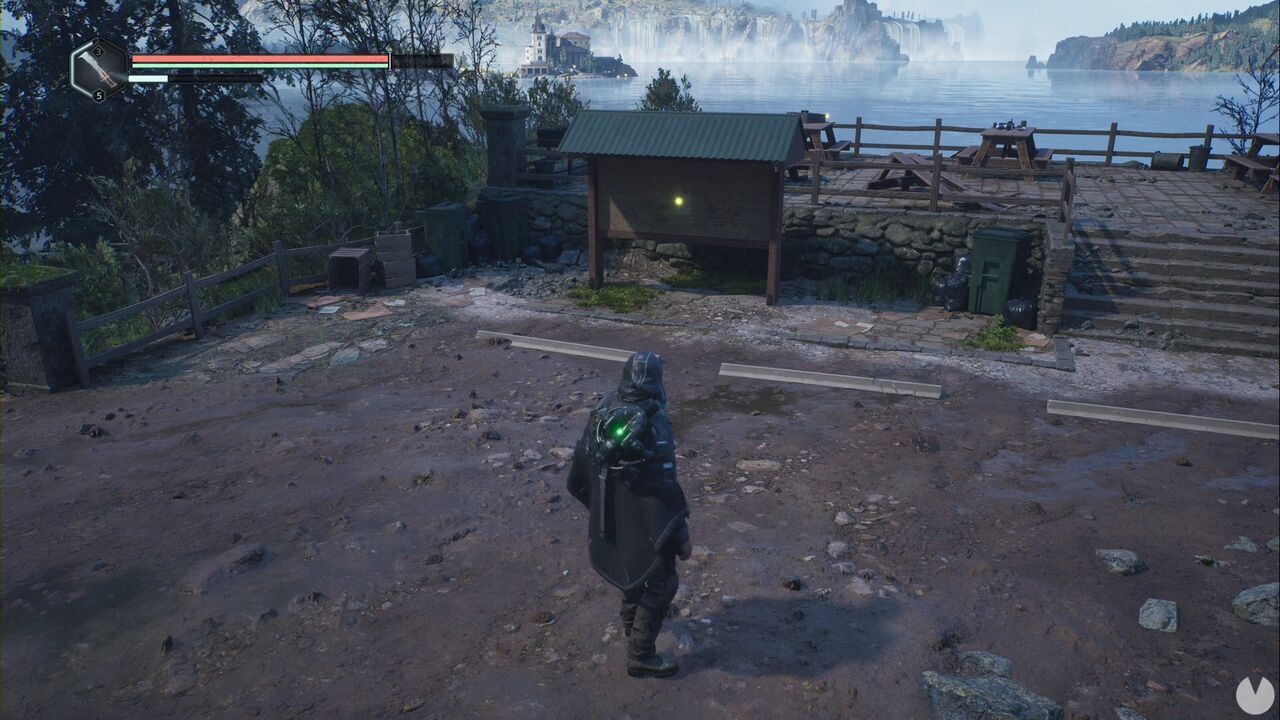
There’s another glowing item just behind it, at the overlook. This time it’s the 9MM Pistol, and you’ll also collect the Note - Conspiracy. Now continue down the stairs towards the flower field. Head to the first junction and look to the left. You’ll see a slope leading between the trees.
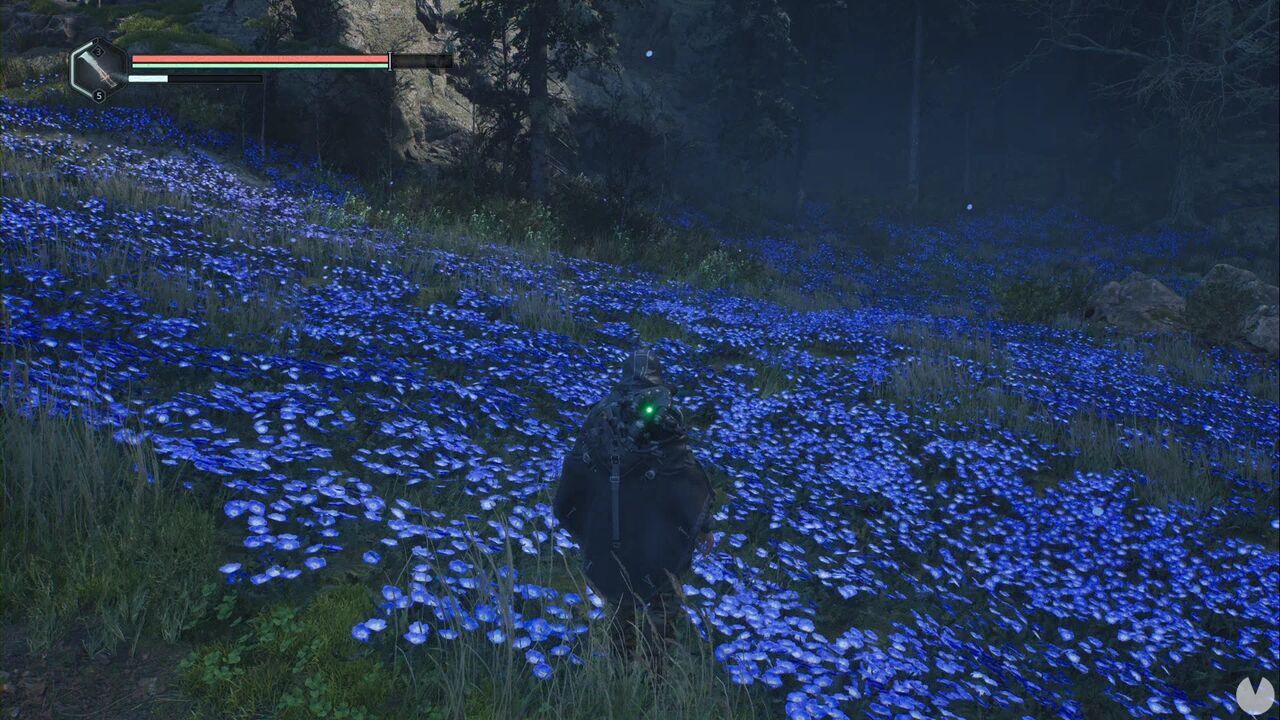
Head up the slope, turn right and follow the edge of this elevated area until you see a glowing item. This is the Veteran Cap. This new type of collectible requires you to collect and equip each cap at least once, so put it on from the equipment menu.
As you continue along the path through the flower field, you’ll reach a sort of pool with an obelisk and five spikes surrounding it. They look like the ones at the training ground in the Acasa Marshes. As before, you must strike the spikes in a specific order. Hit them in the order described below, treating the steps on the far side of the pool as "up" and the obelisk with the wheel-like structure on top as "down": upper left, lower left, upper right, lower right and centre right.
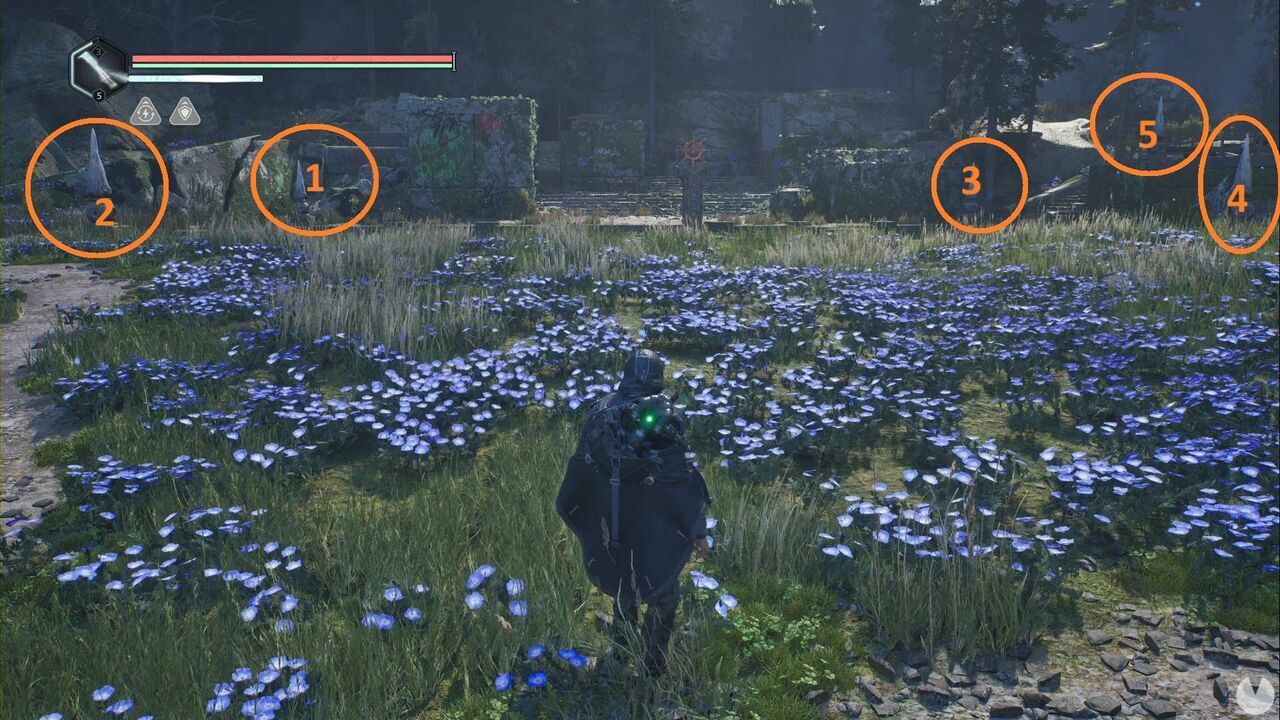
After striking the final spike, you’ll see a structure rise from the upper edge of the pool and a section open at the top of the steps. Approach the opening to collect the Gear - Spindle. Place it in the mechanism on the structure that rose from the edge of the pool to drain the water. Head down to the bottom and climb the steps in the central section to find a Lymbic Chest. This is the chest for the Lymbic Chest - Lake Cynon Reservoir Mystery.
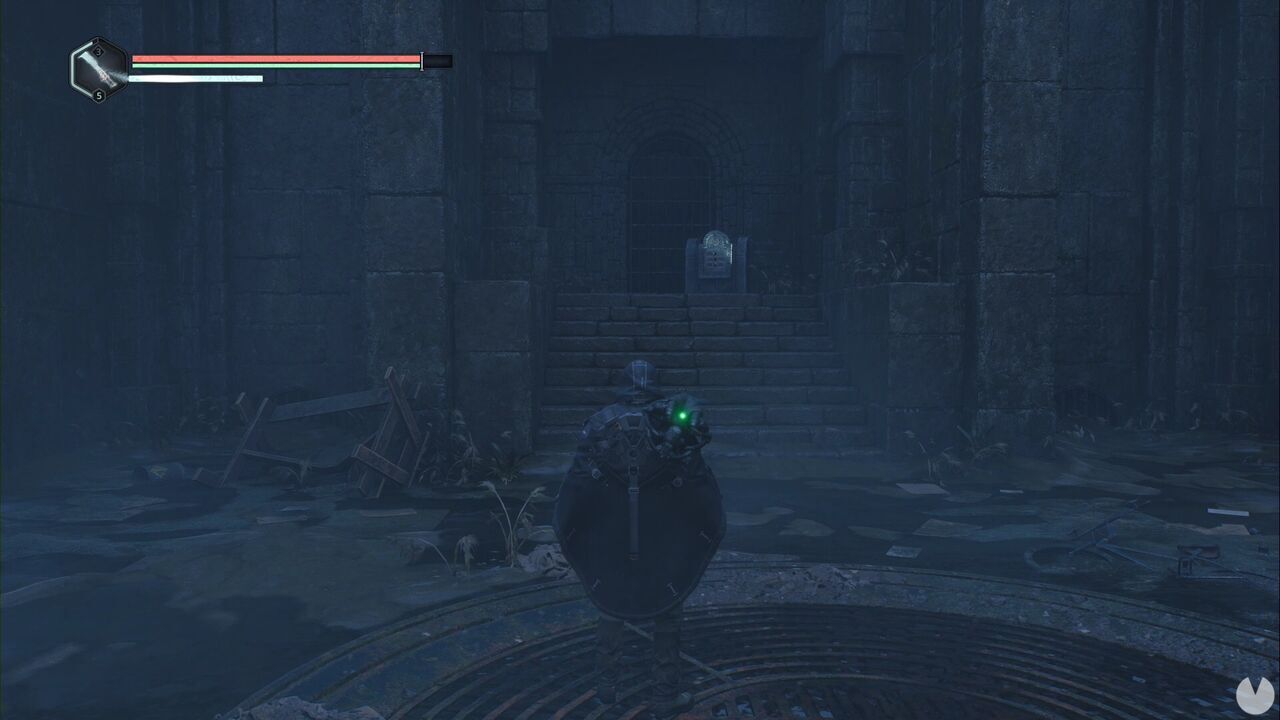
Make sure you collect the Keys - Algae from one of the corners before crossing the corridor into the depths of the reservoir.
Continue down the stairs and through the tunnels until you reach a room with columns and a lower area you can descend into. If you reach a door opened with a lever, with a save point just before it, you’ve gone one room too far. Go around the area and, inside the dark tunnel, look along the side passage to find the glow of the Lymbic Rod - Terror, Y. Collecting it begins the Lymbic Door - Lymbic Forge Mystery.
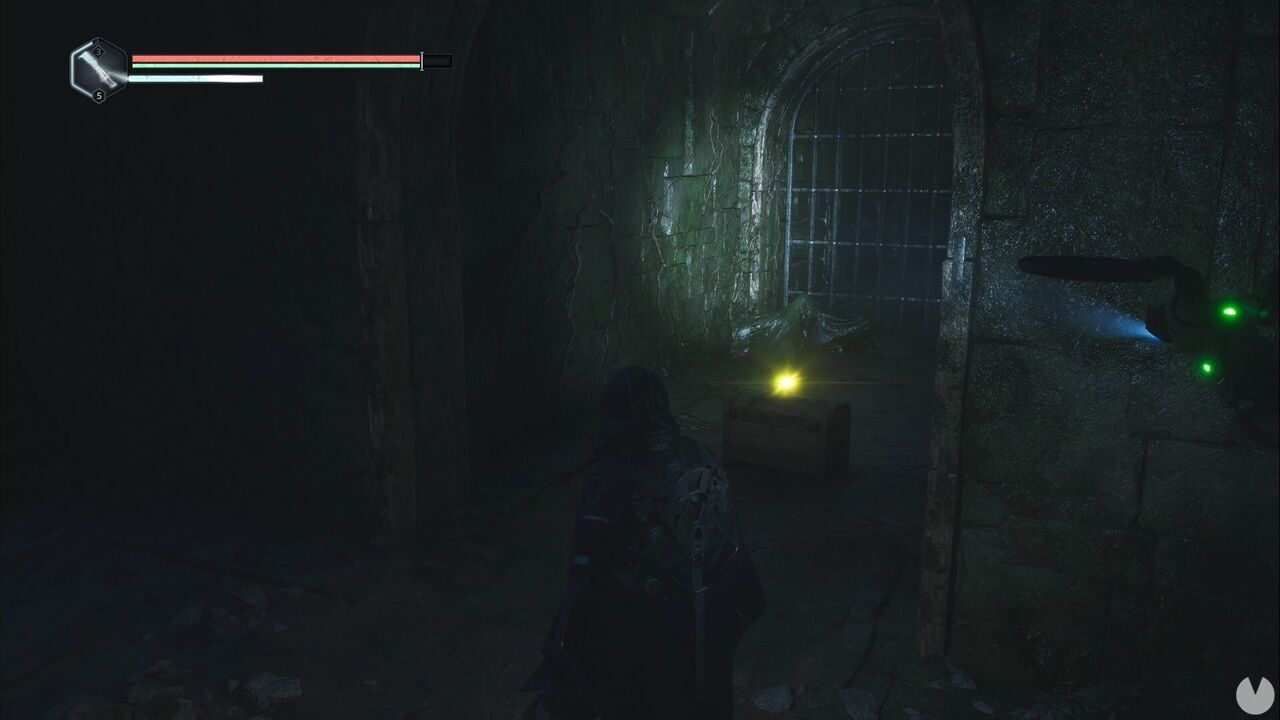
Return upstairs and go through the lever-operated door beside the save point to continue. You’ll have to defeat several enemies before descending some stairs towards a locked door. You’ll see a mechanism on either side where you need to place something.
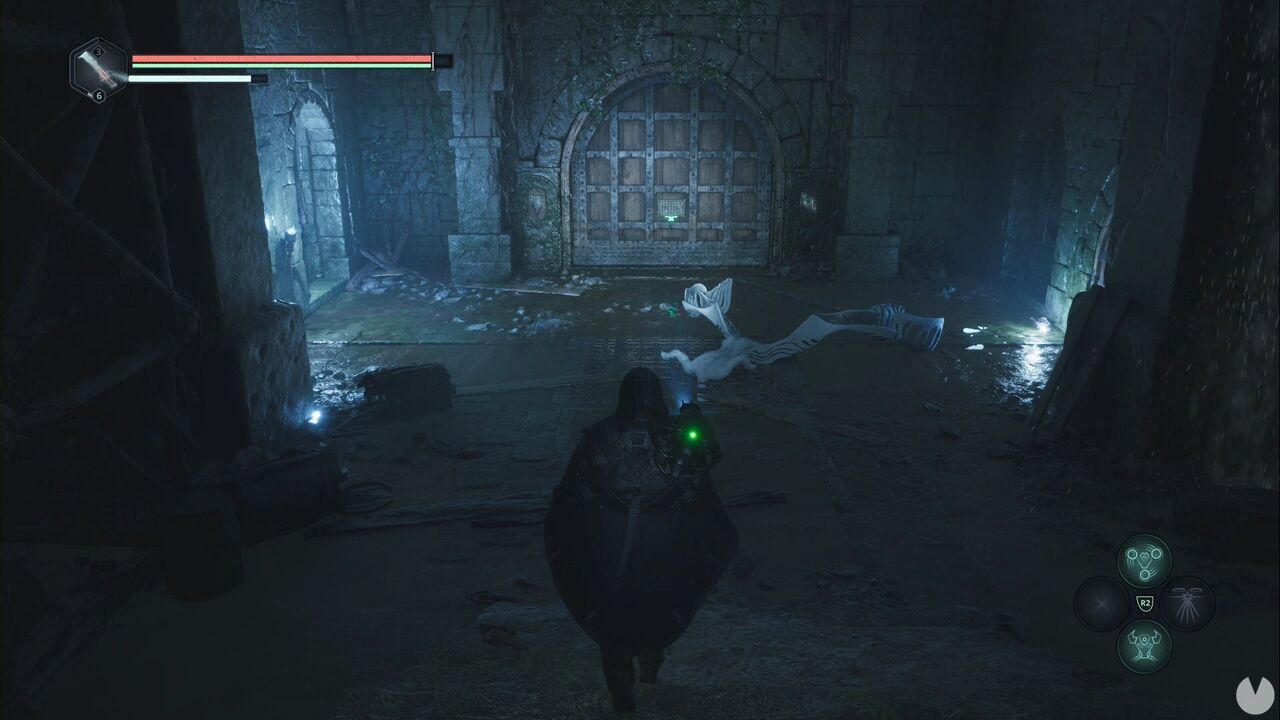
Don’t go down the stairs, except to eliminate the enemy. Collect the consumables in the area and open the door to your right as you look down from the steps. Follow the corridor past another enemy to find a lever that opens another door, with yet another creature waiting behind it. Once it’s dead, search the space on the southern side of the room. You’ll see a rather obvious movable wall and several torch switches.
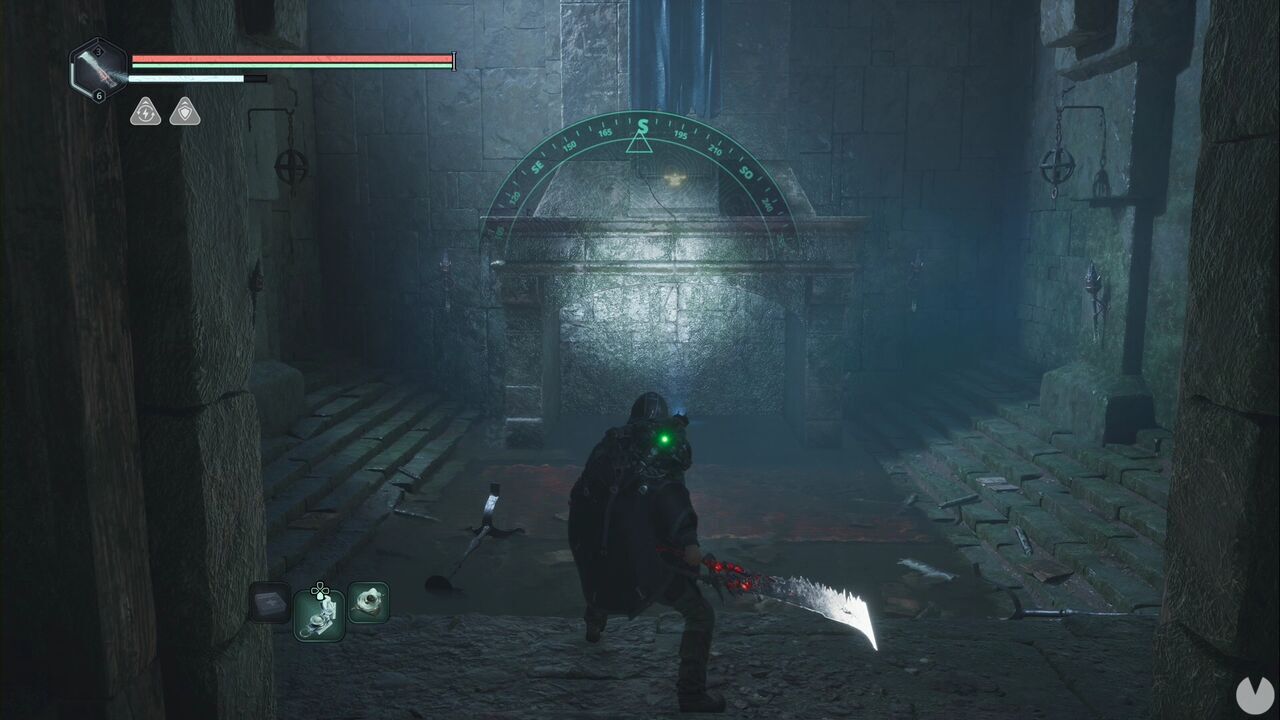
To continue, you must light the two torches on the southern wall and the two in the northern corners of this small space. This moves the wall, allowing you to collect the Sigil - Order of the Eye. With the artefact in your possession, head all the way north. You’ll cross a corridor and end up on the ground floor beneath the stairs we ignored a moment ago. Continue north and watch out for the enemy on the upper level in the next room. It will fire projectiles at you while several regular grunts attack. You can open one of the doors upstairs to create a shortcut back to the stairway room, although there’s also a door locked with Lymbic Rods that you can’t open yet.
Ignore the stairs leading north, head back down and follow the corridor to the north.
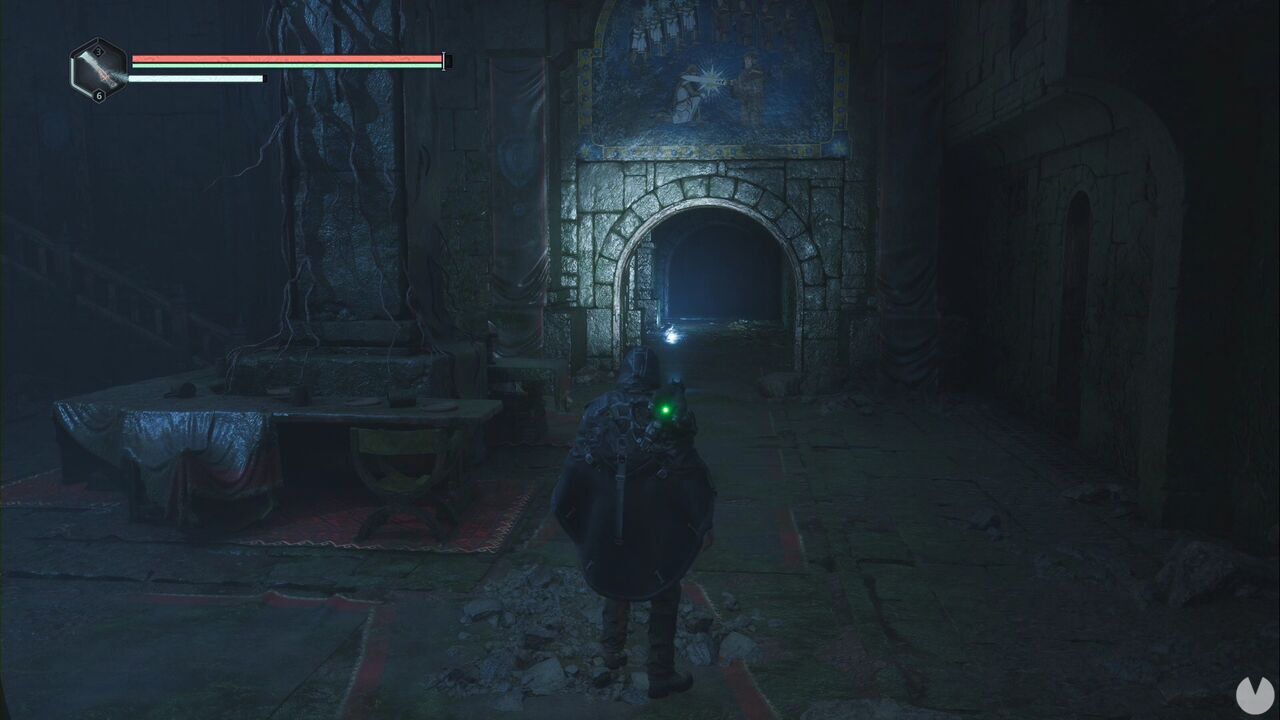
You need to turn left along this corridor before going through the northern door. You’ll reach a sort of storeroom where a yellow glow marks the location of the Key - Crying Eye. Retrace your steps and turn left in the corridor to go through the northern door. Head down the stairs, eliminate the enemies and collect the Sigil - Phol Guard from the pit. Return to the door with the two mechanisms at the foot of the stairs in the central room and place the Sigil - Order of the Eye on one side and the Sigil - Phol Guard on the other.
Beyond the door is a large chamber with waterfalls, some steps to your left and a huge mechanism at the far end.
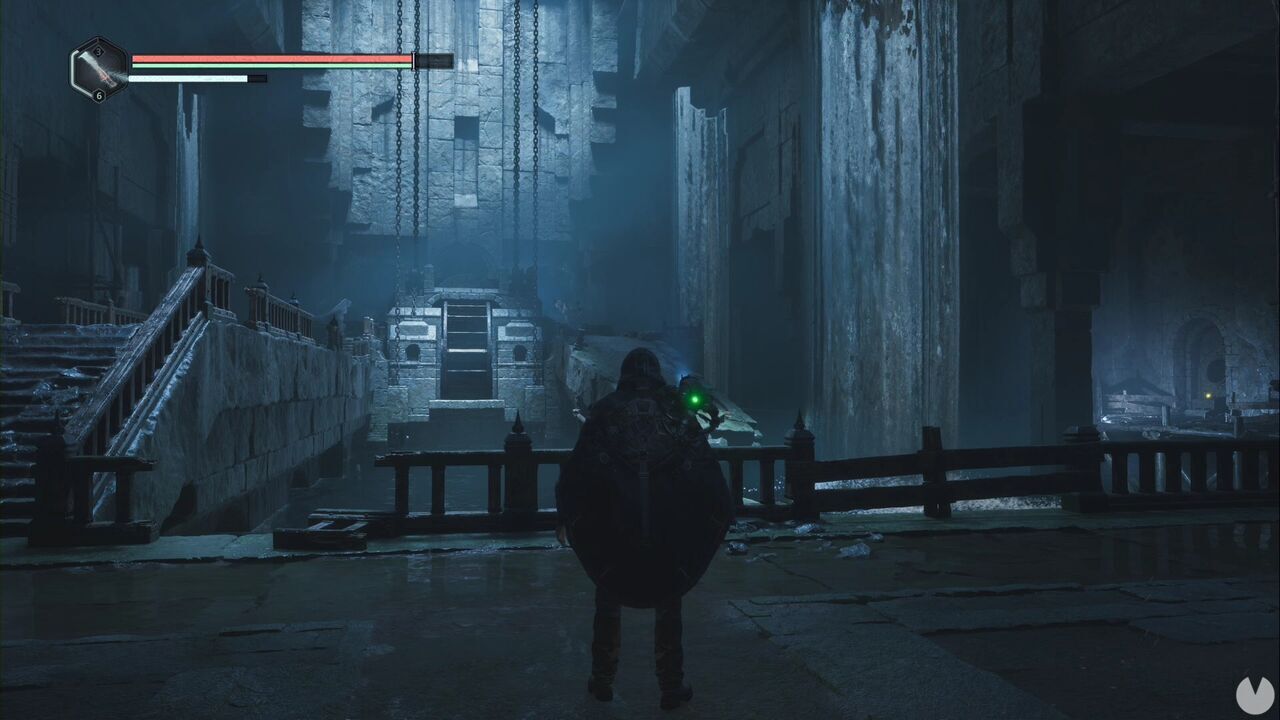
Begin by crossing to the other side of the bridge and heading around the area to the right to find the Key - Owl. Now return to the torch room, where you interacted with four torches to move a wall and find one of the sigils, and open the eastern door. You’ll reach a room containing a chest connected to the Lymbic Chest - Lymbic Forge, Hall Mystery, although the Mystery won’t begin just yet.
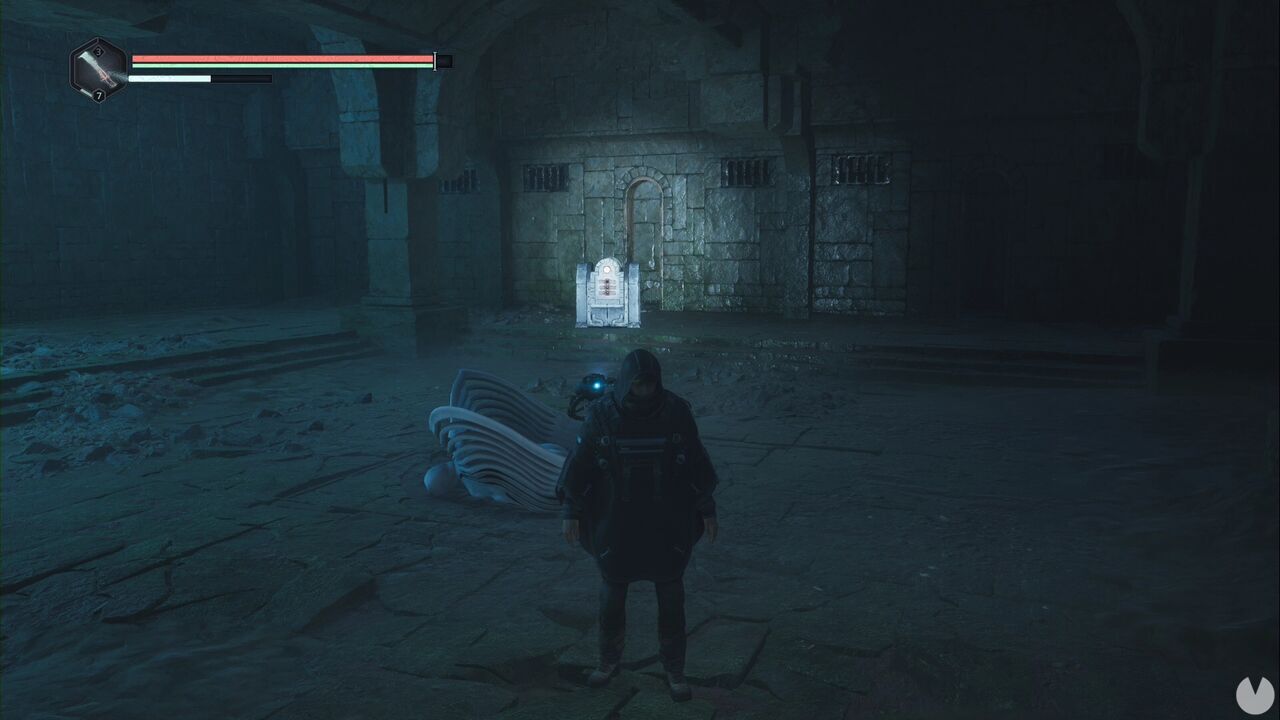
First, take the nearby stairs to the south to reach a room containing the Old Sketchbook and several consumables. Afterwards, head down the stairs and go north into another section of the sluice machinery room. This lets you reach the Gear - Spoked, which you can collect from the planks beside you.
Return to the sluice machinery and place the new gear in the left-hand slot of the mechanism. Use the lever to drain the water from the area.
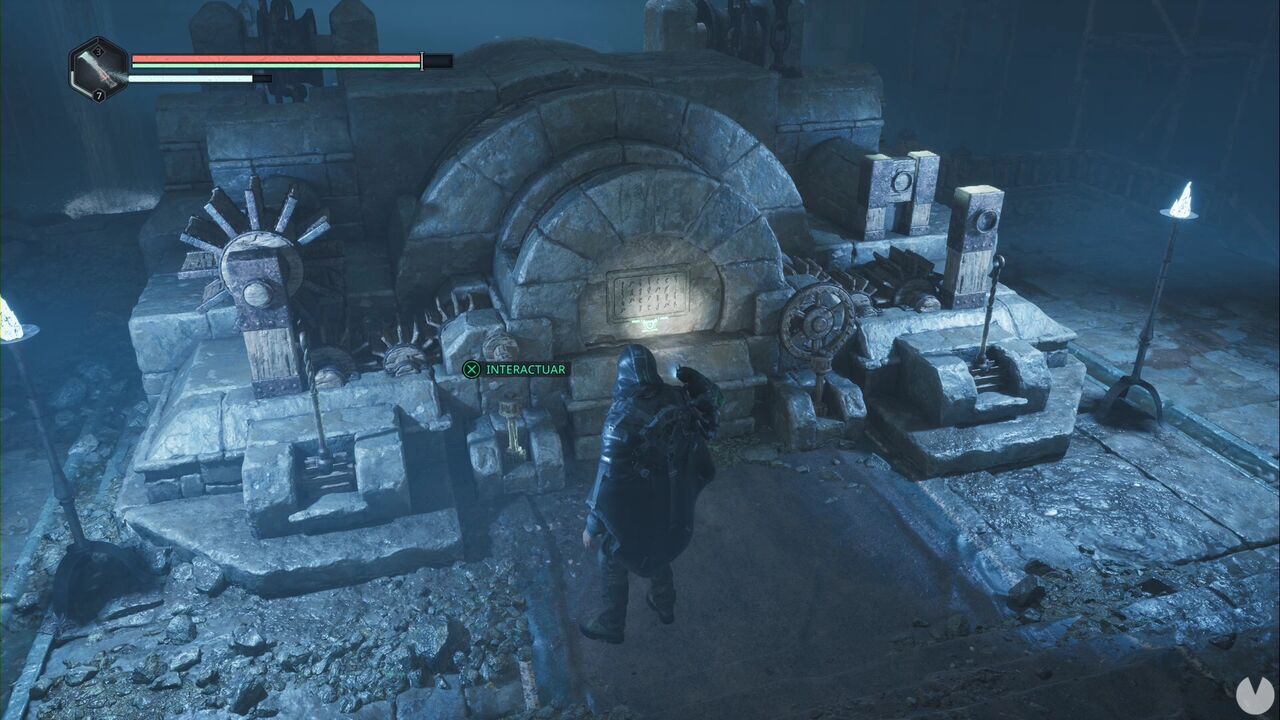
Before heading down, approach the central area and look towards the far end. You should see the yellow glow of an item. Go around the platform and drop down to it, eliminate the enemy and collect the Lymbic Rod - Terror, W. This begins the Lymbic Door - Lymbic Forge Mystery.
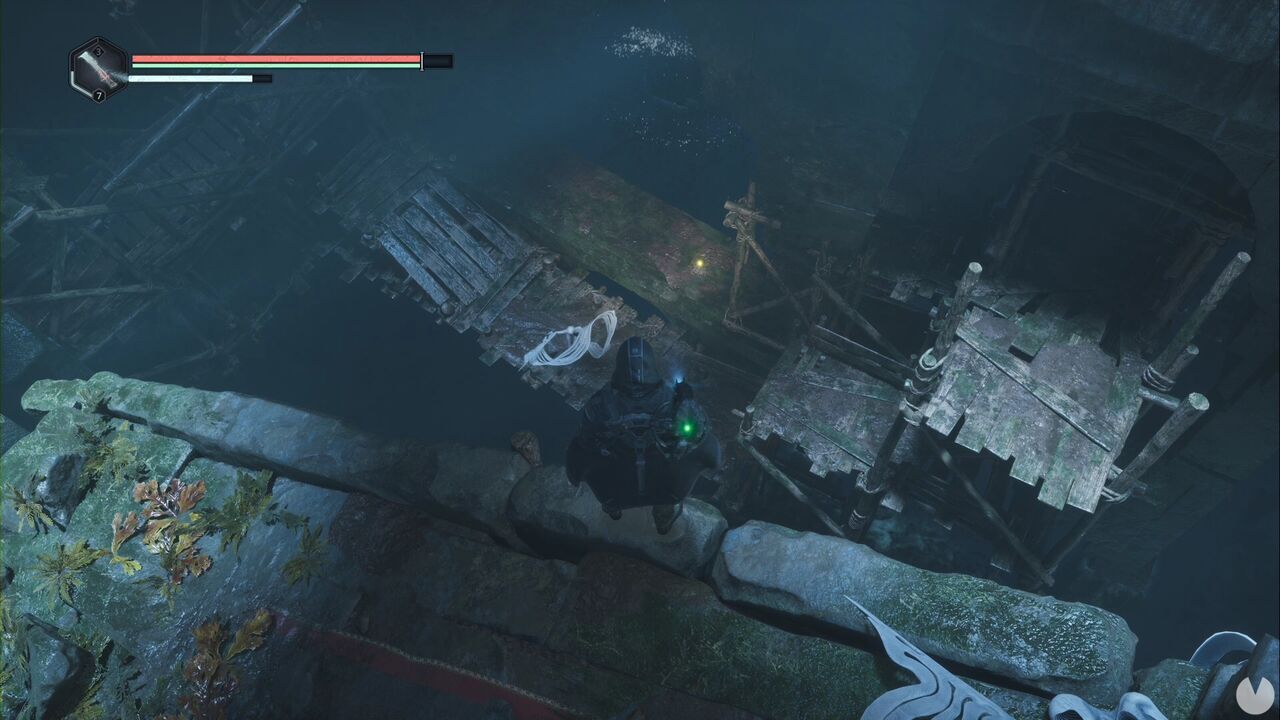
Once you’re in the previously flooded area, look for a path leading west through a tunnel. A gate will close behind you as you pass through, but there’s a lever on the other side that lets you open it again if you need to go back. Defeat the enemies and continue straight ahead to reach a small dead end containing the Lymbic Rod - Terror, X.
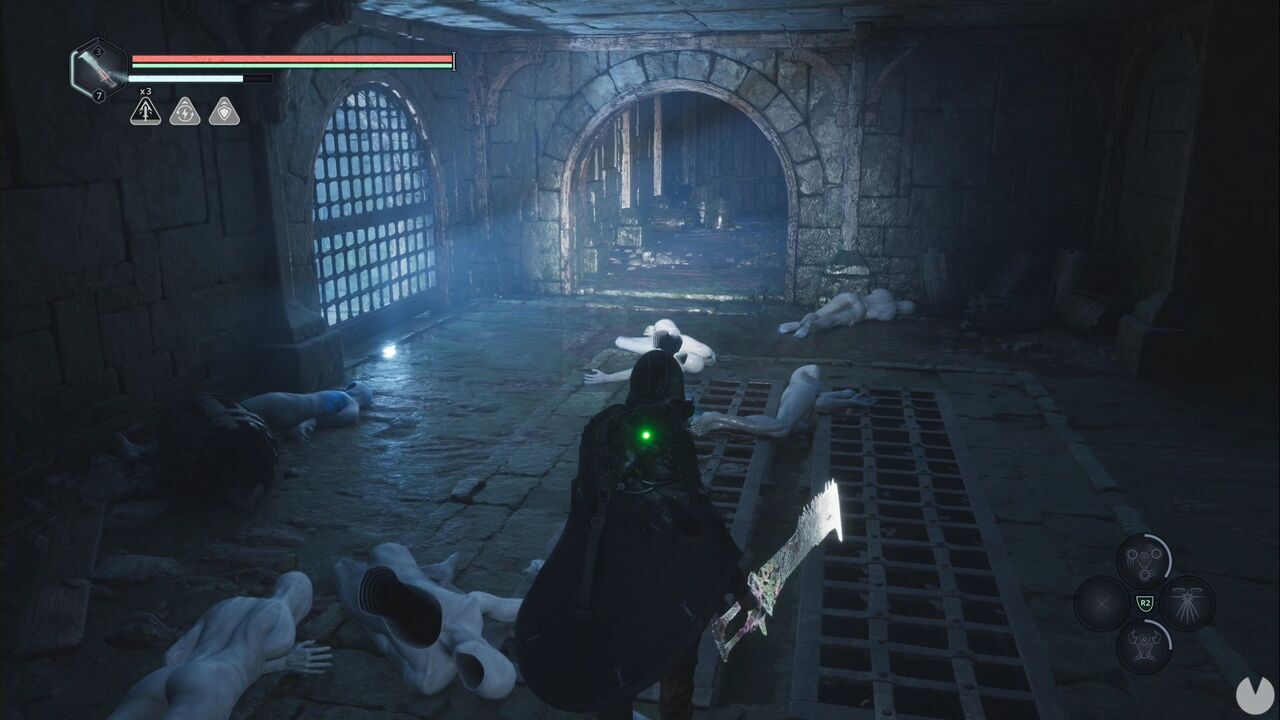
If you follow the other path, turn left at the first junction to use the Key - Crying Eye. You’ll enter a room containing several enemies and the Bracers of Grief - Denial. Return to the corridor, turn left and defeat another fairly tough enemy. Climb the stairs and jump onto the balcony where you can see the red glow of a consumable.
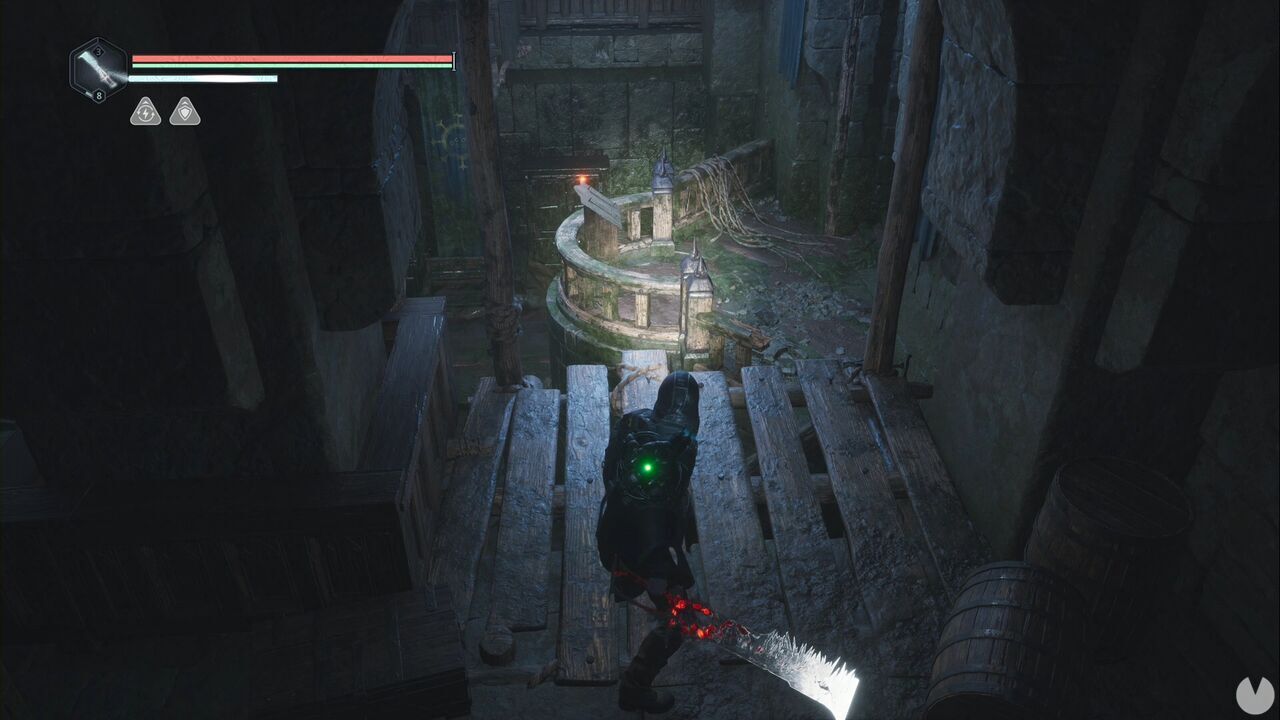
Inside the next room, you’ll find two items. One is the Gear - Large for the sluice, while the other is the Lymbic Rod - Rage, W. This is used to open the chest from the Lymbic Chest - Lymbic Forge, Hall Mystery beyond the door opened with the Key - Owl. We’ll return there shortly. Before heading back, open the door beside you to enter a wine cellar.
Aside from an enemy, there’s a wine rack in the corner where you’ll see the glow of the Lymbic Rod - Neutral, V. Collecting it begins the Lymbic Chest - Lymbic Forge, Dormitory Mystery.
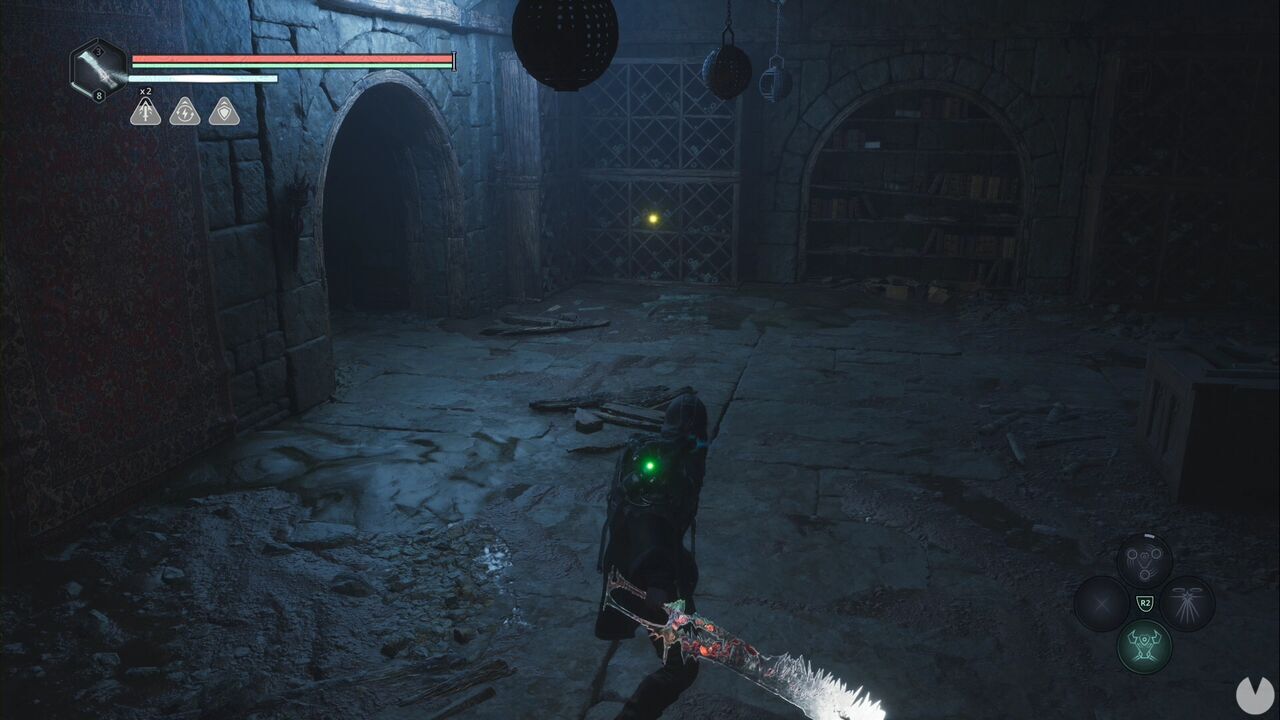
Return to the door that led you to the sluice machinery and this time go through the northern door.
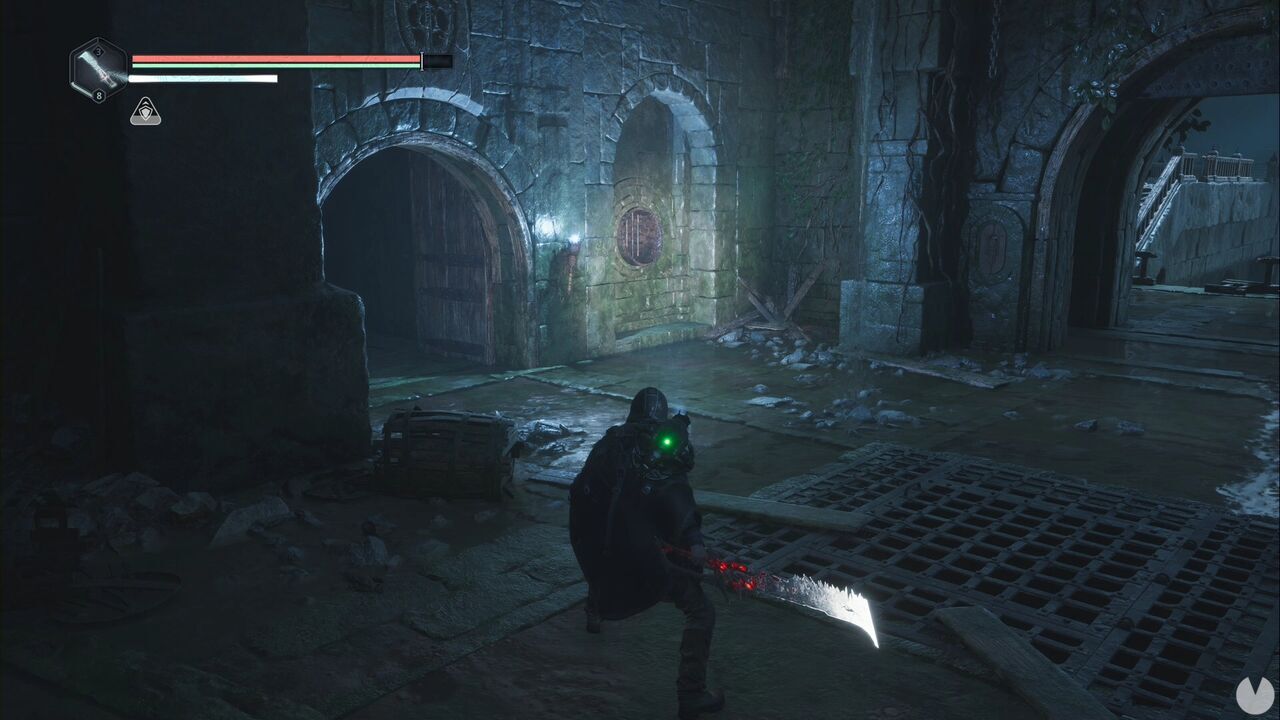
Turn left, climb the stairs and then climb another set of stairs to the north to reach the dormitories. Here, you’ll find a Lymbic Chest that can be opened with the Lymbic Rod - Neutral, V. After completing this Mystery and collecting your reward, remember to return to the torch room and go through the eastern door to reach another Mystery chest, where you must use the Lymbic Rod - Rage, W to open it.
Return to the sluice machinery and place the Gear - Large in the right-hand slot. Use the lever to drain the remaining water. After the sequence, look downwards to see a green glow.
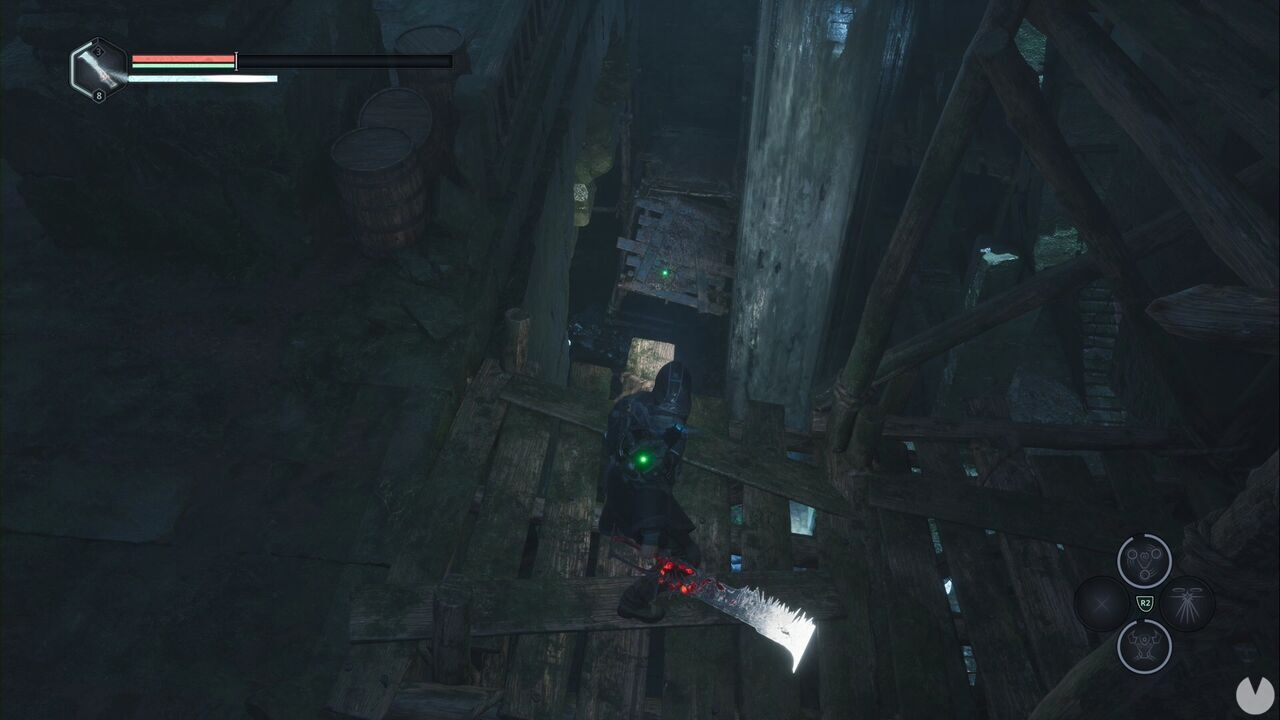
If you plan your descent carefully, you can reach it and collect a Greatsword of Rage, an upgraded version of the Lymbic Greatsword that has already been evolved using a Lymbic Sphere of Rage. It won’t be especially useful, because if you wanted one, you’d already have crafted it by now, right? Once you reach the bottom, eliminate the enemies and look for a Lymbic Door along one of the sides. This is the door for the Lymbic Door - Lymbic Forge Mystery. Insert the Lymbic Rods - Terror you’re carrying to open it and collect the rewards.
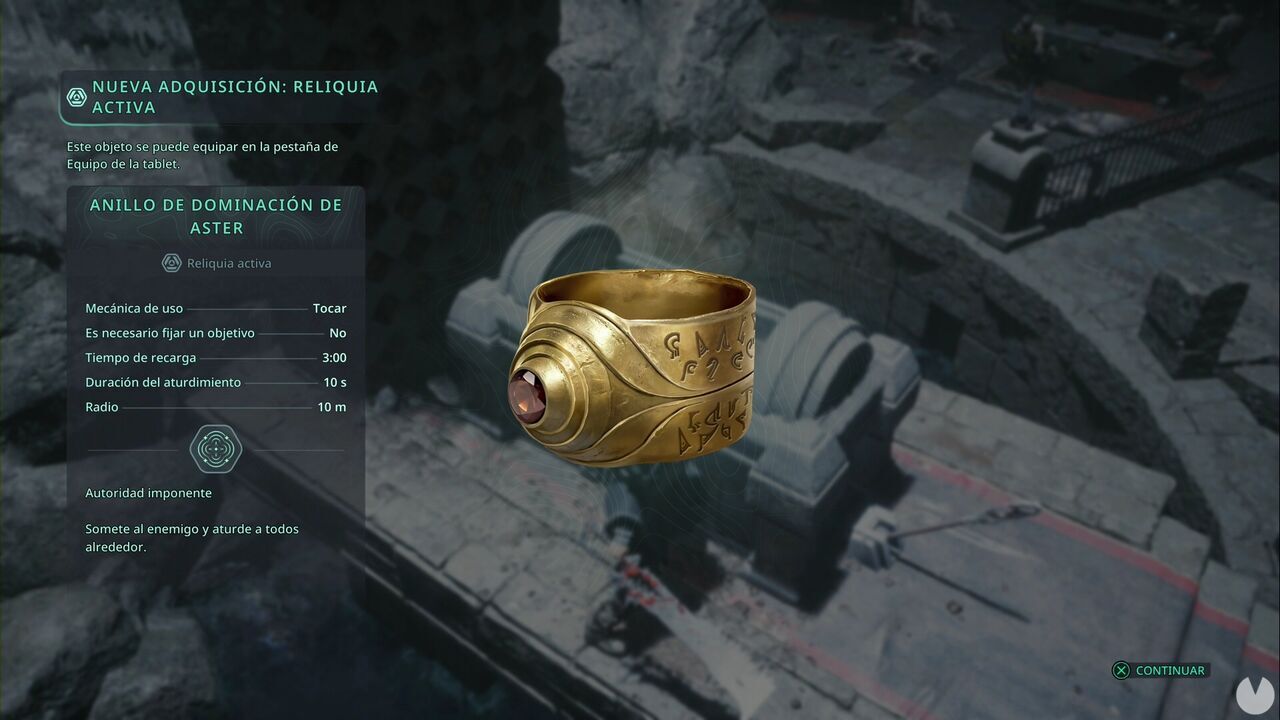
You can now follow the eastern tunnel to an elevator, which takes you to a fight against an enemy whose Haze splits into several smaller ones and a sarcophagus. Directly behind the sarcophagus, you’ll see the red glow of an Amine Prism - Sigma. Now use the lever to open the sarcophagus and collect the Aster’s Band of Domination relic, the Hammer of Modus and a letter.
Return to the reservoir’s sluice machinery and use the Hammer of Modus on the locked door to enter the Forge. You can collect a Sword of Grief before eliminating the enemies. Afterwards, place the Keystone of Grief on the blue pedestal to begin Act II.
