
Talju is the first area we recommend completing during Act II of Hell is Us. Although you’re completely free to search for the Lymbic Forge Keystones in any order, several collectibles can be missed once certain events are triggered. It’s therefore best to follow a specific order so you don’t ruin that precious 100% completion.
Head to the APC and ask Tania about the Symbol of the Screaming Face to add Talju to the fast-travel list. Before heading there, however, we’re going to take care of several things that are now available so we don’t overlook them.
Begin by returning to Lake Cynon and opening the Vault of the Mere. Aside from the Memoria of the Phol relic, which will help you level up your weapons, you’ll find a couple of elite Glyphs and, more importantly, an Amine Prism - Theta. You still can’t close the Lake Cynon Timeloop, so don’t bother heading down there yet—we need Lymbic Rods to open some of the doors concealing its Timeloop Guardians.
Return to the Acasa Marshes and speak to Victor to give him the tome you found in the Lymbic Forge. If you take a look around Jova, you’ll notice that most of the people have left. Vaas has taken the AAF to the abbey, although you can’t enter it yet. Pfft, as if you wanted to go to Mass anyway.
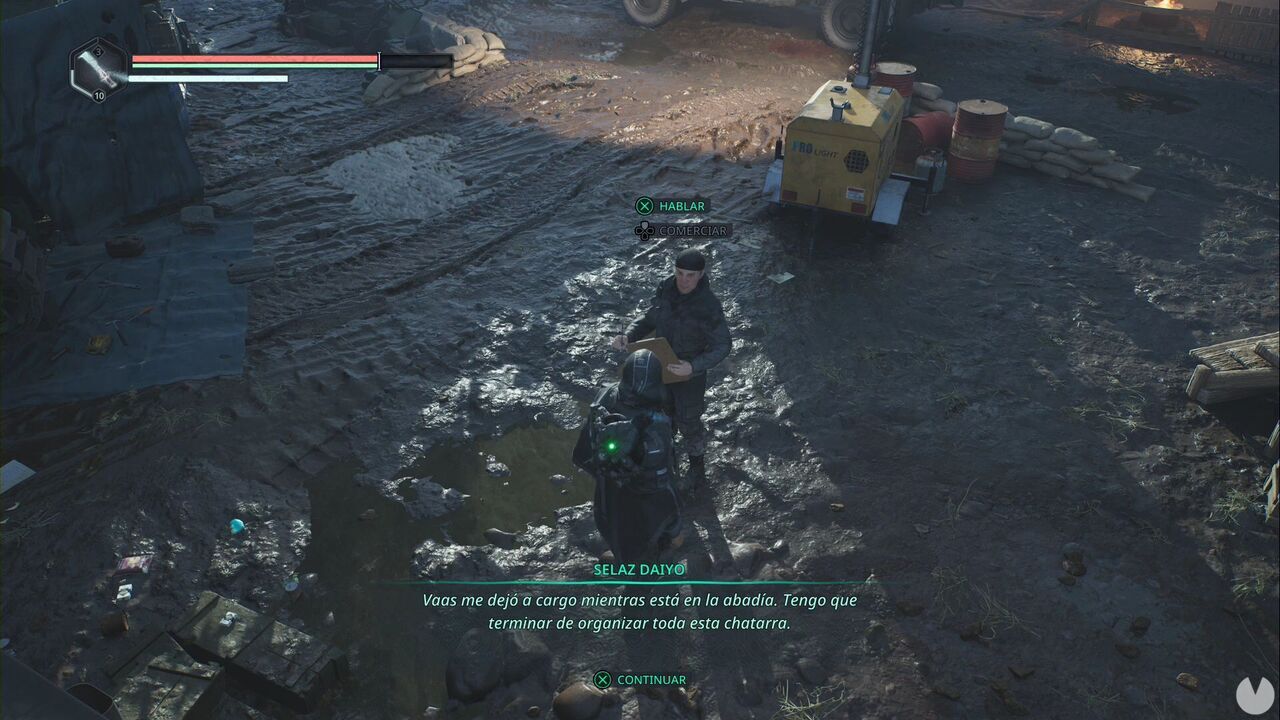
This means you can now head to the well square—west of the soldier, up the ladder—and look for the doghouse in one of the corners. You may have approached it the last time we were here, but a soldier claimed that the dog belonged to her now.
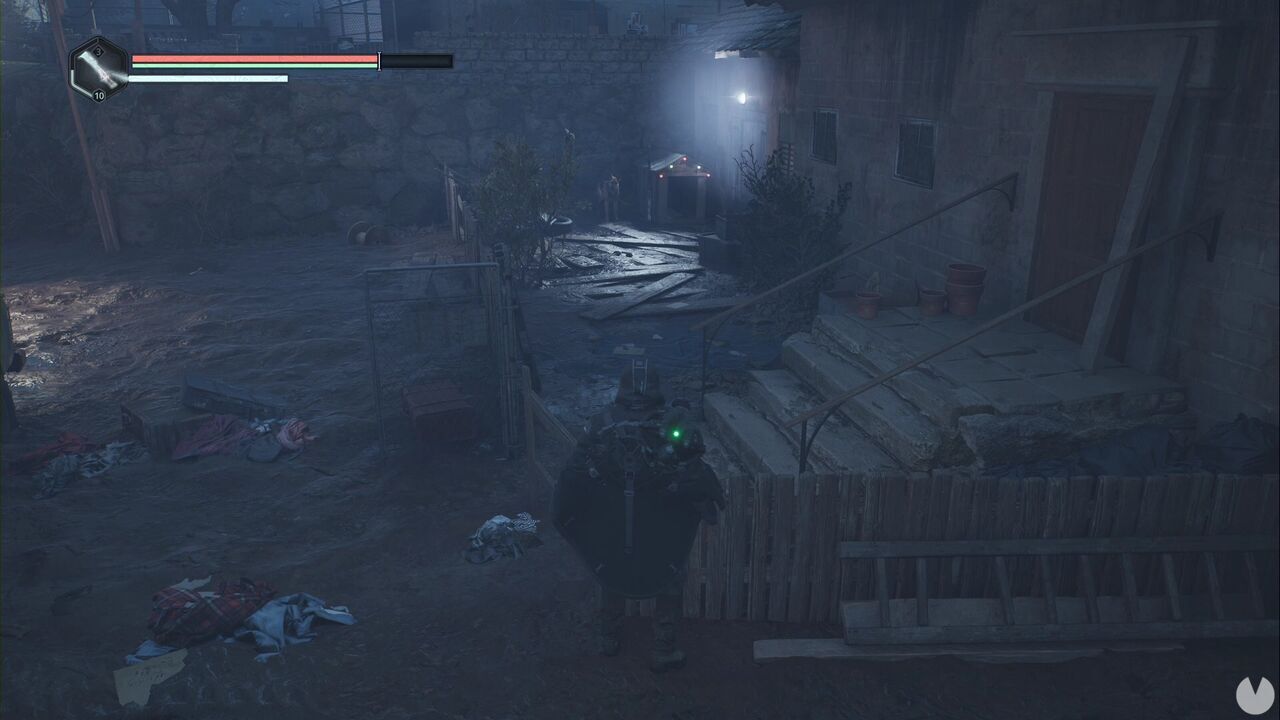
Approach the dog and you’ll be able to collect the Dog Collar, beginning the Man’s Best Friend Good Deed. Now travel to the Vyssa Hills refugee camp near the mines. From the APC, head north to where the Timeloop used to be. Once there, look for the slope leading northwest beside the sealed stone door.
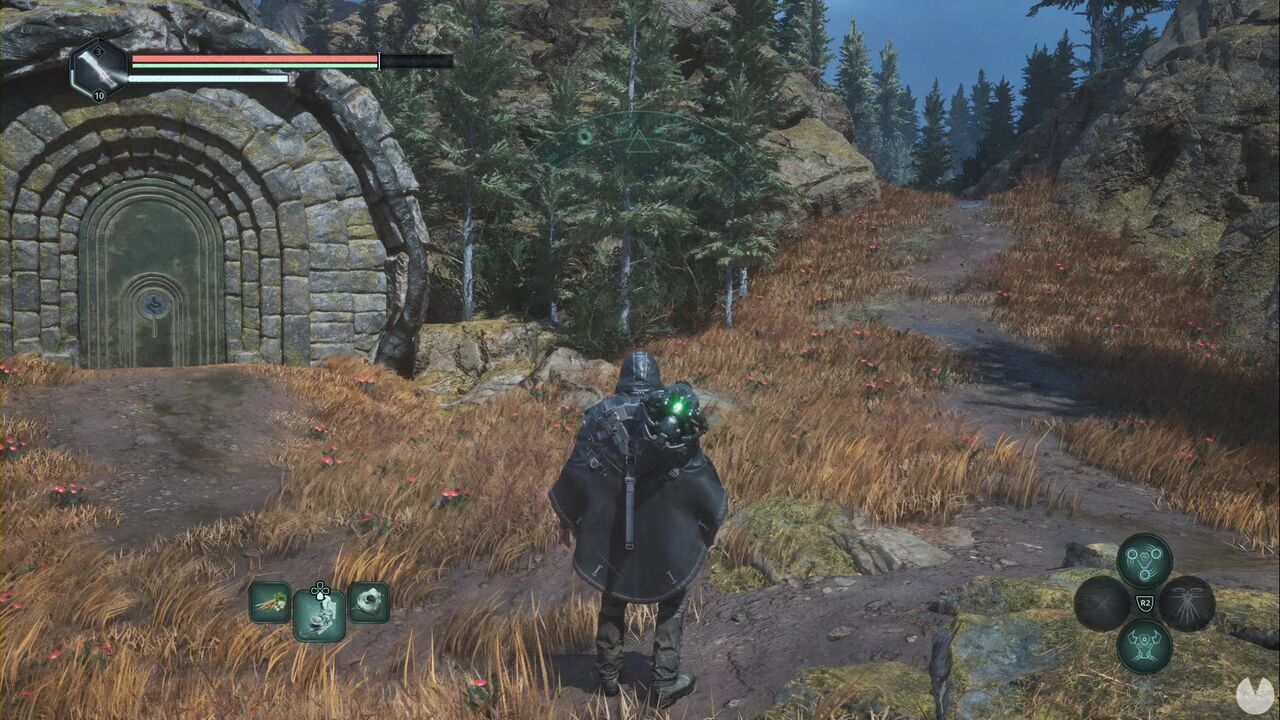
Once you reach the camp, find Alban Vosh and give him the collar to complete the Good Deed. You can now return to Atticus—from the APC, climb the ladder to the west and you’ll see him right there—and give him the ON Vehicle Keys you’ve been carrying around for ages to complete the Heart of Gold Good Deed. Had you completed it earlier, you would have locked yourself out of two other Good Deeds. Don’t forget to head up the slope to the Watcher’s Nest and speak to Gildas to collect your rewards before finally leaving for Talju.
When you step out of the APC, you’ll notice that the visibility is absolute garbage. You can’t see a damn thing ten metres ahead, so make sure you follow our directions carefully and use the landmarks we mention to avoid getting lost. Head north through the open gate until you reach the petrol station. Look to the right to see the door to an office.
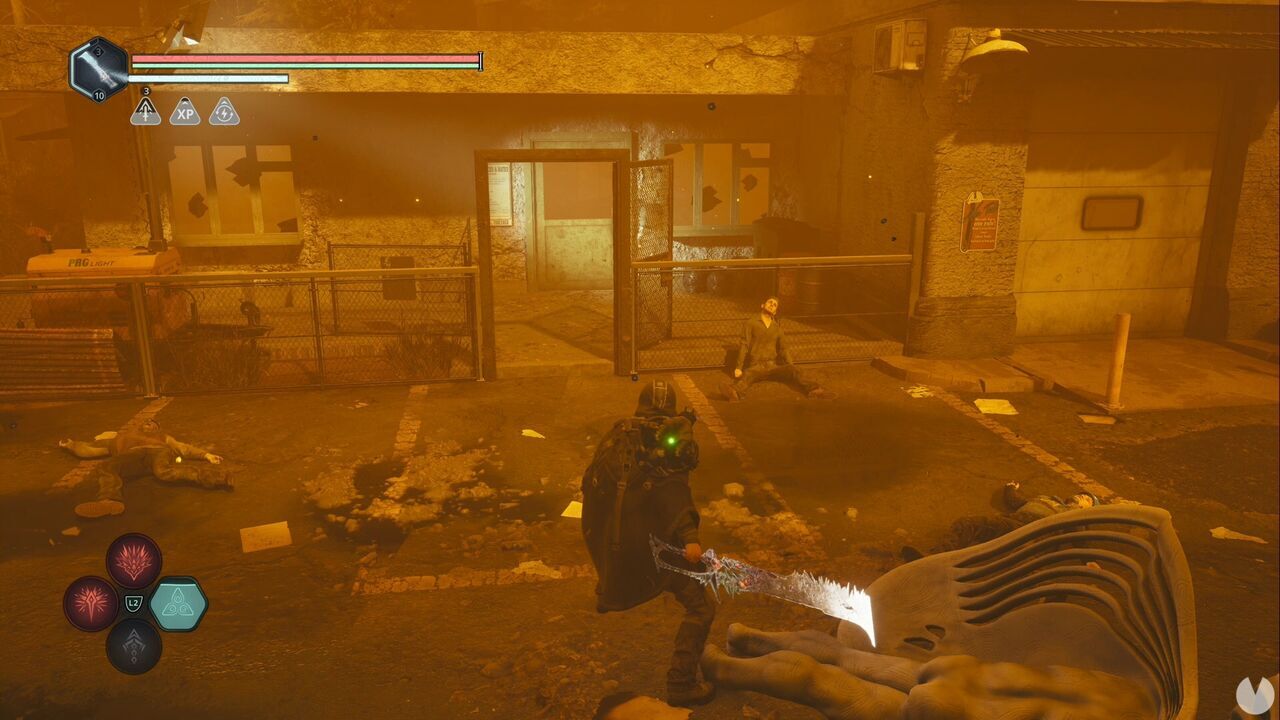
Head inside and check the room on the right to find Boro, another NPC whose dialogue options you need to exhaust. He’ll give you the Map of Talju, which can be used like any other consumable item—although it won’t be used up—to help you get your bearings.
Retrace your steps to the APC and ignore the nearby tunnel for now. Instead, take the street leading south.
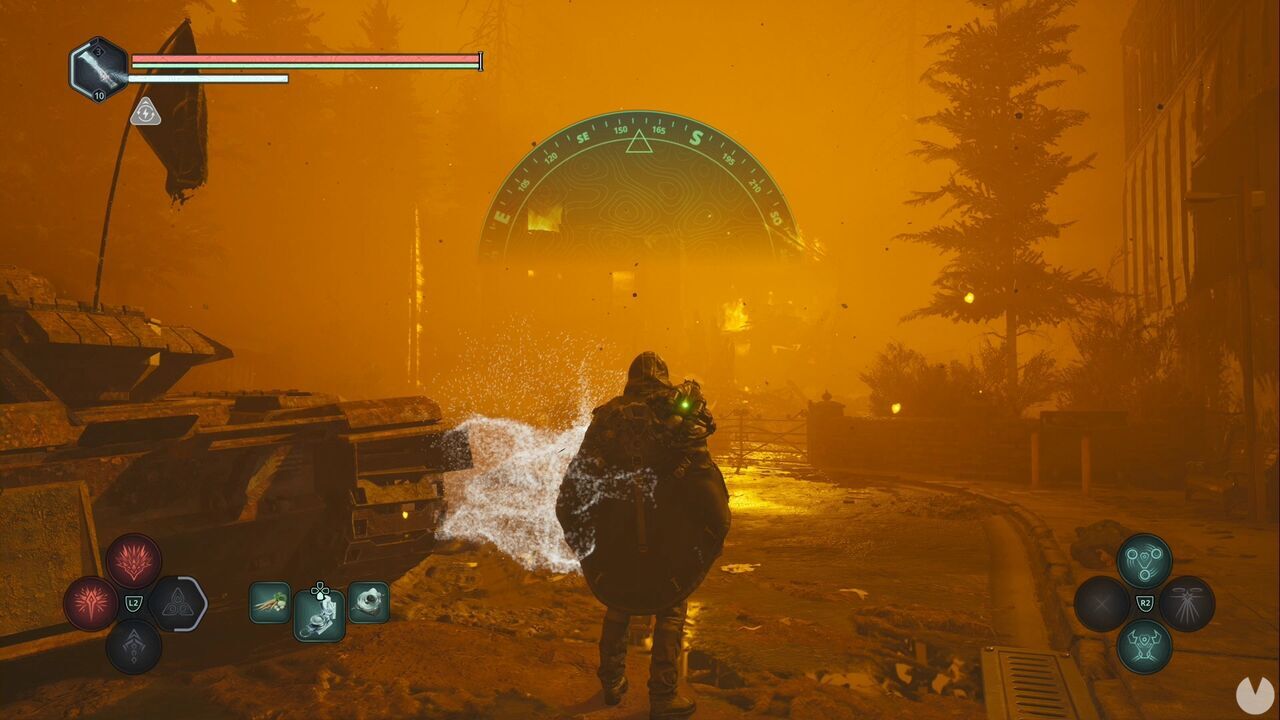
Immediately after passing the tank beside the APC, check the front of the vehicle to find the Deimos Orders - Liberate. Continue slightly south until you see some stairs leading north on your right. They’ll take you up to a railway bridge. Follow the tracks until you see a platform with a yellow glow. This is the Diary - Crazy Week, which begins the Supply Chain Mystery.
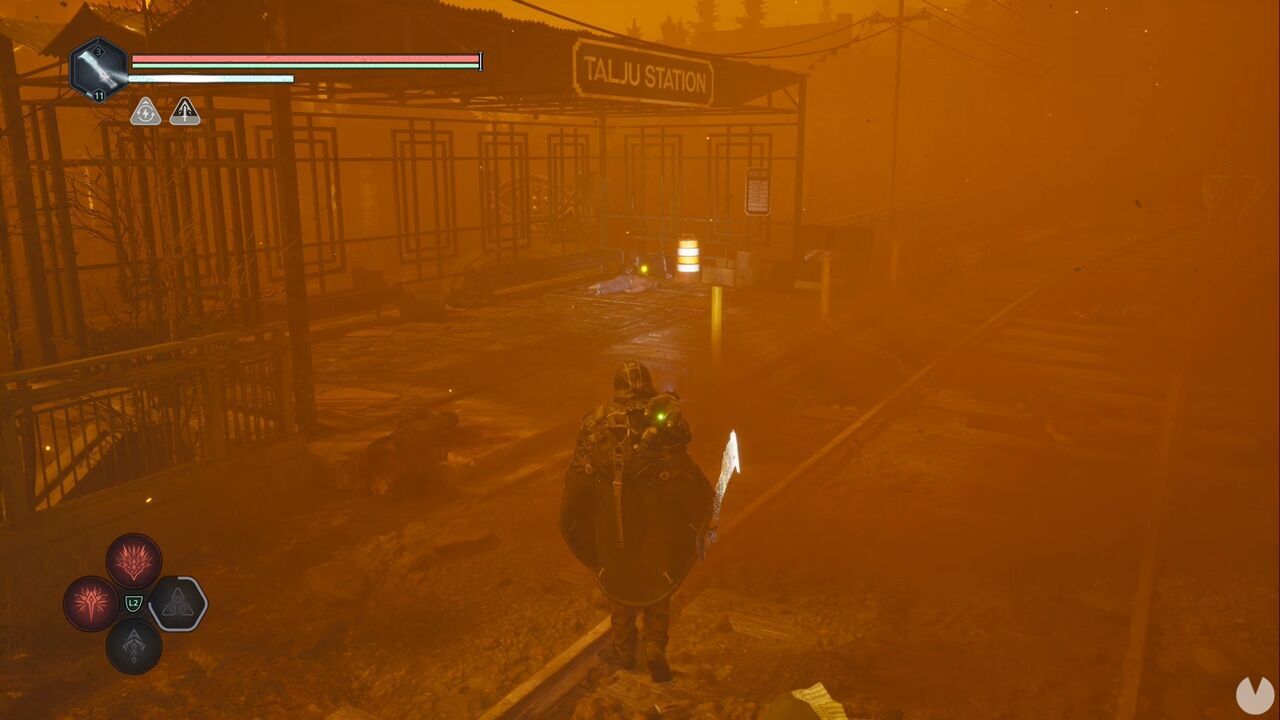
Continue along the tracks until you reach a street lined with houses. Head straight ahead, ignoring the steps on your left, then turn the camera to see some stairs leading down. You’ll spot a glowing item at the bottom: the Ballot.
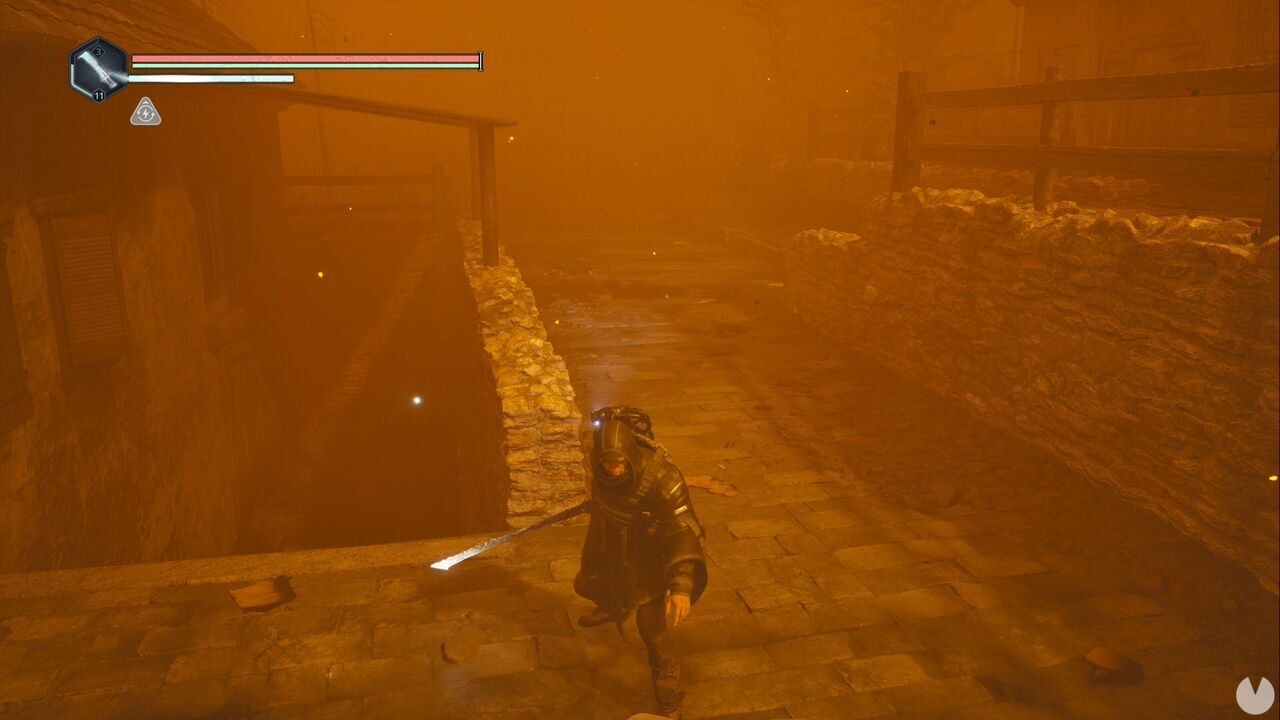
Ignore the houses—one belongs to Caspian Fran, but you can’t enter it yet—and follow the path west until you can drop down to one of Talju’s main streets. Eliminate the enemies and look between the vehicles on one side to spot the glow of the Forward Charge - Elite module.
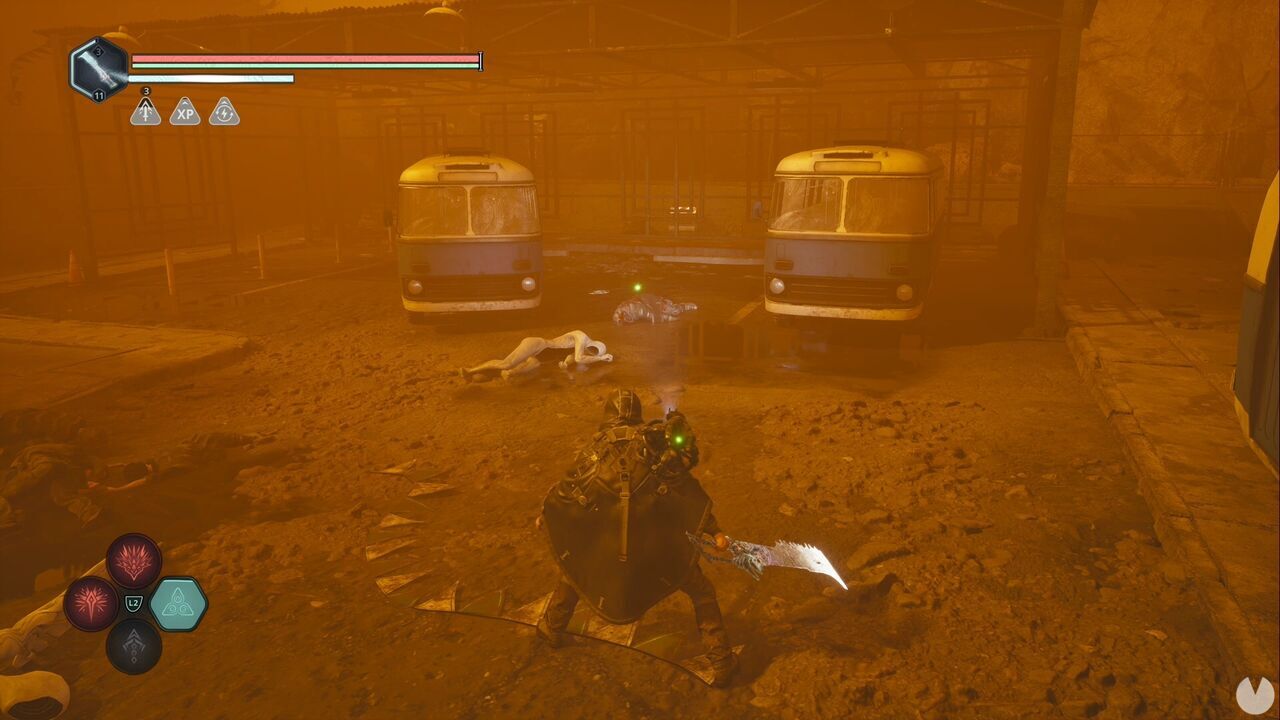
From here, follow the street south and turn east when possible—don’t go up the stairs—passing beneath a green banner with several hanged bodies. A little farther ahead, turn south, continue straight and finally head west to see the APC on the other side of the stone arch. This is important because we need to guide you to the Town Hall and, remember, you can barely see a thing.
From the APC, head west through the stone arch. At the junction, you’ll see the glow of an item inside a small booth. This is the Note - Cryptic Clue. We don’t need it for anything, but there it is.
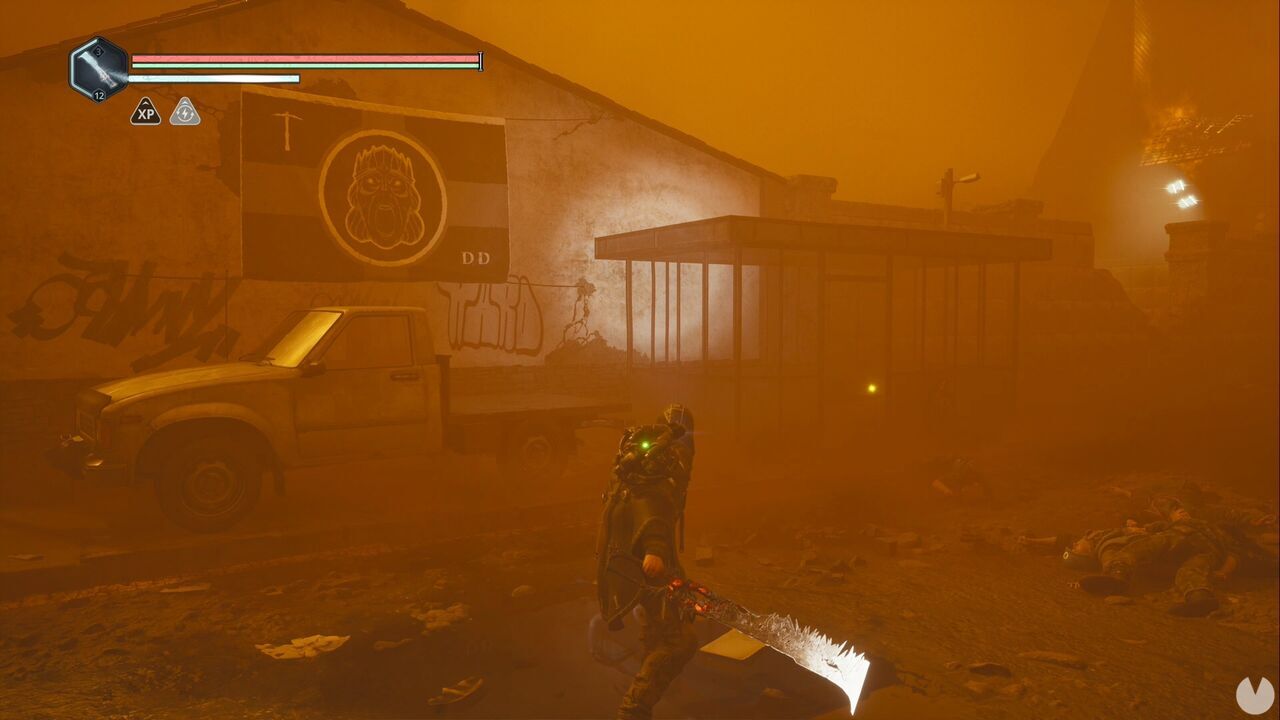
Return to the junction and continue west, passing the pharmacy. It won’t take long to reach the entrance to the Town Hall and see the glow of an item to its left. These are the Signal Flares. Collecting them begins the A Light in the Dark Good Deed.
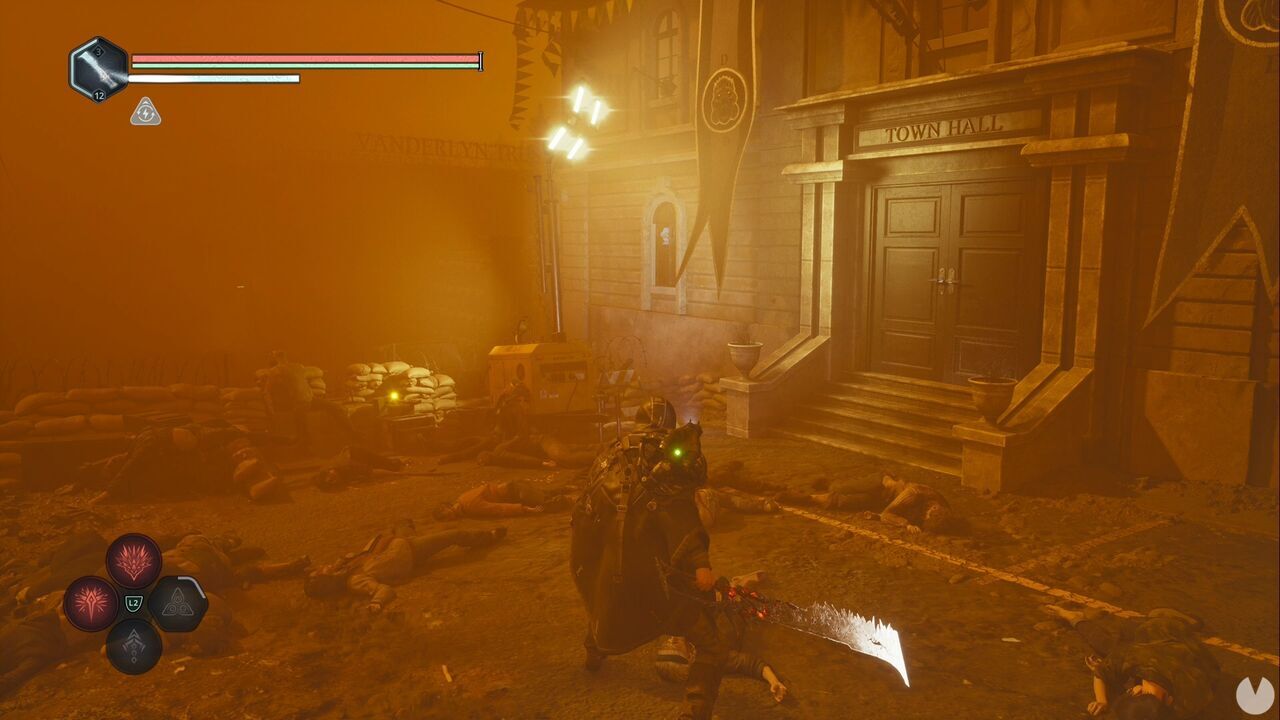
Now enter the Town Hall to find Caspian Fran, another NPC and the man you’ve been looking for. He’ll give you a Walkie-Talkie. Remember to exhaust all his dialogue options before moving on.
Leave the Town Hall and enter the courtyard of the burning house to the south. You’ll find a Pamphlet on the left.
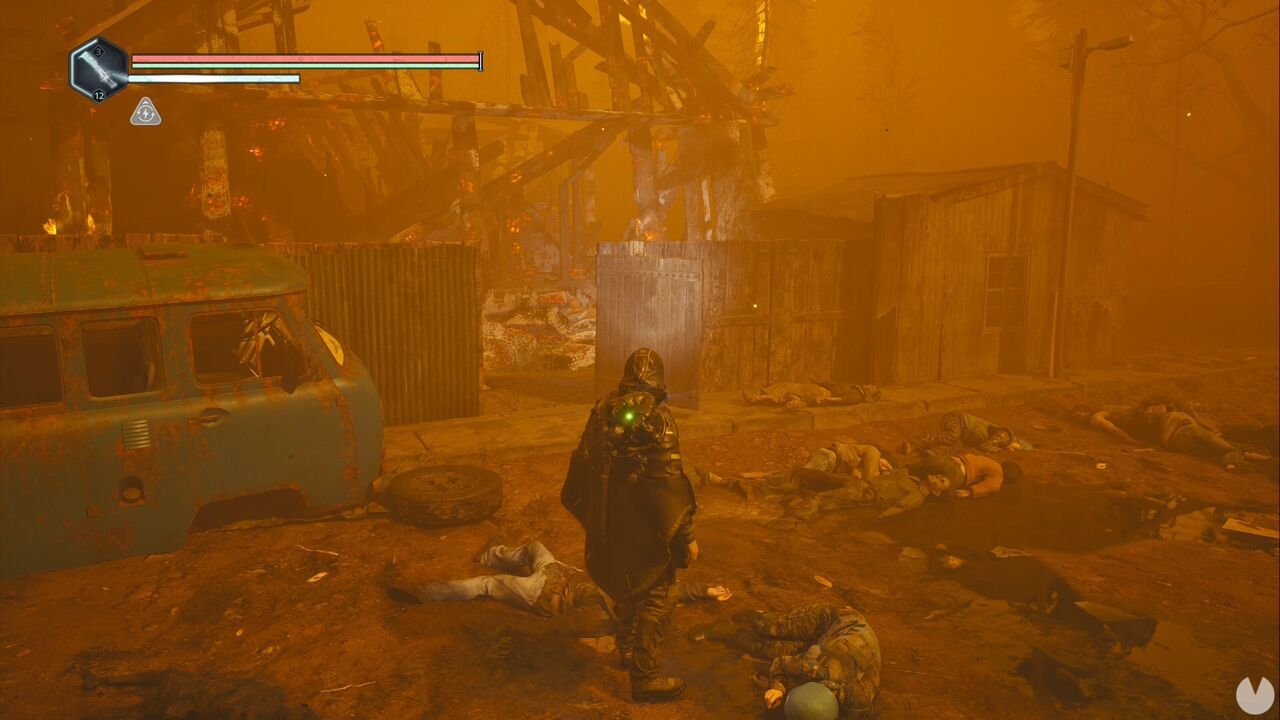
Return to the street, head south and then east until you reach the road again. You’ll soon see the glow of two items—one inside a box beside the road and another down some steps beside the house.
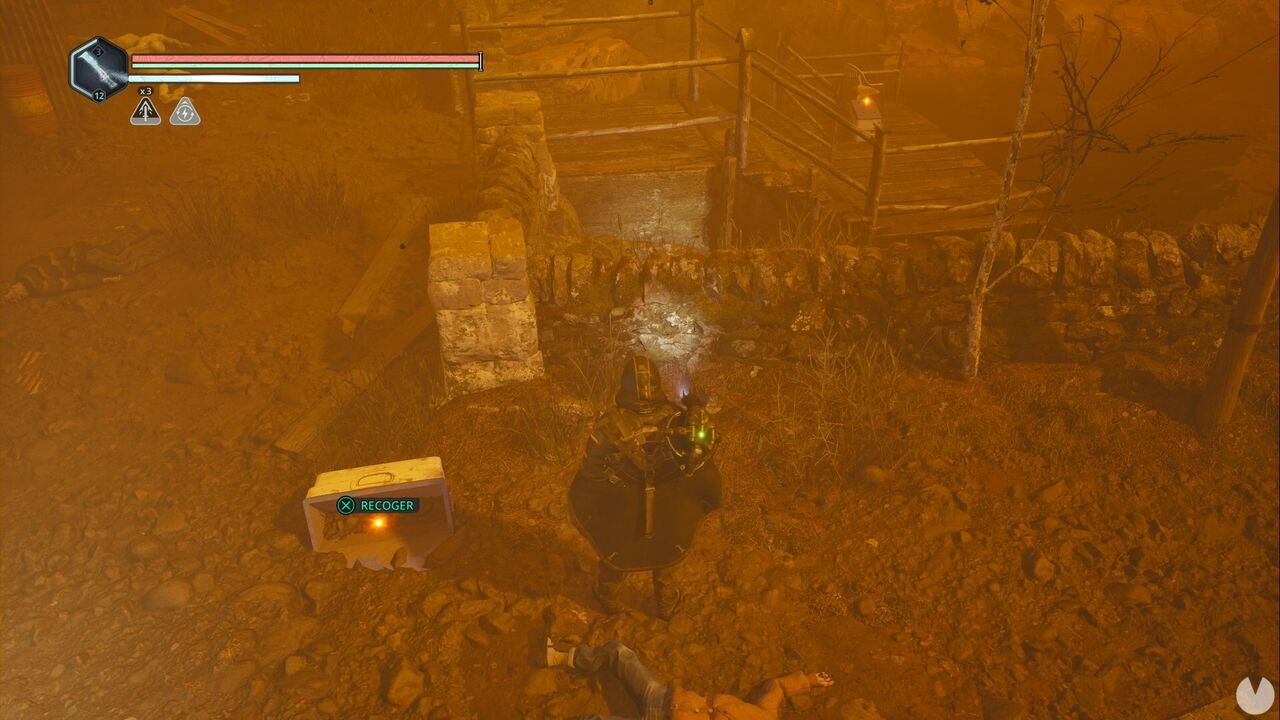
They’re ordinary consumables, but from here you can go around the back of the house on your left. Cross the ramp to reach a ladder leading to the upper floor. Just after passing through the hole in the wall, you’ll find the Worn Journal, along with the Agatha’s Journal item. In this same room, there’s a safe on top of the cabinet above the bed. Enter the code 34911 to open it and complete the The Hideout Mystery, receiving the Recording - Agatha’s Diary and the Idol of Rage - Contempt.
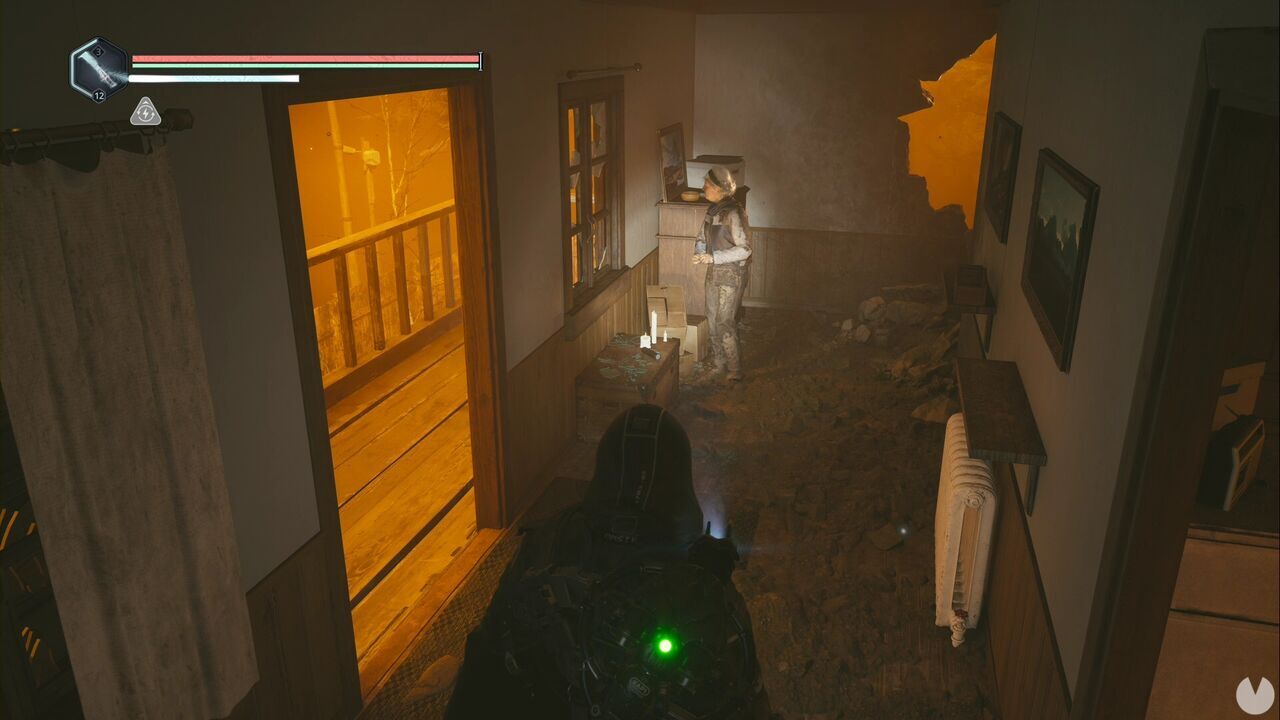
In the adjacent hallway, you’ll find a woman who must be given one of the Signal Flares for the A Light in the Dark Good Deed.
Right, now return to the street and you’ll see that you can open the gate beside the ramp, creating a shortcut to the pharmacy. Return to the APC and head to the petrol station to give another Signal Flare to Boro. Now head back to the Town Hall, but this time go west. There’s a path to the left of the barricades.
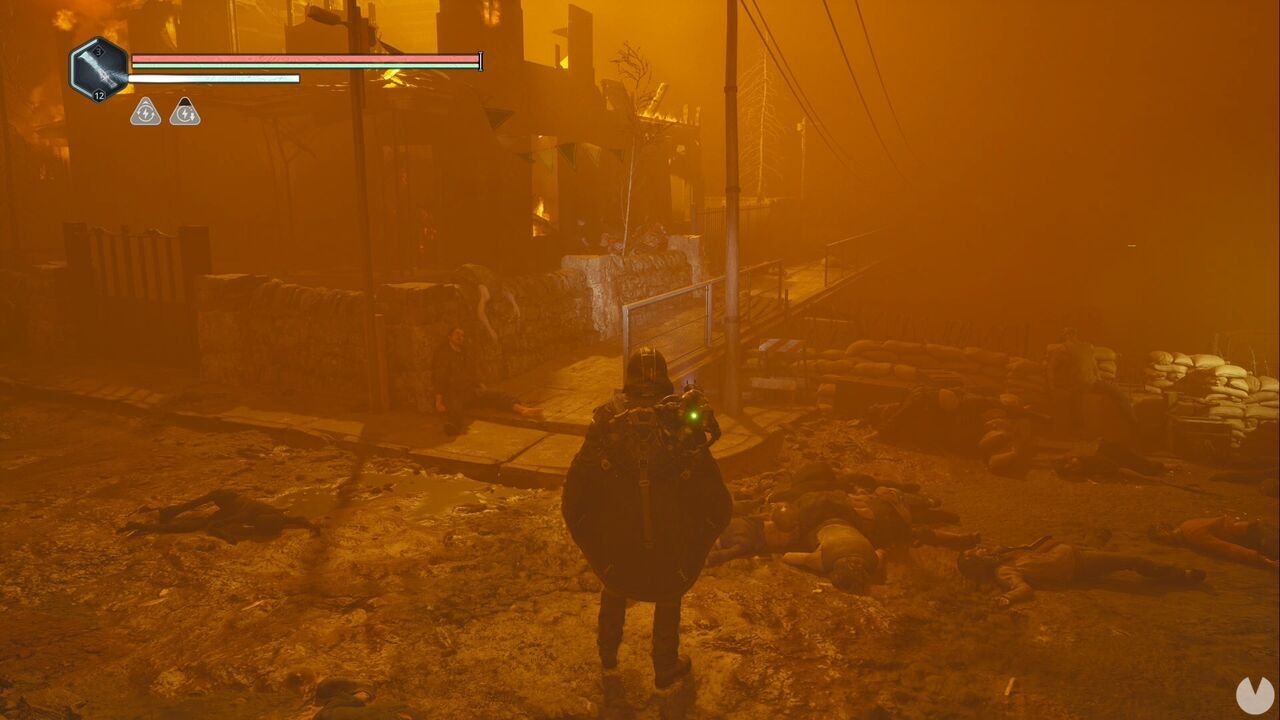
If you turn left before dropping over the broken railing, you’ll see a burning tree. Directly in front of it is a glowing item marking the location of the Key - Pharmacy—the pharmacy at the junction we mentioned earlier, remember? Near the stone arch beside the APC. Don’t worry, we’ll walk you right back there in a moment. For now, drop into the lower area to the west. There’s another item opposite the swings.
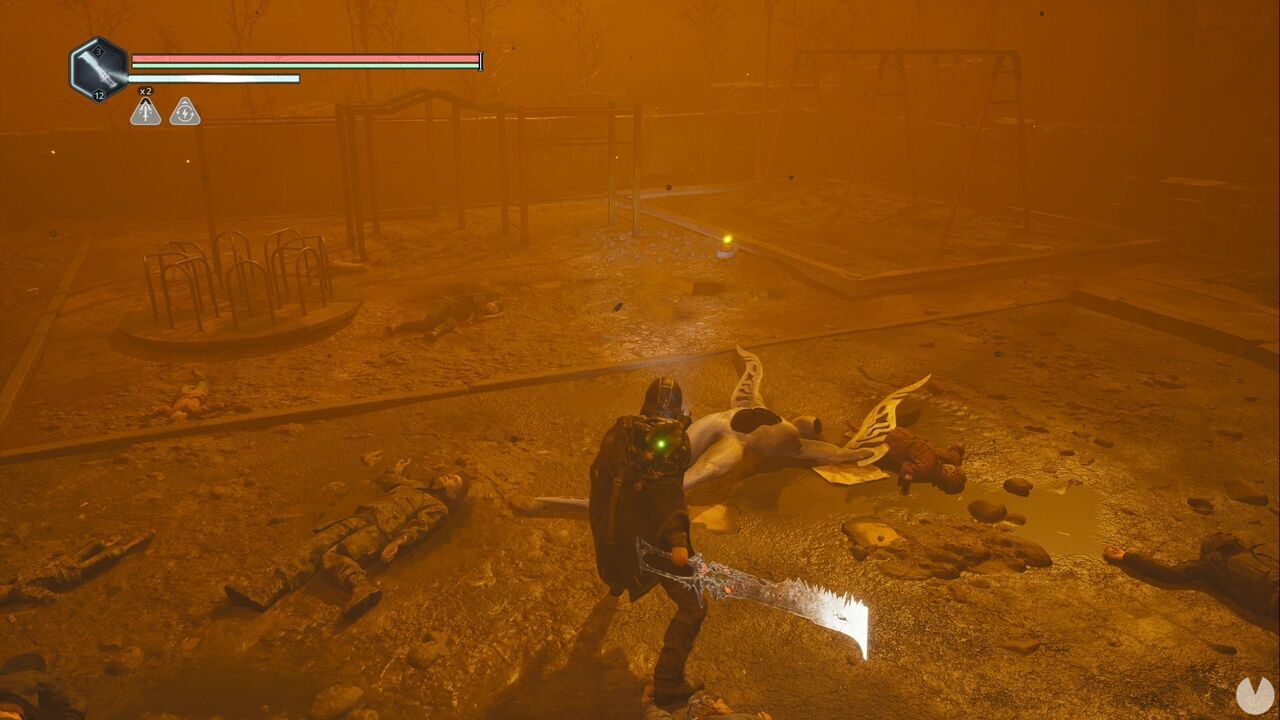
This is the Key - Talju House, which begins the History Lesson Mystery. You’ll also collect the Ethnic ID Card - Lukhan. Retrace your steps to the pharmacy junction—where the tank and the stone arch leading to the APC are located. You still can’t enter the pharmacy, so head west.
Stick to the left-hand side and you’ll soon see a glowing item in a shop window. This is the Zoom Lens, which is connected to an active Mystery that we’ll continue once we’ve finished in this region.
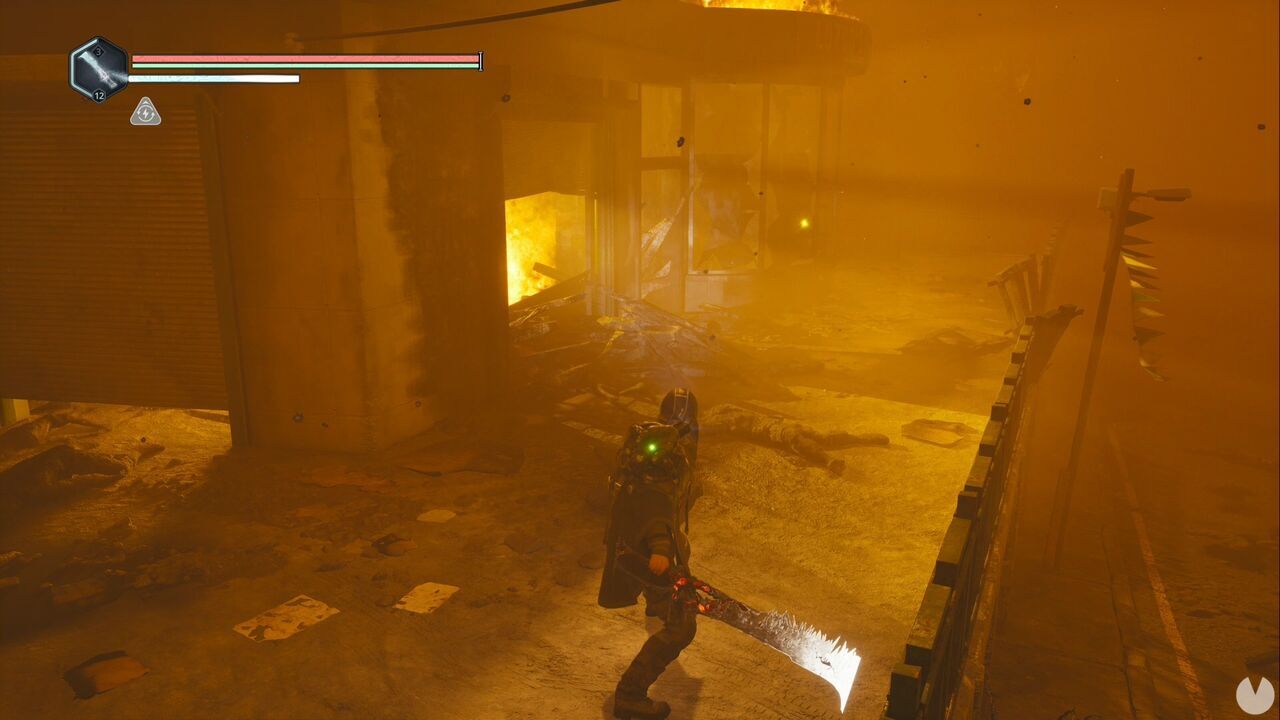
Continue west. You’ll soon run into a couple of particularly nasty enemies, so take them out and then look south-southeast to see the Vanderlyn Trust building.
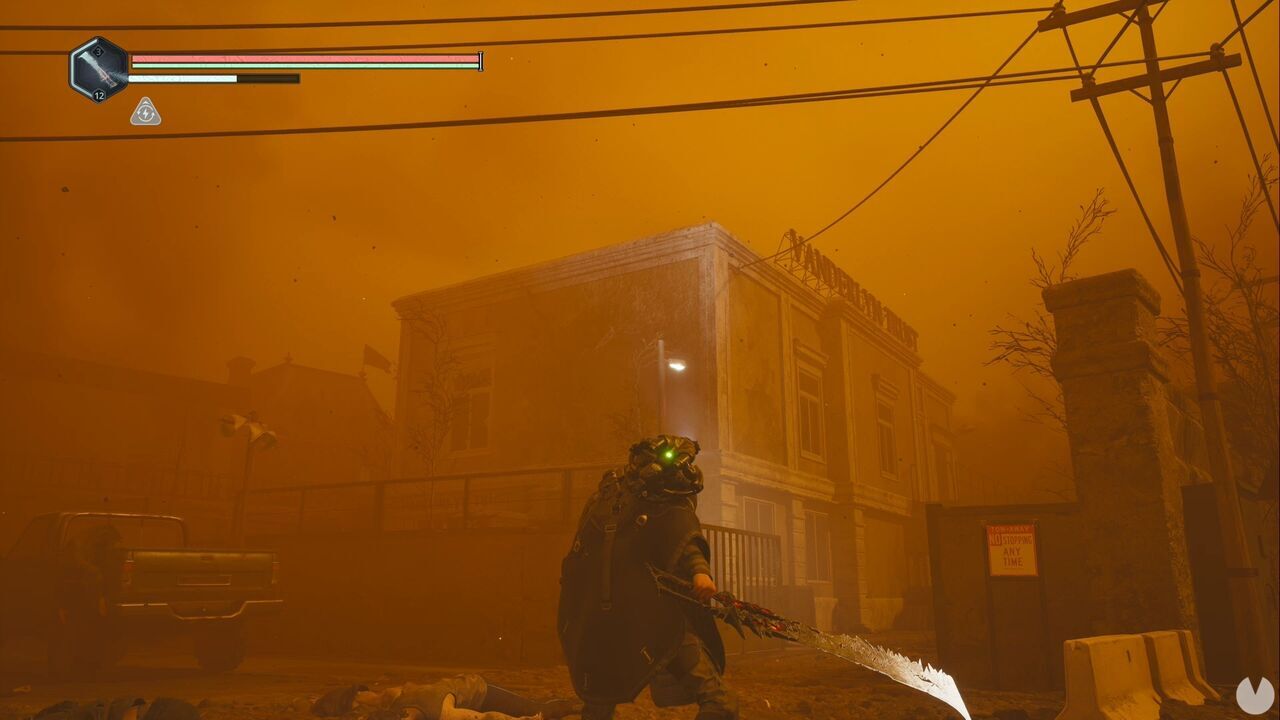
There’s a door in the courtyard that you can open. Go through it and climb the stairs to the upper floor. The hallway contains several enemies and a locked door. Open it to find Charlotte Topam, who must be given the third Signal Flare. Return to the hallway and search the room at the far end on the left to find the Symbol - Flame and the Map - Senedra Mountains, beginning the Forlorn Fate Good Deed.
Leave the building, approach the burning building to the west and continue south. You’ll soon find the Deimos Orders - Reinforce. There’s also a medkit beside the tank, so pick that up as well. Turn around and head north until you find a barn on your left.
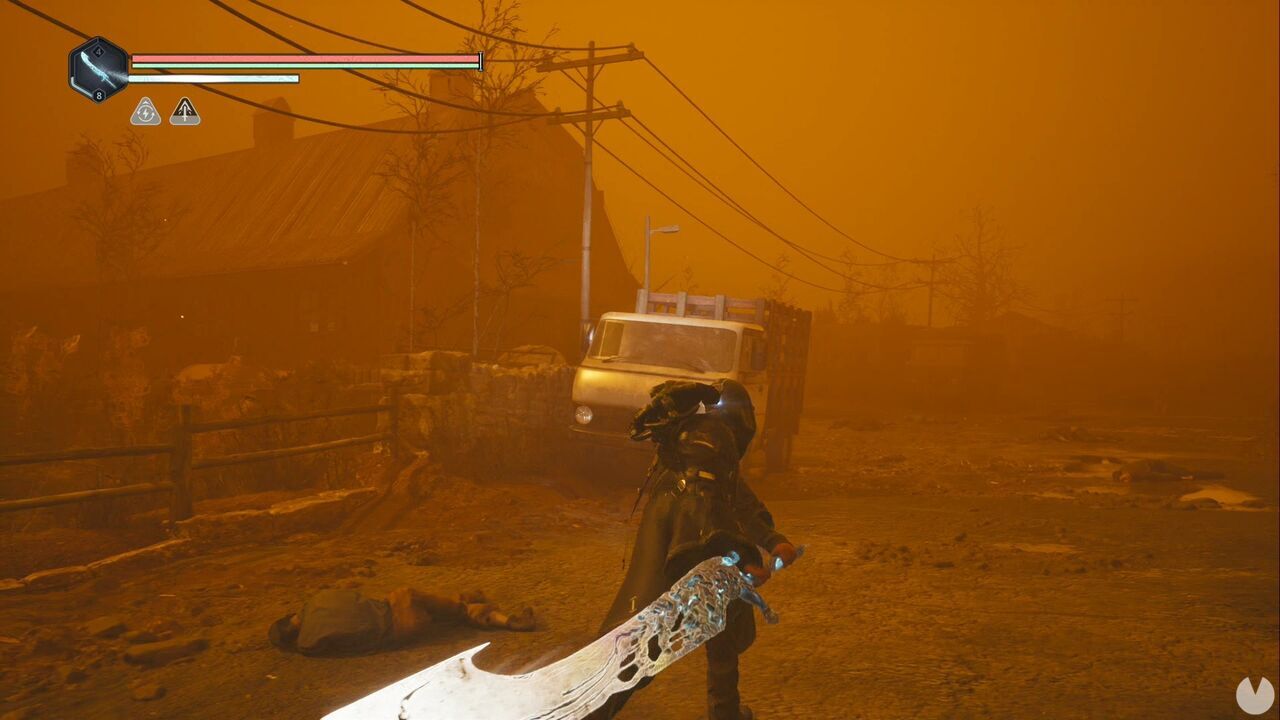
Enter and climb the stairs to find Ylio Botham, the final character who needs a Signal Flare. You’ll notice that the Good Deed isn’t completed yet, but don’t worry. It’s tied to a later event, although you must deliver all the flares before advancing Talju’s story. Leave the barn and go around it to enter through the door on the other side. Aside from a consumable, you can find the Palomist Cap upstairs.
From the barn door facing the street, look slightly northeast. You’ll see some stairs leading into the grounds of the building to the east. There’s a save point halfway up the steps, so they’re hard to miss. Immediately after crossing the fence, look ahead and to the left to see a shed.
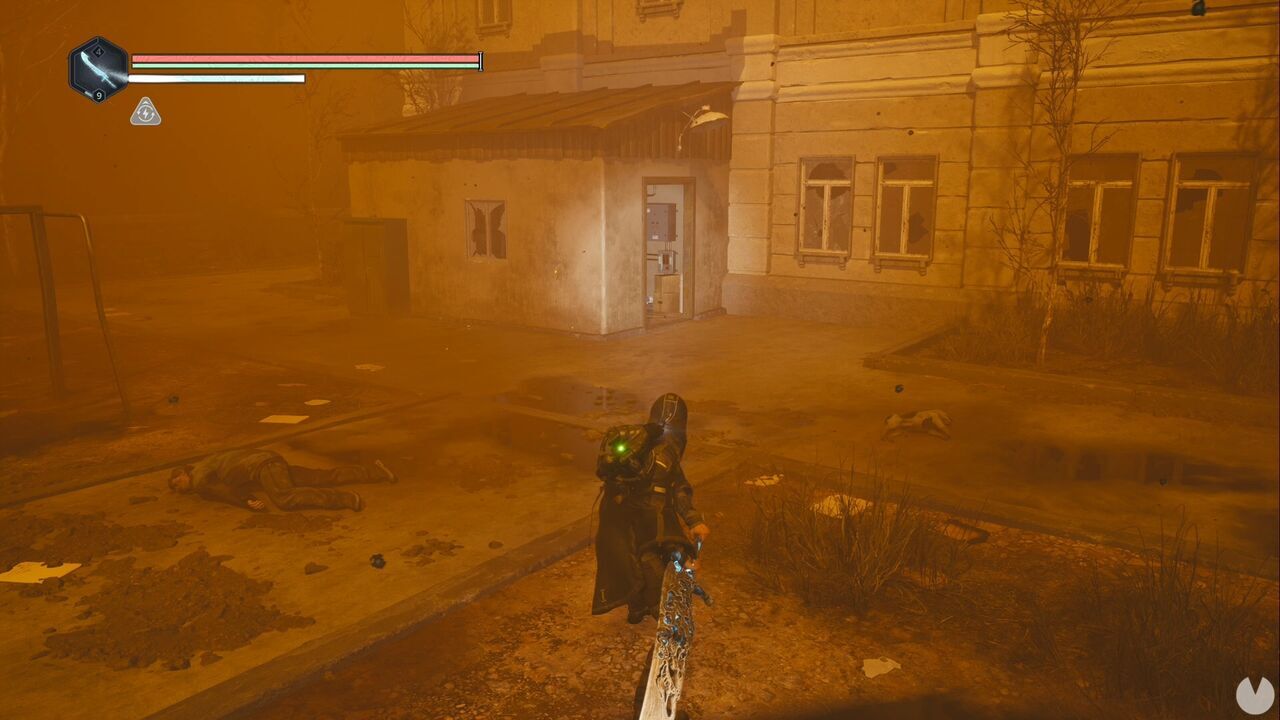
Inside, you’ll find Lukhan. Exhaust all his dialogue options and give him the Walkie-Talkie. Return to the Town Hall and speak to Caspian, who will give you the Key - Parking Lot.
You now need to eliminate the enemies in the parking lot. Once you’ve done so and spoken to Caspian, all the survivors who received Signal Flares will leave. From the pharmacy junction, head north and then west to find the entrance to the parking lot. You can now open it with the key and by using the computer inside the booth.
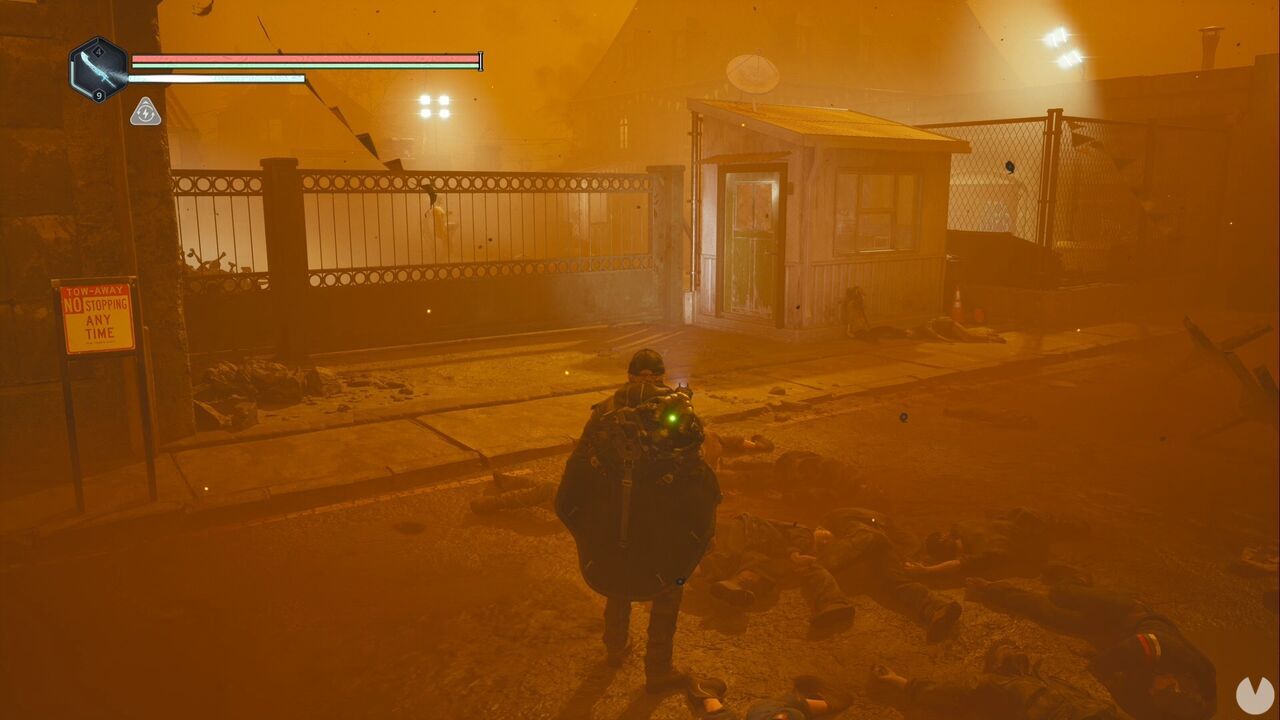
After defeating the creature, return to Caspian, who will have gathered the survivors. Ask him about the Symbol of the Screaming Face and the Blood Queen. He’ll then reveal the next location you need to explore: Marastan. However, we still have a ton of things to do before moving on. Anything for 100% completion.
The final sequence will have left you in the parking lot behind the pharmacy. You’ve had the key for quite some time and, now that the truck has left, you can reach the shop’s back door. Open it.
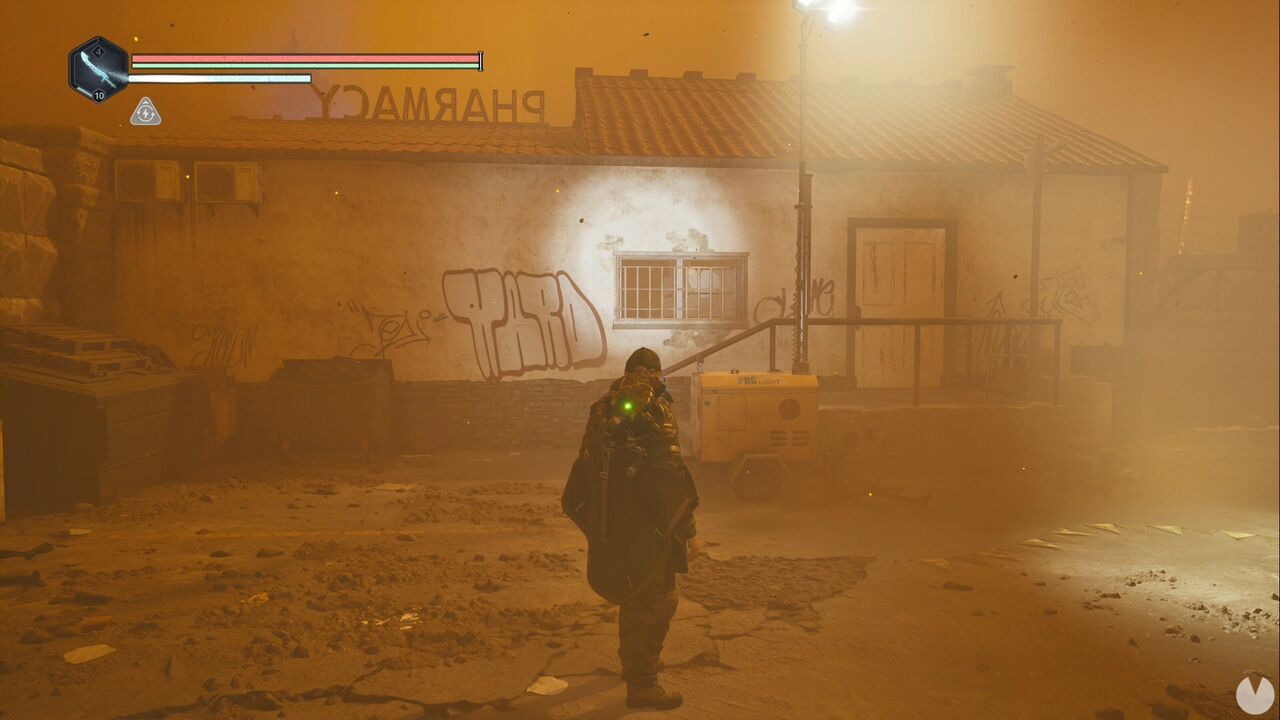
Start by heading to the room at the back to find the Pill Bottle - Metformin, beginning the Waylaid Good Deed. Then interact with the computer, enter the password 91012 and read the file to complete Supply Chain, another active Mystery.
Speaking of Mysteries, there’s still one active in this region, at least for now. Remember the two houses you reached by following the railway bridge? Head up the stairs near the APC, cross the tracks and follow the only available path. You can now open the basement door at the back of Caspian Fran’s house.
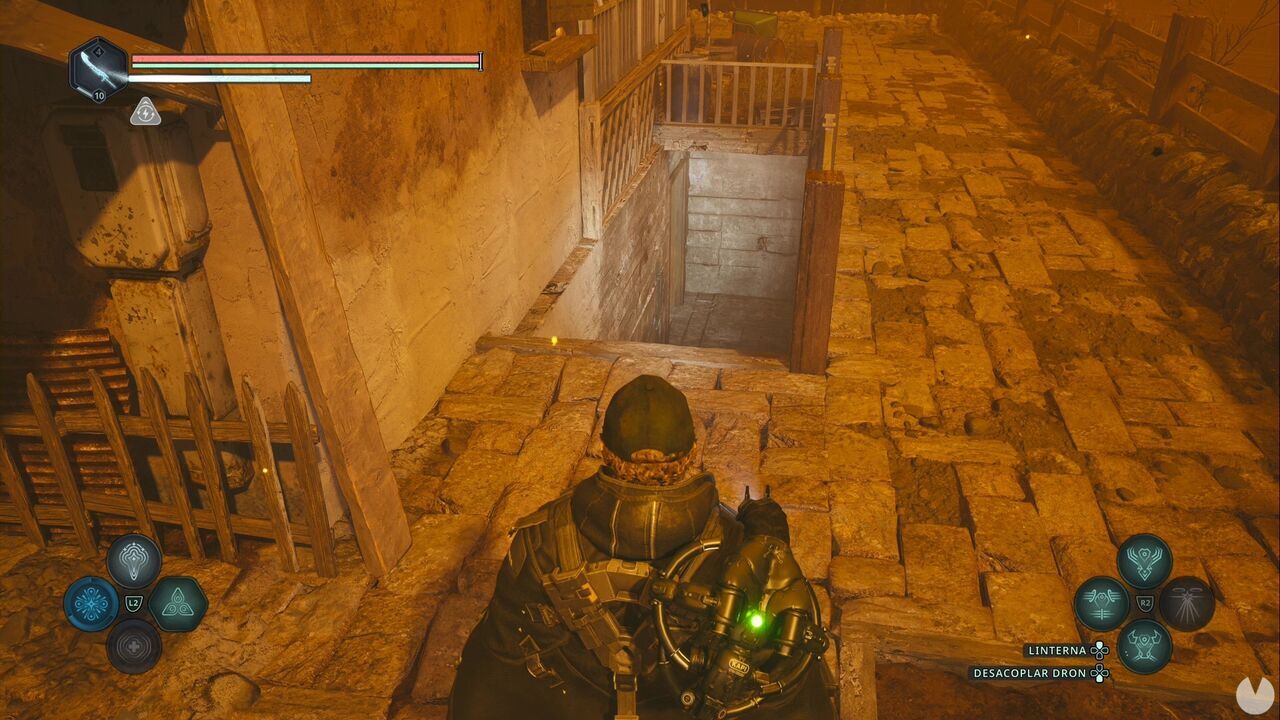
Inside the basement, you’ll find the Letter - Library Safe, the Lymbic Rod - Rage, Z—which begins the Lymbic Door - Senedra Underground Mystery—the Recording - Caspian’s New Research and a computer you need to examine. You’ll notice that History Lesson still isn’t complete, but don’t worry.
Now close the Talju Timeloop, located west of the school—where you found Caspian’s son inside the shed, near the barn where you collected the cap. You can reach every Guardian associated with this Timeloop during your first visit.
You’ll need an Amine Prism - Theta, which you should have collected from the Vault of the Mere if you’ve been following the walkthrough. We’re done in Talju for now, but there are still a few things left to do:
Don’t forget to stop by the Acasa Marshes and ask Victor to upgrade your equipment if you want. Bear in mind that earning the Platinum/1,000G requires at least two grade 5 weapons and two grade 3 armour pieces. Once everything is ready, travel to Marastan.
