Lethe’s Ministry of Cultural Primacy is the sixth area we recommend completing during Act II of Hell is Us, after speaking to Tania about the Symbol of the Charioteer and exhausting every lead at the National Library. Although you’re completely free to search for the Lymbic Forge Keystones in any order, several collectibles can be missed once certain events are set in motion. It’s therefore best to follow a specific order so you don’t ruin that coveted 100% completion.
This is a rather confusing section with several potentially missable items, so follow the instructions to the letter and, above all, don’t leave the area until we tell you to.
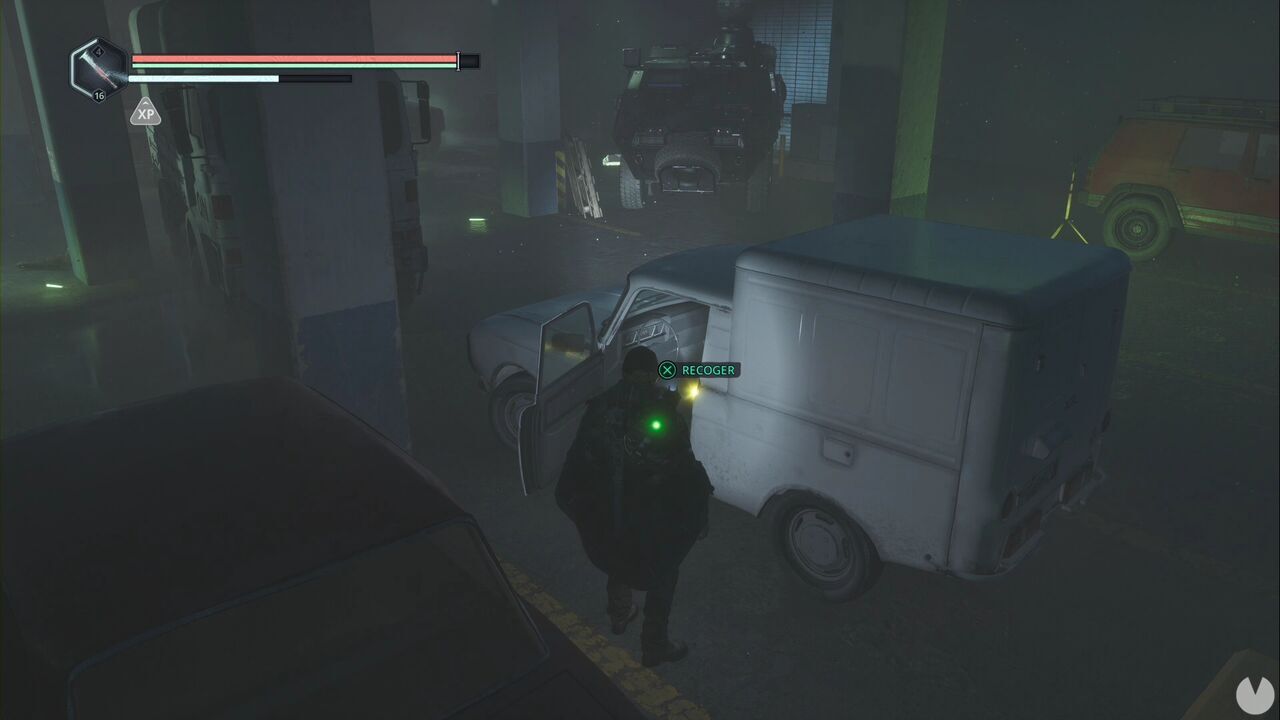
Start by looking for the white van in front of the APC. Its door is open, allowing you to collect the Lymbic Rod – Rage, V and the Letter – Safe Delivery. You’ll notice that this doesn’t begin a Mystery, but it’s actually connected to one in a later region, which is why nothing is marked yet. We’ll point it out when the time comes.
Now head to the ramp leading downwards in the southwestern corner, behind the soldiers’ position.
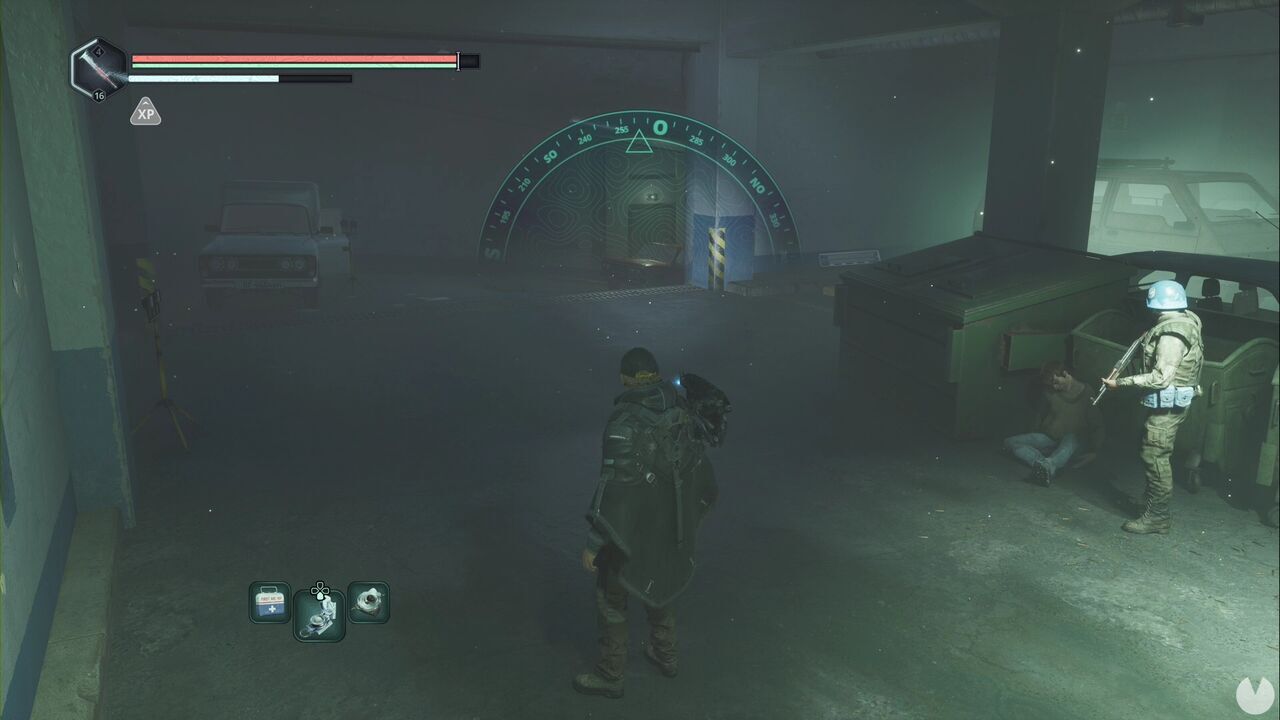
There are two points of interest here. The first is the Keycard – Ministry, represented by the usual glowing pickup. The second is the blue car in the parking space to its left, beyond the stretcher. You’ll notice that its trunk is locked, so remember where it is. Leave the parking garage through the door opposite the ramp you used to come down—the one being guarded by the soldiers. Before climbing the stairs, look underneath them to find the Baseball Cap – Rage.
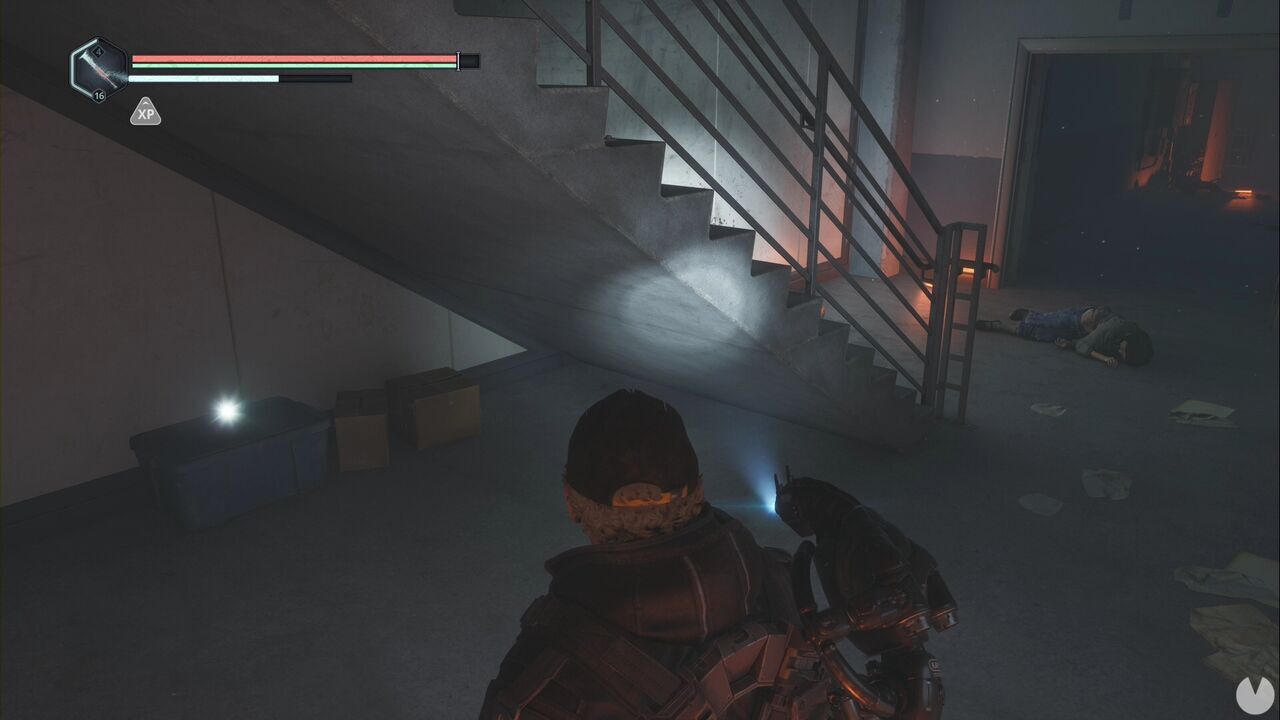
Now climb the stairs to leave the parking garage and enter the Ministry.
We need to find some new clues that will point us towards the Keystone of Ecstasy. Enter the Accounting Office, the first office you can access, and look behind the desk to find the Burnt Notes.
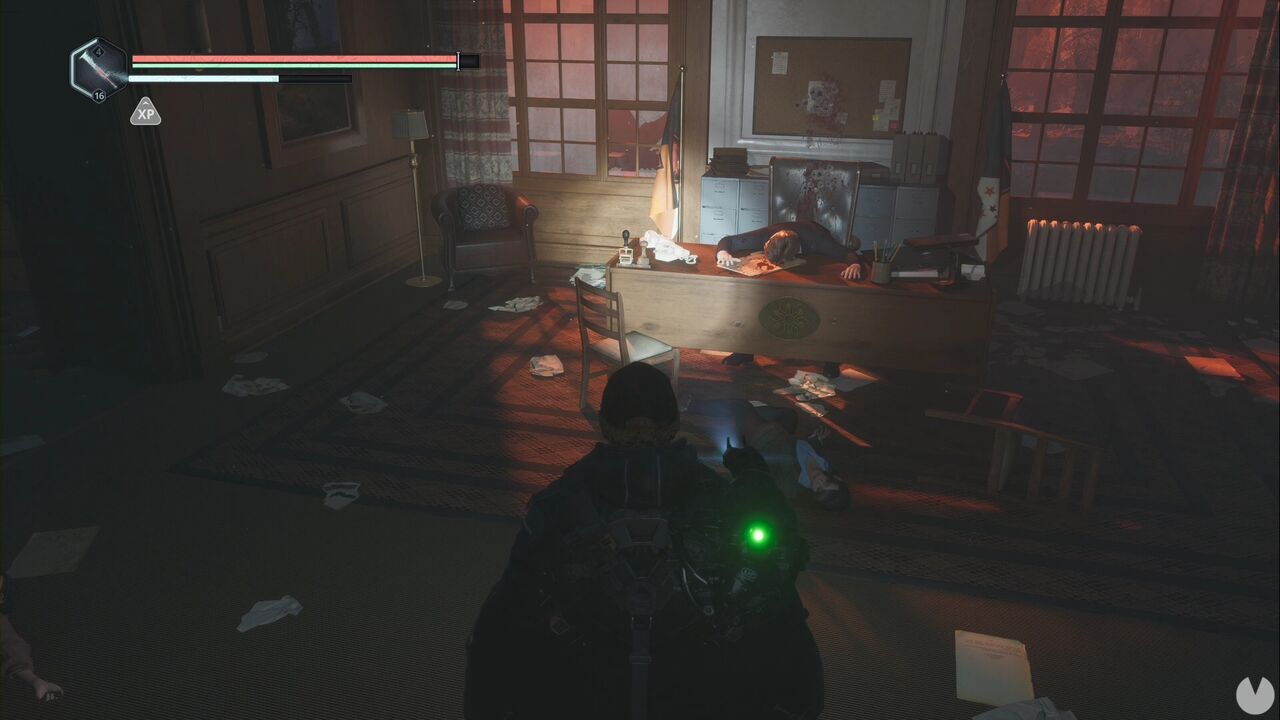
Go through the door and look to your right to find the Recording – Aster Doorway 1 on a shelf. You’ll find Marton Ralst a little farther ahead. The guy is about as dead as it gets, so he won’t be much help. We could immediately solve two puzzles in this room—the computer and the radio in the corner, which contain the information needed to progress—but doing so could cause serious problems with missable content, and you definitely don’t want that. Seriously, we doubt you do. If you only want to continue the story and don’t care about missing items or 100% completion, including achievements and trophies, you can skip directly to Retrieve the information hidden by Marton Ralst.
If you’d rather continue with the invaluable assistance of Captain Obvious—and we assume you would, since that’s why you’re here—pay attention: you must not kill the next enemy you encounter while following this guide. This is essential.
Second warning: don’t kill the enemy you’re about to encounter while following the guide. From Ralst’s office, leave through the southeastern door, continue to the first junction and turn left, then turn right and quickly enter the room on the right without killing the creature at the far end.
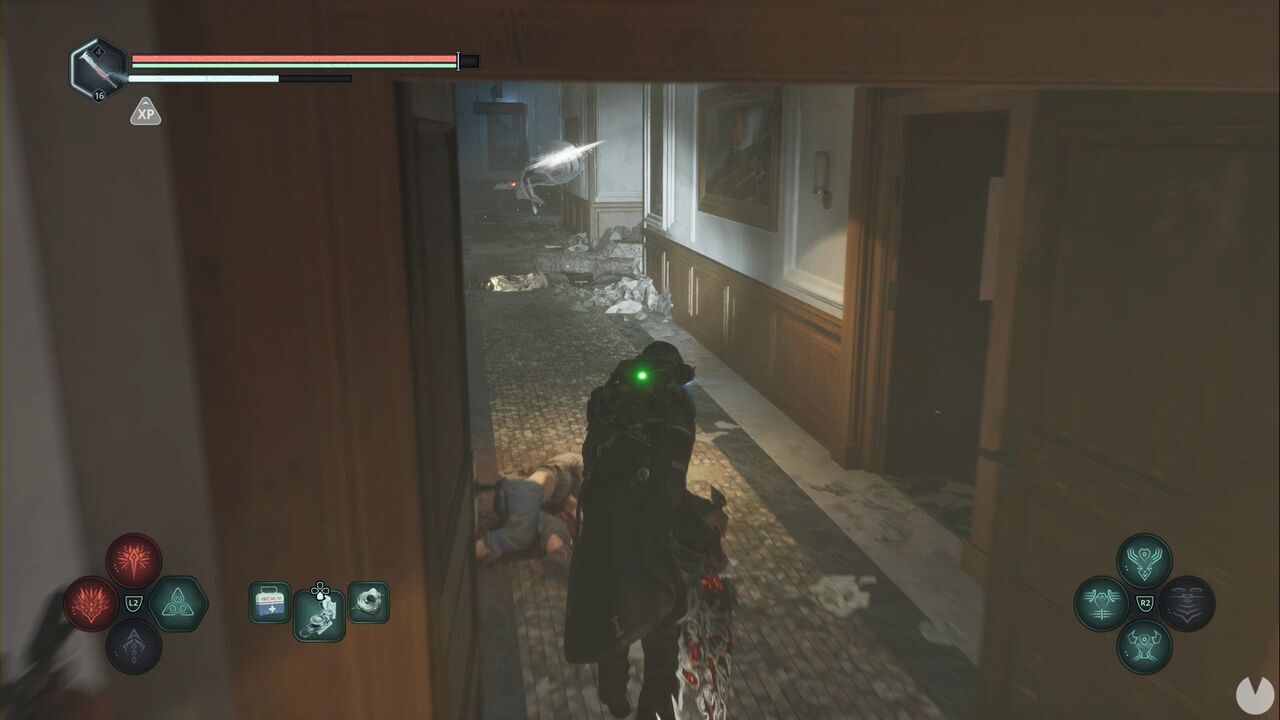
Once inside, wait for the person in the room to calm down enough for you to speak to her. This is Maeve Tristana, an NPC whose dialogue options you need to exhaust. The big problem is that if you kill the enemy before speaking to her, the game may fail to register her full conversation chain correctly. Once you’ve spoken to her, go back outside and kill the creature using a ranged attack. Maeve will then move to Ralst’s office, where you must speak to her again and exhaust every dialogue option. She’ll finally tell you her name and properly count as a "character you’ve spoken to". Talk about convoluted.
Return to the corridor, but this time take the first turn on the right and enter the first open office you see, marked Secretary. Inside, you’ll find the Keys – Ministry Car, which are obviously used on the car in the parking garage and begin the Blackmailed Mystery. We’ll deal with that before leaving.
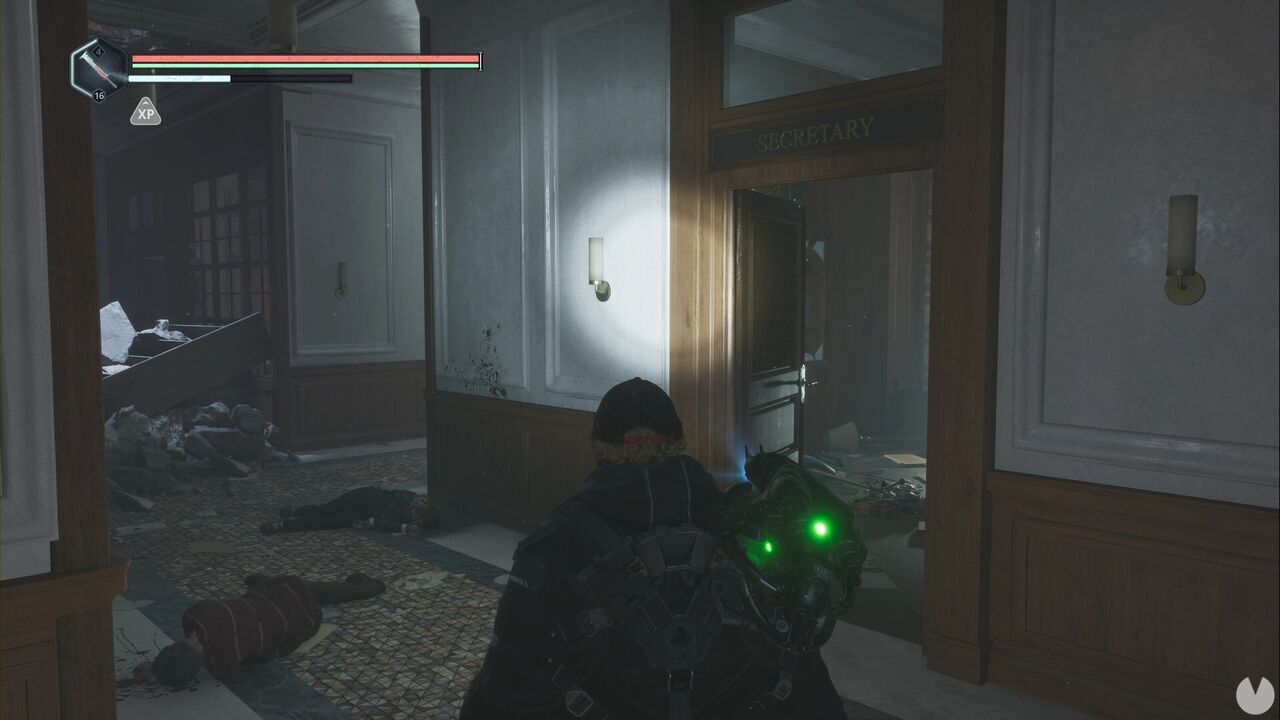
Leave and head northeast towards the corridor where you encountered the creature, but this time turn left and open the door. Use the Keycard – Ministry on the card reader beside the office door.
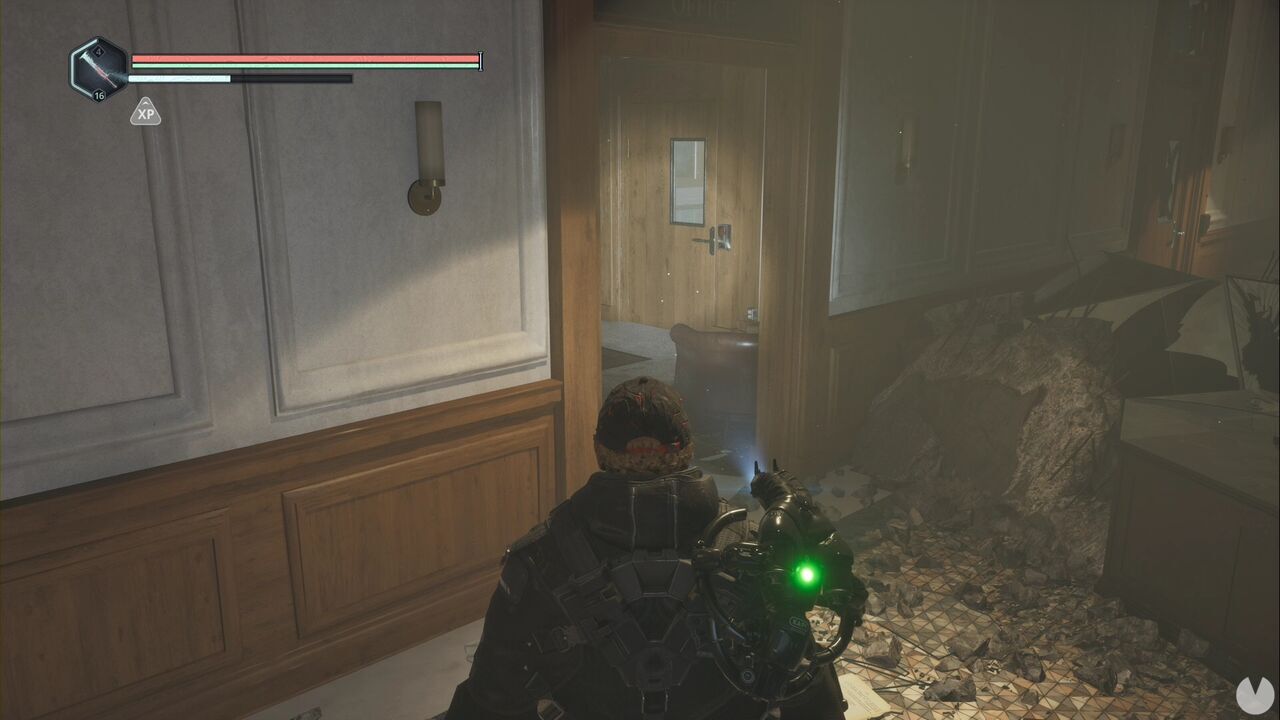
Inside, you’ll find the Recording – Investigation Results and the Woman’s Clothing, which begins the Incognito Good Deed. If you open the door on the right, you’ll also find a body carrying the Satellite Radio, which is required for another active Good Deed.
Retrace your steps, then head southwest through the corridors until you reach a larger room with a save point. Leave through the other side and turn right to reach the room marked Lounge. You’ll find a woman here and must give her the Woman’s Clothing to complete the Good Deed you just began.
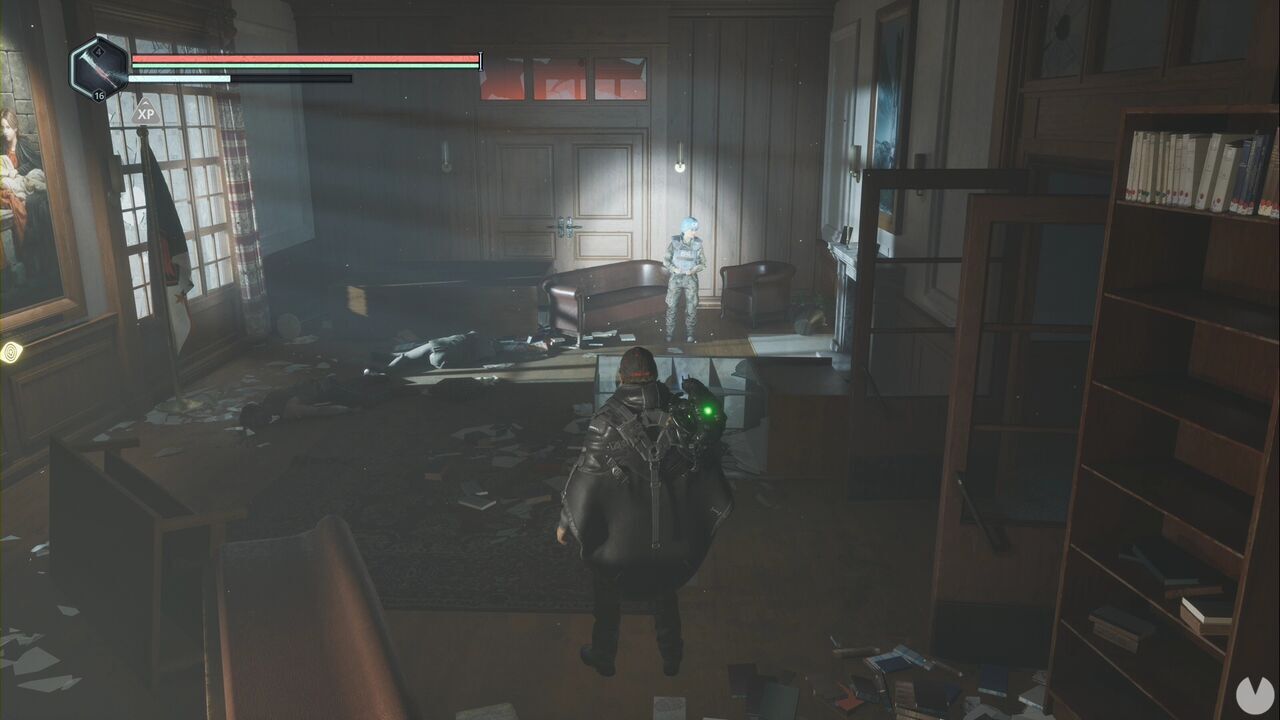
Incidentally, you can collect the Recording – Citizen’s Report in the large room next door.
Now go all the way back to where you found Maeve and drop through the hole in the corridor to reach the floor below. You’ll enter the Exposition area. Kill the enemy and look for a body beside the door carrying Marton Ralst’s Wallet. Someone else had it because, as everyone knows, ministries are crawling with thieves. Probably.
Enter the next room, eliminate the enemies and look for the large map projected onto the wall. Look immediately to its right, behind the desk, to find the Provincial Border Map.
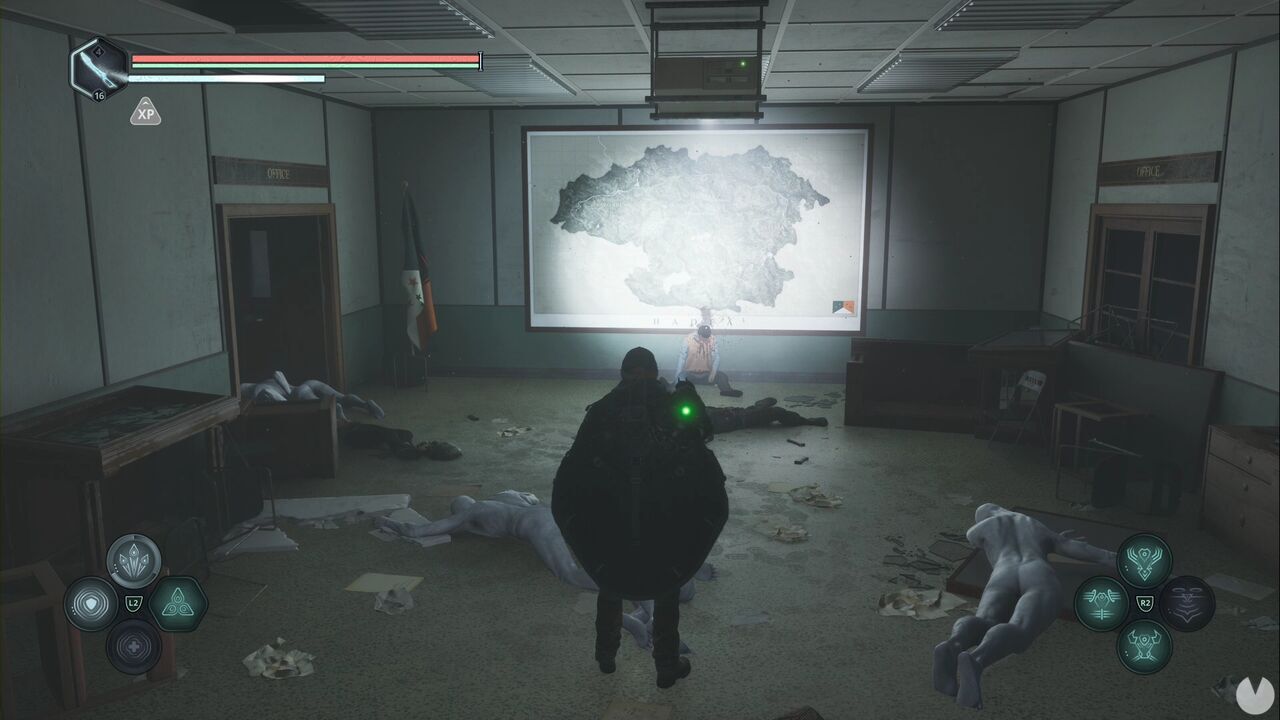
In the next, slightly larger room, you’ll see one yellow and one green glow.
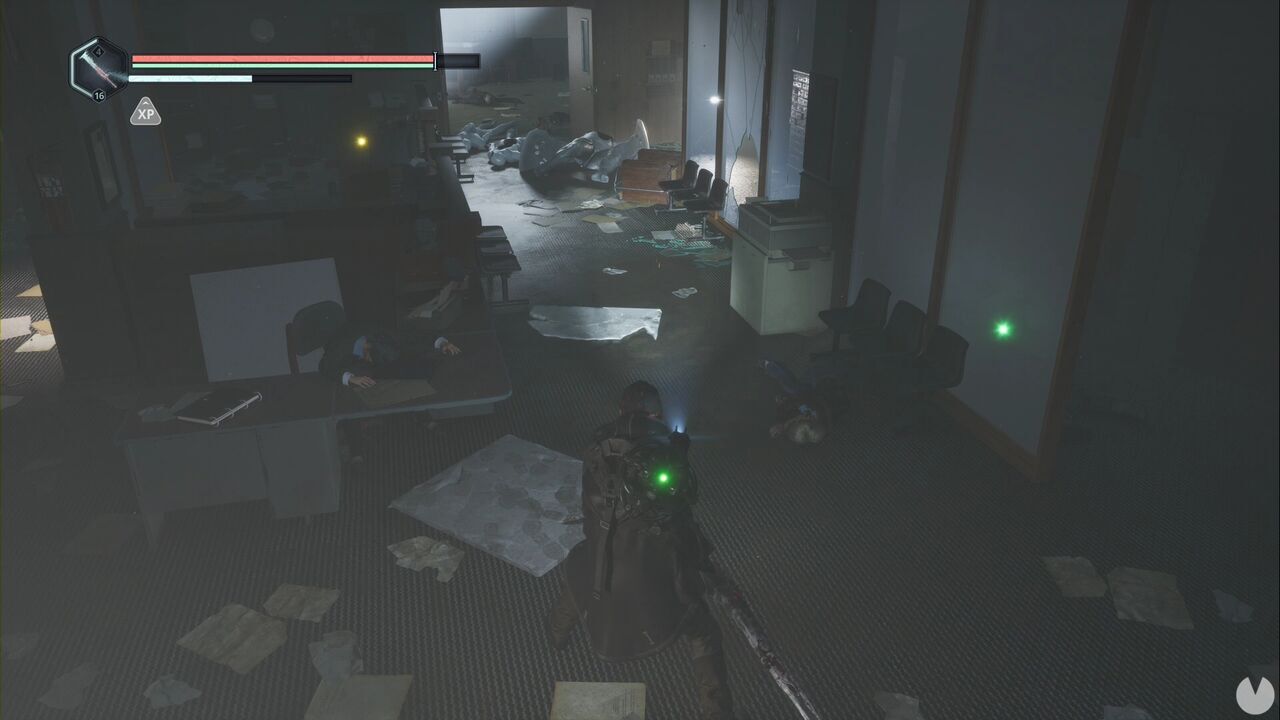
The green glow is the Rearguard – Elite drone module. You’ll unlock the achievement or trophy for obtaining every drone module, although you’re actually still missing several Basic and Elite versions of some modules. The other glow is the Lymbic Rod – Ecstasy, Y, which is connected to the Blackmailed Mystery.
Now look towards the southwestern wall. You should see Office 109, with a safe beside the wall.
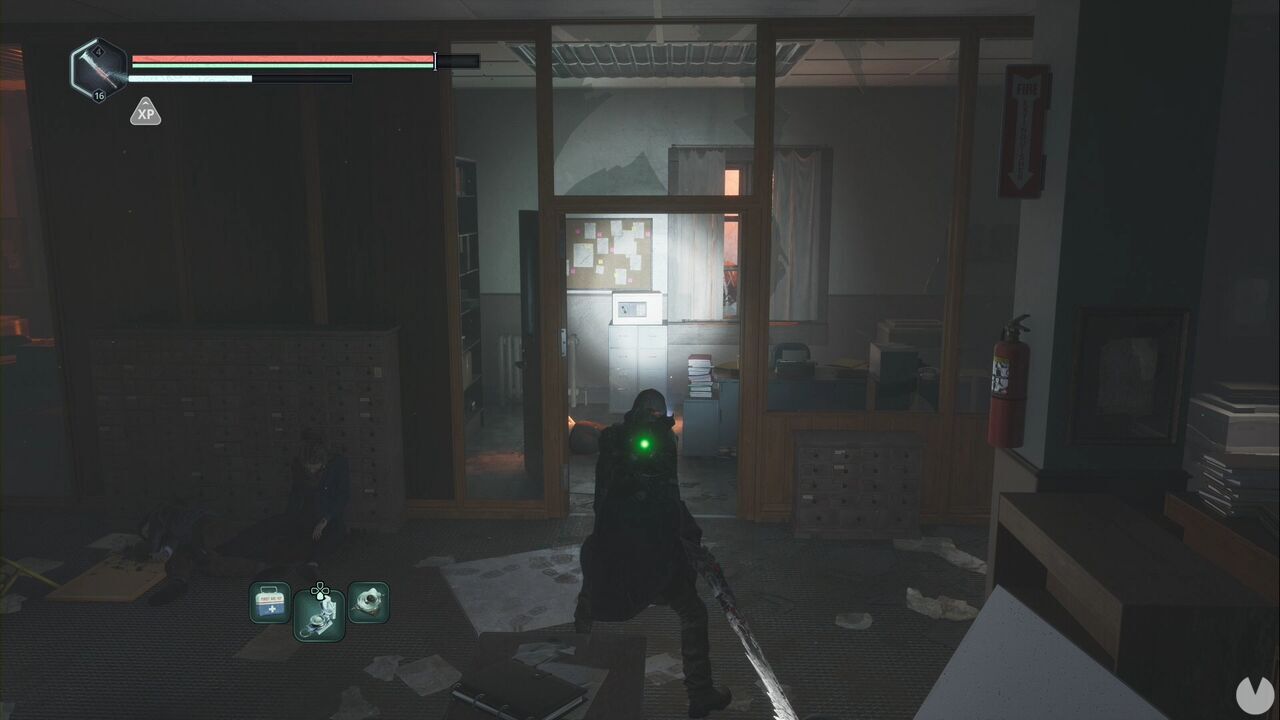
Enter the code 2703 to open it and collect the Official Hadean Stamp, which is connected to the A Way Out Good Deed. In this same area, look for Office 112. Behind the desk, you’ll find the ID Cards – Blank, which are required for the same Good Deed. The elevators are in the adjoining room. Collect the Note – Cryptic Clue from behind the counter and take the stairs. Everybody knows that you shouldn’t use elevators during an emergency.
After climbing the stairs, you can return to Marton’s office and solve the puzzles inside. There’s a computer on the desk and a radio in the far corner.
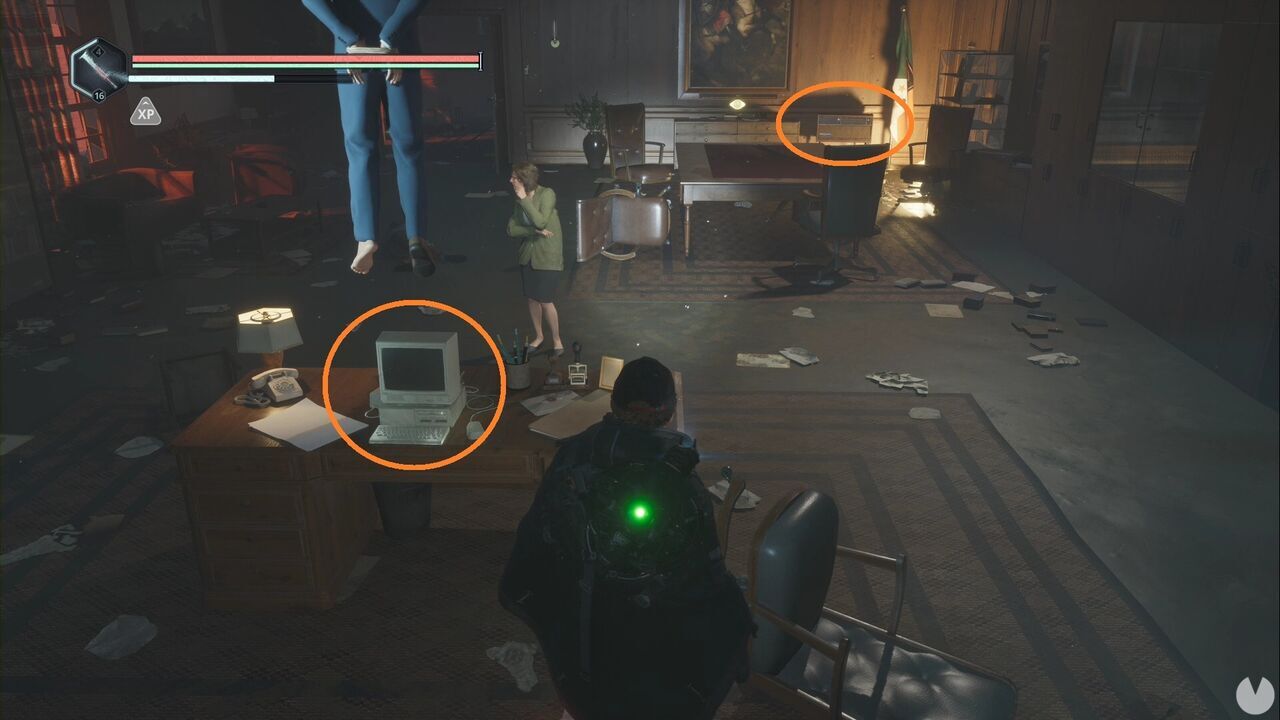
Enter the code 773 on the computer. Read the files, then go over to the radio. Switch it to AM and move the dial to 60. Leave it on 60 for a few seconds to reveal a safe, which can be opened with the code 203279. Inside, you’ll find the Iron Seal – Rising and the Journal – Auriga Entrance. The latter unlocks a new region.
Return to the parking garage and head down the ramp to the blue car, which you can now open with the keys. Inside, you’ll find the Lymbic Rod – Ecstasy, X, which is required for the Blackmailed Mystery. You’ll also collect the Report – Confiscation from the trunk.
We now need to complete two Good Deeds in a specific order. These actions appear to have a high potential for permanently missable content, so it’s best not to mess them up. Begin by travelling to the Acasa Marshes and heading to the monolith southwest of Jova.
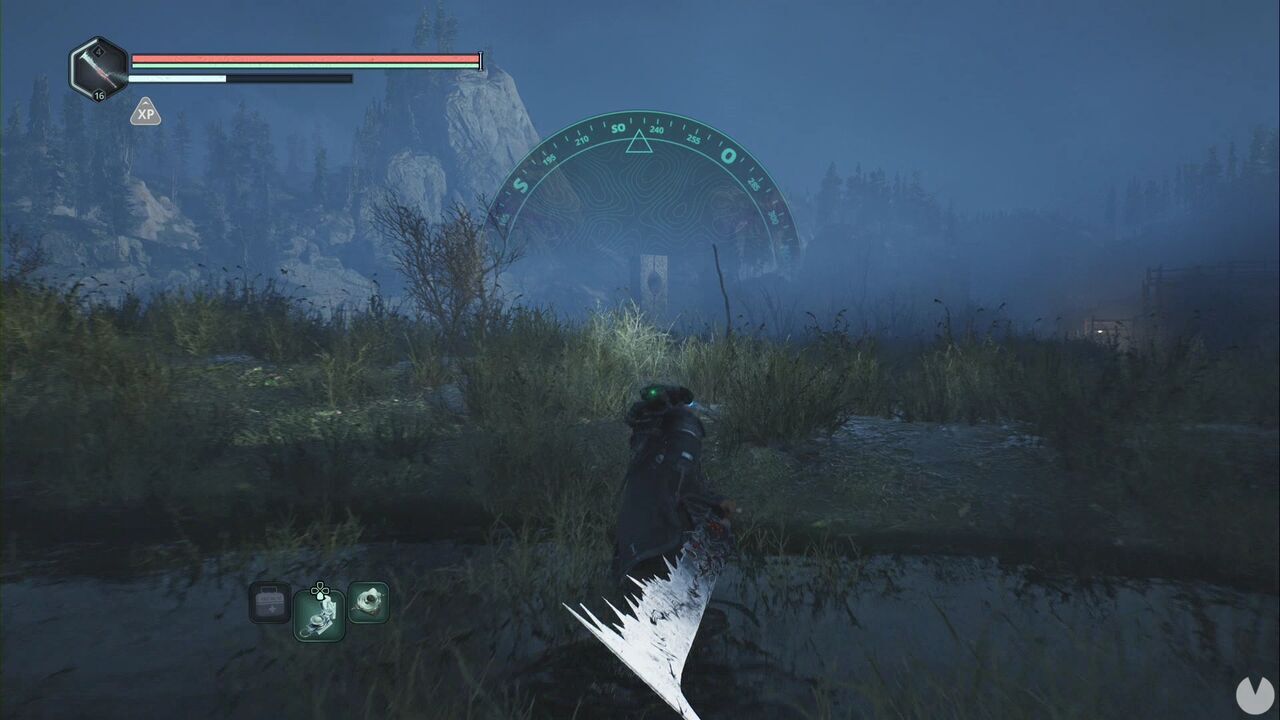
Once there, find the stairs leading down into the underground area. Give the Pill Bottle – Metformin to one soldier and the Satellite Radio to the other to complete the Waylaid Good Deed. Now travel to the National Library and head down into the basement, where you’ll find the Book Restoration section.
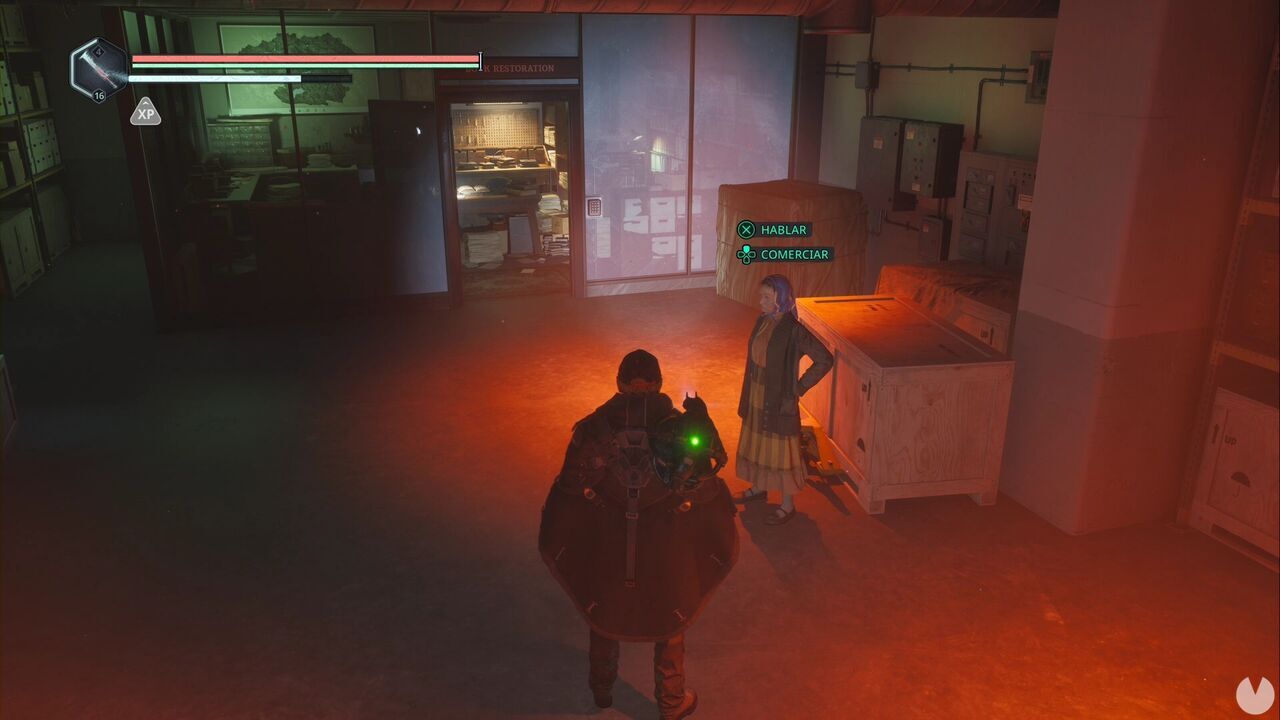
Once there, look for the woman near the locked office. Give her the ID Cards – Blank and the Official Hadean Stamp to complete another Good Deed.
Finally, travel to the Vyssa Hills and speak to Gildas at the Watcher’s Nest to claim your Good Deed rewards. You can return to the Acasa Marshes and try to upgrade your equipment, but at this point you’ll still be missing materials from level 3 Hazes, which haven’t appeared yet. To continue, we’ll head to the Serpent’s Maw in the Vyssa Hills.