

Plains of Mist is the eighth area we recommend completing during Act II of Hell is Us, after finding more information about the Keystones in Serpent’s Maw. Although you’re completely free to search for the Lymbic Forge Keystones in any order, several collectibles can be missed once certain events are set in motion. It’s therefore best to follow a specific order so you don’t ruin that coveted 100% completion.
You can’t see a damn thing, much like what happened in Talju, except this time you’ve got a Silent Hill filter instead of that horrible orange one. As soon as you move forward, Rank 3 enemies will begin appearing—they have three vertical bars beside their health gauge—the highest enemy rank in the game. This means they drop the materials needed to upgrade weapons and defensive gear to Grades 5 and 4, respectively. We’ll remind you about that later. Climb the wooden stairs leading northeast, immediately to the left of a wooden sign.
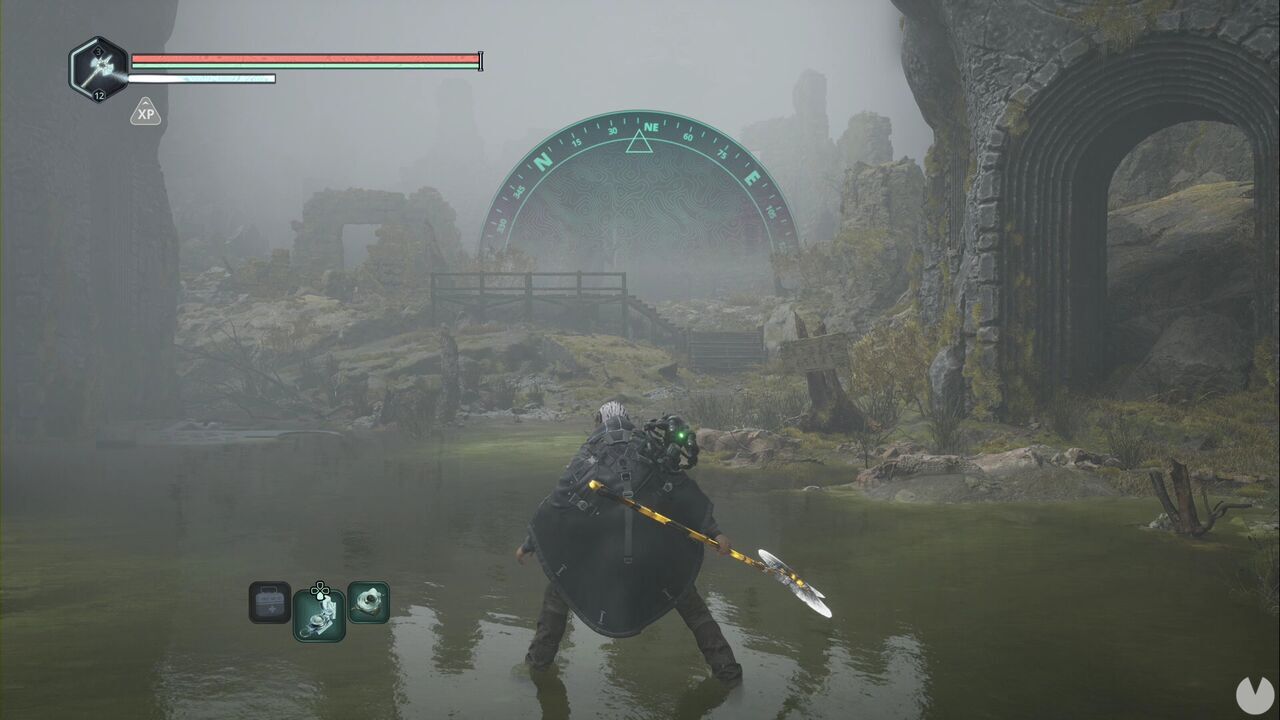
From there, head west across the planks of the broken bridge, then southwest. You’ll know you’re going the right way because you’ll encounter a couple of lesser enemies. There will be a Timeloop Guardian at the end, which means you’ve reached the correct spot. You should see the remains of a house’s ground floor, complete with a fireplace. There’s a glowing item to its right: Lady Sophia’s Journal – Approach.
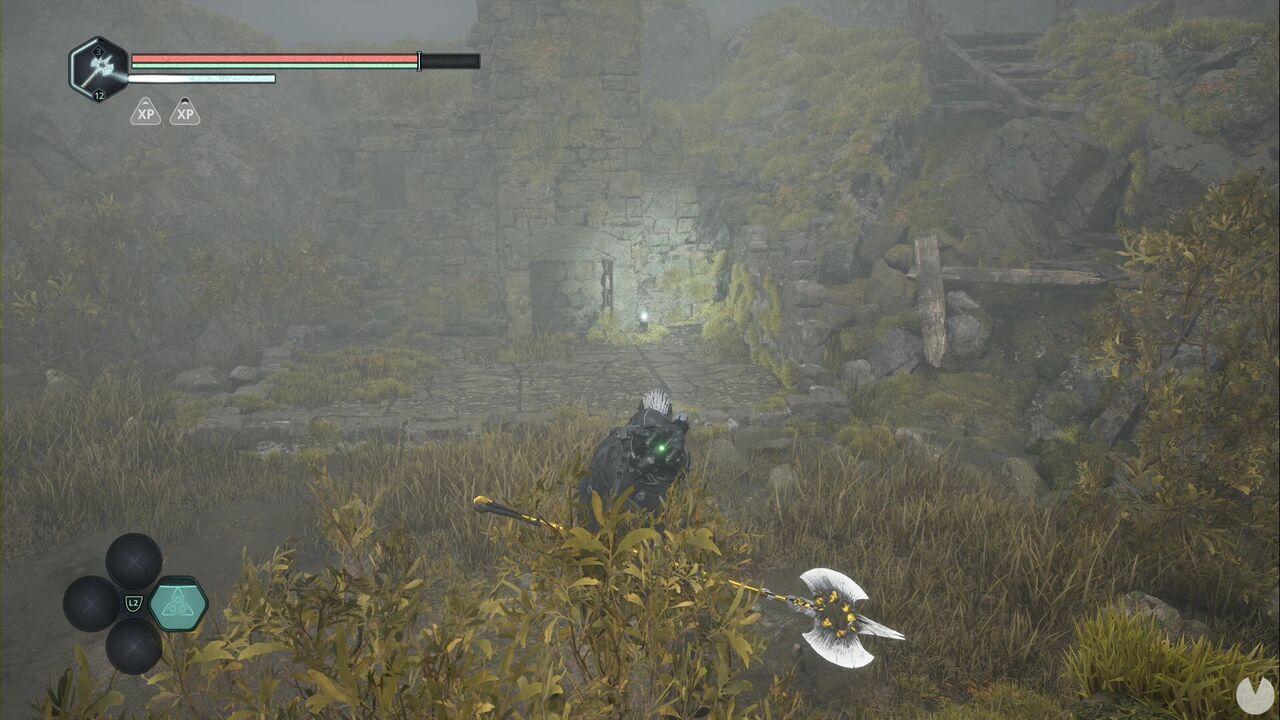
If you turn around while facing away from the fireplace, you’ll see some steps leading to the remains of another house, where you’ll find the Key – Mossy. This begins the Overgrown Mystery. Now head northeast towards the large staircase with the locked stone door at the top. You’ll see a ruined house and, behind it, a path leading east towards a stone archway.
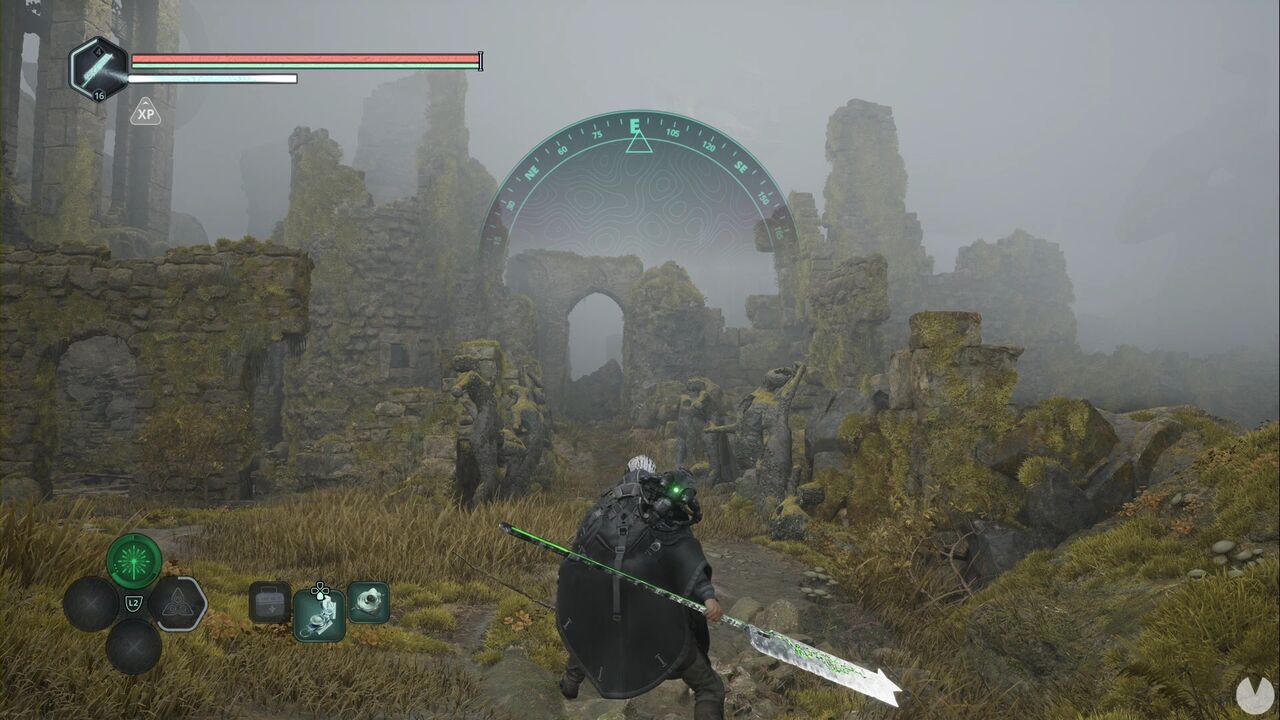
At the end, turn left to enter a house. You’ll find a chest where you can use the Key – Mossy to obtain the Idol of Ecstasy – Battle Trance, completing the Mystery you just began. Return to the house to the right of the large staircase. If you look closely at the floor of this ruined house, you’ll see a glowing item—Lady Sophia’s Journal – Arrival—and a hole you need to drop through.
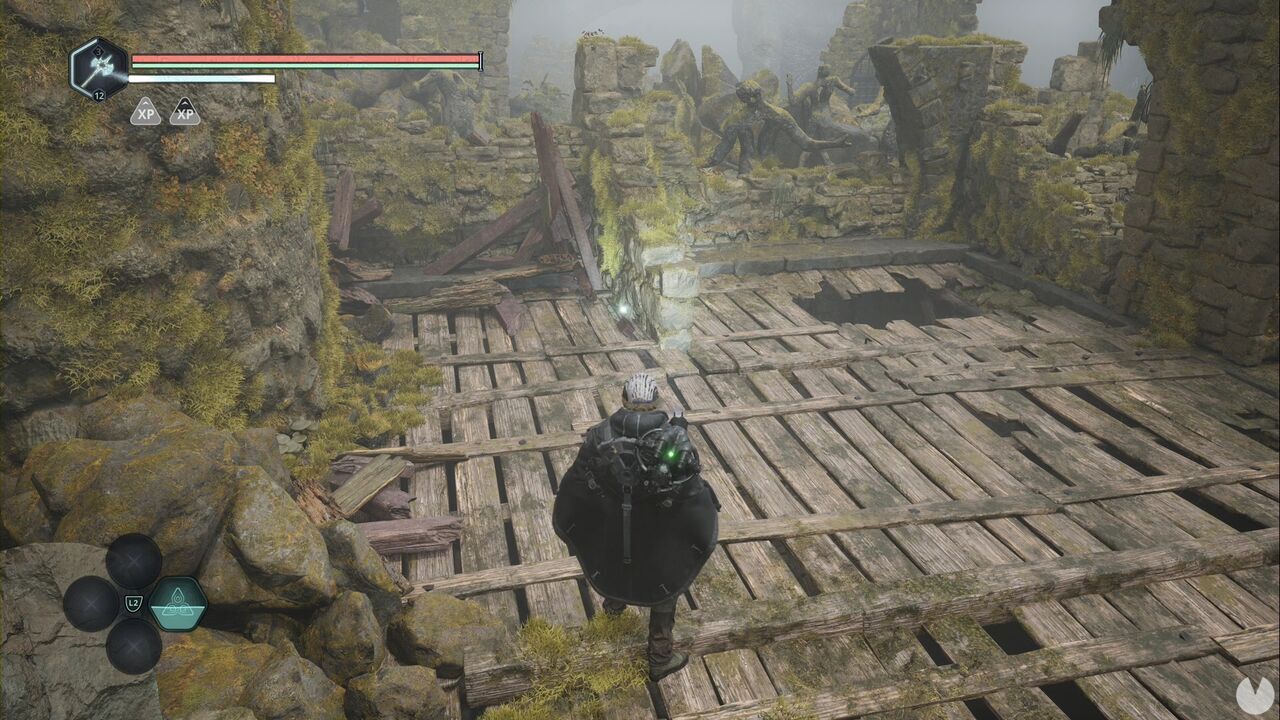
If you follow the basement all the way to the end, you’ll find a ladder. As you climb it, notice that you can drop down from the top ledge onto an intermediate platform containing some items. This is where you’ll find the Rusted Gauntlet.
Back at the large staircase, head to the building immediately to the west, go around it, climb the stairs and drop inside through the opening beside the wooden planks.
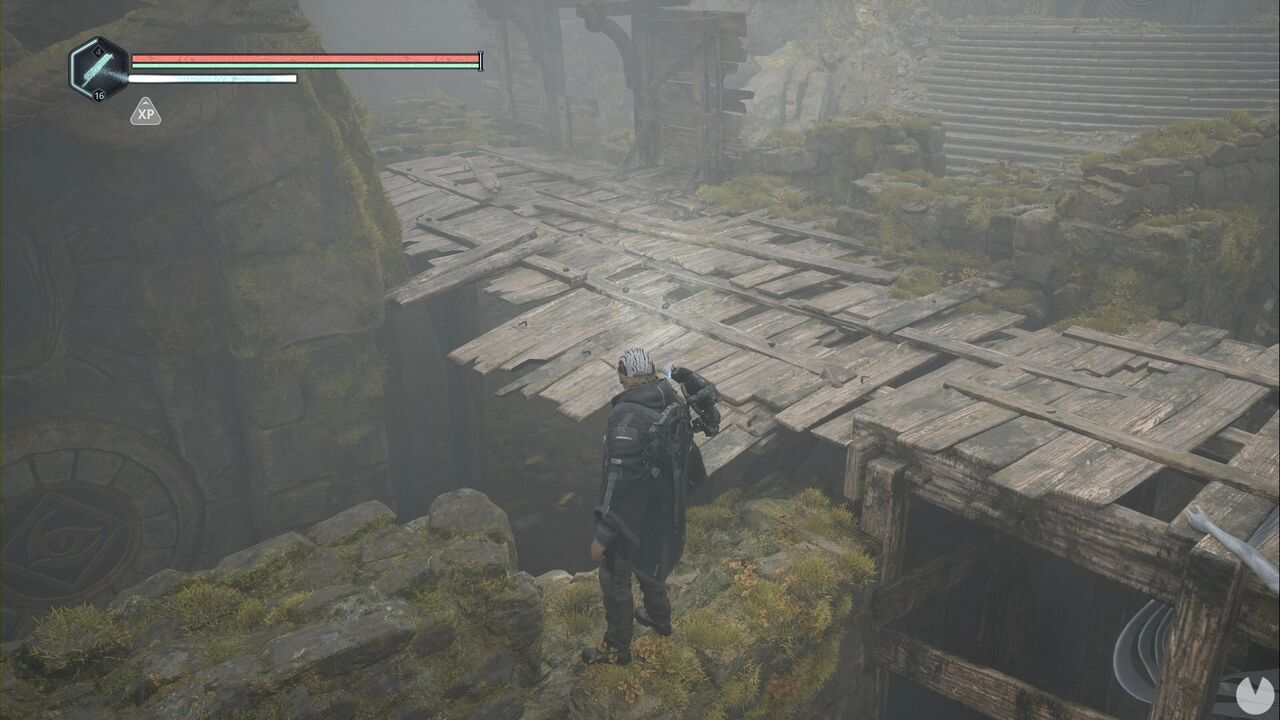
This takes you inside the building—obviously—where you’ll find the Key – Barrel and the Note – Exodus, beginning the Pilgrimage Mystery.
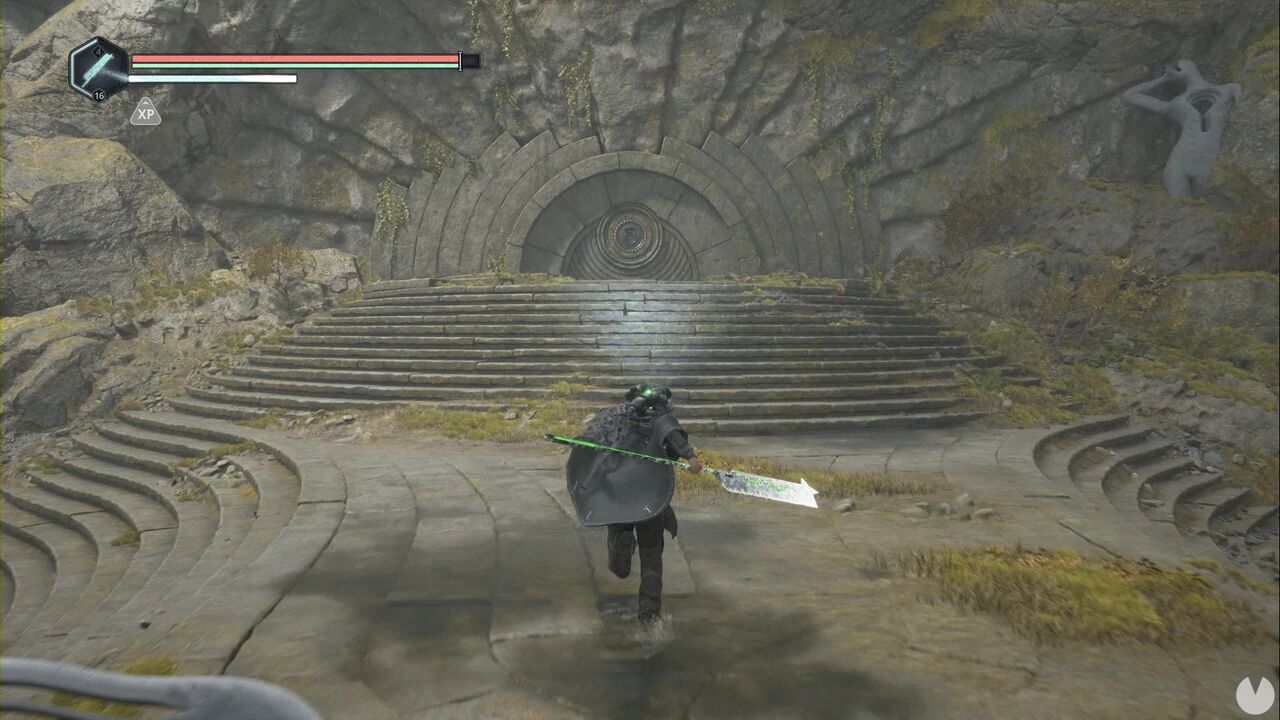
Make sure you eliminate the nearby Guardians. Now climb the large staircase and place the Twin-Headed Serpent in the slot to move the gate.
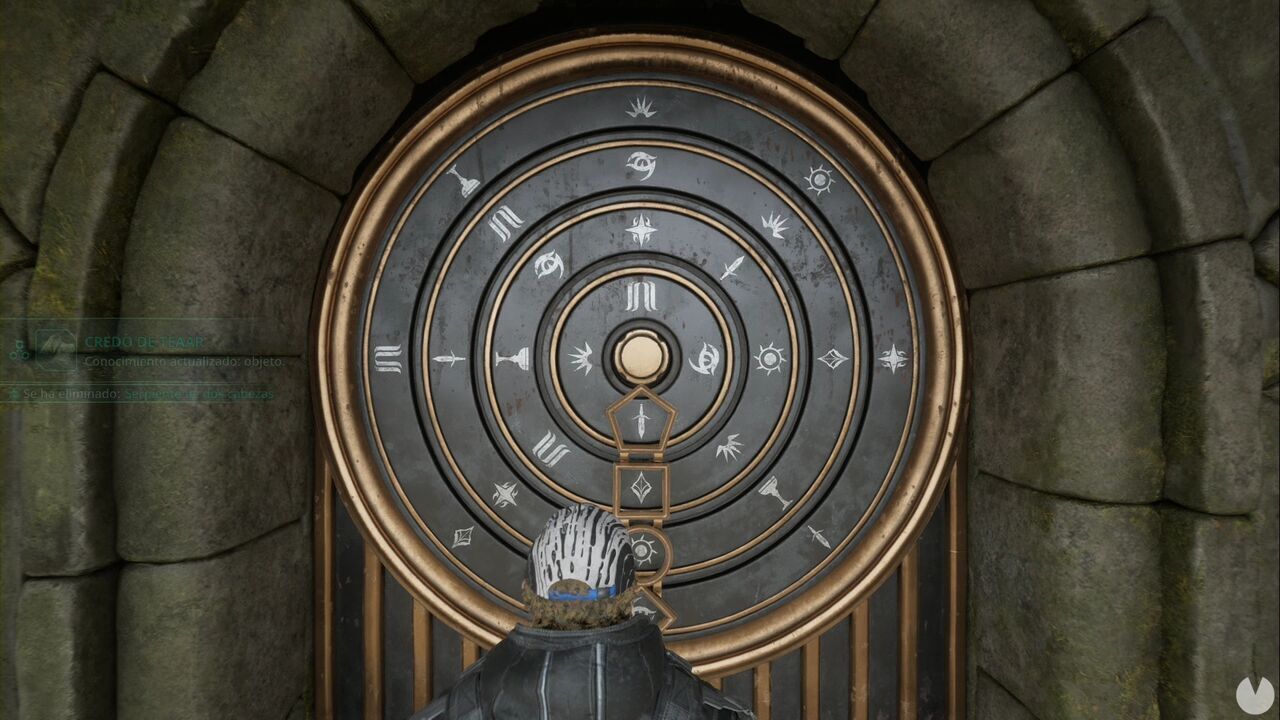
This reveals a puzzle made up of rings and sections. Set them to the following symbols from top to bottom: sword, diamond, sun and eye.
Follow the only available path for a while. When you reach the Timeloop, head west and continue until you find a locked door with a lever beside it. Cross the bridge, open another door, pass a save point and you’ll reach a room with three open doors: one ahead, one to the left and one to the right.
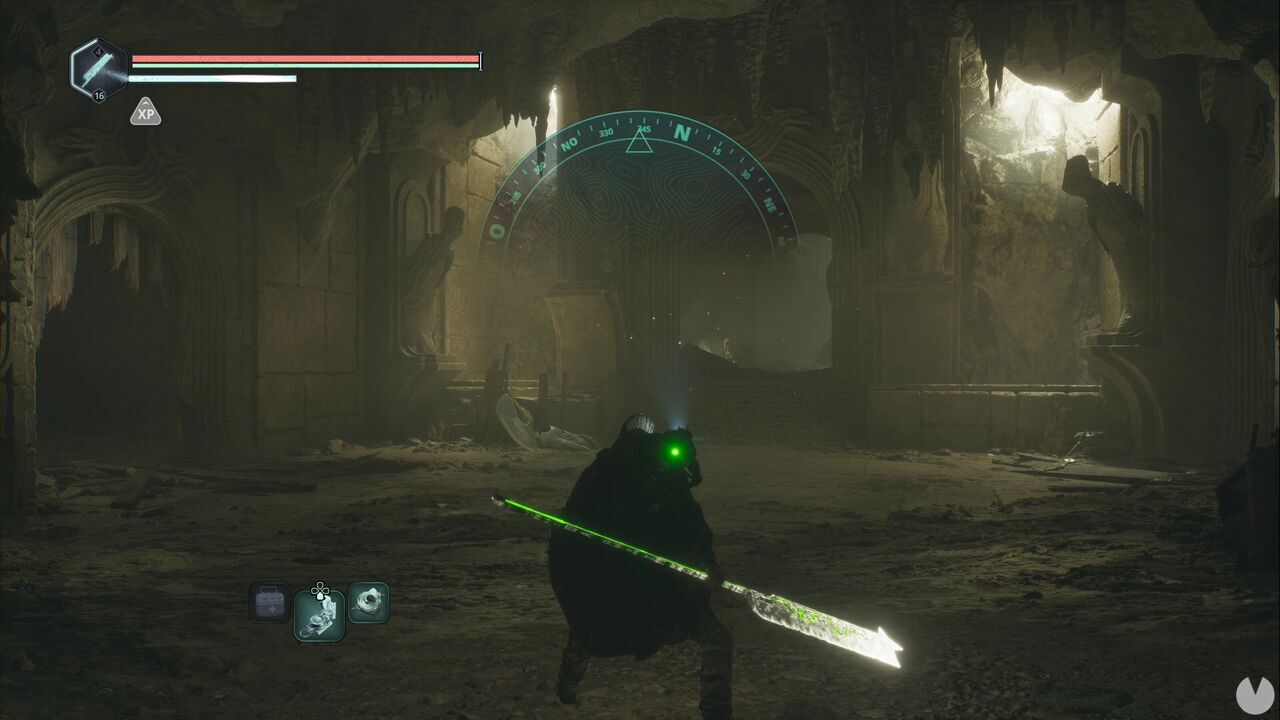
Head east—right as you enter—and then turn left at the next junction to find the Rapture – Elite Glyph. Turn around and take the path on the left—in this room, not the room with three doors—then follow it to the end to reach a descending section filled with wooden scaffolding.
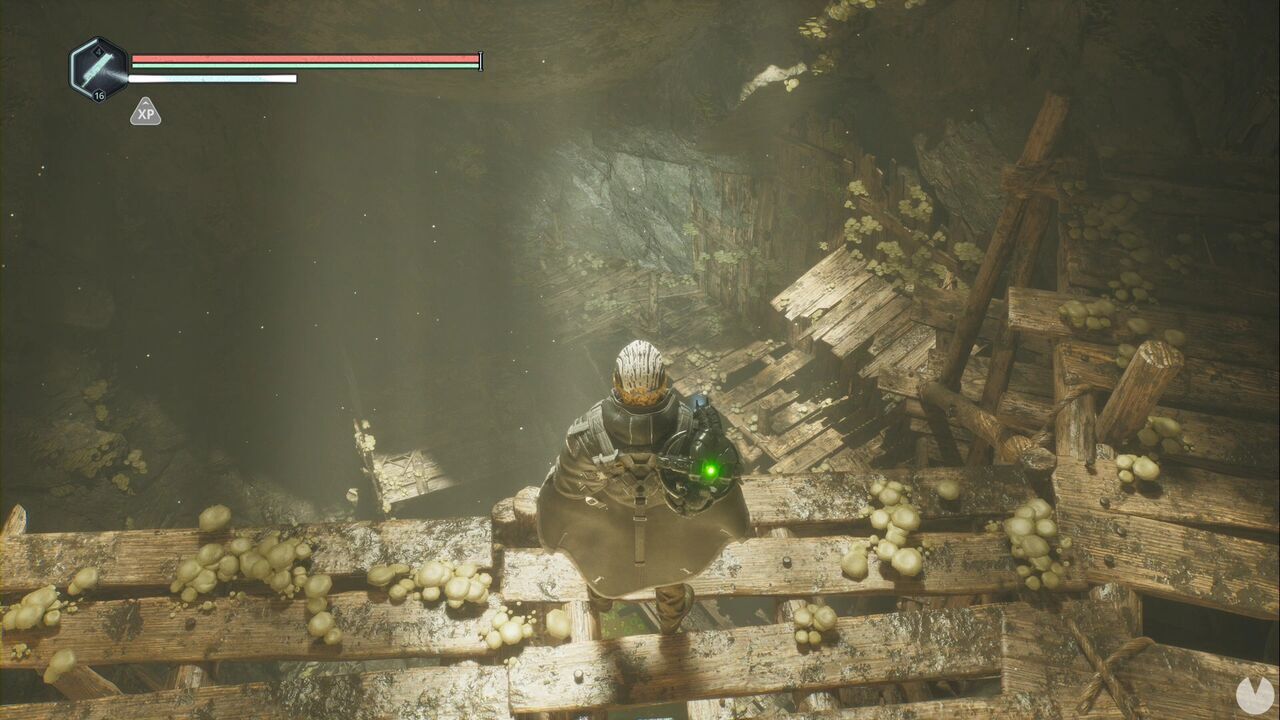
At the bottom, eliminate the enemies and continue through the tunnel, where you’ll easily spot a yellow glow on the other side of the chasm. Work your way around the area to reach it and collect the Lymbic Rod – Ecstasy, V. This begins the Lymbic Chest – Temple of the Fallen Mystery. You probably noticed the tunnel leading east as you made your way down the scaffolding. Follow it to find an Amine Prism – Rho and an enemy you’ll need to eliminate.
After defeating the enemy, continue straight ahead to return to the room with the save point and three doors. This time, head west through both the doorway and the junction until you reach a room containing two enemies. After eliminating them, continue up the slope to the left of where the enemy on the higher platform was standing.
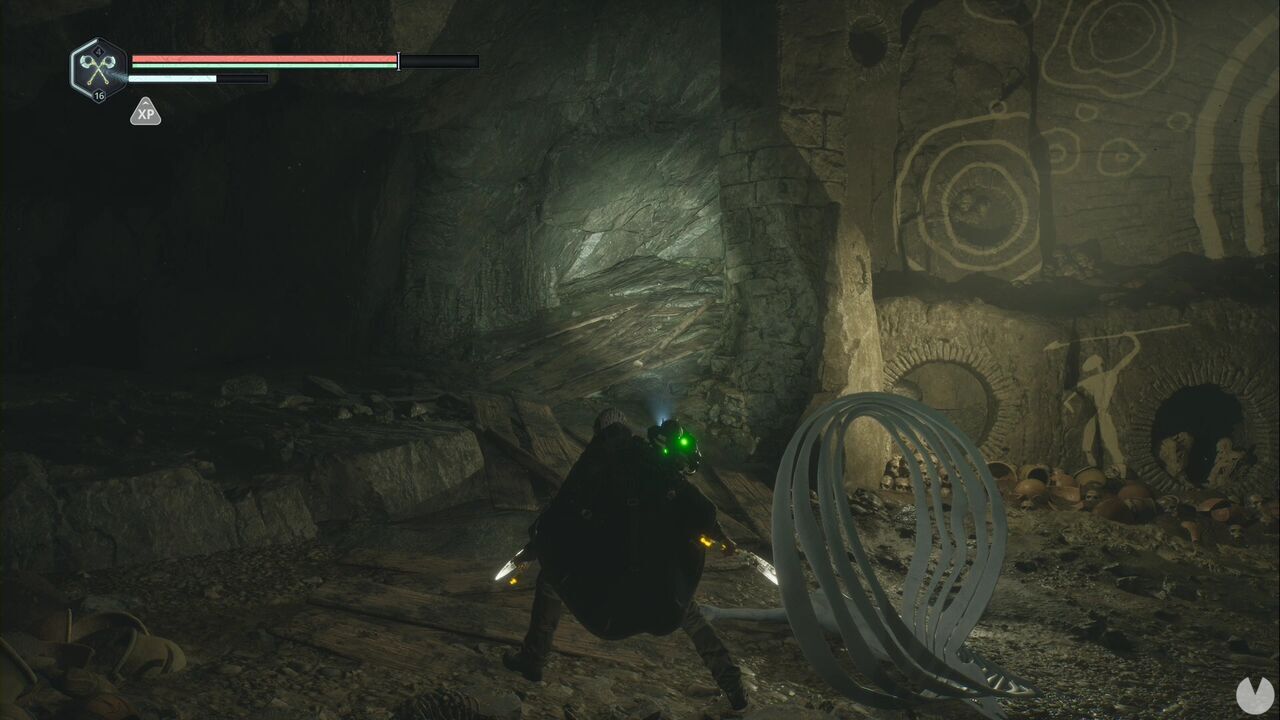
Besides several enemies, you’ll find the Lymbic Rod – Ecstasy, W, which is required for the Mystery you began with the V rod. Head back down and turn left at the next junction. Going straight ahead would return you to the previous room. You’ll reach a chamber with a large staircase, a Haze below and two projectile-firing enemies above. Move quickly—you already know the ones shooting at you are always the worst.
Climb the large staircase and open the door at the top using the lever. Continue for a while until you reach an area with two rows of pressure plates. There’s an upper row with six plates and a lower row with another six.
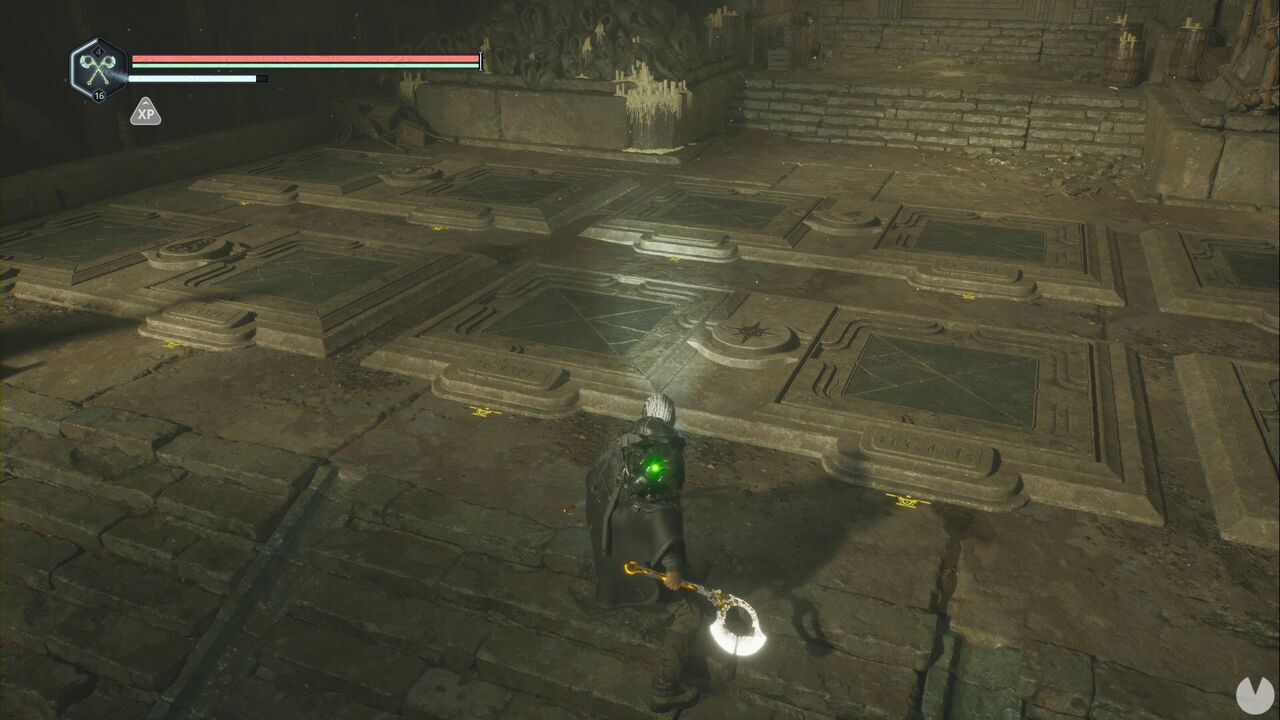
Numbering them from left to right, starting with the upper row and then the lower row—the upper-left plate is 1 and the lower-right plate is 12—you need to step on plates 1, 5 and 10. Continue and turn right twice before crossing the bridge. In that corridor, you’ll find a ladder leading to a lever that lowers both the gate beside you and the gate in the opposite wall.
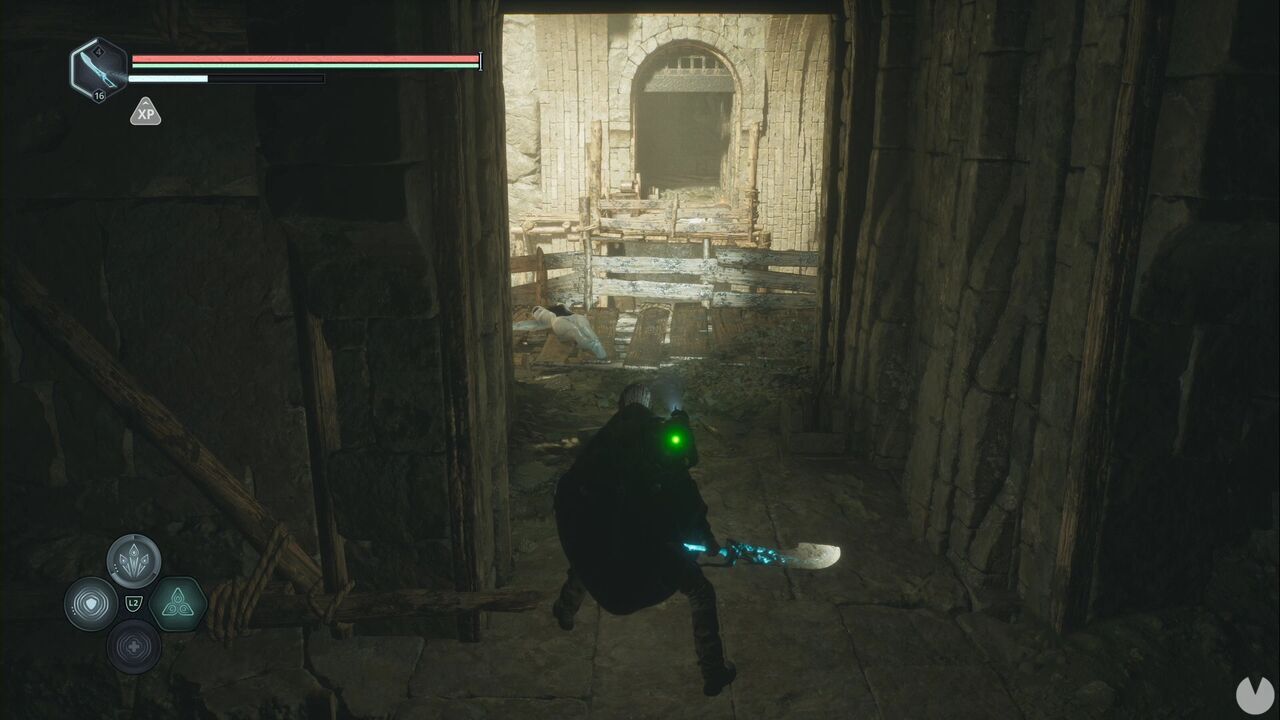
To continue, cross the bridge and follow the only available path. You’ll reach the area you just opened and need to drop down the scaffolding on the left to proceed. Continue until you see some stairs with a tunnel to their right, then follow the tunnel.
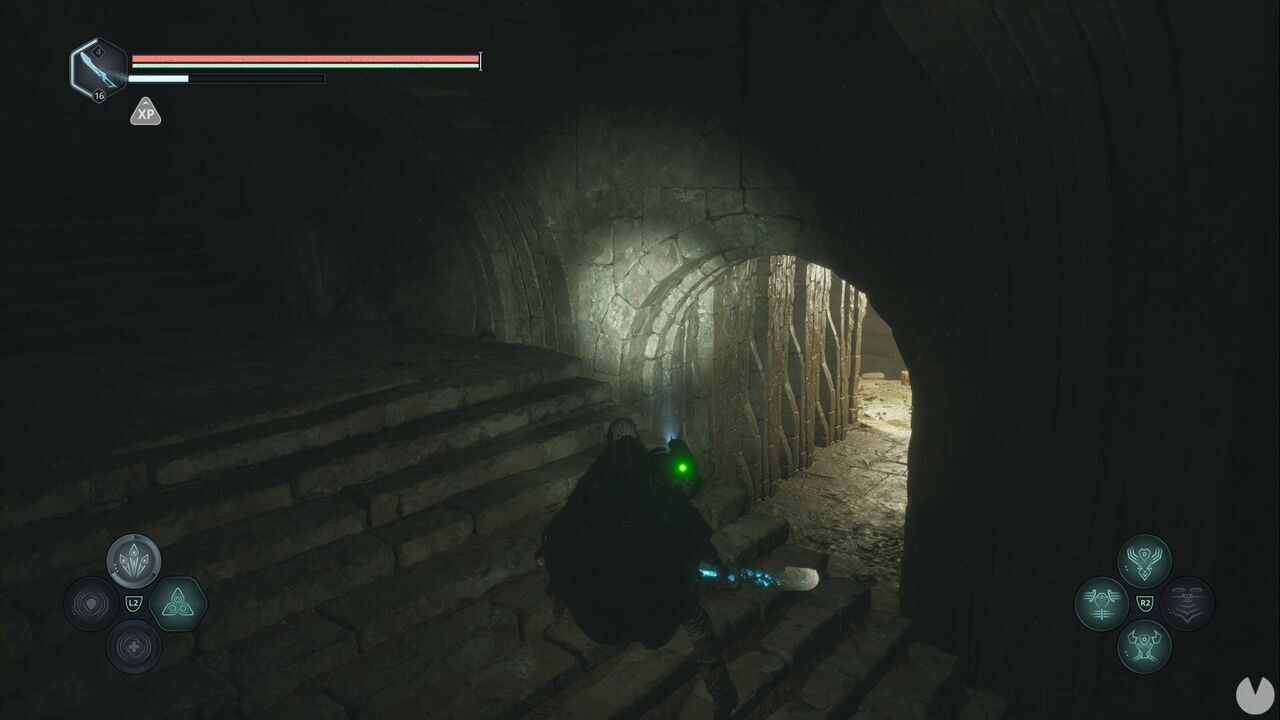
You’ll need to cross another bridge packed with enemies. On the far side of the bridge, to your left as you cross, you’ll see the glow of the Key – Rusted. Collecting it begins the Ascetic Vows Mystery.
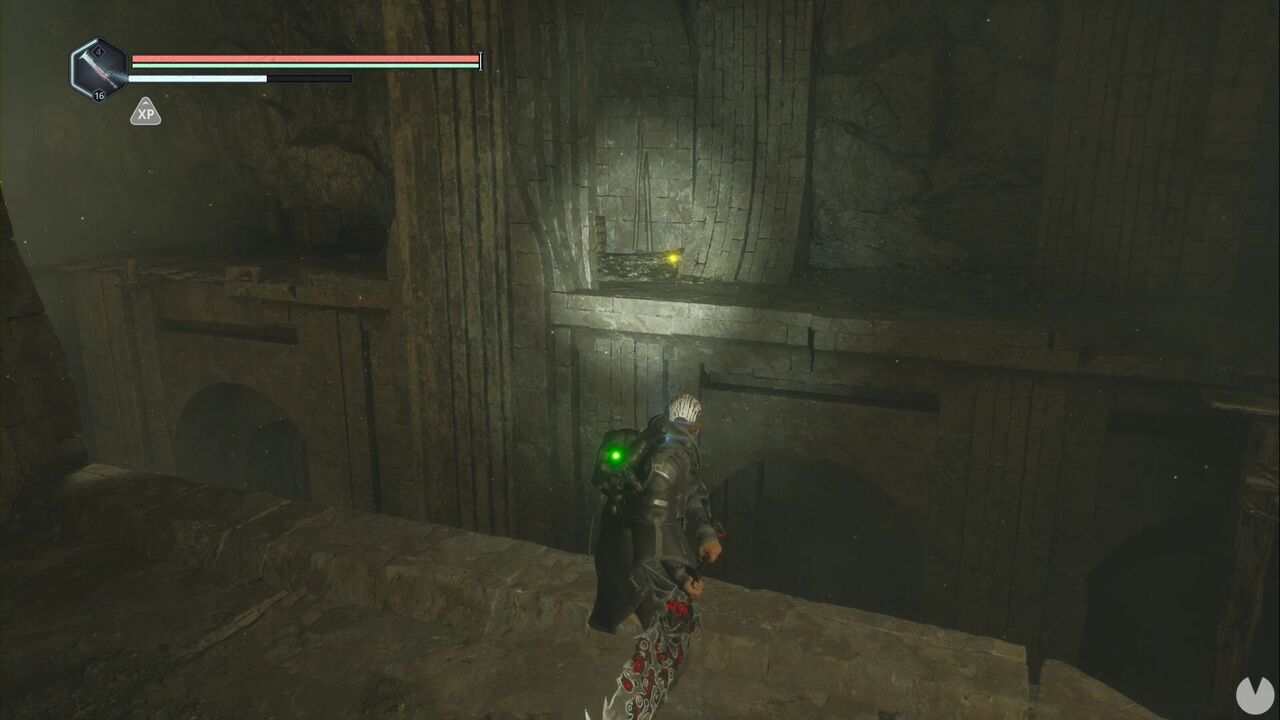
From here, head southwest—remaining on the same side of the bridge—to reach a room containing an enemy and a locked door that can be opened with your new key. This completes the active Mystery, but don’t forget to go inside and collect Francis’ Journal – Queen’s Envoy, Lady Sophia’s Journal – Francis and the Skull in a Box. If you head west from the previous room, you’ll find an enemy and can open a shortcut. However, the path forward is up the staircase we ignored earlier, before collecting the Key – Rusted. Retrace your steps and climb it.
After defeating the next Guardian, you should hear the unmistakable sound indicating that the Timeloop is ready to be closed. If you don’t, you’ve missed one and will need to track it down, but leave that until later. Continue upstairs until you reach another pressure-plate puzzle.
This time, there are four rows with four plates in each row. Number them as before, so the upper-left plate is 1 and the lower-right plate is 16.
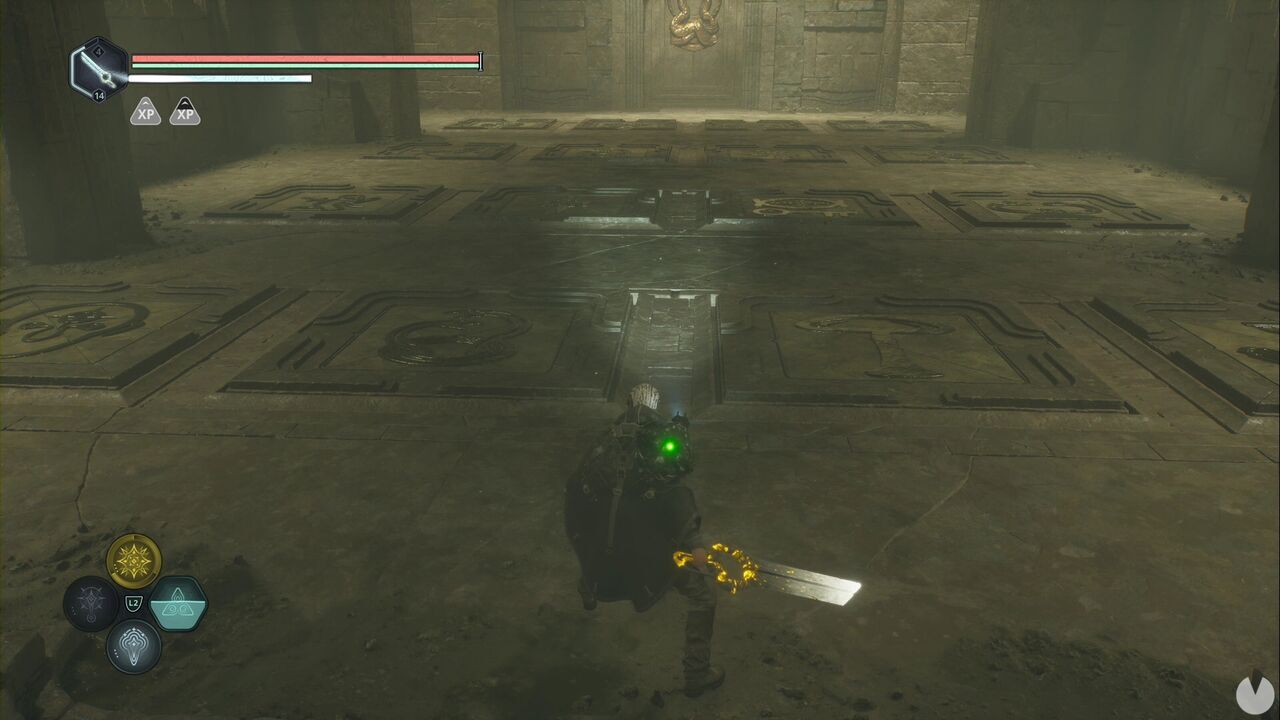
You need to step on plates 16, 10, 8 and 1 to open the door. Continue to the end of the tunnel and, after fighting through a metric ton of enemies, you’ll find one of your active Lymbic Chests—containing five Tuning Stones – Strong—as well as Ancient Lymbic Forging and a lever that opens the door.
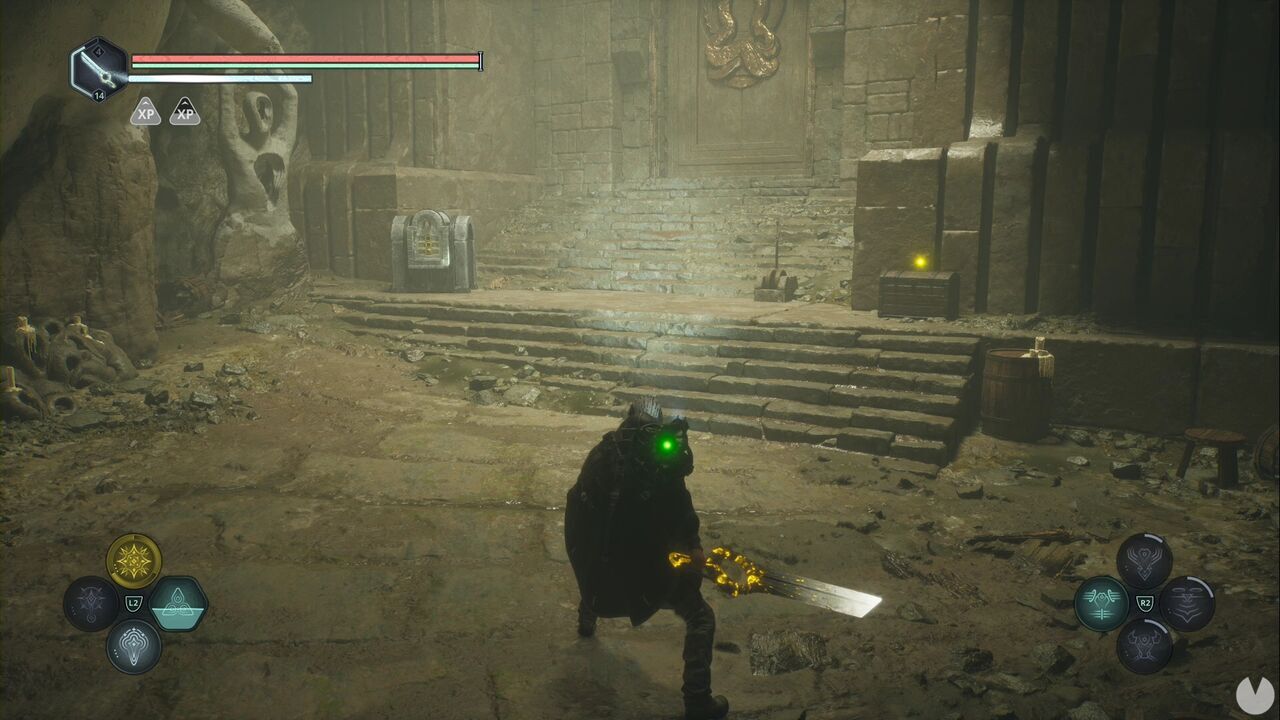
If you go down the stairs to your left as you move forward, you can look underneath the platform—turn left again—to find the Collar of Rage – Scornful Strikes.
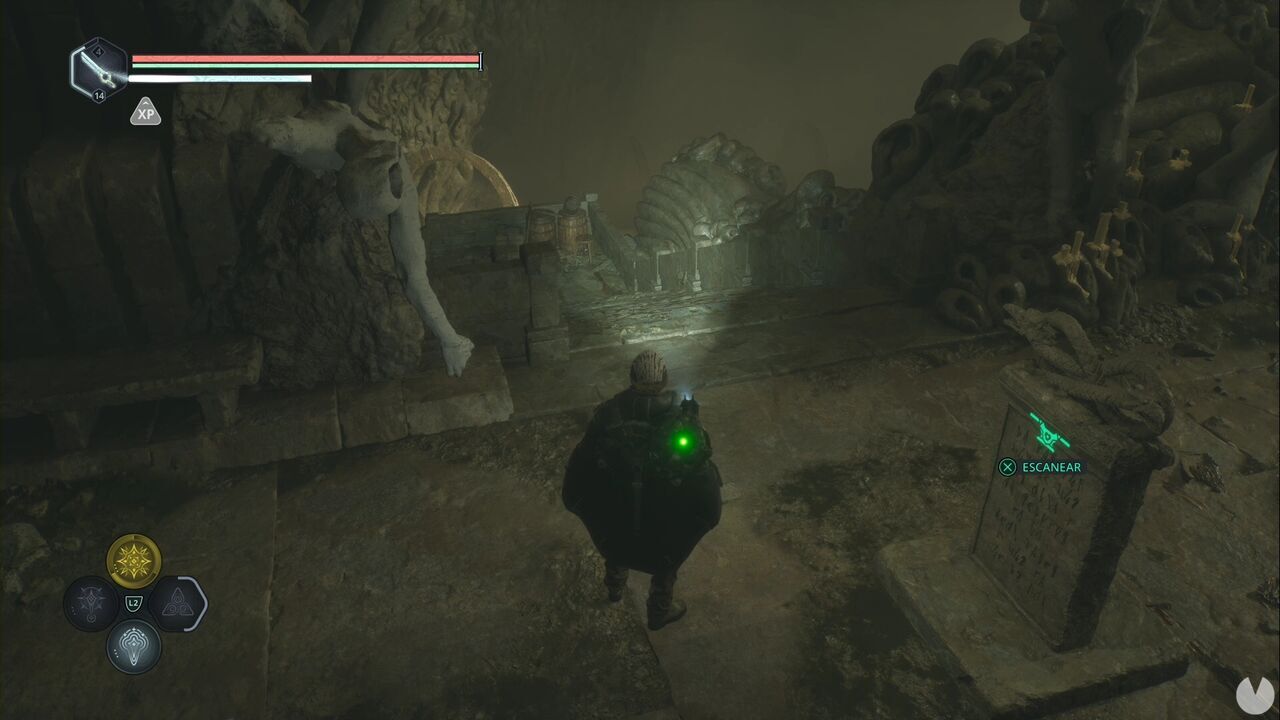
Head back up and continue to the end of the walkway at the top of the stairs. Collect the Scroll – General Ulza’s Note and keep climbing to try to pick up another item and trigger the next sequence.
Unlike what happened with the Haze of Terror, this is simply a battle against a metric ton of enemies. They’ll become progressively stronger, but there isn’t much else that needs explaining.
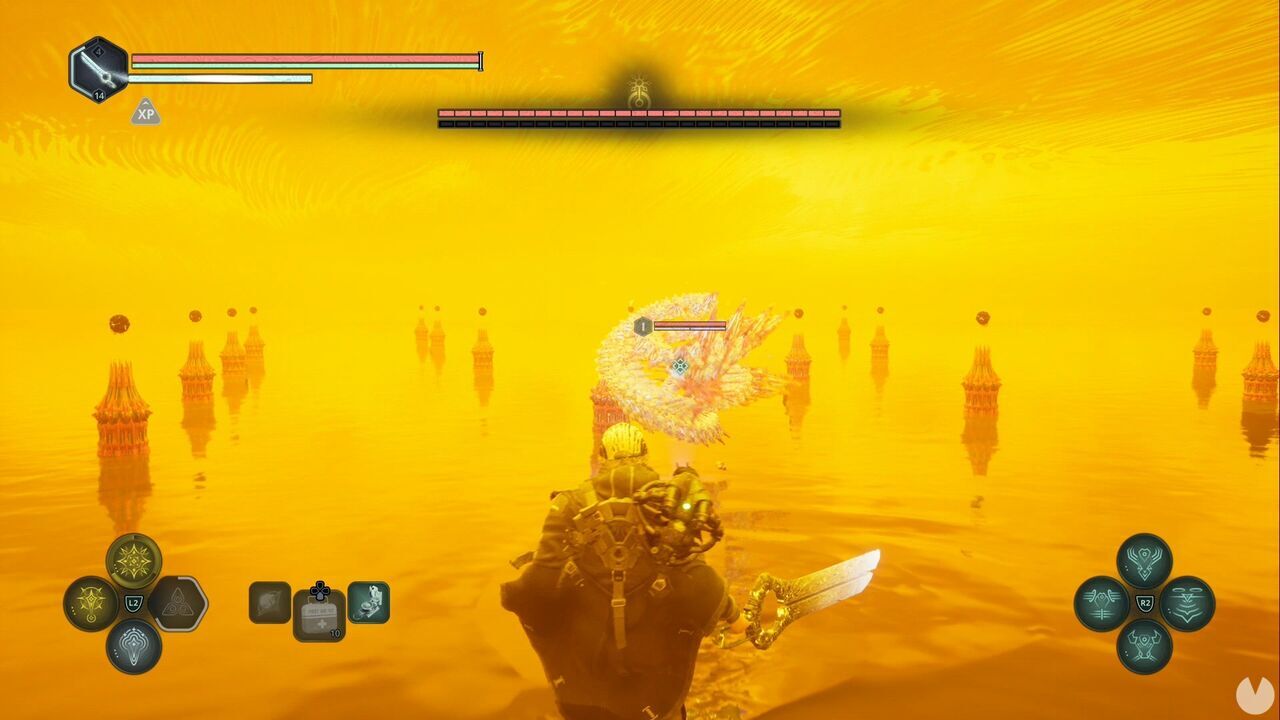
Once you’ve defeated them all, you’ll receive the Keystone of Ecstasy.
Now head down the stairs all the way to the bottom and you should be able to close the Timeloop in this area. If you missed a Guardian, you’ll need to pull out the detector—you know how this works by now.
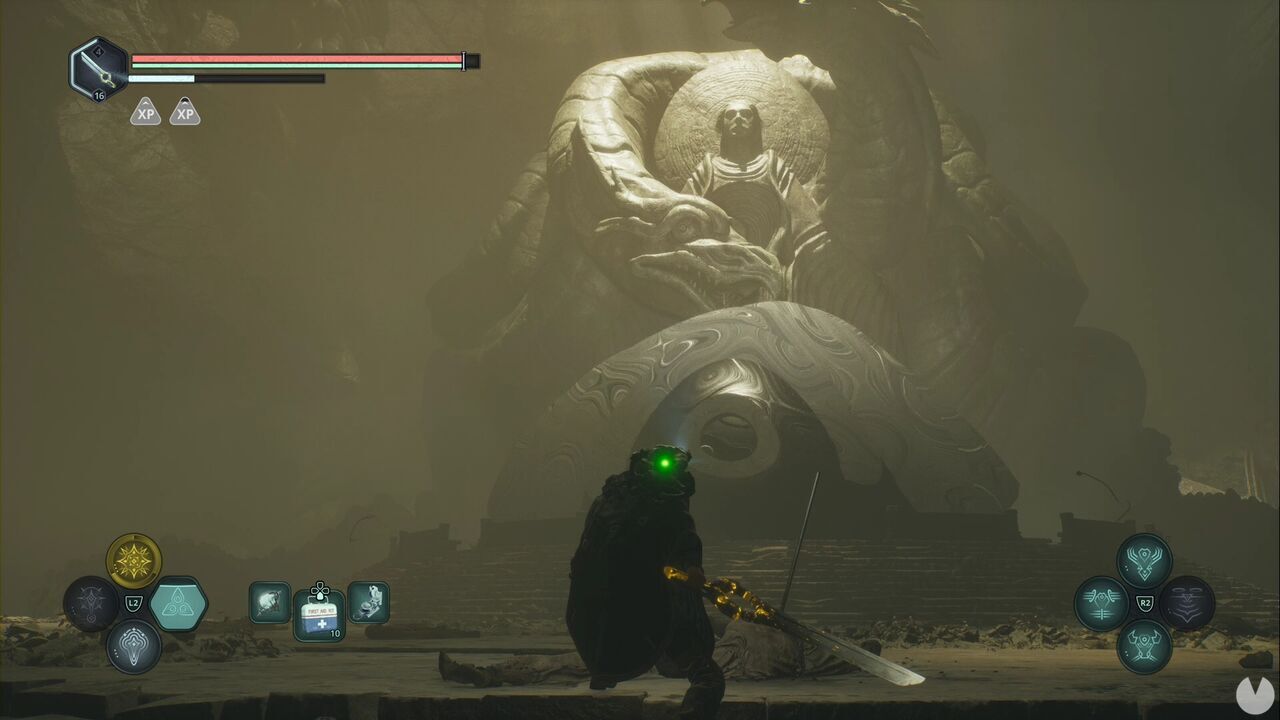
Collect Francis’ Journal – Sacrifice, visit Gildas to claim your reward for closing the Timeloop and, most importantly, return to Victor to upgrade your weapons and defensive gear to their maximum Grades. You now have enough materials to upgrade at least the equipment you use most often. Remember that you need a Grade 5 sword, polearm, twin axes and greatsword, as well as two pieces of Grade 4 defensive gear for the corresponding achievements or trophies. We’re heading to Jeljin to continue our search for the Keystones.
