

Auriga Museum is the tenth area we recommend completing during Act II of Hell is Us, after obtaining the Iron Seal – Fading in Jeljin. Although you’re completely free to search for the Lymbic Forge Keystones in any order, several collectibles can be missed once certain events are set in motion. It’s therefore best to follow a specific order so you don’t ruin that coveted 100% completion.
If you’re exploring on your own, even if you know the location after asking Tania about the charioteer, you’ll need two key items to explore the area. One is the Iron Seal – Fading, obtained at the end of Jeljin. The other is the Iron Seal – Rising, found at the end of the Ministry of Cultural Primacy. If you’ve followed the guide up to this point, you’ll already have both items. Place one on either side of the door to open it.
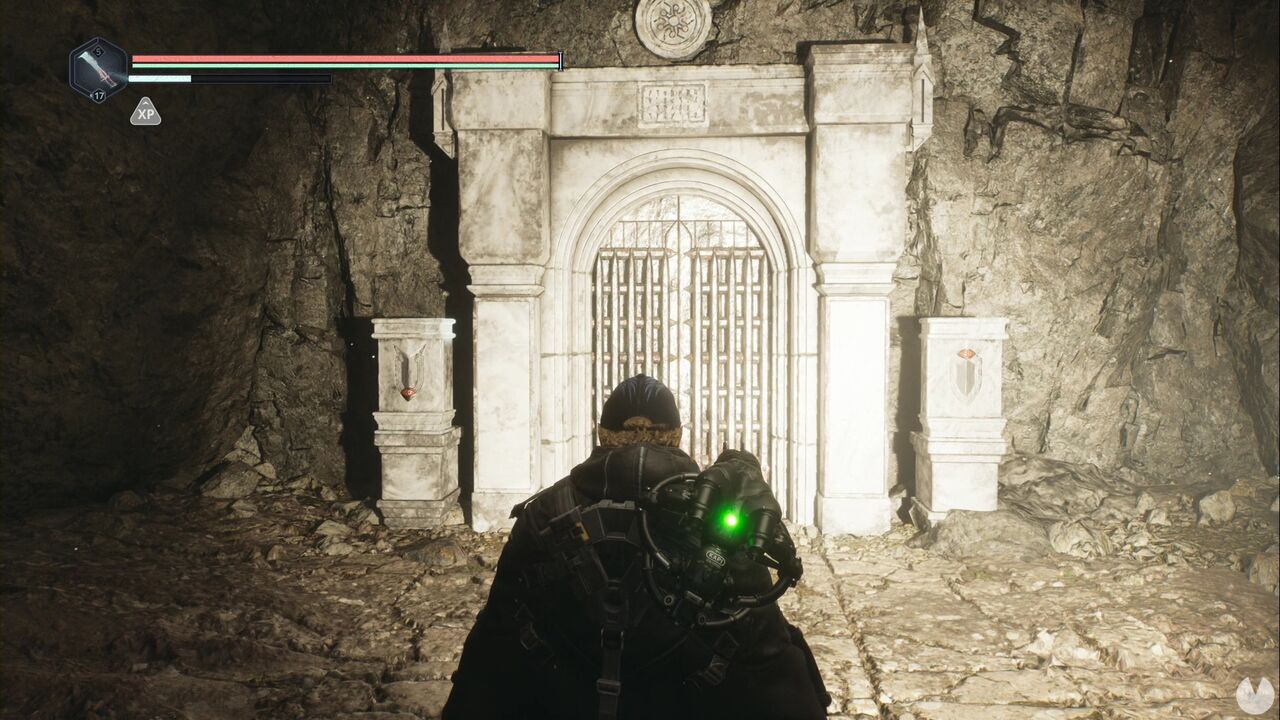
Go through the door and begin exploring. In the first room, you need to rotate all the statues so they face the far wall, away from the door you entered through. The mural at the back will move, revealing a tunnel. Look for the door to the southeast.
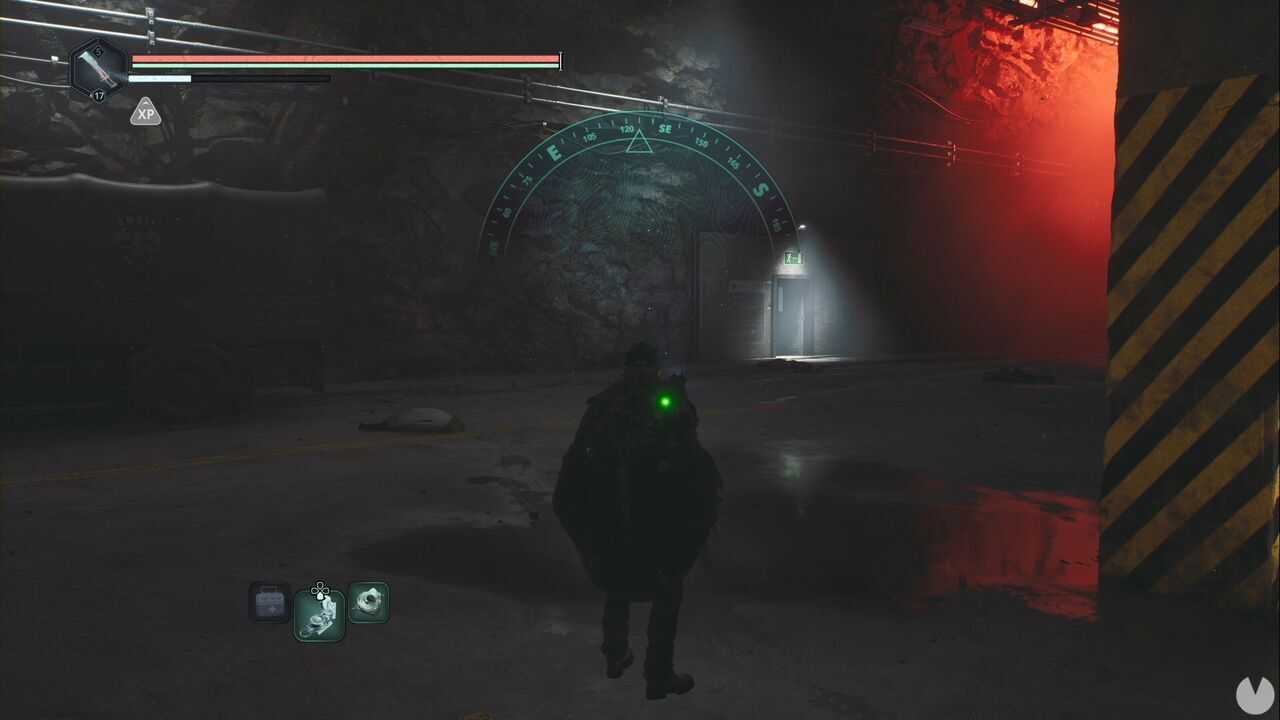
You’ll see a stairwell leading down to basement levels B1, B2, B3 and B4. You can ignore B1 and head straight to B2. Follow the only available path until you reach a desk containing a computer and the Keys – Maintenance. You can use them on the door directly behind you to access and activate the generator.
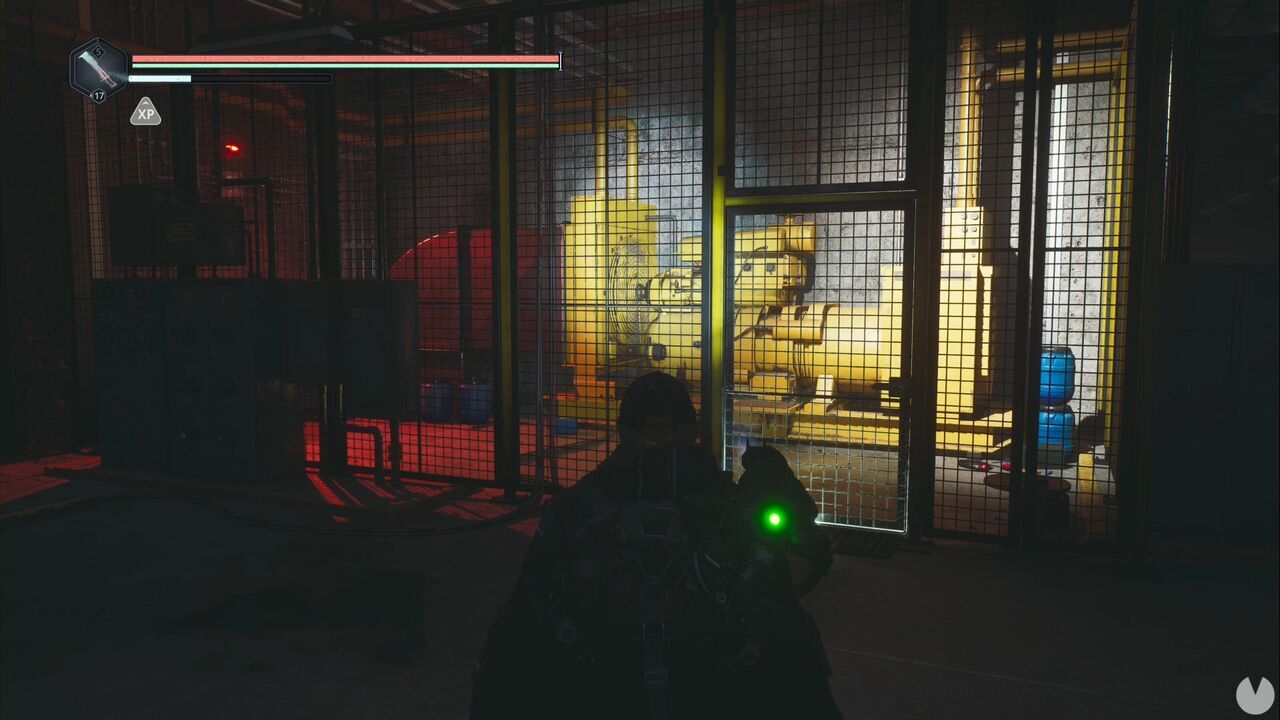
Now use the keys on the door beside the green door to enter a room containing a switch that activates either the "Green Grid" or the "Red Grid". These correspond to the green and red doors—activate the green grid for now. Retrace your steps and a Guardian will appear. Eliminate it, return to the stairwell and descend to B3. Follow the only available path and open another door at the back of the laboratory using the Keys – Maintenance. From here, continue through the only doors you can open—most of the others are purely decorative—until you find another room with coloured switches, then activate the blue grid.
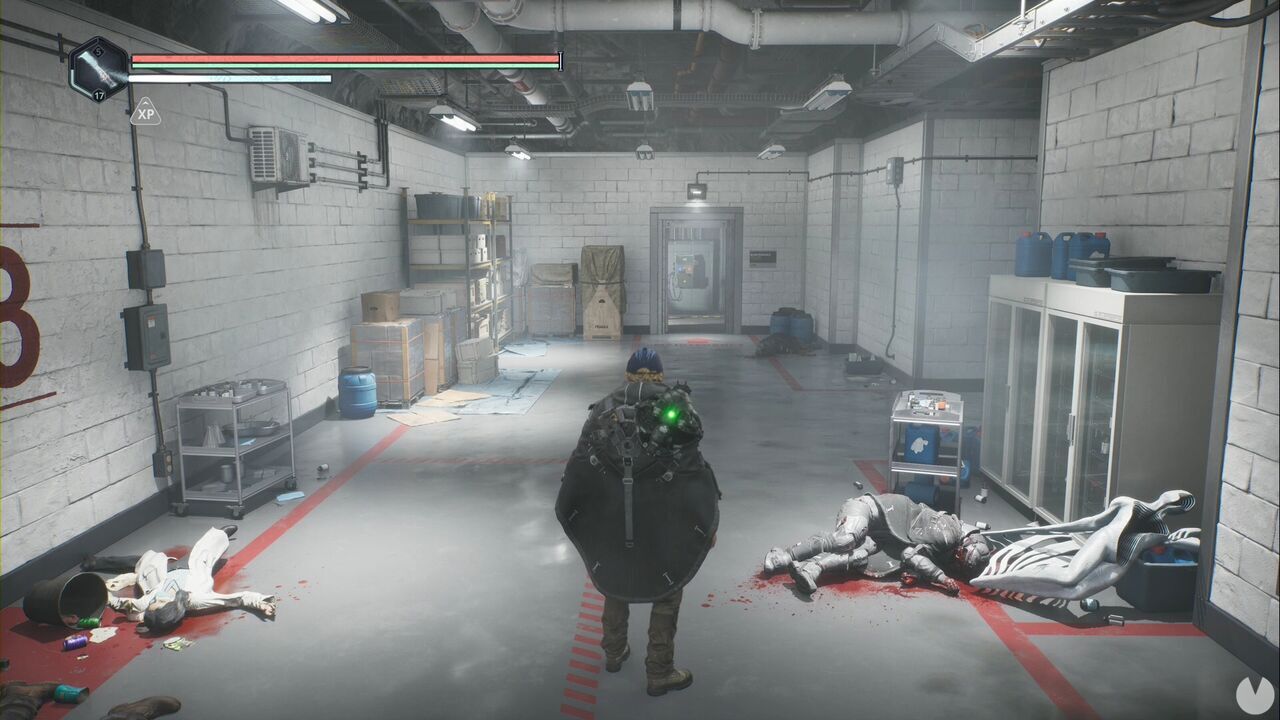
Turn your back to the switches, continue straight ahead and go through the open red door on your left. You’ll reach a corridor with a blue door on your right, which will obviously now be open. As soon as you go through it, you’ll meet Dr. Marga Hamil, the woman who was calling out to you from the corridor. Make sure you exhaust all her dialogue options, as you should with every other important NPC.
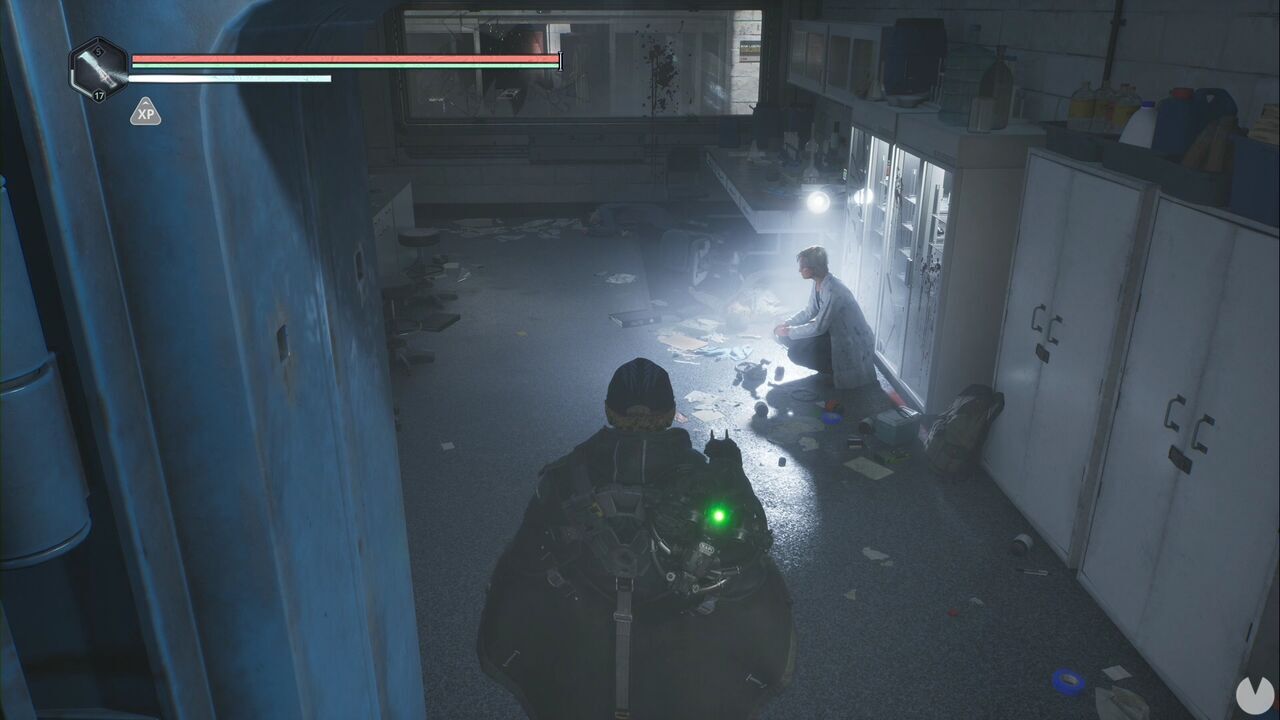
Retrace your steps and, after passing through the red door to the left of the blue one, look for the blue door with a body smashed against the wall beside it. This is the entrance to the Drone Workshop mentioned by Hamil.
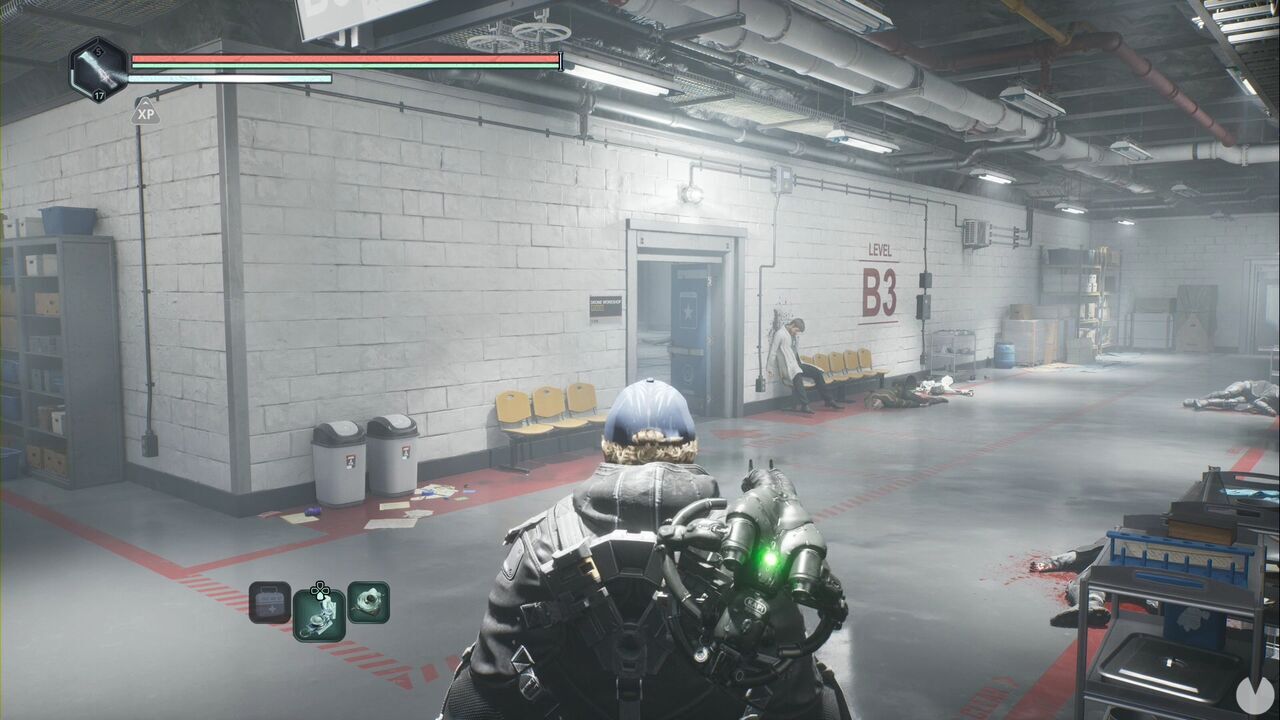
Go inside, clear the room and collect the Key – Auriga Locker, which activates the Whistleblowers Mystery. You probably saw the lockers earlier, but we’ll return to them later. Check the rooms along the northern wall to find a Box of Bullets. Then open the door in the western wall using the code given to you by the doctor: 230317.
Inside this room, you’ll find the Surge Step – Elite drone module and the Drone Processor needed by Hamil.
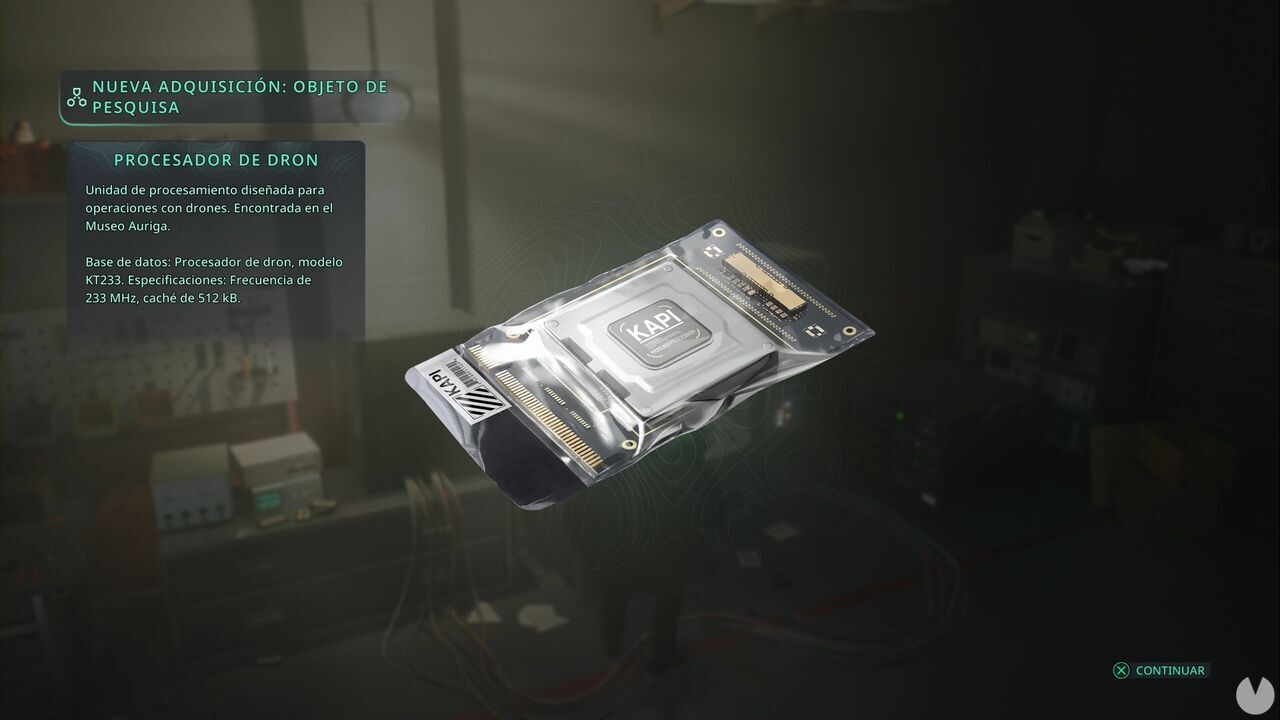
Return to the doctor and give her the processor to receive the Keycard – Clearance Beta.
Hamil’s keycard gives us access to new areas. Start by returning to the grid switch room and activating the orange grid. Head back towards the doctor. Her laboratory door will obviously be closed, but the orange door to the neighbouring lab will now be open. Eliminate the enemies and collect the Recording – Biopsy from the body on the table. What we really wanted from this room, though, was the Guardian.
Head back as though you were returning to the stairwell, but turn left after passing through the first maintenance corridor. The door to the Research Department should now be open.
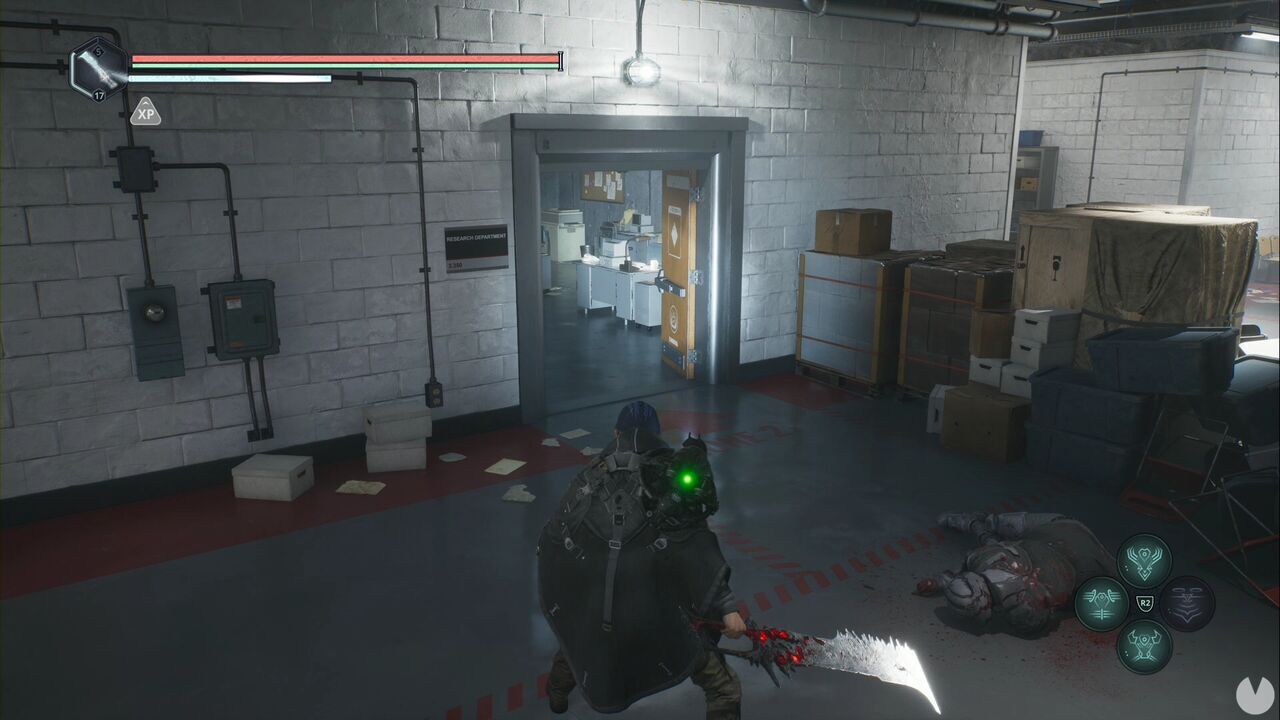
Go inside and use the computer on your left to shut down the emergency alarm. Collect the Recording – Drone Upgrades from a table, then check the computer at the back and read the file about the defective safe. This activates the Lax Security Mystery. Return to the corridor and continue towards the stairs.
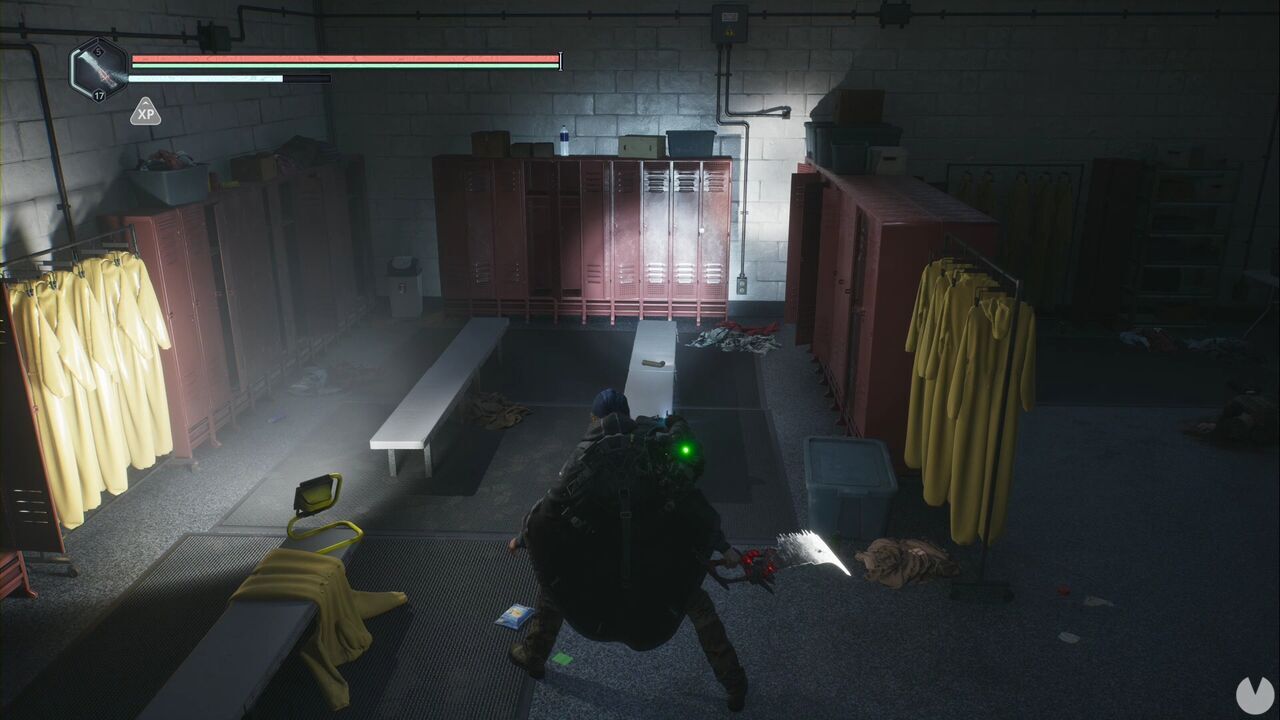
Along the way, you’ll pass through the locker room. If you searched the area earlier, you may remember that one of the lockers was locked. You can obviously open it with the key you picked up a short while ago, as it forms part of an active Mystery. Inside, you’ll find the Note – Cold Feet.
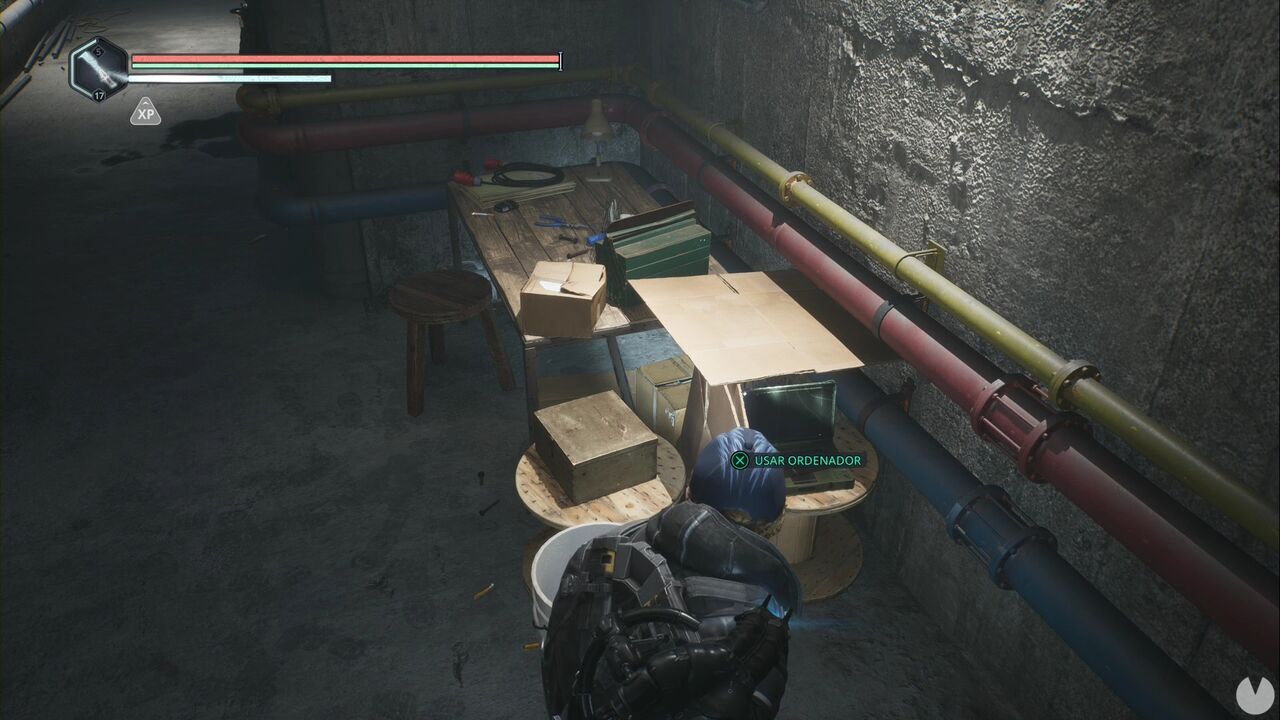
Return to B2 and head to the coloured grid switch. This time, activate the red grid. Retrace your steps, go through the first red door on your left and unlock the door at the back. At the end, you’ll see a ladder, but don’t climb it yet. Instead, turn the camera to find a computer hidden among some boxes. Enter the code 051108 to unlock it. Read the files to complete Whistleblowers.
It is ESSENTIAL THAT YOU CLIMB THE LADDER and eliminate the Guardians on B1 now, before activating the yellow-grid switch on B1. In fact, when you reach the room containing the enemies, the survivors will warn you about it.

Once the room is secure, return to B2 and climb to B1 using the maintenance stairs. There’s a door to the south that you can open, leading to this floor’s coloured grid switch room. Activate the purple grid to open a door in the same corridor. You can listen to the car radio beside the door if you like. Afterwards, head north and enter the training room, defeat the enemy and press the button hanging from a cable.
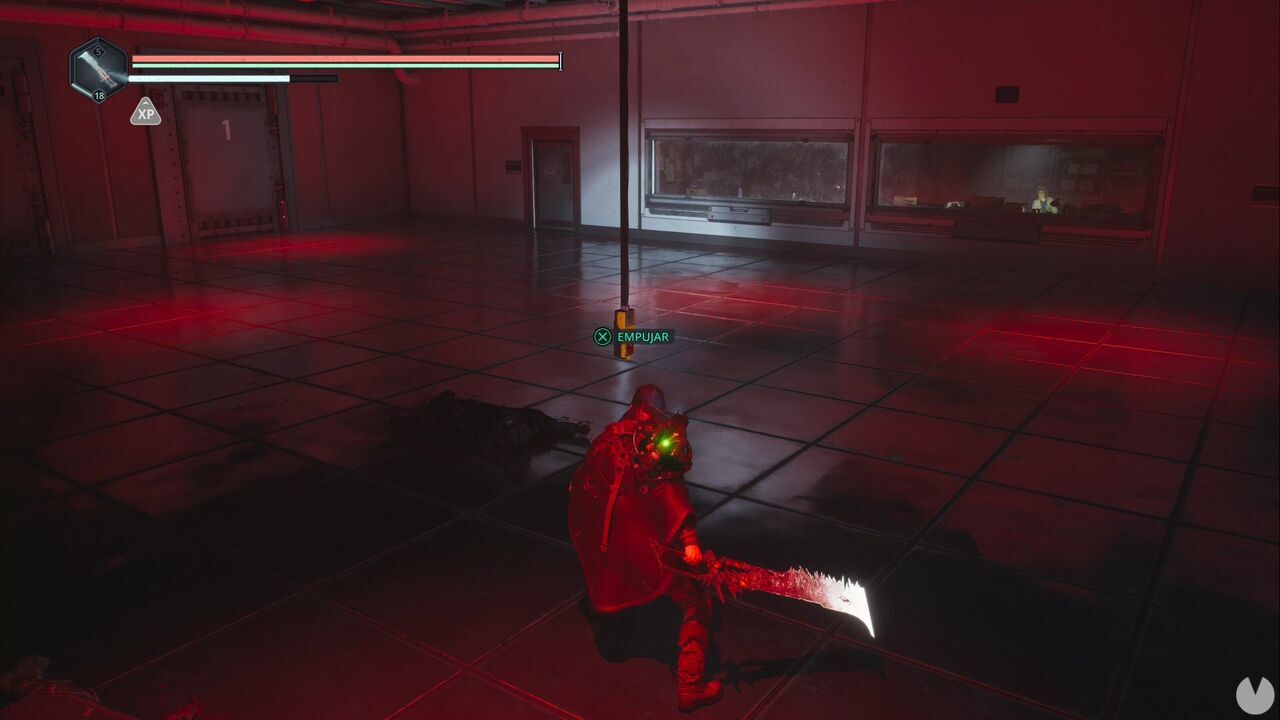
You’ll need to eliminate two waves of enemies—defeat the first wave, press the button and then deal with the second—before the woman behind the glass opens a door to the left of the partition. Inside this room, you’ll find the Whirlwind – Elite drone module.
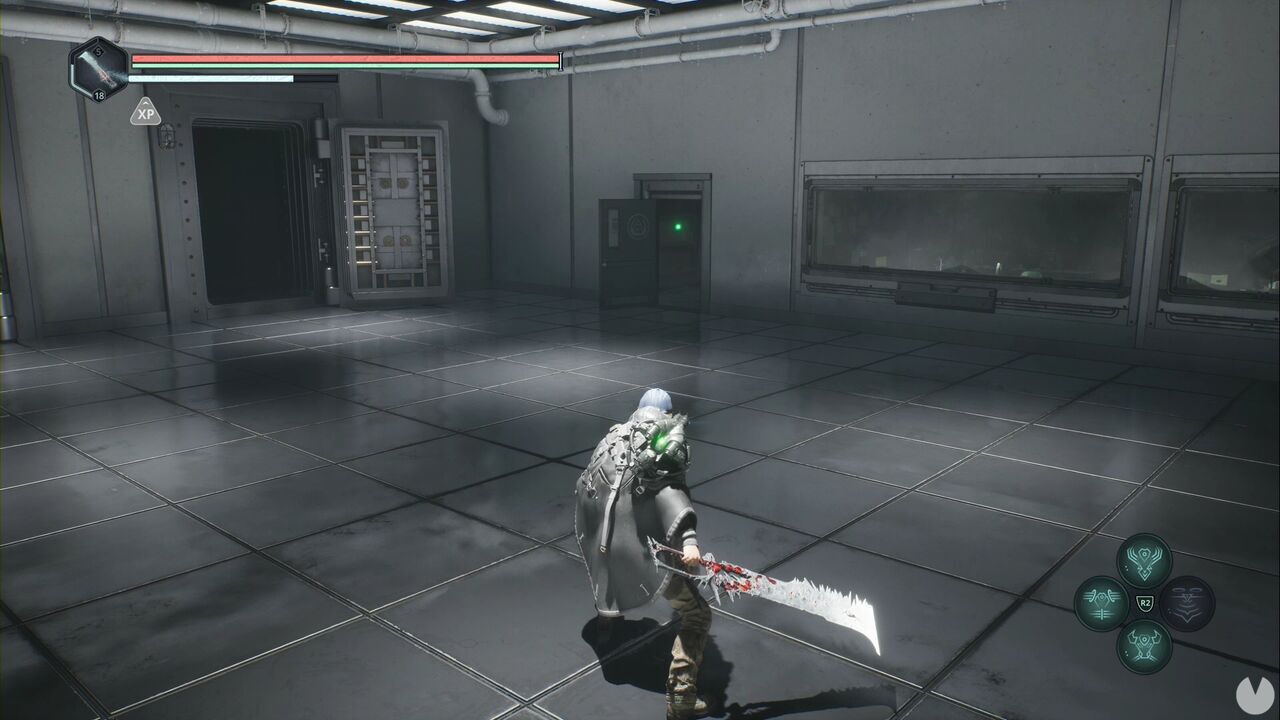
Press the button again and continue eliminating enemies until the security-room door opens. Speak to the technician, Seo Kagin, another NPC whose dialogue options you need to exhaust. She’ll give you the Keycard – Clearance Alpha.
While you’re still in the training room, look for the door inside the cell in the southwestern corner. It leads to an adjoining corridor.
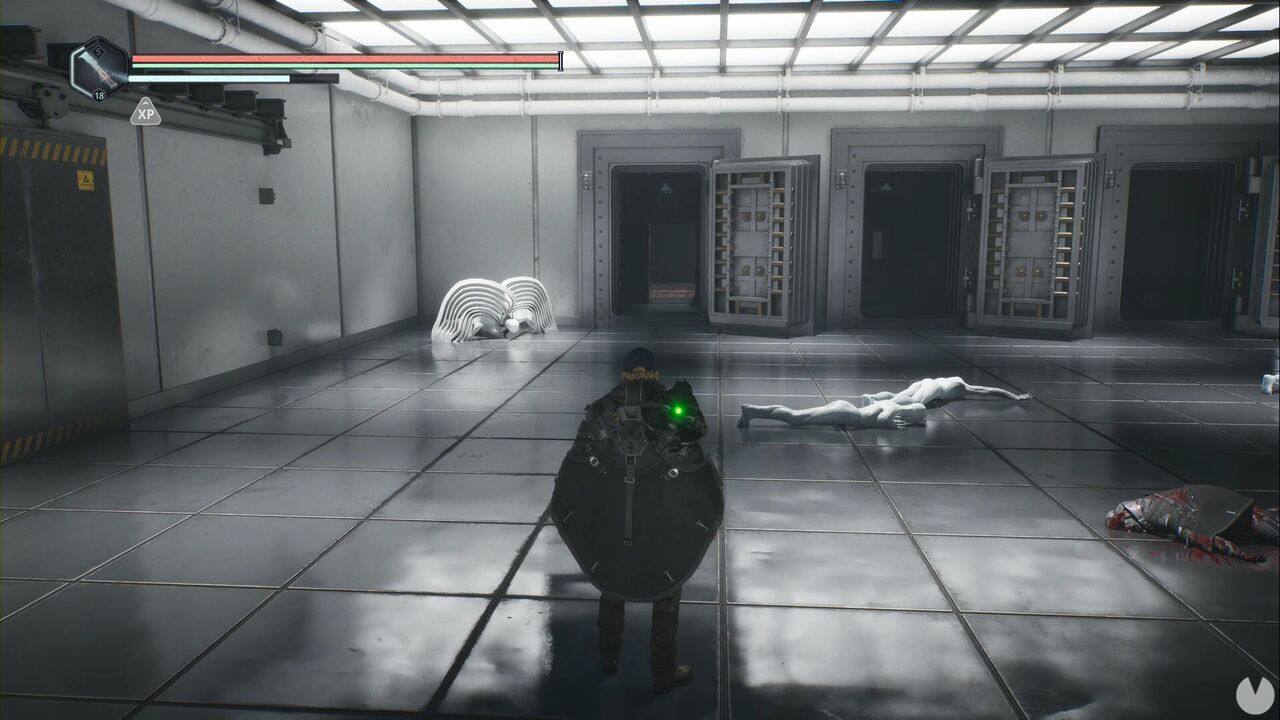
There are several cells in this corridor. Search them to find the Cigarette Case, which activates the Mementos Good Deed, and the Ring – Hand-Made, which is connected to the same Good Deed. Now use the Keycard – Clearance Alpha on the card reader beside the door on the southern side of the corridor. You’ll reach this area’s Timeloop, although you can’t close it yet. Head to the door at the far end and, after clearing the room, use the alpha keycard to open another door and create a shortcut.
Look to the left of this locked door to find a safe. Enter the code 77777 to open it. You’ll receive an Amine Prism – Zeta, an Amine Prism – Rho and the Distract – Elite drone module. Now go through the keycard door and activate the yellow grid. Return to the Timeloop room and follow the path to the left of the security glass to reach the floor of the large room containing Dr. Ballam Lamech—provided you followed the instructions that prevented him from being killed.
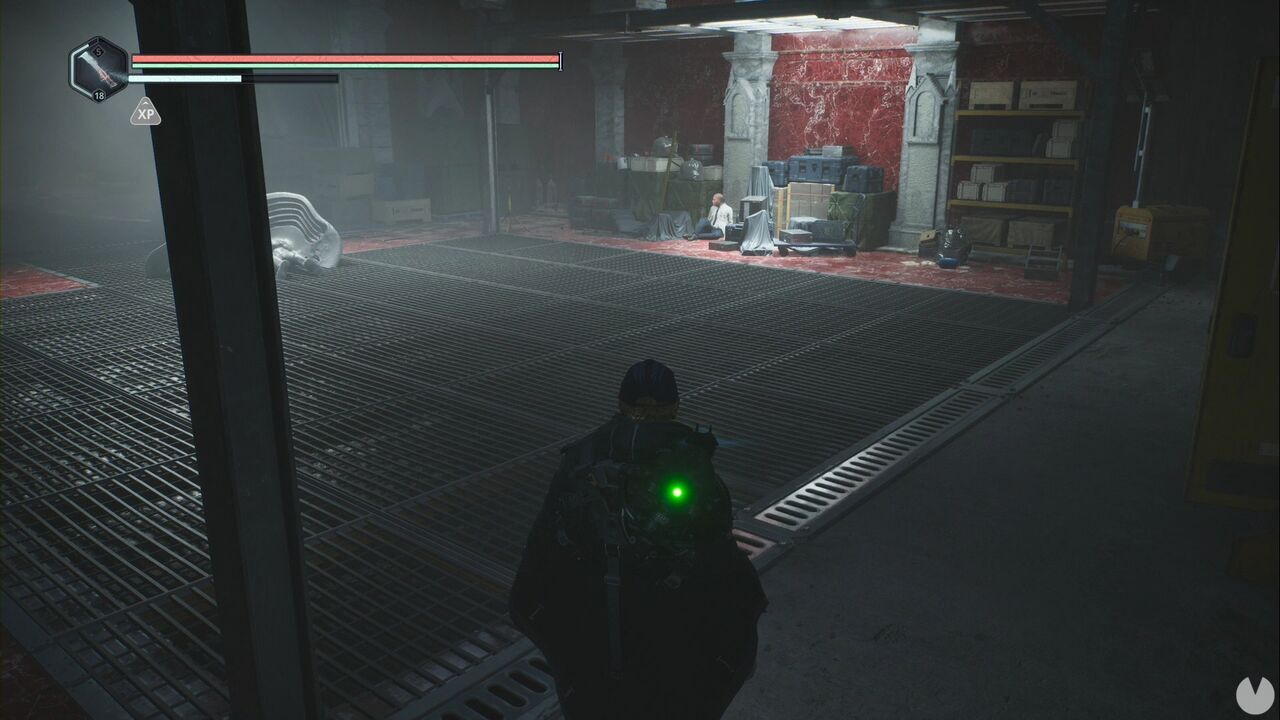
Exhaust his dialogue options and he’ll give you the code 7584, an Amine Prism – Zeta and an Amine Prism – Rho. In the adjoining security room, you can find the Recording – Ancient Timeloop and a computer containing information about the prisoners.
Return to the maintenance stairwell and descend to B4. Follow the only available path and use your keycards to open the doors until you reach the room containing the Timeloop mentioned by Lamech.
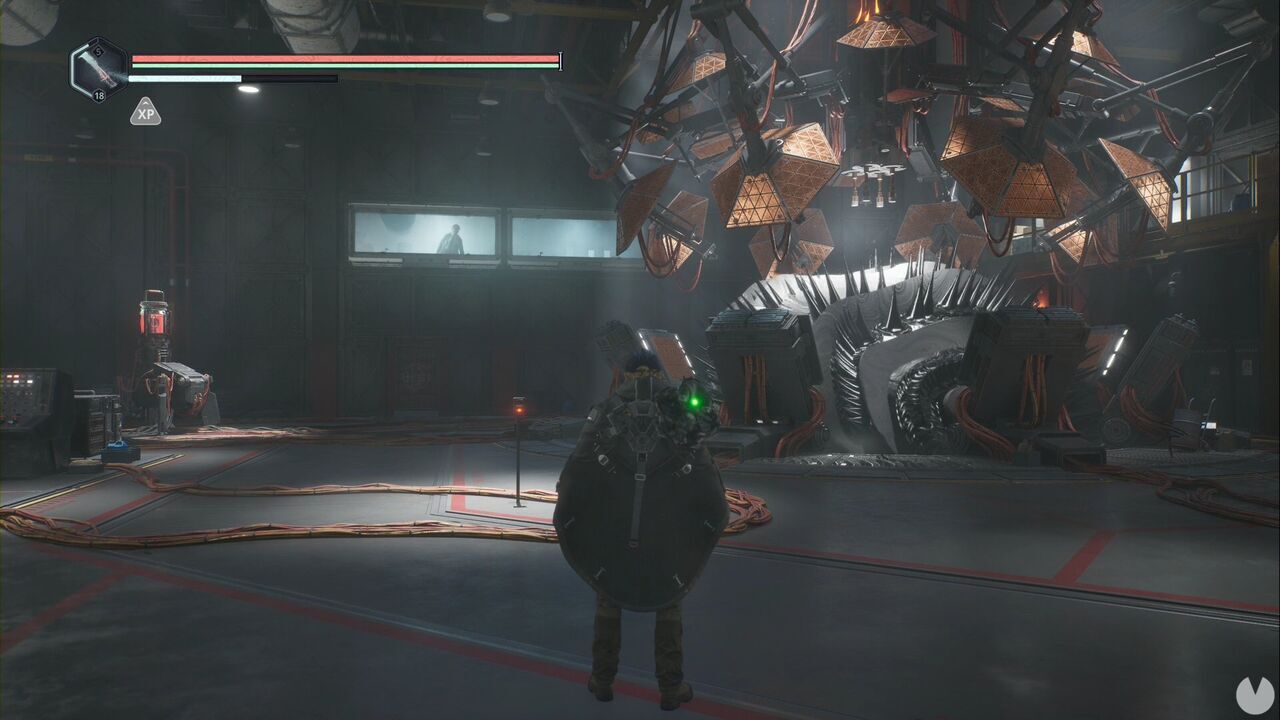
Use the intercom in the centre to speak to Dr. Mabden, the final important NPC you need to talk to. You’ll unlock the Lend an Ear achievement or trophy here if you’ve followed the guide up to this point. After the conversation, this works much like the training room: eliminate the enemies and use the intercom between waves until you can collect the Keystone of Rage from the red machine beside the Timeloop.
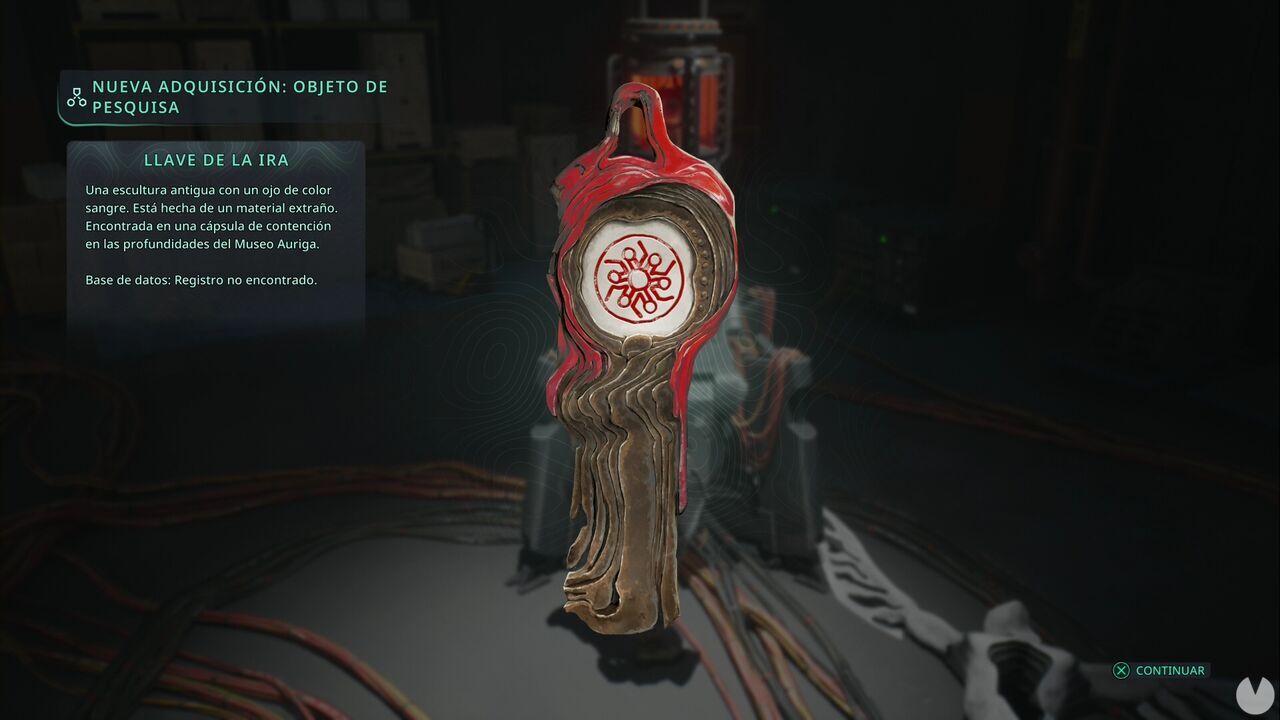
Technically, we’re finished with this area and you can leave if you want. However, there are still a few things left to do. Start by finding the nearby computer and entering the password 7584 given to you by Lamech. You’ll need to generate one Guardian and then the other before you can close the B4 Timeloop.
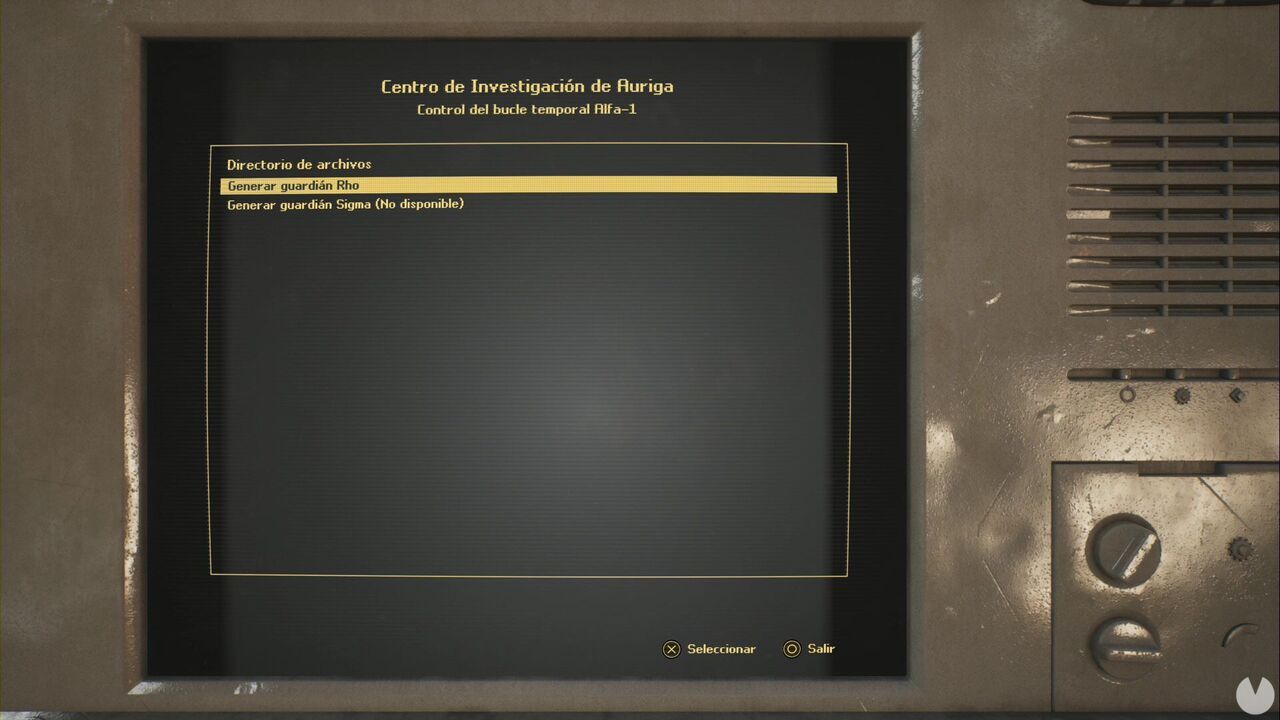
After closing the Timeloop, you’ll see a ladder. You can climb down if you want, although it isn’t necessary. Head to the far end of B4 and go through the open door. You’ll see two doors: one leading to a staircase and another leading to the Stock Room. Inside the latter, you’ll find a body carrying the Keycard – Clearance Delta, which we’ll use shortly. In the same room, head to the back of the storage area to find the Lymbic Rod – Grief, X and the Note – Rho-021. This activates the Lymbic Chest – Lymbic Forge, Waterfall Mystery. You’ll also find the Symbol – Iron Crown at the back, which activates the Great Responsibility Mystery.
The door at the back is irrelevant. It opens from the other side after climbing down the ladder beside the Timeloop, and there’s nothing interesting there. If you want, you can still climb down through the Timeloop shaft and open it anyway.
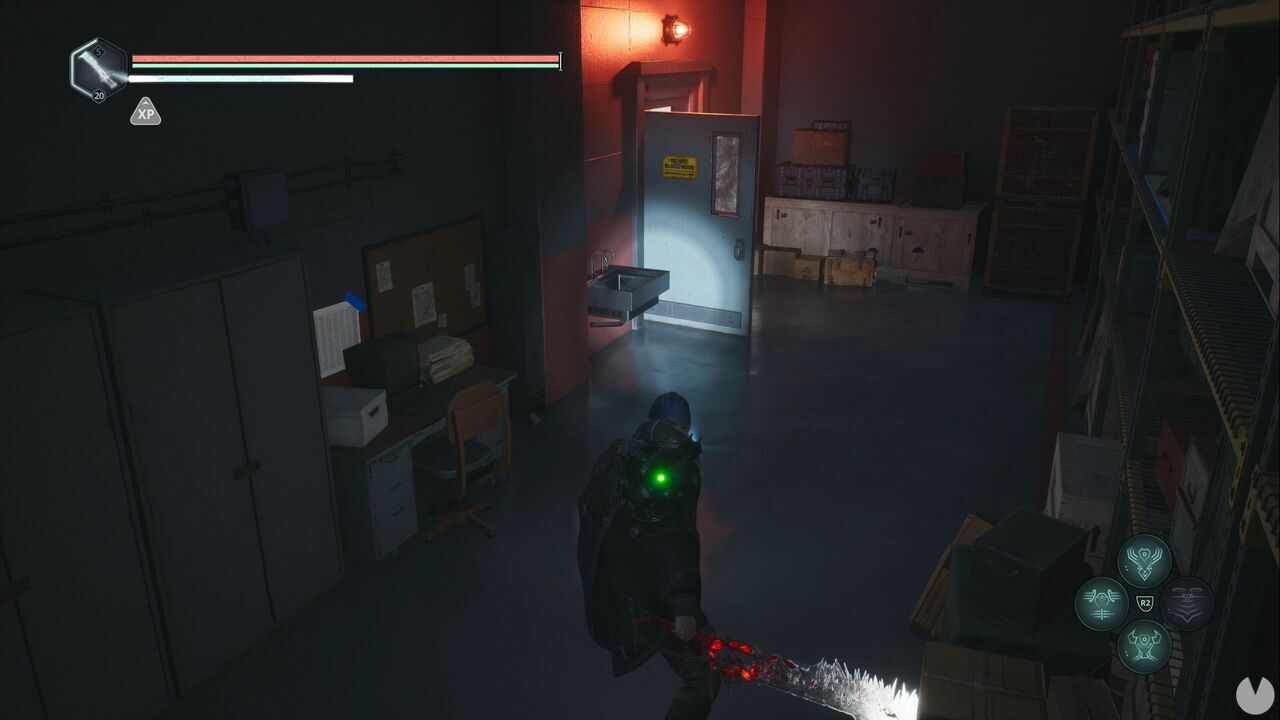
Now climb the stairs in the corridor and use the delta keycard. You’ll find the Recording – Timeloop Control in the control room. Use the freight elevator at the back to return to level B0. At the junction, you should see the three scientists you rescued. Not Mabden—screw that guy. Exhaust their dialogue options, just in case.
As you’re about to leave through the statue room, look south to find a door where you can use the Symbol – Iron Crown.
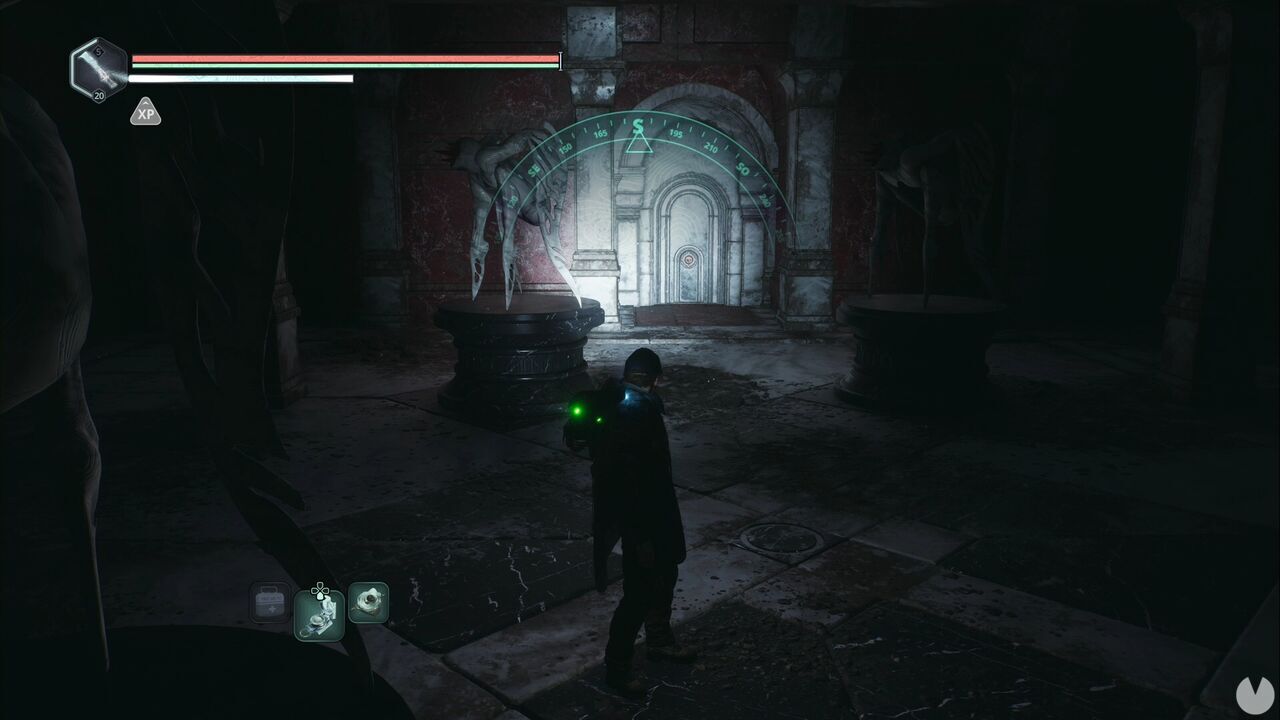
Opening it completes an active Mystery and allows you to collect a Polearm of Rage and the Ceremonial Key. Before leaving, make sure you close the B1 Timeloop. You now have access to the entire area thanks to the keycards and everything else you’ve collected, so it shouldn’t take long.
We have several things to do before heading to the Lymbic Forge at Lake Cynon. First, travel to Senedra Forest and visit Ernest Caddel’s house. If you’ve followed our instructions, you’ll find Dag Samson near the house.
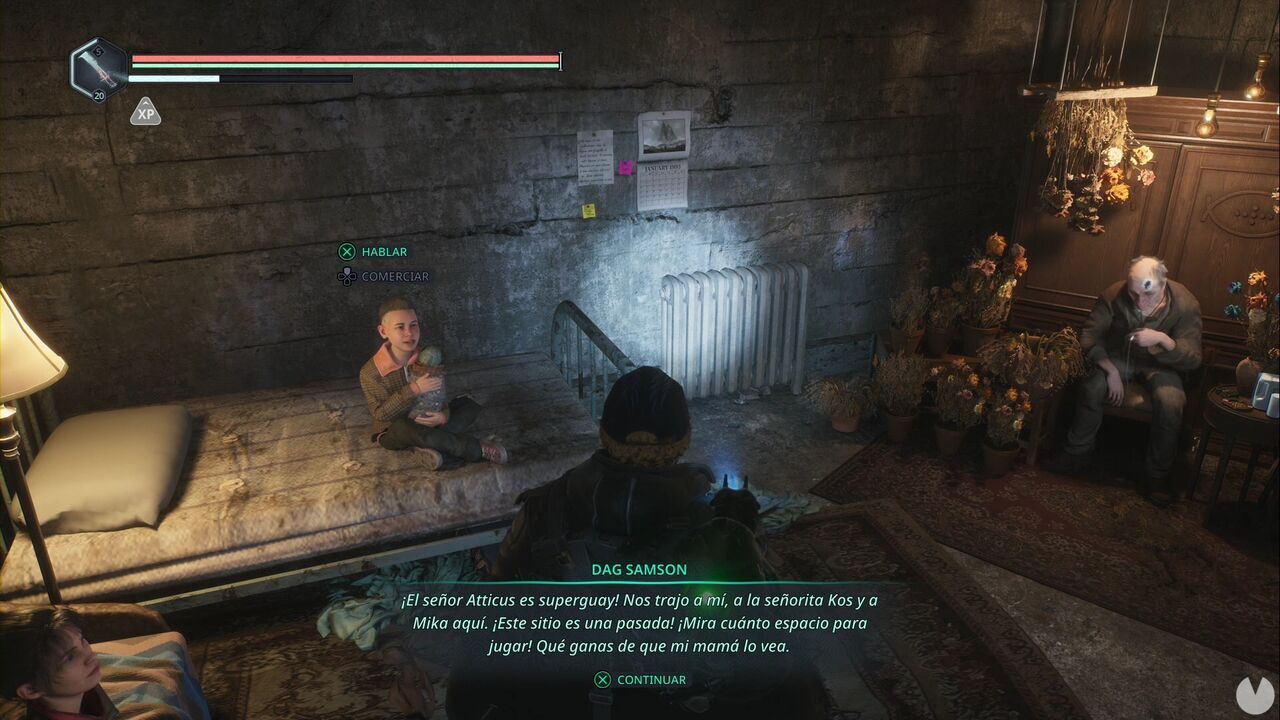
Give him the Ring – Hand-Made to complete part of an active Good Deed. Now travel to Marastan and look for Elzina inside the first house on the right as you follow the road from the APC. Giving her the Cigarette Case completes an active Good Deed, which is also the final Good Deed in the game. If everything has gone according to plan, you’ll unlock the Man of the People achievement or trophy. Make sure you speak to Gildas in Vyssa before moving on to the next section, and visit Victor in Jova if you want to upgrade any equipment. It’s finally time to head to the Lymbic Forge.
