

Jeljin is the ninth area we recommend completing during Act II of Hell is Us, after obtaining the Keystone of Ecstasy in the Plains of Mist. Although you’re completely free to search for the Lymbic Forge Keystones in any order, several collectibles can be missed once certain events are set in motion. It’s therefore best to follow a specific order so you don’t ruin that coveted 100% completion.
Start by heading south, where you’ll see a stone archway. As soon as you pass through it, turn the camera to the right to spot Edwyn Tosan, to whom you can give the Urn from the Family Feud Good Deed.
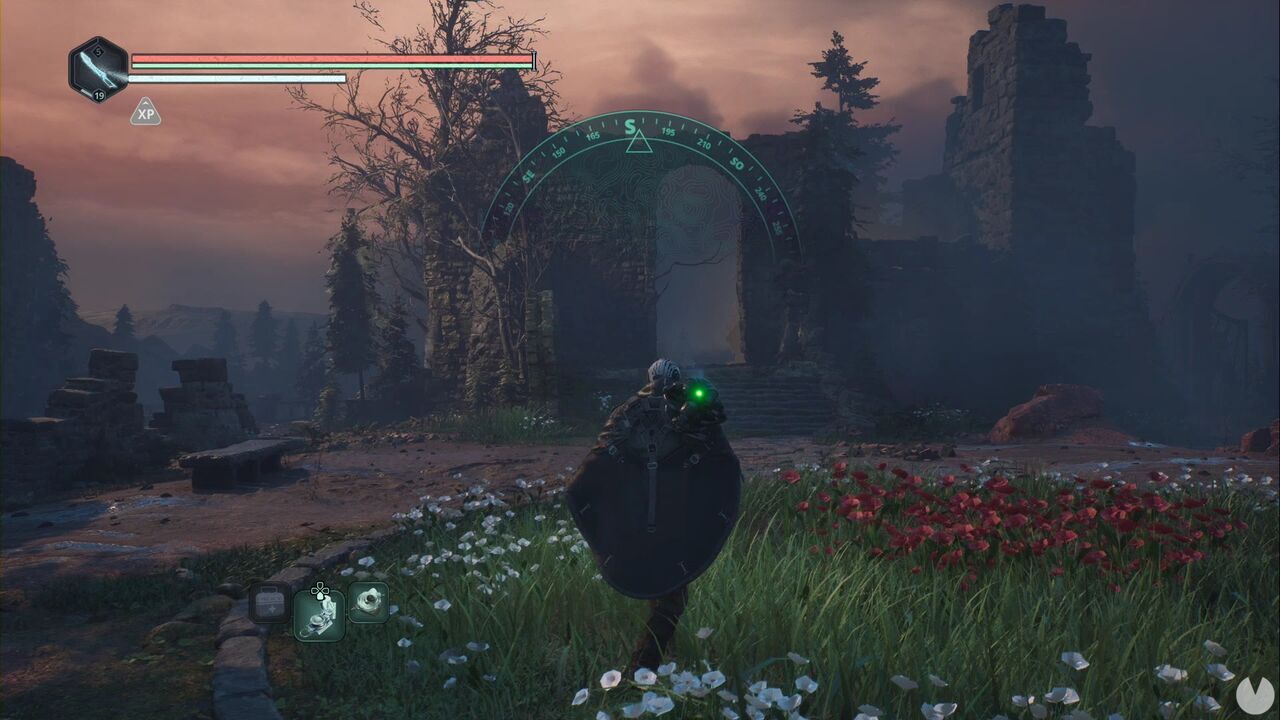
When the conversation ends, you’ll see that an item has appeared on the bench. Pick up the Urn again, along with the Key – Columbarium. Continue south and head down the stairs. On your right, along the only available path, you’ll find the Pocket Watch. Make sure you clear the graveyard of enemies, then enter the church.
Inside, you’ll find a save point, the Note – Contractor and another door leading outside on the opposite side of the building.
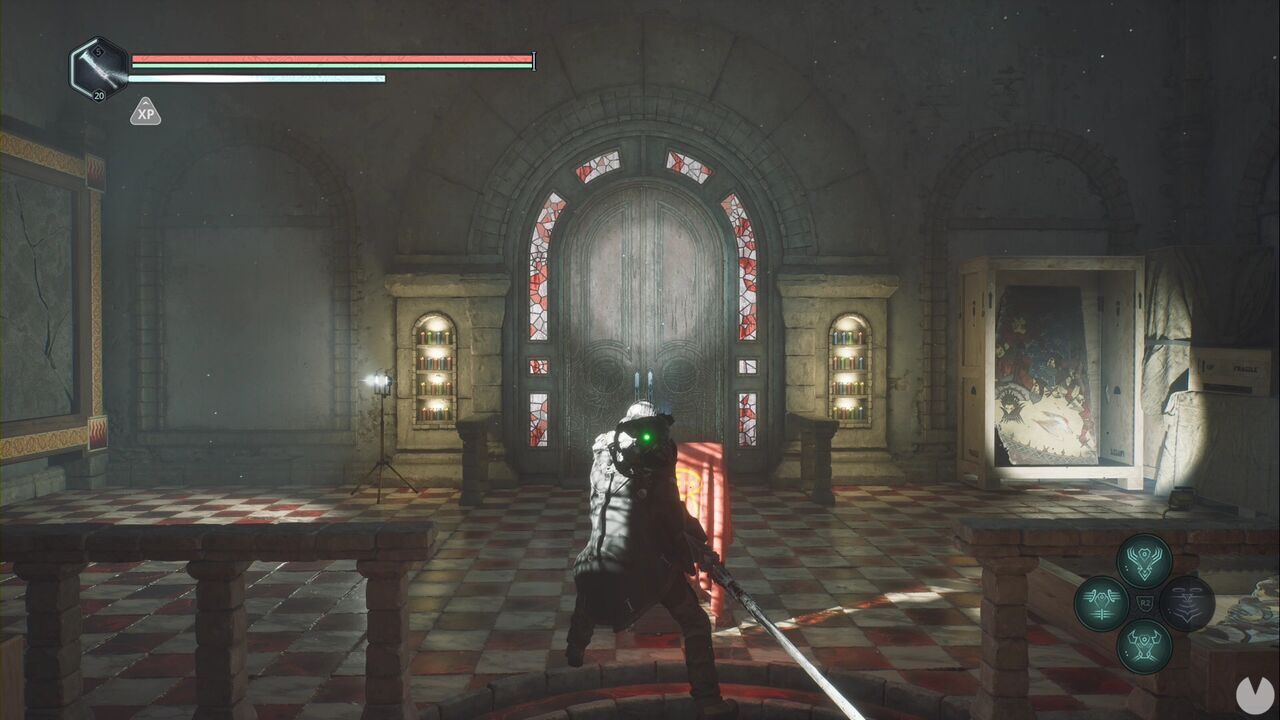
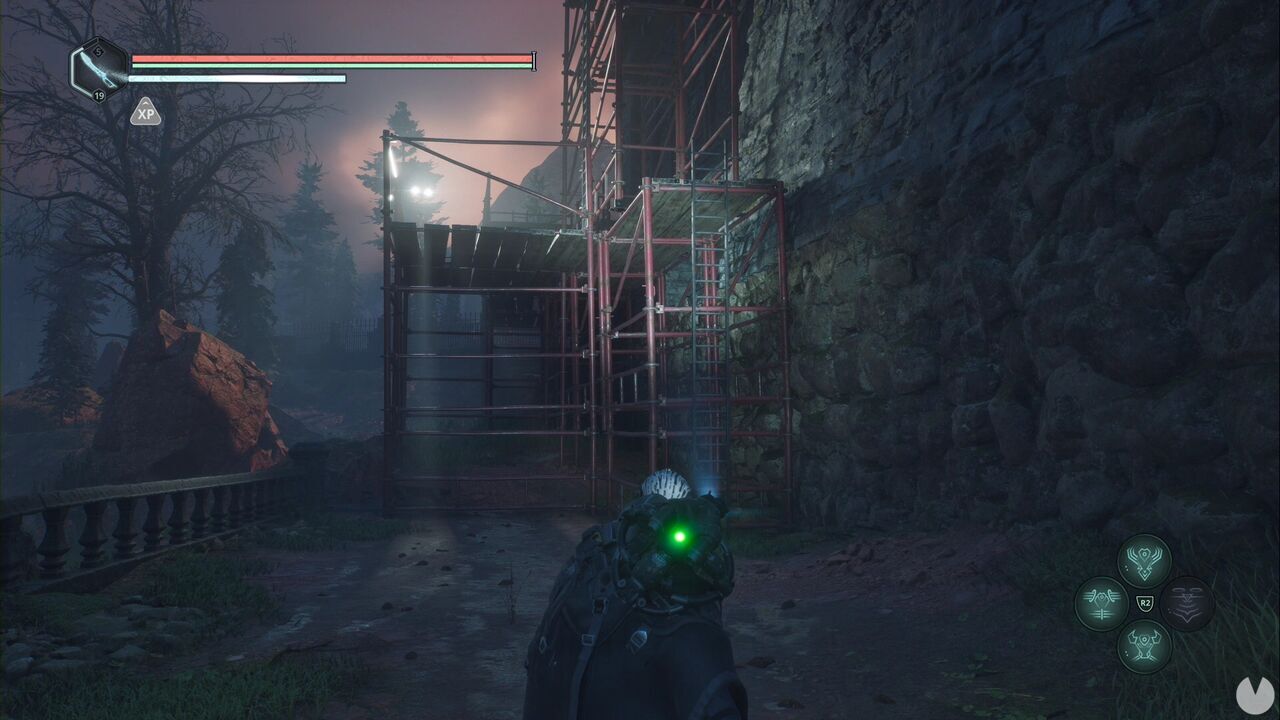
Eliminate the Guardian and go around the church to the right to find some scaffolding you can climb.
From the roof, continue south and drop into a previously inaccessible church courtyard, then collect the Keys – Crane from the body. Ignore the rather obvious puzzle beside you for now. We’ll deal with it later.
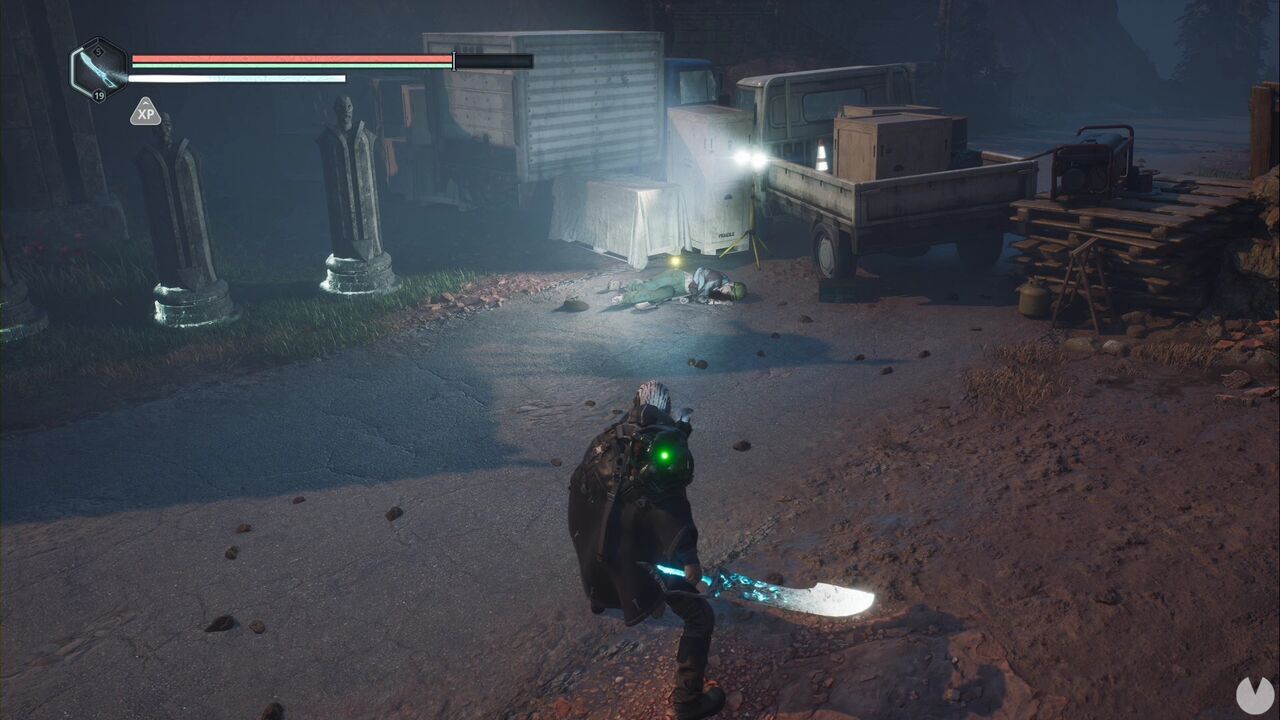
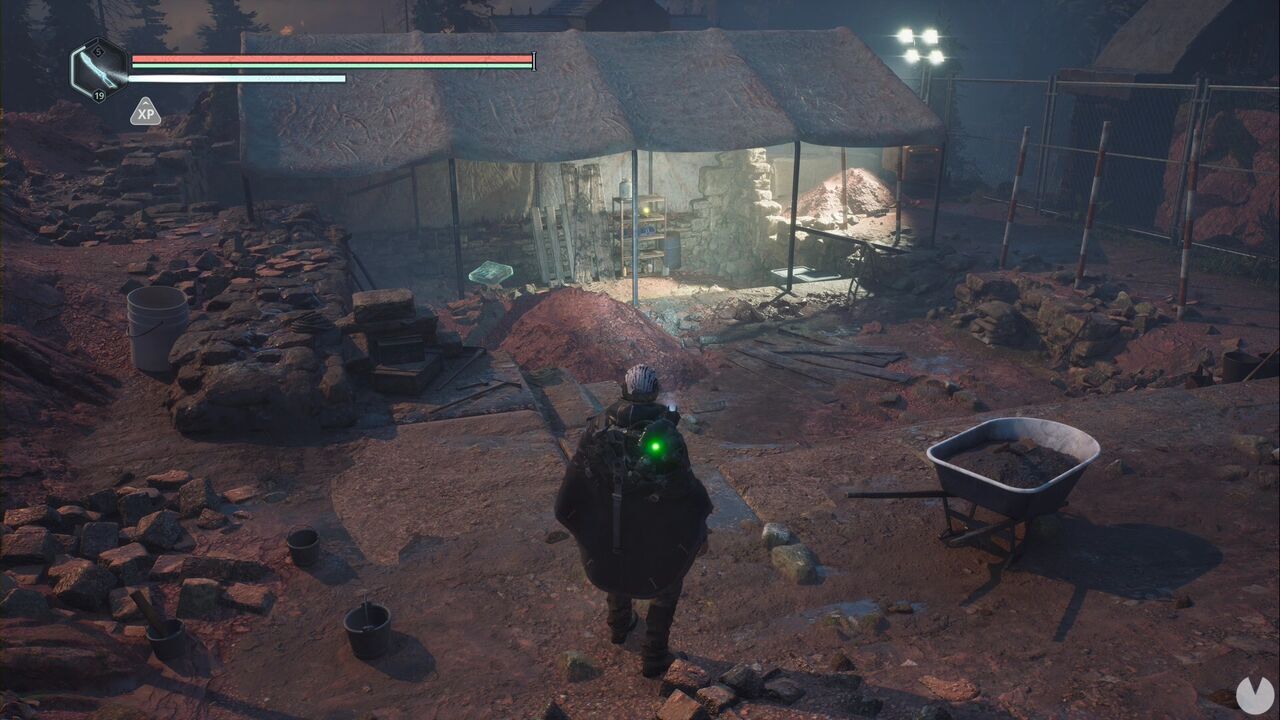
Open the gate and head south, turning left until you enter a fenced-off area with a save point and a hole in the ground that you can descend using a ladder. Collect the Recording – Aster Doorway 2 from the shelf, then climb down.
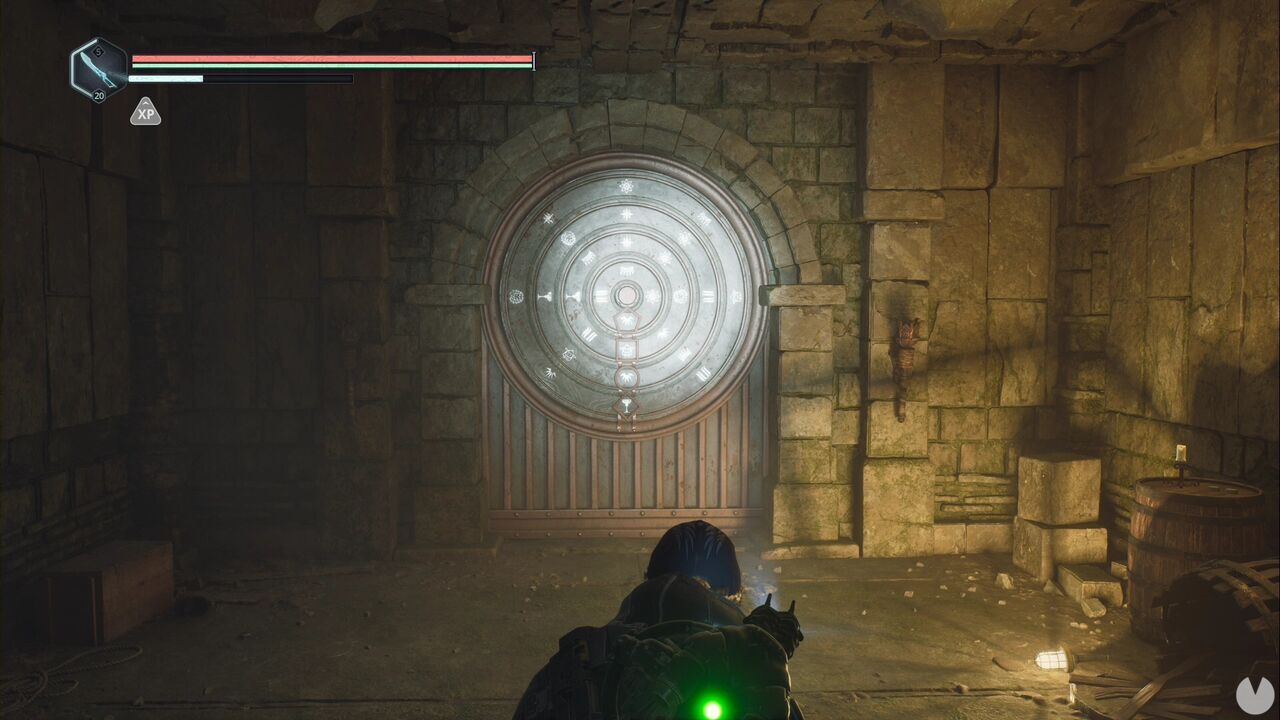
After taking a few steps, you’ll see a locked door on your left with one of those ring puzzles. From top to bottom, the solution is crown, flower, lion and sheep. This completes the Family First Mystery.
Besides several consumables, you’ll find the Bracers of Rage – Bloodlust and the Visage of the Defier relic inside the cellar.
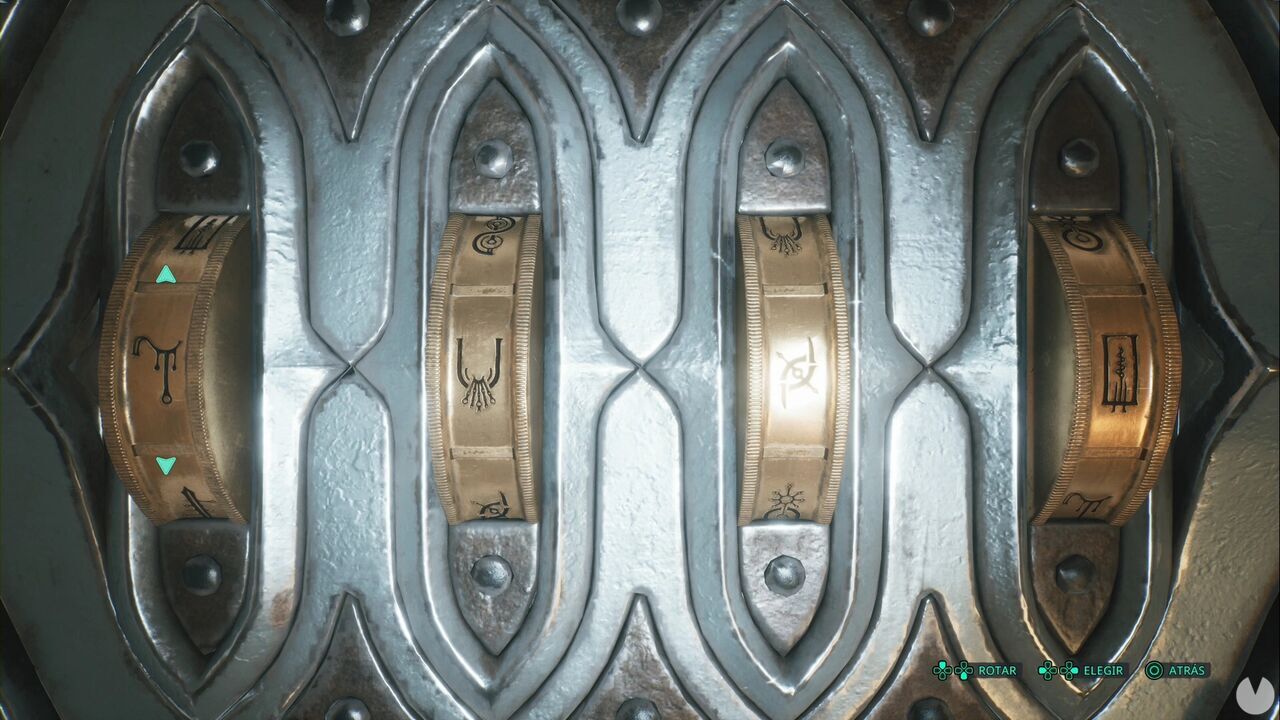
Continue along the corridor to find a ladder and the door to the Vault of the Prairie, the final Vault of Forbidden Knowledge. Open it using the code shown below and make sure you loot everything inside:
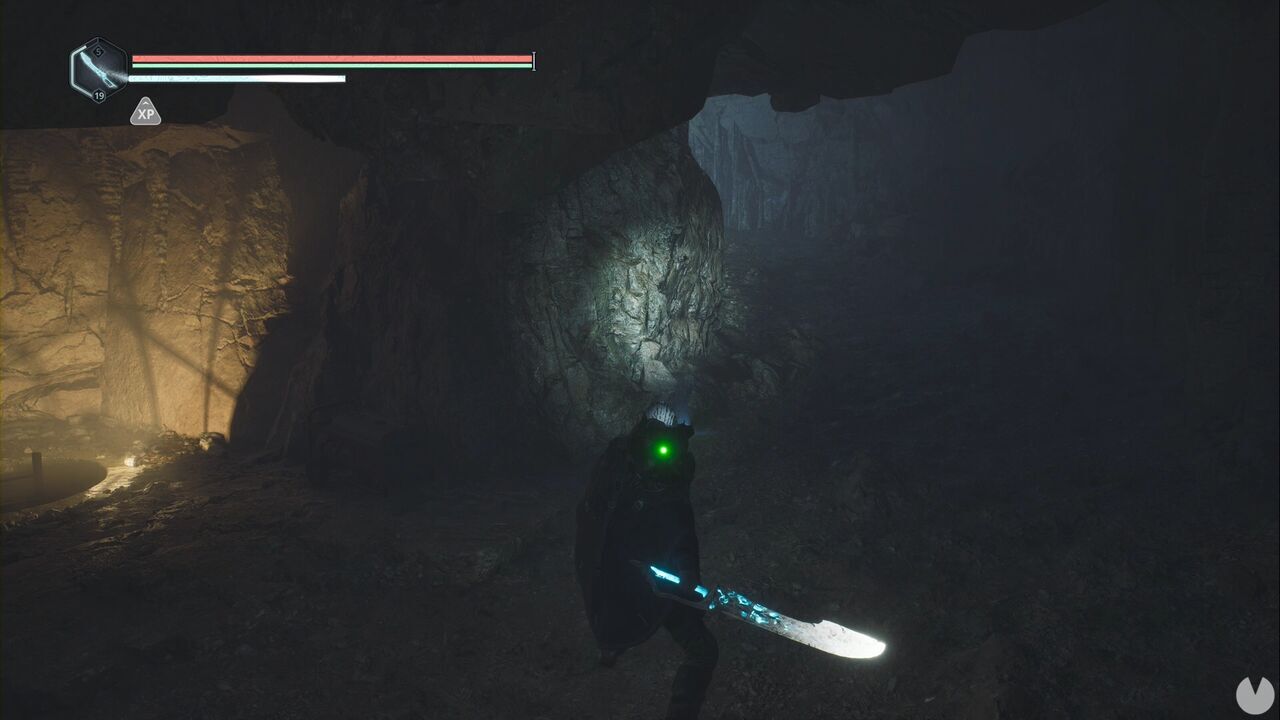
Leave the vault and climb down the ladder. Follow the only available path until you reach a junction with an orange light on the left and a blue light on the right. Take the right-hand path. After only a few steps, you’ll find the Shockwave drone module.
Retrace your steps and climb down the ladder. Turn right at the junction and look for a pipe in the area containing enemies. It’s directly beneath the platform you climbed down from. Head through it.
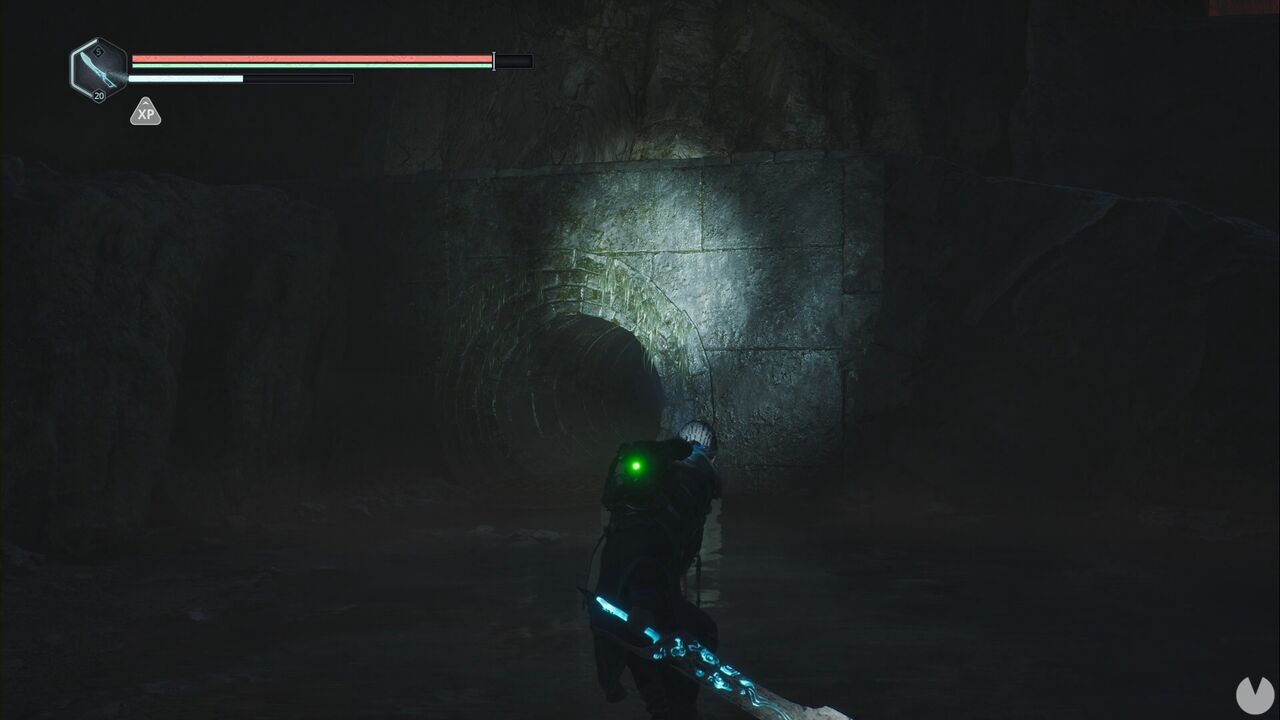
The tunnel will lead you to a ladder that takes you up to the area’s Timeloop. You can’t close it yet, but you’ll find a backpack containing the Key – Archeology Camp on the right, which begins the Never Worn Good Deed. Since you still can’t close the Timeloop, return to the lower area—on the opposite side from the ladders—and follow the western tunnel.
Climb the stairs and, once you reach the save point, check the room on the left. You’ll find the Lymbic Rod – Rage, X in one of the recesses in the wall. This won’t activate a Mystery, but it’s connected to one you already started in another area... even though it didn’t appear in the menu until you reached Jeljin. Don’t worry, everything is under control.
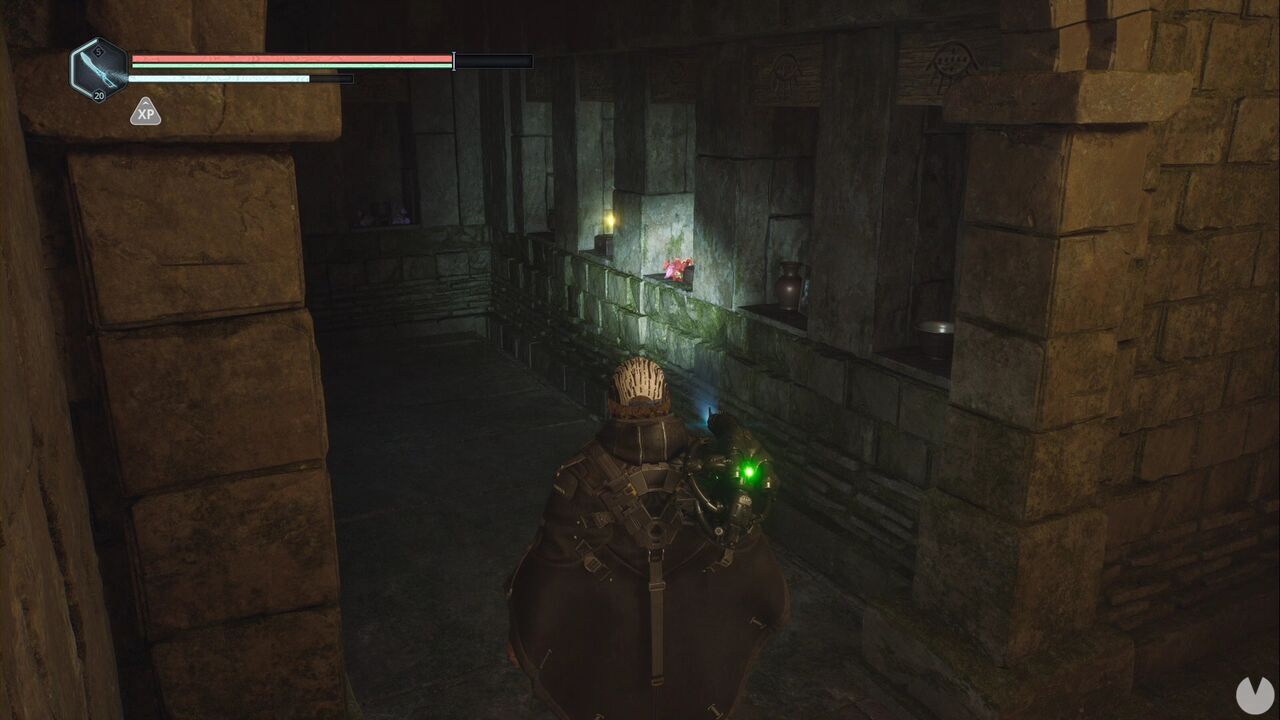
From there, head upstairs until you emerge in the graveyard’s columbarium area. Look inside one of the alcoves and you’ll see a woman standing beside the burial niches.
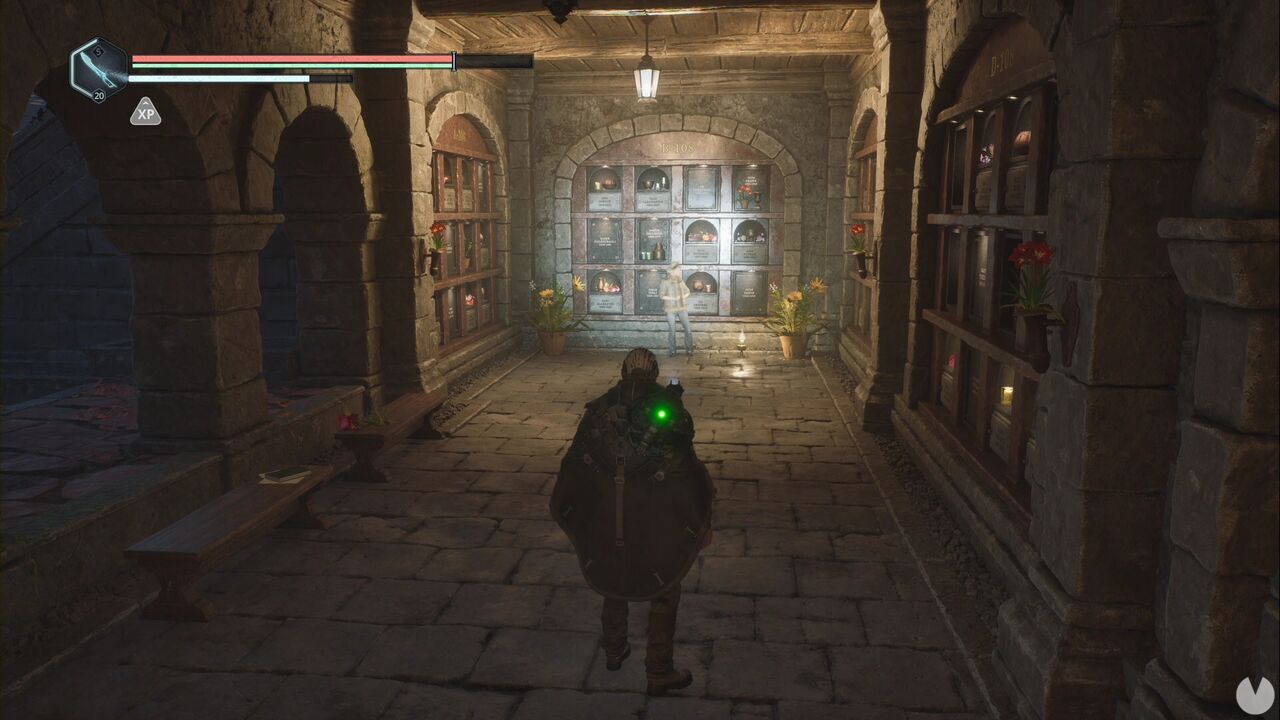
Eliminate every enemy in the courtyard and speak to her again to begin the Separated Good Deed.
Start by heading to the western side of the courtyard, where you’ll see a lower walkway.
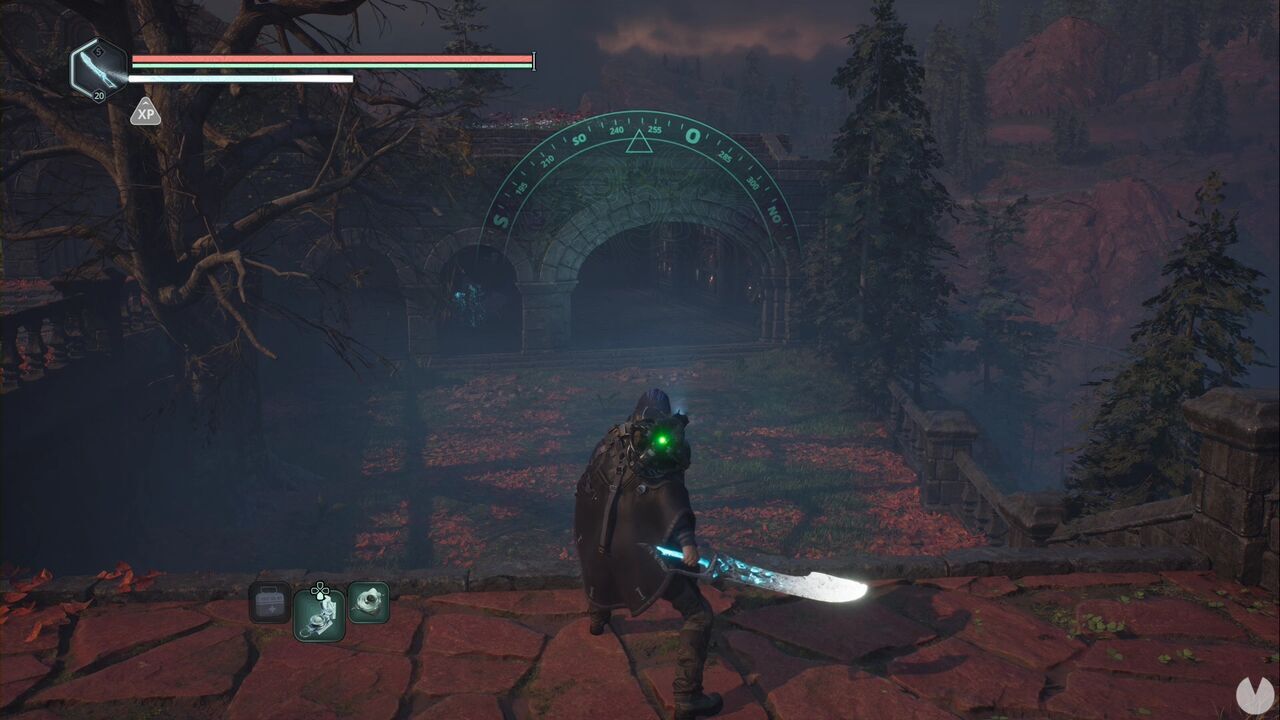
You’ll encounter a Guardian and find the Marked Door Polaroid. Head to the eastern side of the graveyard courtyard and open the gate, then look to the left to find two enemies. One is on the ground and the other is standing on some scaffolding. Eliminate both of them to complete Separated. Now take note of the crane beside you.
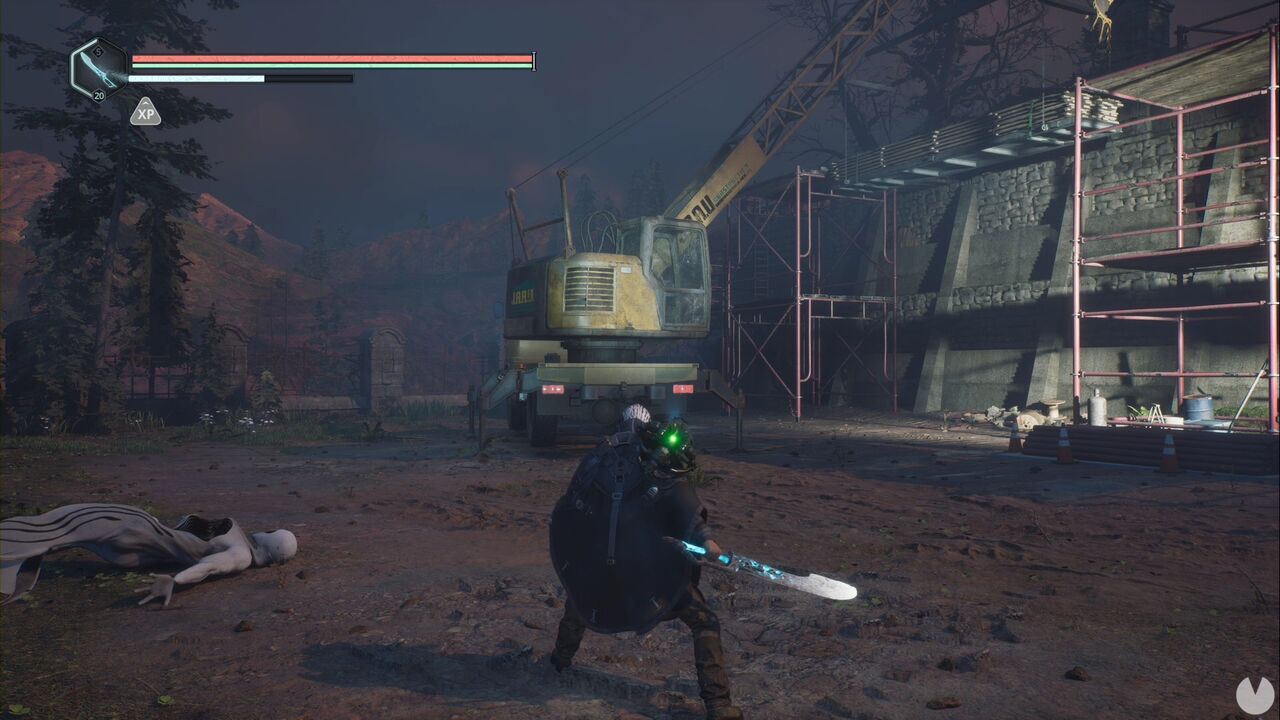
Use your keys and activate the controls to create a new path across the scaffolding. This allows you to reach a sealed upper section of the crypt area. Yes, there are more of those rotating statues here. Don’t worry—we’re leaving them until the end for logistical reasons and to make sure nothing gets messed up. Open the gate and operate the crane again to raise the beams. Now go back through the gate you just opened and use the beams to reach the upper section of the scaffolding. You’ll find the Baseball Cap – Quebec.
Now return to the path south of the church, which we used to enter the dig site. This time, turn left twice and look inside the first open tent on your left. You’ll see some lockers where you can use the Key – Archeology Camp to obtain the Shoes – Red.
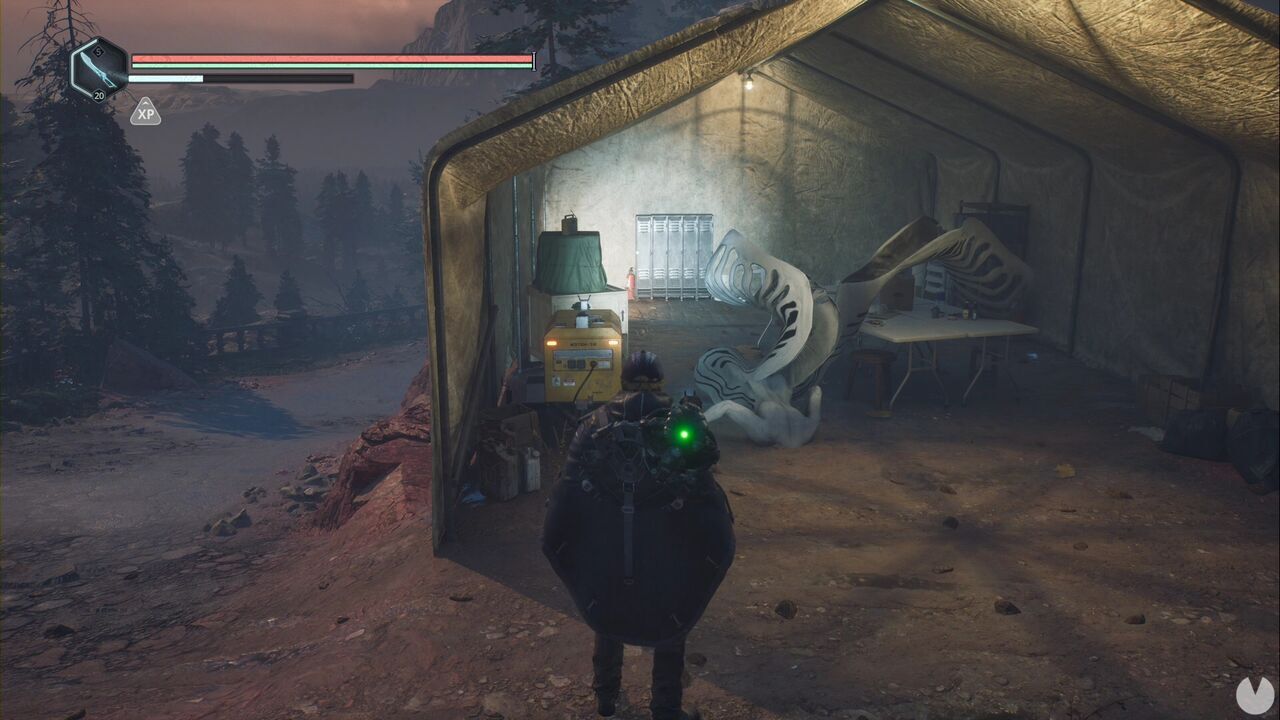
Since you’re already here, you’ll also find the Lymbic Chest – Jeljin, Archeology Camp in the same enclosure. It can be opened using the Lymbic Rods – Rage currently in your possession.
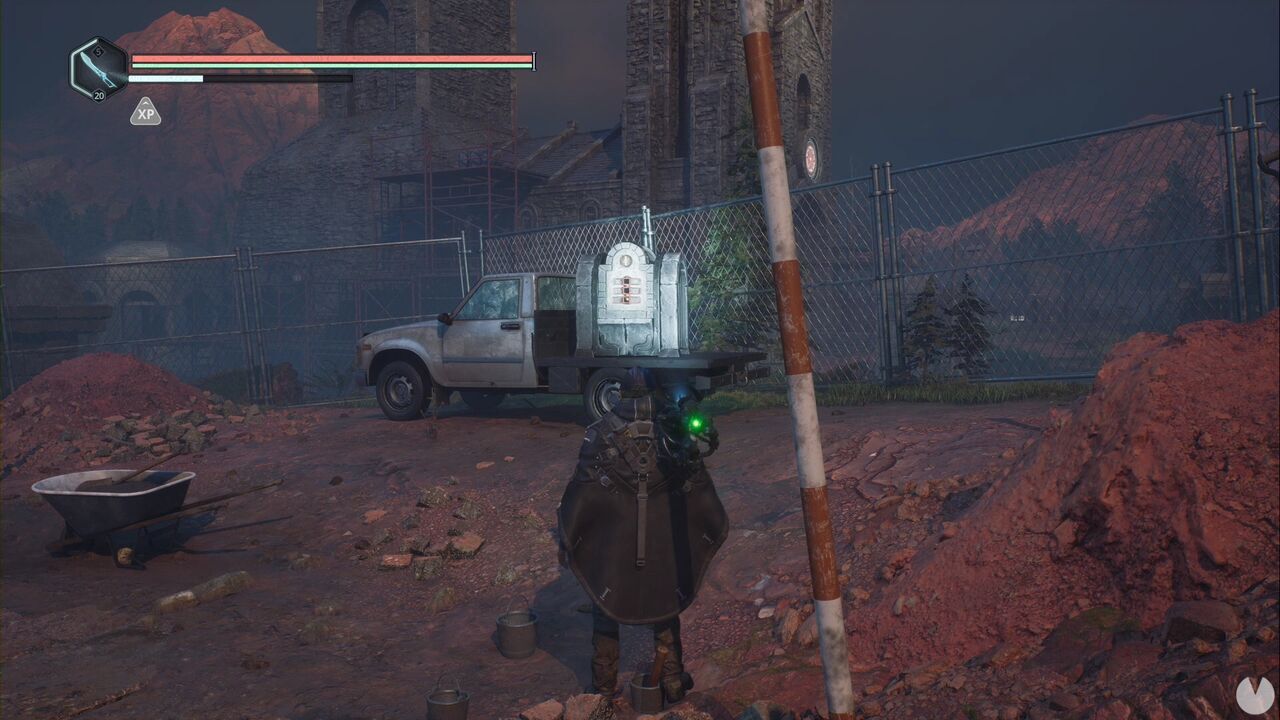
The chest contains an Amine Prism – Theta. Retrace your steps, as we passed a crypt beside the fence just before the slope leading up to the archaeology camp.
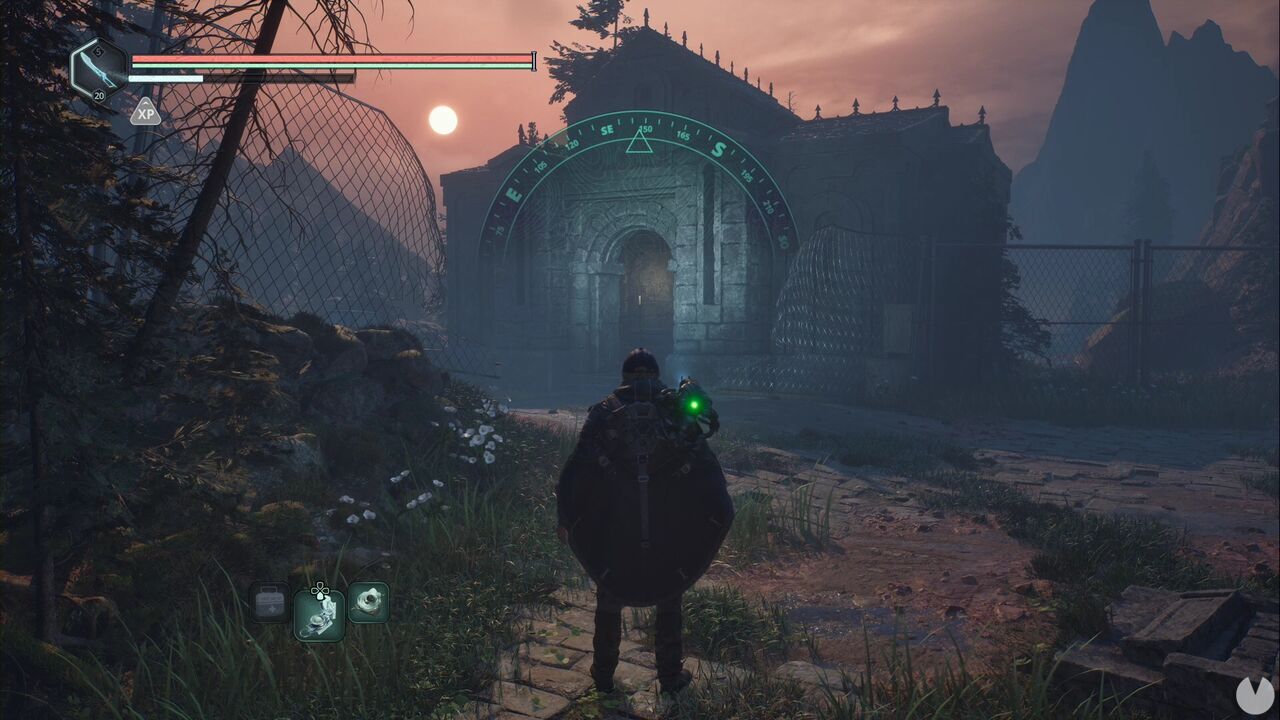
Enter and look to the left to open a burial niche using the Key – Columbarium, then place the Urn inside to complete an active Good Deed. If you leave through the opposite side and continue along the path, you’ll reach an enclosed section of the graveyard containing more enemies and a gate that can be opened from this side. You now have access to the entire area, so track down every Guardian until you hear the distinctive sound of the Timeloop stabilising. We’ll remind you to go and close it later, so don’t worry.
Return to the church and head into the courtyard behind it. If you didn’t notice it the first time, there’s a kind of stone gazebo with four sets of dials in front of it, two on either side. From left to right, we’ll call them A, B, C and D.
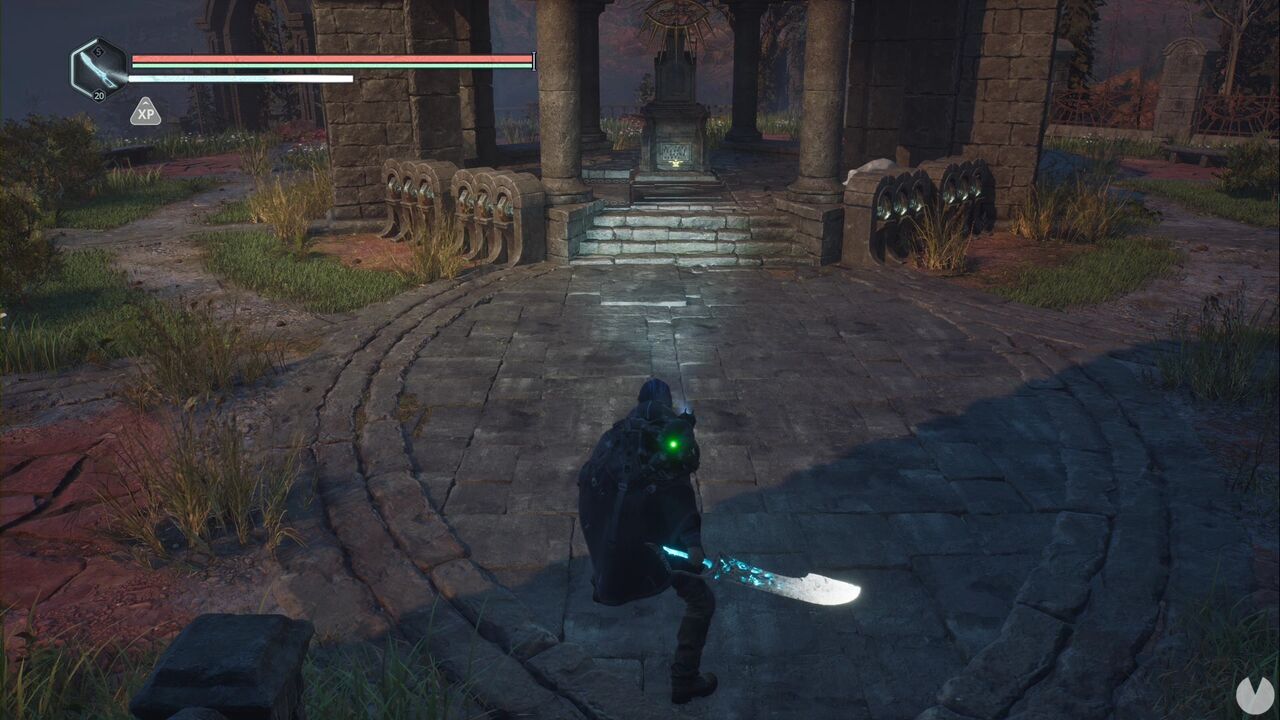
The solution comes from the rotating pillars scattered throughout the area, but if you don’t want to rack your brains, the answer is simple:
This opens a crypt. Head down, eliminate the enemies, use the lever to open the sarcophagus and collect the Iron Seal – Fading and the Map of Hadea – Ancient.
Before continuing, the first thing you need to do is close the Timeloop in this area. Afterwards, travel to the Acasa Marshes. In Jova, head to the southwestern square containing the well and look for the house reached by climbing the wooden ramps.
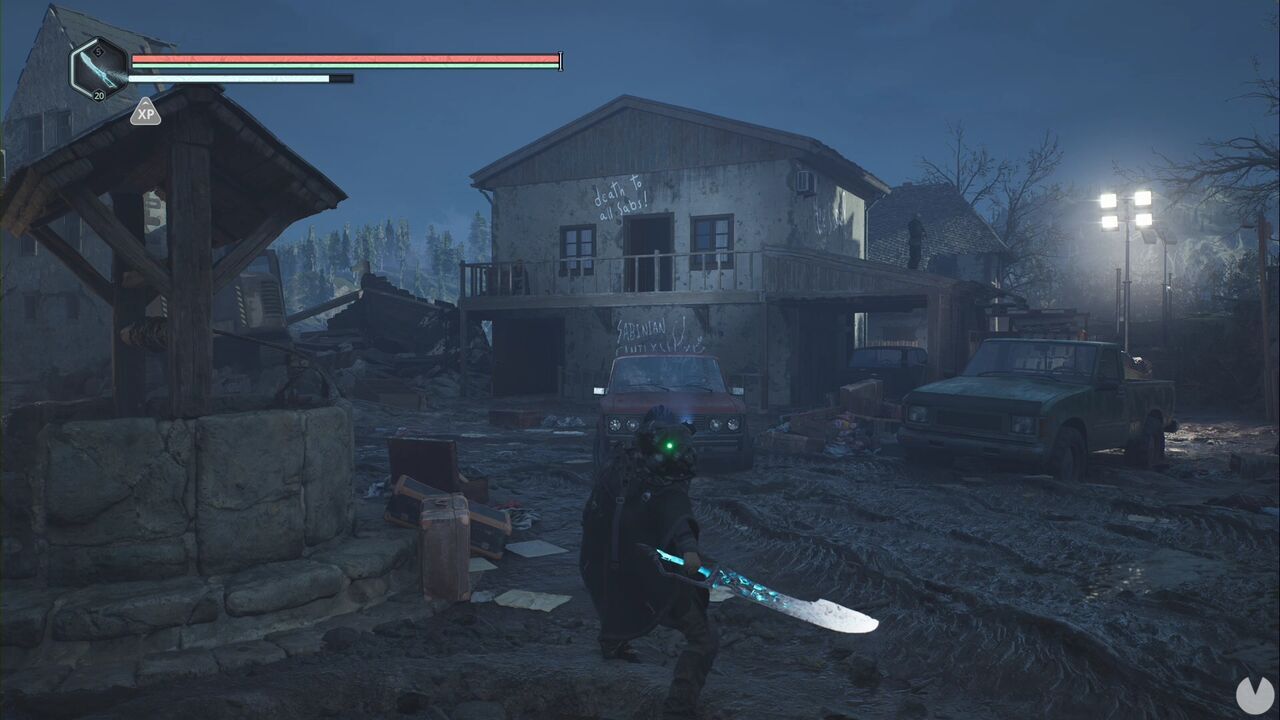
On the upper floor, you’ll find a room with a stuffed elephant sitting on a chair. Interact with it and leave the Shoes – Red there to complete a Good Deed. Naturally, you should also travel to the Vyssa Hills and speak to Gildas to claim your rewards before continuing the story. Afterwards, return to the APC. We’re heading to the Auriga Museum.
