

Arcas Spire is the third area we recommend completing during Act II of Hell is Us, after obtaining the Sword of the Blood Queen from the Blood Queen chamber in Marastan. Although you’re completely free to search for the Lymbic Forge Keystones in any order, several collectibles can be missed once certain events are triggered. It’s therefore best to follow a specific order so you don’t ruin that precious 100% completion.
Travel to Senedra Forest and, from the APC, head up the hill and turn right. At the first junction, turn left and go down the hill towards the trenches, instead of continuing straight ahead and to the right—which is the path required to advance the story.
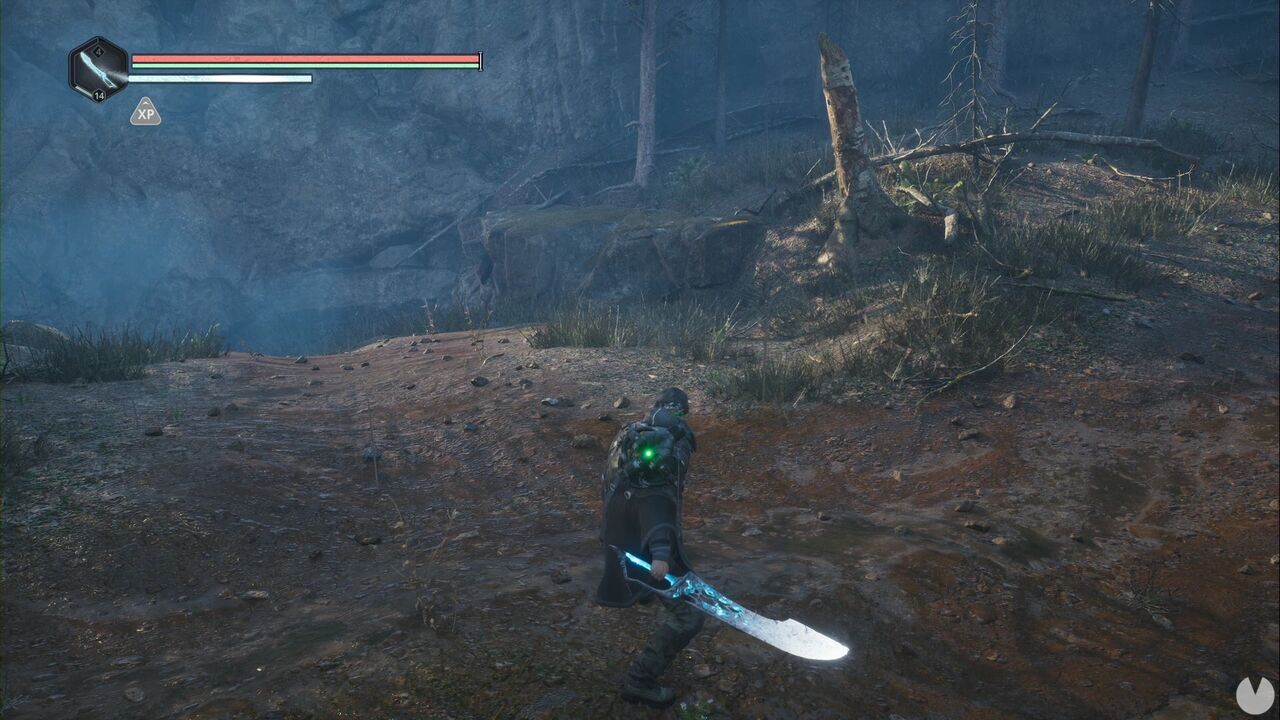
As soon as you reach the bottom of the hill, look to your left, towards the southwest, to spot a tunnel leading into the trench.
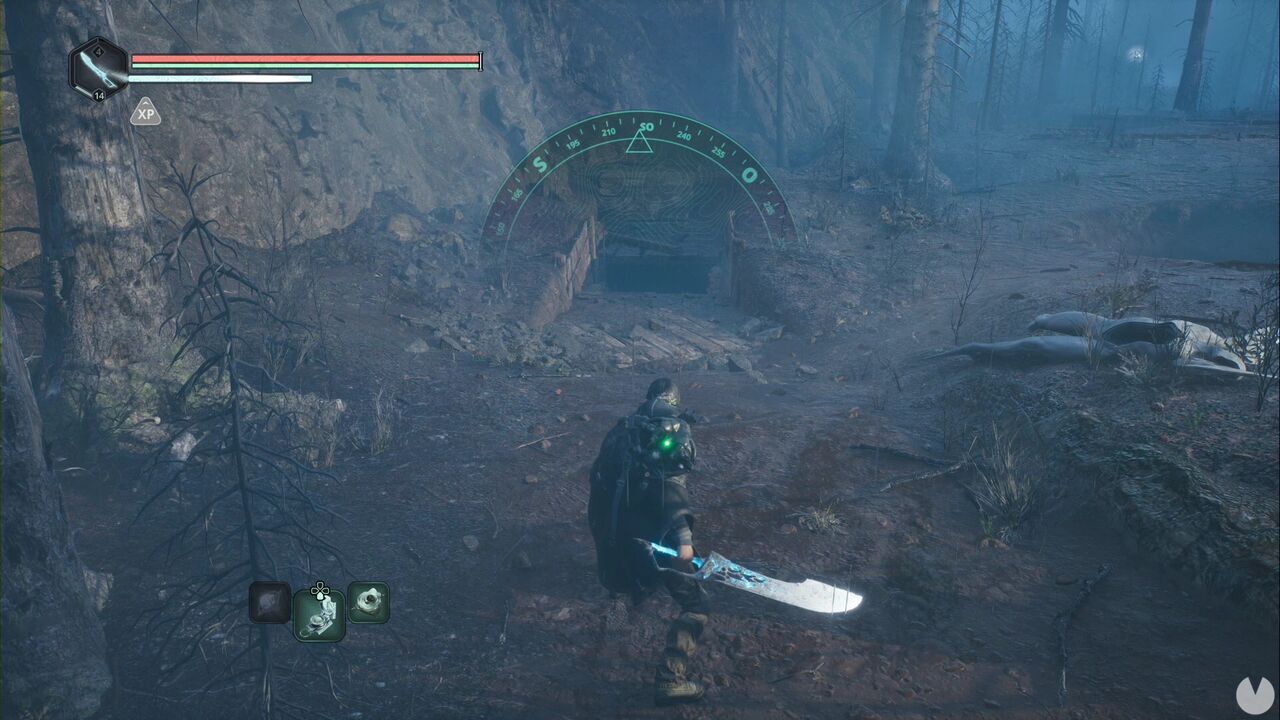
Inside, you’ll find a door that can be opened with the Symbol - Flame, obtained when you began the Forlorn Fate Good Deed. Behind it is a woman who must be given the Map - Senedra Mountains to complete that Good Deed. Behind her, you’ll find the Cufflinks Research Item. This same room also contains the Lymbic Door from the Lymbic Door - Senedra, Underground Mystery. You should now have the Lymbic Rods - Rage, Y and Rage, Z required to open it.
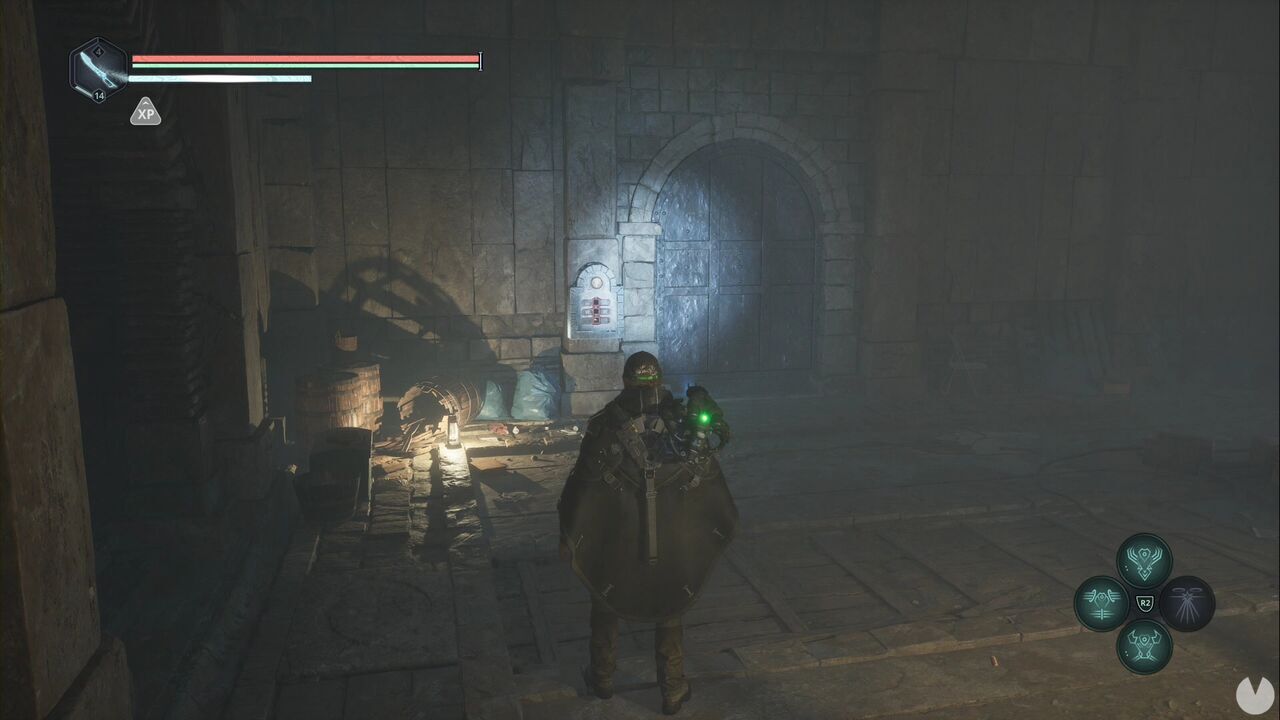
Make sure you collect the items behind the door—the Rage Spike - Enhanced Glyph and a Sword of Ecstasy—before returning to the path. Once you leave the trench, head northeast up the hill and continue in that direction until you see the tower where we collected our first Glyph ages ago.
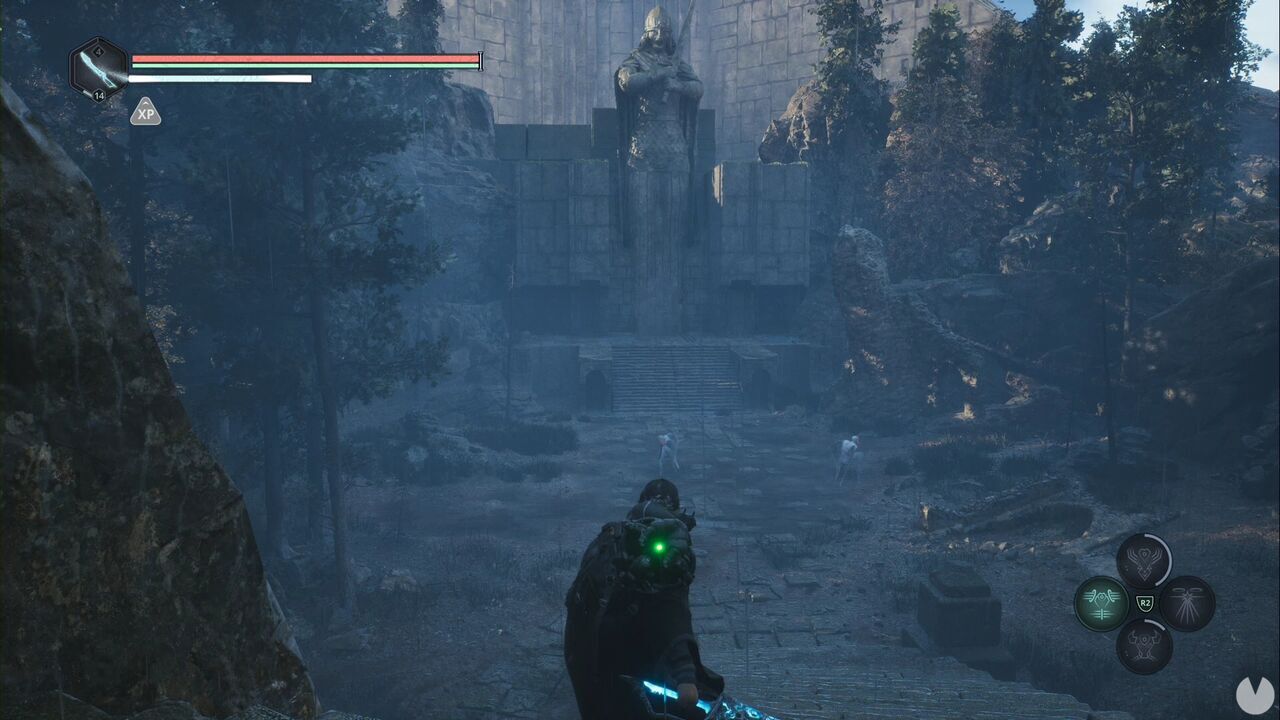
Climb the stairs and place the Sword of the Blood Queen on the pedestal to open the way into Arcas Spire.
For a while, simply follow the only available path. You’ll eventually reach a room containing several enemies and two doors. One is locked, so go through the one to the northwest.
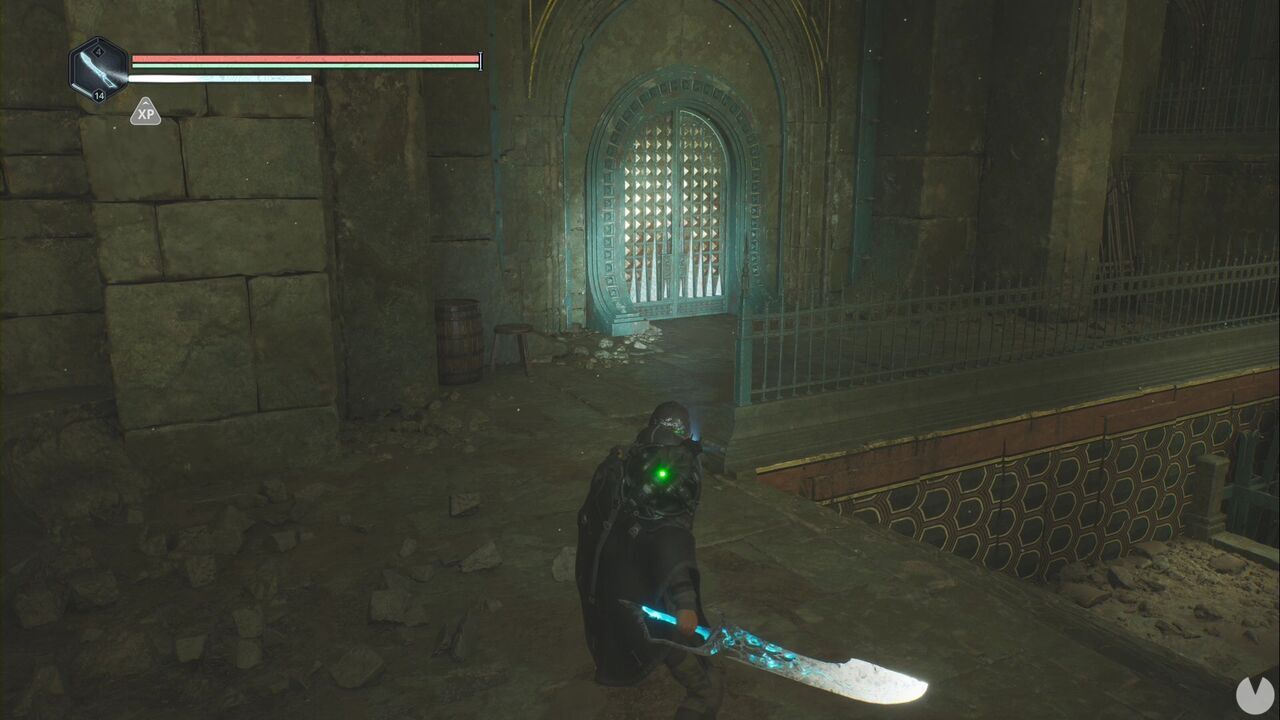
Afterwards, when you emerge into the central room again, there’s a side path in the upper section containing a few consumables. However, the way forward is to the northeast, where you need to drop down from the broken bridge. Beyond the stairs, you’ll reach a room packed with enemies. Don’t get too excited, though: they don’t grant weapon XP. Clear the area, collect the consumables and continue southwest through the corridor beside the scaffolding.
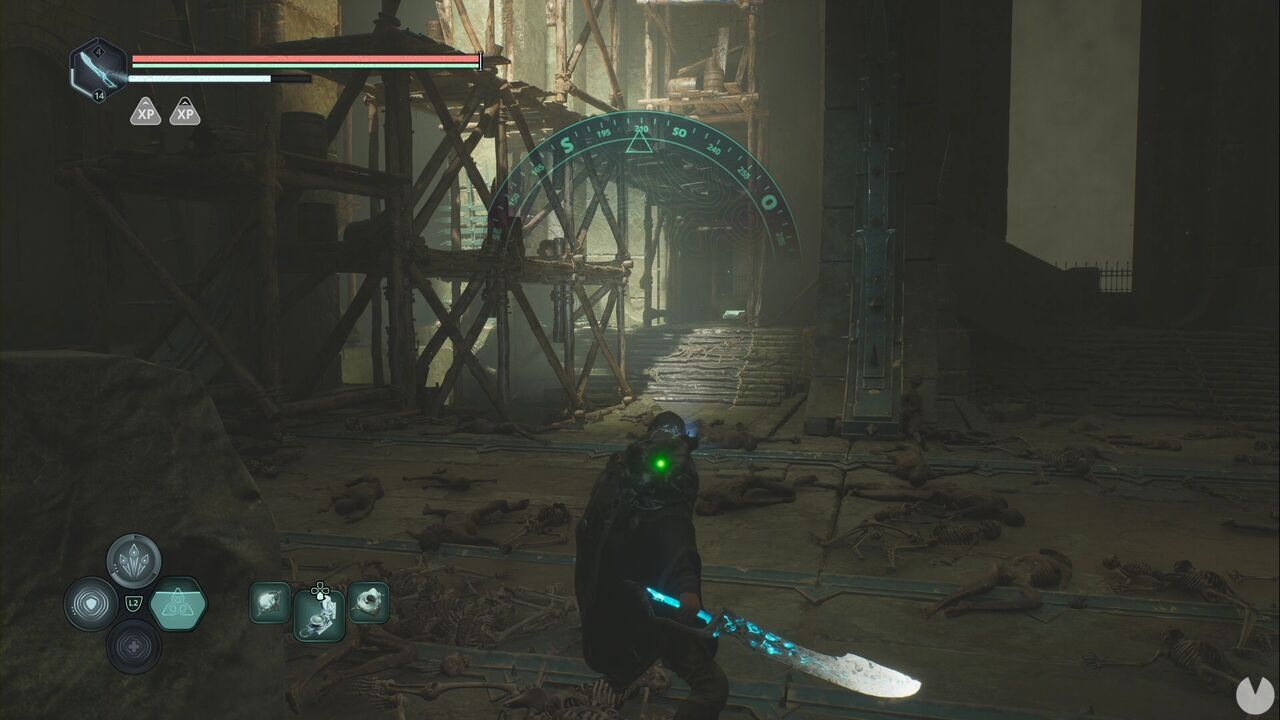
You’ll find some stairs that descend for quite a while, eventually leading to another save point on a wooden scaffold with a view that isn’t creepy AT ALL. Anyway, if you look southeast from the save point, you’ll see the entrance to a cave.
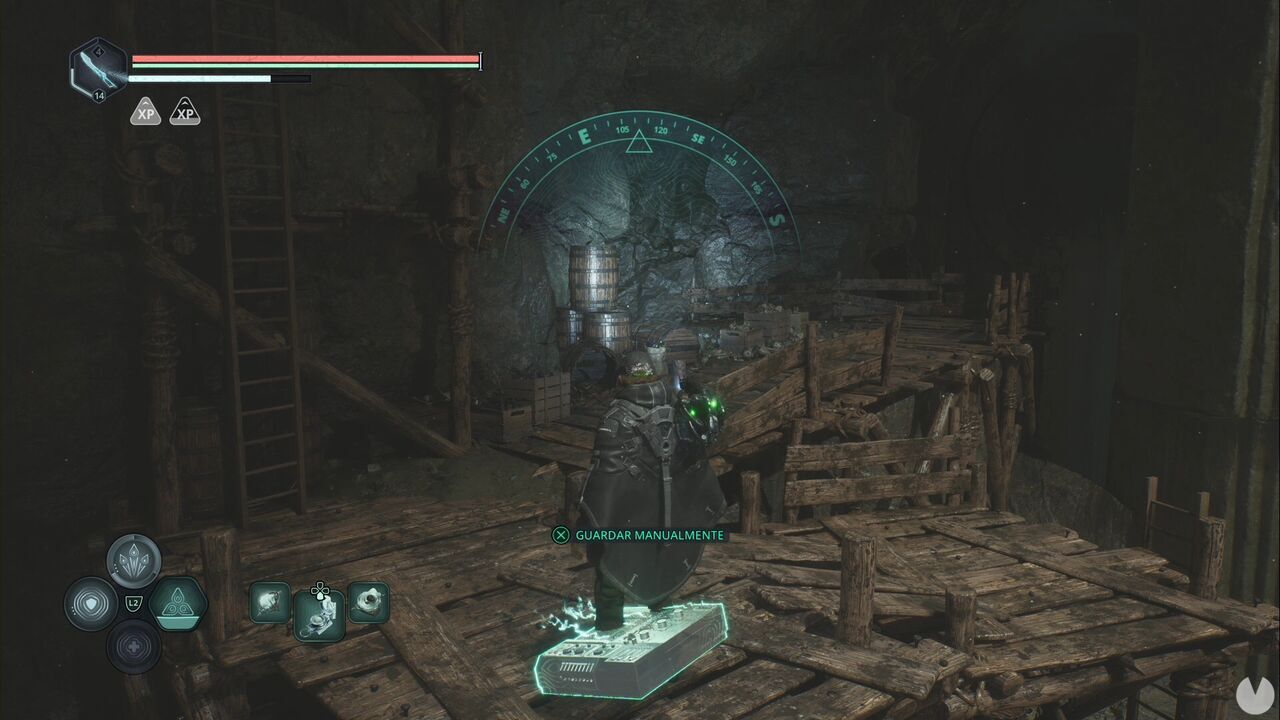
Enter and take the left-hand path to find a consumable and an enemy. Then follow the path on the right to the end and climb the ladder to collect a Key - Rusted, beginning the Emergency Stash Mystery. Open the shortcut leading back to the room containing all the enemies, return to the save point you used to reach the cave and this time descend the stairs all the way to the bottom. Continue north across the wooden bridge.
Once you’ve dealt with the first two enemies, pass underneath the bridge where the ranged enemy was standing. Continue a little farther and look behind you to spot a path on what was previously your right—now your left after turning around—which leads back in the direction you came from.
Follow this path to the end to find another enemy and the Eager Embrace - Enhanced Glyph. Continue straight ahead until you see a ramp with an opening to its right. There’s a ladder here. Climb it and drop down across the platforms to reach the Jewelled Dagger directly below.
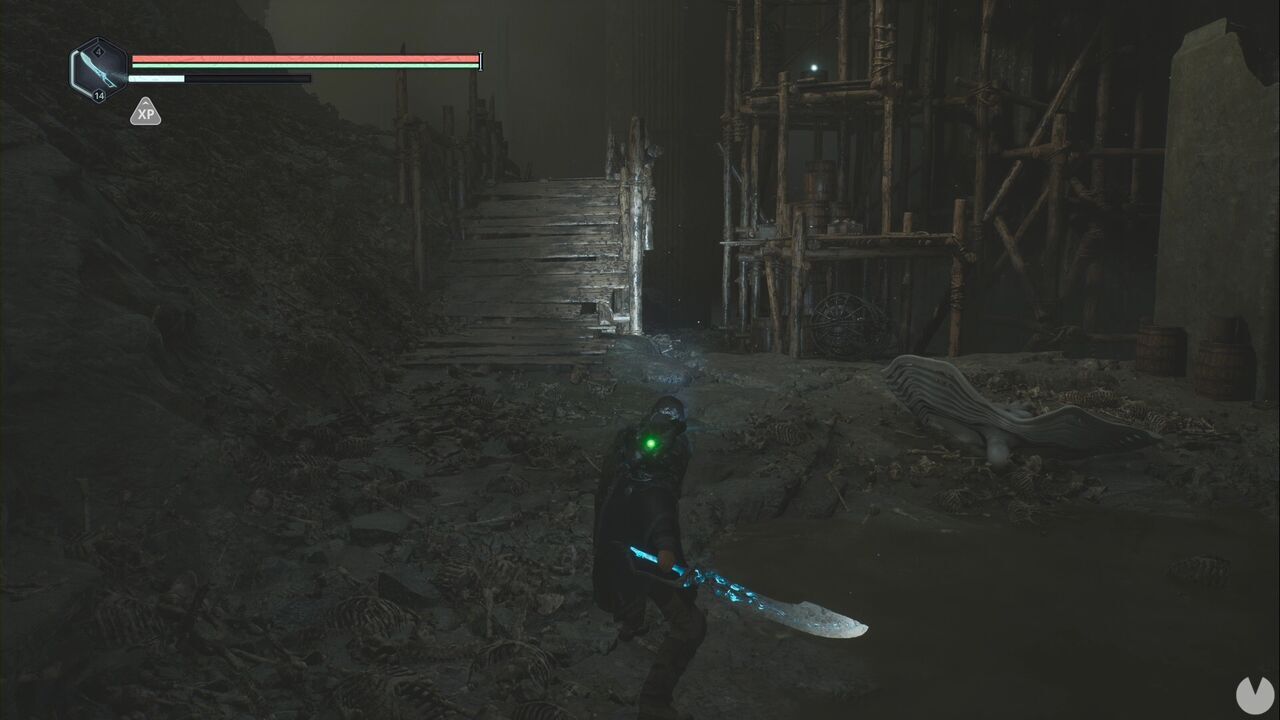
After collecting it, climb the ladder again, but this time follow the upper path to the end to find a chest that can be opened with the Key - Rusted, completing the active Mystery. Retrace your steps and take the ramp to the left of the stairs, following the wooden planks—watch out for the enemies in the lower-left area. At the end, you’ll see a lift that isn’t working and some stairs leading down. That’s where you need to go.
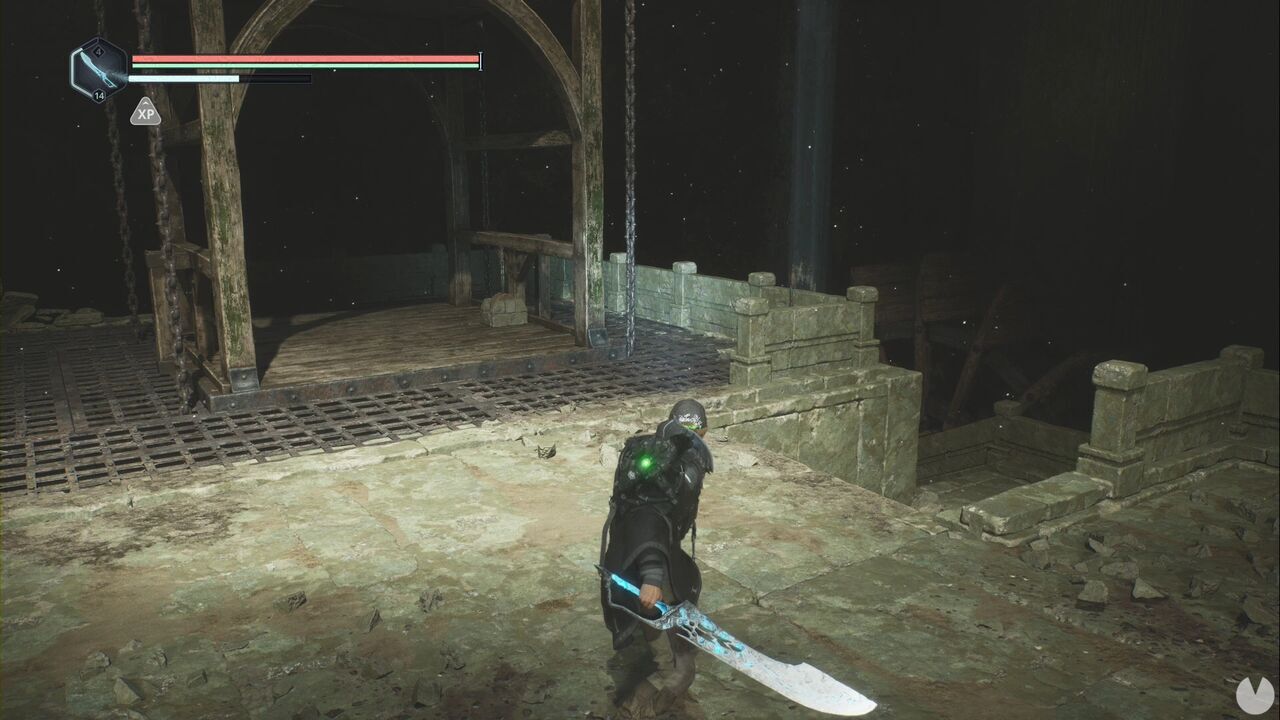
At the end of the path, you’ll find the Gear - Spire. You can install it underneath the lift—you’ll see the room directly ahead of you as you return—to get it working and ride it upwards.
From the save point, head northeast to find several rooms. One of them contains the Faded Parchment. Now follow the only available path, which is crawling with enemies, until you climb a spiral staircase. Shortly afterwards, you’ll need to descend across the scaffolding to a large stone staircase.
As you climb, it’ll be impossible to miss the hole in the floor. Jump down through it.
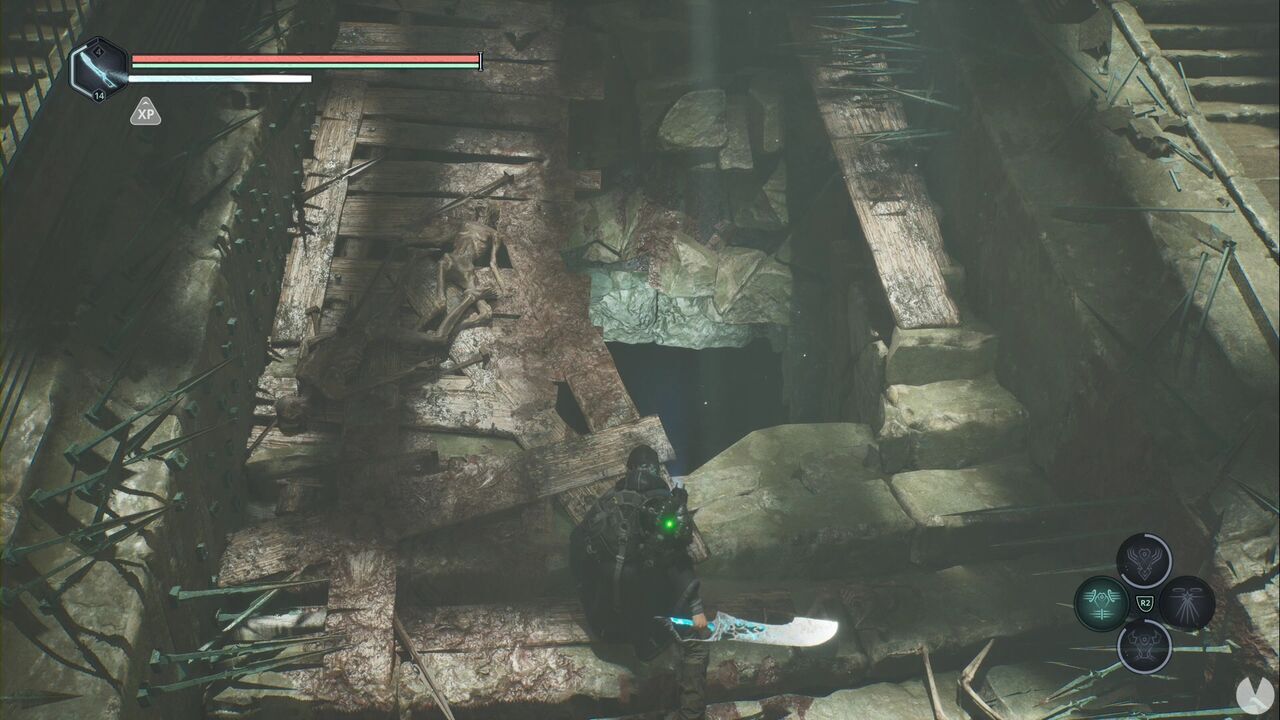
You’ll land in a room containing two powerful enemies and an item: the Key - Brass. Collecting it begins the Righteous Protection Mystery. Climb the stairs on the other side to return to the main staircase. This time, continue all the way up until you reach the cell area, where you’ll see a lever beside every door. Open all of them to eliminate the enemies and collect the items inside.
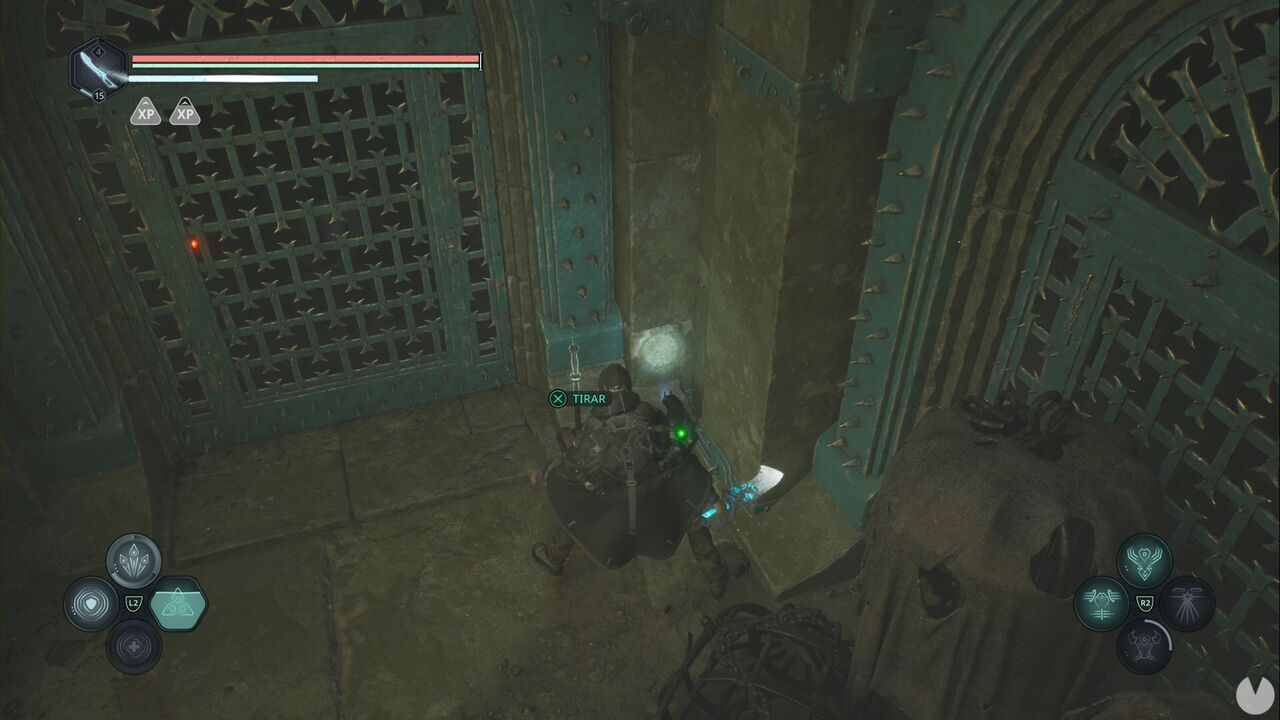
Once you’ve finished exploring both floors, go through the door at the top of the stairs. You’ll see a pressure plate on the floor at the end of the corridor.
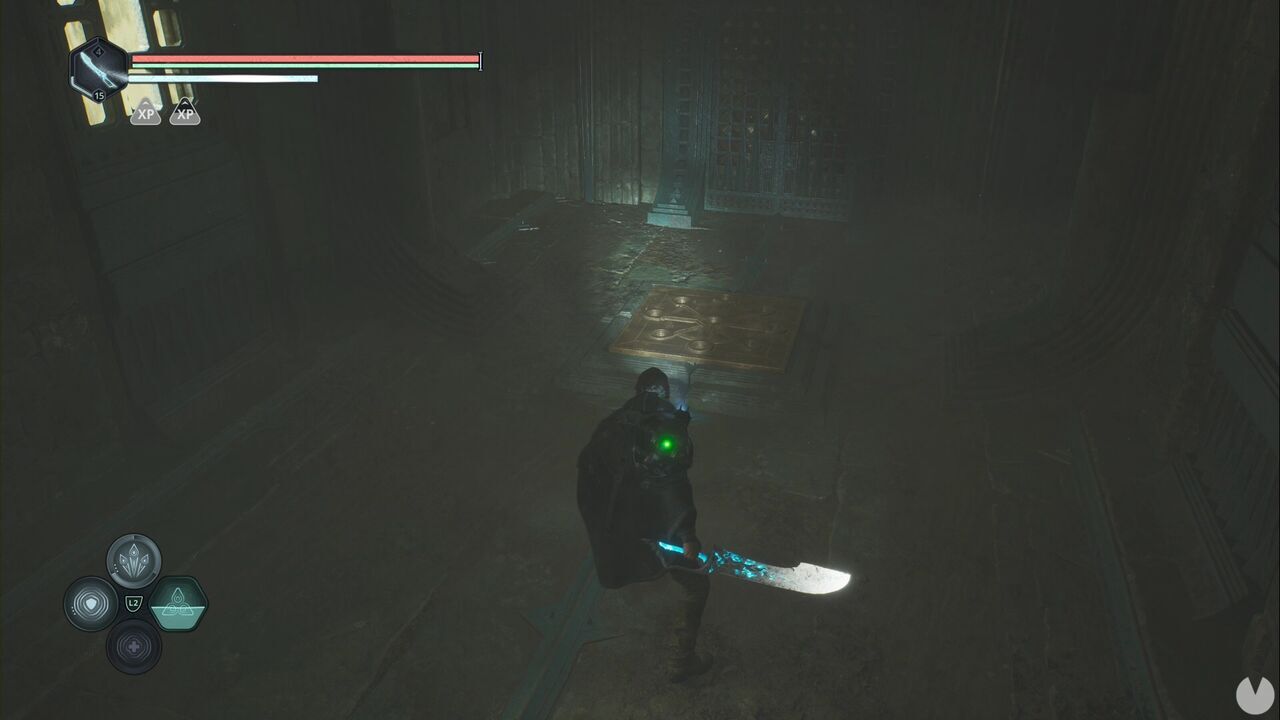
Stand on it. Some spikes will damage you, but the door will open. Remember how this works—you’re going to need it.
You’ll enter a room containing six cages, each with a lever inside.
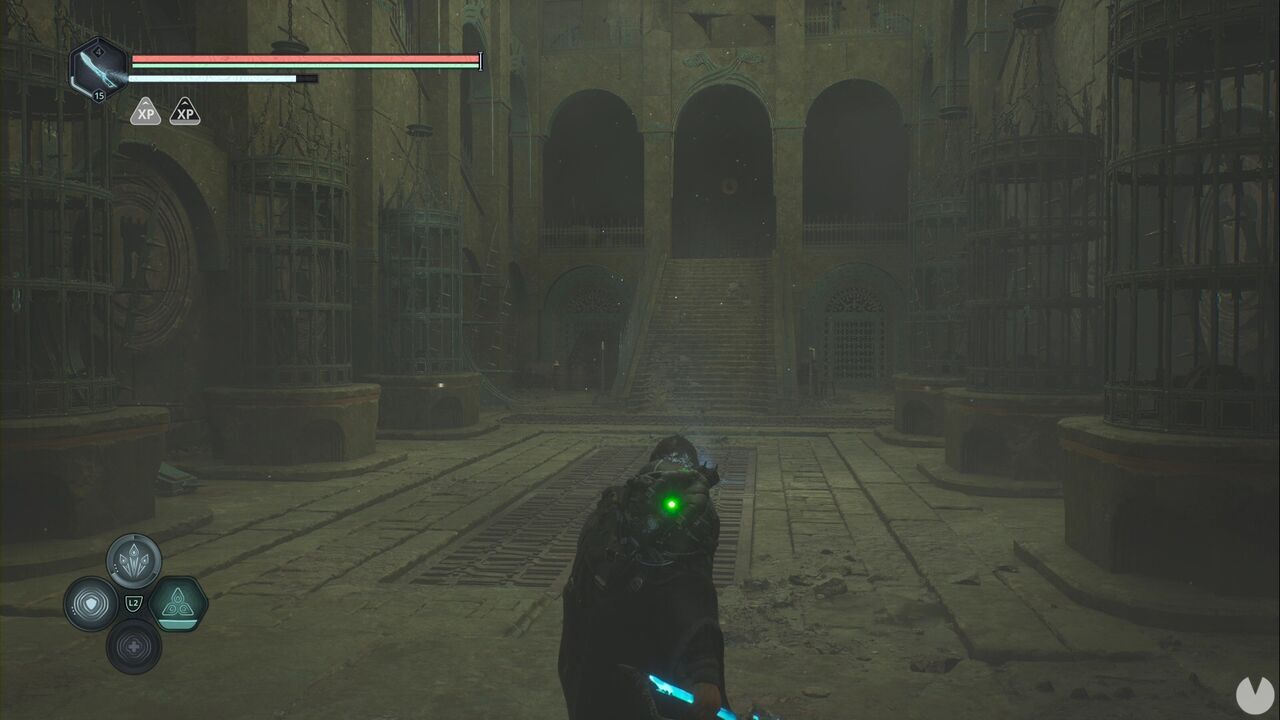
Scattered across the different floors of this section are several spiked pressure plates like the one you just used, which damage you when stepped on. In this room, the plates open cells and raise cages. To save time, start by climbing the first staircase and looking to the left. You’ll see a plate marked A4.
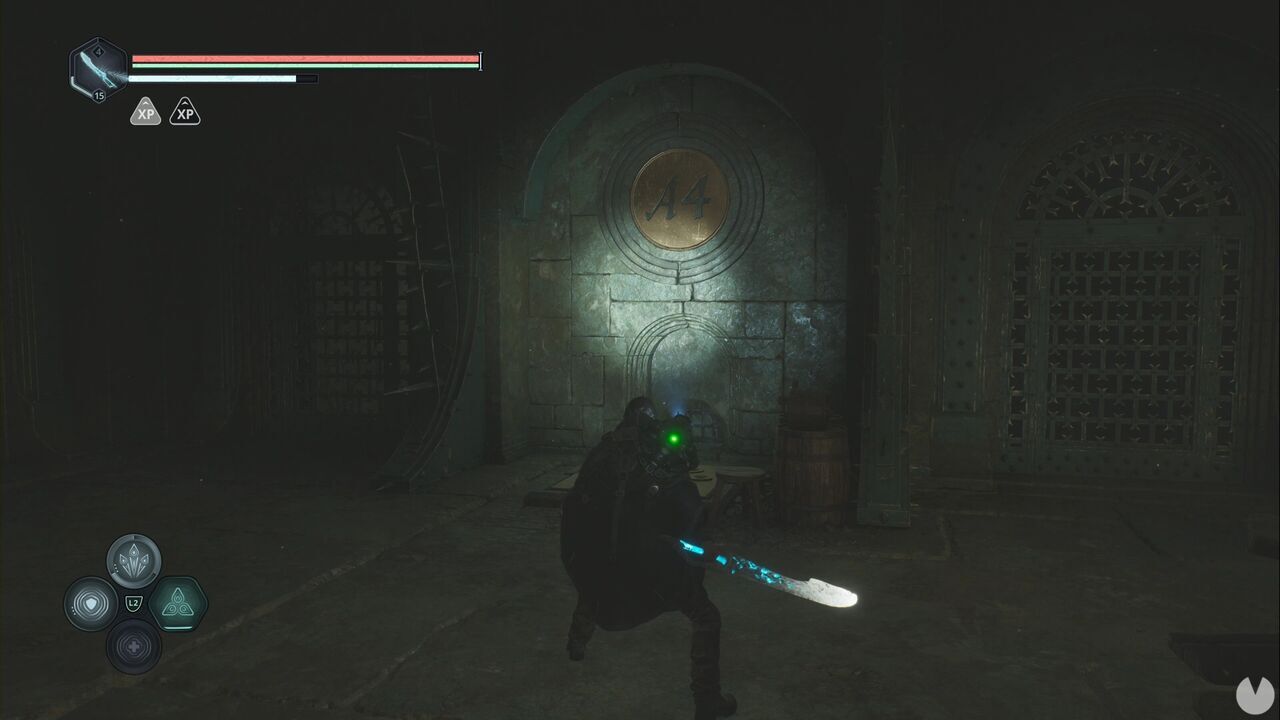
Step on it and, once it damages you, quickly run back downstairs and pull the lever inside the cage that has been raised. Now do the same thing on the right-hand side at the top of the stairs, using the B4 plate. Remember to keep healing and bear in mind that plates marked with a 4 open all the nearby cells, releasing more enemies. If you have the Brooch of Rage - Bathe in Blood equipped, this will be much easier, as you’ll recover health while killing the enemies you release.
The door at the top of the stairs on the ground floor should now be open. Enter to collect the Marked Map of Hadea. If the door hasn’t opened—which appears to be possible—simply continue activating levers.
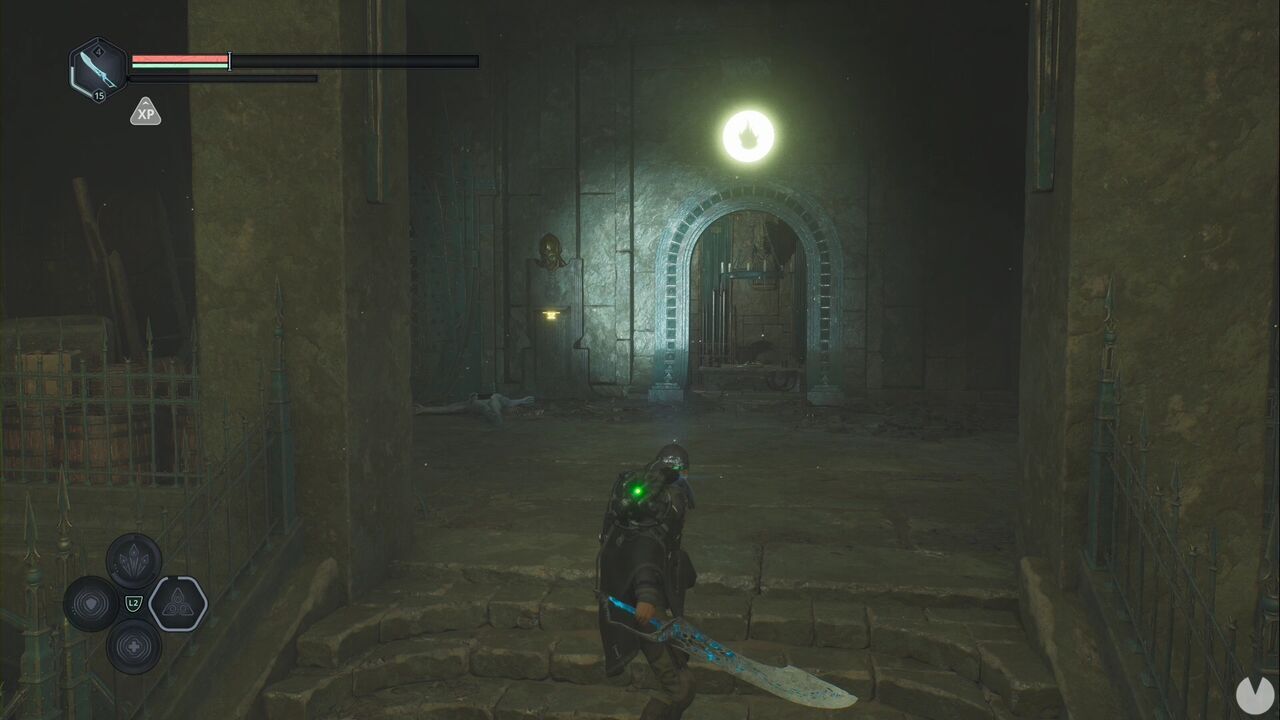
The catch is that the plates must be activated in a particular order. If you simply step on all the number 4 plates, the cages on the ground floor won’t always rise. Head to the second floor and look for C1. It can be found by climbing the stairs on the northern side.
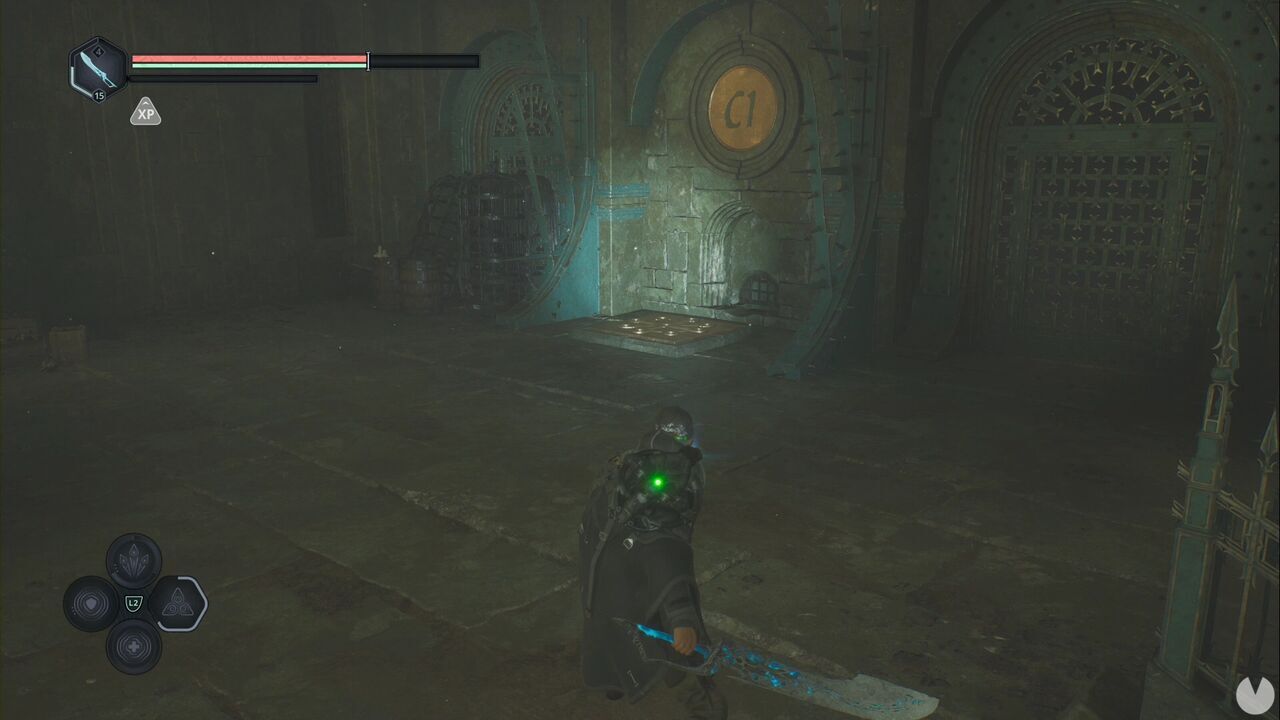
This opens a door marked with an illuminated moon on the ground floor, beside the stairs. Inside, you’ll find a Greatsword of Terror. Now climb the stairs on the opposite side to reach the D plate section. Stepping on D4 opens the cells, but doesn’t raise any cages. Do it anyway and eliminate the enemies. If you look to the left of D4, there’s a cell you can pass through to reach the C section, which is inaccessible from the other stairs.
Once you reach the other side, step on C4 and quickly return downstairs to pull the Eye lever, opening the door directly to its left. Inside, you’ll find the Nightfade - Enhanced Glyph. Now return to section C and look for the cell beside C3, which should already be open.
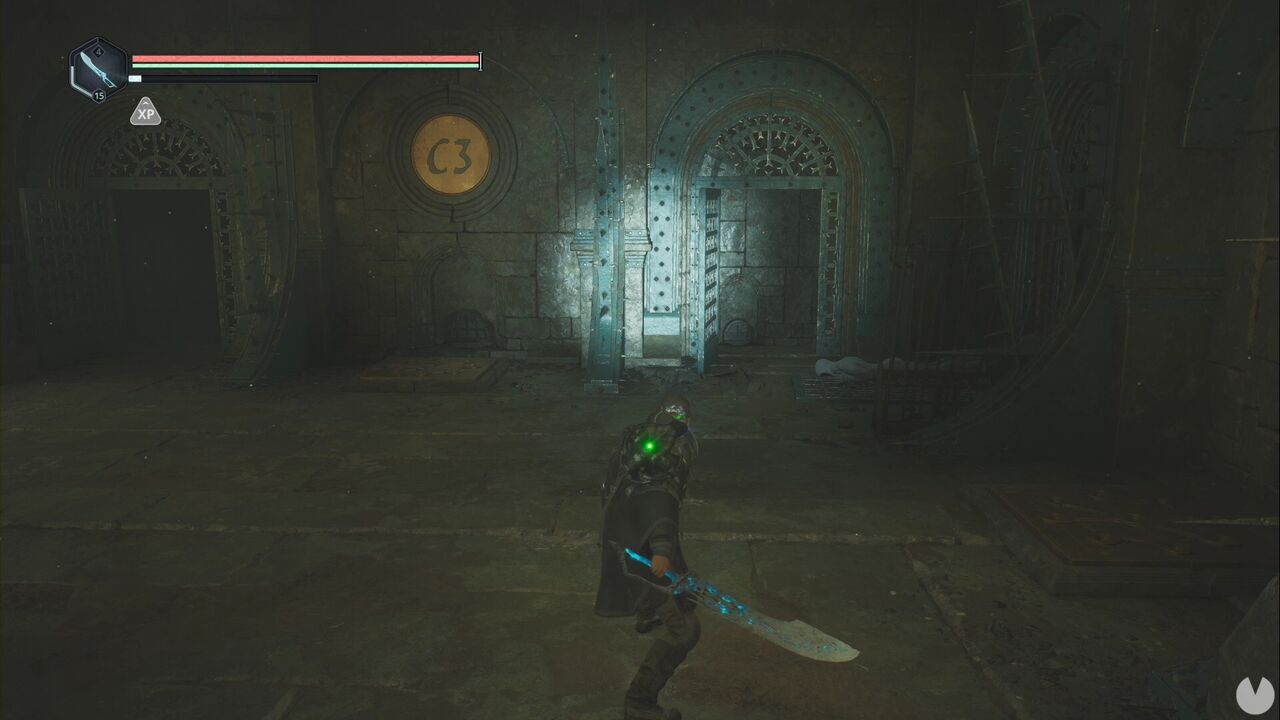
After climbing up, you’ll find the Signet Ring of Terror - Confidence beside the edge of the platform on your right. The E4 plate is nearby, so step on it to open the cells. Now drop down on the right-hand side and climb the ladder to reach E1. Step on it, drop through the hole and pass through the cell beside C4. You should have just enough time to reach the Snake lever on the ground floor.
Now climb all the way to the top using the stairs in section B and step on F4 to release and eliminate the enemies in the cells, then collect the items. Afterwards, step on F1 and run downstairs to pull the final lever. Return to section F and the large door will now be open.
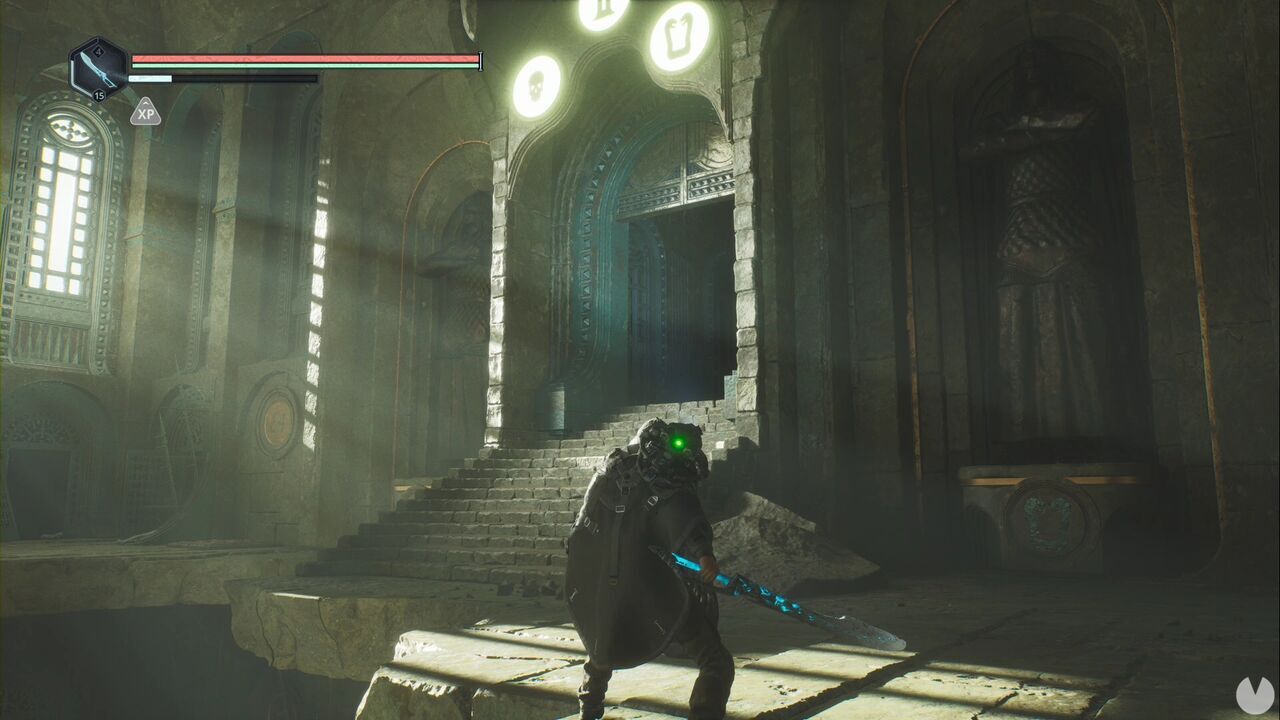
Follow the huge staircase until you reach the top of the Spire. Interacting with the door rewards you with the Advanced Lymbic Forging book for Victor—we’ll return to him later—as well as an Amine Prism - Theta, an Amine Prism - Rho and the Scroll - General Aarlon’s Note.
After going through the door, you’ll see the Arcas Spire Timeloop.
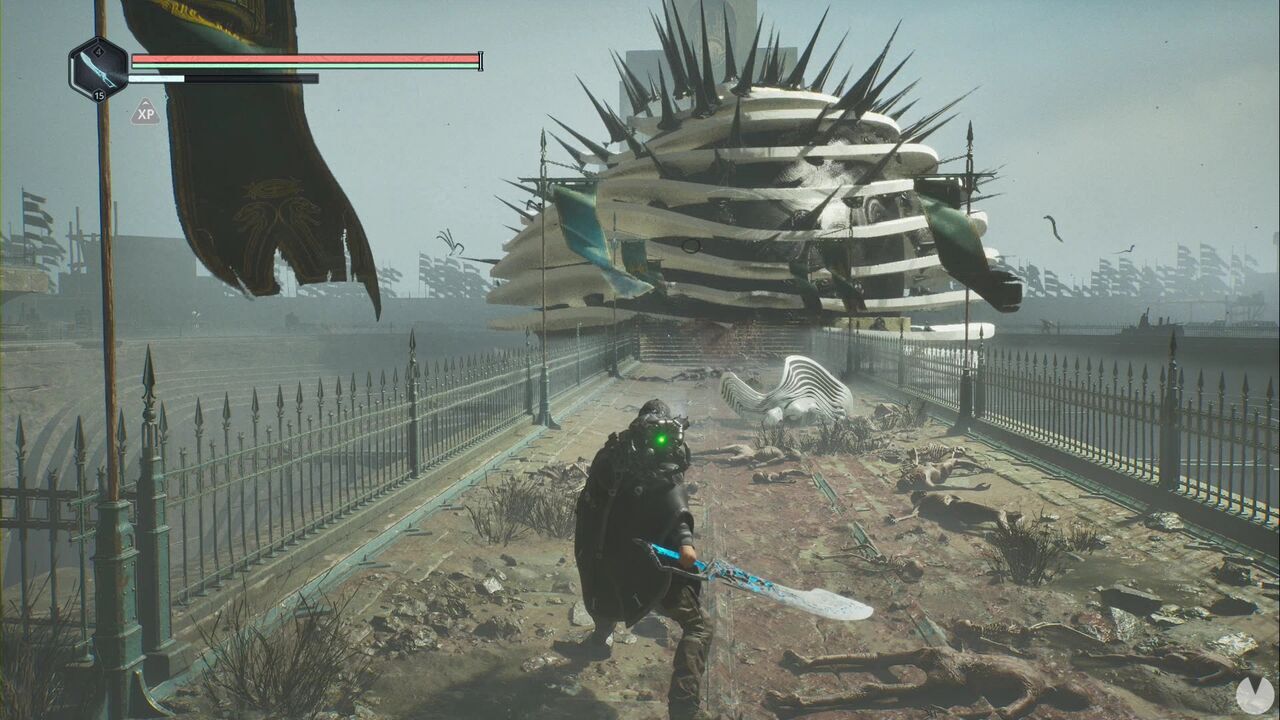
Begin exploring the area and eliminating Guardians, but don’t close the Timeloop yet. On the opposite side from where you entered is a tower you can climb. On the upper balcony, you’ll find the Crown of Bones. There’s also a locked door on the ground floor of this tower. Don’t worry about it for now, as you can’t open it yet.
Now eliminate all the Guardians and close the Timeloop. Interact with the object on the ground to trigger a sequence.
You’ll find yourself in a dark area filled with the sound of screams. If you’ve enabled the interface option that displays the source of sounds, this section will be much easier: you need to head in the direction the screams are coming from.
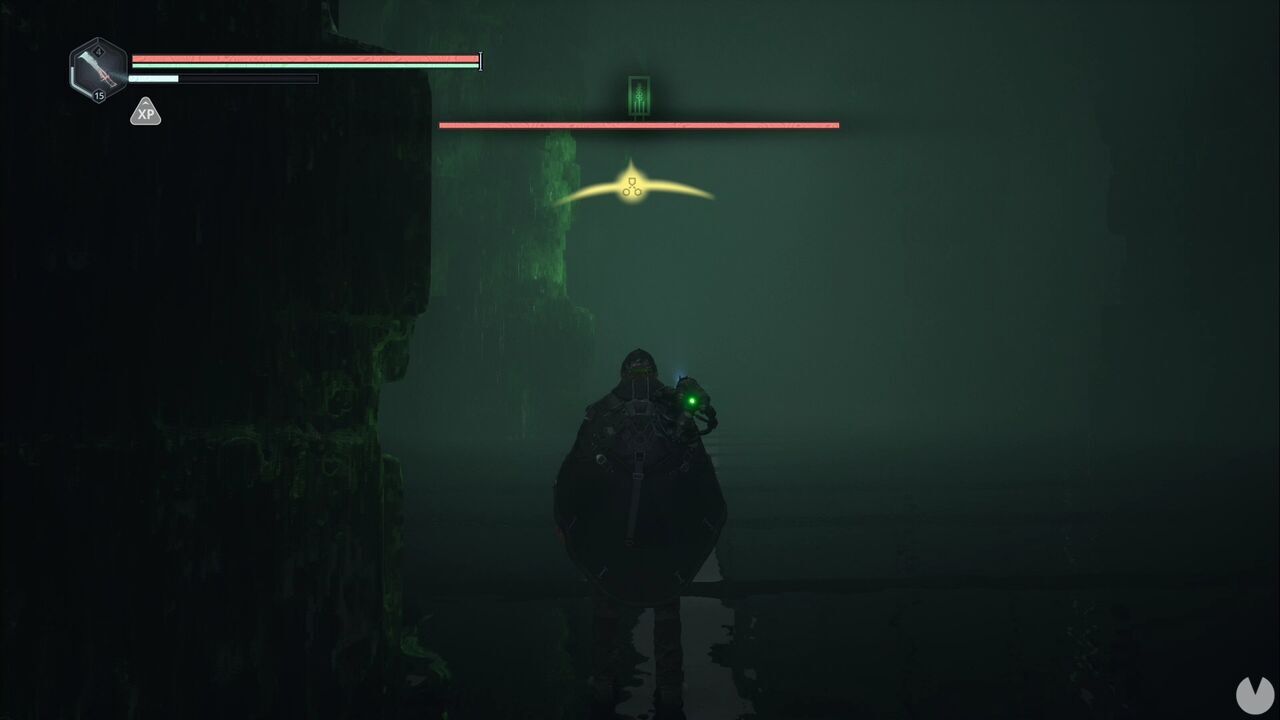
You’ll repeatedly see a green pillar of Terror that moves away whenever you approach. Don’t worry: just keep following it until it turns to fight you, damage it and repeat the process until it bites the dust. After you damage it for the first time, smaller Hazes will begin appearing and attacking you. Take them out to minimise the damage you receive.
Defeating it rewards you with the Key - Rusted and the Keystone of Terror.
Remember the locked door in the tower where you found the Crown of Bones? You can now open it with the Key - Rusted, but don’t use the elevator at the end of the path just yet. There’s a chest beside it that can be opened with the Key - Brass.
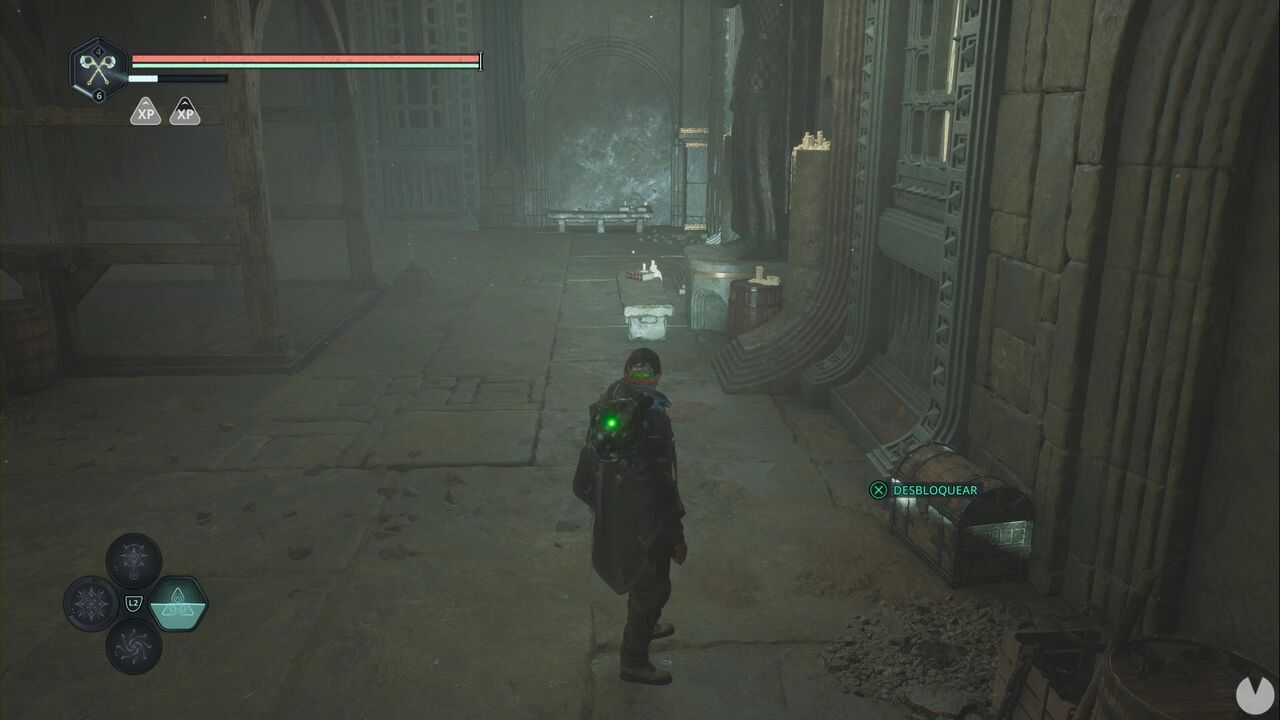
Inside, you’ll find the Bracelet of Terror - Shadowstep, which also completes one of your active Mysteries. You can now take the elevator back to the foot of Arcas Spire. After leaving the elevator room, go through the door on your right to return to Senedra Forest. You’ll notice that you’re still missing a Timeloop in this area. Don’t worry, as you can’t access it yet.
Before continuing, you’ve probably seen the message from the OMSIF officer during a sequence. Enter the APC and collect the Entropic Field module from underneath the passenger seat. At the same time, you’ll collect the APC Code Sheet mentioned by the officer, who said that "today’s code was 14".
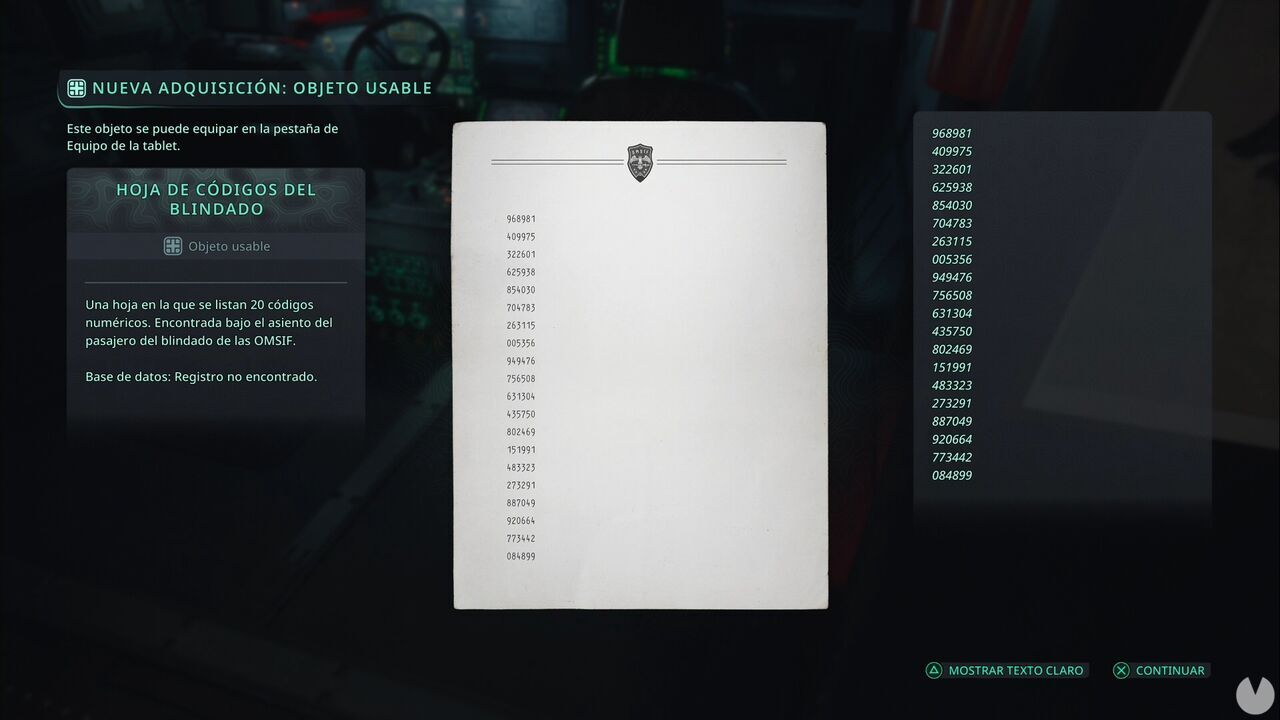
This begins the Observation Outpost 08 Mystery. Travel to the large ruins north of Jova to find a gate secured with a code. If the numbers match the ones from our playthrough, the gate opens with the code 151991.
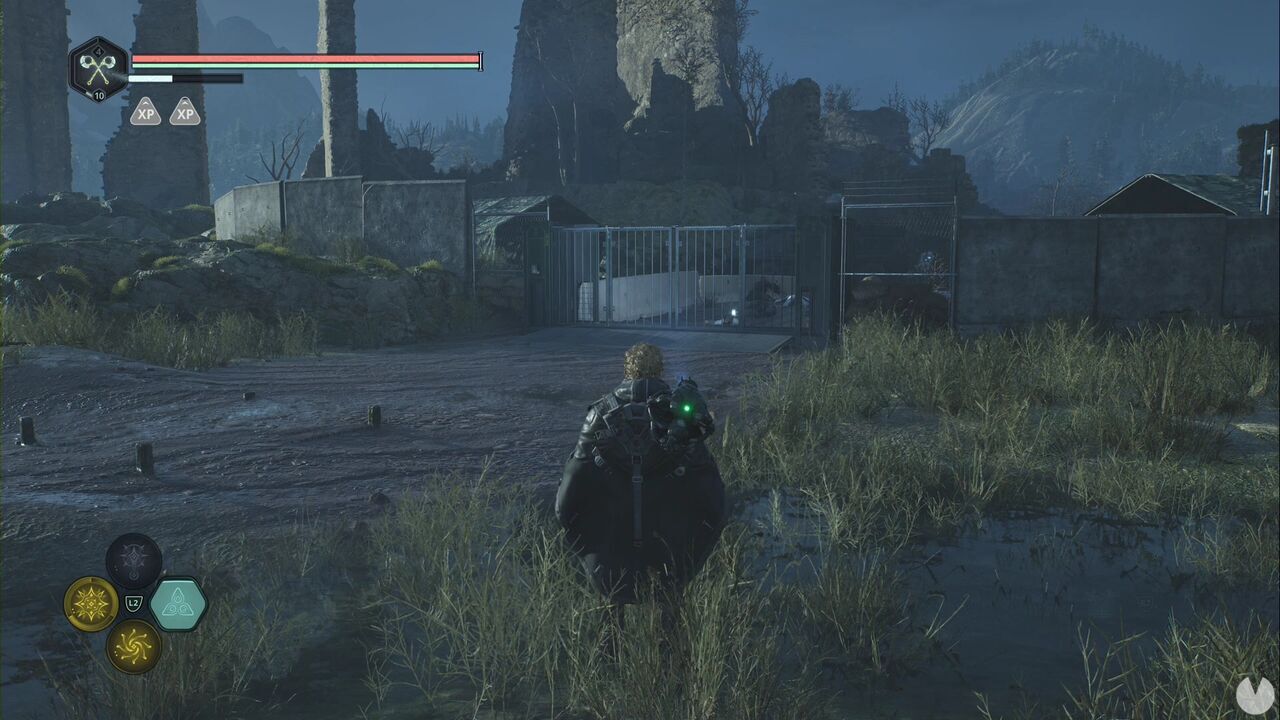
Immediately after passing through the gate, you can collect the Recording - Fall of Outpost 08. Inside the tent at the back on the right, you’ll find the Shockwave - Elite module, an absolute monster-clearing marvel that knocks enemies down. Inside the other tent, you’ll find the Lymbic Rod - Neutral, W, which is required for another active Mystery. To complete this Mystery, you must examine the computers inside the tents.
Continue along the path heading east until you spot a yellow glow beside the trail. This is the OMSIF Deployment Order - Acasa Marshes.
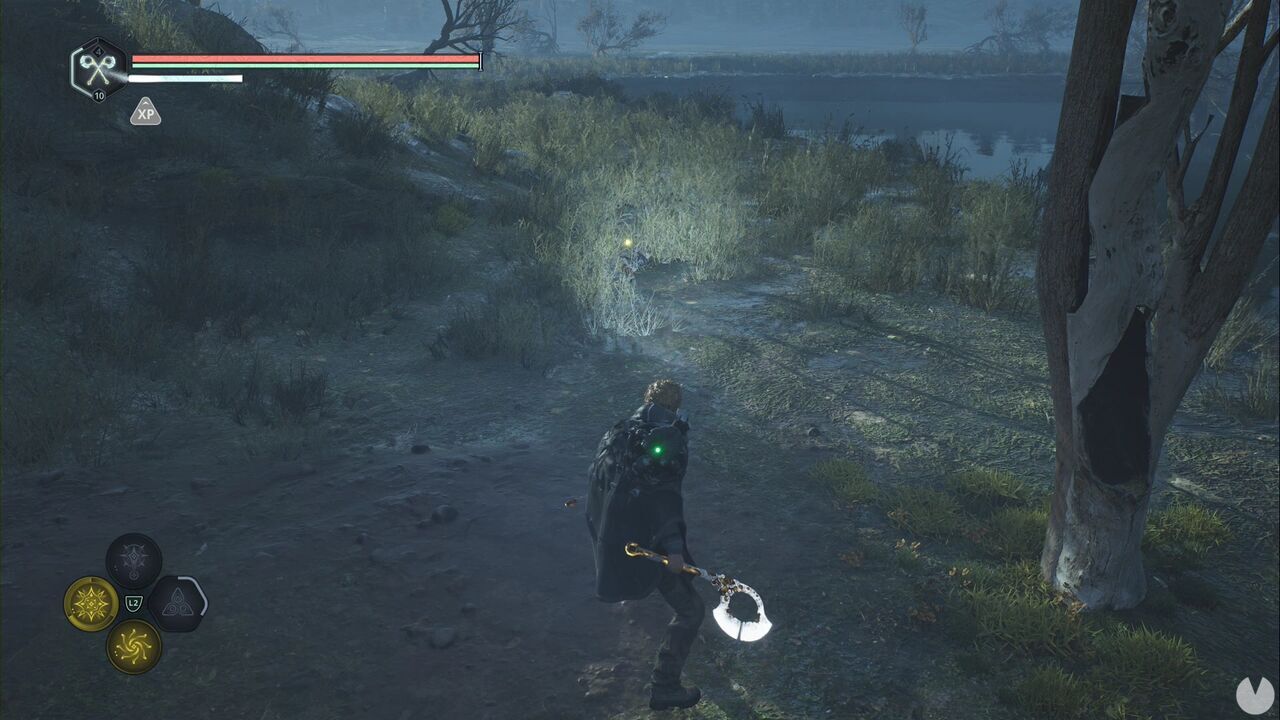
Follow the path to the left along the shoreline to encounter more enemies and the entrance to a cave. You’ll soon see the door to one of the Vaults of Forbidden Knowledge. Enter the following code to open it:
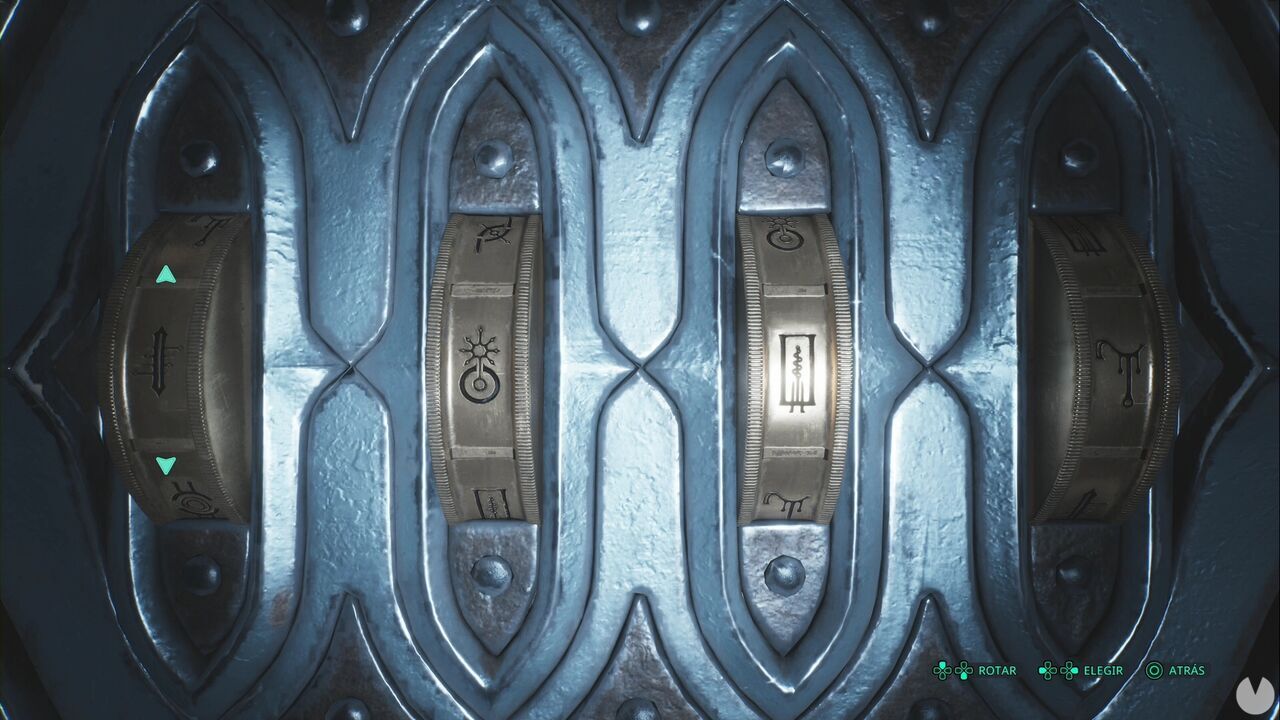
This Vault contains a relic and four different grade 4, level 15 weapons. They’ll be perfect for later, whether you’re working towards the achievement for upgrading one weapon of each type to grade 5 or simply want to change your main weapons. After leaving the Vault, look to your left while you’re still inside the cave. You’ll see a whole bunch of enemies and a room containing two sconces that can be rotated. You must rotate both of them to advance the Enlightenment Mystery.
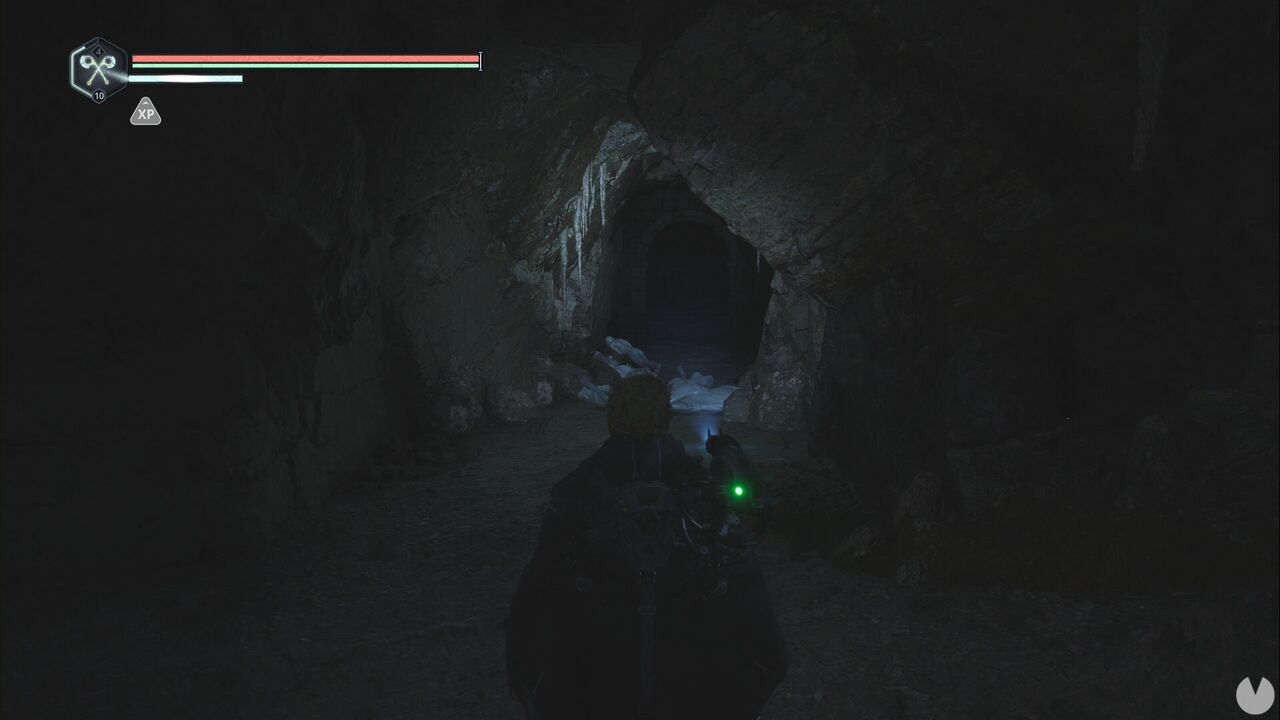
Leave the cave and head left until you encounter another enemy and a body with a glowing item. This is the High-Tech Case.
Return to the main area of the Acasa Marshes and head to the northeastern section, where you’ll find the Hermit. He has some new information and his Mystery can finally be completed. Head south of his position to find four pedestals arranged around a circle.
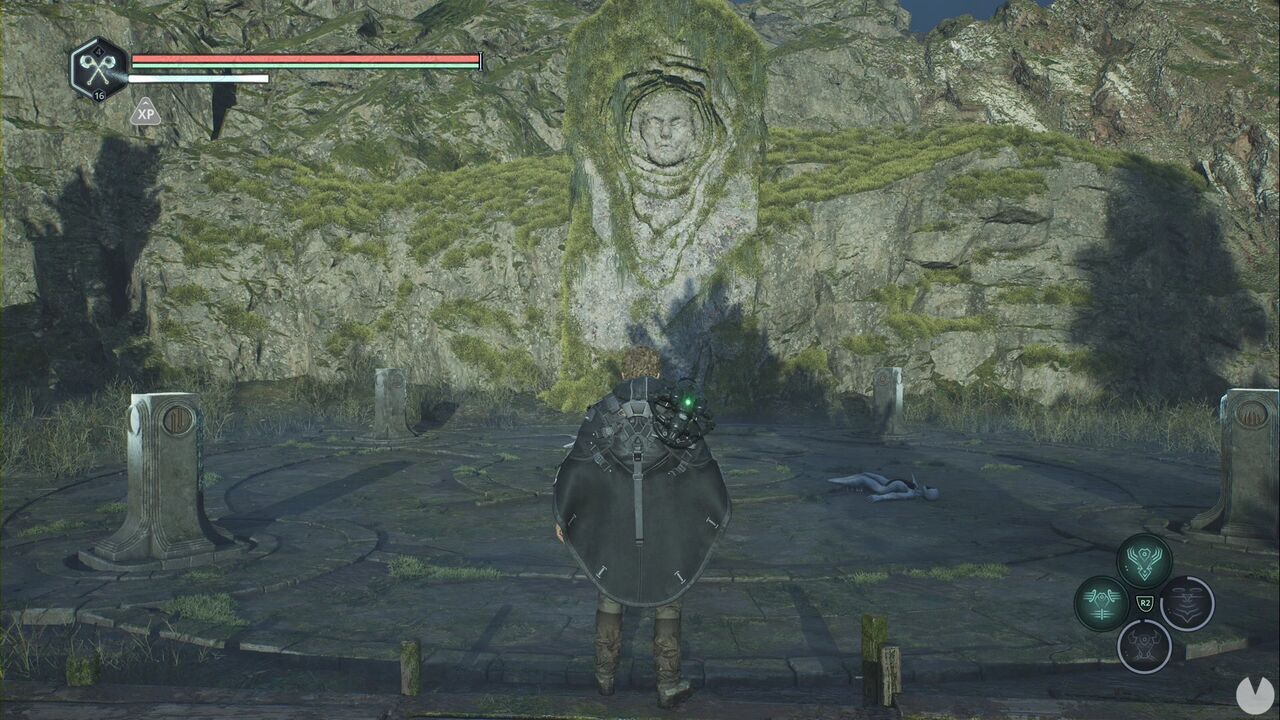
Treating the side facing the wall at the back as "up", rotate the pedestals so the following symbols face the centre:
This completes the Mystery and allows you to collect Tuning Stone - Steady x5, the Feed on Fear - Enhanced Glyph, the Perfect Guard - Enhanced Glyph and the Aarlon’s Last Stand relic. Next, return to Lake Cynon and head down to the reservoir area on the surface. You can now open the Lymbic Chest - Lake Cynon, Reservoir.
Back at the APC, speak to Tania and ask her about the Symbol of the Two-Headed Snake. As always, return to the Vyssa Hills to collect your rewards for closing Timeloops and completing Good Deeds. You should also visit the Acasa Marshes to give Victor the new book and upgrade your weapons and armour. Our next destination is Pathem Abbey in the Acasa Marshes.
