

Bad Blood is the fifth mission in the Prologue of The Blood of Dawnwalker's story. It begins automatically at the end of Sacred Covenant, regardless of whether someone lived or died during the Blood Mass as a result of your earlier choices. As usual, throughout this walkthrough we'll avoid as many spoilers as possible while giving you all the tips and directions you need to make sure you don't miss anything along the way. For this playthrough in particular, we'll also be following the optimal route to see as many endings as possible in a single playthrough, saving you the trouble of starting over unnecessarily.
From this point onwards, we'll include the time cost of every main mission at the beginning of each walkthrough. This will help you plan ahead and work out how much time you can afford to spend exploring and improving your character before continuing the story. Keep in mind that we'll always aim for the best balance between time spent and rewards earned, generally prioritising routes that maximise the amount of XP you can gain.
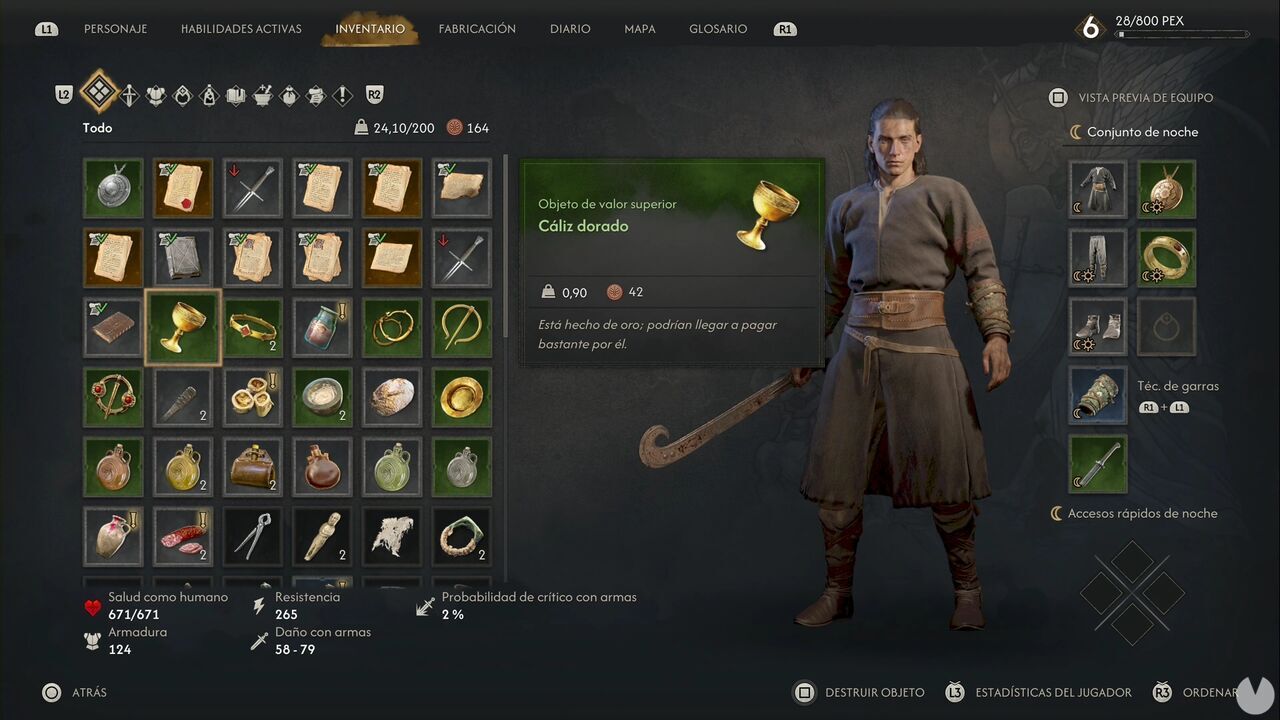
Enough talking: make sure you've equipped your clothes and weapons before moving on.
Search the nearby loot containers for consumables and materials, then follow the tunnel southeast. After the strange vision, head down and turn left at the first opportunity to find Ludwig. Choosing to Aid Ludwig consumes 1 time segment and is optional, but doing so rewards you with additional experience.
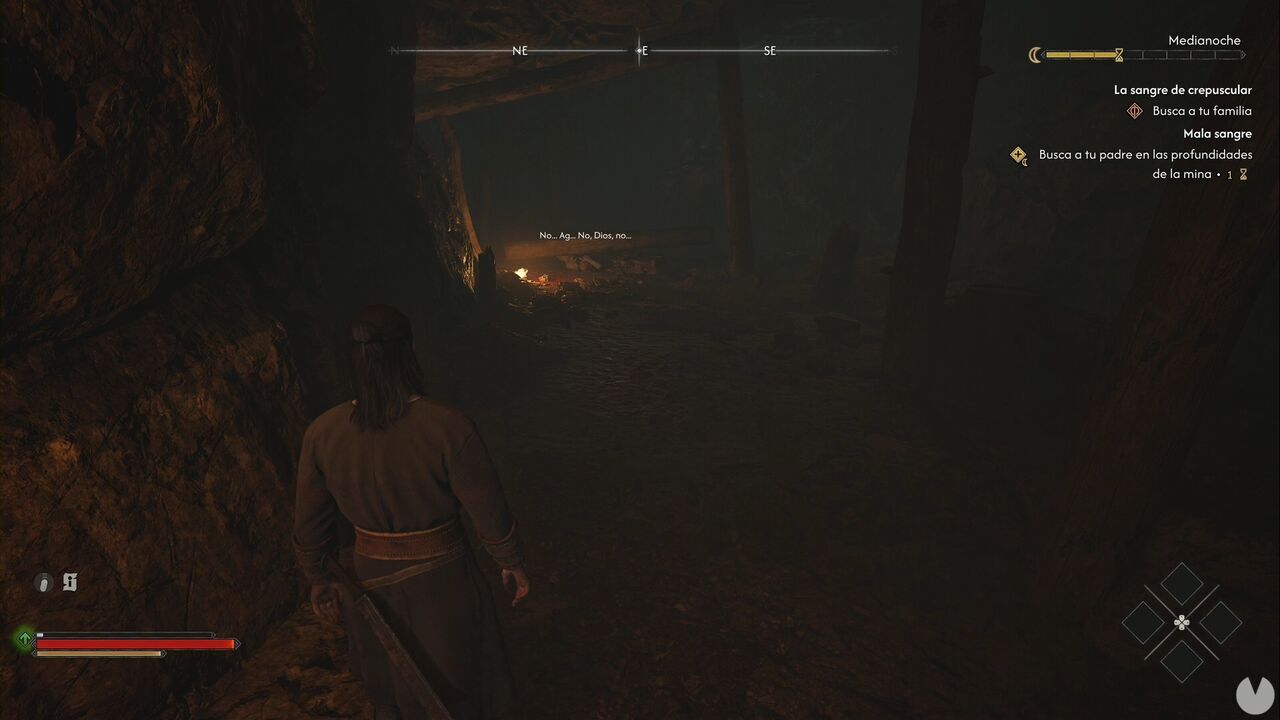
Your response to Vladimir doesn't matter. Afterwards, continue deeper into the mine until another sequence begins. When you start hearing a heartbeat, make sure you take the path to the right. At the end you'll find a container holding silver, which will be valuable later once you gain access to someone willing to buy it.
Return to the main path and continue to the end of the tunnel to trigger another sequence with Kostel. Your dialogue choices won't change the outcome of this scene.
Squeeze through the gap in the wall and continue into the lower levels of the mine. You'll come across a skeleton carrying a useful sword, so make sure you loot it. Keep going, crouch through the narrow tunnel and turn right when you emerge, then edge along the wall.
After the following sequence, you'll be able to use Shadowstep at night to cross gaps and reach otherwise inaccessible locations. Use it to cross the precipice.
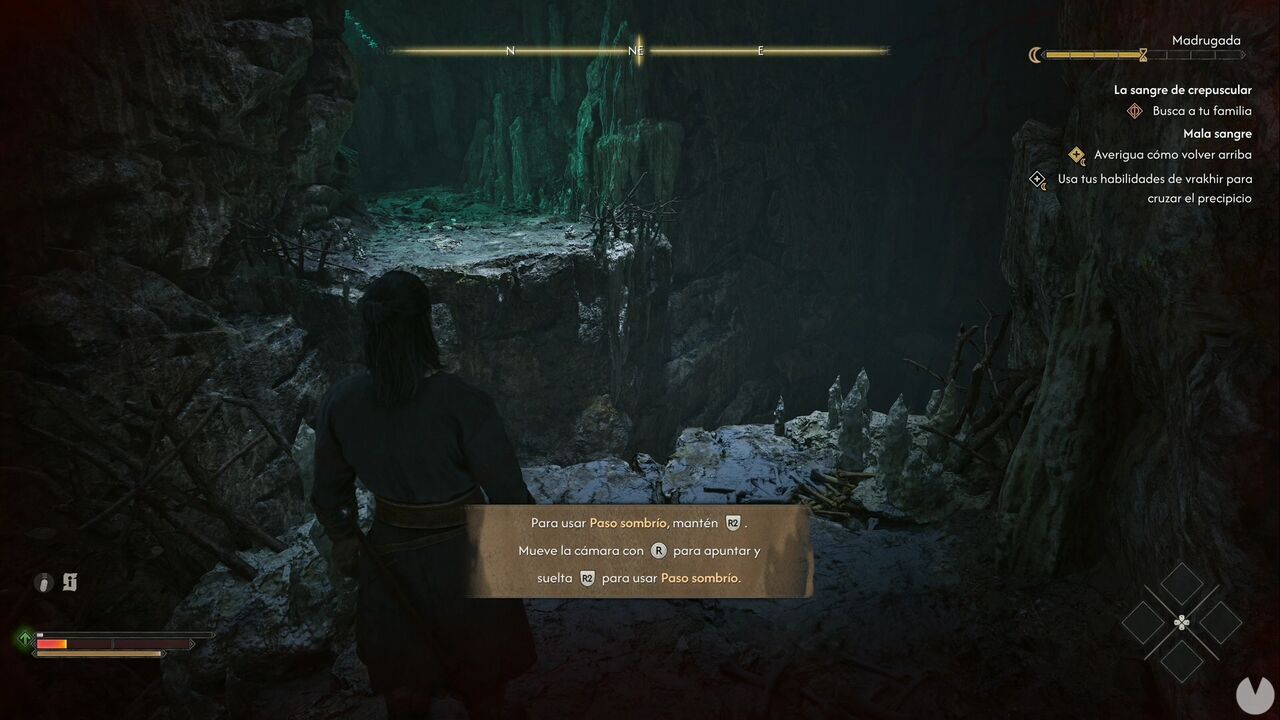
If you continue to the end of the cave before climbing higher, you'll find a pair of Leather Boots along with several other useful items. Afterwards, use Shadowstep to reach the upper section of the chamber. Follow the glowing mushrooms to make the route easier to spot.
On the slope, you'll find rats you can feed on to restore your Vampiric Health. Make use of them, because you're about to face several monsters. The game will also remind you that at night you can fight with your claws and use Vampirism abilities.
Make sure to loot the bodies after the fight, then continue onwards and feed on and loot any rats you find. They may be carrying Blood Vials that can be used to restore Vampiric Health at night.
After climbing for a while, the game will introduce Planeshift, allowing you to use your vampiric movement abilities to move along certain walls and other surfaces. Use it to continue upwards.
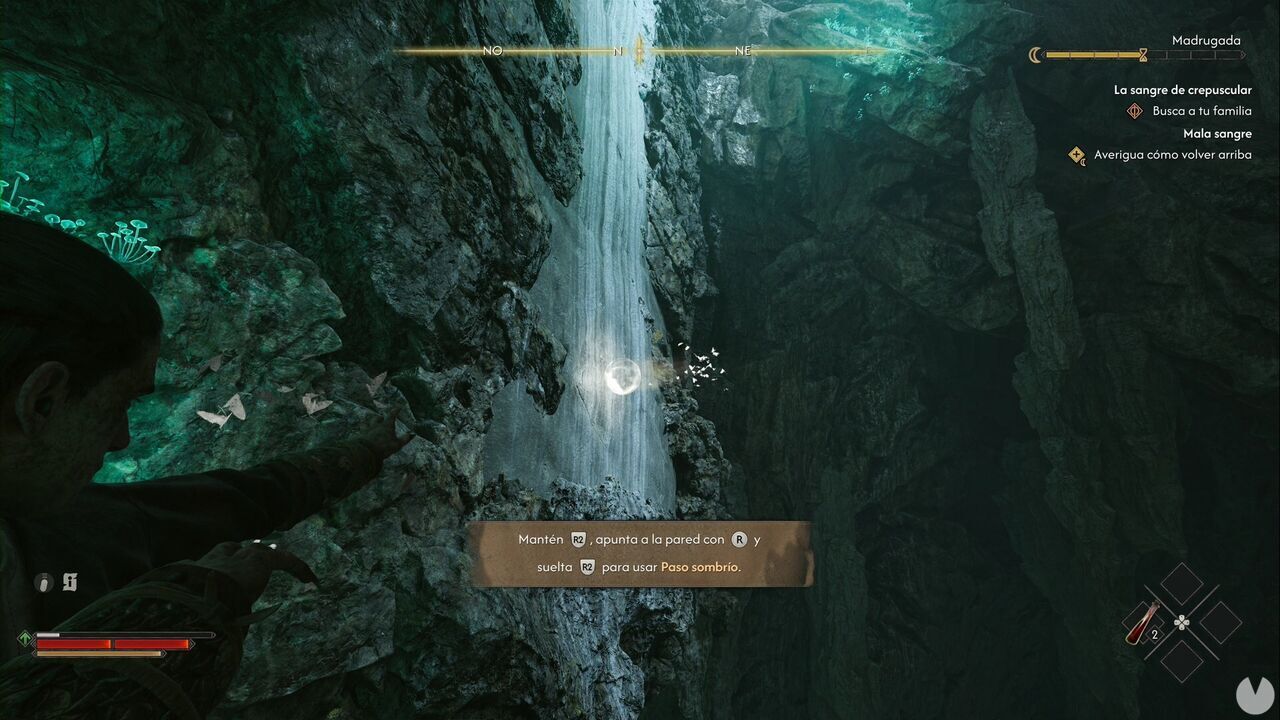
Once you reach the upper section, simply keep moving forward. Remember that you can use your vampiric traversal abilities to climb out of the shaft and eventually reach the mine exit.
This objective initially costs 2 time segments, but you can reduce it to 1 by completing an optional objective that itself costs 1 segment. In other words, you'll spend 2 segments either way, so you might as well complete the optional objective and earn the additional XP.
Approach the edge of the cliff and you'll be able to use Clawride to descend the rock face safely — an ability you can only use in your vampiric form at night.
A little farther ahead, make sure you DON'T choose "All right, lead on" when speaking to Brencis's soldiers. Doing so will cause you to miss the optional objective mentioned above.
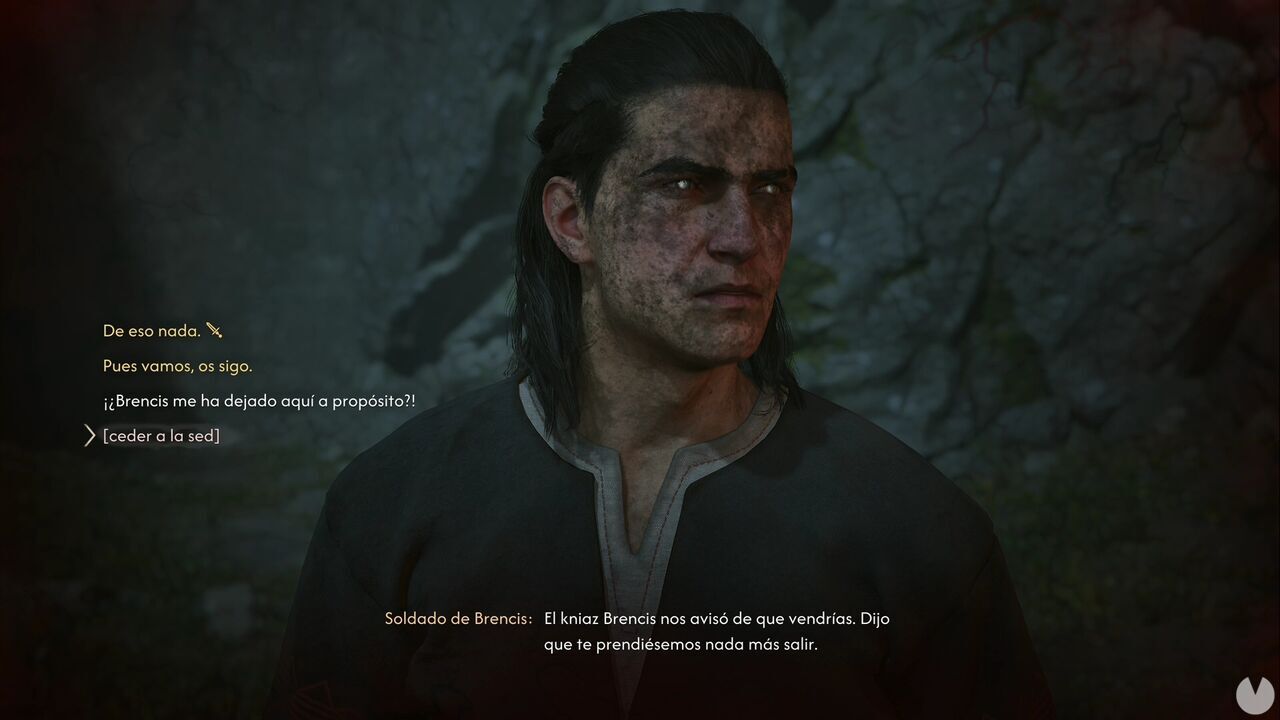
After defeating them, examine the other corpse nearby — not the two soldiers you just killed, although they're still worth looting — to start tracking Vladimir by following the bloodstains. Follow the trail of blood and footprints, and remember to pick up any useful items you find in chests or on enemy corpses along the way.
The trail eventually leads southeast to a burning house, where you'll find Vladimir.
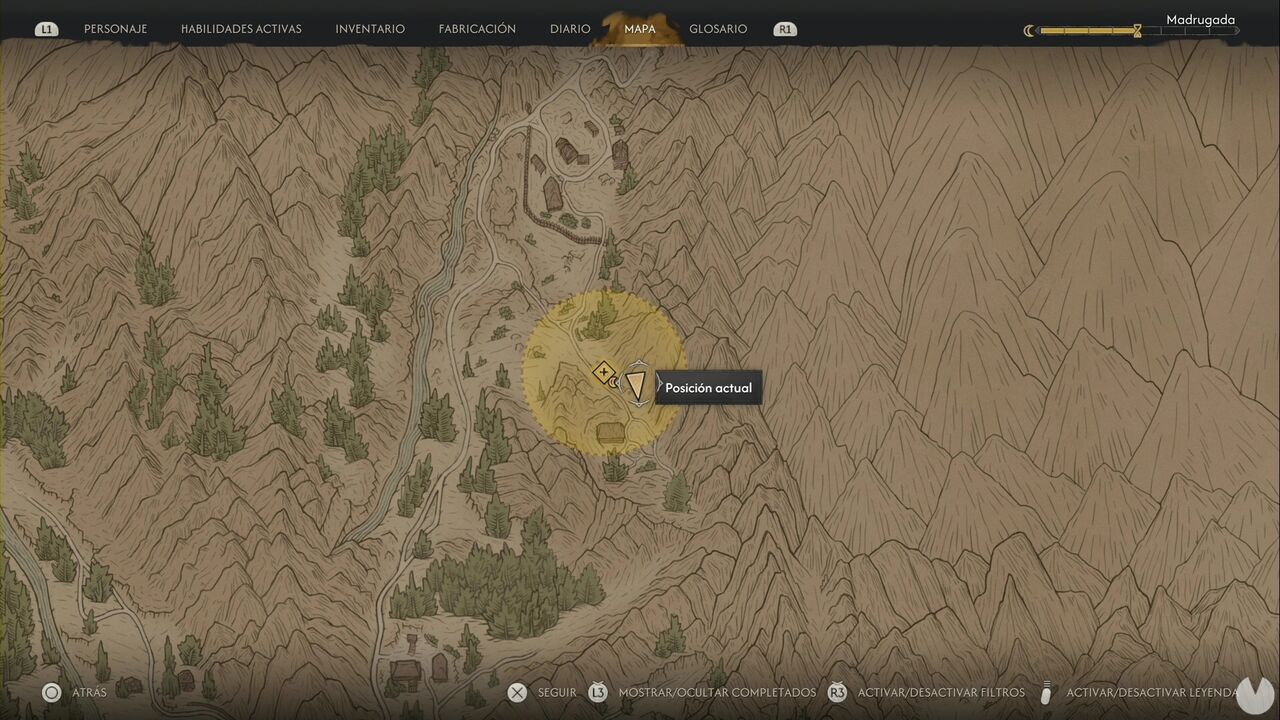
You'll need to defeat the two guards before you can help your ally. Speak to Vladimir afterwards. As long as you don't deliberately give in to your hunger and feed on him, you can keep him alive.
Vladimir will then show you a shortcut back towards the village. Completing this optional objective consumes 1 time segment, but reduces the time cost of returning to Laslea by 1 segment, as explained above.
You can now head straight towards the objective marker, or take a detour to loot the main road and any enemies along the way. We'd recommend the latter — free loot is free loot.
Once you get close enough to the village, a cutscene will begin, followed by a fight you're expected to lose. Technically, however, it is possible to defeat Brencis if you're skilled enough, and there's even an achievement/trophy tied to overcoming this optional challenge.
Once the encounter is over, Smoke and Ashes will begin.
