
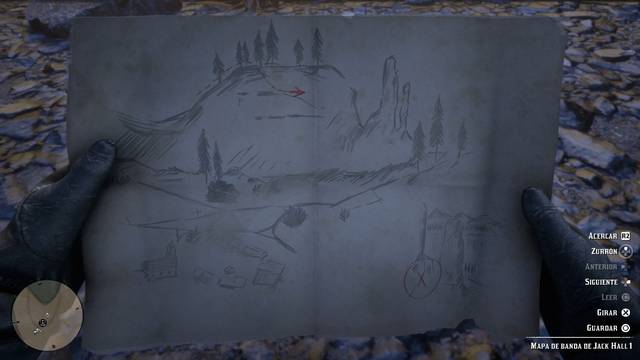
Treasure-hunting missions are available from the beginning of Chapter 2, and completing them will earn you handsome rewards in the form of gold bars, which can be sold for large sums of money.
To complete these treasure hunts, you will need treasure maps containing drawings and clues that lead you to the next map. Each treasure hunt consists of two or three maps, and only the final one reveals where the treasure is hidden.
You cannot skip any steps: you need to find Map 1, then Map 2 and finally Map 3, which will lead you to the treasure.
You need to speak to Máximo, a stranger looking through a pair of binoculars who can be found near Flatneck Station, to the west. He will offer to sell you a treasure map for $10, but if you turn him down, you can buy it for $5. You can also rob him if you do not want to spend any money, although this will cost you Honor.

Head to Caliban's Seat, just north of Horseshoe Overlook. From the top of the cliff, make your way along the narrow ledges until you reach a gap in the rock face containing the second map.
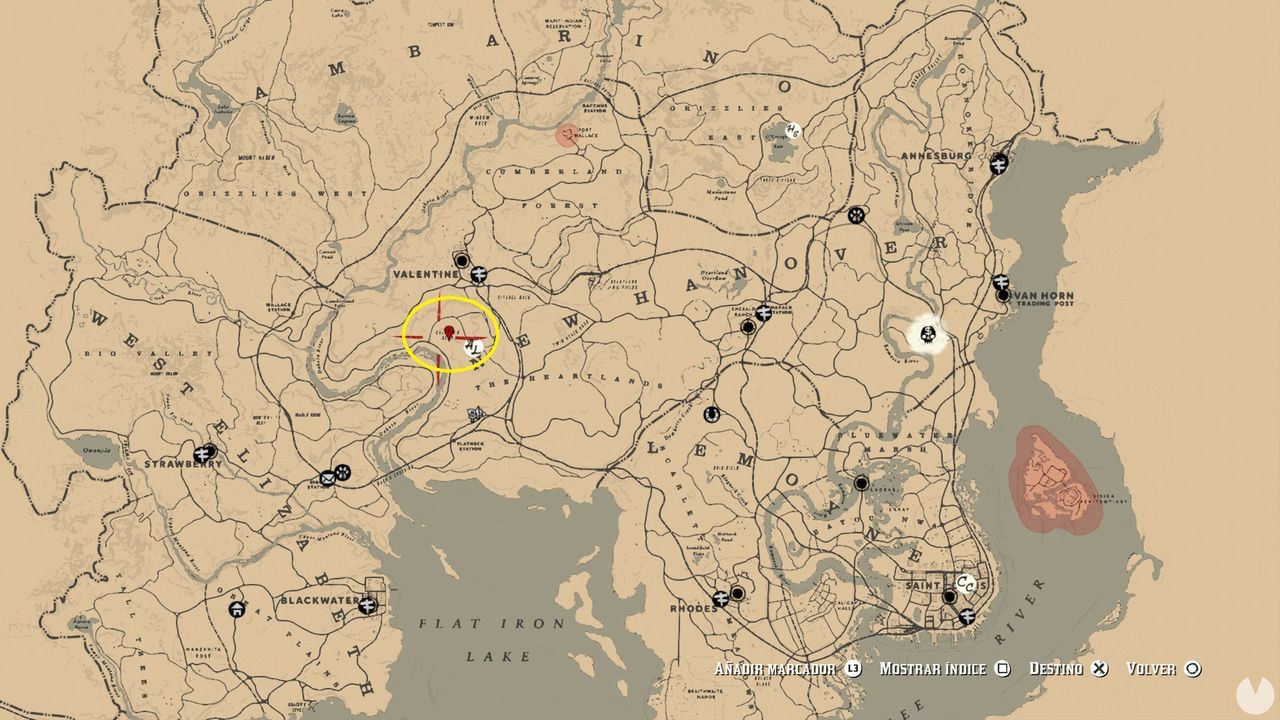
Head to Cotorra Springs, west of Bacchus Bridge. The map is hidden inside one of the piles of rocks near the geysers, in the middle of the open area.
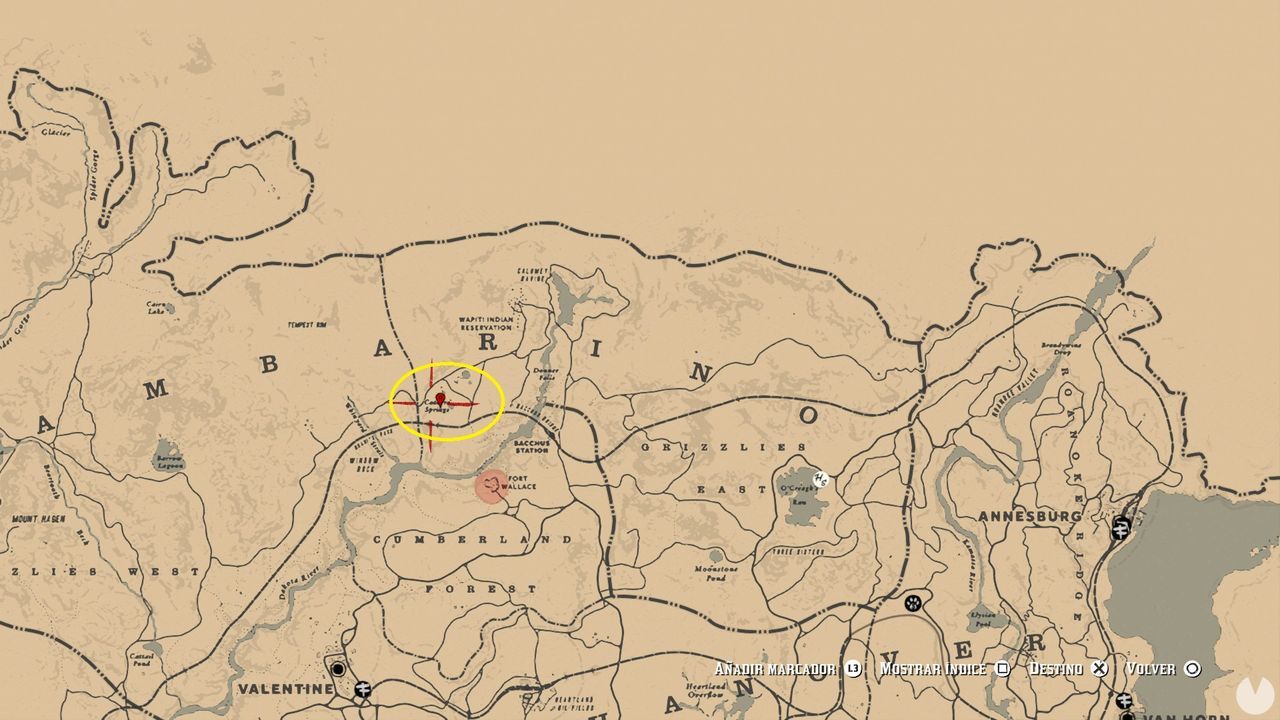
The treasure can be found at O'Creagh's Run, far north of Emerald Station and in the eastern Grizzlies. Swim to the small island in the middle of the lake and examine the bushes. You will find the treasure hidden beneath a rock and receive two gold bars.
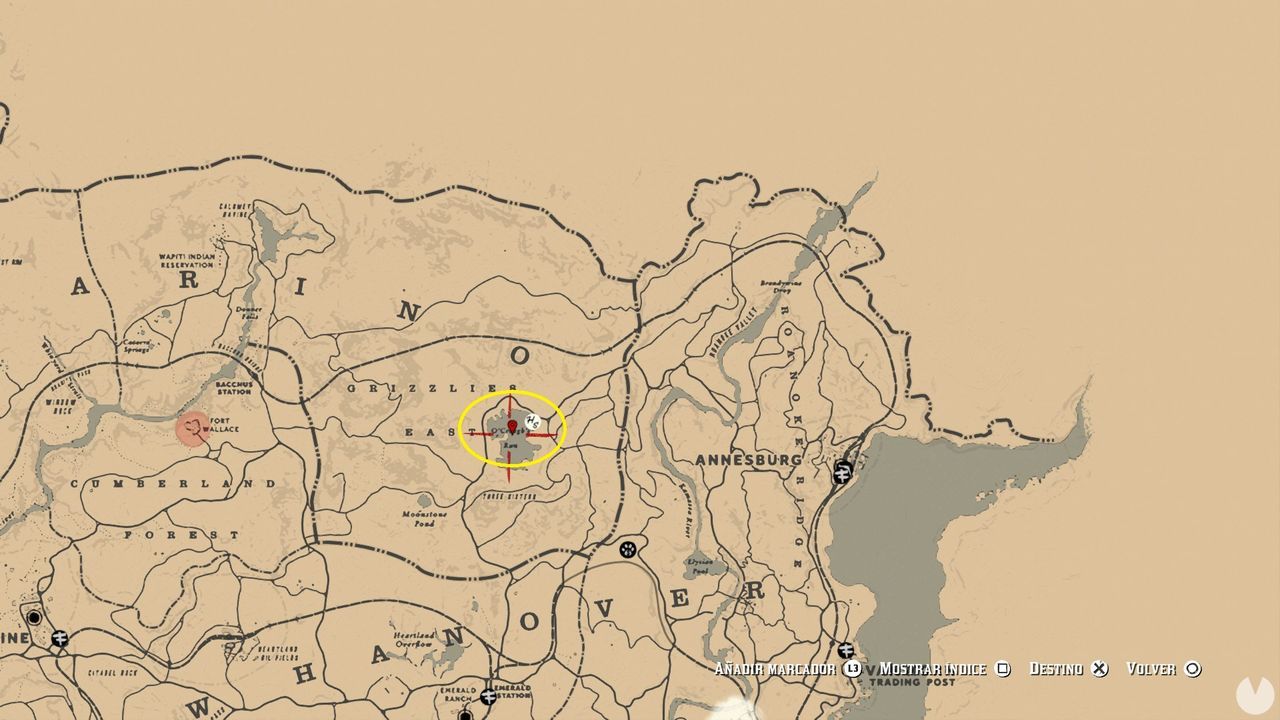
Here is a video showing the entire process of collecting and following the maps until you reach the final treasure:
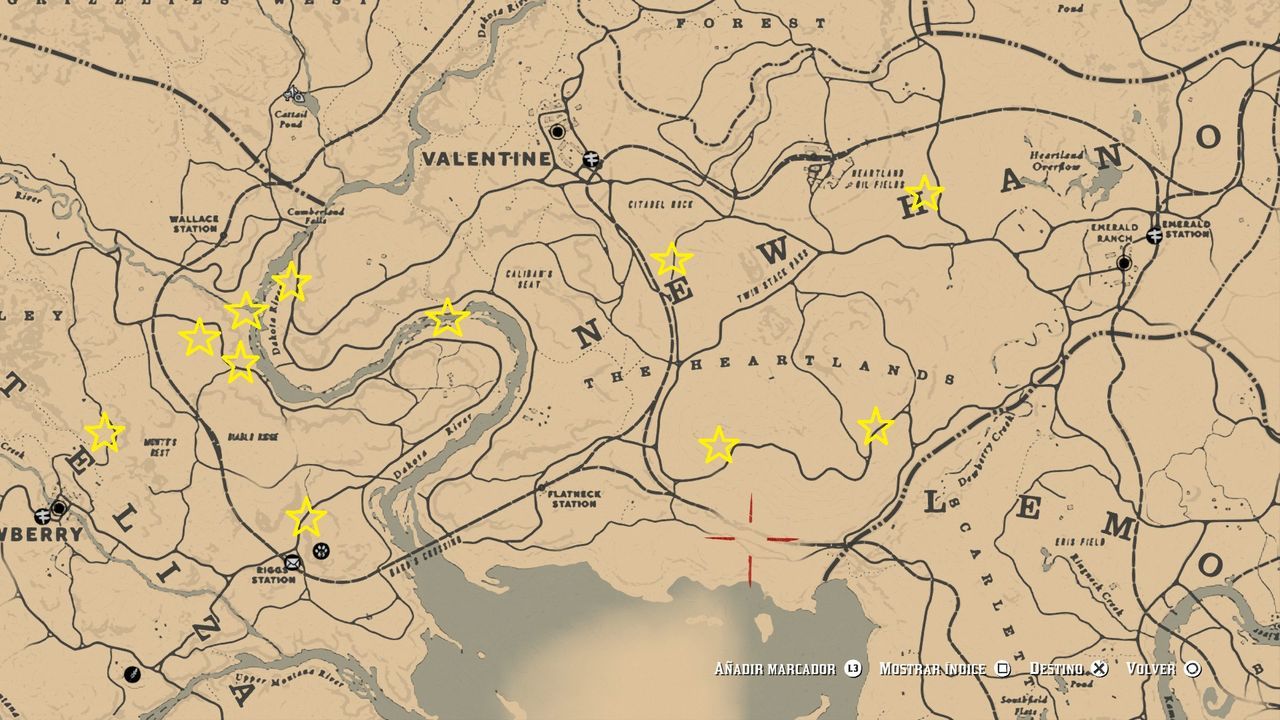
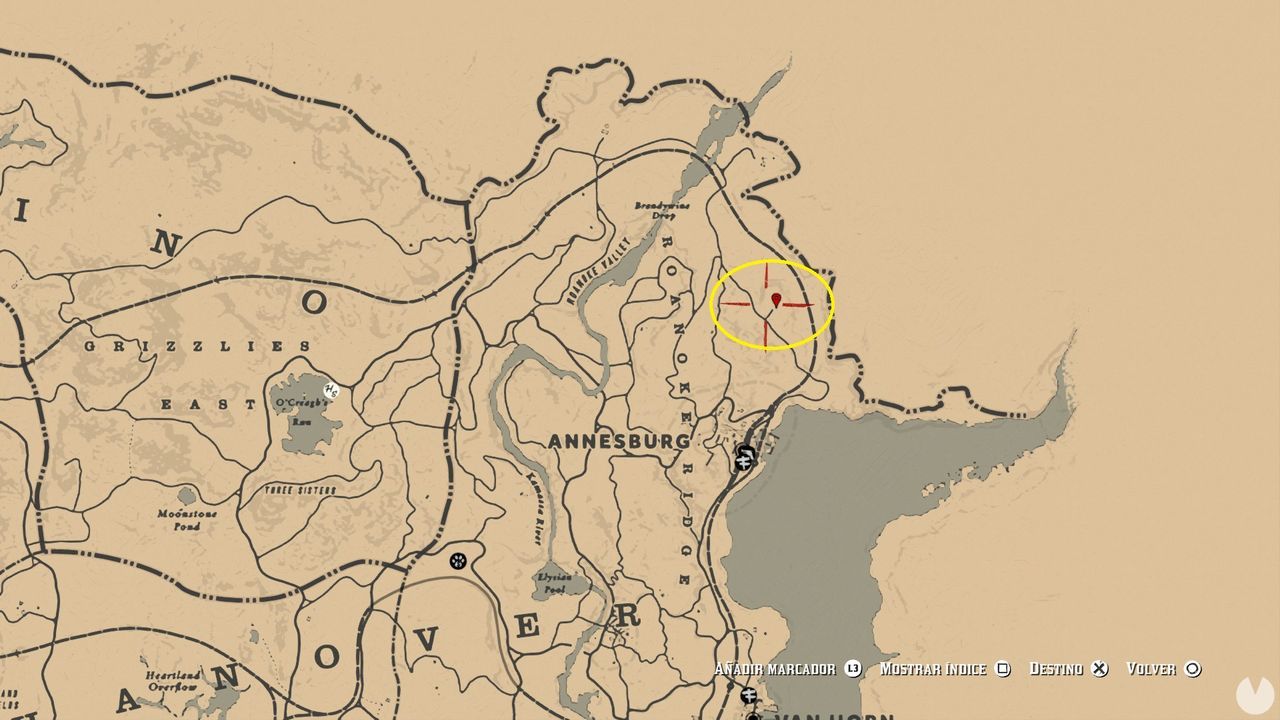
To obtain the first map, you must trigger the Treasure Hunter random encounter, which can appear in several different places, as shown on the map below. When you encounter a man looking through binoculars at one of these locations, take him down immediately. If you wait too long, he will escape on horseback and you will have to chase him. If you fail to steal the map after three attempts, you will be able to buy it from a Fence.
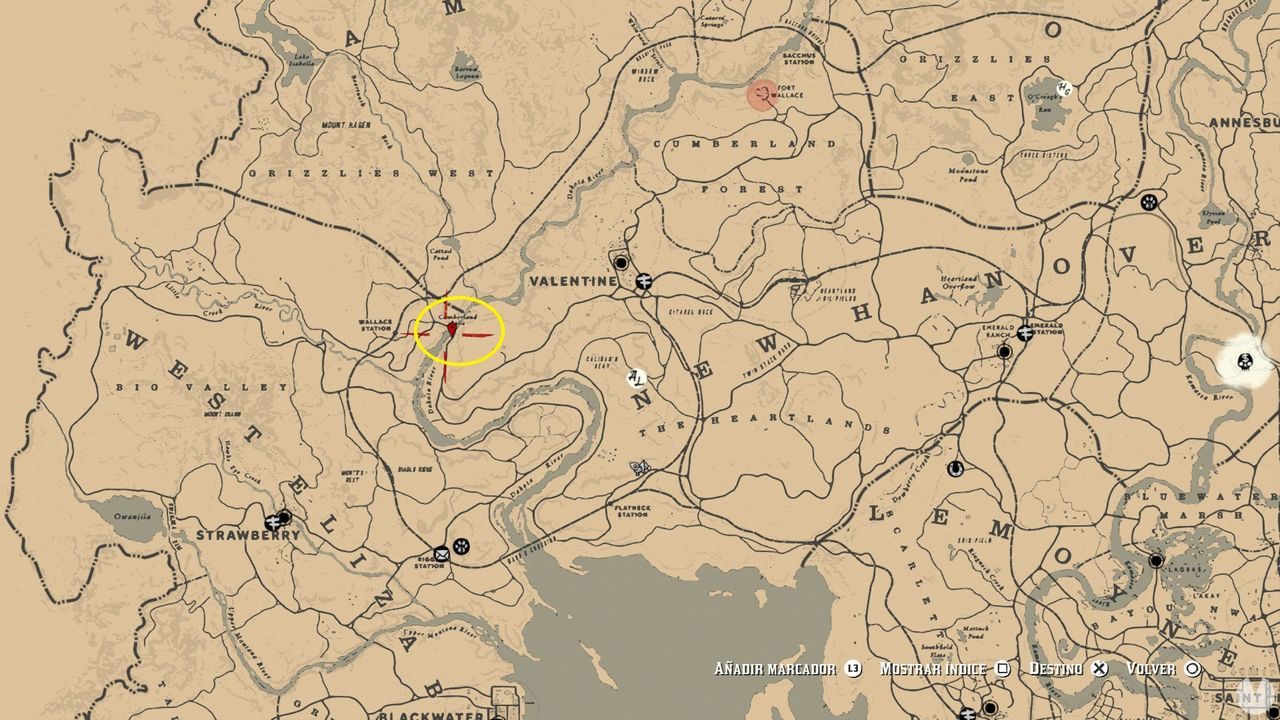
Head to Cumberland Falls, east of Wallace Station. Walk behind the waterfall and climb onto the ledge above to find a small opening where the second map is hidden behind a rock.
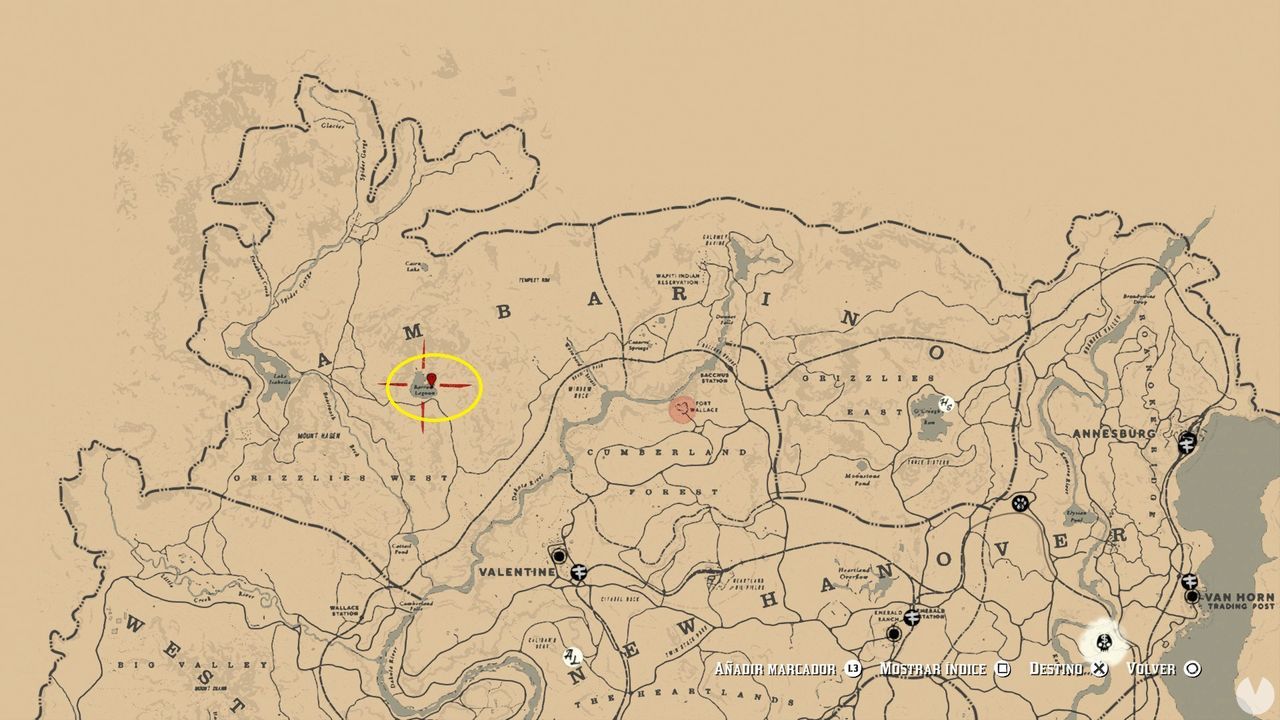
Make your way to Barrow Lagoon, a frozen lake located in the western Grizzlies, northwest of Valentine, by climbing through the snowy mountains. Walk onto the fallen tree that forms a bridge between the shore and the island in the middle of the lake. The map is hidden in a small hole in the log.
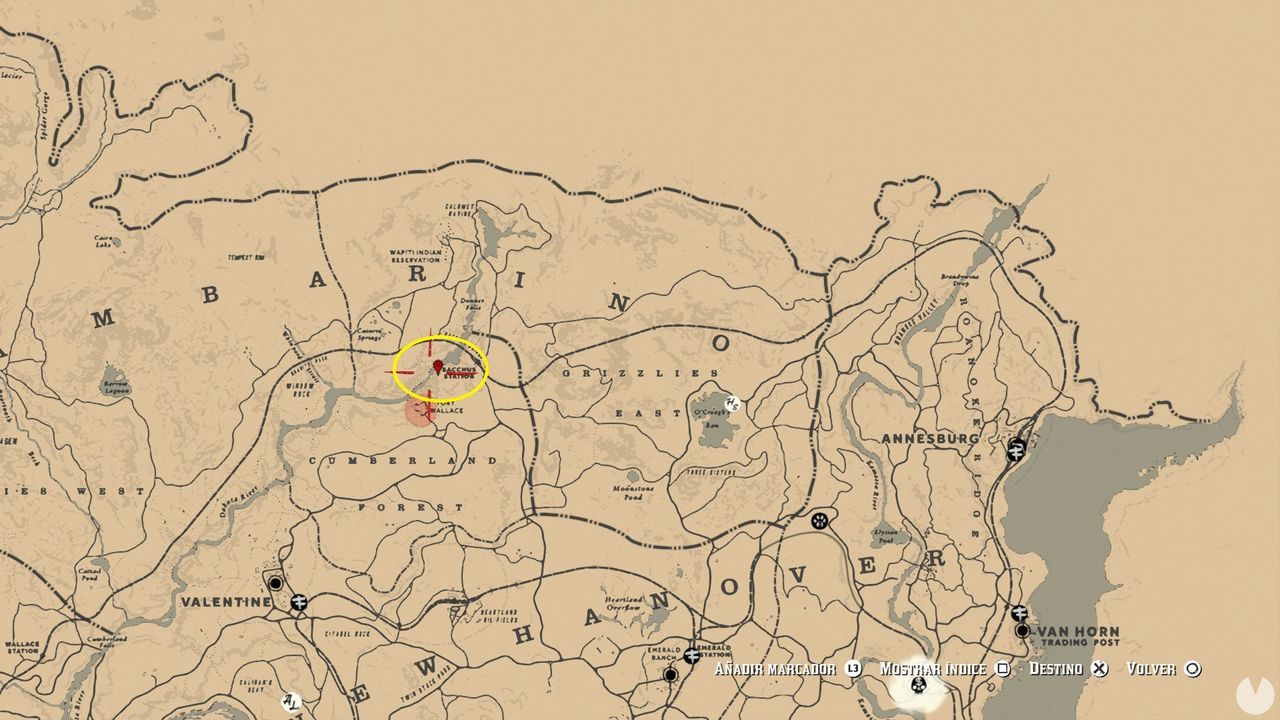
Head southwest of Bacchus Station and follow a winding and fairly dangerous path along the edge of a cliff. Carefully climb down the ledges until you reach a rocky overhang that you need to crouch to enter. Look at the far end of the ledge and you will find three gold bars inside a crack in the cliff face.
Here is a video showing the entire process of collecting and following the maps until you reach the final treasure:
This map is part of a bonus mission available to players who pre-ordered the digital version of the game or purchased the Special Edition or Ultimate Edition. To begin, head to the burned settlement southwest of Horseshoe Overlook. One stone building is still standing, and you can find the map inside, next to two corpses.
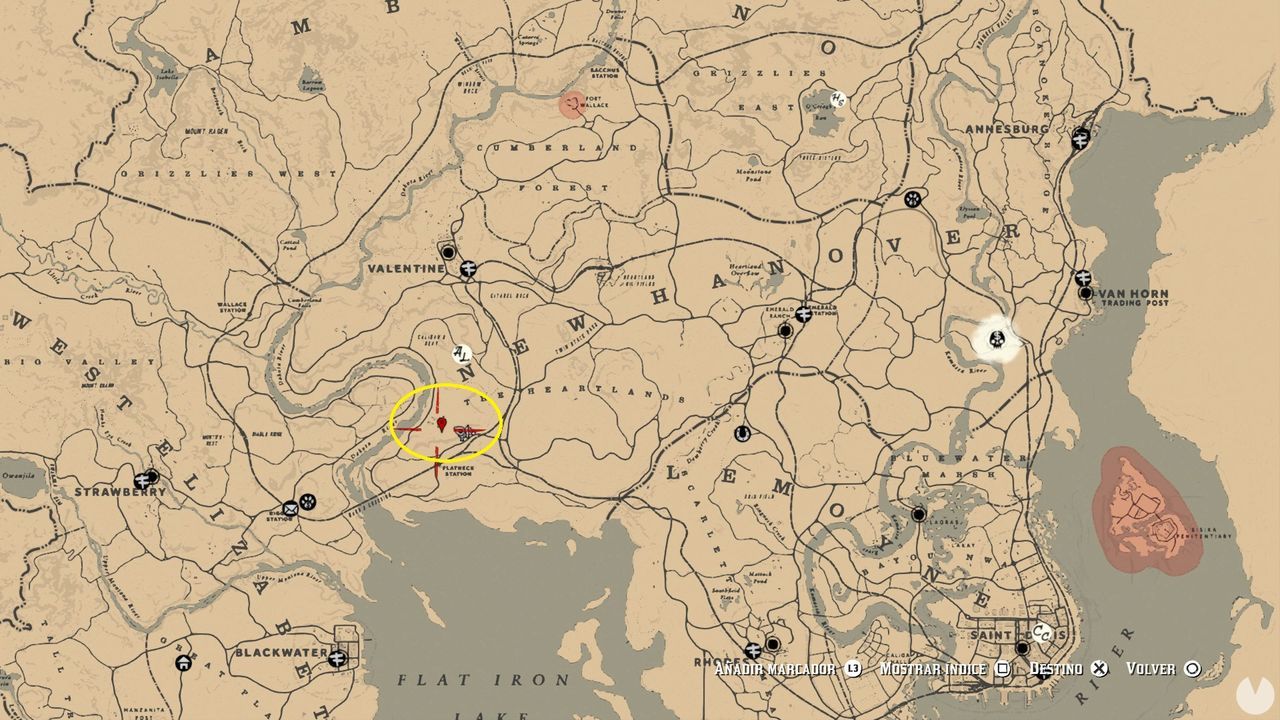
Visit the docks in Saint Denis. The map is hidden inside an underground passage connecting the Cornwall Freight Station yard to the harbor. Examine the wall beside the only wooden crate in the passage to obtain the second map.
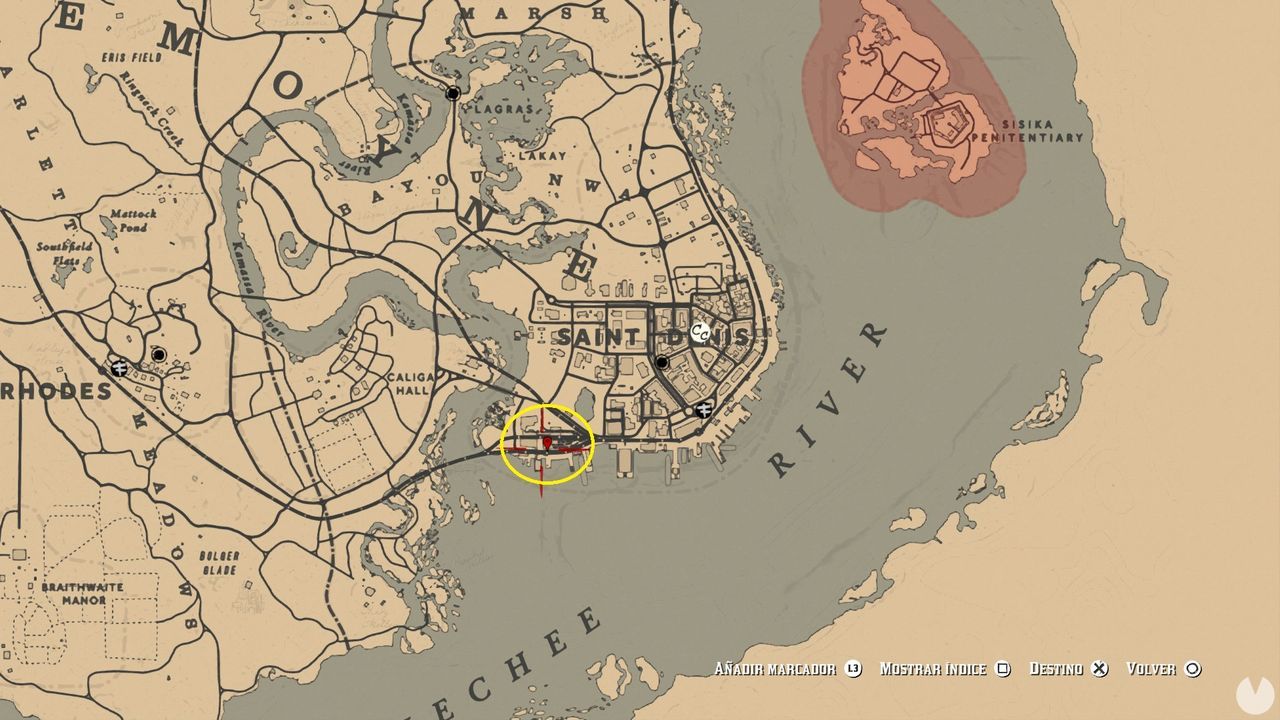
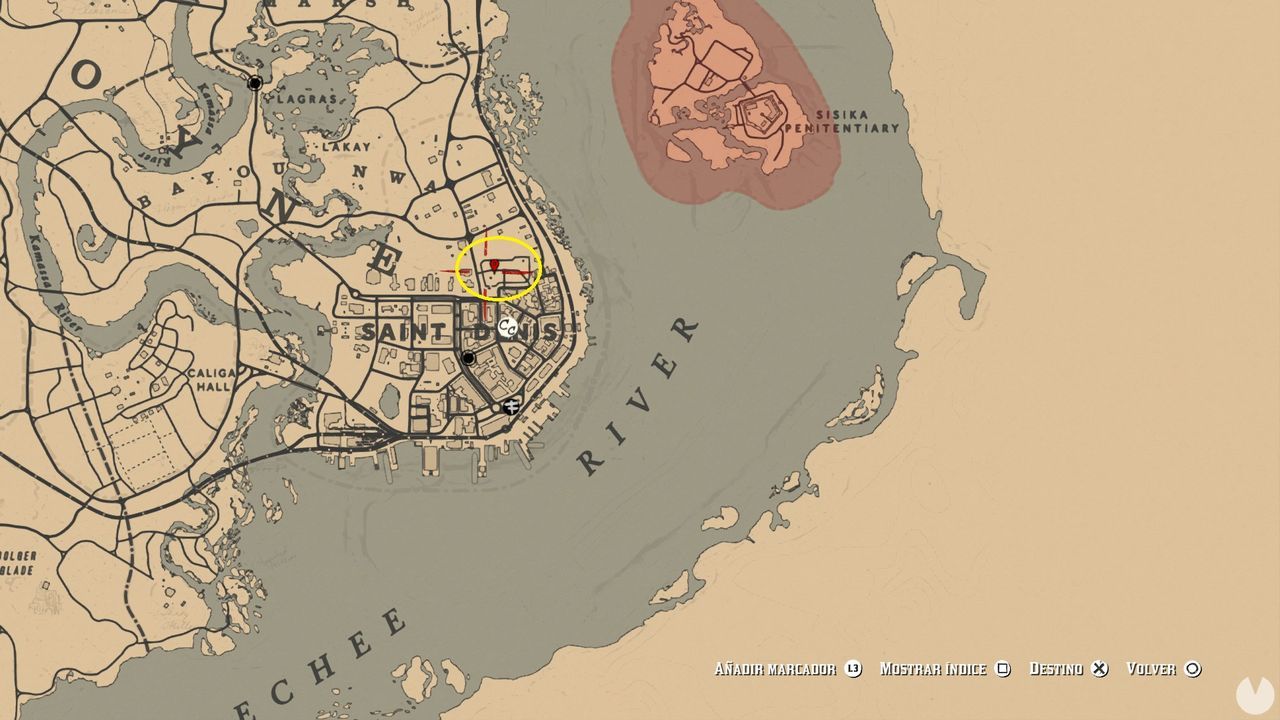
Head to the Saint Denis cemetery and find the mausoleum with the stained-glass window, west of the central dome and just north of the main path. Examine the left-hand wall and you will find five gold bars inside a hole.
Here is a video showing the entire process of collecting and following the maps until you reach the final treasure:
Note: We have provided a much more detailed explanation of the Poisonous Trail Treasure location in case you have trouble finding it.
The first map for this treasure hunt can be found near Cairn Lake, in the snowy region to the northwest. Enter the cabin and look inside the lockbox beneath the bed to find the first map.
North of Rhodes and west of Ringneck Creek, you will find a fallen tree and another dead tree still standing halfway up a hill. The second map is hidden inside the dead tree.
West of Van Horn, at the top of a hill, you will find an unusual rock formation. The third map is inside a hole at its center.
Northwest of Van Horn is a lake called Elysian Pool, and behind its waterfall is a cave that you need to enter. Once you have passed through the waterfall, select the lantern from the weapon wheel—the bottom-right slot where you equip your knife—as the cave is pitch-black and you will need it to see. Once inside, take the first available path to the right. Keep to the right and carefully follow the ledge until you reach a small tunnel at the bottom-right. Explore it to uncover a series of hidden tunnels. At the end of one of them lies the treasure: no fewer than four gold bars.
Here is a video showing the entire process of collecting and following the maps until you reach the final treasure:
You can only obtain this treasure once you reach the Epilogue at the end of the story, although you can collect the first two maps beforehand.
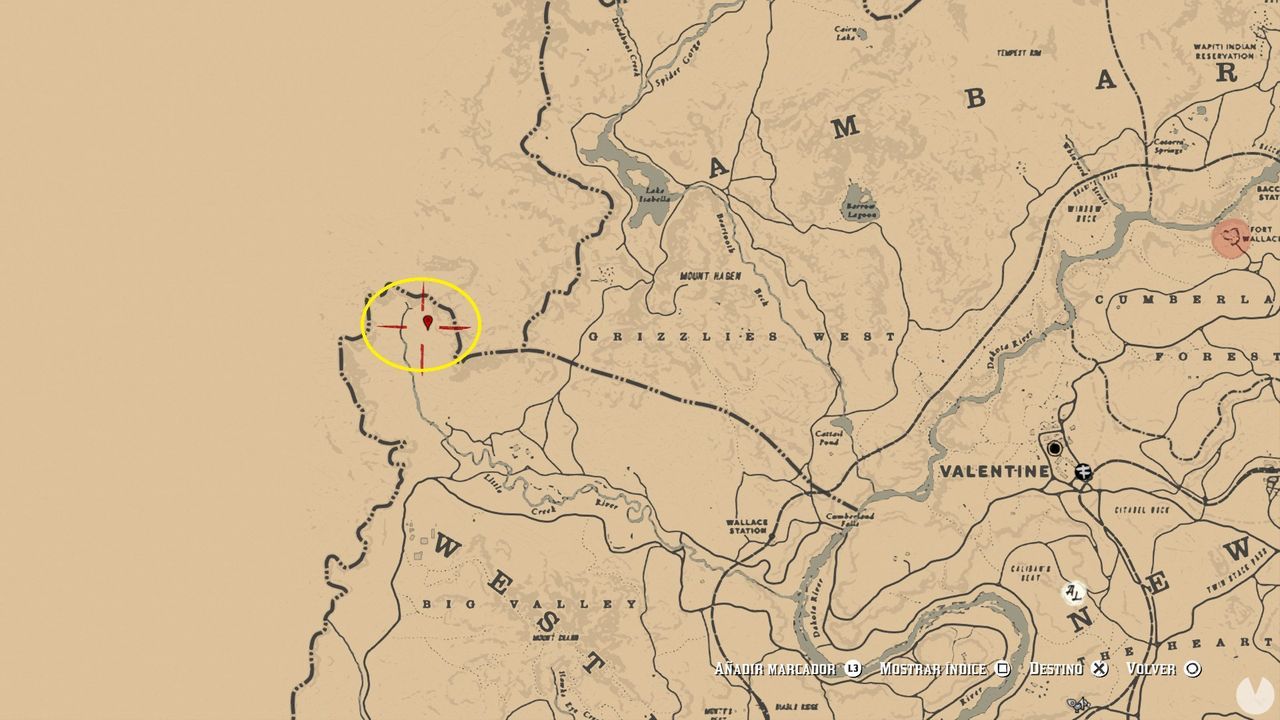
The first map can be found at the far western edge of the map, near the source of Little Creek River. When you arrive, you will find a cabin occupied by a foul-tempered hermit and her dogs, who will attack you on sight, so be careful. The first map is inside a drawer in the cabin.
The second map is in the northeastern part of the map, inside a drawer in the house at Manito Glade. Once you collect the second half, the two pieces will be joined together to form a single map.
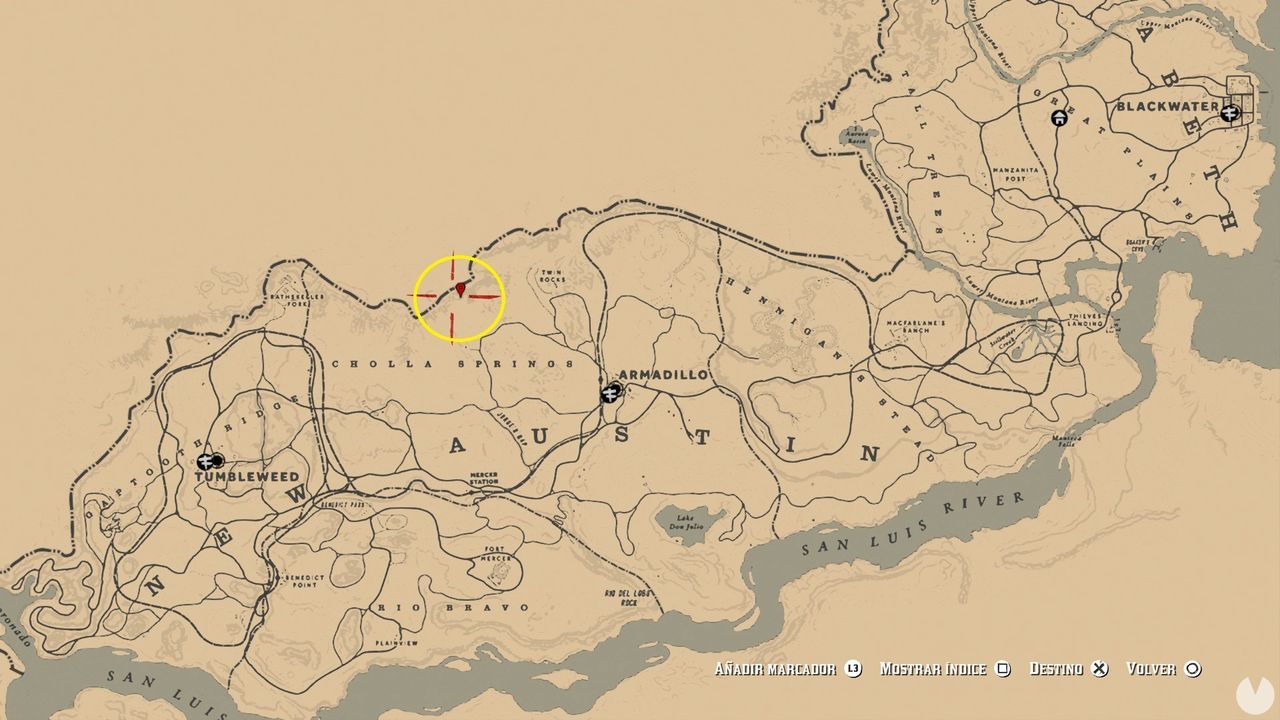
It can be found in New Austin, in the northern half of the region. You can only reach this area after making it to the story's Epilogue. The treasure is west of Twin Rocks, inside a small cave. This time you will not receive any gold bars. Instead, your reward consists of some erotic photographs and Otis Miller's Revolver.
Here is a video showing the entire process of collecting and following the maps until you reach the final treasure:
